|
Re: Resurrecting a 1951 Henney-Packard Parts Car
|
||||
|---|---|---|---|---|
|
Home away from home

|
I'm still unsure what to do about the three stud holes that had gotten 1/2-13 bolts forced in by some backyard mechanic who shouldn't have been working on cars. Fortunately they weren't in far so the 7/16-20 studs seem to thread in but are not as tight as they should be until threaded in farther.
The only thread inserts I've found require drilling out the holes to 5/8" so wondering if I need to go that route or if threading them in as they are with some good sealer might do the trick. I'm not sure I even have a way to drill a 5/8" diameter hole into the block! It would be better to pull out the engine and have it cleaned inside and out with the threads properly fixed but I don't want to go that route either.
Posted on: 2023/11/11 15:26
|
|||
|
||||
|
Re: Resurrecting a 1951 Henney-Packard Parts Car
|
||||
|---|---|---|---|---|
|
Home away from home
|
If it’s not one thing it’s another! I was cleaning up the pan and found holes all over it. At least that explains why it was dry when I had no recollection of having drained it.
I walked over to the other side of the shop where I knew there was another 327 pan from a 1952 Patrician but was surprised that it was so very different! Much thinner with the sump area not quite going to the back end and with two partitions in it rather than a single one as in the Henney's pan. Maybe that's a difference on the 9-mains or maybe just a change between years. I do have another 1951 327 5-main but don't really want to take it apart. Attach file:  643D593E-C4D1-4E8B-B4E3-06E8D35D5874.jpeg (402.37 KB) 643D593E-C4D1-4E8B-B4E3-06E8D35D5874.jpeg (402.37 KB)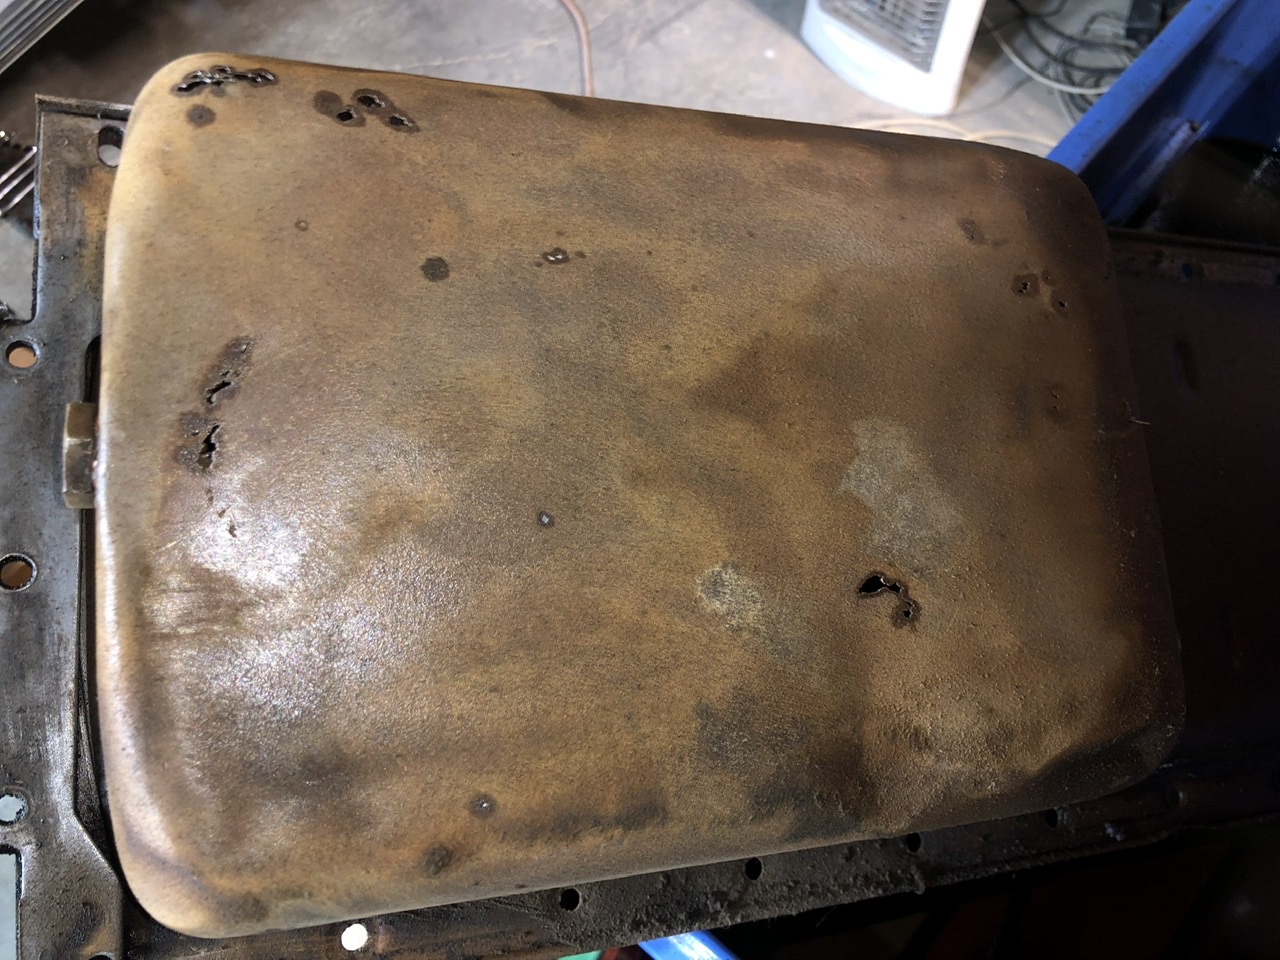
Posted on: 2023/11/11 21:09
|
|||
|
||||
|
Re: Resurrecting a 1951 Henney-Packard Parts Car
|
||||
|---|---|---|---|---|
|
Home away from home
|
With the issues with the stud holes, with the pan and with the mysteriously missing distributor drive plate, I’ve been working mostly on the shop itself as it’s still a mess from the insulation.
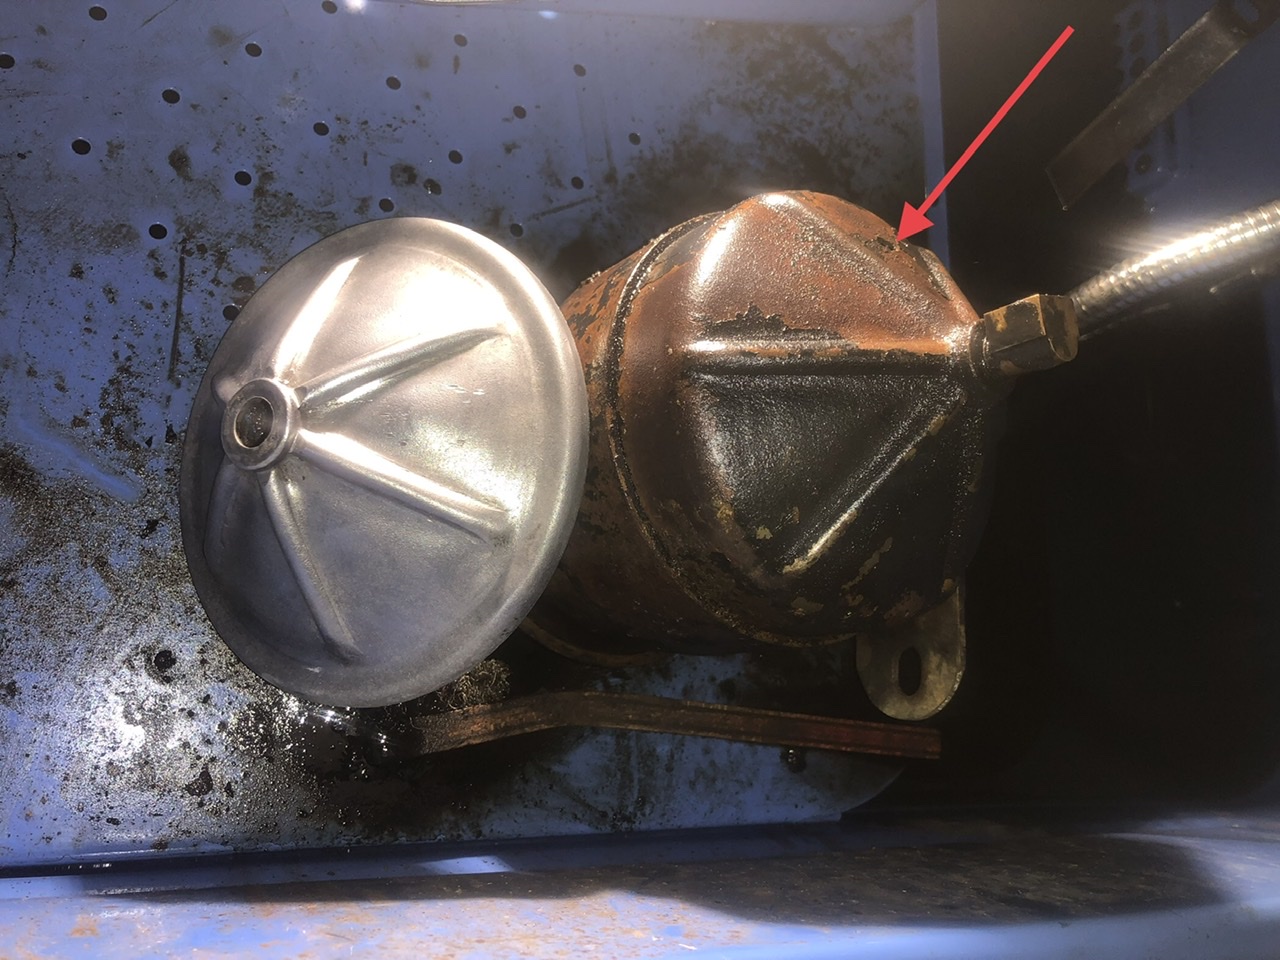
However, I have been doing some little things such as trying to clean out the oil pick up. In spite being in solvent for a couple days and even having solvent reverse-flushed though it for many hours, it is still full of crystallized/petrified oil! I tried picking it out and got quite a bit but I guess if I want to do it properly I will have to unbend at least one tab to remove the bottom cover and hope the tab doesn’t break off. Attach file: 1A4F256A-7ED5-411E-83DD-EFCFB06EA643.jpeg (431.63 KB)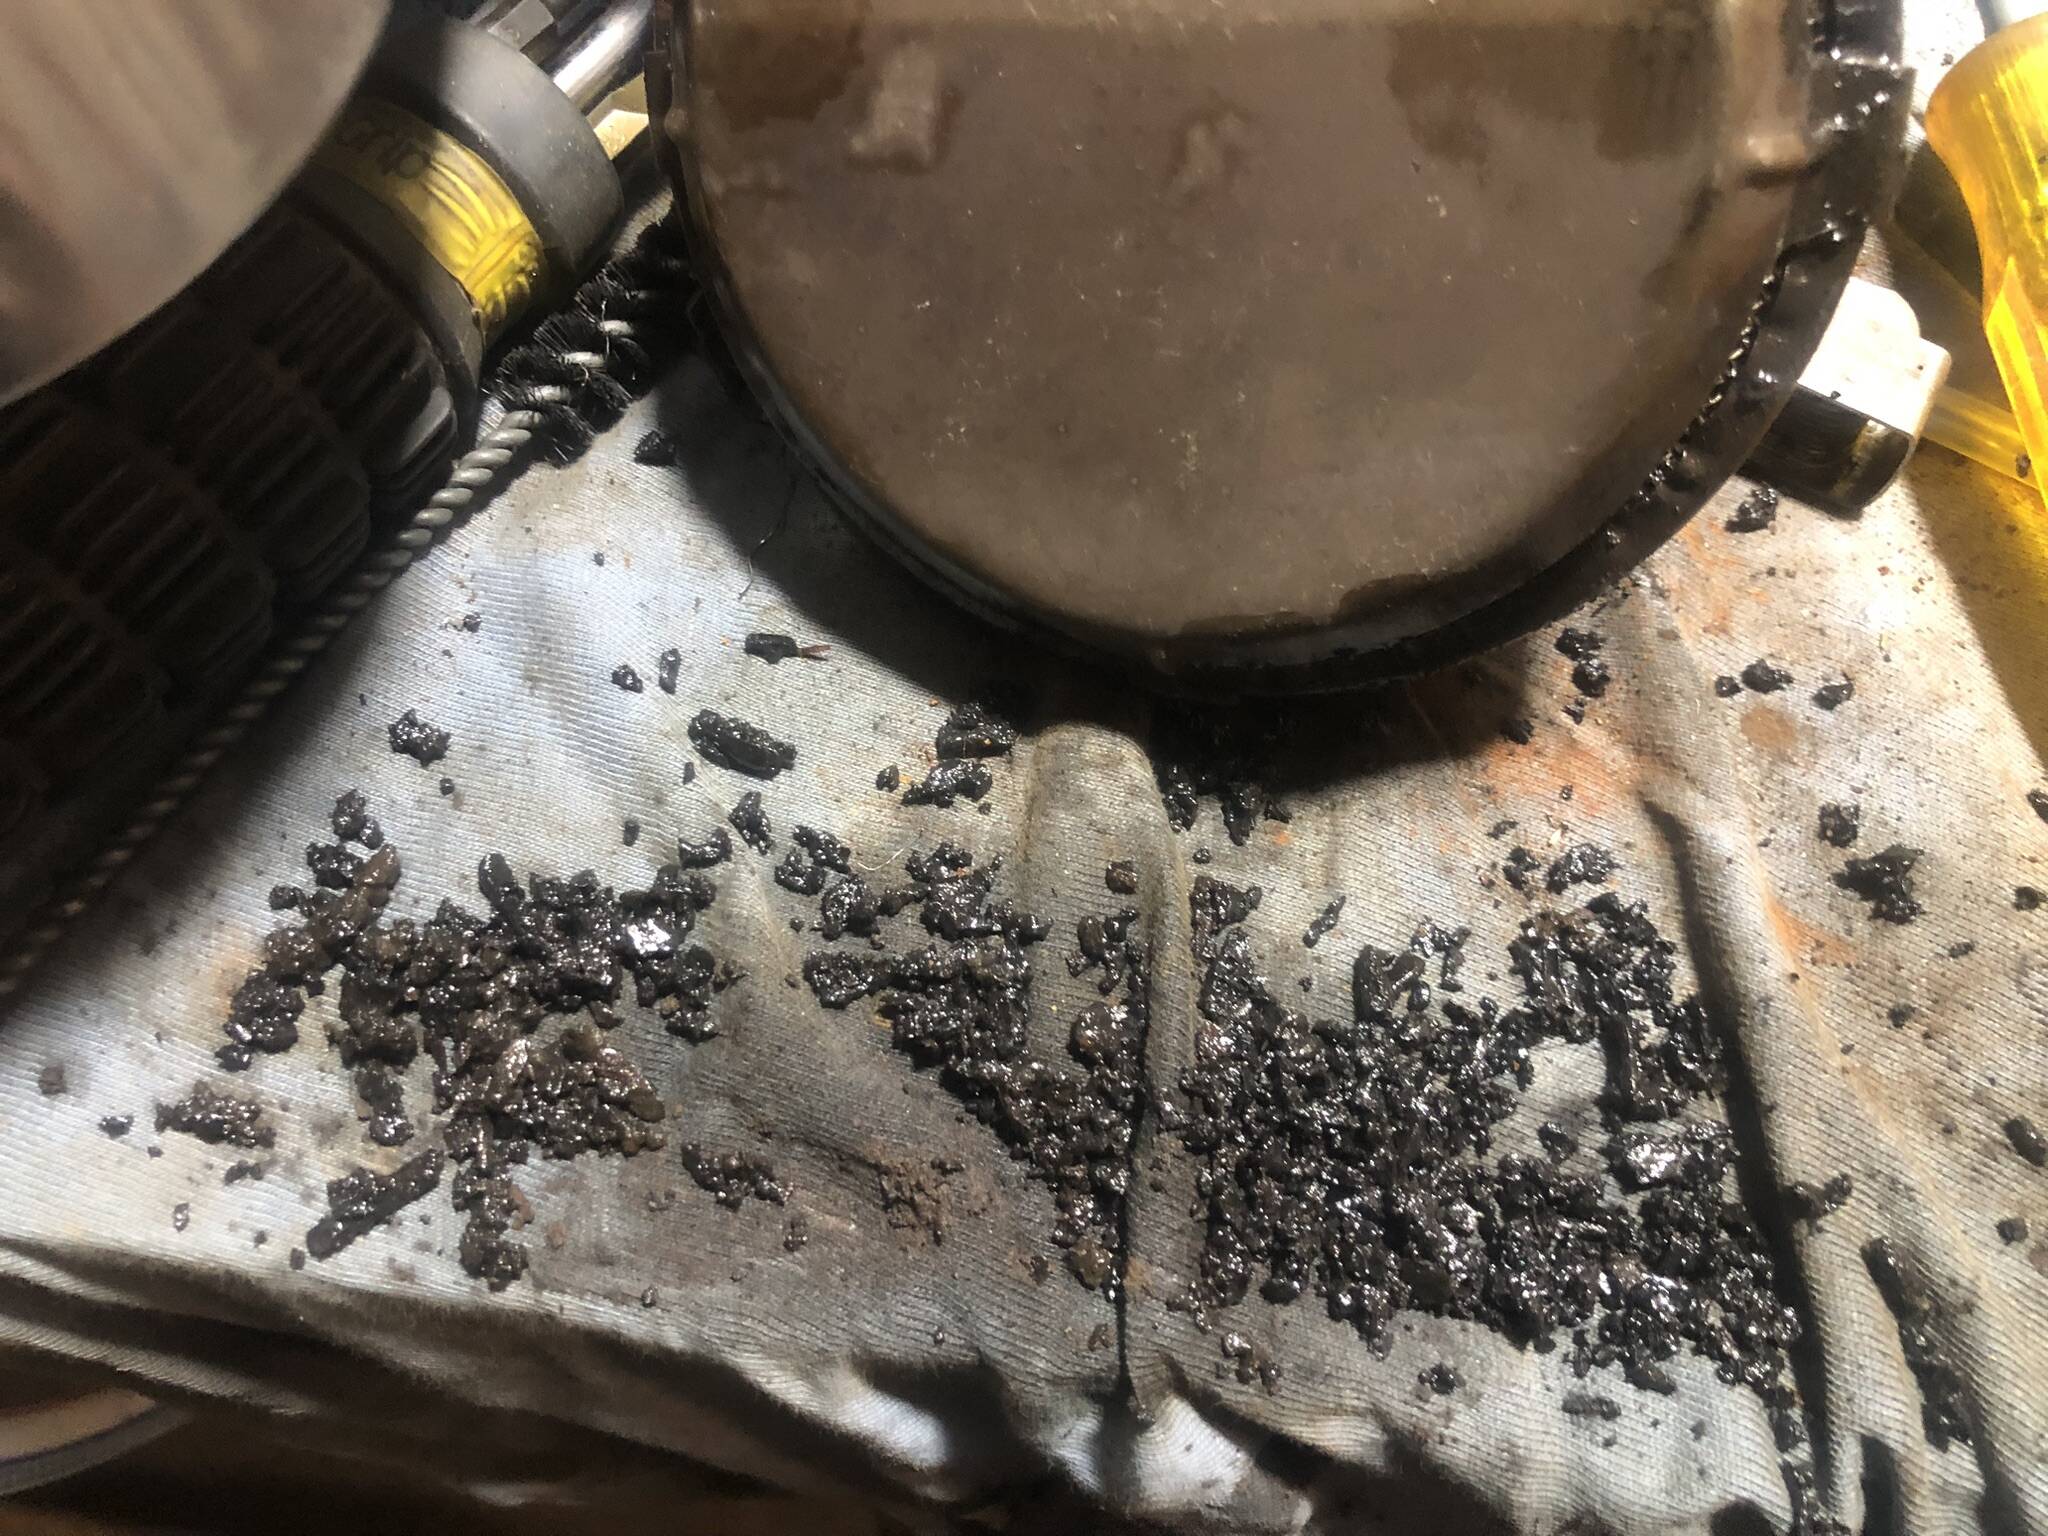 A6E0C19C-B3FF-4B56-B1BA-D266813EEA23.jpeg (301.91 KB) A6E0C19C-B3FF-4B56-B1BA-D266813EEA23.jpeg (301.91 KB)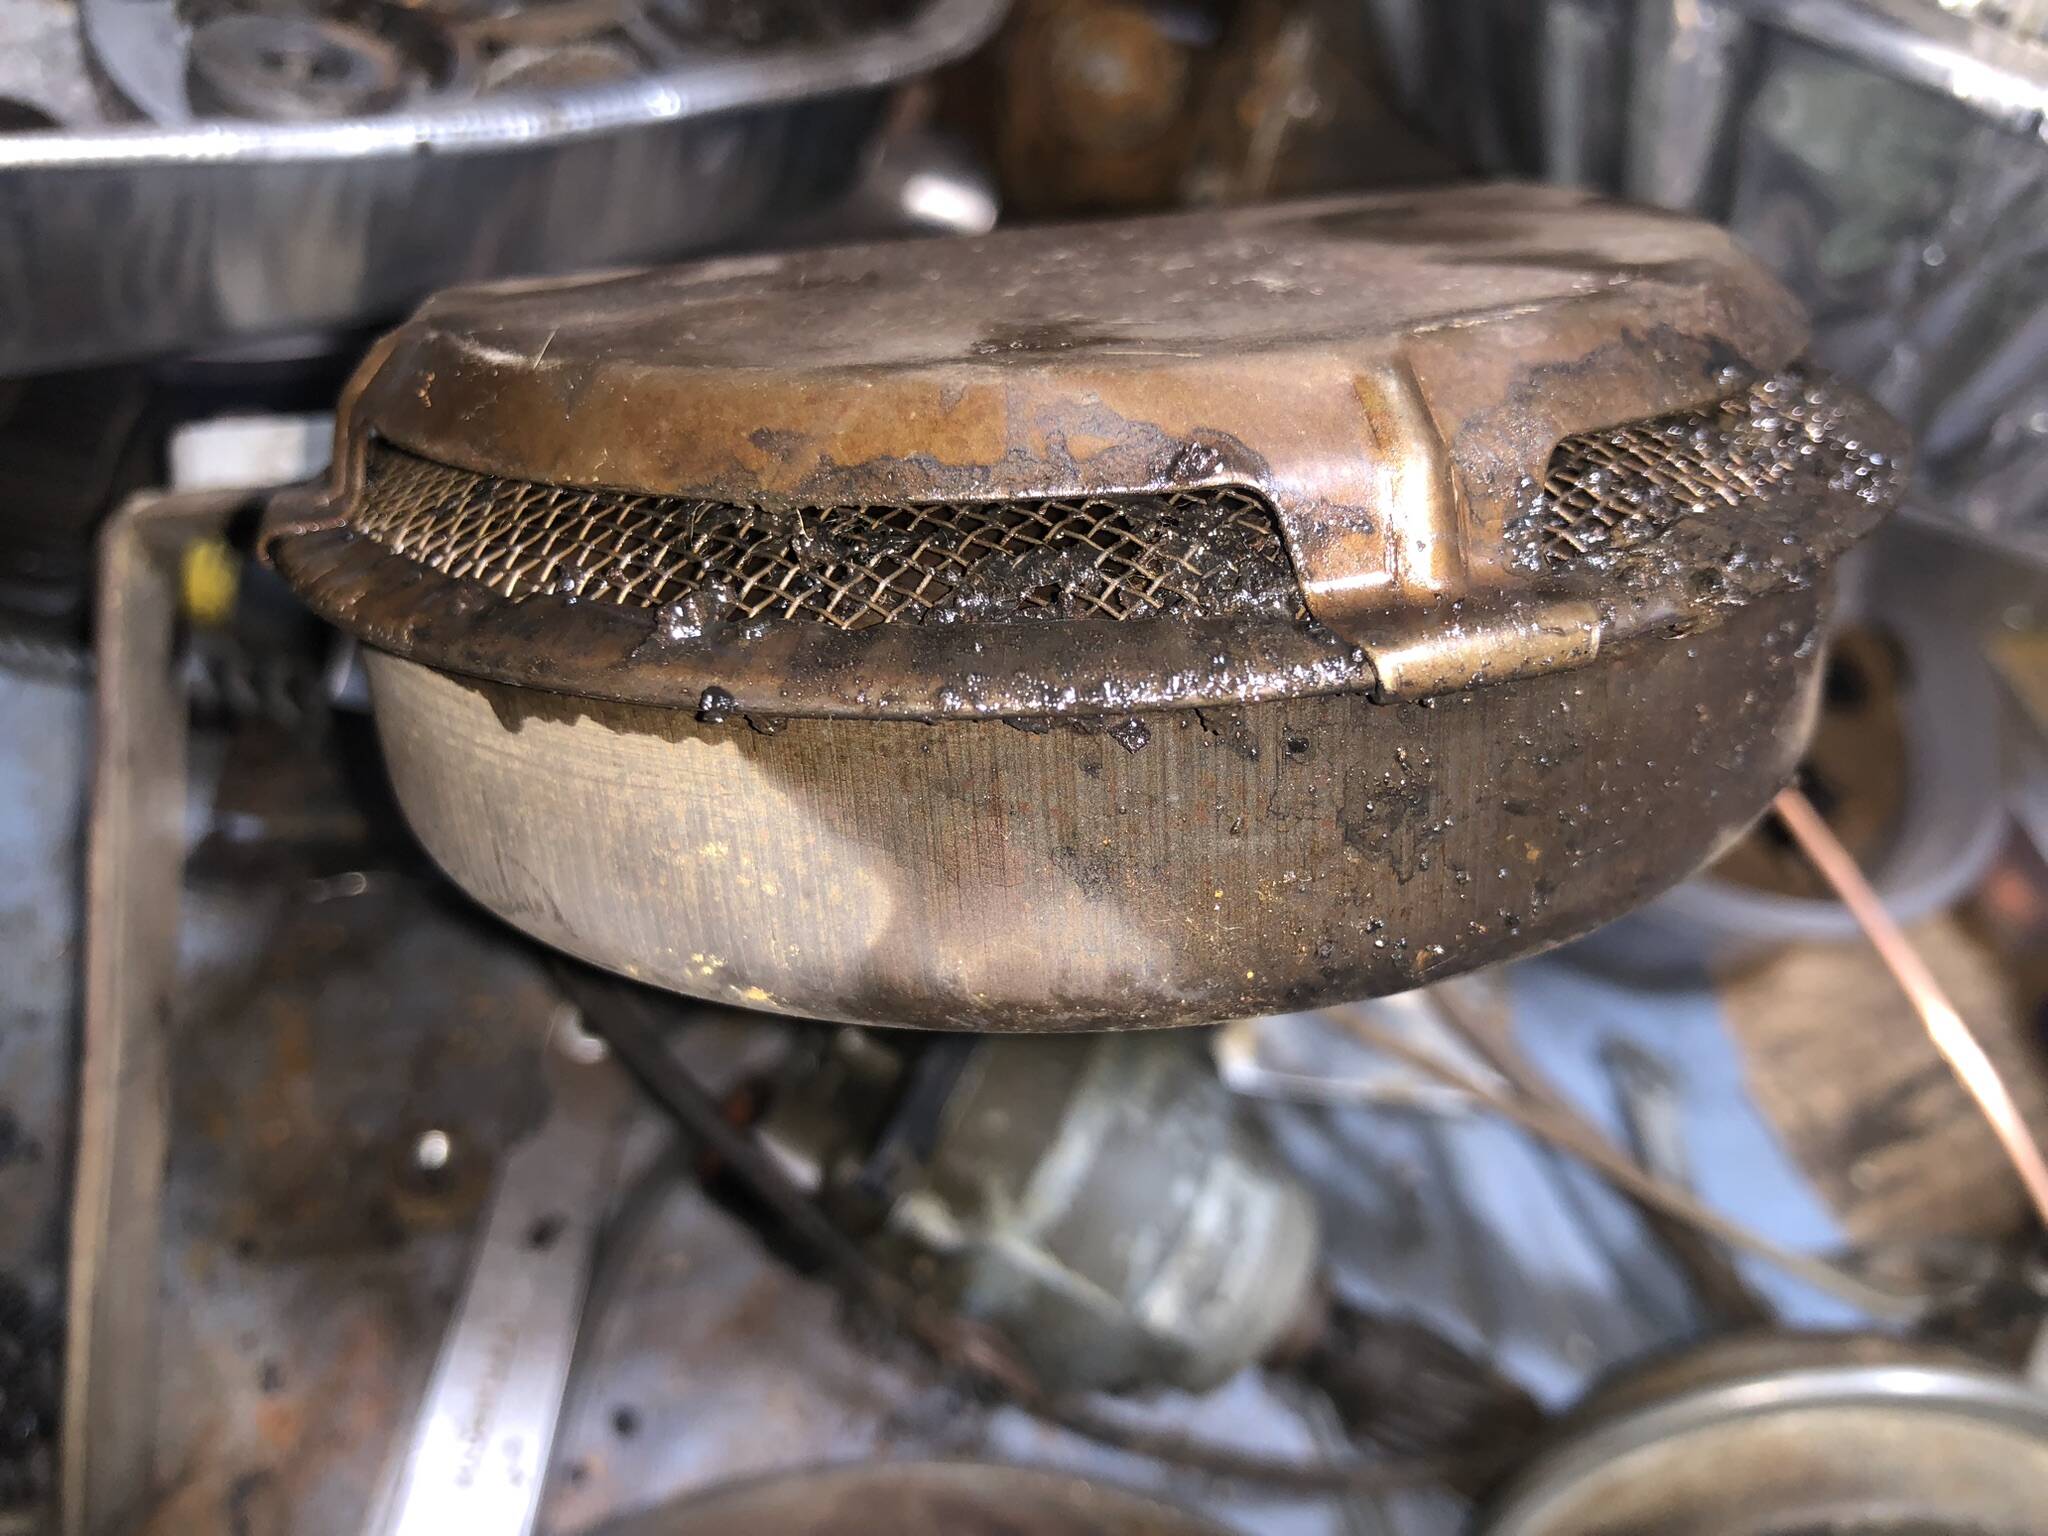
Posted on: 2023/11/12 23:54
|
|||
|
||||
|
Re: Resurrecting a 1951 Henney-Packard Parts Car
|
||||
|---|---|---|---|---|
|
Home away from home
|
Still unsure what to do about the issue with the oversize stud holes, then it occurred to me to search for a place that can make custom studs. I found one, contacted them and they replied this morning that their minimum is $400 but as I see it, the only alternative is to pull the engine and take it to a machine shop to have inserts installed which I would prefer but I neither have the time nor space for such an undertaking and it would end up costing a whole lot more I'm sure due to other work I would do on it while it's out.
Are there any thoughts on this and if I do get custom studs, should I stick with 1/2-13 as the bolts were or something else?
Posted on: 2023/11/13 14:50
|
|||
|
||||
|
Re: Resurrecting a 1951 Henney-Packard Parts Car
|
||||
|---|---|---|---|---|
|
Home away from home
|
With a lack of any comments or thoughts about the head stud issue, I wrote to a place that makes custom studs and can make a couple with a larger thread on one end. Problem is, their minimum is $400! The other option is to pull the engine and take it to an automotive machine shop for proper inserts which would be far cheaper but not only a tremendous amount of work but it would also require taking the car down off the the lift and moving it somehow to another part of the shop. If I were planning on keeping it, that’s what I would do without hesitation but that is not the plan.
So doing little things for a couple days and some work on the shop itself (cleaning up one mess seems to cause one in another area!), I decided to get to work on the rear brakes which are still all apart. The driver’s side was where I started and on that side, there was a lot of rust damage as the axle came from a wet environment. I replaced the drum long ago and already had a spare backing plate that I got out and cleaned up today. First photo shows the rusty back plate which some readers who have been following along may have seen long ago when I first got the rear end assembly. The second photo shows everything cleaned up except for the side of the plate we’re facing as I thought it would be easier to do with it rigidly attached. This is just a trial fit as I’ve not yet put in the inner seal which I will do tomorrow now that I’ve located the slide hammer adapter that I made many, many years ao while working on other Henneys. Unless the bearing is completely fried, it will be good enough to move the car around the yard but otherwise I’ll replace it and I may even already have some new ones. We’ll see! A year or two ago I bought a seal set which included everything (except for the little felt seals behind the parking brake in-feed but I already have those) but in the trial assembly, I discovered that the gasket shown does not fit. The spacing of the two upper holes is to close by about 1/8” which means that the whole things is reduced slightly somehow. Fortunately, when I first took apart this axle, one was intact enough to use as a pattern so I had had some made and those fit perfectly. Note the huge 14” Henney rear brake drum at the bottom of the first two photos. This same drum was also used on the shorter Henney Junior even though its rear axle was different than that in the senior models. Attach file: CF9C845A-1F50-4A42-B0AA-3D5DED0BC288.jpeg (420.50 KB) 9AB38046-9D5A-47DB-8F40-D86290C21925.jpeg (432.52 KB) 9AB38046-9D5A-47DB-8F40-D86290C21925.jpeg (432.52 KB)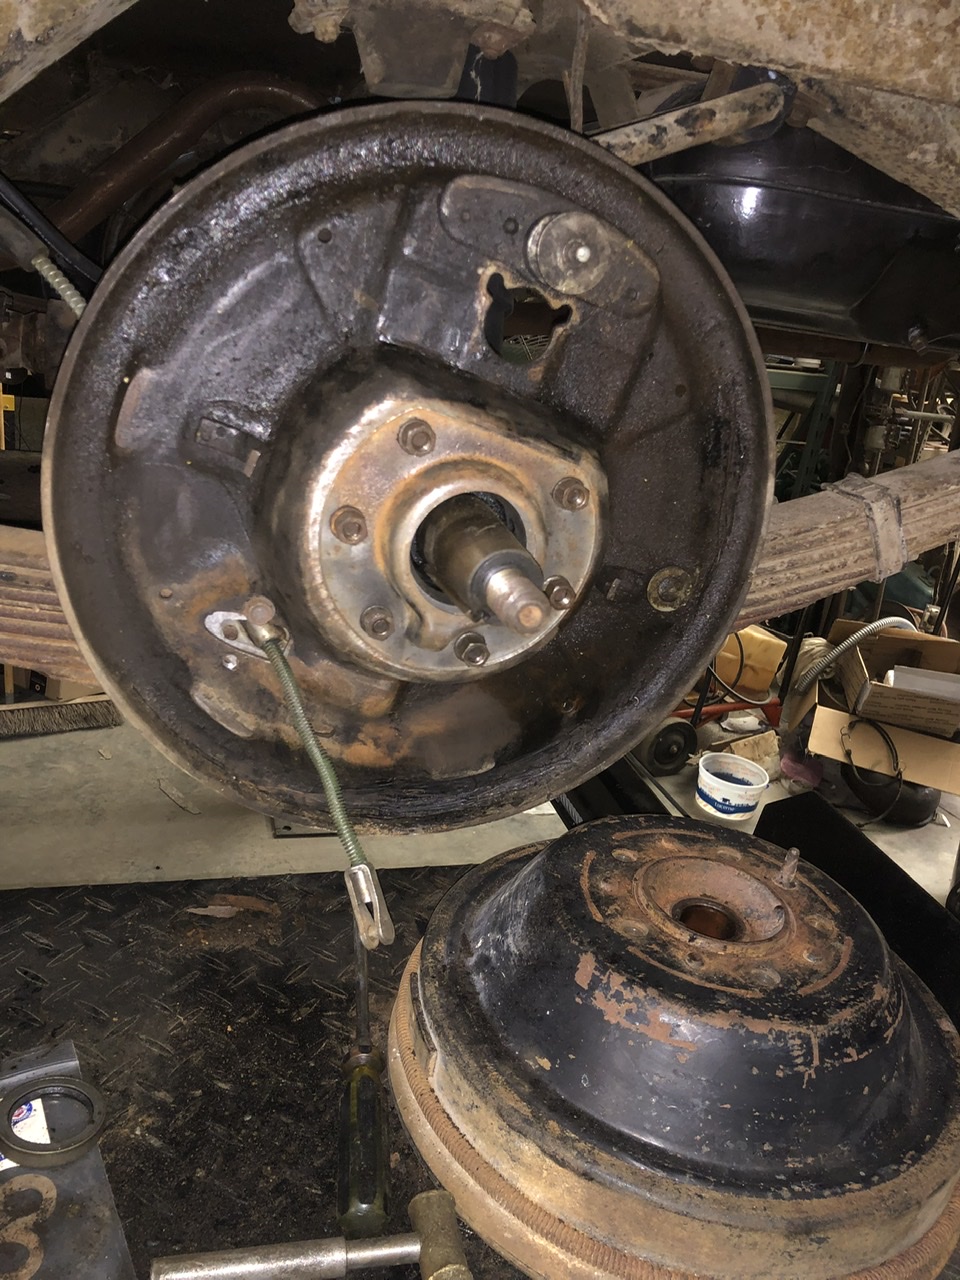 377A9941-FFA0-4E2C-B9CA-4E364DF1A37F.jpeg (370.28 KB) 377A9941-FFA0-4E2C-B9CA-4E364DF1A37F.jpeg (370.28 KB)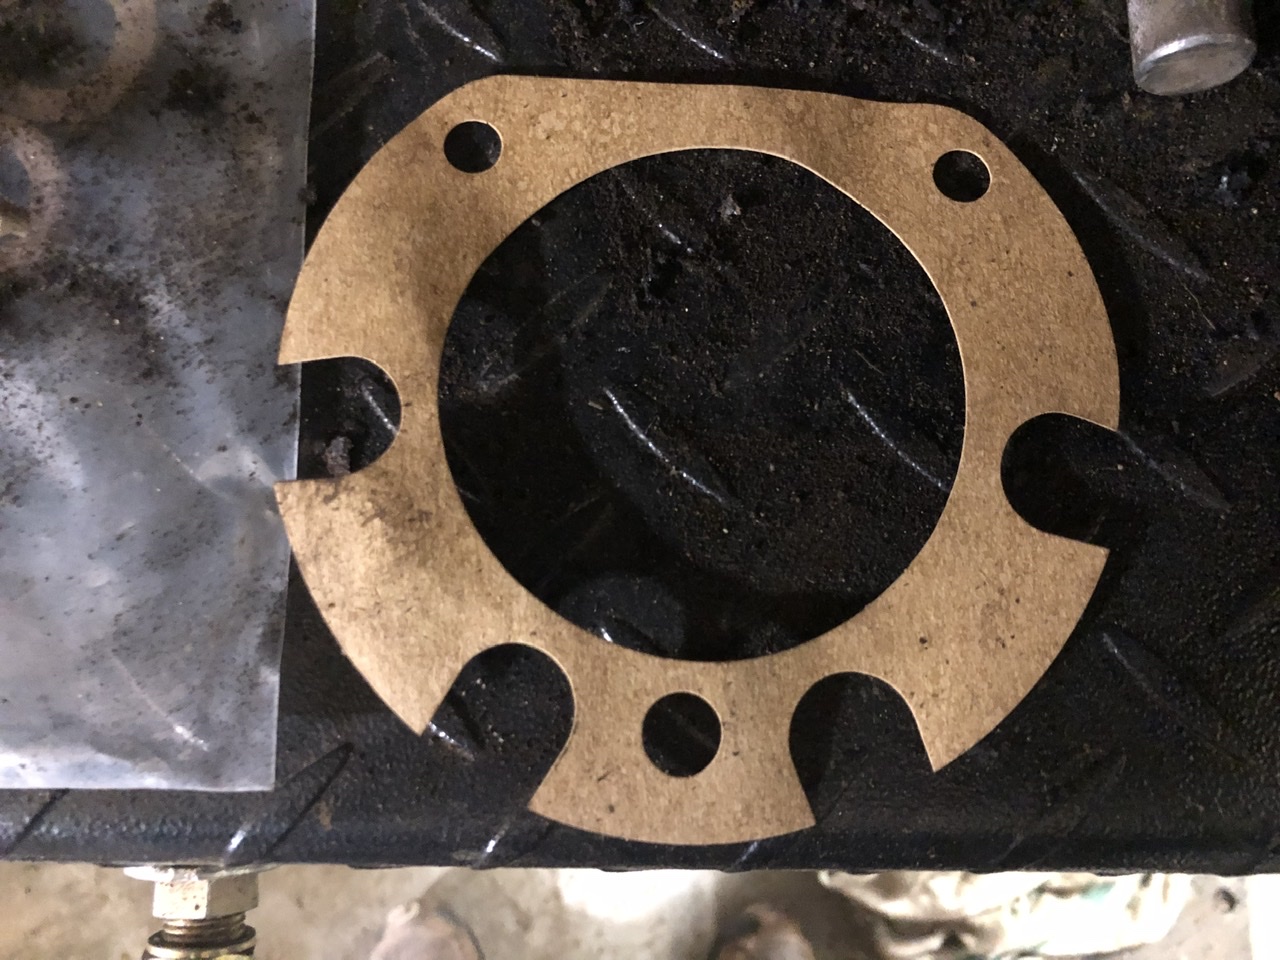
Posted on: 2023/11/14 0:26
|
|||
|
||||
|
Re: Resurrecting a 1951 Henney-Packard Parts Car
|
||||
|---|---|---|---|---|
|
Home away from home

|
Refresh my memory. What do you wish to do with this vehicle when it is done? If anything more than very short and easy trips you will need to pull the engine anyway.
I went back and looked at some of the engine pictures. You have heavy scoring in one of the cylinders, and judging from the wear pattern at the top #4, the top piston ring has already broken. With a little more running the ring pieces will migrate out the top of the piston where after they just love to get under a valve and hold it open. This is the common long-stroke engine disease. Have seen it on Chryslers, Buicks, Packs etc. The deposits in your cooling passages are frightening as are the ones in your oil pickup and rusted out pan. I'm not sure this engine is going to you any lasting satisfaction. That said, it is not difficult to install helicoils with the engine in the car. I do it with the head on as the head provides a very helpful guide for the tap drill for the helicoil. You can buy a little kit from NAPA for 7/16-20 threads. Put the stud in with plenty of loctite and you are done.
Posted on: 2023/11/14 7:21
|
|||
|
||||
|
Re: Resurrecting a 1951 Henney-Packard Parts Car
|
||||
|---|---|---|---|---|
|
Home away from home
|
Thank you Ross, I won't be driving it anywhere other than around the property and "done" is relative as the goal is just to get it all back together as authentically as possible, then sell it with full disclosure including a link to this blog.
What looks like scoring is just a flash reflection. I had filled the cylinders with oil when I first started working on it and they are in good condition but I did notice all the deposits and plan on some kind of flushing once it's back together. As for helicoils, I had thought about that but none that I've found are large enough on the outside and, of course, the outside pitch is the same as the inside pitch while this is 1/2-13 hole with 7/16-20 studs. I have found actual inserts with a 5/8" OD but I would be leery of trying to hand-drill and insert something like that. Still, I'll investigate helicoils further but you're absolutely right, pulling the engine is probably best. If I go that route, I will have to put it all aside for now after I get the rear brakes back together as I have neither the space nor the time for that as the lift is past due for a couple other quick projects.
Posted on: 2023/11/14 12:30
|
|||
|
||||
|
Re: Resurrecting a 1951 Henney-Packard Parts Car
|
||||
|---|---|---|---|---|
|
Home away from home
|
In the event that it cannot accept helicoils, it just occurred to me that there is third alternative between that and pulling the engine which is the best choice. Put the three proper studs in in place of the three 7/16-20 bolts, then put the head back on using three 1/2-13 bolts (better ones, of course), in order to get it moveable under its own power. That's not the best solution but seems a viable one as far as I can tell.
If this weren't the original engine that came with it, I would just replace it but as it is original, I want to keep it with the car. How do I know it's the original engine? It's a Henney and they all have a plate that lists the VIN, engine number, mound number (typically for hearses) and other information specific to the build and the engine number matches the plate.
Posted on: 2023/11/14 14:41
|
|||
|
||||
|
Re: Resurrecting a 1951 Henney-Packard Parts Car
|
||||
|---|---|---|---|---|
|
Home away from home
|
Today I pulled the left axle to check the bearing and to install the inner seal which was made easy by a slide hammer adapter I had made decades ago for my 1951 and 1952 Henney-Packard hearses. It turned out to be what I was using a while back on my press for transmission seals! The same slide hammer with the three arms made it easy to extract the seal itself.
Both seals are now installed and the bearing packed. Although smelly from the intrusion of old gear oil, the bearing looked good and felt smooth. What wasn’t easy and took a great deal of time was to attach the parking brake cable to the backing plate, something probably easier done before the back plate is attached! Keeping the retainer visible here, the heavy steel guide behind and the felt seal in alignment while inserting the screws is not easy with only two hands! Although it took a lot longer than expected with the parking brake cable, I thought I would have time to start putting the brakes back together but I realized I hadn’t rebuilt the cylinders which I thought I had done long ago so I took the one for this side apart in preparation. it’s actually not in bad condition but still needs a rebuild. I also can’t find the photos I took of all the spring locations which is totally different on a Henney-Packard than it is on a passenger car, possibly more akin to a 22nd series Custom Eight but even different than that. Saying that, it just occurred to me that I may have posted them way back in this blog so I’ll go back to take a look! Way back here on the third post of this blog I had said that I rebuilt the rear cylinders so I guess that means that they are here somewhere if only I can find them! Attach file: 15107703-FFFF-4E4A-BB9C-8A1799F80966.jpeg (385.32 KB)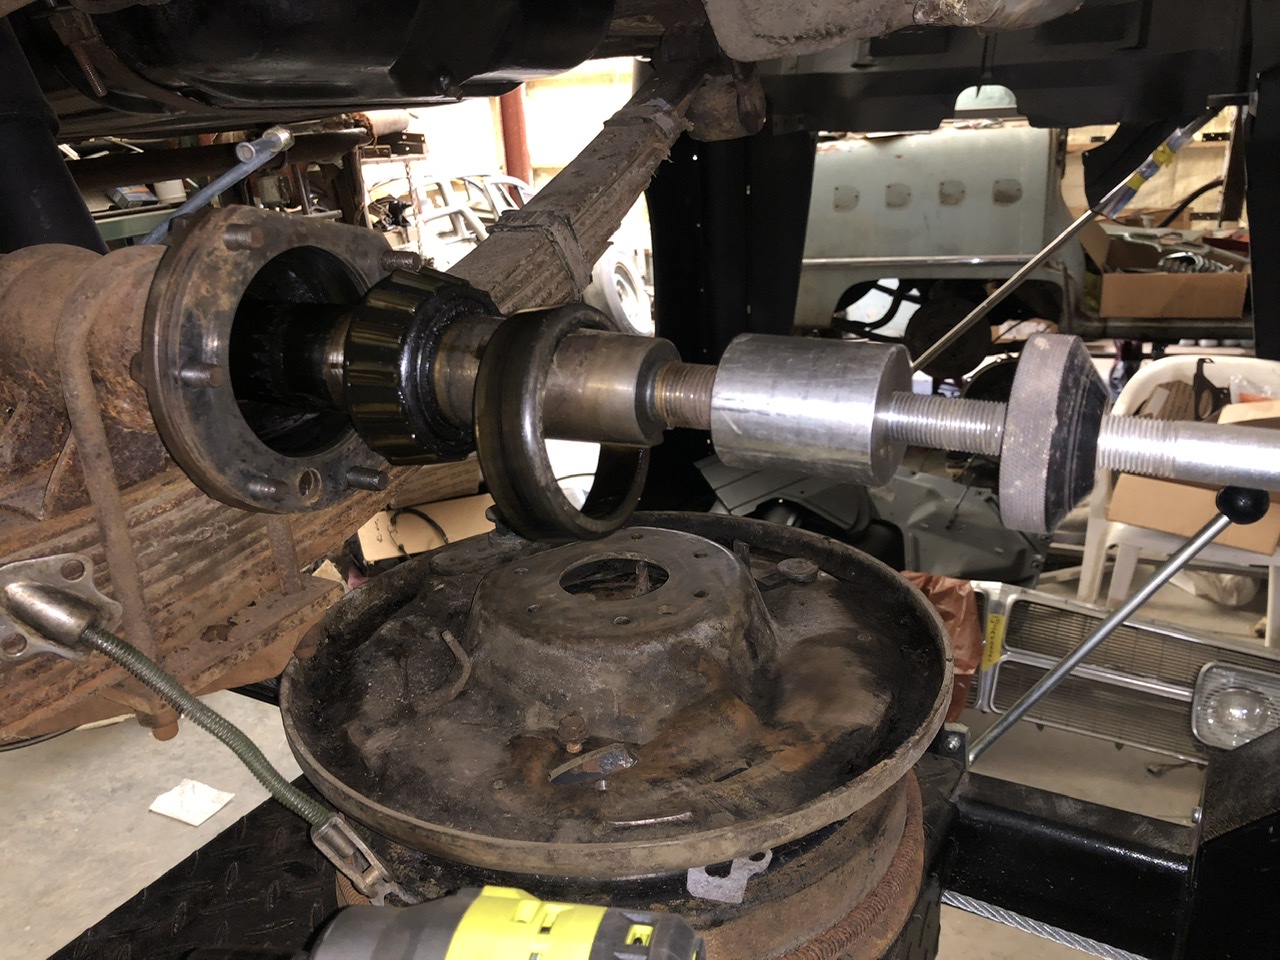 96F5679F-DAAD-4D8D-A29F-809134393626.jpeg (286.14 KB) 96F5679F-DAAD-4D8D-A29F-809134393626.jpeg (286.14 KB)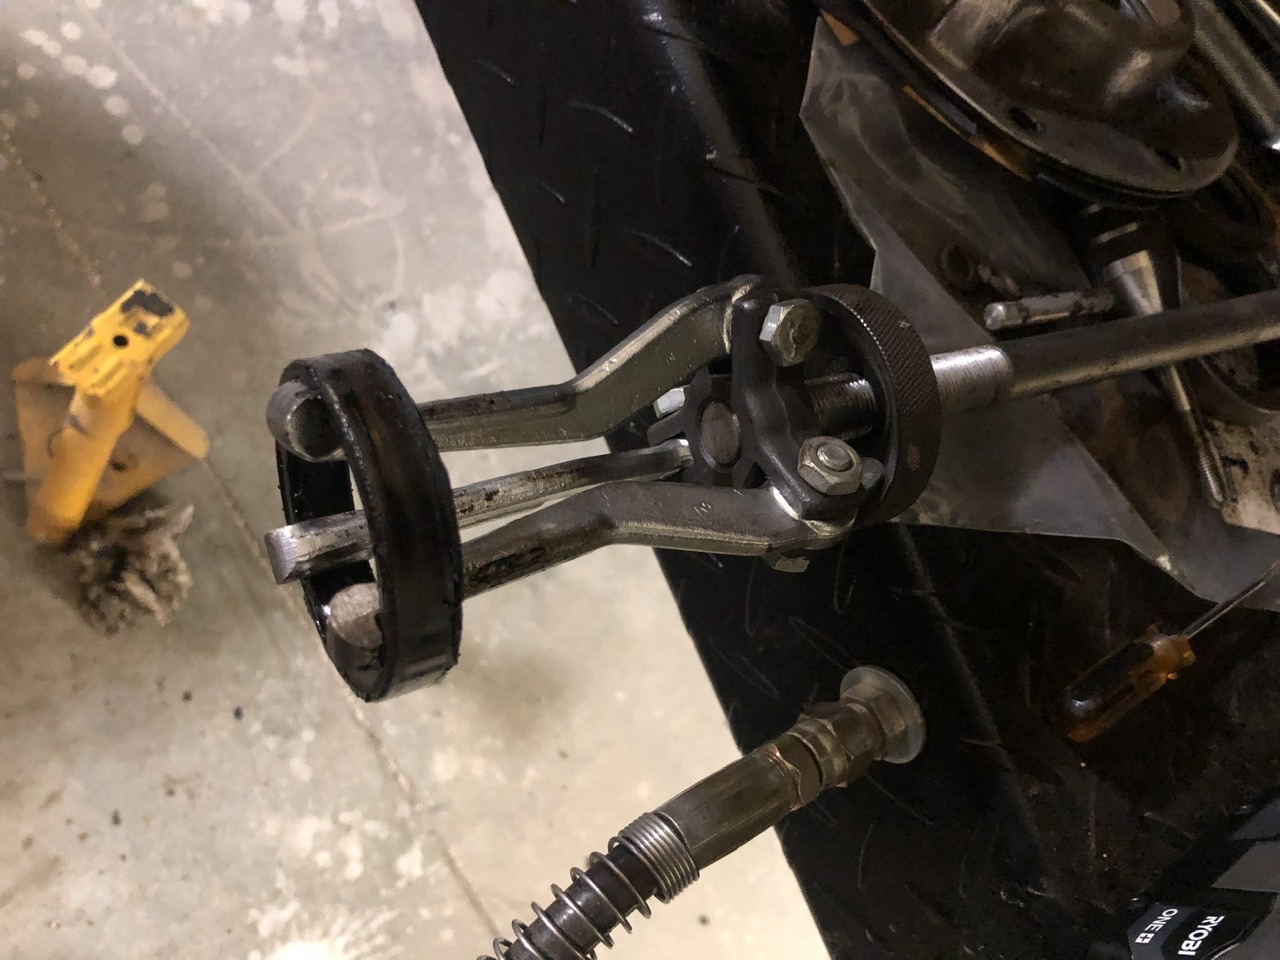 DC7B84F5-D531-4BFE-9A4B-2B0699808E5C.jpeg (428.54 KB) DC7B84F5-D531-4BFE-9A4B-2B0699808E5C.jpeg (428.54 KB)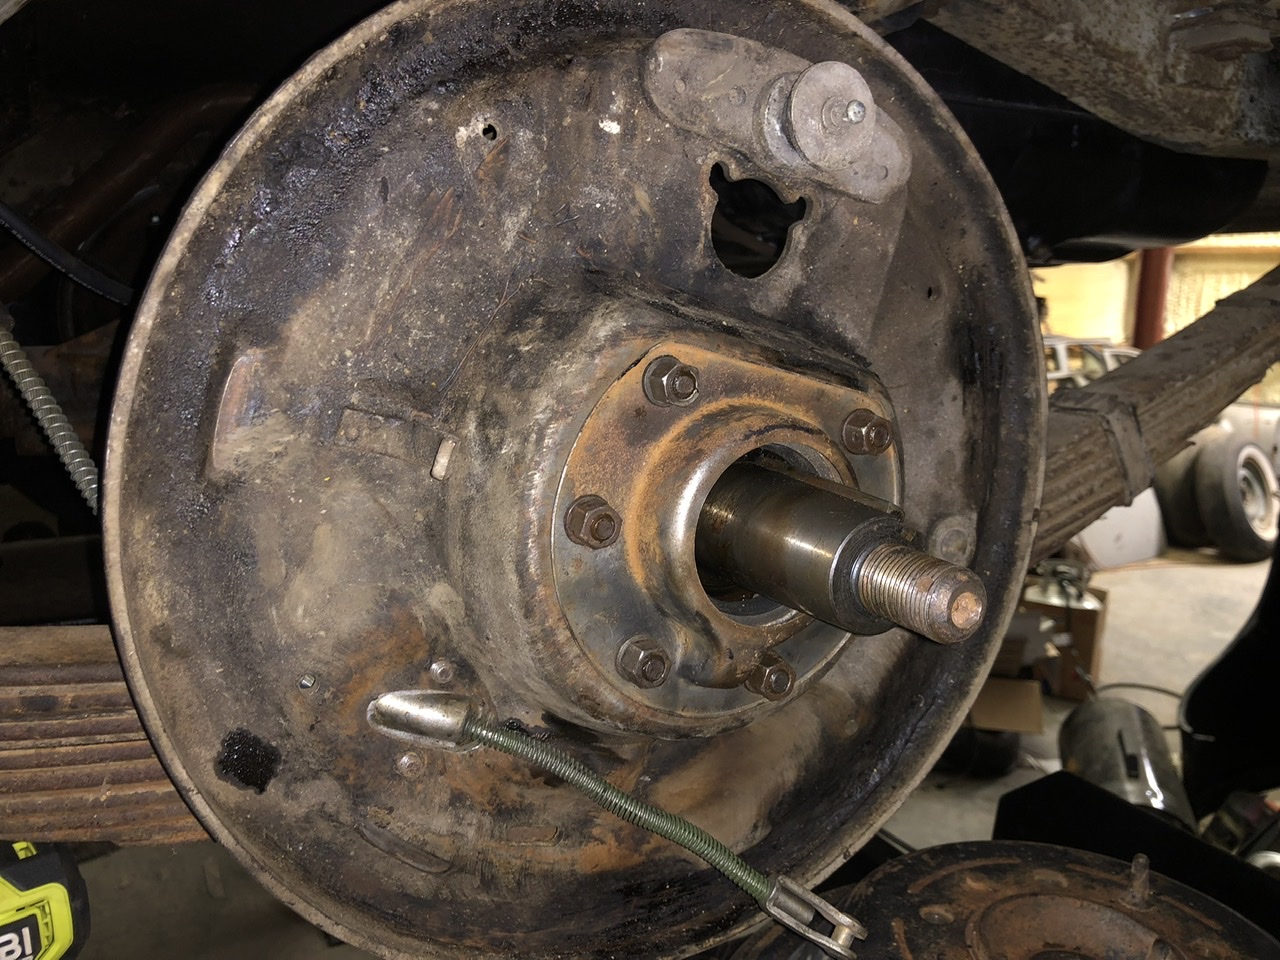 92FD8869-40A7-4BEC-AA2C-CF53DEF88EF6.jpeg (439.59 KB) 92FD8869-40A7-4BEC-AA2C-CF53DEF88EF6.jpeg (439.59 KB)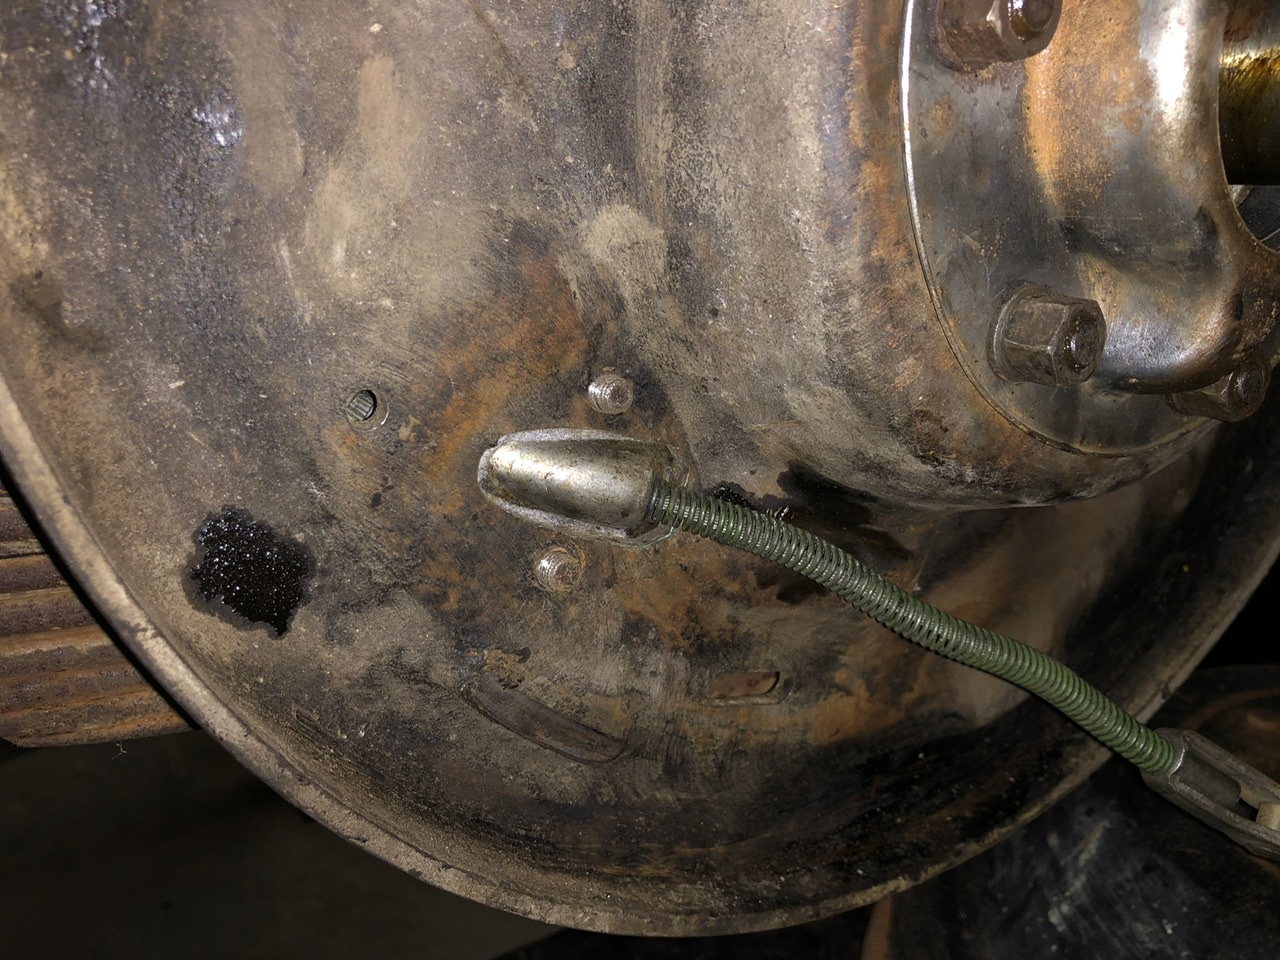
Posted on: 2023/11/14 23:15
|
|||
|
||||


