|
Re: Easamatic Rebuild Sources
|
||||
|---|---|---|---|---|
|
Home away from home

|
Here is the BTV kit I plan to order for my '54 from Midwest Power Products. Note that the plunger appears to have a poppet on the end, but I believe it is correct as the shop manual shows the same piece. I think this wider part goes on the reservoir side, not like later units, which also had a poppet on the pressure side. Comments?
Attach file:  (68.04 KB) (68.04 KB)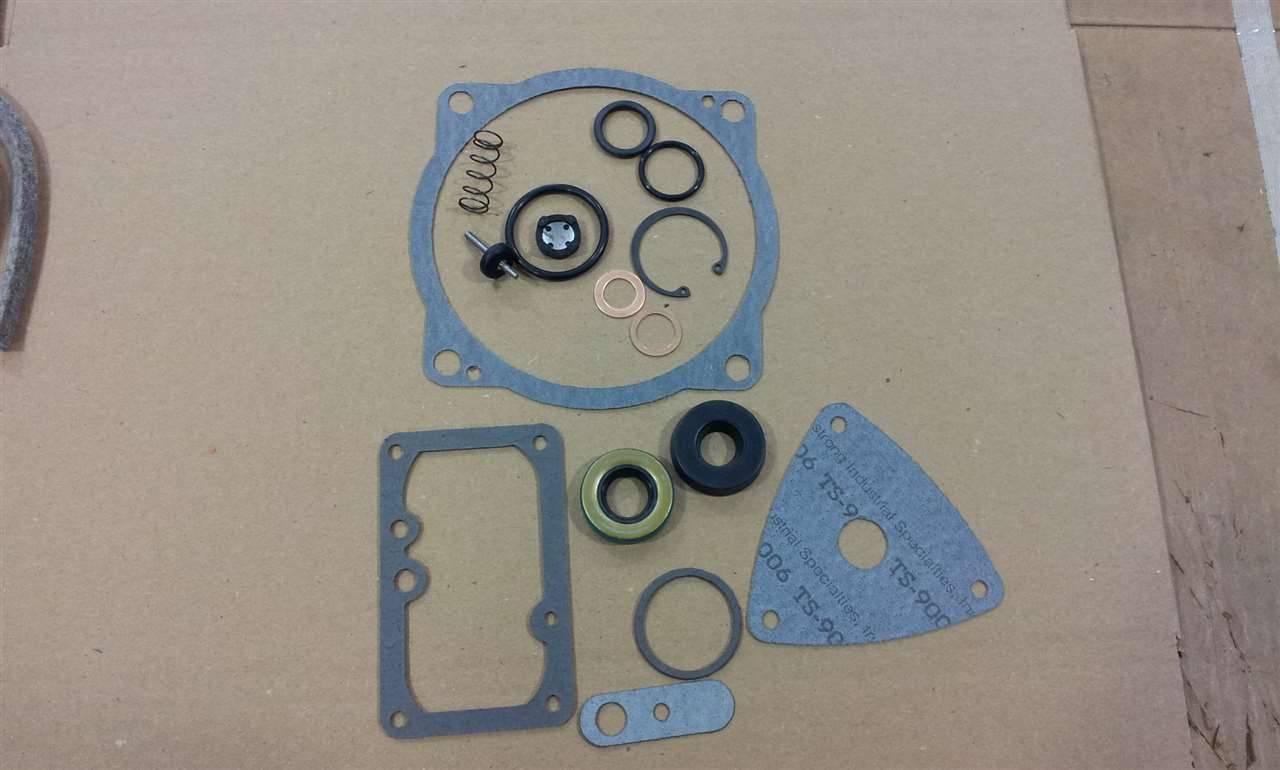 (61.93 KB) (61.93 KB)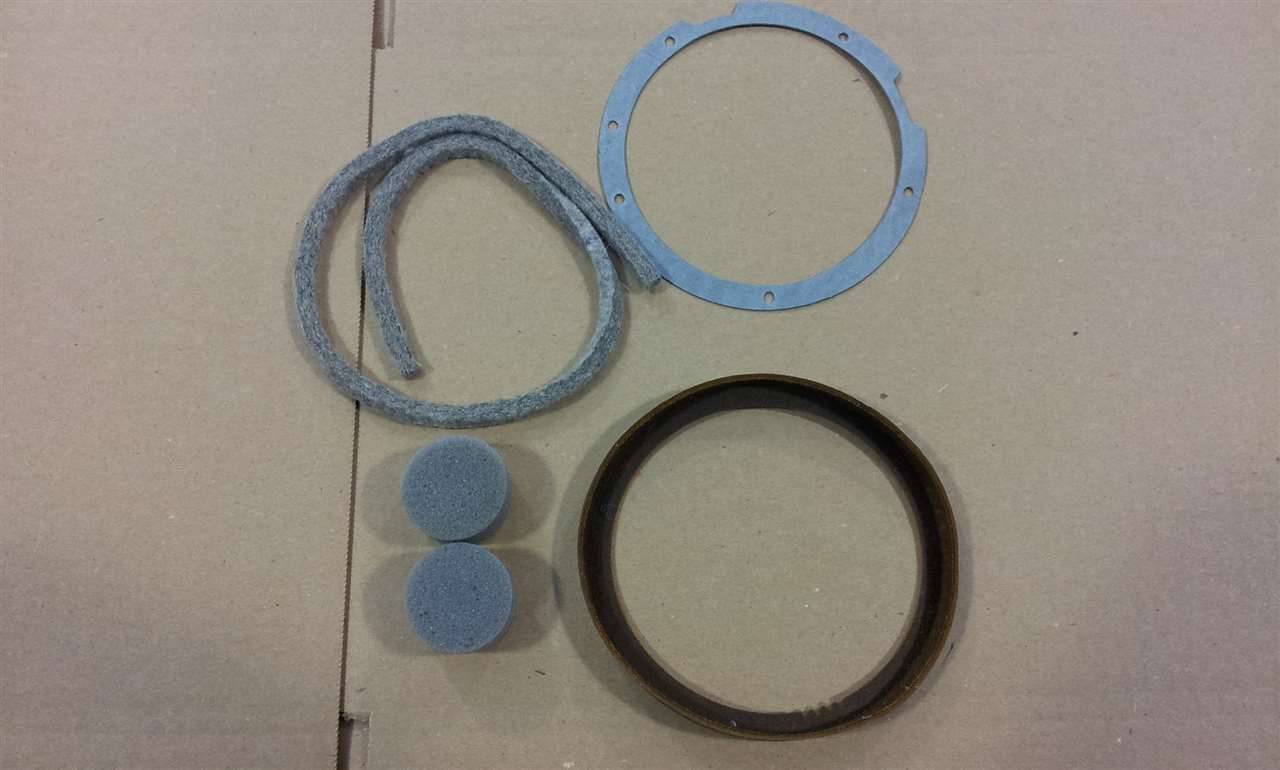 (53.88 KB) (53.88 KB)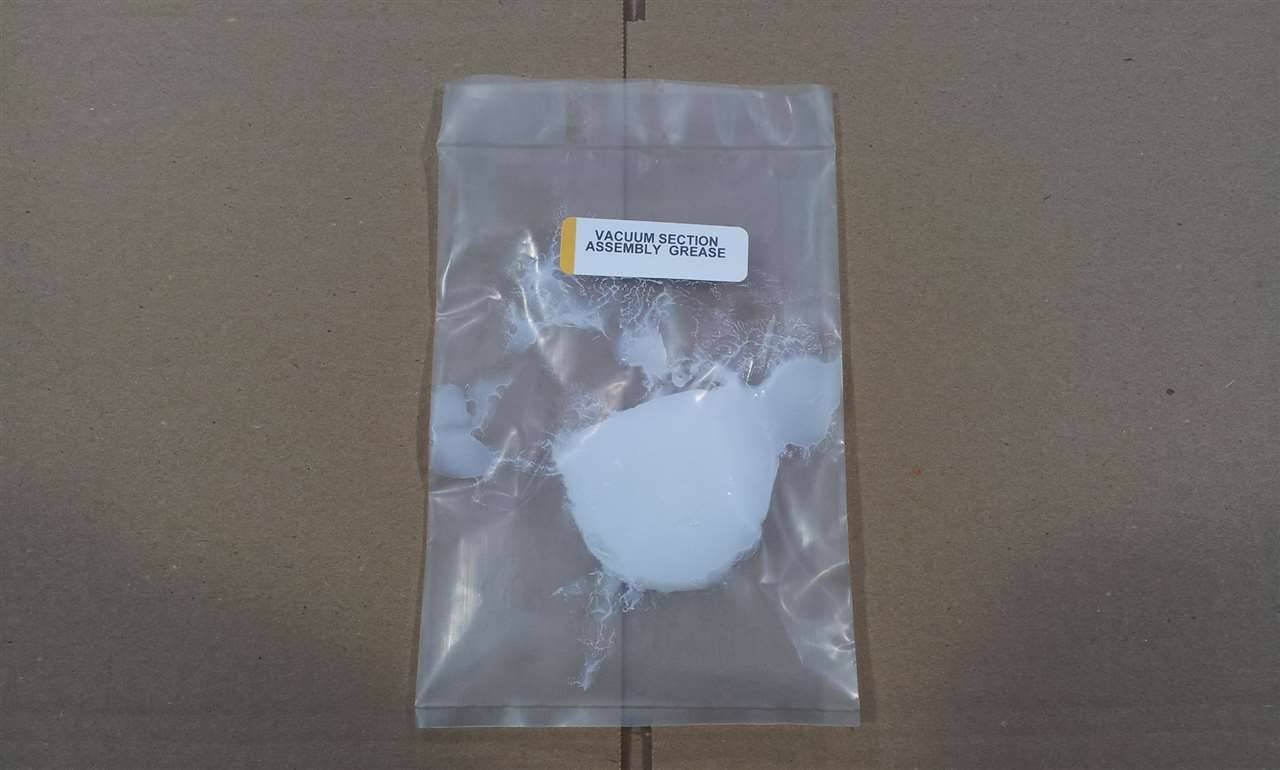 (48.93 KB) (48.93 KB)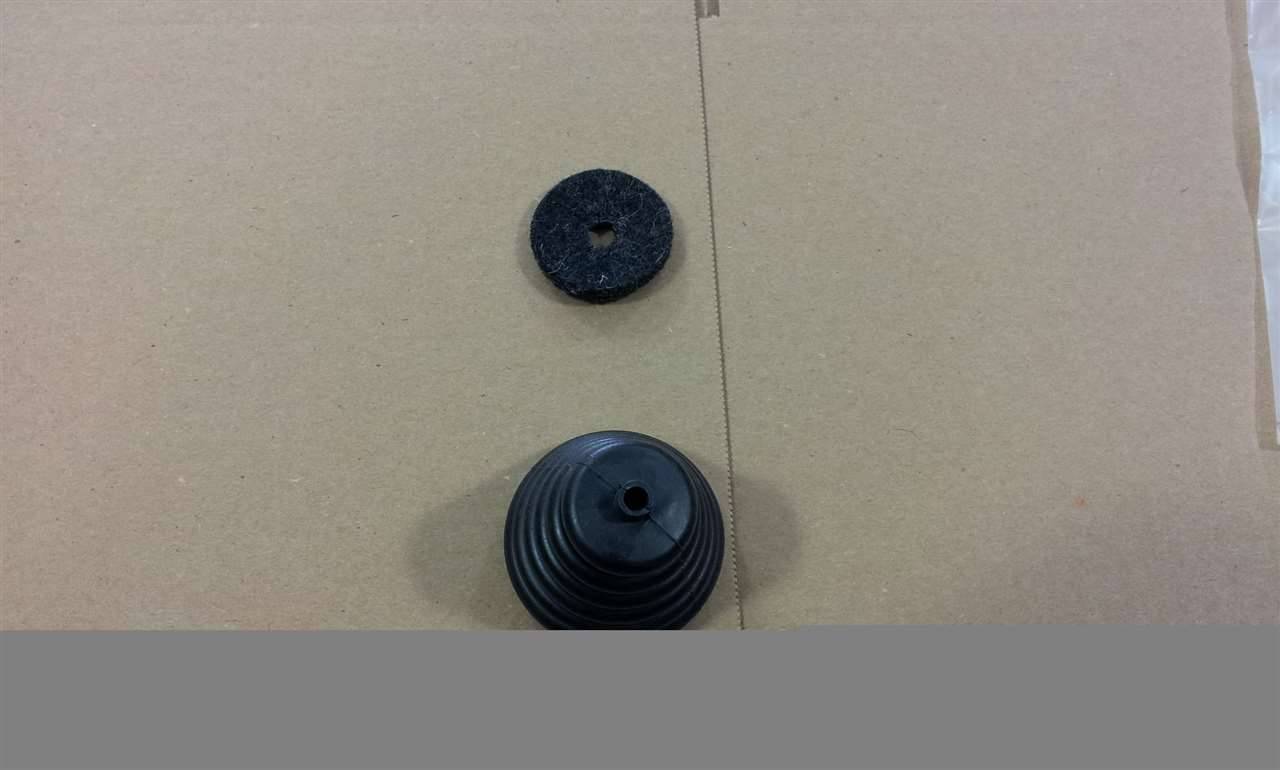 (57.22 KB) (57.22 KB)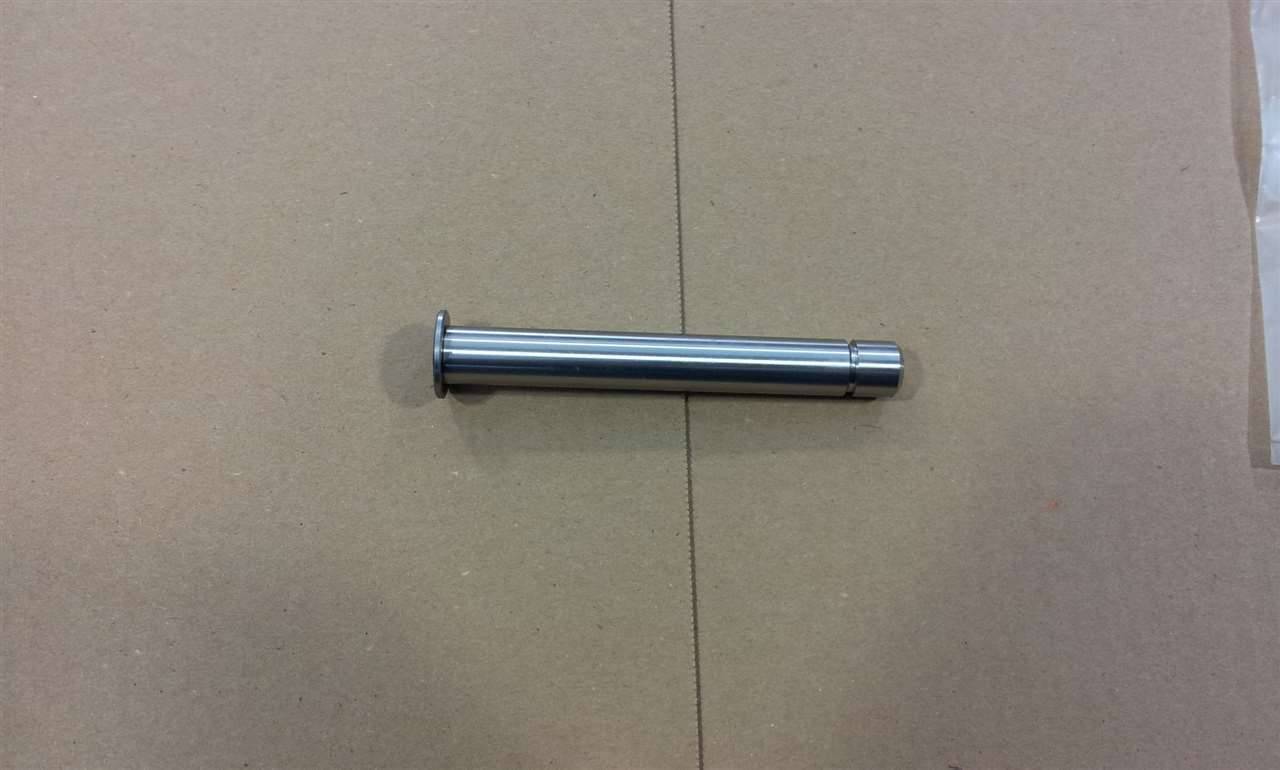
Posted on: 2013/8/19 12:55
|
|||
|
Guy
[b]Not an Expert[/ |
||||
|
||||
|
Re: Easamatic Rebuild Sources
|
||||
|---|---|---|---|---|
|
Forum Ambassador

|
Looks like a typical very complete kit and the only thing missing is the same that is not included on any kits -- the conical spring for the compensator valve and any rubber parts for the vacuum power piston. Hopefully you will not need either.
One thing to check carefully is the condition of the sealing surface in the hydraulic section of the pot metal casting. If the seal is new and the piston is new but there is corrosion or pits in the seal seat area of the casting, not much will be gained. Not following at all the comment about the poppet valve and wider part in the reservoir end vs later units with a poppet in the pressure side.
Posted on: 2013/8/19 13:13
|
|||
|
Howard
|
||||
|
||||
|
Re: Easamatic Rebuild Sources
|
||||
|---|---|---|---|---|
|
Forum Ambassador
|
I don't understand the poppet comment either???
Posted on: 2013/8/19 13:23
|
|||
|
||||
|
Re: Easamatic Rebuild Sources
|
||||
|---|---|---|---|---|
|
Forum Ambassador
|
If someone has their unit apart, they can measure and mic the poppet spring and find a close match here.
http://www.mcmaster.com/#compression-springs/=o4v8g7
Posted on: 2013/8/19 13:40
|
|||
|
||||
|
Re: Easamatic Rebuild Sources
|
||||
|---|---|---|---|---|
|
Home away from home
|
Quote:
I will make note of that first paragraph-- that the conical springs and "rubber parts" for the vacuum power piston need to be scavanged from the old unit. Does anyone have pics of these that I can show my mechanic? About the "Poppet" I'm just referring to the cutaway drawing of a '55-'56 that shows a widened end on the MC side of the piston, which is not on the '54 and earlier design. In those, the end of the piston, if I recall correctly, is not widened like that. Regarding the "sealing surface" of the casting, this is exactly what Rich Hlady at Midwest Power Products recommends "re-sleeved" with stainless if it is pitted. They do that, he said, on about 50 percent of the units they rebuild. Sorry if I did not make this clear in earlier posts, but I wasn't quite sure what part was "re-sleeved". Now we all know! Thank you all for your input. I am ordering the complete kit, with piston ("plunger") boot and grease. BTW, I have never hear a mention of this grease being used in the vacuum section in a rebuild. Anyone know where this would be applied? I'm ordering the kit and, for the record, I plan to have my mechanic carefully clean the relief port, make sure the gasket does not cover it, and see what happens. Many thanks to all for your feedback.
Posted on: 2013/8/19 14:54
|
|||
|
Guy
[b]Not an Expert[/ |
||||
|
||||
|
Re: Easamatic Rebuild Sources
|
||||
|---|---|---|---|---|
|
Forum Ambassador
|
Pistons are the same. The wide part or lip is always on the fluid side and just not shown well in the earlier drawings. That lip is what activates the compensator valve. Hopefully your mechanic has rebuilt one of these units before but if not, just follow the instructions carefully. One important thing is make sure the compensator valve stem in the proper orientation to the lip. The piston needs to be pushed forward like the photo shows when the valve is installed. That way the stem is behind the lip.
The rubber parts not included are all inside the power piston and control the action. All you will be changing is the leather piston seal and packing. The not included conical spring is what actually supports the compensator valve and returns it to the closed position when brakes are applied. Attach file: (38.64 KB)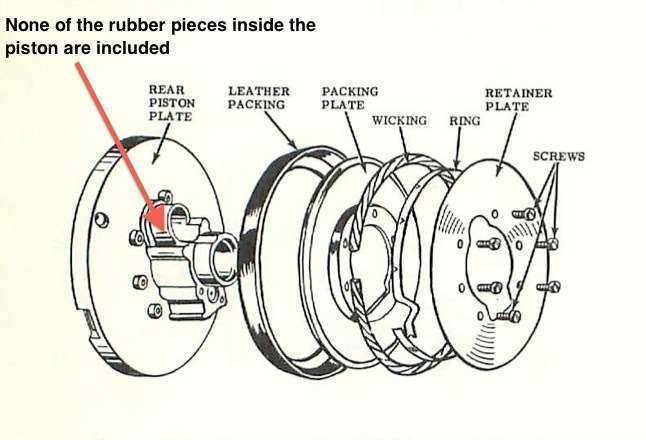 (23.08 KB) (23.08 KB)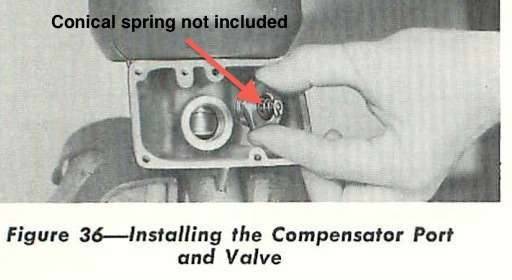
Posted on: 2013/8/19 15:24
|
|||
|
Howard
|
||||
|
||||
|
Re: Easamatic Rebuild Sources
|
||||
|---|---|---|---|---|
|
Home away from home
|
That is great info, HH56!!
I'm wondering: Is the cause for many failures of BTVs this pitting in the casting around the piston seal, perhaps? Further, do you suppose that neglecting to repair this pitting condition when rebuilding could be the cause of many failures after rebuilding? I'm only speculating, but, especially if the brakes are not used for an extended period, moisture might creep in between the casting and the seal, possibly leading to pitting. Also, I would think that the metal around the seal where it meets the casting is of a different metal than the casting. Could there be some chemistry created that leads to pitting? I'm only asking, but this should be considered, I think.
Posted on: 2013/8/19 16:16
|
|||
|
Guy
[b]Not an Expert[/ |
||||
|
||||
|
Re: Easamatic Rebuild Sources
|
||||
|---|---|---|---|---|
|
Home away from home

|
Quote:
Sorry about the delay. A flood of "domestic repairs" has limited my time following threads to my cell phone. The BTV out of the blown engine Patrician was used with the BTV unit out of my Patrician to make one rebuilt using replacement parts sourced from (I think) Max Merritt Packard - possibly Tuscon Packard but MM has gotten the bulk of my business. Howard, For what it's worth, you were mentioning that you've never seen the "bubble" BTV resevior lids on a Packard. Both the BTV unit on my '55 and on the '55 parts Patrician had the bubble lids. I'm not surprised that my '55 has what I now know to be an after-market lit even though it has had long periods of hibernation. I am a little surprised about the '55 parts Patrician having it seeing how it "died" in it's 11th year. I have no way of knowing how/if that car was serviced in the first decade. But to have this bubble top lid tells me that it received at least one BTV rebuild. What I really would like to know is if that lid came from a rebuild done by a Packard Dealer or an independent I check all fluid levels once a month and do the oil can bit on the parts that have drip cups. The brake fluid level in my '55s BTV hasn't gone down since the entire brake system was rebuilt in '12. Forgive my memory but some one here recommended a brake system flush every two years. I plan on following that advise so my Patrician will get a system flush in the Spring of next year. For the record, I haven't had any brake problems since the rebuild other than a air leak in the vacuum side. I discovered that when the car was shutting down at odd intervals and finding NO reserve power assist immediate the shut down. Still trying to find the leak. I just prey it is in something other than the BTV.
Posted on: 2013/8/20 14:07
|
|||
|
1951 200 Deluxe Touring Sedan
1951 200 Deluxe Touring Sedan (parts ?) 1951 Patrician Touring Sedan 1955 Patrician Touring Sedan |
||||
|
||||
|
Re: Easamatic Rebuild Sources
|
||||
|---|---|---|---|---|
|
Home away from home
|
Jim,
I was not the one who posted on the "bubble lid." I don't remember who brought it up, offhand, but it interested me because I was not sure if I had that lid or not. If it refers to raised portions of the reservoir cover that can be seen from outside, I think I might have one. I thought that they might provide channels for fluid flow, especially clearance for the relief port, but when I looked on the inside of the lid, I couldn't make out any evidence that the "bubbles". It looked to me like they were just cast into the outside of the cover. As for your vacuum leak, I'd sure check the hoses carefully, if you haven't already. The ends of all of mine are hard and cracking. I removed one end from the manifold adaptor and the end just fell apart. I cut it about half an inch shorter to get to some reasonably good rubber. I'm amazed I don't have leaks, given that even this "good" part of the hose was not exactly pliable. I'm tempted to get them all replaced. You know, some of these failures we blame on the BTV come down to just plain old age and lack of maintenance, I think. It's remarkable to me that the system holds up as well as it does over such long periods of use and disuse. If it just didn't have the habit of going out completely and suddenly, I would give it more credit. I blame those catastrophic failures on engineering deficits. No brake booster should be able to vacuum the MC dry like that. Attach file: (119.45 KB)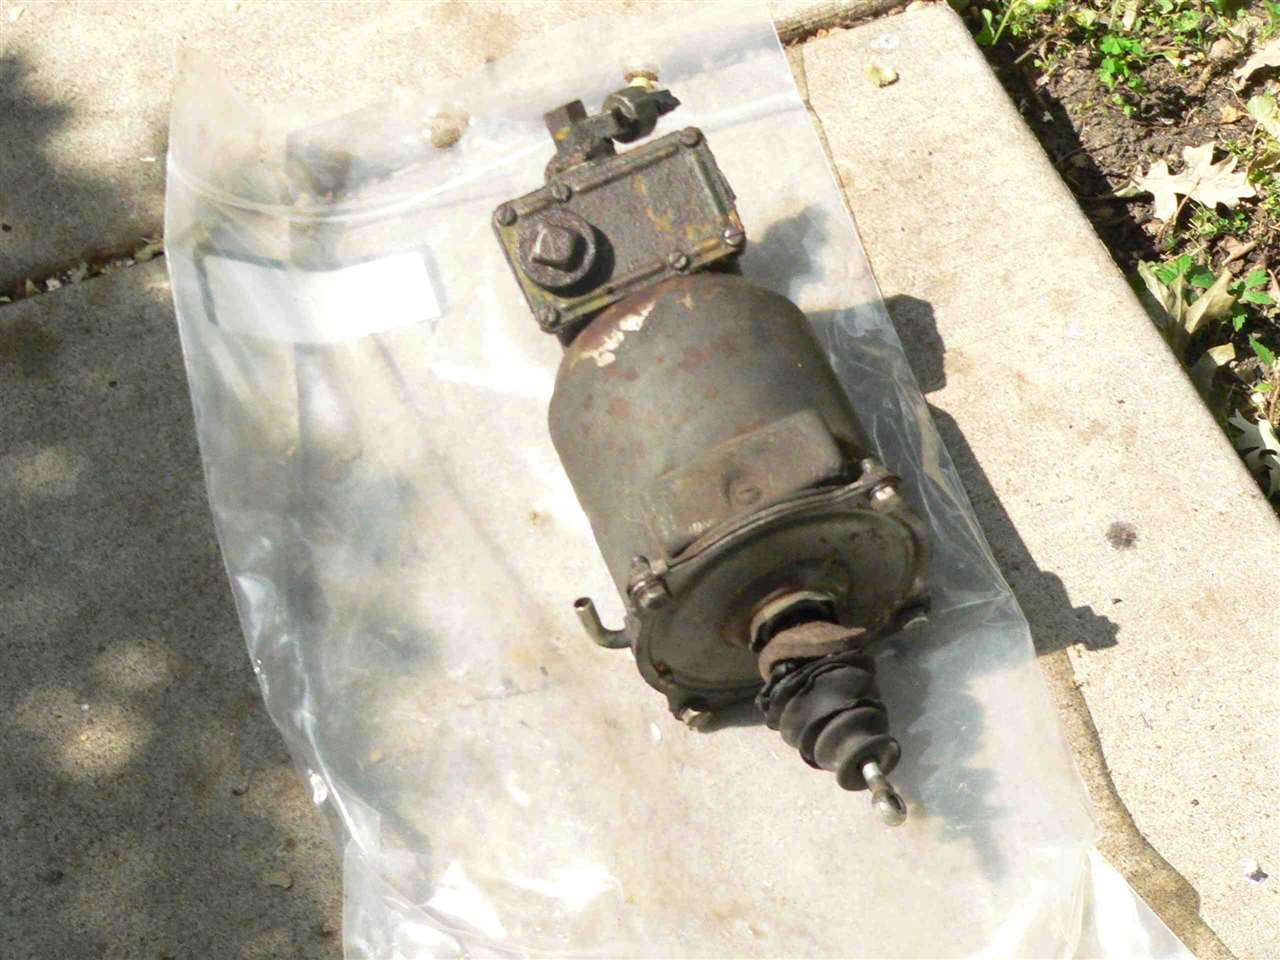
Posted on: 2013/8/20 15:12
|
|||
|
Guy
[b]Not an Expert[/ |
||||
|
||||


