|
Re: The Duchess Project: 1940 Super 8 Convertible Sedan
|
||||
|---|---|---|---|---|
|
Home away from home

|
RUNNINGBOARDS: Complete at last with the mounting of the left side. Top moulding strips were cleaned with a wire wheel on the underside and the tracks were cleaned out with a small screw driver. Then the top side polished the stainless with a buffing wheel. Any little dents where minimized with a small screwdriver with a rounded blade. The side moulding uses 10 or 11 wing clips that really resist going into the tracks. They went in finally and the strip looks great. Under-runningboard antenna re-mounted. It all looks very together.
TRANSMISSION: Attach file:  (47.59 KB) (47.59 KB) (54.45 KB) (54.45 KB)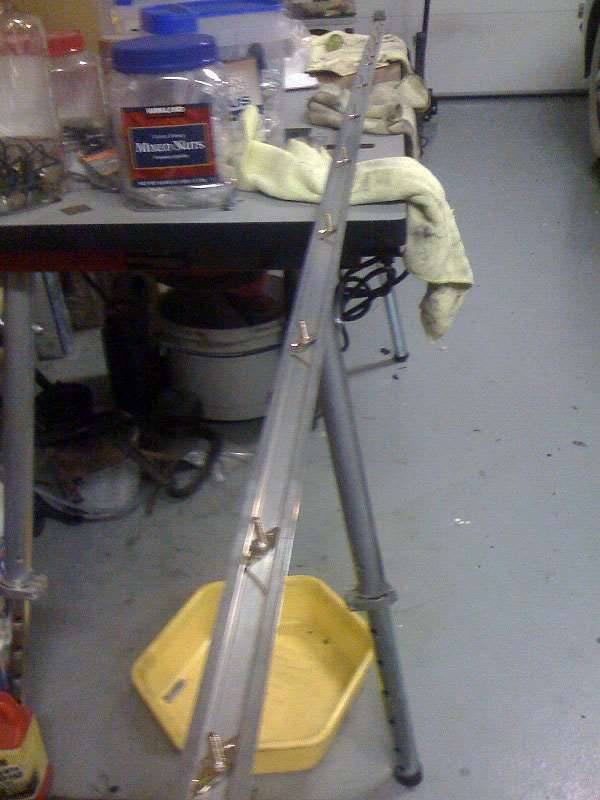 (45.82 KB) (45.82 KB)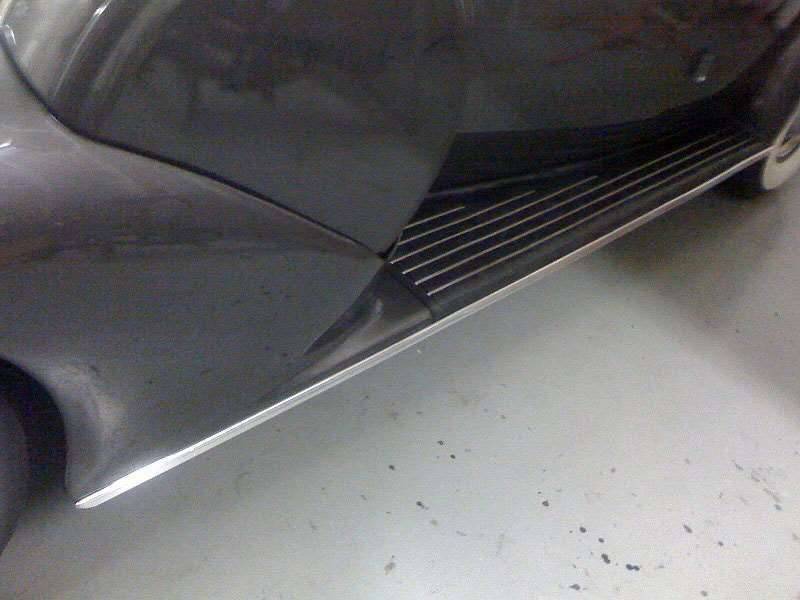
Posted on: 2011/9/17 14:27
|
|||
|
||||
|
Re: 1929 626 Rumble seat coupe
|
||||
|---|---|---|---|---|
|
Home away from home
|
West is usually right. If so, this may be the link to the correct model, there are other models listed for 1929. So start with NADA to get a range.
http://www.nadaguides.com/Classic-Cars/1929/Packard/6-40-Custom/2-Door-Coupe-2-To-4-Passenger/Values The low is usually too low and the high too high, but at least you get an idea for insurance purposes. You have to start somewhere if no one wants to hazard a guess. And while the detailed condition and history of a car like this is good to know, assume you'll want to go though it anyway. Do you like it? What is it worth to you? Can you buy it for that? Attach file: (27.55 KB)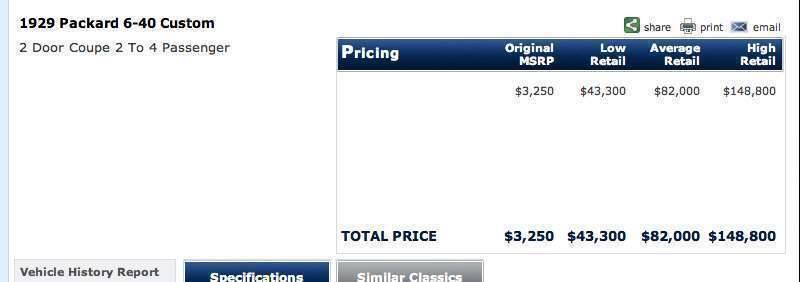
Posted on: 2011/9/14 8:32
|
|||
|
||||
|
Re: Wade's Workshop
|
||||
|---|---|---|---|---|
|
Home away from home
|
A man and his hoist. I'm laughing, overcome with envy.
Joe
Posted on: 2011/9/14 8:07
|
|||
|
||||
|
Re: The Duchess Project: 1940 Super 8 Convertible Sedan
|
||||
|---|---|---|---|---|
|
Home away from home
|
RUNNING BOARDS: Masked and painted the undersides with DAR 9000 black epoxy paint with flattener/hardener added.
I trimmed off the excess rubber at the rear and added the edging piece and trimmed that. Then made about 20 4-40 screws from nails, cutting the nails with the dremel and threading them. I didn't file the heads first because I needed to grip the head of the nail to thread it and the filed head would be too thin. Then ground the heads and a bit of the edges until the new screw would slide in where the clips go. I used 3 screws and 2-3 clips per strip to fasten them to the running board. I used a 5/32 bit to drill holes in the rubber troughs about ever 4-5 "pillows." Fastening the side moulding was fairly simple. Follow the instructions that came with the new strips... clamp it in place. I poked an awl through the existing mounting holes in the metal running board, pushed through the new rubber and scratched the inside of the side moulding. Then mounted each wing clip to line up with those scratches, pushed the mounting screws through the rubber and metal holes, added flat washers, lock washers and nuts. Each of the strips took time to clean. I'd done some earlier. I think it came out well, so closing in on completion with one more step done. Attach file: (41.26 KB)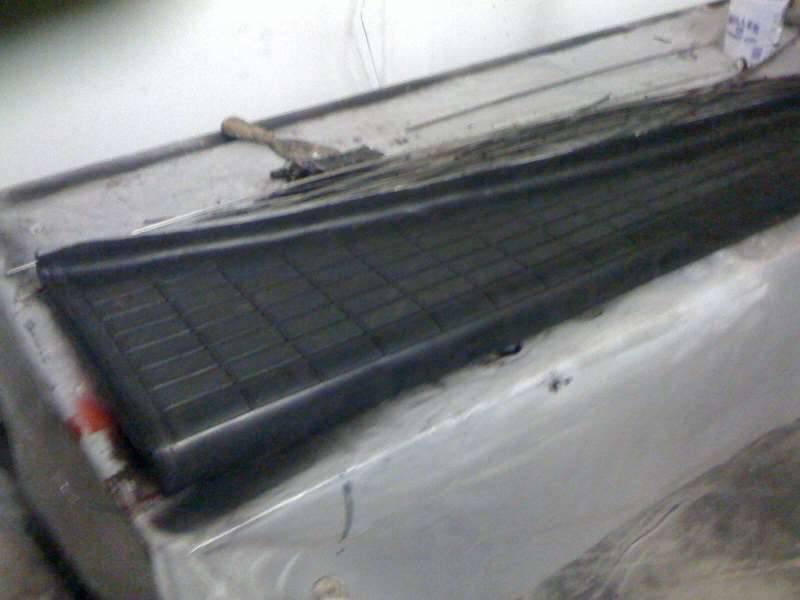 (46.03 KB) (46.03 KB)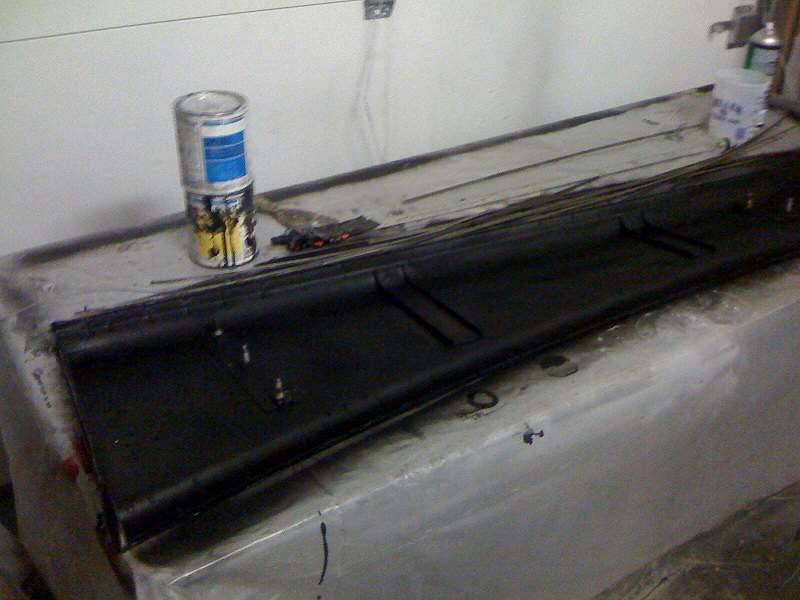 (52.37 KB) (52.37 KB)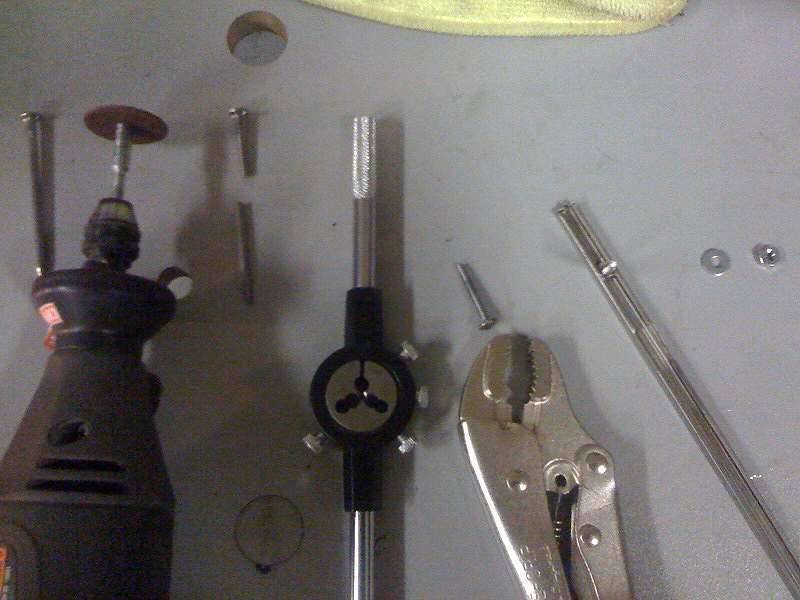 (37.45 KB) (37.45 KB) (66.06 KB) (66.06 KB)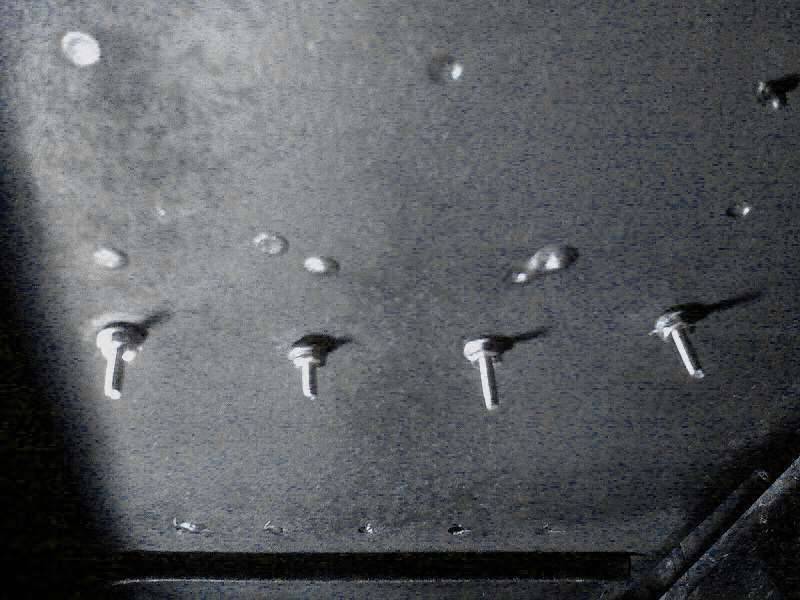 (46.28 KB) (46.28 KB)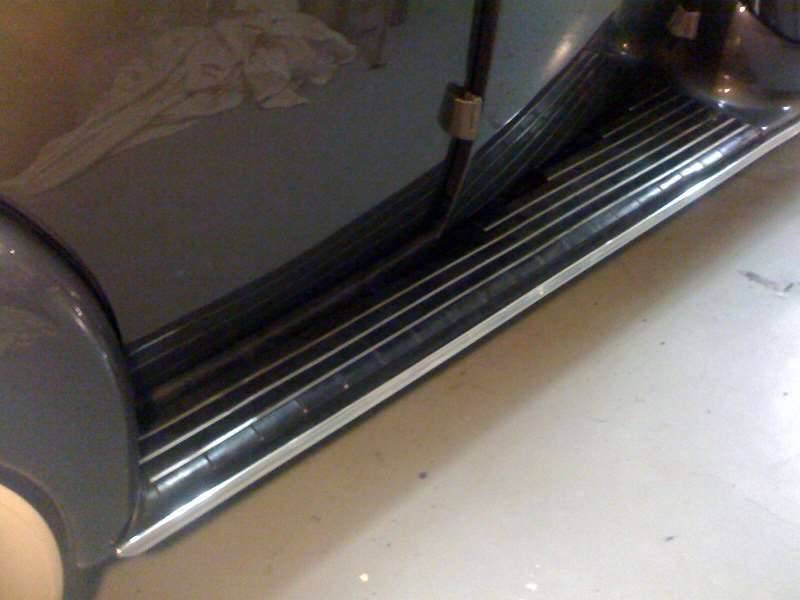 (44.77 KB) (44.77 KB)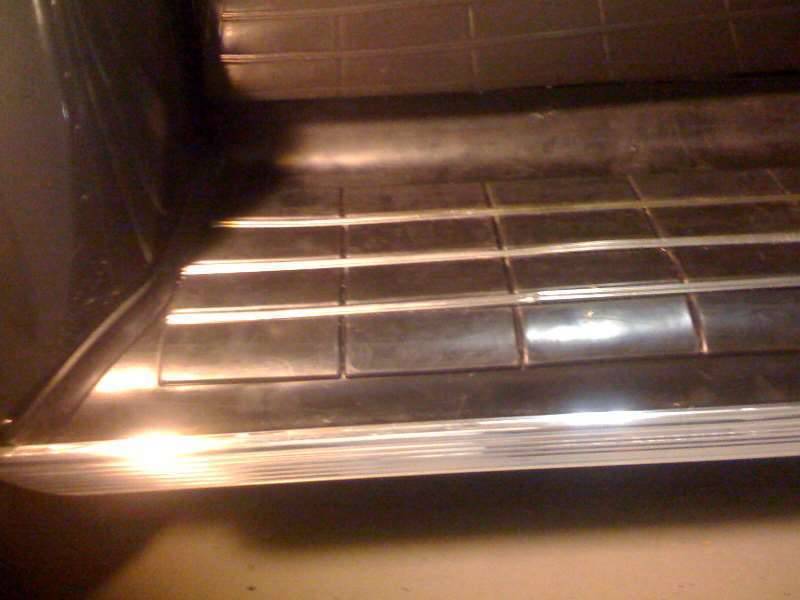
Posted on: 2011/9/14 0:16
|
|||
|
||||
|
Re: 1940 Manual shift
|
||||
|---|---|---|---|---|
|
Home away from home
|
Thanks, Brian and BDeB, this helps tremendously. I'll open it up and take some photos. Those photos are really helpful. The drawings in the repair manual articles make a lot more sense now. (At the moment working on running boards.)
Thanks very much, Joe
Posted on: 2011/9/13 11:55
|
|||
|
||||
|
Re: 1940 Manual shift
|
||||
|---|---|---|---|---|
|
Home away from home
|
I was/am having problems shifting. Using the 35-41 repair manual and the 38-39 repair manual, I tightened up my linkage. The manual says almost never are the shift level on the steering column un the engine compartment the problem. Stop returning them to the factory! Get the slop out of the linkage.
It shifts much more solidly now, BUT at a stop sign where the street is on an incline, forward or back, in neutral, if the car rolls a hair, it locks up. Locks completely, NOT in gear. Letting out the clutch just drags the rpms down and I haven't let it out all the way. If by wiggling the gear shift lever I can get it into ANY gear,once the car rolls a bit, I can let out the clutch and the problem is gone. Then I can get into any gear and go. The manuals discuss a loose interlock block. I finally figured out where it is located. I pulled back the front carpet, took out the plate over the transmission, loosened the 6 bolts on the cover. The cover is loose, but the forks are attached. I loosened the bolt holding each fork on each shaft, but they don't come off (I tried prying them away with a screwdriver), the lid still wouldn't come off. I know this is basic stuff, but it's new to me. I tried to tighten the interlock block from the outside by turning the head of the bolt, but I think it's designed to spin. You have to remove the cover, gain access to the internal end of the bolt with the nut and tighten that. The manual says any gas station mechanic would know to tighten the interlock block...if he can get to it. Should I be ready to take this to a transmission shop? Will they know what to do?
Posted on: 2011/9/12 18:36
|
|||
|
||||
|
Re: Removing Steering Column--1941 Packard One-Twenty
|
||||
|---|---|---|---|---|
|
Home away from home
|
Sam, Agreed. Follow advice of sages. (However, I used a small puller, like a wheel puller, to get the arm of the steering gear without hammering. I know hammers are the tool of choice for some. It's my last resort and by that time I'm ready to use it improperly.)
Mostly the posts starting on Page 2, #15 https://packardinfo.com/xoops/html/modules/newbb/viewtopic.php?topic_id=5878&viewmode=flat&order=ASC&type=&mode=0&start=10 and continuing to Page 3-#27 of The Duchess Project have pictures of disassembling the steering column for cleaning and painting, and Replacing the column once that's done. I obsessed protecting my paint job and the steering box is wrapped up like a rolled roast going through the hole in the floorboard.
Posted on: 2011/9/12 17:19
|
|||
|
||||
|
Re: The Duchess Project: 1940 Super 8 Convertible Sedan
|
||||
|---|---|---|---|---|
|
Home away from home
|
RUNNINGBOARDS: Today my son John and I applied the rubber to the metal running boards. We did it front to back aligning the street side's lowest edge with the edge of the rubber mat. We brushed on DAP Weldwood Contact Cement Neopreme Rubber Formula from Home Depot to both surfaces. Waited about 10 minutes and holding the mat up off the surface, fitted the bottom edge, then rolled the rest in place up through the curve closest to the car.
Counting my fiddling for pictures of the originals, spread of vegetables and dip, cheese, salami and margaritas compliments of and to my daughter-in-law Pam,..about 3 and half hours to get this part done. TRANSMISSION: I disconnected, cleaned and reconnected and tightened up the linkage by the manual. It goes solidly into gear now. But one major problem, stopping on an incline up or down, if the car rolls while I am in neutral, the gears can lock. I was reading about a connecting block in or on the transmission that has to be tight. If it's stripped, the bolt should be replace with a 3/8" bolt. I can't tell exactly where this is, but will investigate further. It hold the transmission together, or the forks, something. I hoping that's the problem. OVERDRIVE: I removed the solenoid and cleaned the contacts and replaced it. I have not tested it yet, but the repair manual says this is usually the problem if everything else (clicking, light on dash) works. Attach file: (64.76 KB)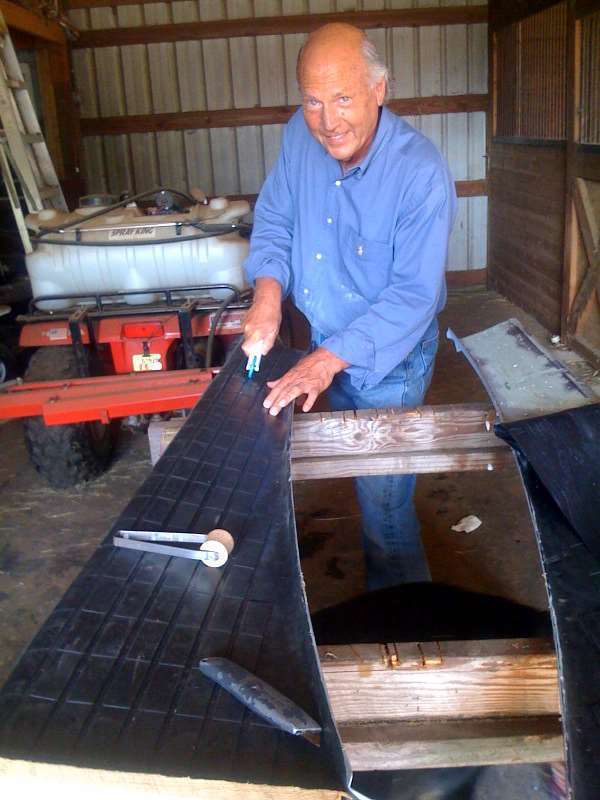 (58.83 KB) (58.83 KB)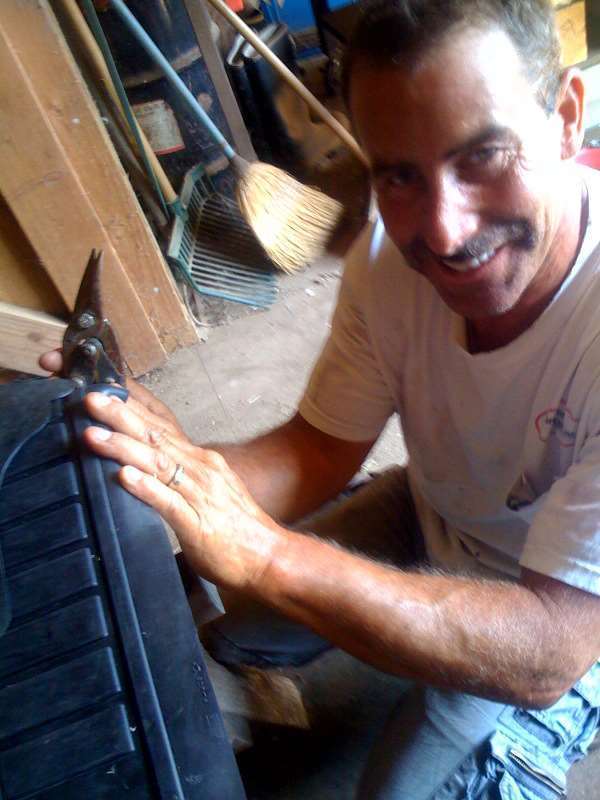 (63.59 KB) (63.59 KB)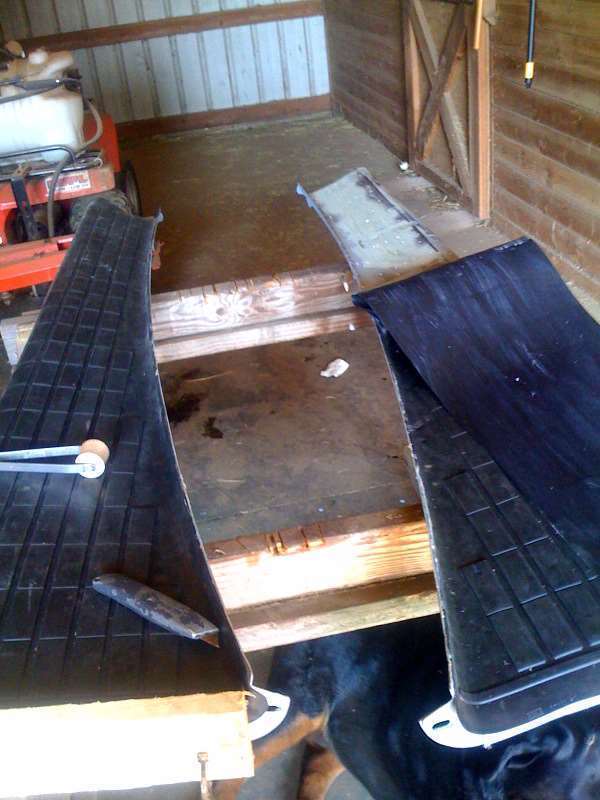
Posted on: 2011/9/10 20:52
|
|||
|
||||
|
Re: Convt Hold-down Footman Loops
|
||||
|---|---|---|---|---|
|
Home away from home
|
Thanks much, flackmaster. Will install them there.
Makes sense because they are much more accessible in the top box. While you're here...Acorn nuts on the interior side? Or nuts hidden under the side panel? Coarse thread sheetmetal screws with blunt tips? Inquiring minds want to know.
Posted on: 2011/9/6 13:18
|
|||
|
||||
|
Re: White wall cleaning/brightening...
|
||||
|---|---|---|---|---|
|
Home away from home
|
Westley's Bleche White..wet the rim and the tire. Spray on the white part of the tire. Rub or brush it in (no SOS or wire) and when the marks are gone, which is almost instantaneous, rinse the entire wheel very well.
Posted on: 2011/9/6 12:49
|
|||
|
||||


