|
Re: 1954 Packard Clipper Super Radiator hoses
|
||||
|---|---|---|---|---|
|
Home away from home

|
Ross,
Thanks for the NAPA hose info. I just finished rebuilding the generator and replacing the regulator on my '51 200 Deluxe. While I was at I replaced the fan belt and noticed that the hose between the pump and the auto cooler was questionable. Thanks to you, all it took was a quick call to Napa to check that they had the hoses in stock, which they did. It made for a easy job and all is up and running. I want to also thank Jason at AER for the parts and his assistance on the generator and regulator.
Posted on: 2014/5/24 17:43
|
|||
|
||||
|
Re: Our 1932 901
|
||||
|---|---|---|---|---|
|
Home away from home
|
Last weekend I finished realigning the doors after moving the body forward and can now proceed. Raising the radiator helped on the gap at the front on the top two pieces, but hurt elsewhere. Also, it appears that the radiator shell is back as far as possible so there's nothing to be gained there. Therefore, I set about working on other things while I investigate the hood gap problem some more.
In need of shoulder rivets for the 8 hood side doors (8 with a long shoulder and 8 with a short shoulder) I searched and found a source for them at $12.50 each. With an extra one of each size for insurance, this would have been a $225.00 hit for several ounces of brass. Therefore, I thought maybe a shoulder screw would work and found some in stainless for $1.00 each, but didn't like the look. So I set about making shoulder rivets myself on a lathe. I bought a short piece of 5/16" brass rod. Turned a prototype of each and then adjusted my measurements estimates. The first 2 or so took about 15 to 20 minutes each while the final ones were clocking in at less than 10. I made the 8 brackets that hold the locking mechanism on the side doors from 16 gauge steel as the ones I had were fairly well rusted and I only had enough for one side.. To form the "U" bend in the bracket I made a die from a piece of 5/8" thick aluminum flat bar by drilling a 3/8' hole right next to the side of the bar. The hole was opened up so it was "U" shaped (see photo). The holes on both sides of the "U" are guides for drilling the holes in the bracket. One of the photos shows the bend being formed using the die and pressing a 1/4" rod into the slot with a vice. Attach file:  (108.27 KB) (108.27 KB)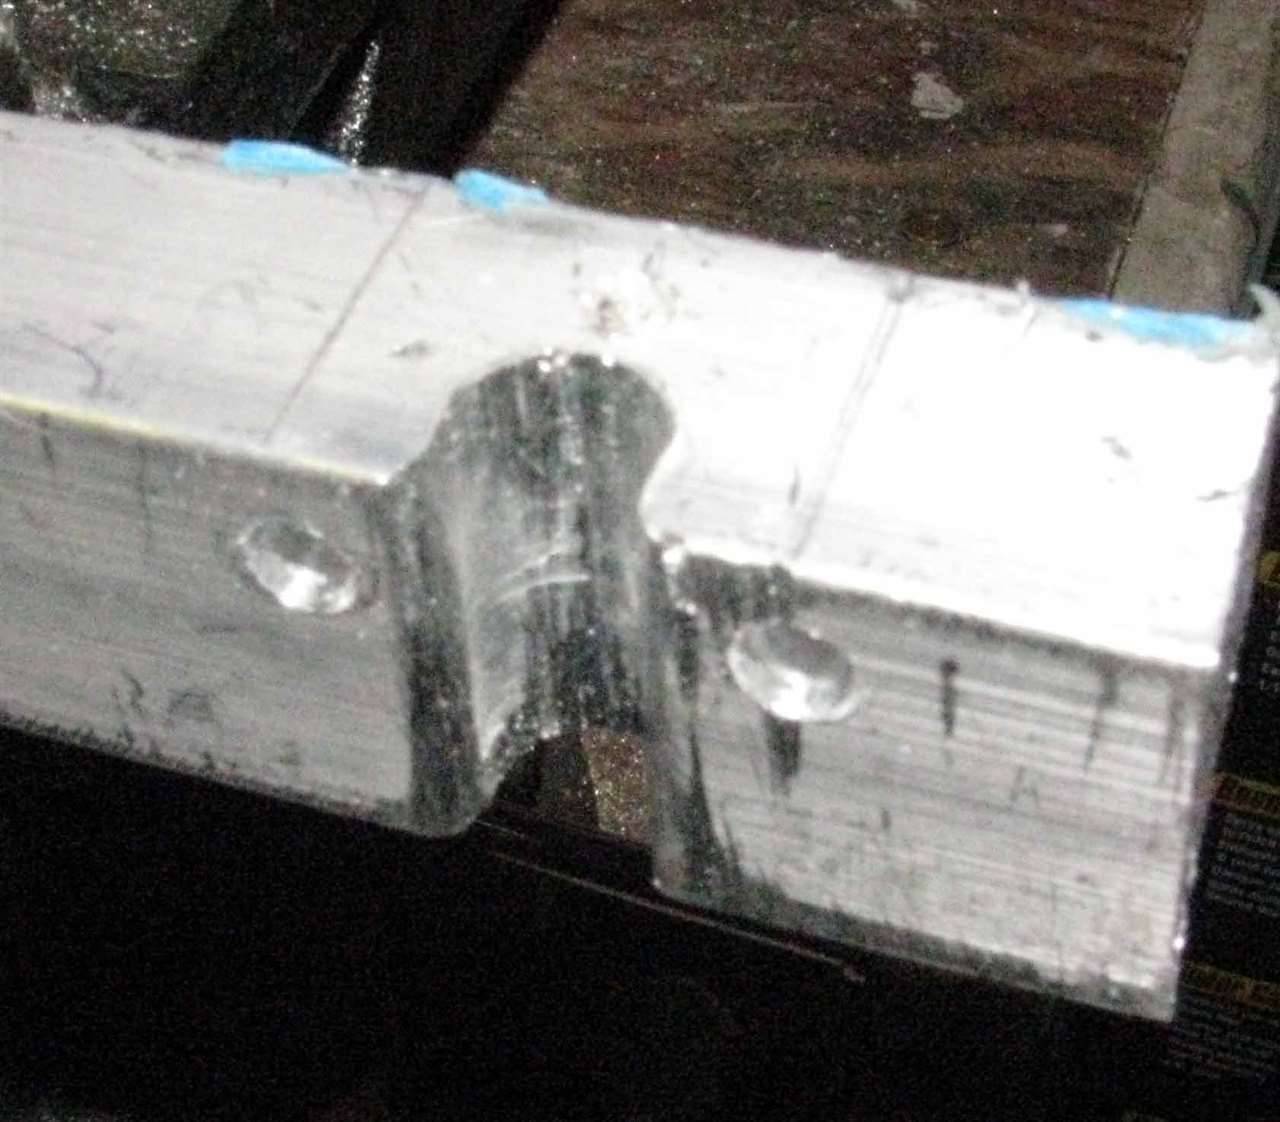 (108.70 KB) (108.70 KB)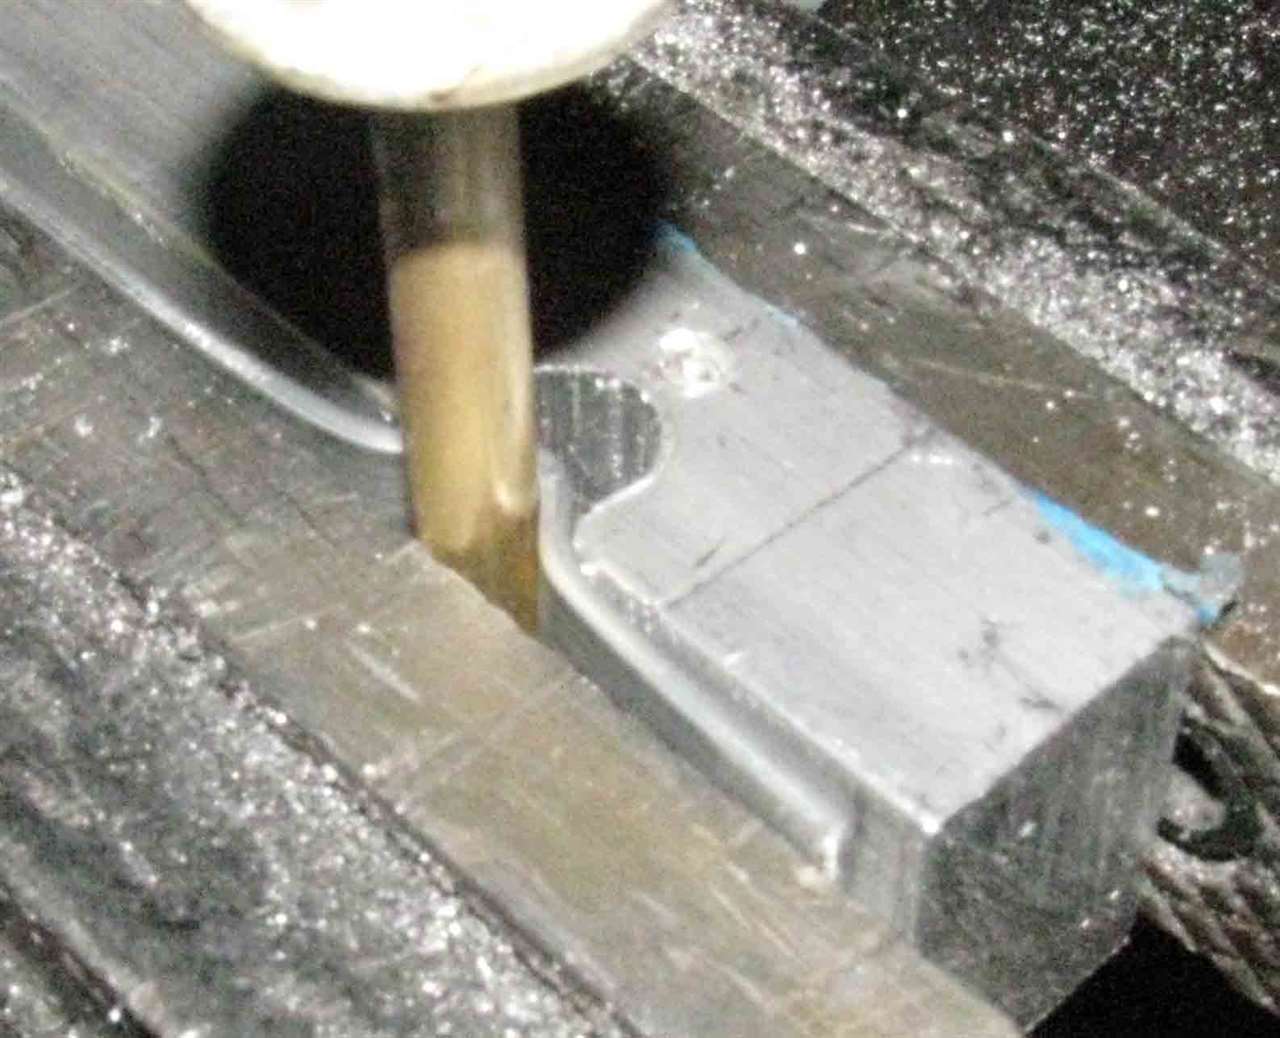 (148.51 KB) (148.51 KB)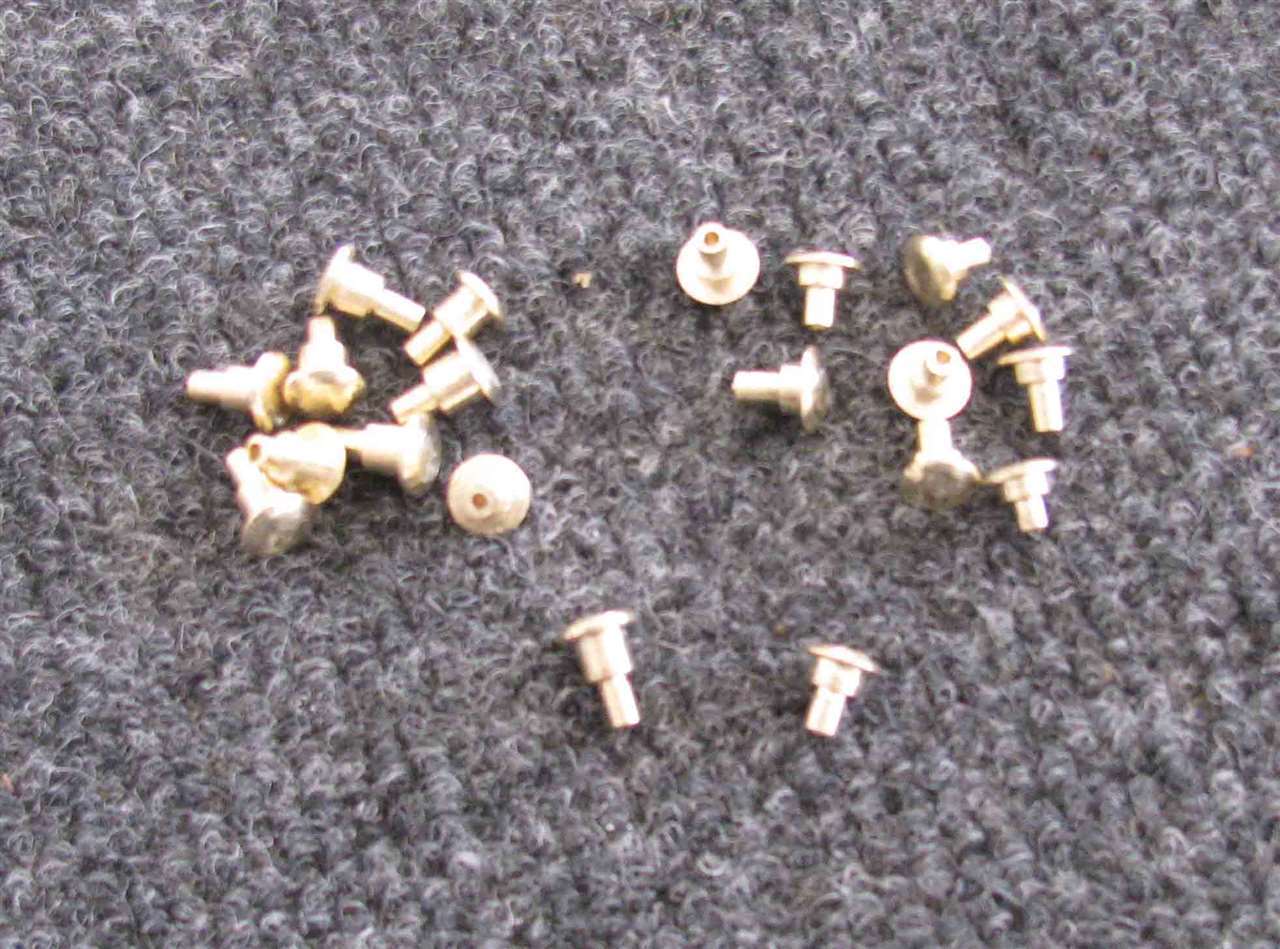
Posted on: 2014/5/12 18:18
|
|||
|
||||
|
Re: 8 volt batteries?
|
||||
|---|---|---|---|---|
|
Home away from home
|
Not to semi-steal this thread, but it did get me off my butt as I've been meaning to rebuild the generator on my '51 for at least 6 months now. The car has been charging in a hap hazarded manner for the last year, but the rebuild was never at the top of the list.
When I saw AER & Jason names in this blog I knew the time had come, so I ordered an armature, bearings, and brushes for the beast from him. After receiving the parts I torn into the project. Got it all apart and cleaned up for paint, but had issues trying to remove the rear, pressed in bearing. So I called AER and Jason provided some helpful hints. Therefore and wanting to give credit where it is due, I want to pass on my THANKS to everyone who has provided input on this thread and to Jason!
Posted on: 2014/5/9 19:10
|
|||
|
||||
|
Re: Trunk Rack on a '32 901.
|
||||
|---|---|---|---|---|
|
Home away from home
|
Bruce
Thanks for your input & thoughts. The person that I have been using has saved some pot metal parts for me that were in real bad shape. While I cringe at the price the quality has been very good. By the chrome bars, is it correct to assume that you are referring to the 5 stainless steel (SS) bar that are parallel to the ground? If so, mine are SS and have never been chromed. Therefore, i was assuming that to chrome plate them would be incorrect, but certainly nicer looking. Do you know where I can find the little clips that hold the bards on and the medallion that goes on the rack.
Posted on: 2014/5/8 19:19
|
|||
|
||||
|
Re: Trunk Rack on a '32 901.
|
||||
|---|---|---|---|---|
|
Home away from home
|
My chrome man picked up the two trunk brace joint assemblies last week. I did not get them apart, but went with O-D's suggestion about asking about having them plated while they were still together. When the plater does the copper plating, he'll do that with them open in order to minimize the amount of copper being plated inside the joint area. I should see them in a couple of weeks.
I also included for chrome plating both covers for the tool and battery boxes. Like they say it's only money and you can't take it with you.
Posted on: 2014/5/7 8:13
|
|||
|
||||
|
Re: Ignition System Problems
|
||||
|---|---|---|---|---|
|
Home away from home
|
Could the whining noise be your electric fuel pump? The problem is either fuel or electrical. After it quits do the 2 things below;
1) with the air cleaner removed look inside the carburetor & work the throttle - you should see gas being injected into the intake manifold. If not then your problem is either the pump (measure gas pressure at carburetor) or the carburetor. 2) remove a spark plug wire and check to see if you have spark while attempting to start the car. If there is none then look for a loose or bad connection and frayed wires shorting out. I would clean the distributor first and make sure that I had a good battery before proceeding with anything. Good Luck!
Posted on: 2014/5/2 8:31
|
|||
|
||||
|
Re: Trunk Rack on a '32 901.
|
||||
|---|---|---|---|---|
|
Home away from home
|
O-D,
Thanks for the suggestions. I'll check with him the next time I see him.
Posted on: 2014/4/25 7:48
|
|||
|
||||
|
Re: 1941 Packard 110 - Rewiring and 12 Volt Conversion Questions
|
||||
|---|---|---|---|---|
|
Home away from home
|
Twelve volt systems allow the manufacture to use smaller gauge wire, which represents a cost savings. Also, as already mentioned 12 v provides more power for cranking.
If your car turns over slow the suggestion, as mentioned, rebuilding the starter is a good suggestion. My '51 was a bear to start after it sat for a week or two and required a squirt of starting fluid. I traced the cause to lack of gas in the carburetor. The problem went a away when the electric fuel pump failed and was replaced. The new pump provided more gas when the key was turned on. Not sure where the gas in the carb. went when the car sat for awhile - maybe an indicator that the carb. needs to be rebuilt. By the way the '51 came with an electric pump when I bought it. I may pull the mechanical one when I get the time and rebuild it and return the car to a more original look. However, the '32 that I'm restoring occupies most of my garage time.
Posted on: 2014/4/24 8:37
|
|||
|
||||
|
Trunk Rack on a '32 901.
|
||||
|---|---|---|---|---|
|
Home away from home
|
I have a few questions about the trunk rack. Both trunk rack brace joint assemblies need to be chrome plated. I tried to push the pins out using a vice but ran into more resistance than I thought should be required. Has anyone out there done before and are there any thoughts on how best to do it (or maybe not do it)?
Also, the 5 stainless steel trim pieces have a few dents and two have areas where they have been partially crushed. It appears that I should be able to "un-dent and un crush" them. At that point, they should buff and polish up nicely. Another question that I have is what type of connector it used to install the trim pieces and are they available somewhere?
Posted on: 2014/4/24 8:17
|
|||
|
||||
|
Re: Our 1932 901
|
||||
|---|---|---|---|---|
|
Home away from home
|
I unbolted the body and moved it forwards as far as possible. I gained maybe a 1/8 of an inch, but not enough that I would feel comfortable trimming the top panels. I'm concerned that the blades from the fan would be too close to the radiator.
Next I think that I'll work with the shell to see if it would be possible to move it towards the rea of the in order to gain some additional clearance for the fan blades, which would allow me to trim the top two hood pieces. In the interim, I've been working on the trunk rack and the right & left frame brackets. They needed priming, body filler to take care of a few areas that were pitted from. The parts were then sprayed with base coat and then 3 coats of clear. The rack turned out nice looking, but I'm not happy with the right bracket, a run that did not look good after color sanding. So I'll give them a light sanding with 1200 grit Wet Or Dry paper and re-shoot the clear. Both trunk rack brace joint assemblies need to be chrome plated and I could use some input. I tried to push the pin out using a vice but ran into more resistance than I thought would be required. Has anyone out there done before and are there any thoughts on how best to do it (or maybe not do it)? Also, the 5 stainless steel trim pieces have a few dents and two have areas where they have been partially crushed. It appears that I should be able to "un-dent and un-crush" them. At that point, they should buff and polish up nicely. Another question that I have is what type of connector it used to install the trim pieces and are they available somewhere. Attach file: (59.72 KB) (110.72 KB) (110.72 KB)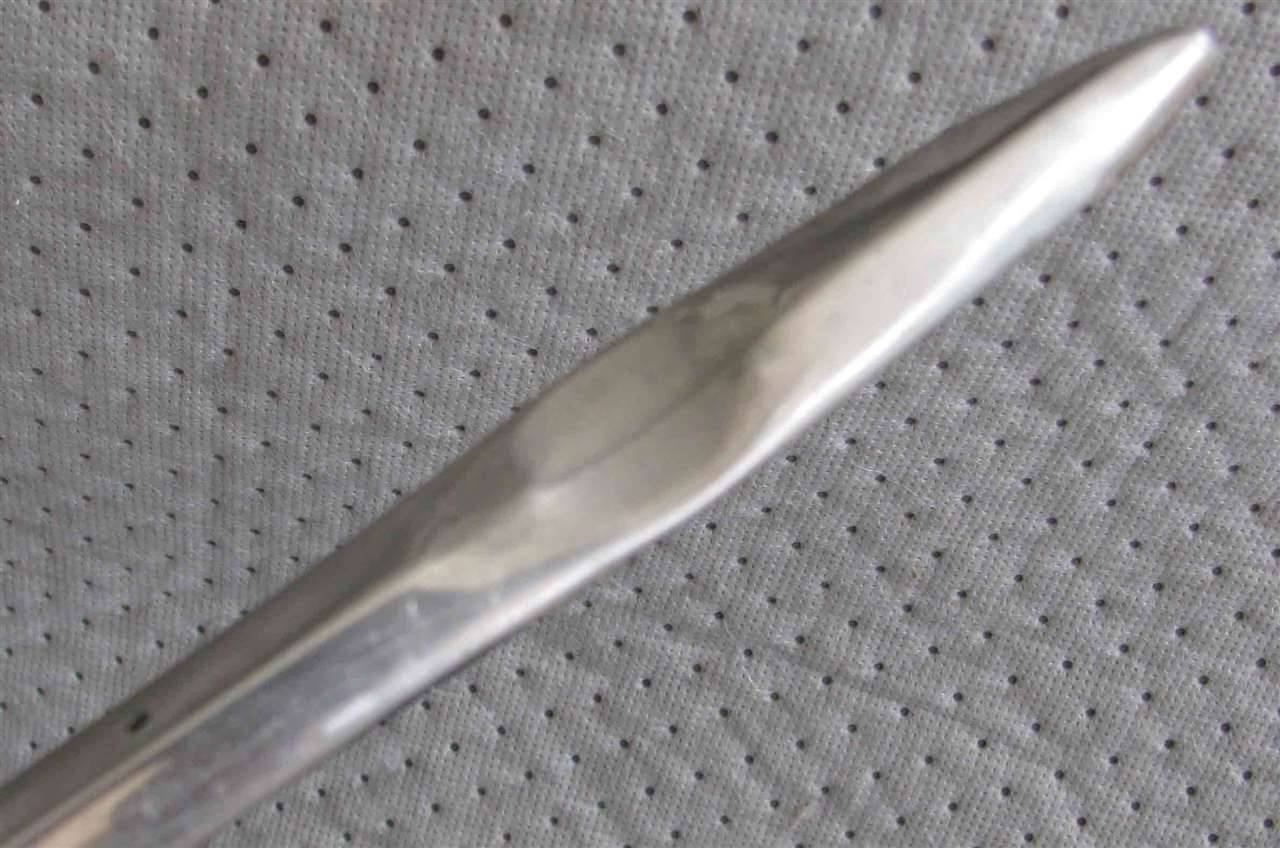
Posted on: 2014/4/21 23:17
|
|||
|
||||


