|
Re: Tim's '55 Patrician
|
||||
|---|---|---|---|---|
|
Forum Ambassador

|
Why not try a Rustoleum spray paint in an Aluminum or zinc color for the bottom?
Posted on: 2012/5/30 13:02
|
|||
|
||||
|
Re: Tim's '55 Patrician
|
||||
|---|---|---|---|---|
|
Home away from home

|
That would probably be a better choice than black, wouldn't it?
Posted on: 2012/5/30 18:04
|
|||
|
PA Patrician (Tim Wile)
[size=x-small][color=000099][font=Georgia][url=https://packardinfo.c |
||||
|
||||
|
Re: Tim's '55 Patrician
|
||||
|---|---|---|---|---|
|
Home away from home

|
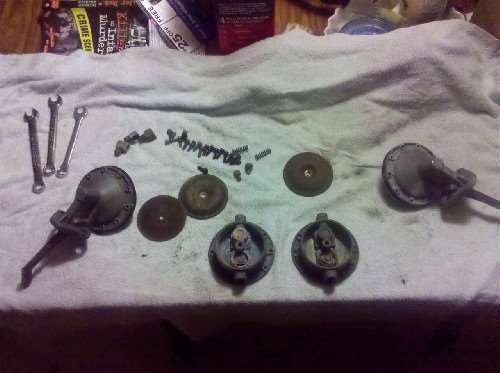
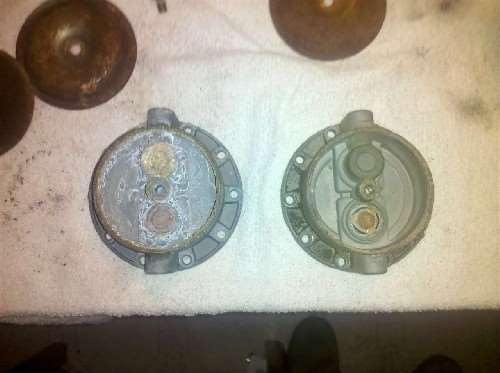
A long overdue update on my attempts to re-build two AC 4299 fuel pumps for use on the Patrician. Having cleaned and soda blasted the fuel pump parts, I thought I was ready for re-assembly with the new parts and that would be that. Wrong.
Either I'm one of the dumbest persons on the planet, can't read directions, or simply don't have enough hands to do the job! I'm currently stuck at the point of getting the new diaphram hooked up to the lever that runs off of the crankshaft on the motor and for the life of me, I can't get the lever hooked into the slot on the diaphram shaft. The diaphram return spring is pretty strong and makes getting the shaft inserted into the slot on the diaphram shaft a real PITA - at least for me. I've been trying on and off now for a few weeks to get those two parts to go together and have been consistently failing miserably. I've read and re-read Big Kev's instructions and blog on re-building the Carter fuel pump for his '54 Clipper and also the instructions that came with the respective re-build kits. I'm sure that there is something basic I'm either missing or doing completely wrong. Perhaps in another life I was smarter and/or more co-ordinated.  
Posted on: 2012/6/28 19:46
|
|||
|
PA Patrician (Tim Wile)
[size=x-small][color=000099][font=Georgia][url=https://packardinfo.c |
||||
|
||||
|
Re: Tim's '55 Patrician
|
||||
|---|---|---|---|---|
|
Forum Ambassador
|
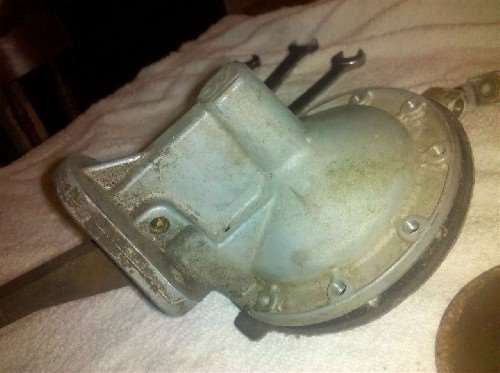
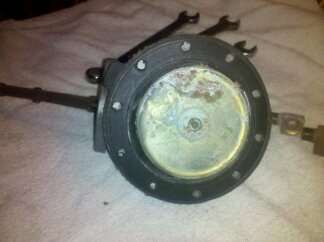
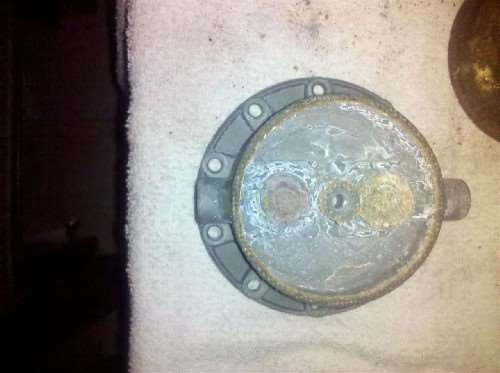
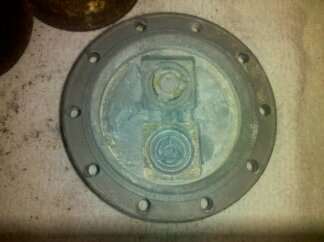
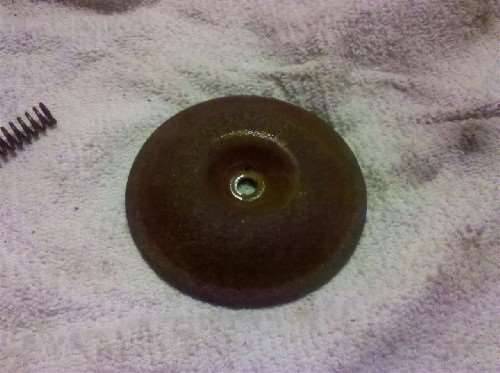
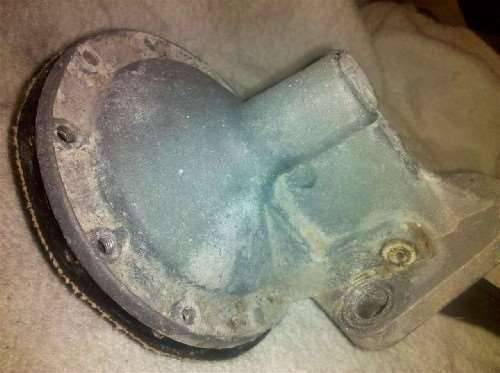
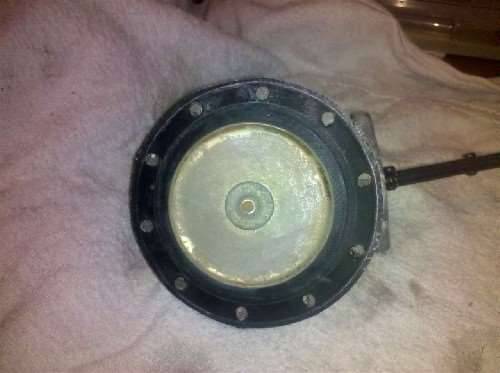
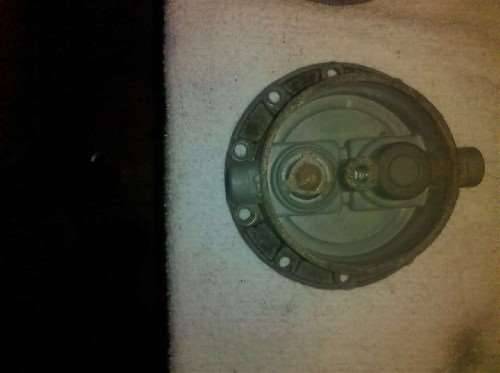
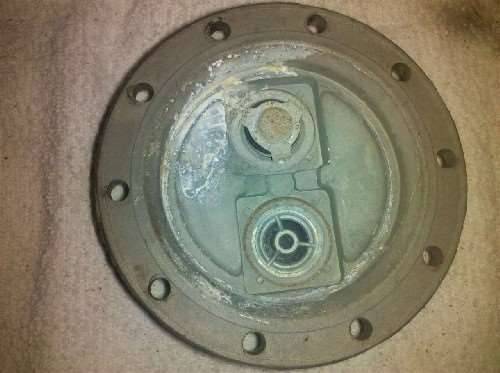
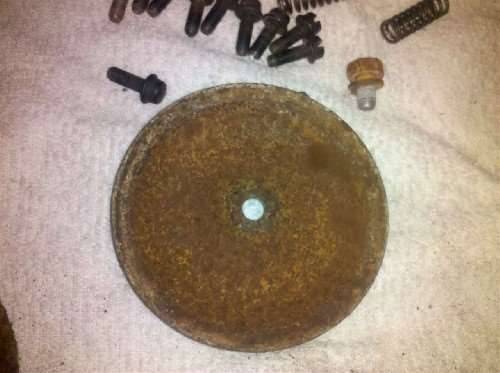
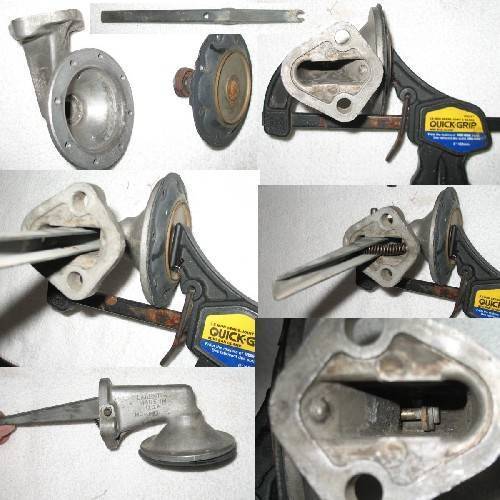
Can't remember what the end of diaphragm looks like on an AC. If maybe similar enough inside to a Carter, something like a clamp to compress the diagram spring and get the stem up might do the trick. Here's photos of an old Carter pump with a stiff diaphragm. Once stem is up inside the housing, the slot in this lever will slide right on and then the lever spring and pin can be inserted.
Posted on: 2012/6/28 20:59
|
|||
|
Howard
|
||||
|
||||
|
Re: Tim's '55 Patrician
|
||||
|---|---|---|---|---|
|
Home away from home

|
Howard, thanks. I finally managed to get the lever into the slot on the post of the diaphram and then managed to get the pivot pin installed on the lever assembly. It wasn't easy and I agree, a clamp would be a nice tool to have to hold the diaphram in place while one tries to get the lever into the slot on the diaphram post. I'll be the first to admit that I am not the most nible when it comes to co-ordination work like this.
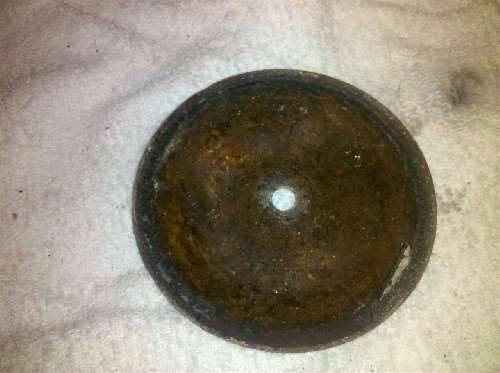
Having gotten the diaphram installed, I then screwed in the bottom portion of the fuel pump. I am still surprised at how tough the springs are in the pump when working the actuating arm/lever. However, I did note that when I was working the actuating arm on the pump, I could feel the noticable suction both ways. Quite a difference from prior to the re-build. The last thing that I have to do is to put the finish coats of paint on the bottom portions of the pump that had some significant rust on them. The Carter pumps don't have this assembly but the AC 4299 ones do. There is a seal that also fits between the bottom part and the vacuum chamber that is a bit over-sized in both re-build kits. I'm guessing that it has to flex into the bottom portion of the fuel pump under the portion of the vacuum chamber that feeds the fuel to the carburetor rather than having to be trimmed to fit. I have to assume that it was over-sized for a reason. The old ones that were removed fit snugly but they might have shrunk when they stiffened up. We'll see when the assembly has been given its final coats of paint and assembled. Then I'll find out if I did it right.  Then, I'll re-assemble the other AC fuel pump I have and then I'll have a re-built spare. Then, I'll re-assemble the other AC fuel pump I have and then I'll have a re-built spare. My wife has given directed some criticism my way for collecting spare parts when I see them come available. However, when dealing with vehicles that have been out of production for more than half a century, I'm pretty confident that having plenty of spares is the way to go. Especially if one can pick them up at a decent price. Speaking of pricey parts, I watched a pair of 1956 factory dash air conditioning vents, which were damaged, sell for $495.00 on eBay. I know that factory air was not a common option in the mid 1950s, but nearly $500.00 for a pair of broken plastic dast air vents?? Am I missing something? 
Posted on: 2012/6/29 12:34
|
|||
|
PA Patrician (Tim Wile)
[size=x-small][color=000099][font=Georgia][url=https://packardinfo.c |
||||
|
||||
|
Re: Tim's '55 Patrician
|
||||
|---|---|---|---|---|
|
Forum Ambassador

|
I have acquired spare parts whenever I could. My lady friend in Calif laughs at me, but they have saved my tuchess (sp?) on many occasions. Tell your lady to just laugh at you - beats getting angry. My basement/garage/living room is full of spare parts. My only problem is remembering where they all are.
 Glad to hear of your progress.
Posted on: 2012/6/29 12:55
|
|||
|
||||
|
Re: Tim's '55 Patrician
|
||||
|---|---|---|---|---|
|
Forum Ambassador
|
Glad you got the pump assembled. You might have to put it in a vise to move the arm and compress the diaphragm spring all the way before screwing the halves together. That way it is sure to provide enough room for the flex needed without stretching the diaphragm too tightly. Wish I could offer a suggestion on the other part.
As to the vents, yes that price surprised me greatly. They are hard to come by and the hinges do break easily though. Guess they are scarce enough and was needed so badly that someone wanting a perfect restoration was willing to pay. I've played on and off (mostly off) to reproduce them. While passable and better than broken ones or nothing at all, don't feel there is much demand or mine are good enough to produce since they still require some finish work after casting.
Posted on: 2012/6/29 13:03
|
|||
|
Howard
|
||||
|
||||
|
Re: Tim's '55 Patrician
|
||||
|---|---|---|---|---|
|
Home away from home

|
Well, ladies and gentlemen, a pretty decent day working on the Patrician. I finished re-building the two (2) AC 4299 fuel pumps so I have one ready to install in the Patrician and a spare if either the Patrician or the 400 need a replacement. Considering I had only a few hours to work on either Packard, that's a pretty decent achievement. (The other part of my day was taken up attending Sea Scout Adult Leader Basic Training).
I disconnected and pulled out the old fuel pump on the Patrician and discovered that it, too, is an AC 4299 fuel pump, so I'll be replacing the old one with the same type. The old one is now soaking in de-greaser before I clean the crud off of it. Now that I've "broken the code" for getting the actuator lever into the slot on the diaphram post, the remainder of the re-building went rather nicely. I'm thinking of getting another re-build kit and re-building the fuel pump that I just took off the Patrician so I'll have two re-built spares that I know won't dissolve using modern fuels. I also picked up two (2) Carter fuel pumps that I will probably try my hand at re-building. Big Kev's guide should come in mighty handy with those. I would have installed one of the re-built fuel pumps on the Patrician this evening but it has gotten late and my ambition is beginning to wane. I'm also going to replace the Carter fuel filter that is between the fuel pump and the carburetor before I try and fire up the Patrician to see if it will draw fuel from its own tank. If it does, then I just need to re-build the BTV master cylinder that I took out of the 400 when I cannibalised the Patrician so that the 400 would have working brakes. Once both the fuel system and brakes are fully operational, the Patrician will then be mobile so I can drop it off if the jackstands for a short while in order to tackle that pesky left exhaust manifold that has been the bane of my existence since I discovered that it was broken. I've had the Patrician now for a little over a year and it is nice to see some progress being made at last on re-building a few of its systems. I know that I can look forward to doing some serious re-wiring of some of the electrical system insofar as only the ammeter guage and speedometer in the guage cluster works, the power windows and seats are inoperative for now, and, of course, the clock doesn't work. I also know that I'm facing quite a bit of body work having spent quite a bit of time under the Patrician working on other things. But, that is all for later once I get the major mechanical systems back online. It don't matter how pretty it looks if it don't run.
Posted on: 2012/6/30 22:02
|
|||
|
PA Patrician (Tim Wile)
[size=x-small][color=000099][font=Georgia][url=https://packardinfo.c |
||||
|
||||
|
Re: Tim's '55 Patrician
|
||||
|---|---|---|---|---|
|
Home away from home

|
The re-built fuel pump has been installed on the Patrician and the fuel lines have been re-connected, which was more of a chore than normal considering the 90 degree plus temperatures we have been experiencing here in southeastern Pennsylvania. I was hoping to crank over the engine to see if the re-built fuel pump finally solved the issues with the Patrician's fuel system. Unfortunately, the battery has run down from the heat and dis-use over the past few months so I'll have to wait until the trickle charger has done its thing to see if the fuel pump can draw fuel from the tank. I'm keeping my fingers crossed while the battery charges.
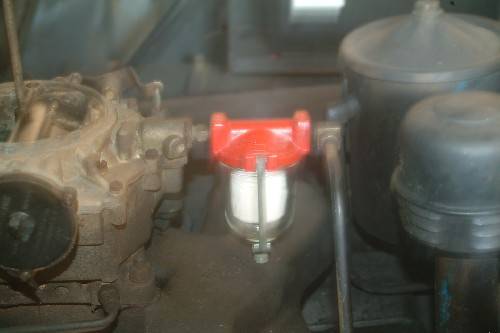
In the meantime, I've set up a work area in the basement where I can try my hand at re-building a Bendix Treadlevac master cylinder. I have a nice re-build kit and I printed off the step-by-step instructions so thoughtfully provided by Ross Miller. For those of you who have forgotten, the Patrician had to donate its re-built master cylinder to the 400 in order to keep the brakes operational. So, now it is the Patrician's turn for a newly-re-built Bendix master cylinder. Seeing that it is nice and cool in my basement, the heat shouldn't be a problem working on the master cylinder. I've attached two rather fuzzy photos of progress on the Patrician. The one shows the brand new Carter fuel filter installed next to the carburetor and the really fuzzy one shows the re-built fuel pump installed on the Patrician's engine.
Posted on: 2012/7/8 16:27
|
|||
|
PA Patrician (Tim Wile)
[size=x-small][color=000099][font=Georgia][url=https://packardinfo.c |
||||
|
||||

 (98.64 KB)