|
Re: 47 Custom carpet question.
|
||||
|---|---|---|---|---|
|
Home away from home
|
Howard,
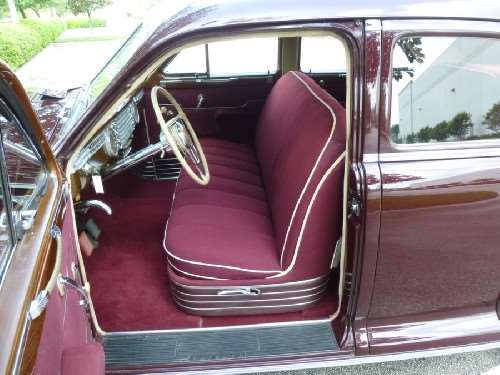
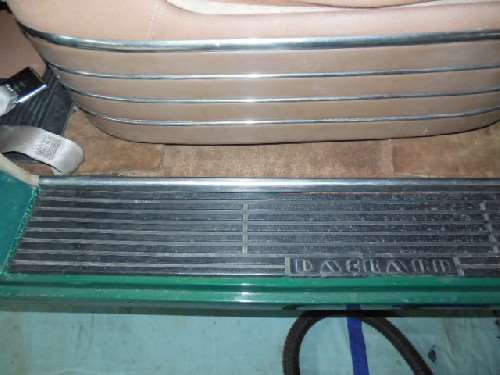
One the sides, the center strip is a separate piece that fits under both the front and back. The overlap is about 2 inches. There is no rubber backing under the strip. It does not appear to ever have been glued and is clearly tucked under the aluminium moulding. Ditto on the shrinkage, mine is about the same. Do you think the front and back pieces just butt against the moulding or are they tucked under? Here's a shot of the pass side. Mark
Posted on: 2014/6/23 13:17
|
|||
|
||||
|
Re: 47 Custom carpet question.
|
||||
|---|---|---|---|---|
|
Forum Ambassador
|
Thanks, Mark. On the tucked under question, on what's left of my pieces I think the carpet on the mat is rolled around for a finished edge and just butts up snugly to the molding. There appears to be enough room under the trim for that single layer of carpet in the middle but don't think the rubber mat with the carpet attached can fit.
Can't tell for sure on the kickpanel -- a couple of photos looks like it butts up to the bottom of the panels but unless my panels have shrunk some, it would easily go under. The way it is cut, if I pull it to one side against the sill, it looks to have about 1" before it reaches the sheet metal so thinking it has shrunk but does butt against the panel. The back piece is another unknown. I think it fits under the rear seat edge & up against the floor retainers, butts up against the ledge seat sits on and again to the sill trim. If it doesn't go under the seat edge then it has really shrunk. No matter what, mine will have to go under because of the AC return air. Haven't decided if the seat will be raised slightly for the return air path or if I will try and fit a couple of the square heater grills in the seat base. Where it stops in relation to the front seat is in the air. There are two notches to fit around something under the seat. They are a good 6 inches away from the seat tracks. Guess I will have to dig the seat frame out and try to see what is under there.
Posted on: 2014/6/23 20:56
|
|||
|
Howard
|
||||
|
||||
|
Re: 47 Custom carpet question.
|
||||
|---|---|---|---|---|
|
Home away from home
|
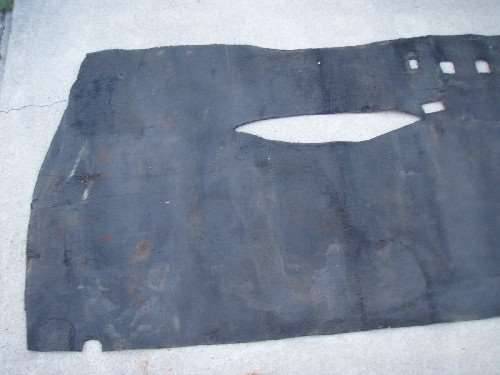
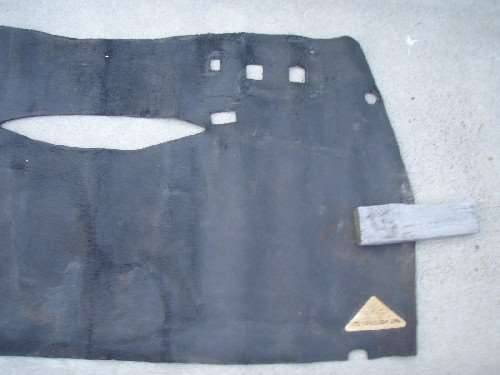
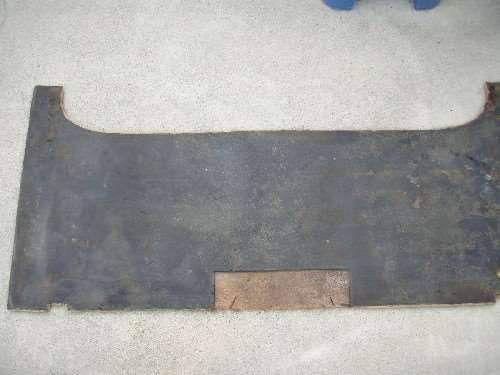
I dug out some old 22nd Series Custom 8 carpet that was stashed away in the attic of my garage.
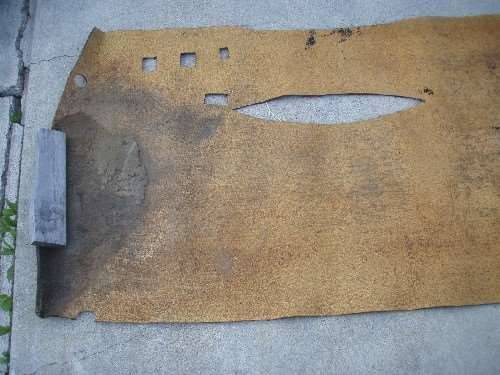
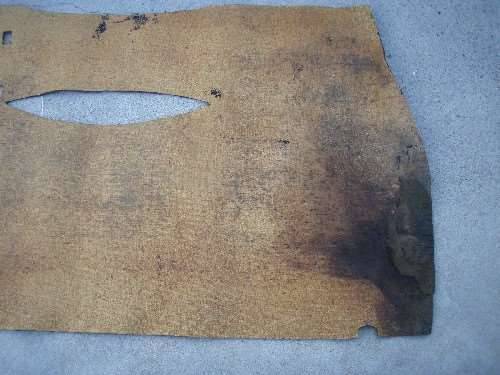
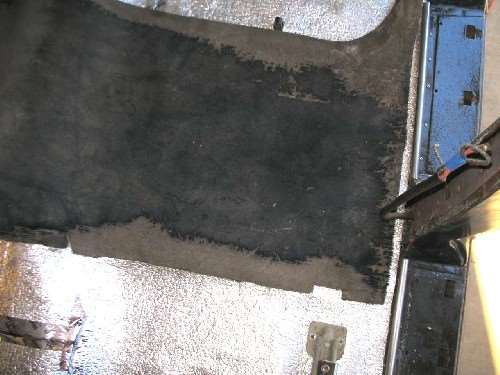
Here are some photos of the backing material for the front carpet with the carpet layer removed. These still have the original shape with not much shrinkage. Small cutouts can be seen where the carpet would butt up against the seat adjustment rails.
Posted on: 2014/6/24 1:12
|
|||
|
||||
|
Re: 47 Custom carpet question.
|
||||
|---|---|---|---|---|
|
Home away from home
|
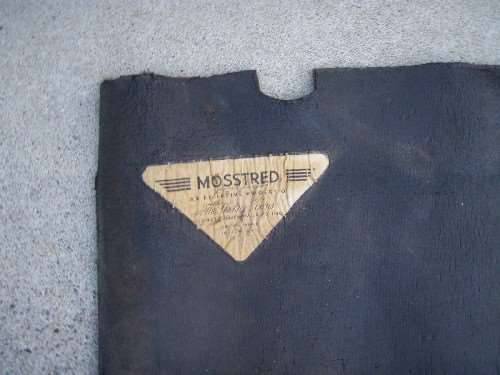
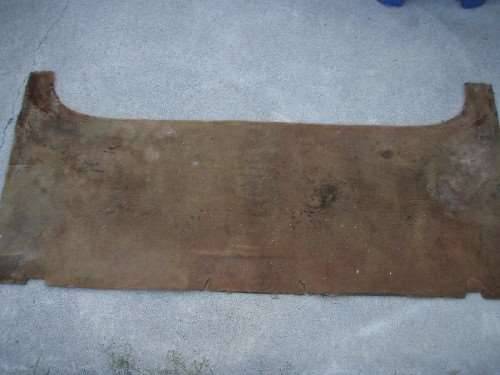
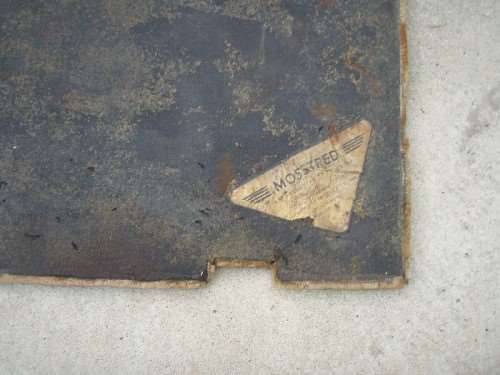
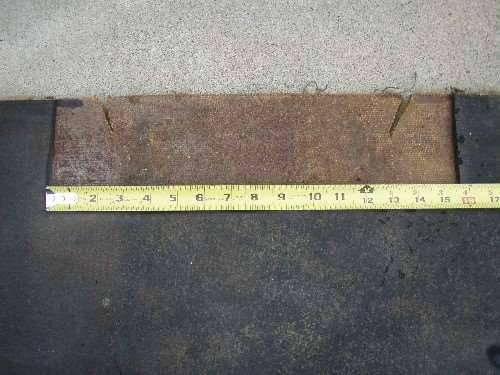
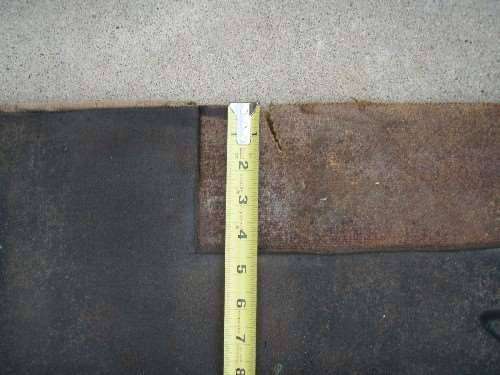
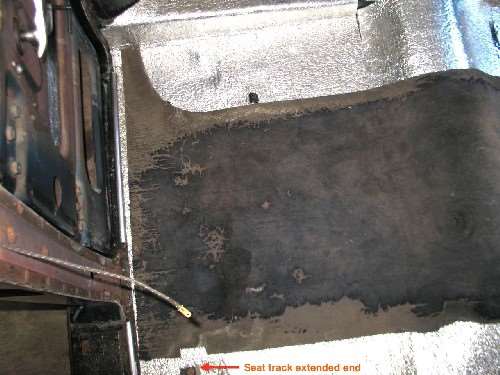
And here are photos of a rear carpet that is worn but otherwise still intact.
I can provide more information or measurements if needed. The small filler between front and rear Mosstred is a piece of the same carpet material without the foam rubber backing. It may have been originally attached to the floor with an adhesive
Posted on: 2014/6/24 1:22
|
|||
|
||||
|
Re: 47 Custom carpet question.
|
||||
|---|---|---|---|---|
|
Home away from home
|
BDeB,
If I send you a SASE, would it be possible for you to send me an outline on paper of the ellipse cut for the transmission hump? I managed to make a passable cut for my '50 but would like to get it perfect for my '49. Some locating dimensions for the cut would also be really helpful. Thanks.
Posted on: 2014/6/24 9:17
|
|||
|
||||
|
Re: 47 Custom carpet question.
|
||||
|---|---|---|---|---|
|
Forum Ambassador
|
BDeB, I surely appreciate your taking the time and effort to dig out the old carpet for photos. Confirms a couple of assumptions. I do see a slight difference or two from the 47 but still gives definite intentions of where it goes. One difference is your front piece has definite notches to fit around the seat track -- the 47 is just a small slit. Another slight difference on the rear piece center over the hump where the mat is cut away under the carpet.
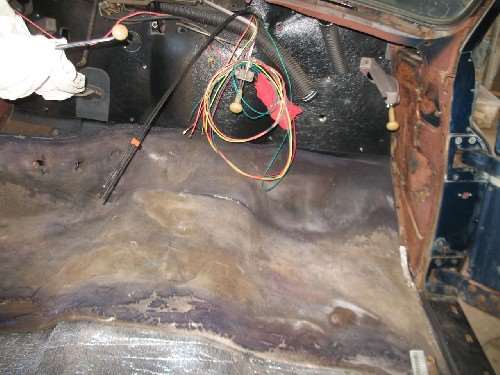
I too would appreciate a bit of detail on the slit in the front piece. If you would be so kind to just give dimensions of the center wide point and the length side to side it would be helpful to lay out and to get an idea how much mine has shrunk. As you can see, my car is not really carpet ready but I wanted to put the piece on the firewall while there is good access and complete that area so the dash can go back in. In order to cut that small piece I needed to lay out the rest and thus opened the can of worms -- or moths in this case. Here's a photo or two of what I'm working with. The shrinkage appears overall so guess the best thing is just lay the new mat in the car and cut to fit. With the front piece pulled all the way to passenger side sill it is still an inch away from the kickpanel area and not meeting the firewall pad either. Close to two inches off on the drivers side. I am still trying to decide what the square notches in the rear piece are for. The seat track extended is still a couple of inches away and didn't see anything obvious on the seat frame that it would need to clear.
Posted on: 2014/6/24 10:15
|
|||
|
Howard
|
||||
|
||||
|
Re: 47 Custom carpet question.
|
||||
|---|---|---|---|---|
|
Home away from home
|
Quote:
Just send me a PM with your address. I will do some measuring and post dimensions later today.
Posted on: 2014/6/24 14:37
|
|||
|
||||
|
Re: 47 Custom carpet question.
|
||||
|---|---|---|---|---|
|
Just can't stay away

|
I wondered if you had decided how to return air to your
trunk unit? My son and I are contemplating putting a similar setup in a 39 1707.Not a lot of room in some places. J.S.
Posted on: 2014/6/24 15:08
|
|||
|
||||
|
Re: 47 Custom carpet question.
|
||||
|---|---|---|---|---|
|
Forum Ambassador
|
Quote:
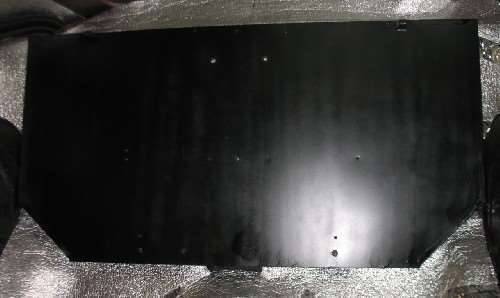
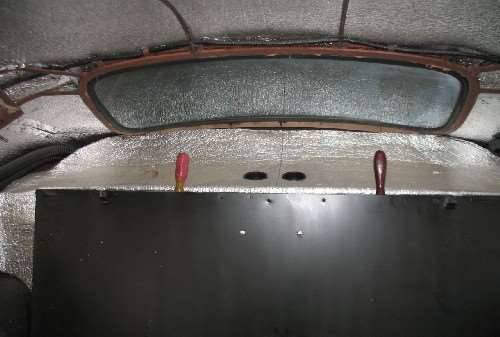
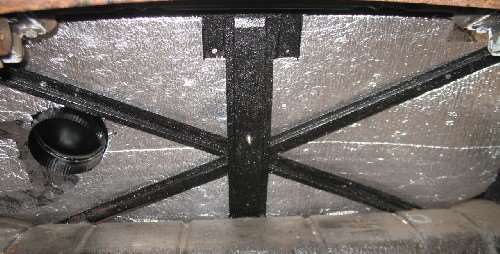
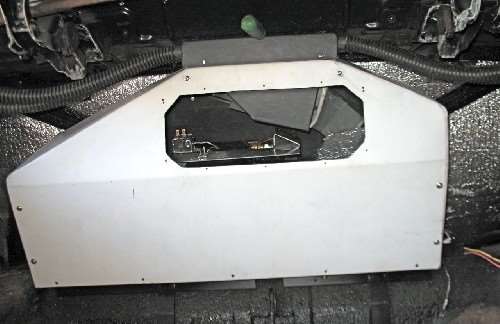
The "not a lot of room in some places" is quite the understatement. It has caused no end of grief trying to fit modern "universal" components and make them look old. I never found exactly how Packard did the return other than bits and snippets of printed info where they said the seat was raised and air was directed under. Haven't seen a prewar unit up close and other than pictures of the main unit as it sits in the trunk, no photos I can fnd which really included the return air details. I do know the conventional body had the return in the bottom center of the case and thanks to the Clipper illustration from BDeB, now know that return was off to the side to avoid the X bracing -- but still fed from under the seat so they must have all been raised. Since I wanted my unit to sort of look like Packard had done it but not knowing at the time the offset in Clippers, my solution was to build the thin plenum to fit behind the seat back and move the seat forward slightly. That plenum will have two narrow openings at the front of the package tray and a large opening centered under the seat. Will have a couple of small intake grills at package tray level with the one large air outlet in the center. Am hoping Joe will be successful in duplicating the prewar center outlet. If not, modern will have to do. At present am leaning toward raising the seat so it is slightly higher than the carpet but not enough to call attention to the raise -- maybe 1/4" above. That will provide quite a bit of inlet area. The seat has chrome trim strips which I do not want to cut and some metal inside the base so putting grills in is a bit more of a challenge. Have been playing with a heater grill and right now am thinking it can be cut to fit between the trim for some added intake space if it turns out to be needed. That is still some thinking in progress though and there may be a better option. Here is a few photos of the plenum. Screwdrivers show where the top inlets are, round pieces are the center air outlet location and the entire bottom is open for the under seat portion. The trunk part is about done. Just locating and attaching the removable duct portion for the split between the front and back seat outlets. If anyone has photos of the seat and return air details on an AC car, would sure appreciate seeing them.
Posted on: 2014/6/24 16:33
|
|||
|
Howard
|
||||
|
||||

 (89.24 KB)