|
Re: The Duchess Project: 1940 Super 8 Convertible Sedan
|
||||
|---|---|---|---|---|
|
Forum Ambassador
|
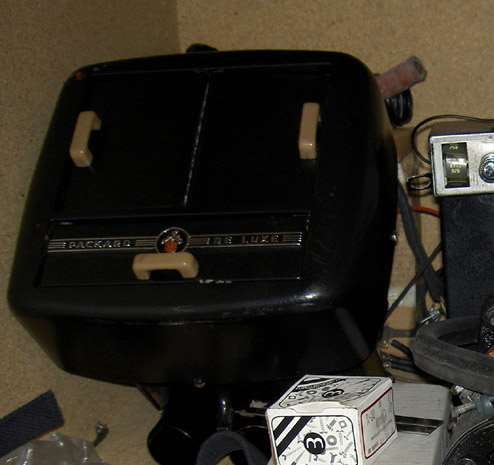
I suspect bushings. Can't say for sure but your heater looks similar to one I have and that one has bushings. Unless they are some odd shape or size McMaster has any number of sizes and composition of standard sleeve shaft bushings so maybe the retainer can be removed so they could be replaced.
Posted on: 2018/2/20 13:05
|
|||
|
Howard
|
||||
|
||||
|
Re: The Duchess Project: 1940 Super 8 Convertible Sedan
|
||||
|---|---|---|---|---|
|
Forum Ambassador

|
As long as the bushings can be accessed, if McMaster or MSC doesn't have a suitable bushing, small bushings are very easily made by anyone with a small lathe. Sintered bronze "Oilite" type stock is readily available for machining into bushings if one wanted to go that route.
Posted on: 2018/2/20 13:20
|
|||
|
||||
|
Re: The Duchess Project: 1940 Super 8 Convertible Sedan
|
||||
|---|---|---|---|---|
|
Home away from home

|
Thanks, Howard/Dave, much appreciated.
Posted on: 2018/2/20 13:27
|
|||
|
||||
|
Re: The Duchess Project: 1940 Super 8 Convertible Sedan
|
||||
|---|---|---|---|---|
|
Home away from home

|
Now that the duchess is home, I've had a chance to inspect and admire all the work John also did on the under carriage, the new battery set up, reworked linkage, undercoating, and installation of rebuilt components like the sway bar, master cylinder, steering gear, and that clutch fork boot. .
Pix to come Attach file:  (40.29 KB) (40.29 KB)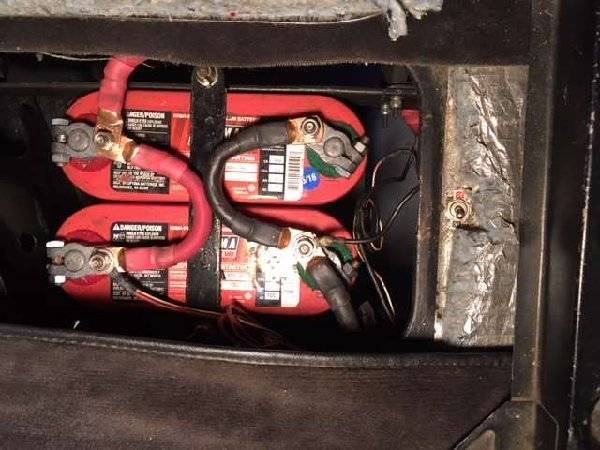  (34.52 KB) (34.52 KB)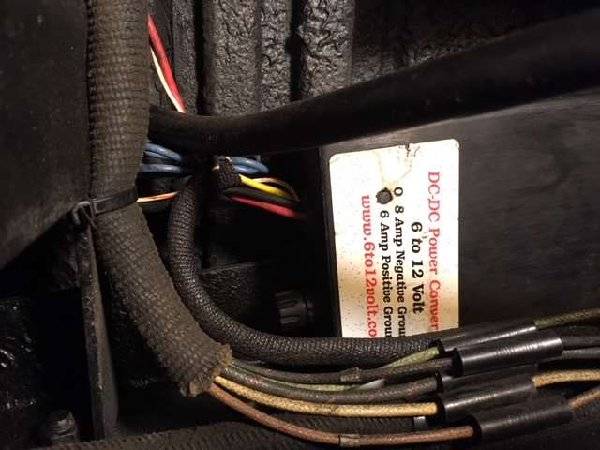  (24.37 KB) (24.37 KB)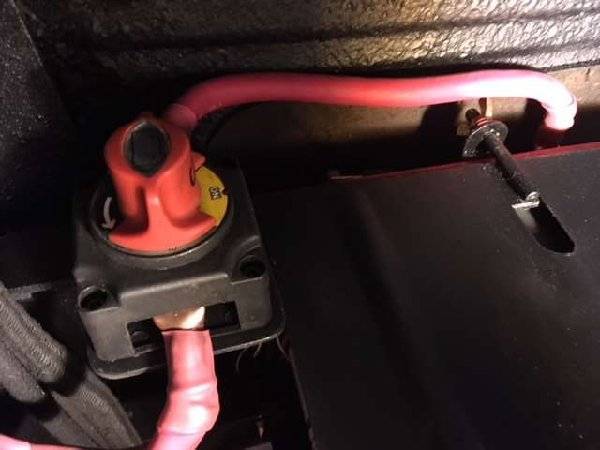  (32.20 KB) (32.20 KB)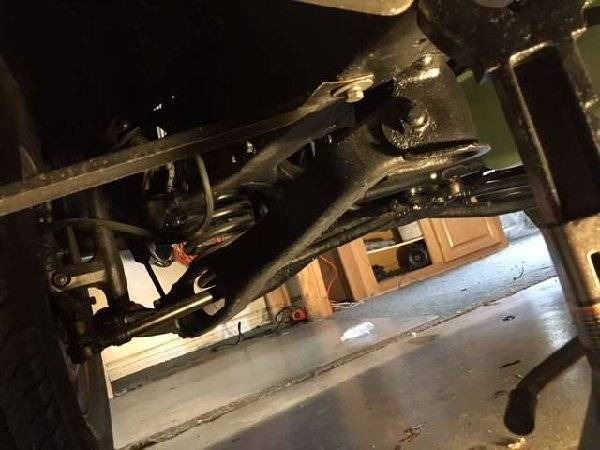  (28.16 KB) (28.16 KB)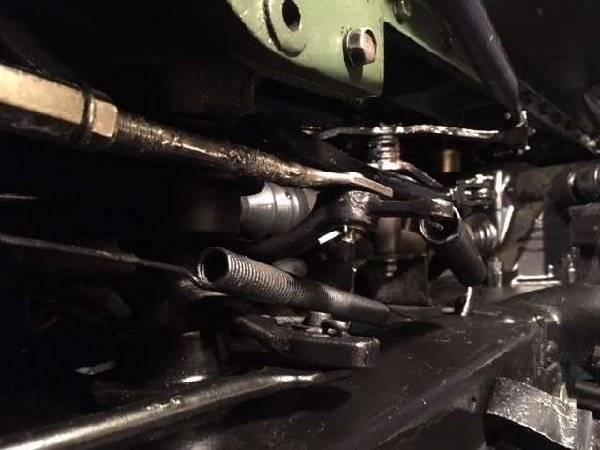  (35.22 KB) (35.22 KB)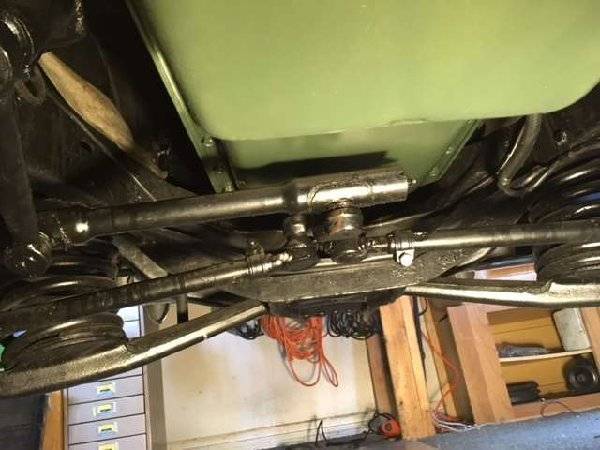  (27.26 KB) (27.26 KB)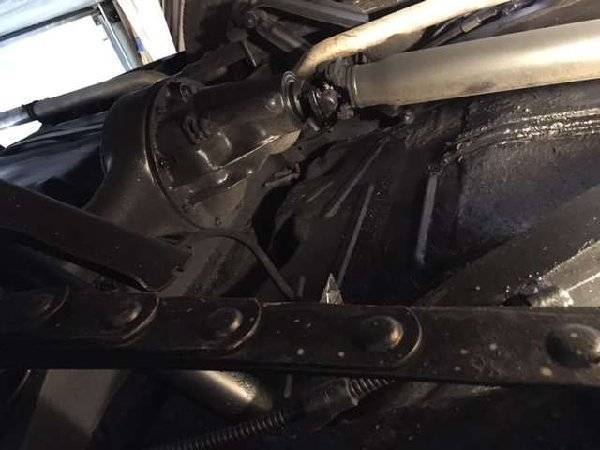  (37.54 KB) (37.54 KB)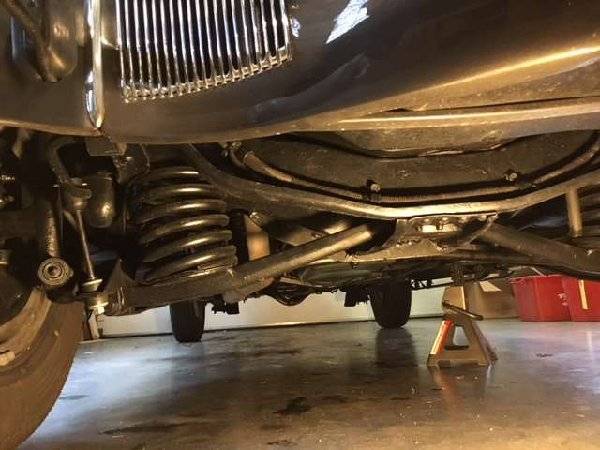
Posted on: 2018/2/22 13:19
|
|||
|
||||
|
Re: The Duchess Project: 1940 Super 8 Convertible Sedan
|
||||
|---|---|---|---|---|
|
Home away from home

|
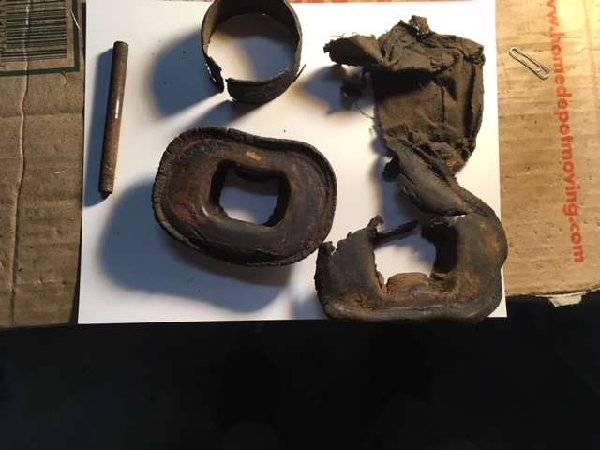
The engine mounts, the clutch fork boot, the thermostat retainer, and a broken manifold stud...on their way to the dump.
Posted on: 2018/2/23 2:26
|
|||
|
||||
|
Re: The Duchess Project: 1940 Super 8 Convertible Sedan
|
||||
|---|---|---|---|---|
|
Home away from home

|
Trying to get my rear windows working, so put out an APB to all the usual suspects.
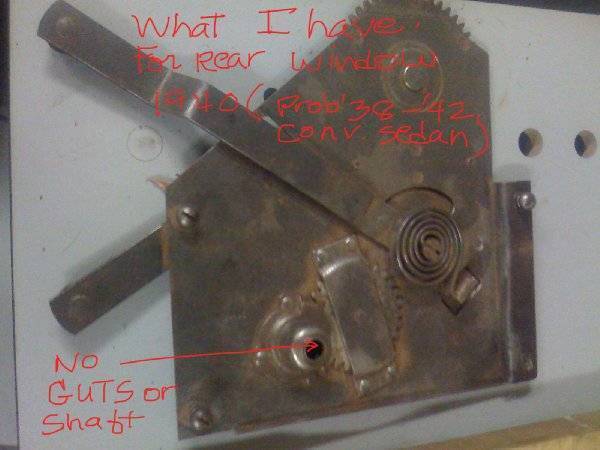
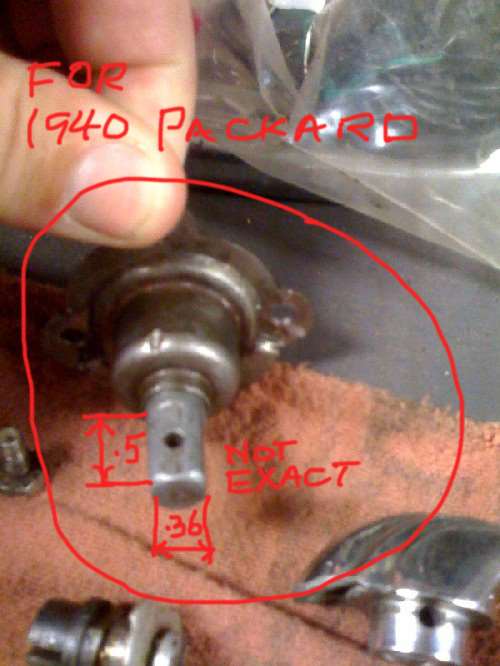
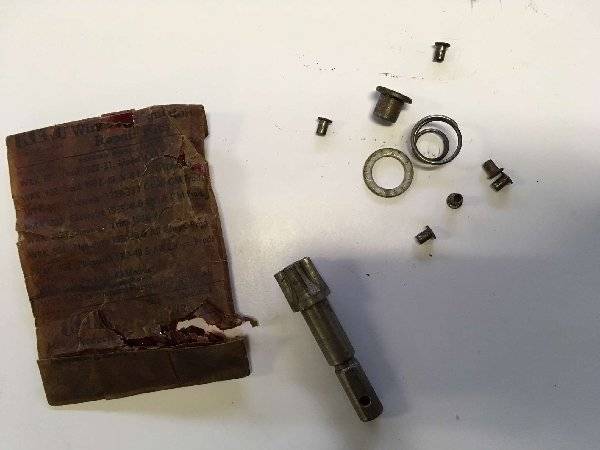
I've had little success finding the correct regulators 1940-41 1377, 1477 (section 30.502, PN# 349282 and 349283) before. Now I'm looking for anything that will work. My rear window regulators (see attached image) are missing the window crank shaft. I think the overall length of the shaft is 1.25" (including the hidden part inside the cone and the exposed part with the window crank retaining pin hole.) Approximate. The shaft in the picture with the kit of little parts is 2.5" overall. The ones for my front window are 3" overall. In other words, the shaft is short. If the exposed shaft is about .5" then the cone height is approx. .75" Short of finding a short shaft, I could use a long shaft like 2.5" or longer and have the shaft cut to 1.25", ground to .36" square, grooved and drilled for the handle pin. Possibly. I'm willing to buy the whole regular to get these parts. The little kit (see attached) suggests that there is a washer and spring inside the cone keeping pressure on the gear, at the end of the shaft, to stay engaged. Then there's that cap that might hold the shaft in alignment with the big regulator gear. I'm still confounded as to why these shafts were removed. Since I still have the cone housings on my regulators, I would cannibalize the assembly for the shaft and shaft gear interior parts from a complete regulator. Any suggestions appreciated. I tried posting in Buy/Sell Forum but system would not let me post pix.
Posted on: 2018/2/23 21:12
|
|||
|
||||
|
Re: The Duchess Project: 1940 Super 8 Convertible Sedan
|
||||
|---|---|---|---|---|
|
Home away from home

|
CLOCK: It's back from ClockWorks and Jerry did a great job. I wasn't aware I had a cracked glass fuse in my light switch that feeds the clock. When I first switched on the battery after installing the clock, it ran for a bit and then quit quit after 40 minutes. Per Jerry's instructions, I removed the clock and connected it to a battery and it, of course, ran perfectly. That sent me on the search for the problem. I replaced the fuse, reconnected and it's running perfectly.
SHUTTER THERMOSTAT: As mentioned I inquired about rebuilding it, but the cost $700-800 was not acceptable. This made Max Merrit's $400 price with gasket actuallyl sound reasonable. John installed it today. The worst part was disconnecting the screw-on connector. It was locked on to the old thermostat. It took a torch to get it to turn and a grinder at the bottom of the bellows to free it. Anyway, it was installed, and when I got home from Salem, the shutters were open. This is a really cool feature. KNEE ACTION SHOCKS: As Dave the flackmaster predicted, we needed a saws-all to cut through the bushing and pin through the upper control arm on the driver's side, the two pieces had become one via metal migration. The right side took a lot of pounding, but it came out whole. John installed the new rubber inserts from Steele and the new pin kits from Max Merrit. Also filled the shocks with Jack oil, which is where this project began. Quite a difference going over manhole covers. So we will do this when we rotate the tires, every 5K miles. Disconnect the pin and pump the arms to fill the shocks, added a fresh coat of copper never seize. WE'll never have this issue again. Attach file:  (22.85 KB) (22.85 KB)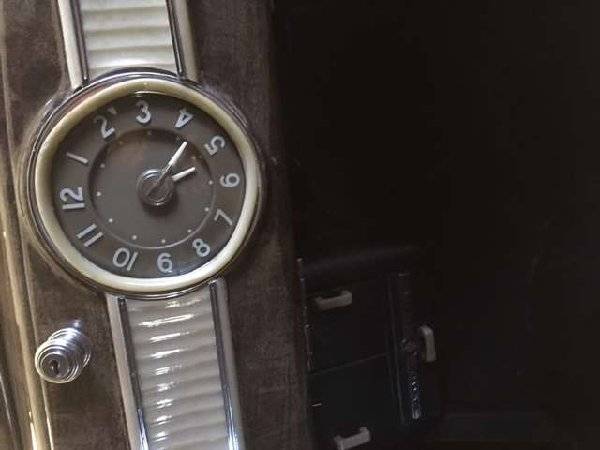  (35.00 KB) (35.00 KB)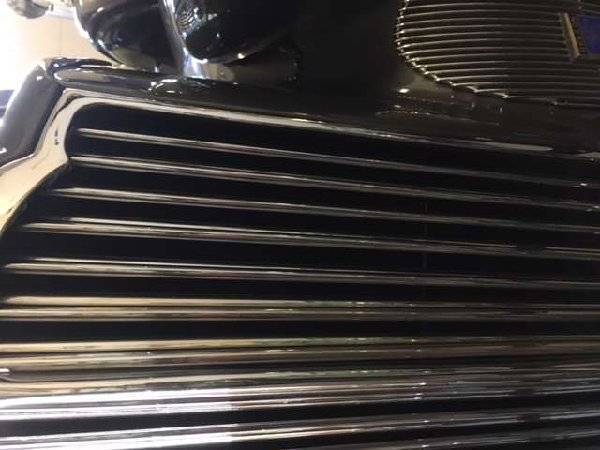  (19.40 KB) (19.40 KB)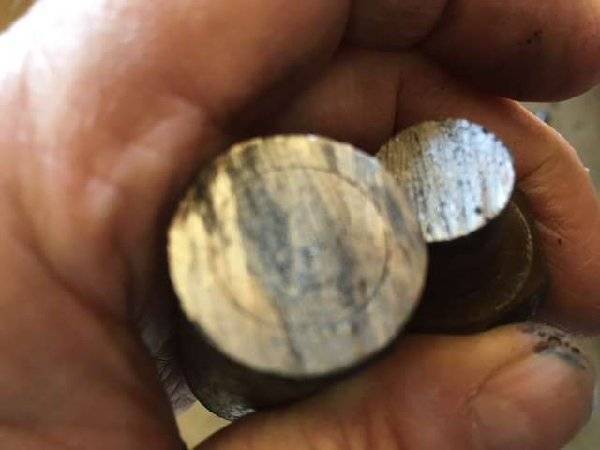  (32.68 KB) (32.68 KB)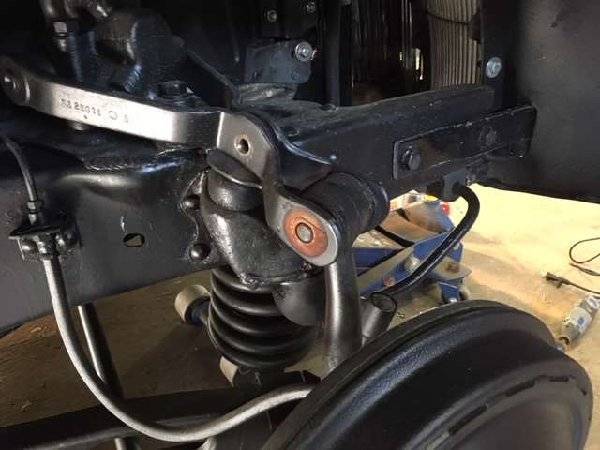  (27.17 KB) (27.17 KB)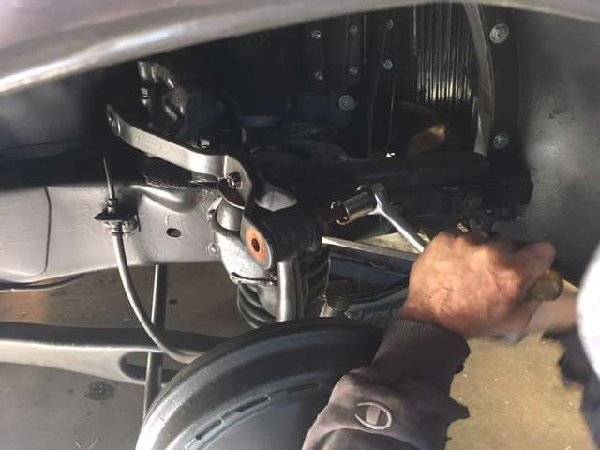  (28.94 KB) (28.94 KB)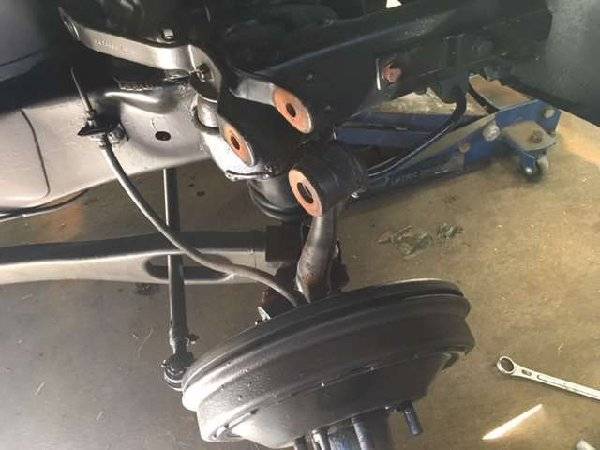  (21.72 KB) (21.72 KB)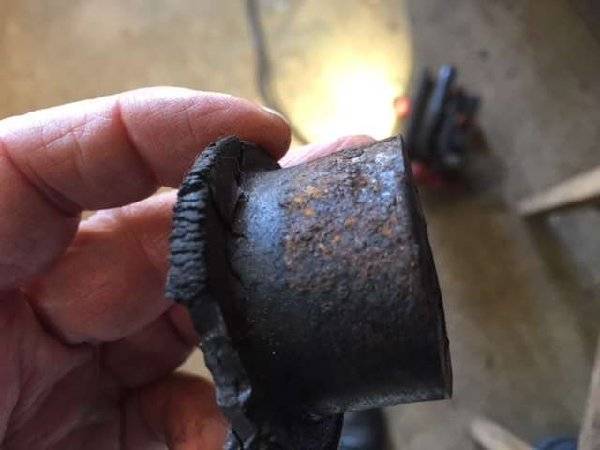  (19.46 KB) (19.46 KB)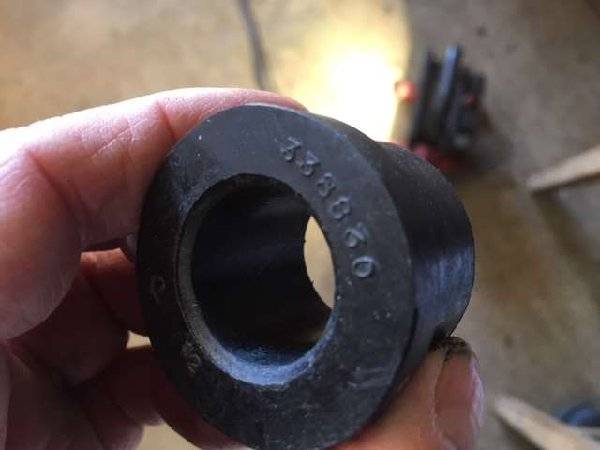  (25.03 KB) (25.03 KB)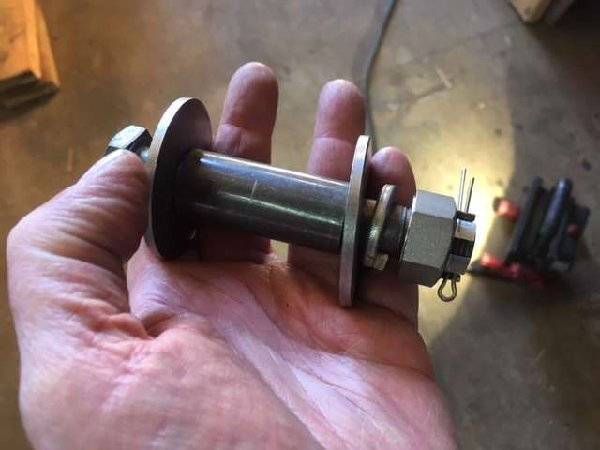
Posted on: 2018/3/11 21:07
|
|||
|
||||
|
Re: The Duchess Project: 1940 Super 8 Convertible Sedan
|
||||
|---|---|---|---|---|
|
Home away from home

|
Do you know the torque setting for the wheel lugs?
Posted on: 2018/3/12 14:47
|
|||
|
||||
|
Re: The Duchess Project: 1940 Super 8 Convertible Sedan
|
||||
|---|---|---|---|---|
|
Forum Ambassador
|
From the 46-50 manual and if 40 used the same size lugs then probably the same.
Posted on: 2018/3/12 15:04
|
|||
|
Howard
|
||||
|
||||

