|
Re: 2126 door window installation.
|
||||
|---|---|---|---|---|
|
Home away from home

|
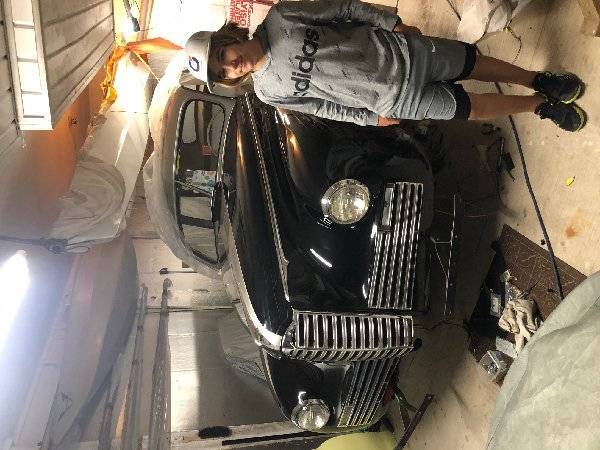
OOOOOOKKKKK....will try again on car pics LOL
Posted on: 2020/6/21 8:43
|
|||
|
Where principles are involved, be deaf to expediency. (Matthew Fontaine Maury 18th century oceanographer)
|
||||
|
||||
|
Re: 2126 door window installation.
|
||||
|---|---|---|---|---|
|
Forum Ambassador
|
Pictures sometimes are displayed sideways in the small versions that are live in the threads but if the viewer clicks on them to expand to full size then usually they will display correctly.
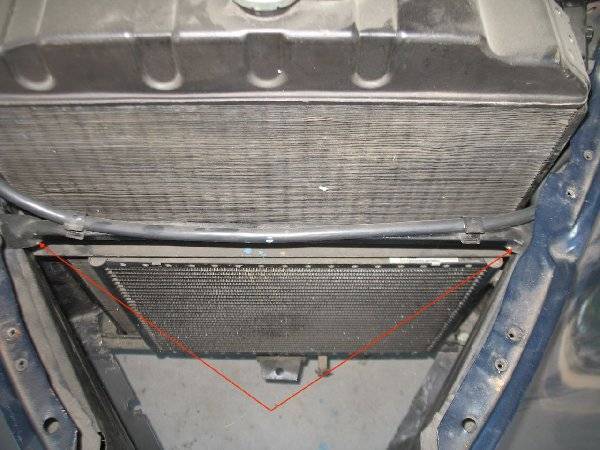
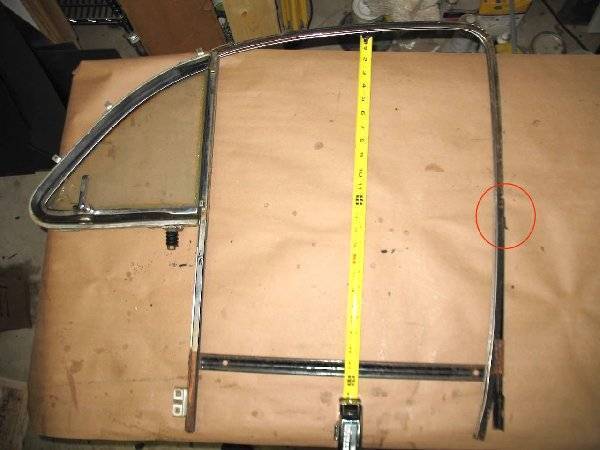
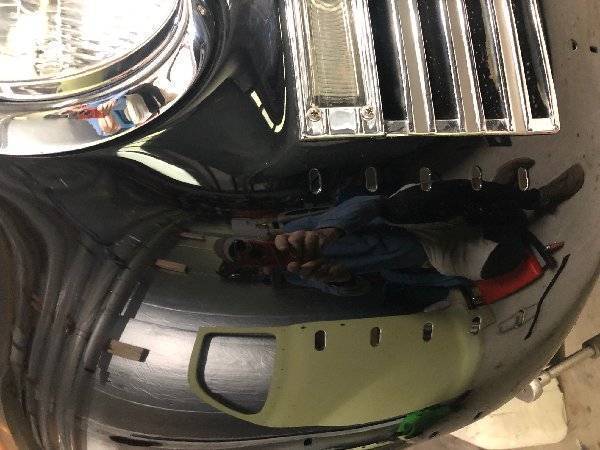
Have you looked thru the body section of the 46-50 service manual. The section on doors shows the window channels and glass removal and install. I had no issues with my 47 following the procedure although I don't recognize the piece you show in the first photo. Maybe you could post another view?? It could be another difference between the 2122 and 2126. The second photo I think is a bottom brace between the fender bottom edge and the rear splash or mudguard on one of the fenders.
Posted on: 2020/6/21 8:59
|
|||
|
Howard
|
||||
|
||||
|
Re: 2126 door window installation.
|
||||
|---|---|---|---|---|
|
Forum Ambassador
|
A question on the piece in the second photo. Does the other end have a similar but mirror image flat end with angled edge and hole like the end that is clearly shown? If so, instead of being a lower brace it goes a couple of inches in front of the radiator near the top and bolts to a sort of flange on the fenders where the splash panels bolt. It is used to support the cable going to the right headlight.
Posted on: 2020/6/21 9:46
|
|||
|
Howard
|
||||
|
||||
|
Re: 2126 door window installation.
|
||||
|---|---|---|---|---|
|
Home away from home
|
The piece in the first picture attaches to the u channel the window rides in and goes in as part of the assembly. It has to go in the correct spot as the hook on the side attaches to the door and controls the location of the u channel. I attach it with pop rivets. I can send several pictures if needed.
Posted on: 2020/6/21 9:52
|
|||
|
35-1200 touring sedan 42-110 convertible coupe 48-2293 station sedan |
||||
|
||||
|
Re: 2126 door window installation.
|
||||
|---|---|---|---|---|
|
Home away from home

|
Thanks Howard. I can't seem to find the exploded parts views that I once had easy access to. The illustrated parts list shows basic finished assembly. No details as to what the hidden parts might be. Possibly I am trying the wrong link which is "illustrated parts list" or "master parts list". I don't have a link to the service manual you referred to as 46-50, only links to 41-47 reference.
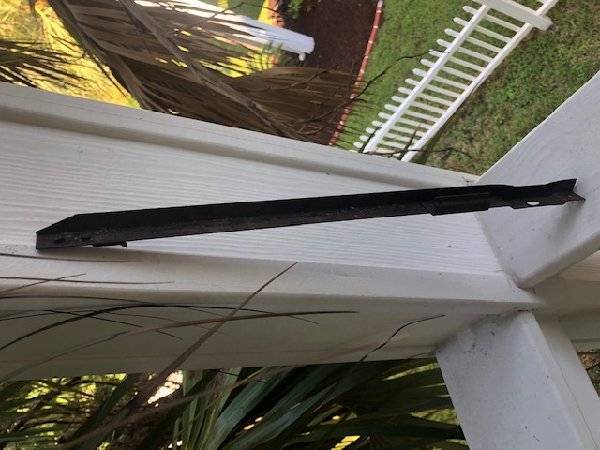
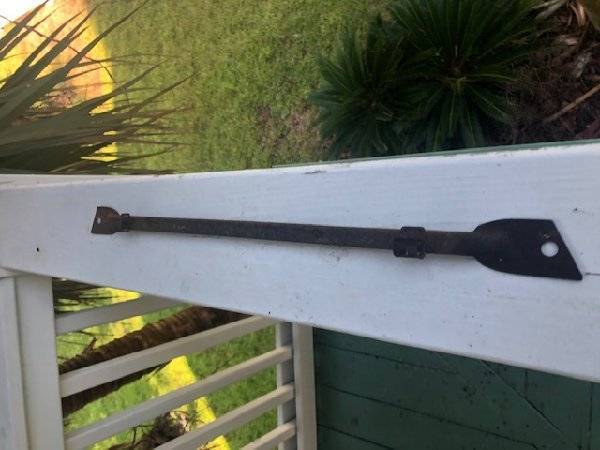
Pretty sure these parts are window channel related. sending better (hopefully) pictures. Rear doors on the 2126 are straight sections with no cutout for wheel fenders. The pieces with spring clips on one end and slotted hole on the other (lower) end match the door sheet metal slots and threaded holes. Not sure right and left though. The other piece has clips for what I would guess would be window channel felt strips but they could be wire harness clips under the hood. I do have the braces you mentioned in prior post. Thanks Bob Attach file:  (9.25 KB) (9.25 KB)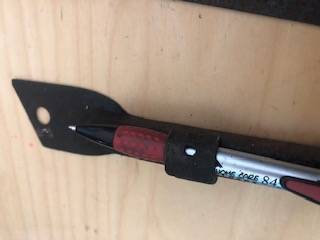  (10.39 KB) (10.39 KB)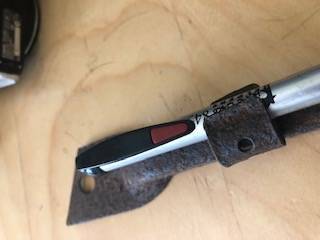  (11.07 KB) (11.07 KB)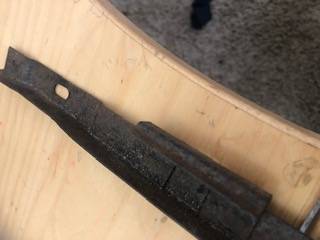  (10.78 KB) (10.78 KB)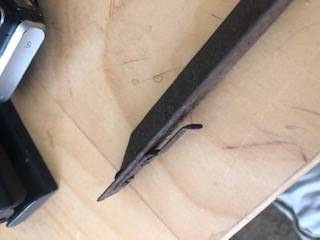
Posted on: 2020/6/21 9:54
|
|||
|
Where principles are involved, be deaf to expediency. (Matthew Fontaine Maury 18th century oceanographer)
|
||||
|
||||
|
Re: 2126 door window installation.
|
||||
|---|---|---|---|---|
|
Forum Ambassador
|
I think the first two photos are the cable support piece in front of the radiator. It shares a bolt with one of those holding the box like front side grill splash extensions to the fenders.
Just guessing from the clip on the side of the other piece, the second two photos may be of one of the supports for the fuzzy channel around a door window. Goes opposite the vent wing so rear support for a front window, front support for a rear window. Been years since I was in the doors but as I recall the clip slips over a bracket like piece of metal welded to the door metal.
Posted on: 2020/6/21 10:26
|
|||
|
Howard
|
||||
|
||||
|
Re: 2126 door window installation.
|
||||
|---|---|---|---|---|
|
Home away from home

|
That makes sense for the front tie bar wire support clip bracket. I'll check the front doors to see if the bracket fits there. The front doors are probably the same for the 2106 and 2126. BAck doors are different. I might be missing the two brackets. the ones I do have fit the back door perfectly, just trying to figure out right and left sides. if I could spool up the expanded parts list, I might be able to figure which is R and L. No luck there so far.
Am I correct in thinking the last to go in would be the window/channel assembly and then the window stop bracket which mounts in the middle of door panel. Nothing else seems to interfere with the window installation though the fuzzy felt channel might have to go in after window is in place and lowered.
Posted on: 2020/6/21 12:44
|
|||
|
Where principles are involved, be deaf to expediency. (Matthew Fontaine Maury 18th century oceanographer)
|
||||
|
||||
|
Re: 2126 door window installation.
|
||||
|---|---|---|---|---|
|
Forum Ambassador
|
On my car the window channels are all one welded and riveted assembly and glass goes in or comes out as shown in the body section.packardinfo.com/xoops/html/downloads/servicemanual4650/Section4.pdf
When I disassembled mine for rechroming the vertical pieces of the vent window side, I replaced everything spot welded with screws and/or poprivets. Took care to drill or cut thru welds to leave enough to bolt back thru. Fastening the new fuzzy channel end back onto the riveted on vent window tab was a bit of a trick due to the tight space. I believe I installed the pop rivets thru the channel and tab, head buried in the fuzzy, and then cut off and flattened the extended part of the rivet that extended out the top so it could clear the door metal. Screws and nuts at other spots needed to be kept short due to very little clearance in getting the assy to slide back thru the window slot in the door.
Posted on: 2020/6/21 13:03
|
|||
|
Howard
|
||||
|
||||
|
Re: 2126 door window installation.
|
||||
|---|---|---|---|---|
|
Home away from home

|
Howard, I used your link and it was very helpful. Then, went back to Main Menu and realized I had not opened the Packard Literature and Manuals link. Went to that and bingo....thanks. Funny how we tend to put off the PIA stuff til the end and then all we have left to do is the PIA stuff. Seems to be the case more often than not. Will press on with window installation and refitting. Luckily, wont have to tackle the front doors windows for a while and maybe retain some sanity (whats left).
Posted on: 2020/6/21 20:30
|
|||
|
Where principles are involved, be deaf to expediency. (Matthew Fontaine Maury 18th century oceanographer)
|
||||
|
||||

 (157.88 KB)