|
Re: KPack's 1954 Panama
|
||||
|---|---|---|---|---|
|
Home away from home
|
Hi Kevin, my car had a "Sticky" linkage as well. would not return to idle. I too had "movement" in one of the brackets.I replaced the rivets with bolts. Works fine now.
Posted on: 2021/1/21 15:36
|
|||
|
||||
|
Re: KPack's 1954 Panama
|
||||
|---|---|---|---|---|
|
Home away from home

|
Ernie - Well, that may very well be part of it. I checked inside the distributor before and it "looked" like some of the components were new, but I have no way of knowing. I probably ought to just replace everything in there as well as the cap for good measure.
Brian - Replacing the rivets with bolts is what I was thinking. Glad to hear it worked out for you. I'll see if I can get that done tonight then. -Kevin
Posted on: 2021/1/21 16:39
|
|||
|
Kevin
1954 Clipper Super Panama "Van Halen" | Registry | Project Blog 1938 Super 8 1605 | Registry | Project Blog 1953 Clipper Deluxe Club Sedan "Rusty McRustface" | Registry | Project Blog 1956 Packard The Four Hundred "Tanner" | Registry | Project Blog |
||||
|
||||
|
Re: KPack's 1954 Panama
|
||||
|---|---|---|---|---|
|
Home away from home
|
Kevin,
I've always read/been taught that 90% of all driveability problems are ignition related. If you haven't, I would go through your ignition system. The ignition training manual here on this site is a great resource. Good luck!
Posted on: 2021/1/23 16:03
|
|||
|
1937 120 1092 - Original survivor for driving and continued preservation. Project blog / Registry
1937 115 1082 - Total basket case, partial restoration, sold Hershey 2015 Project blog / Registry |
||||
|
||||
|
Re: KPack
|
||||
|---|---|---|---|---|
|
Home away from home

|
Haven't had as much time to work on the Panama as I'd like. Plus I'm kind of in limbo right now while I wait for the next big items to arrive (headliner and windshield). But I've been getting a few things done.
Big on my list was to do something with the paint on the replacement windshield header and A pillars. I had previously epoxy primed it (black), and then painted black over it to protect it from UV. I wanted to get at least something other than black on there so it would blend with the rest of the roof for the time being. I realized it would be much more difficult to do body work once the windshield was in. The whole roof will eventually need to be repainted, but I wanted to see if I could get something on there that would work for a while. I repaired some damage with fiberglass filler, then smaller areas with spot putty. Lots of sanding and redoing. It's freezing outside, and maybe only 50 degrees in the garage, so real paint wasn't going to be an option. I was curious to see what I could do with rattle cans. Primer is a high build sand-able primer by Rustoleum. Several coats with sanding in between to try and get it leveled. I sprayed generic white automotive paint from a rattle can. It was....garbage. Went on splotchy and thin. I did 4-5 light coats and it still didn't cover well. Would've been easier with a gun, but not a possibility in my garage in the middle of winter. After that cured I sprayed with rattle can clear coat. Several coats to build up thickness. The finish was all orange peel when I was done. I hit it all with 1000 grit sandpaper and water, trying not to go too far (wasn't successful in a few spots). Once I got the bumps sanded off, I then polished with Meguiar's Ultimate Compound, then waxed. The finish was MUCH improved. The color match is so-so, but at least it's white and not black. Sometime during the summer I will likely strip and repaint the entire roof in a proper spray booth. -Kevin Attach file:  Black windshield trim and drip rail.jpg (87.47 KB) Black windshield trim and drip rail.jpg (87.47 KB)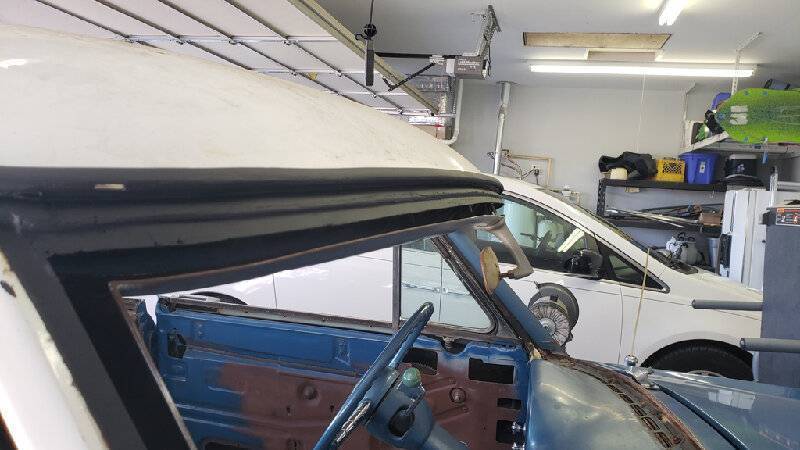  Primer on replacement header.jpg (100.35 KB) Primer on replacement header.jpg (100.35 KB)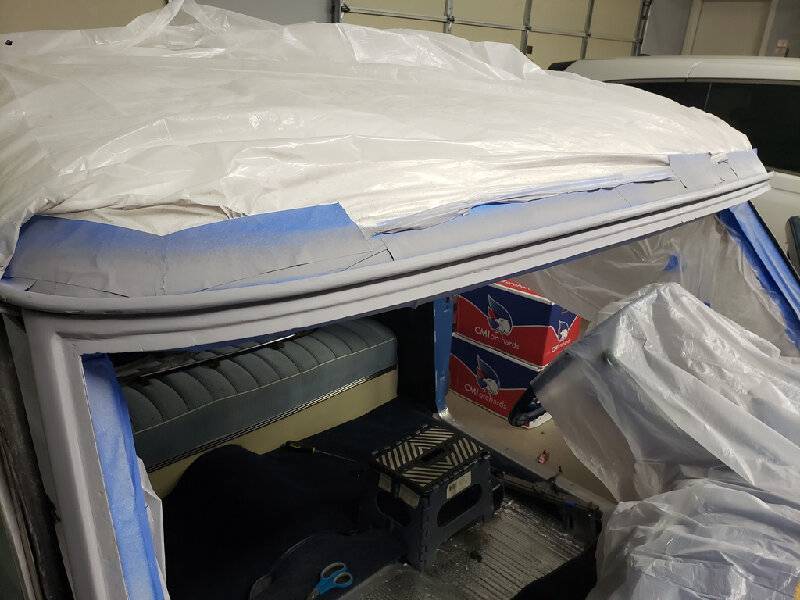  Orange peel finish.jpg (64.78 KB) Orange peel finish.jpg (64.78 KB)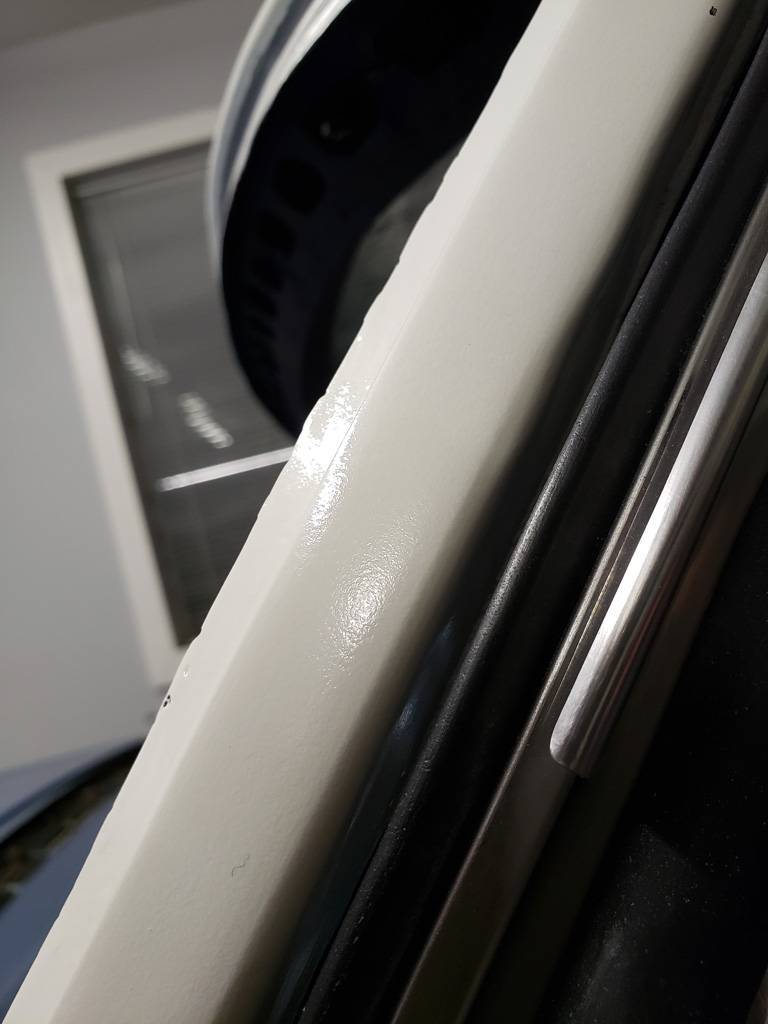  Cut and buff to a smooth finish.jpg (67.53 KB) Cut and buff to a smooth finish.jpg (67.53 KB)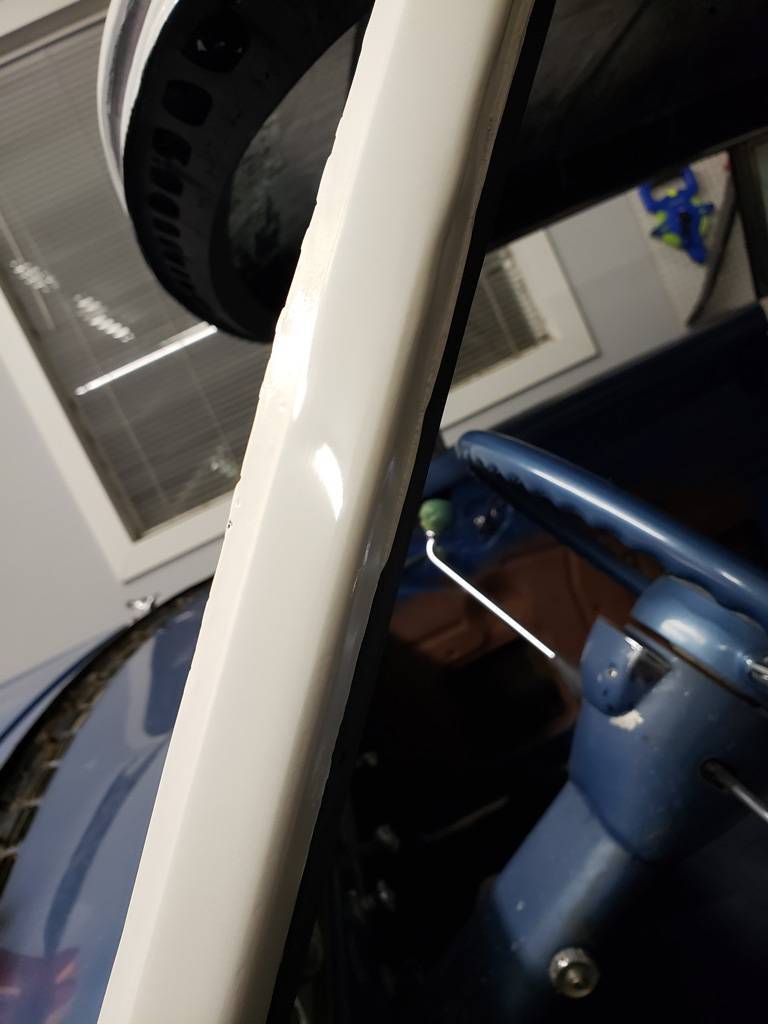  Repainted A pillar.jpg (80.36 KB) Repainted A pillar.jpg (80.36 KB)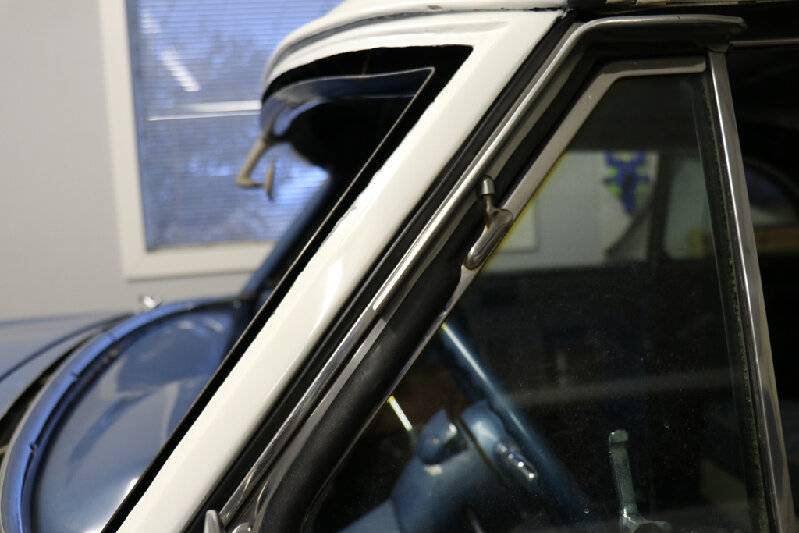  It doesn't match as nicely in person.jpg (75.02 KB) It doesn't match as nicely in person.jpg (75.02 KB)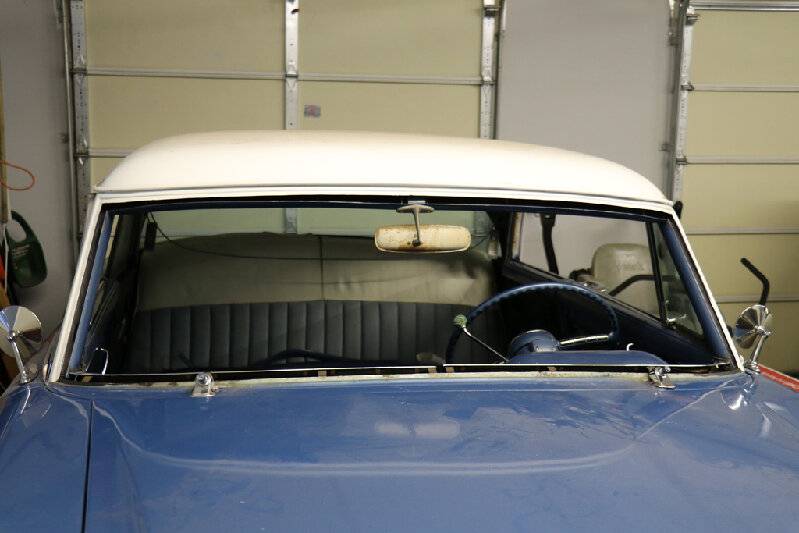  My body finishing skills need work.jpg (52.28 KB) My body finishing skills need work.jpg (52.28 KB)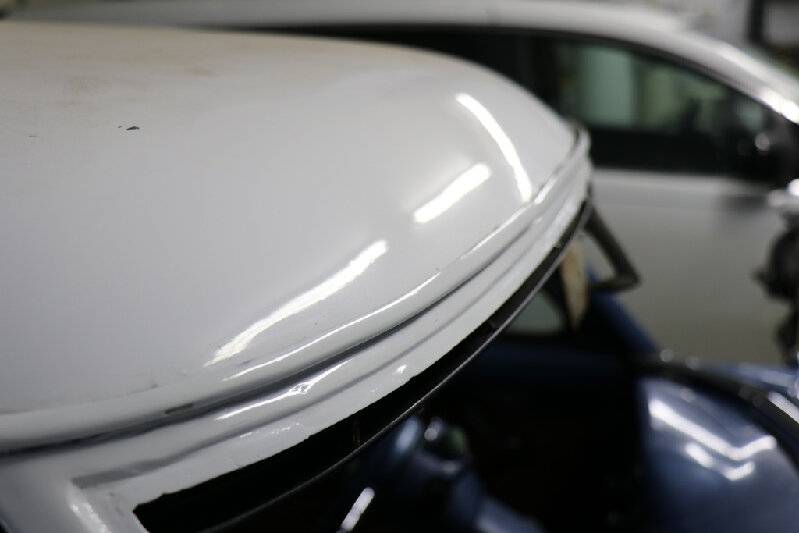
Posted on: 2021/2/1 1:10
|
|||
|
||||
|
Re: KPack
|
||||
|---|---|---|---|---|
|
Home away from home

|
More small projects.
Got busy with the sandblaster and started cleaning up some parts that will go back on once the windshield is installed. The lower interior trim clips were covered in surface rust, so I popped them off, media blasted them, then primed and painted. The rearview mirror was in somewhat rough shape. I masked the glass, then media blasted the old paint and rust off. I didn't strip the mount until I found a paint that gets close to the factory color. Factory color isn't just a plain gray, it is more of a gold/green gray. I found that the color "pewter" was pretty close. Unfortunately the only paint I could find was metallic, so I used that. Comparing the color against the untouched mirror mount showed it was pretty close (minus the extra bling). I then stripped, primed and painted the mount as well. A couple coats of clear, then wet sanding and polish. Not a bad outcome, but I wish I could have found non-metallic paint. -Kevin Attach file:  Rusty trim mounts.jpg (56.51 KB) Rusty trim mounts.jpg (56.51 KB)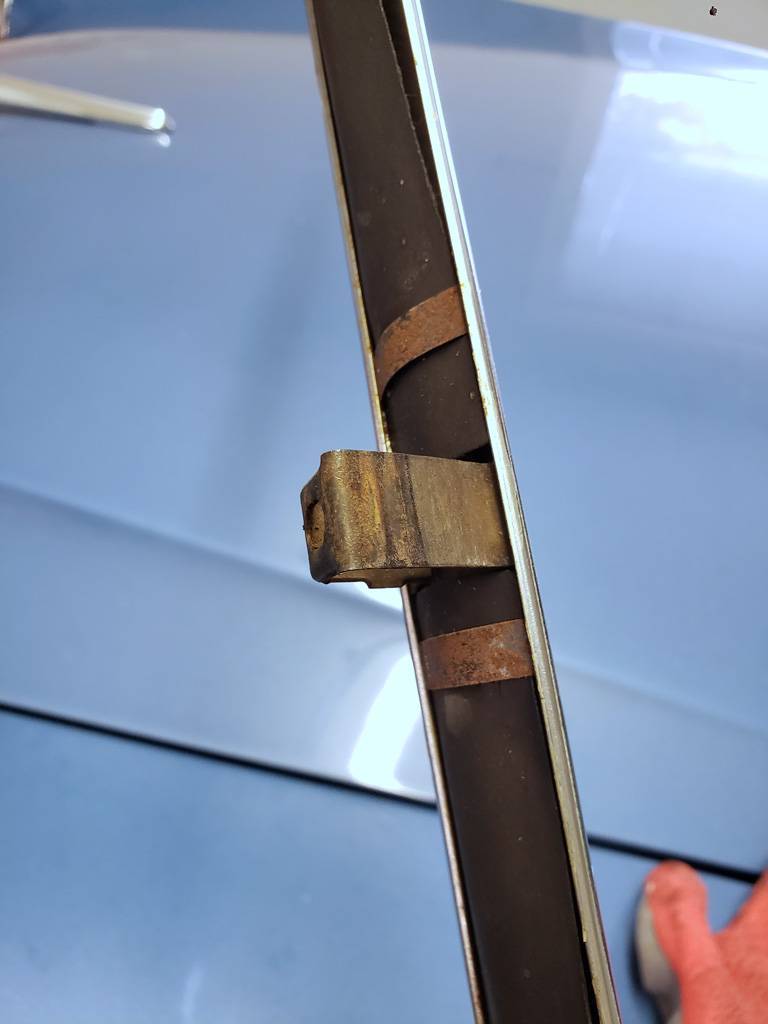  Trim retainers blasted and painted.jpg (77.85 KB) Trim retainers blasted and painted.jpg (77.85 KB)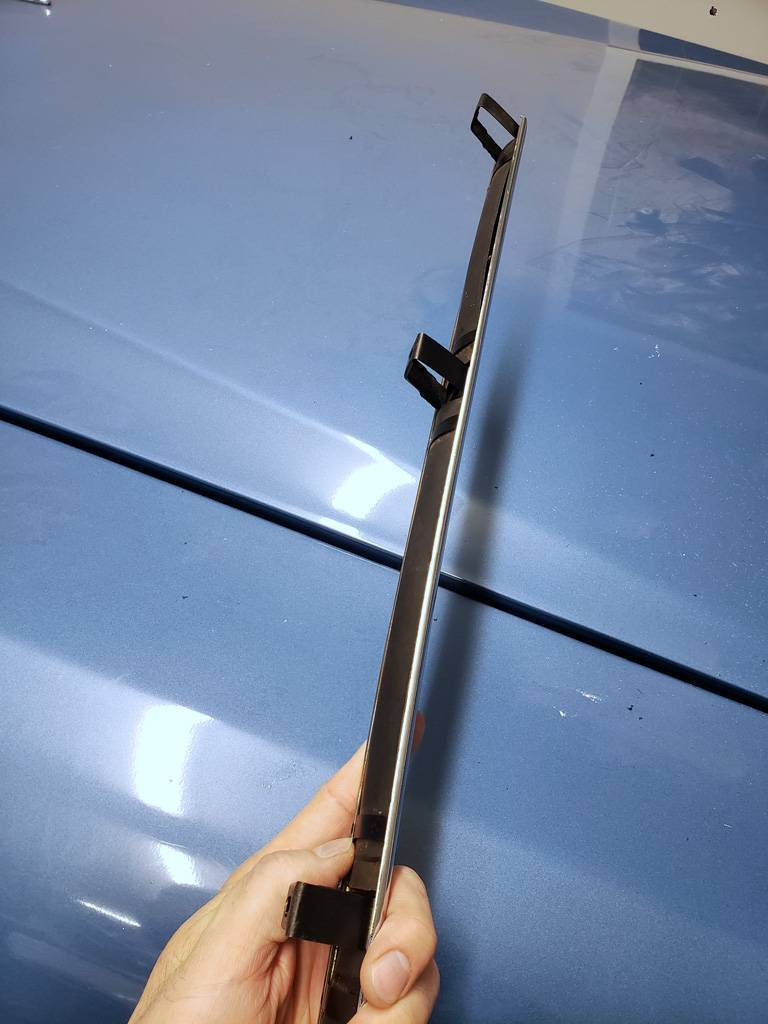  Rusty rear view mirror.jpg (120.19 KB) Rusty rear view mirror.jpg (120.19 KB)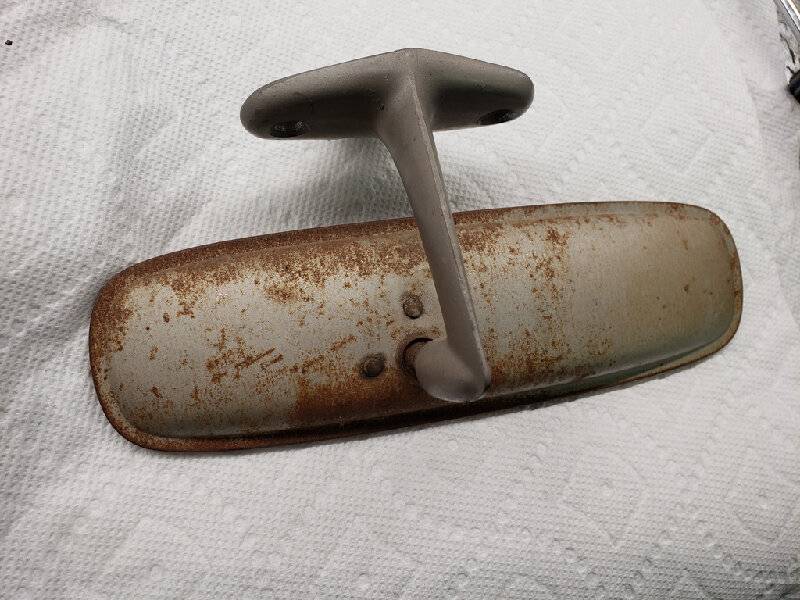  Rear view mirror masked.jpg (93.14 KB) Rear view mirror masked.jpg (93.14 KB)  Rear view mirror blasted.jpg (88.79 KB) Rear view mirror blasted.jpg (88.79 KB)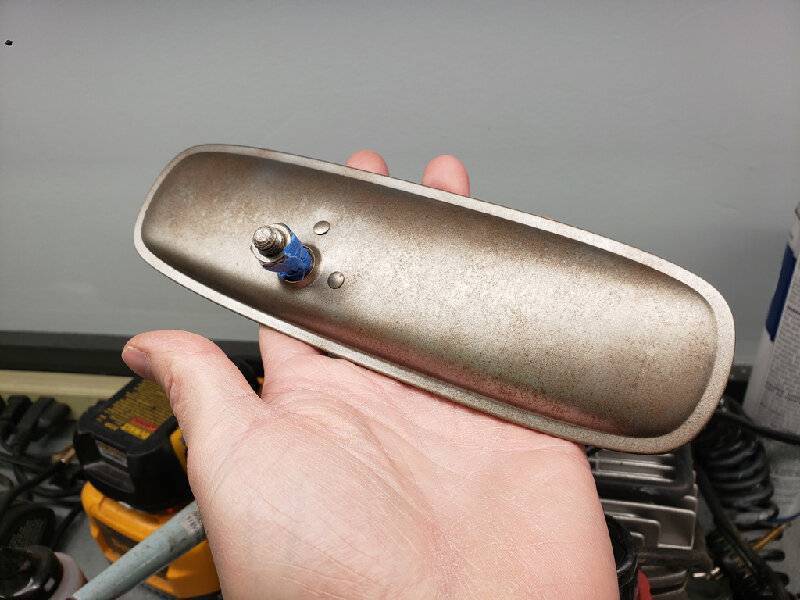  Rear view mirror paint comparison.jpg (137.50 KB) Rear view mirror paint comparison.jpg (137.50 KB)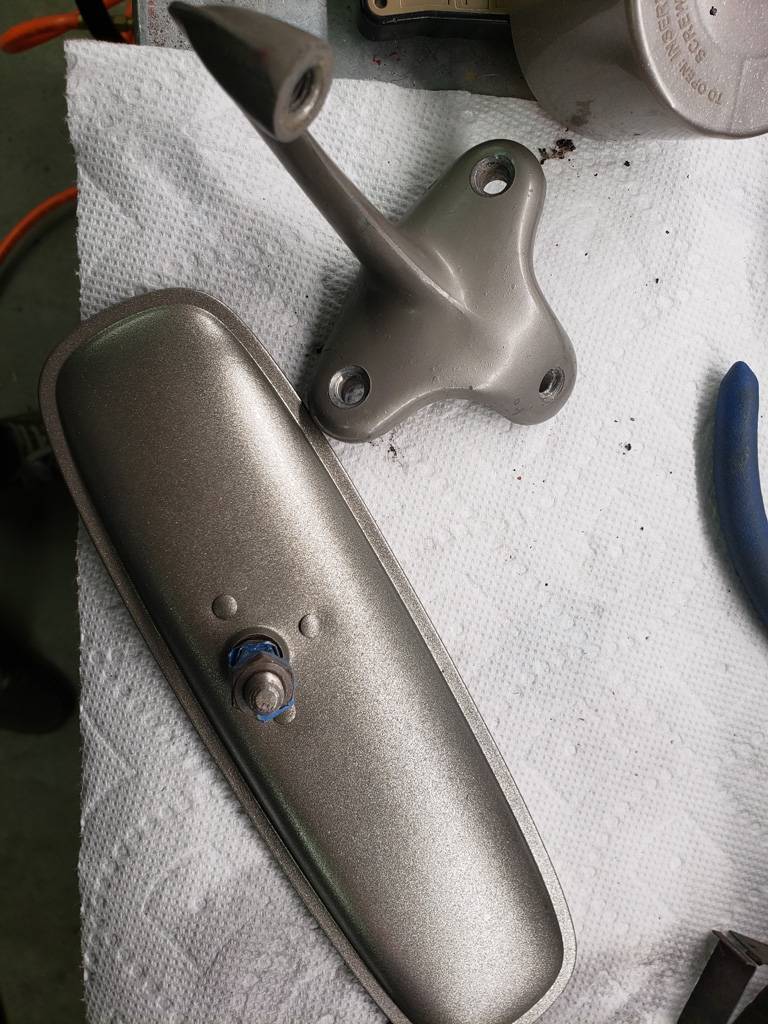  Rear view mirror painted.jpg (87.25 KB) Rear view mirror painted.jpg (87.25 KB)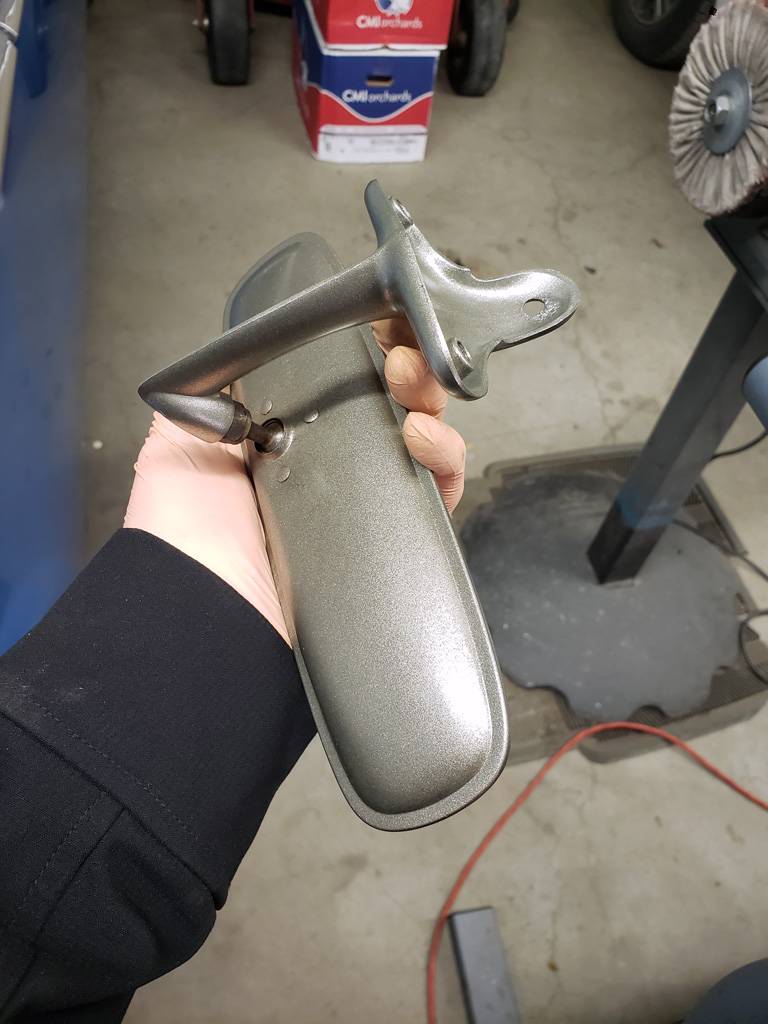  Rear view mirror installed.jpg (90.77 KB) Rear view mirror installed.jpg (90.77 KB)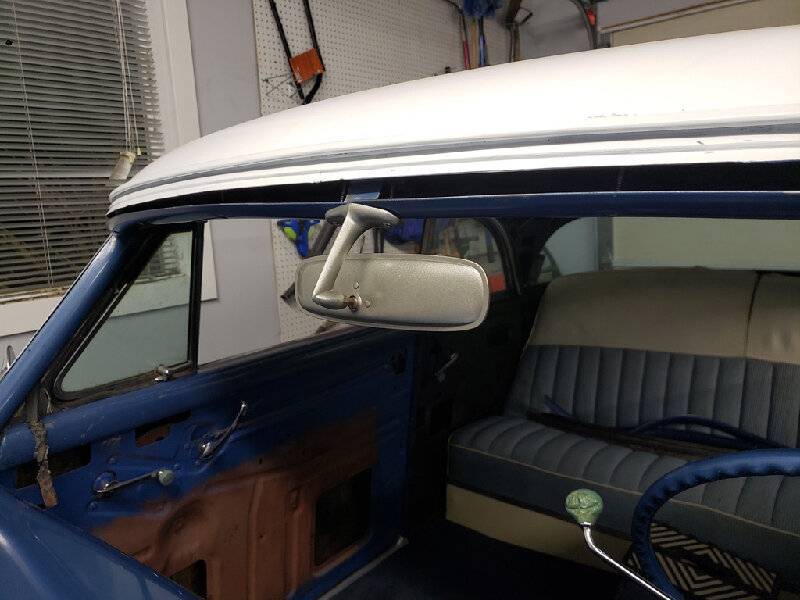
Posted on: 2021/2/5 0:58
|
|||
|
||||
|
Re: KPack
|
||||
|---|---|---|---|---|
|
Webmaster
|
Mine was also pretty rusty. Then I discovered there is a repro GM/Cadillac mirror that looks almost exactly like the optional Packard deluxe day/might one that screws right onto the same mount. The height/width is a slightly different ratio than the Packard one, but no can tell unless you hold them against one another. Obviously they must have used the same manufacturer. I'll see if I can find the picture.
Posted on: 2021/2/5 7:25
|
|||
|
-BigKev
1954 Packard Clipper Deluxe Touring Sedan -> Registry | Project Blog 1937 Packard 115-C Convertible Coupe -> Registry | Project Blog |
||||
|
||||
|
Re: KPack
|
||||
|---|---|---|---|---|
|
Webmaster
|
It's a GUIDE day/night mirror. You'll see one almost exactly like it in the 54 Accessories catalog.
Attach file:  1_4cc3b2908234b.jpg (14.65 KB) 1_4cc3b2908234b.jpg (14.65 KB)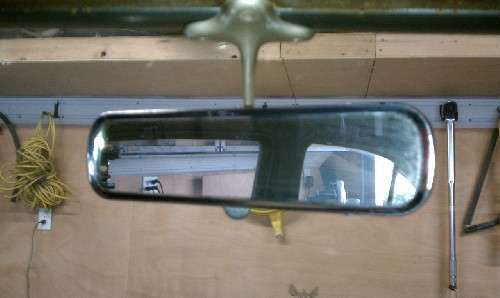  1_4cc3b2873a6a5.jpg (14.95 KB) 1_4cc3b2873a6a5.jpg (14.95 KB)
Posted on: 2021/2/5 8:12
|
|||
|
-BigKev
1954 Packard Clipper Deluxe Touring Sedan -> Registry | Project Blog 1937 Packard 115-C Convertible Coupe -> Registry | Project Blog |
||||
|
||||
|
Re: KPack
|
||||
|---|---|---|---|---|
|
Forum Ambassador

|
New Guide day-night inside rear view mirrors continue to be available from the Mid-Atlantic Packards region of The Packard Club.
Posted on: 2021/2/5 10:03
|
|||
|
||||
|
Re: KPack's 1954 Panama
|
||||
|---|---|---|---|---|
|
Home away from home

|
Good info on replacement mirrors, thank you both. I think this one cleaned up alright and the glass isn't bad on the business side, so I'll probably keep it as is.
Just heard from SMS that my headliner is shipping out today. I need to order in some adhesive, then find a time to give installation a shot. -Kevin
Posted on: 2021/2/5 12:18
|
|||
|
||||


