|
Re: KPack's 1954 Panama
|
||||
|---|---|---|---|---|
|
Home away from home
|
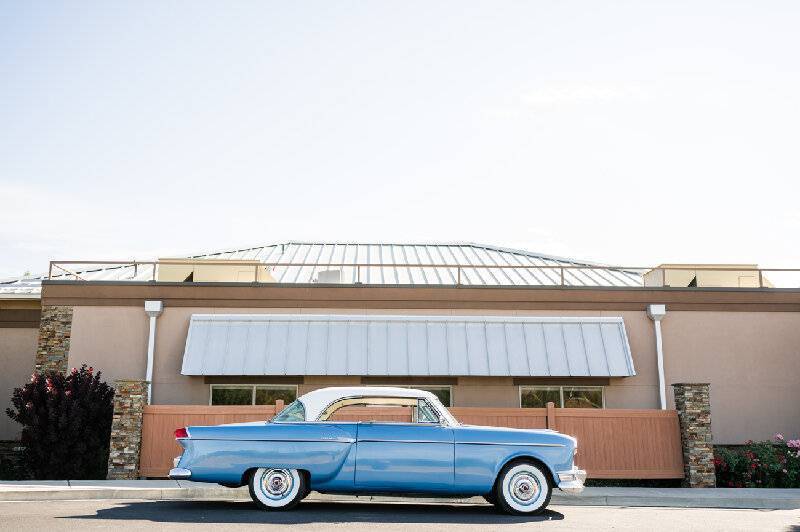
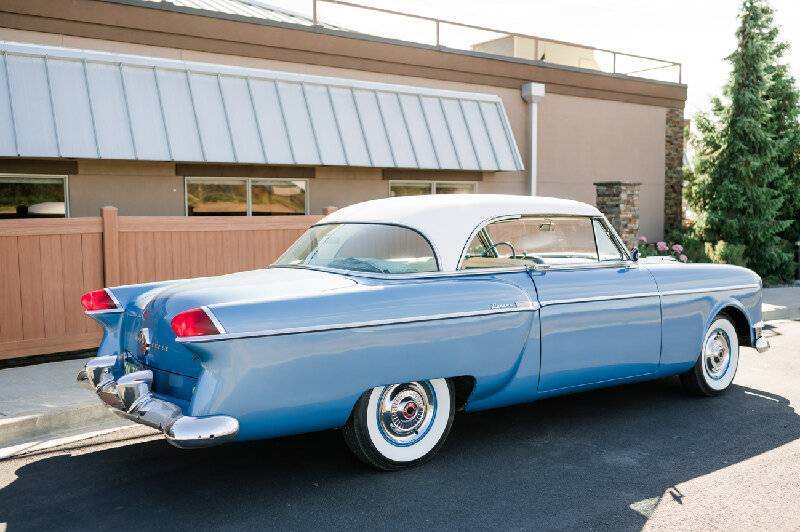
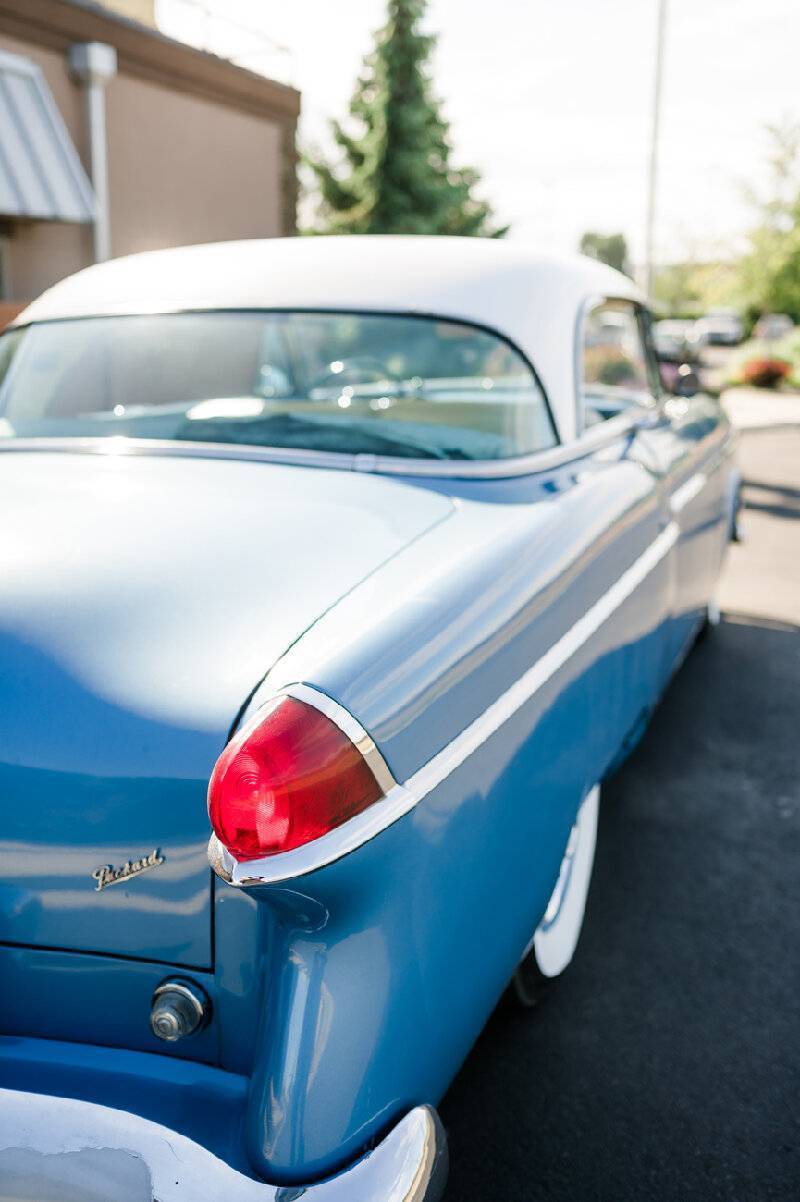
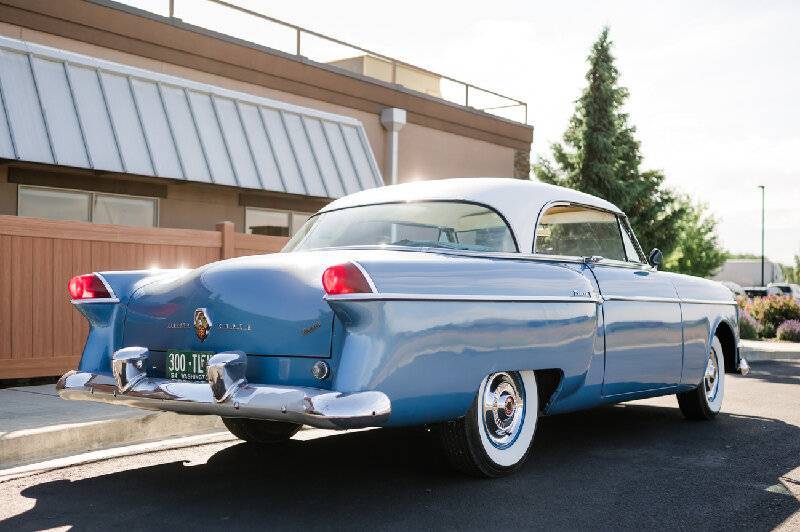
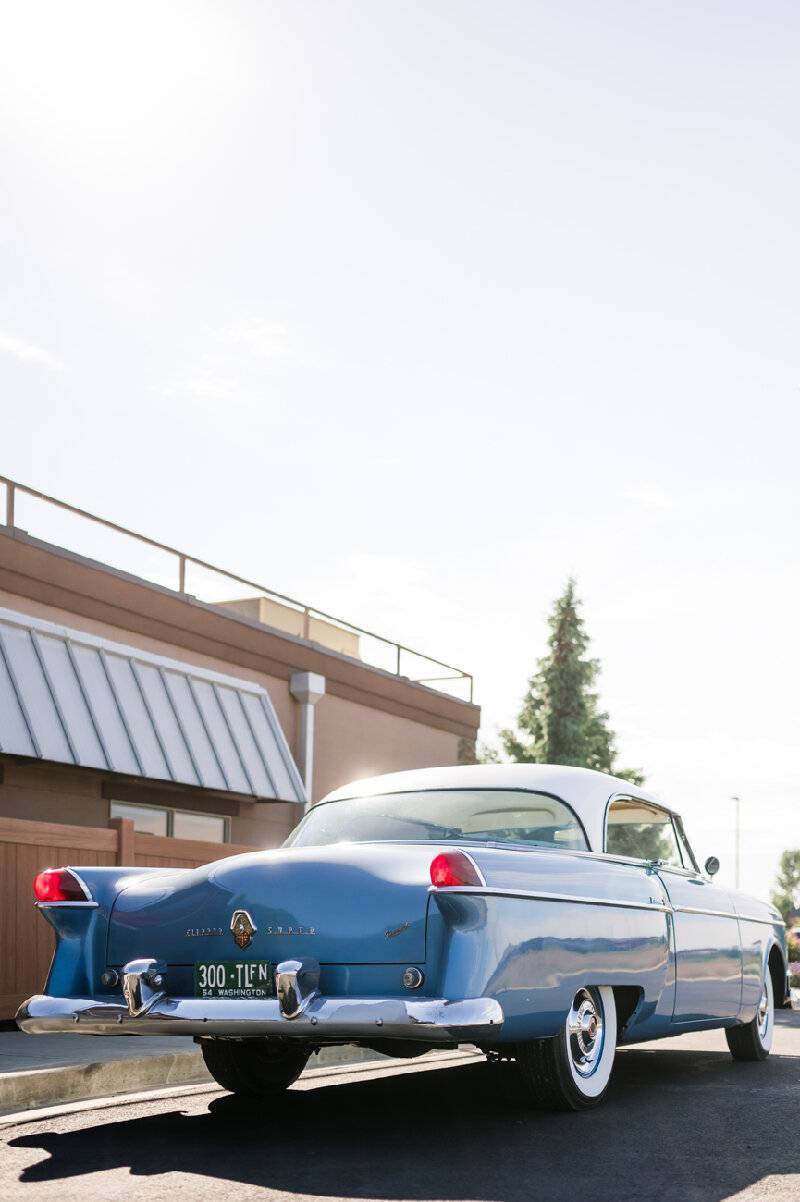
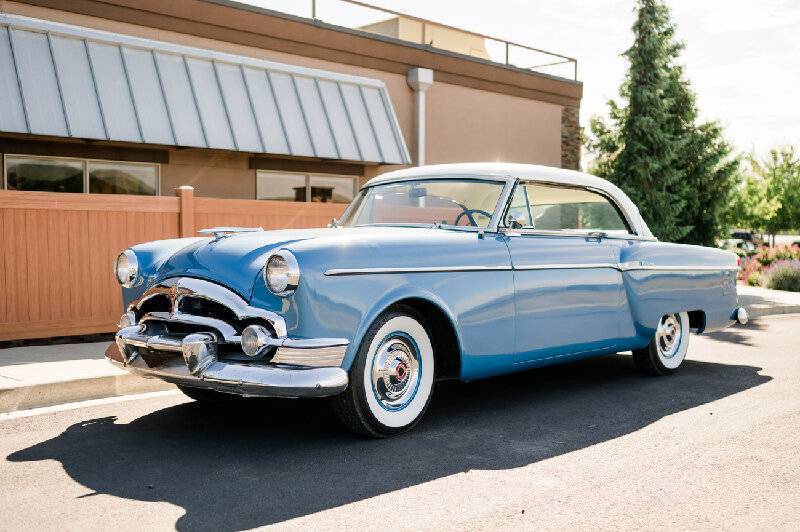
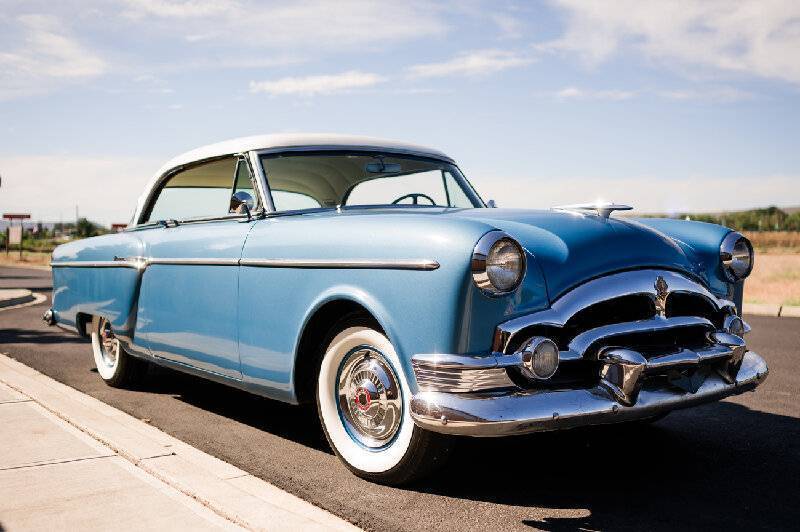
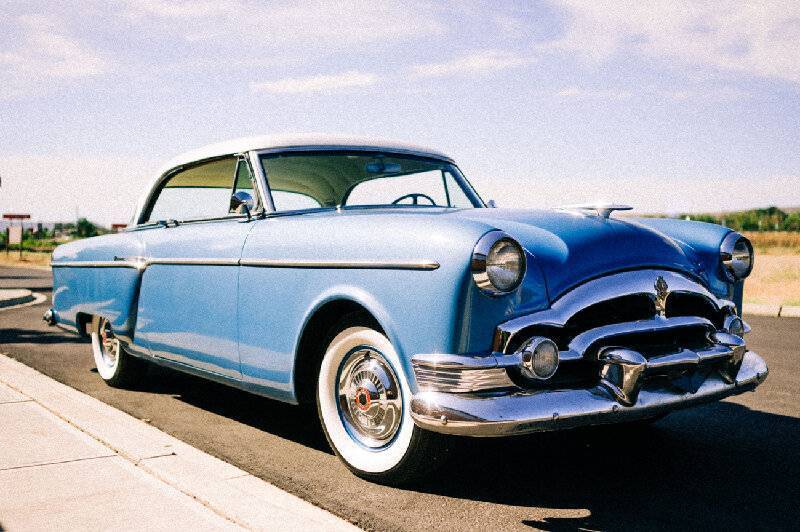
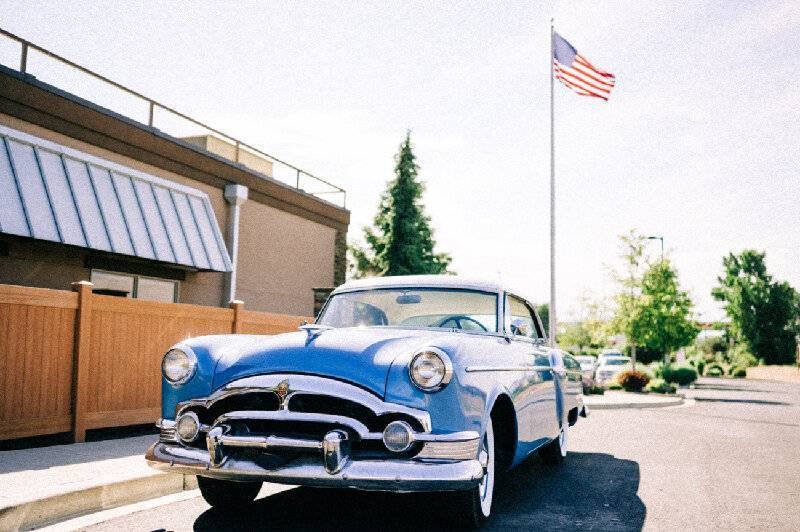
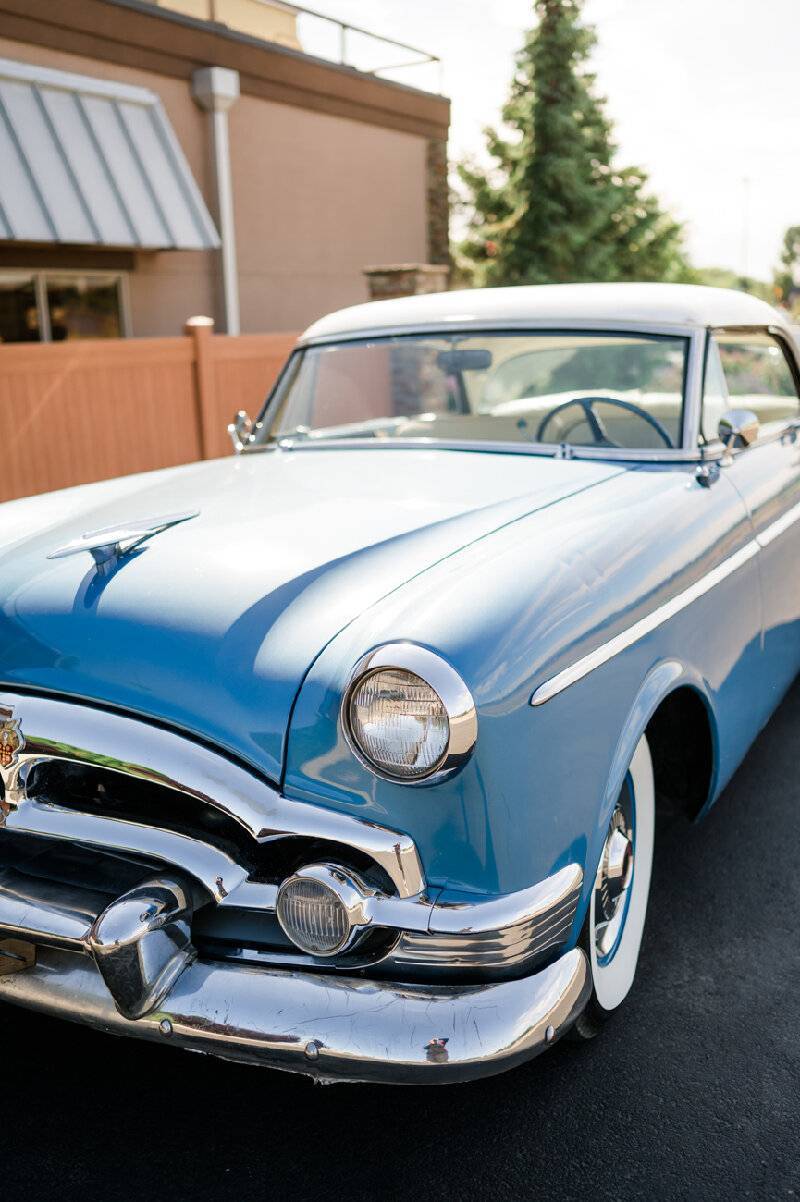
Good afternoon Kev...You have a great looking staff and a nice looking Packard...She may look better to you in the photos but she looks just fine going for Ice Cream on Sunday afternoon...Congratulations...Ernie in Arizona
Posted on: 2021/6/24 15:45
|
|||
|
Caretaker of the 1949-288 Deluxe Touring Sedan
'Miss Prudence' and the 1931 Model A Ford Tudor 'Miss Princess' 
|
||||
|
||||
|
Re: KPack's 1954 Panama
|
||||
|---|---|---|---|---|
|
Home away from home

|
Kevin, that Packard looks GREAT!!
Posted on: 2021/6/24 19:35
|
|||
|
Paul
www.studebakerskytop.com |
||||
|
||||
|
Re: KPack's 1954 Panama
|
||||
|---|---|---|---|---|
|
Home away from home

|
Haven't had lots of time to work on the car, so instead I'm ordering parts for the several projects I have on my list.
Ordered a new exhaust system, front to back, from Kanter today. It'll take at least 6 weeks to get it. I figured I might as well just do it all new instead of leaving the old muffler and patching in a pipe after it. I have no idea what condition the interior of the original muffler is.....if it's anything like the inside of the car then it was probably clogged with mice junk and dirt. I've been worried about restriction somewhere in the exhaust system. My understanding is that it can lead to overheating, and I feel like I have more stuff coming out of the road draft tube than I should. -Kevin
Posted on: 2021/7/2 22:49
|
|||
|
||||
|
Re: KPack
|
||||
|---|---|---|---|---|
|
Home away from home

|
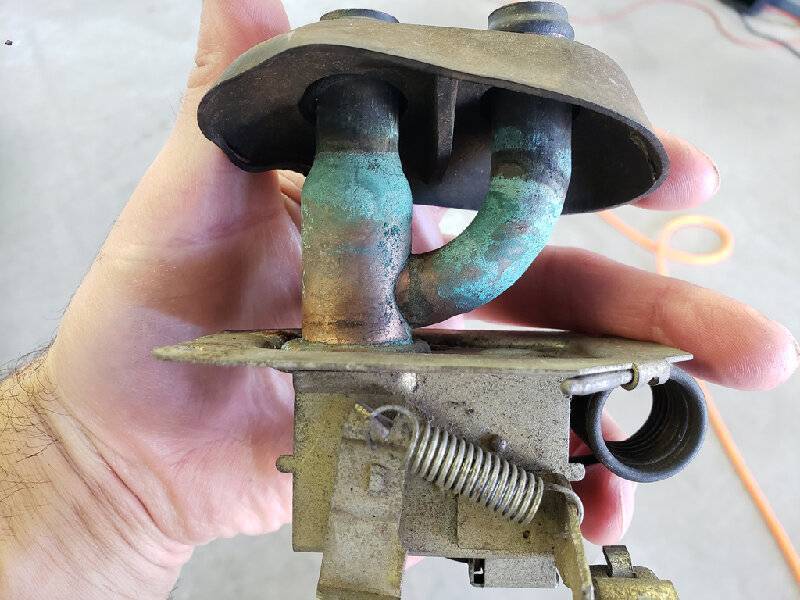
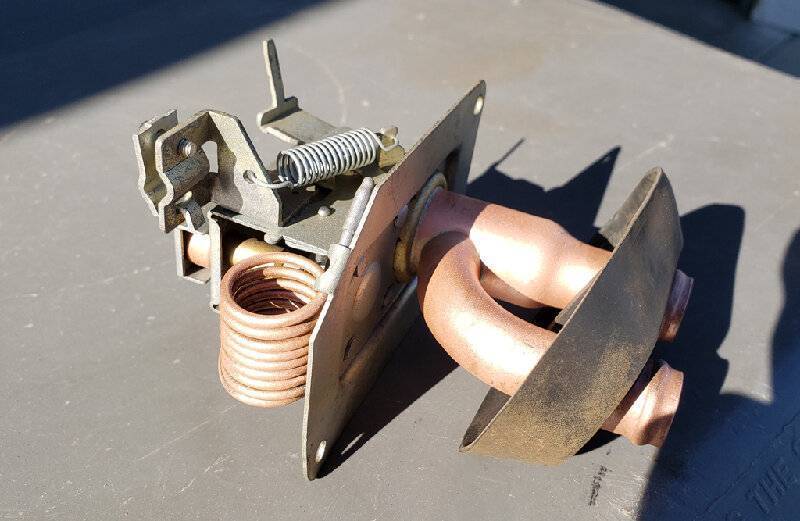
Took some time the other day to work on a few parts. I pulled off the heater box to disassemble and clean it out, and to check the heater core. An amazing amount of sand poured out of every part of the box while doing so.
Someone had already been into the heater core in the past, since the two rear-facing screws were missing. I will leave them off so I can easily access the core without having to take the whole assembly off the firewall. I wire wheeled and sandblasted everything to bare metal, then painted it all with black appliance epoxy. I'm pretty sure the heater core has a leak because I could see wisps of vapor coming out of the box when I had it hooked up and the car warmed up. However, I submerged the core and put about 10 lbs of air pressure into and didn't see any bubbles. So I'm not sure. I can remove the heater box top and get to the core easily in the future if I need to. While I was in there I cleaned up the splash panel and air blower, then painted them as well. I will need to replace the flexible ducting at some point. Overall it looks less disgusting in the engine bay right now. Eventually I will need to pull the fenders and address the engine and exhaust. But at least it's beginning to look slightly better. -Kevin Attach file:  Heater box.jpg (157.81 KB) Heater box.jpg (157.81 KB)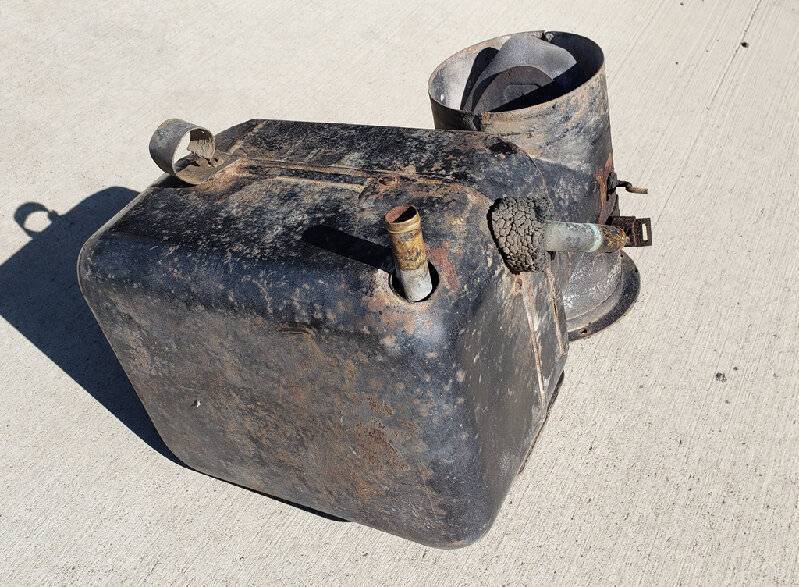  Sand on the inside.jpg (144.70 KB) Sand on the inside.jpg (144.70 KB)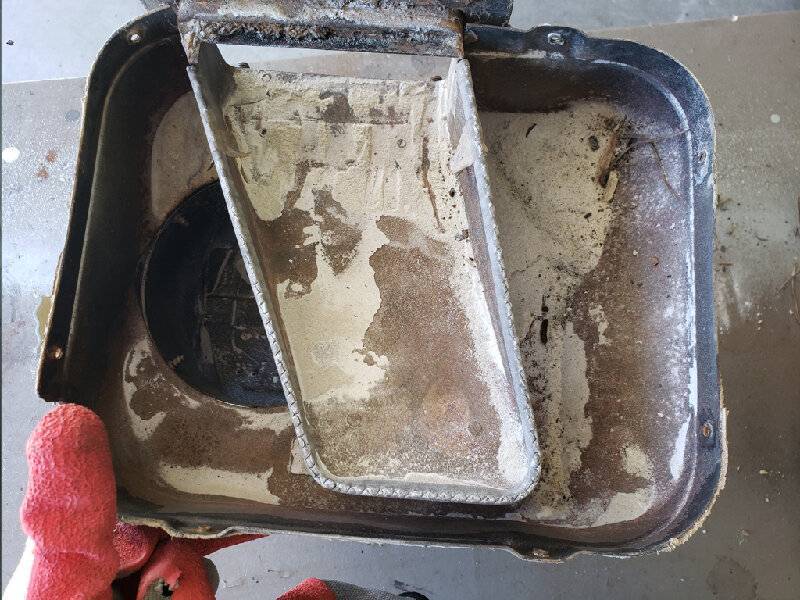  Heater core.jpg (393.93 KB) Heater core.jpg (393.93 KB)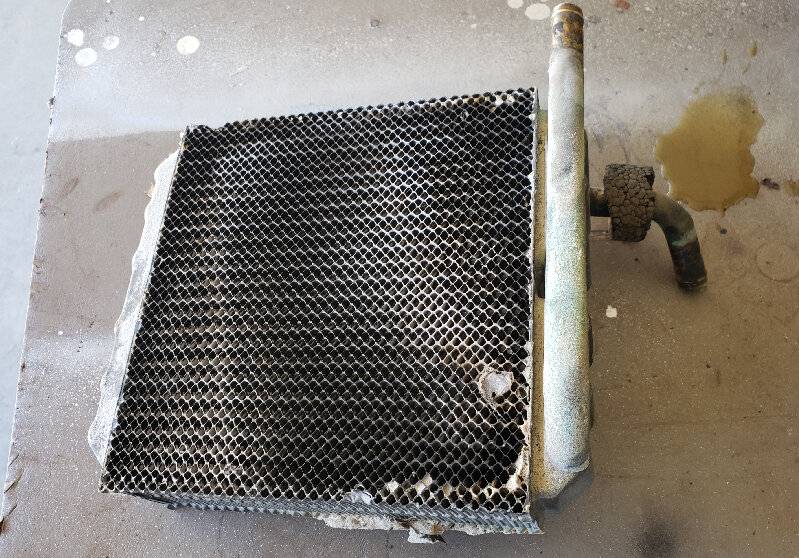  Heater box stripped and ready for paint.jpg (105.98 KB) Heater box stripped and ready for paint.jpg (105.98 KB)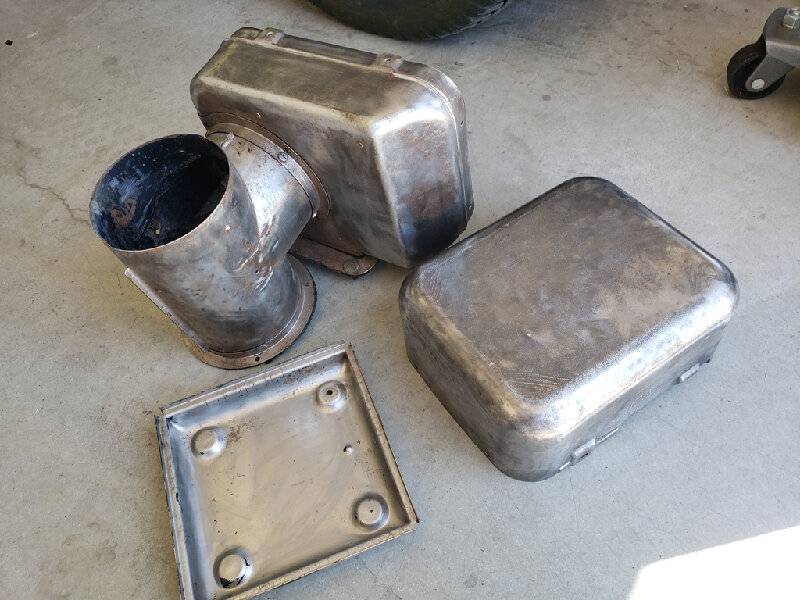  Heater box painted.jpg (68.31 KB) Heater box painted.jpg (68.31 KB)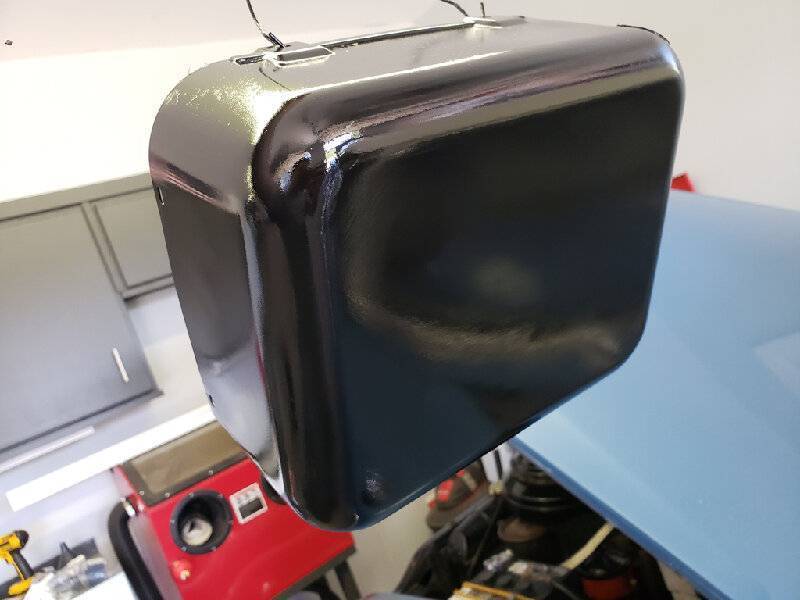  Air duct painted.jpg (102.76 KB) Air duct painted.jpg (102.76 KB)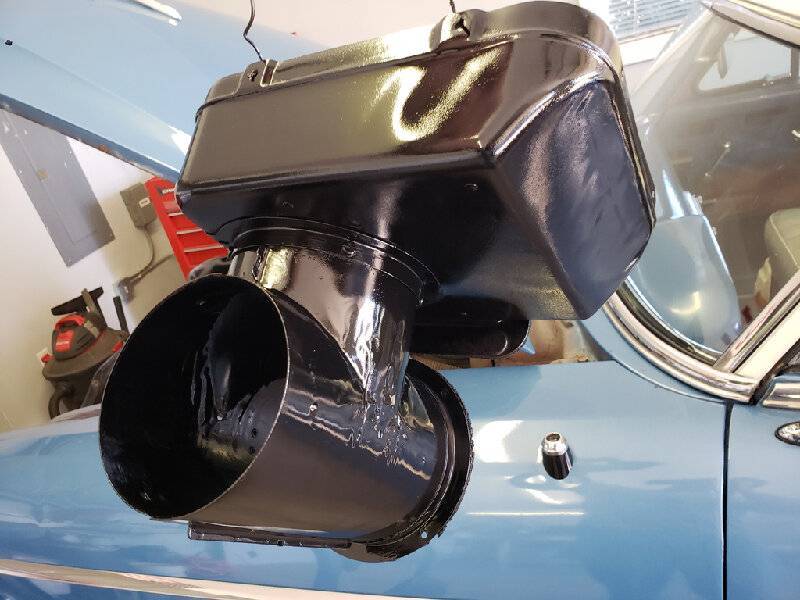  Clean heater box.jpg (92.31 KB) Clean heater box.jpg (92.31 KB)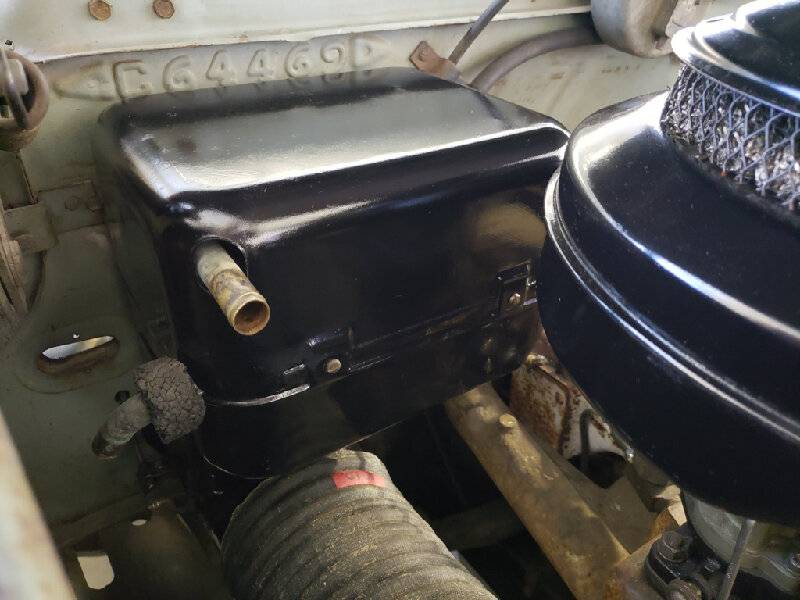  Heater box and engine bay before.jpg (121.11 KB) Heater box and engine bay before.jpg (121.11 KB)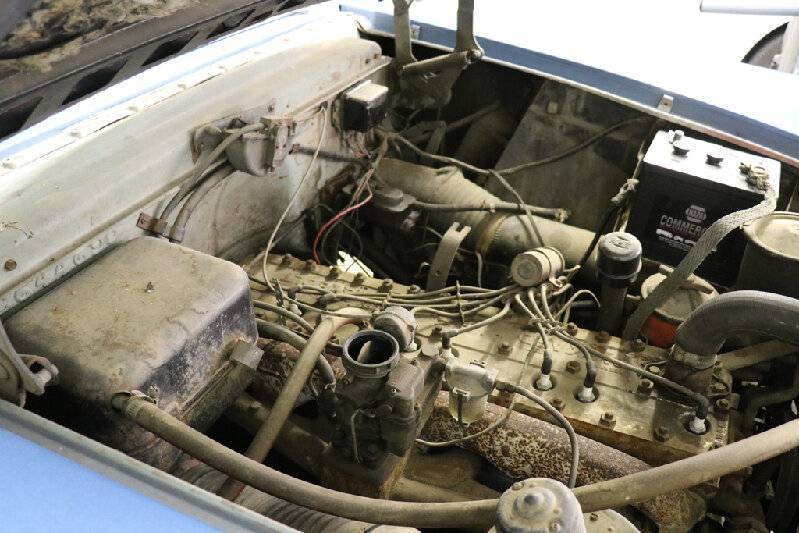  Engine bay looking slightly better.jpg (151.89 KB) Engine bay looking slightly better.jpg (151.89 KB)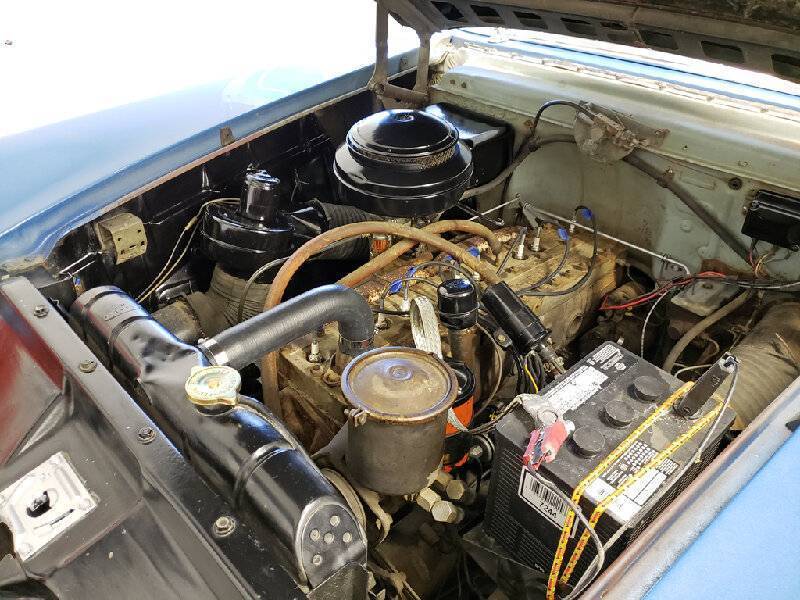
Posted on: 2021/7/7 21:24
|
|||
|
||||
|
Re: KPack's 1954 Panama
|
||||
|---|---|---|---|---|
|
Home away from home
|
It's looking great! You can get the foam seals for the heater outlets at Home Depot. Lowes or just about any hardware store. It is sold in packages or by the foot in different diameters and is used for insulating pipes.
Posted on: 2021/7/7 21:34
|
|||
|
||||
|
Re: KPack
|
||||
|---|---|---|---|---|
|
Home away from home

|
Thanks Don, that's good advice on the seals. I was wondering what I would use to replace them. I'll swing by Lowe's this weekend and pick up something that will work.
I finished reinstalling the heater box to the firewall and hooked all the parts up inside the cabin. I also cleaned up the replacement heater control valve (thanks Ross!) and installed that. My car was missing the valve when I got it. After I cleaned this one up I did my best to test it in water to see if it leaked. I didn't see any leaks, but my method may not have been the best. I will get new heater hoses, hook everything up, then continue to use straight water for the cooling system until I'm sure there are no leaks. If there are , I'll address them. If not, I'll drain the water and fill with 50/50 coolant mix. Doing some reading on the site, I realized that I may have done my transmission fluid fill wrong. I thought that I was supposed to let the car run for a minute or two, then turn it off and check the fluid. I think that gave me a false reading, like it was full. I didn't end up using all 12 quarts that the manual called for...I had just assumed that I hadn't fully drained the torque converter. Some posts talked about having the car running while checking the transmission fluid level, or having everything warmed up and checking the level within a minute after shutting off before the fluid left the TC. So last night I got the car up to temp, put it on jack stands and checked my levels. Way low. I added several quarts and checked again. I need to add another quart to get it to "Full", so I'll take care of that today. A quick test drive showed that the transmission felt much better and much more responsive. Thankfully I've only driven a handful of miles with it being low. Filling the transmission with the car on jack stands and engine running isn't fun. -Kevin
Posted on: 2021/7/9 12:44
|
|||
|
||||
|
Re: KPack
|
||||
|---|---|---|---|---|
|
Home away from home

|
Kevin
My '53 Clipper Deluxe sedan has a small hatch cover in front of the seat which can be swung aside and the vent plug removed to fill the transmission. You must have seen it when you did the floors in your hardtop? You would have to have the carpet and pad removed from the way unless you made a removable patch to access it. I have only a rubber mat so no problem. Steve
Posted on: 2021/7/9 13:43
|
|||
|
.....epigram time.....
Proud 1953 Clipper Deluxe owner. Thinking about my next Packard, want a Clipper Deluxe Eight, manual shift with overdrive. |
||||
|
||||
|
Re: KPack
|
||||
|---|---|---|---|---|
|
Home away from home

|
Steve - I wasn't sure if it could be filled from there or not. Good to know. However, I still need to be under the car to check the level, right? Last I looked under that cover it didn't look like there was a way to pull the dipstick from inside the car.
-Kevin
Posted on: 2021/7/9 15:07
|
|||
|
||||
|
Re: KPack
|
||||
|---|---|---|---|---|
|
Forum Ambassador
|
Quote:
The vent opening has been used as a more convenient fill spot since the cars were new. Can remember my dad pulling the carpet back so he could add fluid in his car when I was in elementary school and I followed the same procedure when I "inherited" the car in high school. No idea if it was ever Packard sanctioned though since they always assumed a dealership or service station having a rack or grease pit would service the car. If the vent has been used routinely in the past there is a good chance the sheet metal cap on the vent plug has been stretched to snap on and off so as to be more easily removable. There is also a chance the wire mesh inside the plug is gone. You are correct that you still need to go under to check the level. One or two have tried to cut an opening over the dipstick but the location is right next to and even under the accelerator pedal pivot so not feasible. Packard did not change that go under "feature" until they introduced the 54 gear start with the dipstick in the engine compt. In effect all you are gaining from above is saving yourself the aggravation of trying to get fluid to flow into a small opening located in a most inconvenient and space challenged spot. It has been discussed several times and here is one such discussion when other owners questioned the location. Someday it might happen that an owner will get fed up enough and be able to do the experimentation to adapt one of the universal dipsticks to the trans. Until that happens, it is grin and bear it time and under all the way.
Posted on: 2021/7/9 16:57
|
|||
|
Howard
|
||||
|
||||

