|
Dash Removal
|
||||
|---|---|---|---|---|
|
Not too shy to talk
|
Dash removal help ideas for 1941 Packard 120.
Posted on: 2023/2/9 8:34
|
|||
|
||||
|
Re: Dash Removal
|
||||
|---|---|---|---|---|
|
Home away from home
|
There are two nuts, one at each far lower corner on the back side of the dash on 1940 dashes. Plus the screws under the windows, plus any obvious screws holding the shell to the understructure along the bottom edge.
To pull the dash all the way out, you have to release the hand throttle from the holding screw on the firewall engine compartment. One window wanted to fall out when I removed the dash. It stayed in place when I removed the surround, but moved in when I removed the dash shell. Attach file:  IMG_2873.JPG (42.92 KB) IMG_2873.JPG (42.92 KB)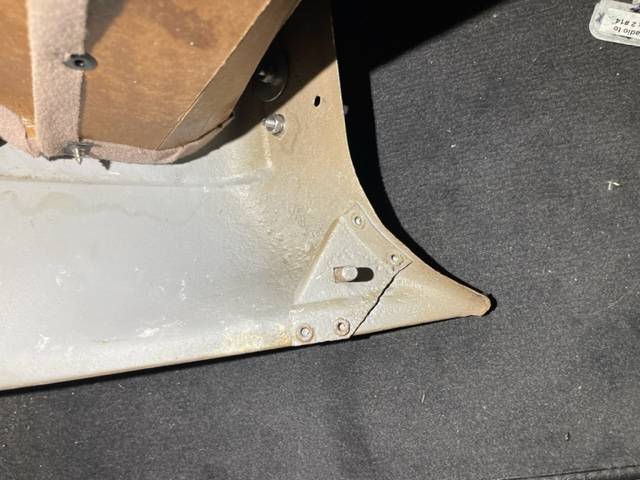  IMG_2874.JPG (23.79 KB) IMG_2874.JPG (23.79 KB)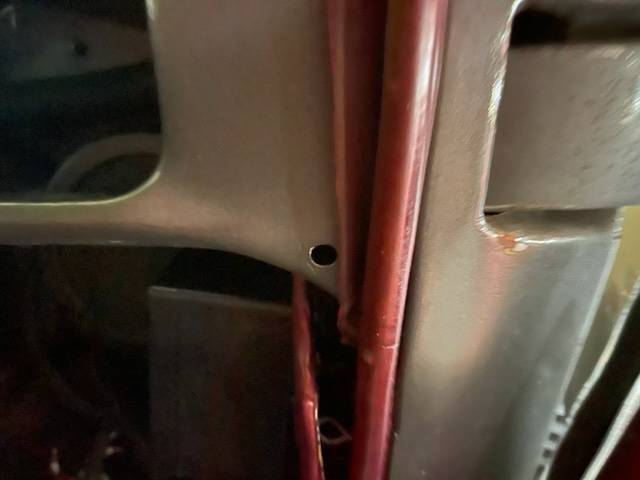
Posted on: 2023/2/9 9:53
|
|||
|
||||
|
Re: Dash Removal
|
||||
|---|---|---|---|---|
|
Not too shy to talk
|
I have removed the nuts on the bolts and they are loose. The screws along the base of the windshield are removed and I still can’t get it loose from the dash frame. It flexes from the bottom but won’t come loose on top. I can’t find anything else to take loose.
Also having trouble removing the instrument knobs. Three of them have no set screw or catch to release. I have not tried heating the stem or rod that goes into the plastic knob for fear of damaging the knob or switch. Your help and discussion is very much appreciated. Thank you
Posted on: 2023/2/9 20:29
|
|||
|
||||
|
Re: Dash Removal
|
||||
|---|---|---|---|---|
|
Webmaster
|
Did you remove the bolts where the steering columns attaches to dash?
Posted on: 2023/2/9 20:41
|
|||
|
-BigKev
1954 Packard Clipper Deluxe Touring Sedan -> Registry | Project Blog 1937 Packard 115-C Convertible Coupe -> Registry | Project Blog |
||||
|
||||
|
Re: Dash Removal
|
||||
|---|---|---|---|---|
|
Forum Ambassador
|
Others have better info on removing the dash but on the knobs many in that era are of one piece knob and shaft construction. The bezel will unscrew and the knob and shaft will come out as an assy rather than just the knob removing from the shaft as was typical in later models. Headlight sw is definitely done this way but not sure what else you have that might be similar.
Here is a typical prewar headlight sw showing that construction. Pull the knob out and unscrew the chrome bezel from the front of the dash. That will let the switch drop a bit allowing access under the dash to push down on a small strip of spring steel to release the bent end of the shaft from the sw tongue. The assy can then be removed. Attach file:  headlight switch 1.jpg (65.53 KB) headlight switch 1.jpg (65.53 KB)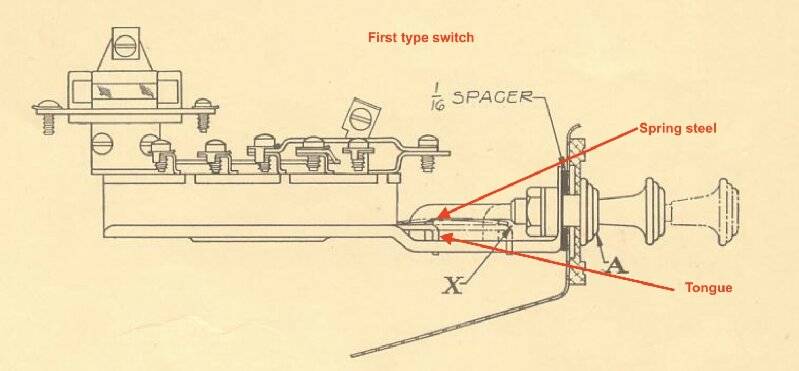  headlight switch 2.jpg (80.95 KB) headlight switch 2.jpg (80.95 KB)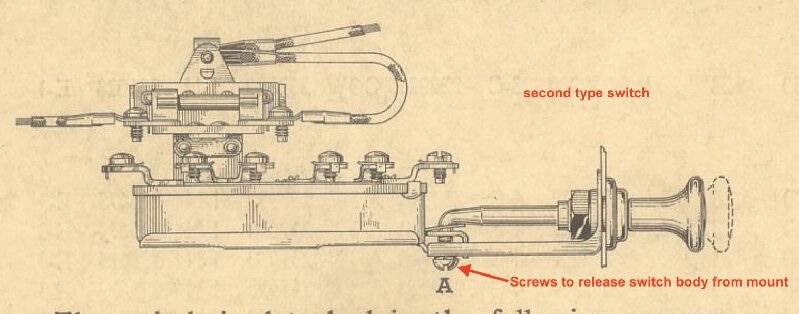  headlight switch.jpg (61.05 KB) headlight switch.jpg (61.05 KB)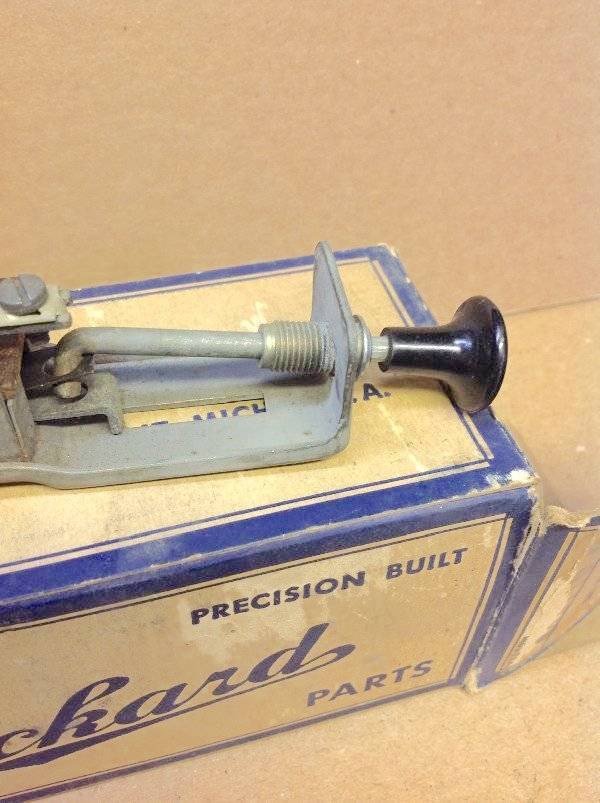
Posted on: 2023/2/9 20:42
|
|||
|
Howard
|
||||
|
||||
|
Re: Dash Removal
|
||||
|---|---|---|---|---|
|
Not too shy to talk
|
Thanks——you really answered the question. Great help.
Posted on: 2023/2/10 8:01
|
|||
|
||||
|
Re: Dash Removal
|
||||
|---|---|---|---|---|
|
Home away from home

|
Here are some behind-the-dash pix. The new disconnects I added get in the way, so you might try putting a light back there, then stick your smartphone under there and take some blind shots to see what you have to deal with.
After all the screws were out, my dash did stick along the top due to some black sealant, so it may just be stuck. Also it may be hung up on the wiper control. Be careful because you don't want to bend the fork that comes out from the wiper motor toward the control. There is a nut holding the control. Attach file:  dashbackspeedo1.jpg (314.26 KB) dashbackspeedo1.jpg (314.26 KB)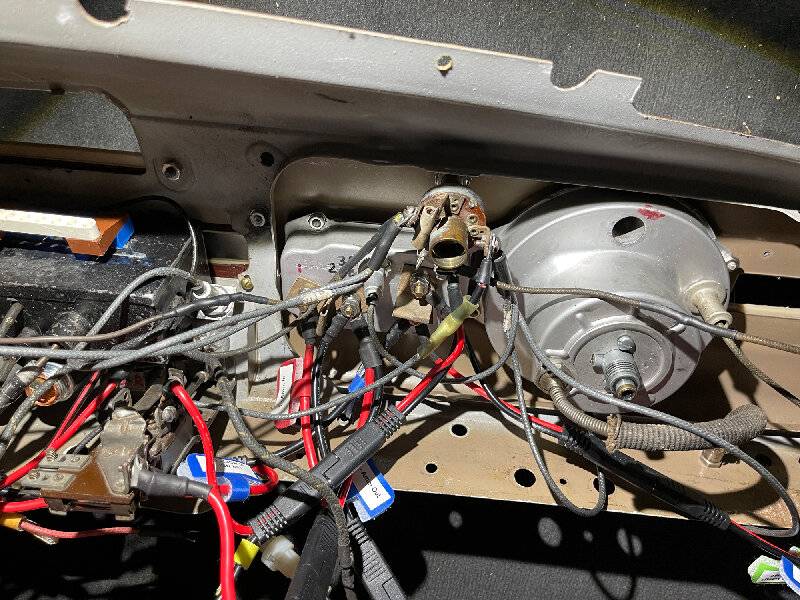  dashbackCenter1.jpg (214.78 KB) dashbackCenter1.jpg (214.78 KB)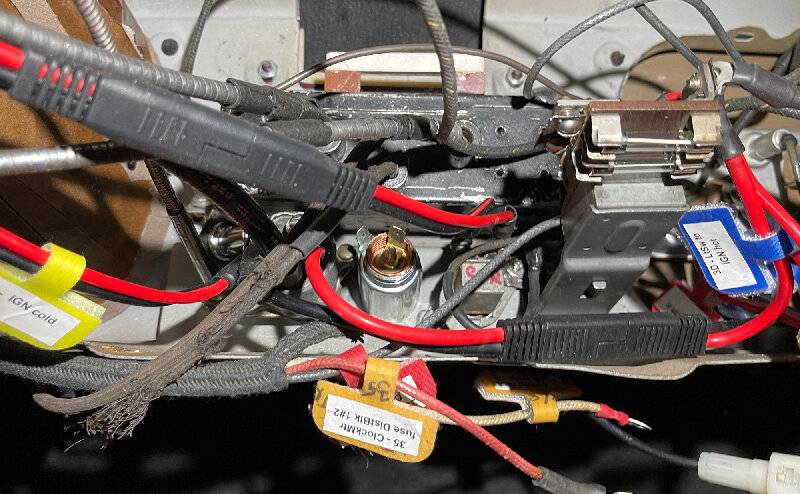  dashbackcenter2.jpg (145.39 KB) dashbackcenter2.jpg (145.39 KB)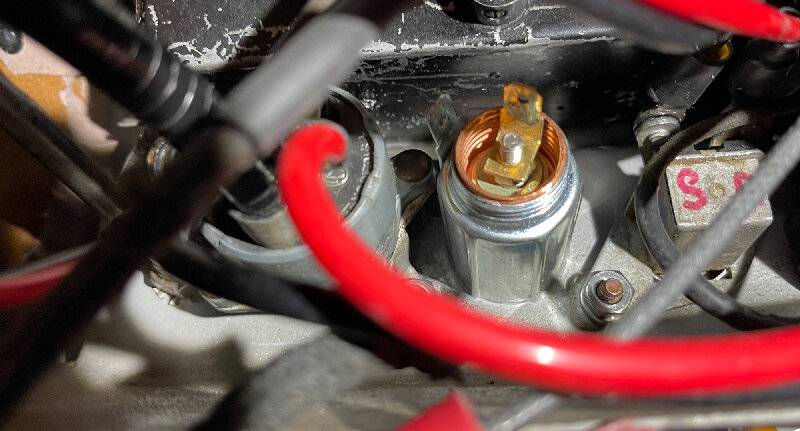  dashbackcenter3.jpg (190.62 KB) dashbackcenter3.jpg (190.62 KB)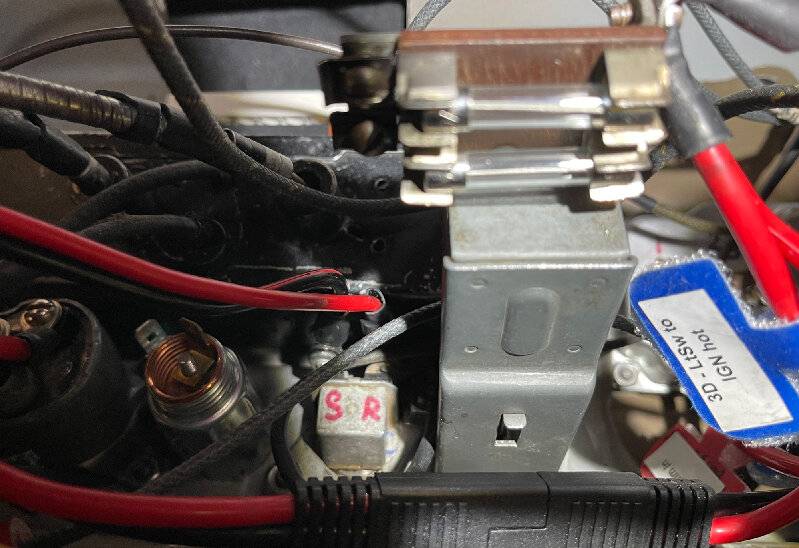  underwipercontrol.jpg (190.24 KB) underwipercontrol.jpg (190.24 KB)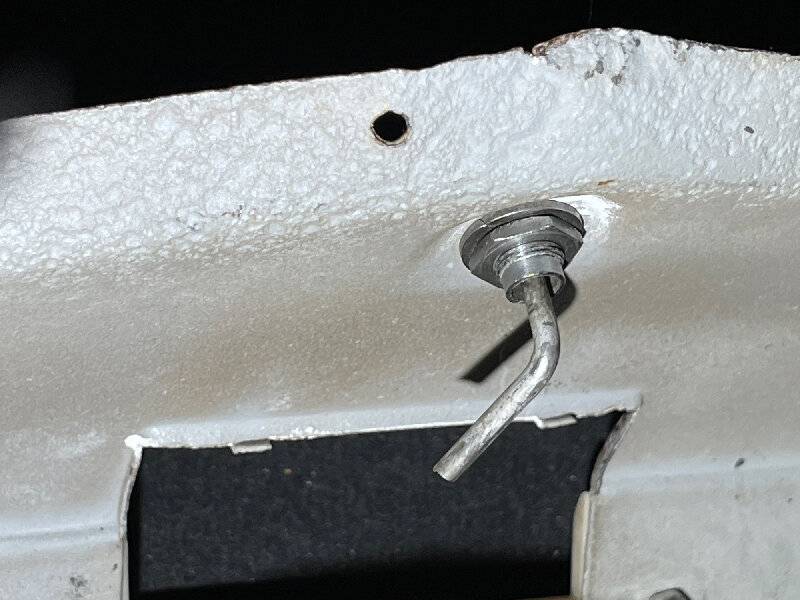  wipercontrolfork.jpg (208.66 KB) wipercontrolfork.jpg (208.66 KB)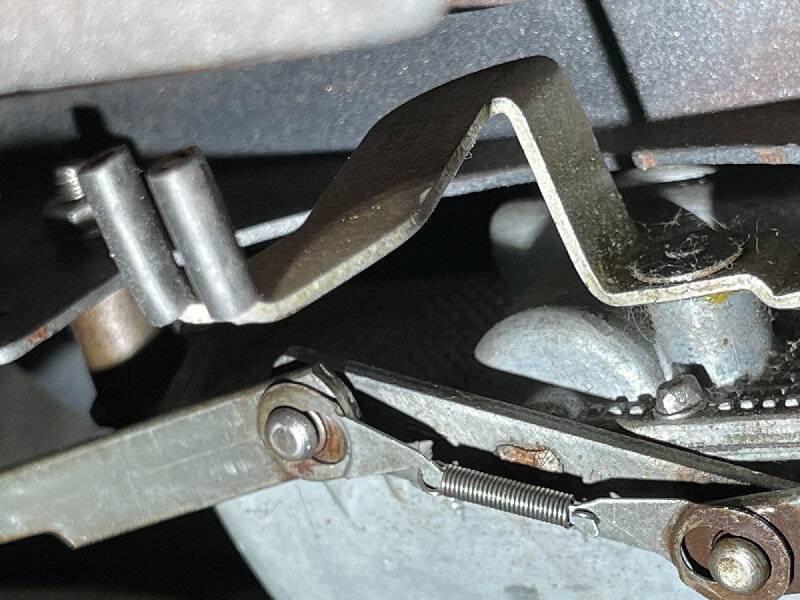
Posted on: 2023/2/10 11:11
|
|||
|
||||
|
Re: Dash Removal
|
||||
|---|---|---|---|---|
|
Home away from home

|
Howard sent you the light switch info.
The starter button is held with 2 nuts on the back, on the '40, the screws have square heads that nestle in square indentations behind the cover plate on the shell. To get the cover plate off, you have to get the light switch, the cigar lighter and hand throttle off. \Disocnnect the wires to the cugar lighter and (battery off) twist the inside of the lighter which unscrews from its housing. See pic. The ignition is the same as the starter button. The handtrottle unscrews like the light switch, so you can remove the cover plate part way. To pull the dash and cover plate, as mentioned, you have to release the end of the hand throttle cable on the firewall engine compartment.
Posted on: 2023/2/10 11:25
|
|||
|
||||


