|
Re: Morticus' Packard 200 Deluxe Touring Edition
|
||||
|---|---|---|---|---|
|
Home away from home
|
You can add MMO to crankcase oil at up to 20% and leave it until the oil needs changed. One quart in 5 is plenty. The same is true for Rislone.
I would not add harsh, volatile solvent, like B-12 Chemtool, to the crankcase oil. I would not add diesel fuel or kerosene to the crankcase, either. If your engine has an oil filter, I'd replace it.
Posted on: 2023/7/20 19:33
|
|||
|
||||
|
Re: Morticus' Packard 200 Deluxe Touring Edition
|
||||
|---|---|---|---|---|
|
Home away from home

|
Quote:
Thanks. Oil and filter are ready to go. Oil will be changed this weekend. We'll throw some MMO in there for kicks. That plus Rotella oil should hopefully keep things clean and free.
Posted on: 2023/7/20 21:11
|
|||
|
||||
|
Re: Morticus
|
||||
|---|---|---|---|---|
|
Home away from home

|
Some progress, but not as much as we had hoped for.
Started off last night by draining the old oil, removing the old filter and suctioning all the dirty oil out of the filter housing. The oil filter was a Purolator P-70....it looked pretty vintage. No idea how old it is. New oil, Chevron Delo 15W-40 (non-synthetic diesel oil with zinc). New filter NAPA 1080. Added about half a quart of MMO for good measure. Installed a brass tee fitting where the oil pressure switch connects, then connected an oil pressure gauge to mount under the dash. Started the car and let it warm up to temperature for about 10 minutes....ran okay, but not totally smooth and I don't think we've picked up #8 yet. Today we intended to do some small test drives. Put the valve covers and fender access panel back, tires back on. Adjusted the brakes all the way around (have not replaced ay brake parts yet). We cleaned the very yellow whitewalls with some Bleche White and Magic Eraser. It really helped. Not perfect, but a big improvement. Noticed that the plastic fuel filter they had put on had failed and the filter element was floating around inside. Replaced it with a metal filter. Got the car out of the shop, got about 200 yards down the driveway and it died. Couldn't hardly get it to start again. Had to tow it back to the shop with my truck. We've been struggling to start it ever since. We figured maybe the new filter element was restricting, so we cleaned up the stock Carter fuel bowl, put in a modern filter and installed with a new hard line from the fuel pump. No change. Removed the carb and opened it up. Float bowl had a 1/4" layer of crud at the bottom. We assume when the first fuel filter failed that it let a bunch of junk into the carb and clogged it up. We cannibalized my old carb that I had previously rebuilt, and mixed and matched parts. Unfortunately the "rebuild" did not help. It seems that fuel is not making it to the carb. If we fill the float bowl by hand it will start (not easily) and run until the fuel is drained from the float bowl. There is fuel in the fuel bowl outside the carb, but it's not getting to the carb. Needle and seat maybe? Something is not right. Regardless, we are going to rebuild the original carb....it is in much better condition than the replacement one that came on the car. Morticus is going to tackle that one....it will be a good learning experience. -Kevin Attach file:  Old oil filter.jpg (95.35 KB) Old oil filter.jpg (95.35 KB)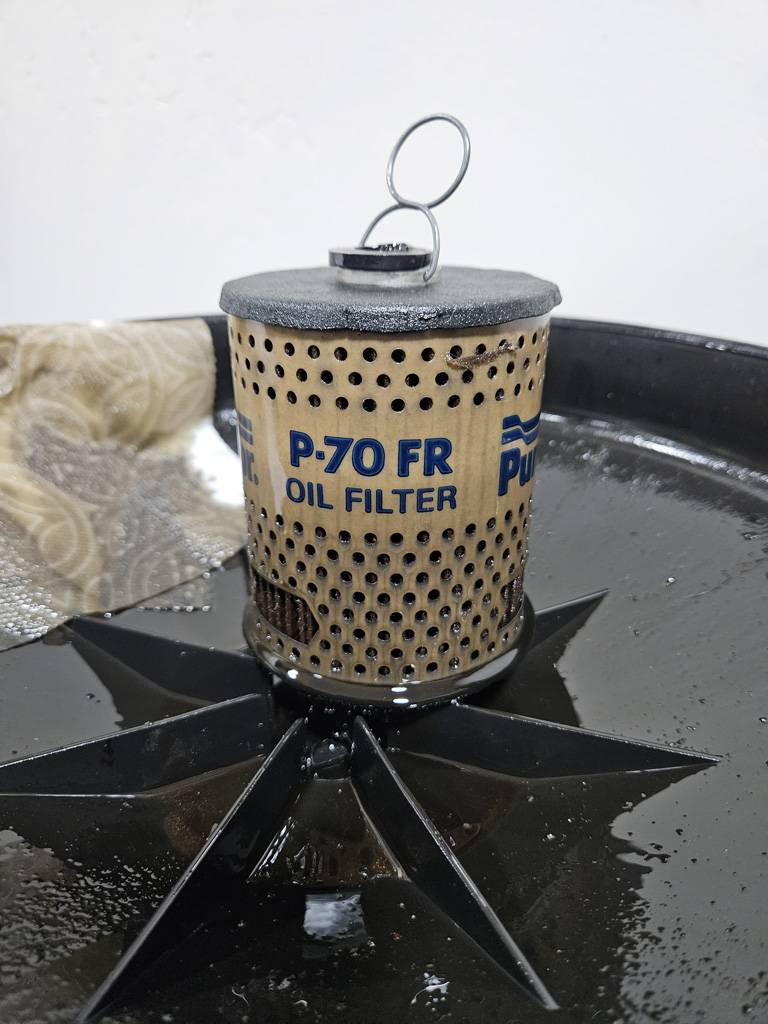  Yellowed white walls.jpg (97.58 KB) Yellowed white walls.jpg (97.58 KB)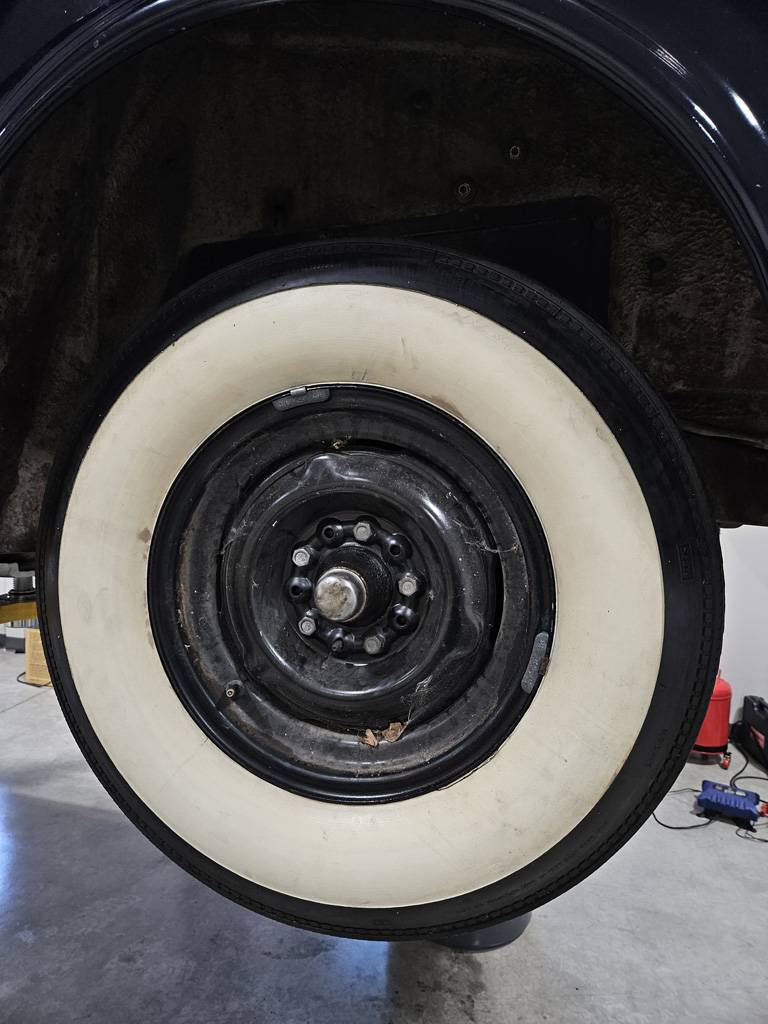  Cleaned up.jpg (127.17 KB) Cleaned up.jpg (127.17 KB)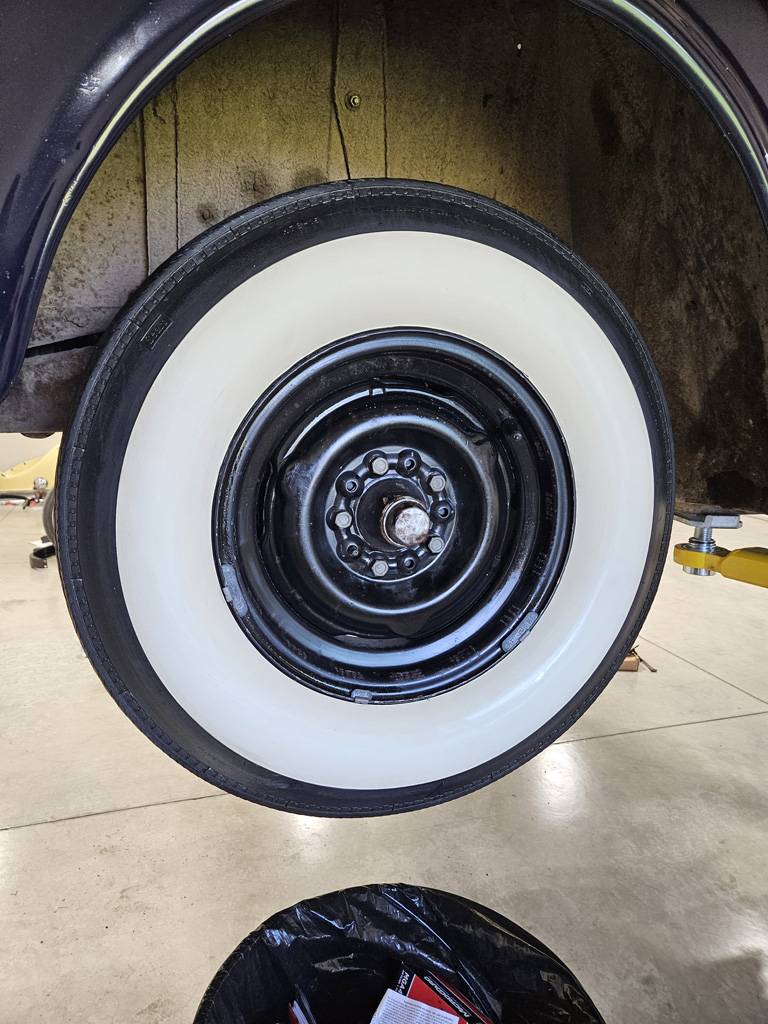  Out of the shop.jpg (301.87 KB) Out of the shop.jpg (301.87 KB)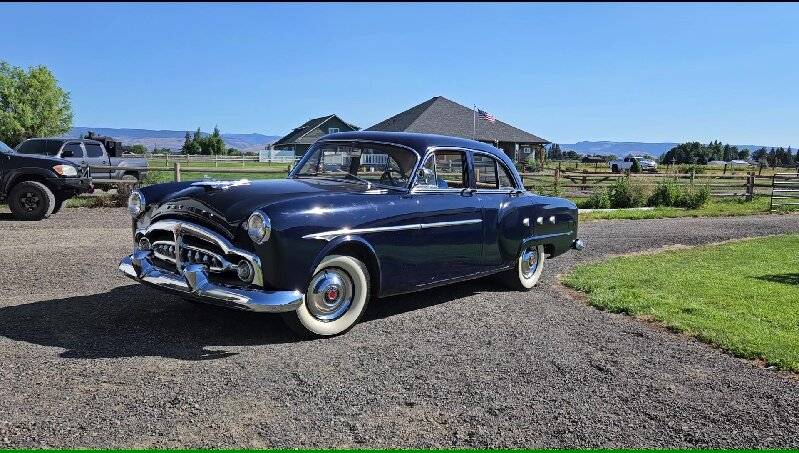  Original fuel bowl, damaged filter.jpg (121.88 KB) Original fuel bowl, damaged filter.jpg (121.88 KB)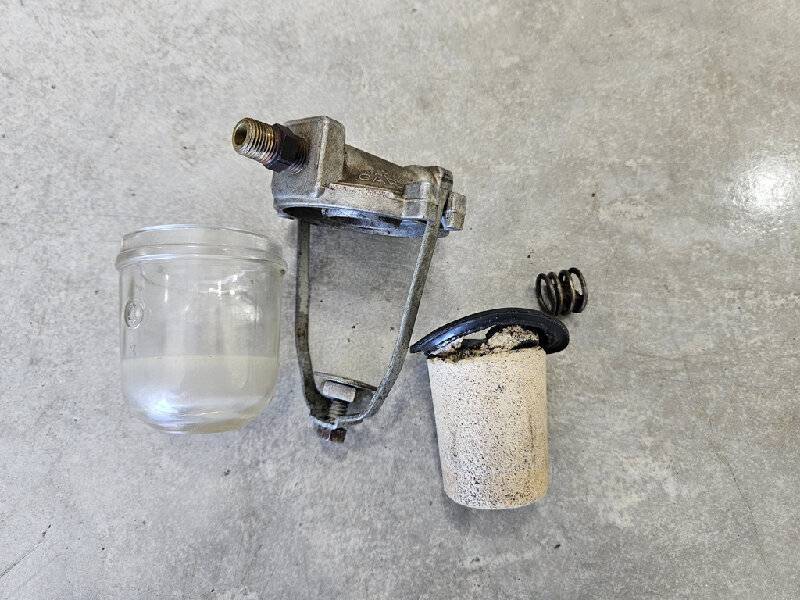  Cleaned up filter.jpg (95.24 KB) Cleaned up filter.jpg (95.24 KB)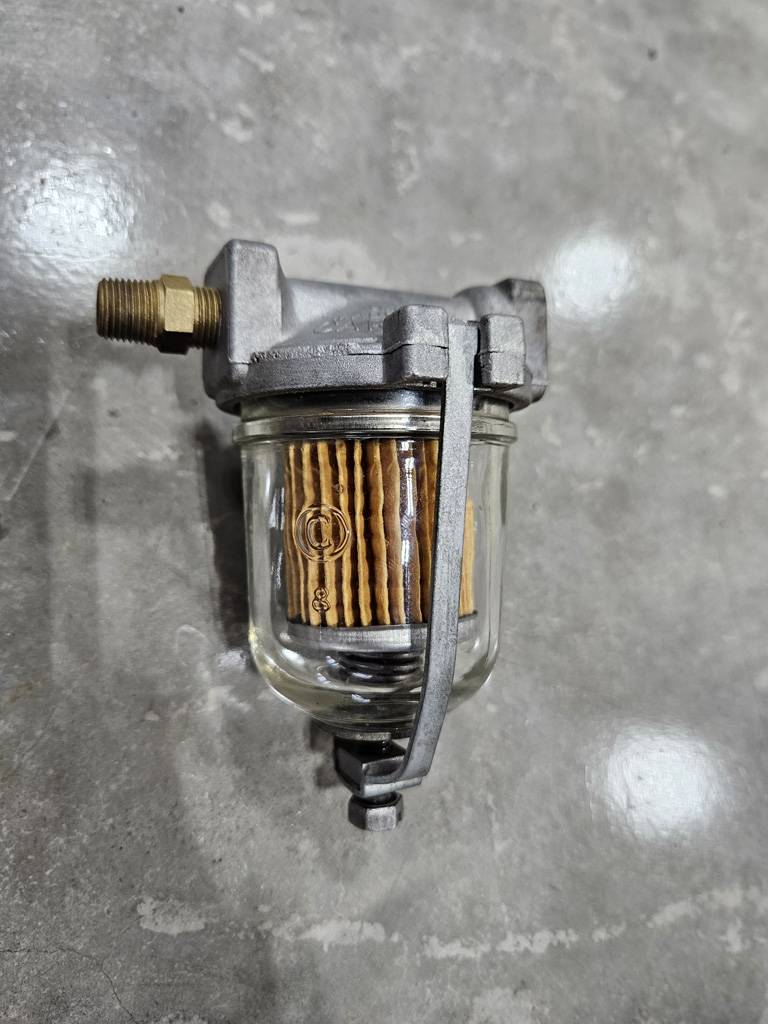  Crud in the float bowl.jpg (98.85 KB) Crud in the float bowl.jpg (98.85 KB)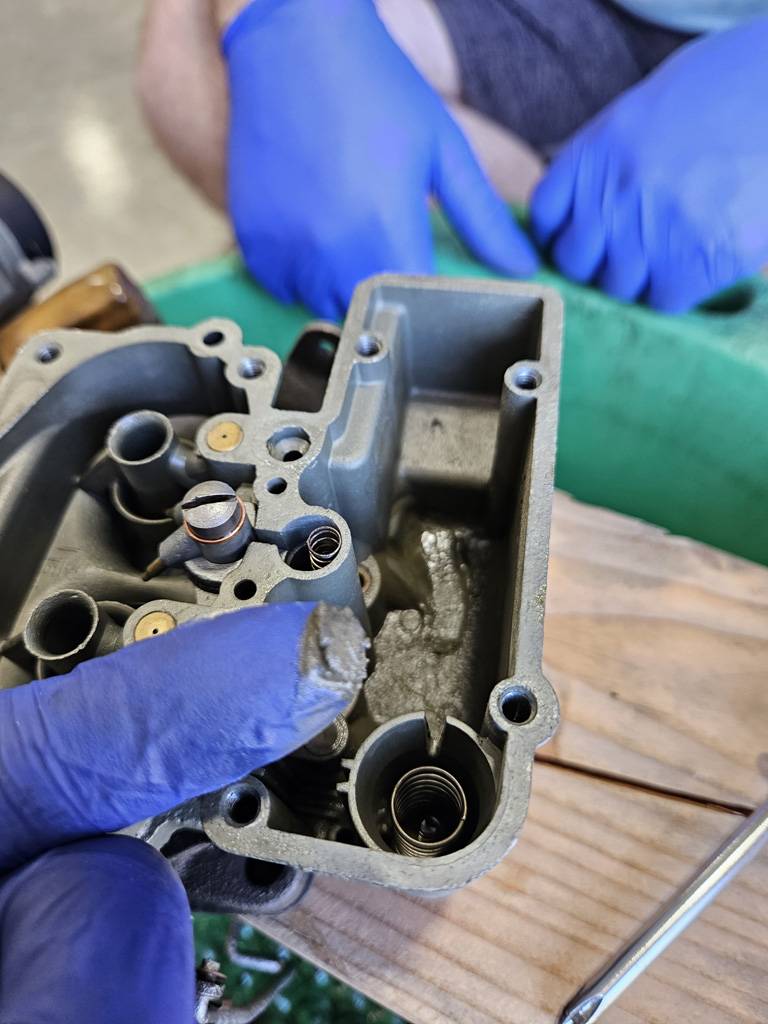  Clogged seat filter.jpg (78.67 KB) Clogged seat filter.jpg (78.67 KB)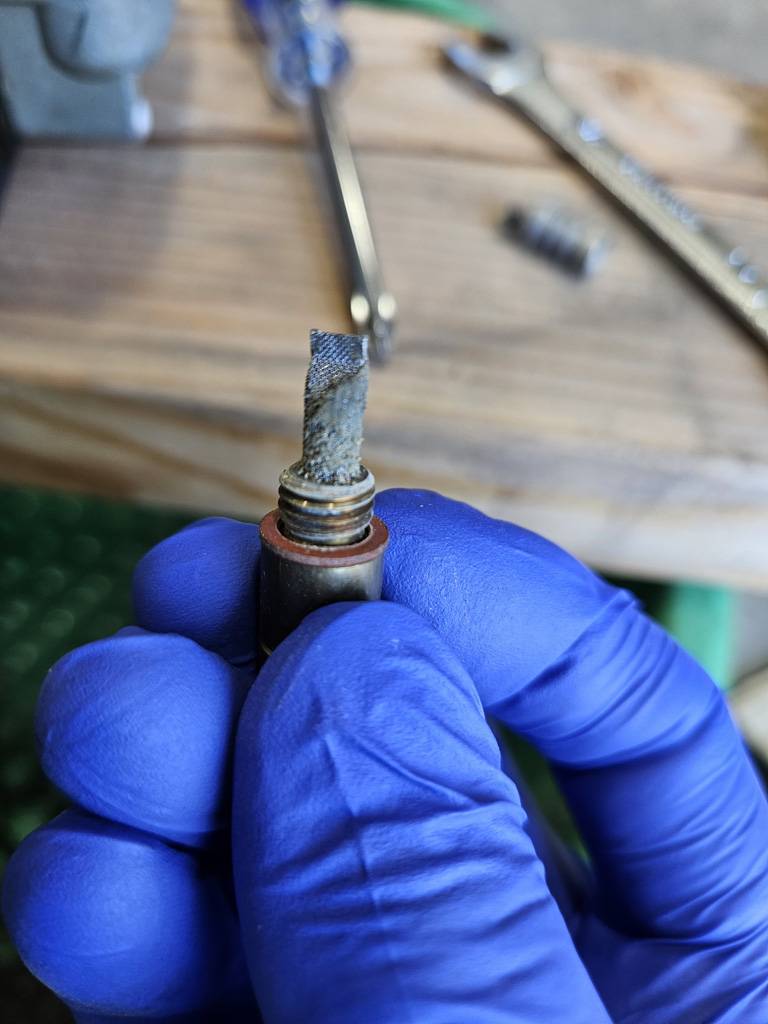  Fuel in the bowl.jpg (110.58 KB) Fuel in the bowl.jpg (110.58 KB)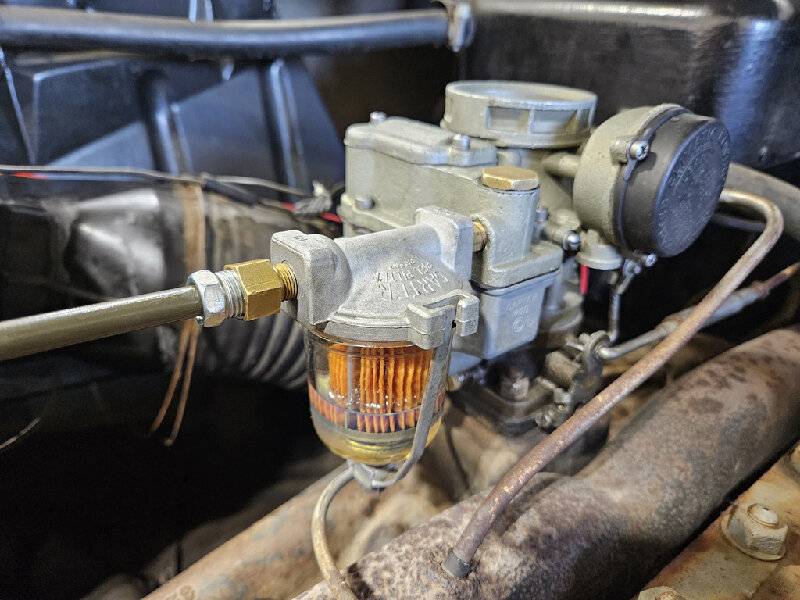  Original carb, not rebuilt.jpg (97.74 KB) Original carb, not rebuilt.jpg (97.74 KB)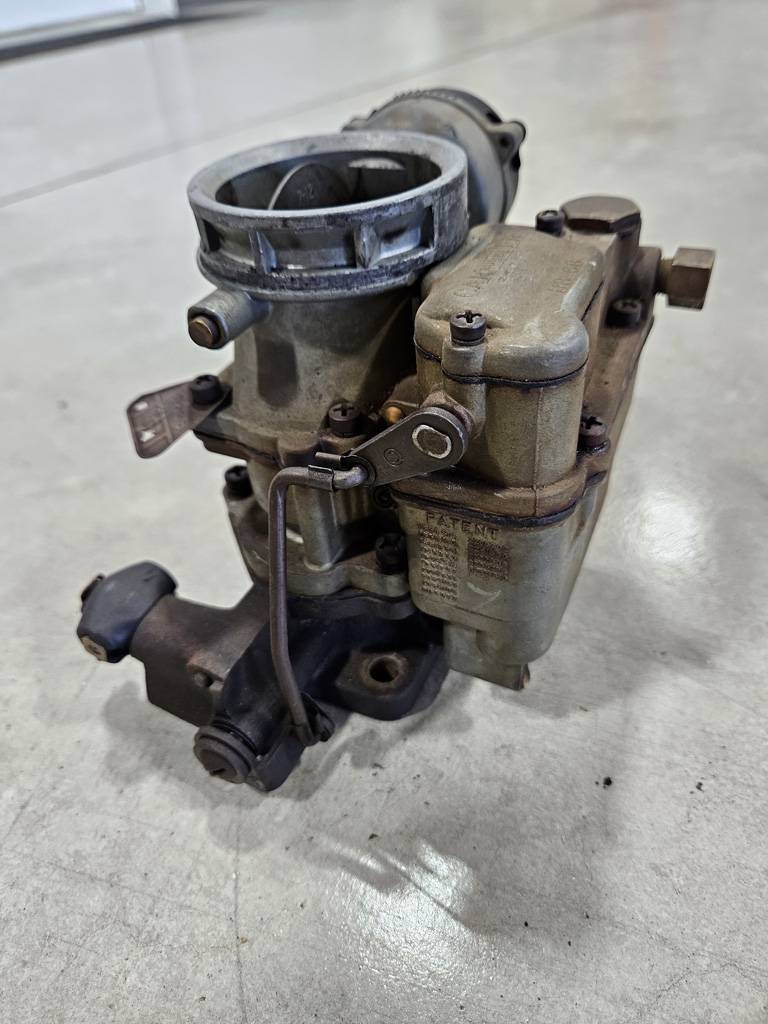
Posted on: 2023/7/22 18:23
|
|||
|
||||
|
Re: Morticus' Packard 200 Deluxe Touring Edition
|
||||
|---|---|---|---|---|
|
Forum Ambassador
|
There is also a screen in the fuel bowl at the bottom of the fuel pump and don't forget about the rubber flex line between the metal fuel line and pump inlet. Those hoses can get dry and brittle. While the outside can look good the inner liner can crack and with fuel flow, pull a section out into the bore which can block the bore almost acting as a valve. The more gas flow the engine needs the worse the problem.
Posted on: 2023/7/22 19:26
|
|||
|
Howard
|
||||
|
||||
|
Re: Morticus
|
||||
|---|---|---|---|---|
|
Home away from home

|
Thanks Howard. The fuel pump was the next thing I wanted to check. The more I think about it, the less I believe the needle and seat are the problem. If we can fill the float bowl manually then that should be fine. It seems that the flow is weak.
We've already replaced the flex line to the pump, the old was cracked and brittle. With the carb as bad as it was, I believe the screen in the pump is likely clogged. I may need to check for air getting in at the hose connections also. Kevin
Posted on: 2023/7/22 19:59
|
|||
|
||||
|
Re: Morticus' Packard 200 Deluxe Touring Edition
|
||||
|---|---|---|---|---|
|
Home away from home
|
From here, it looks to me like most of your issues are related to very old, rotten fuel and probably some corrosion or old fuel residue remaining in the gas tank, fuel line, and and all screens and filters, and the carburetor and fuel pump. The fuel pump may be fouled with gum and varnish, and it's likely the diaphragm is in poor condition. It doesn't take much to foul fuel pump valves, filters, screens, and carburetor parts. It might be productive to remove the fuel tank and inspect the interior, and clean as necessary. The entire fuel line may be rusty or gummy or both. Disconnecting it at both ends and putting some solvent, such as B-12 Chemtool, through it, then blowing it out with compressed air, may clear it. B-12 will attack paint, so don't spill or blow it on finished surfaces.
I suspect that the engine issues will clear up with some run time with clean oil and a dependable supply of clean fuel. If you continue to have a dead miss on any one cylinder, further investigation would be indicated. Don't overlook spark plugs and plug wires as a source of problems, or something like a cracked or carbon tracked distributor cap. Older radio suppression type plug wires can look like new and still not function. Sometimes old plug wire boots can decay and become conductive.
Posted on: 2023/7/22 20:47
|
|||
|
||||
|
Re: Morticus' Packard 200 Deluxe Touring Edition
|
||||
|---|---|---|---|---|
|
Home away from home

|
It looks like a great car. I bet when you get the mechanicals sorted out, it will be a nice original car.
Sounds like there is dirty fuel issues. All good comments about cleaning the lines and pump from the other guys. I would drop the tank and look inside the fuel tank to see if that is clean. If there is junk in the tank, you will be fighting with it for a while. Might Aa well clean the whole fuel System starting from the back. Have fun.
Posted on: 2023/7/23 15:34
|
|||
|
1953 Clipper Delux Club Sedan, 1953 Caribbean, 1969 912, 1990 Miata
|
||||
|
||||
|
Re: Morticus' Packard 200 Deluxe Touring Edition
|
||||
|---|---|---|---|---|
|
Home away from home

|
Thanks for the tips guys. We agree that the old fuel is the problem. The engine is definitely starving for fuel. Next step is to drop the tank, clean it out, clean the main hard line, and rebuild the fuel pump.
No radiator shops around us boil out the tanks anymore. Washington state is too strict on environmental regulations now. So we'll be trying some other things. I've read of success with either B-12 Chemtool or straight lacquer thinner. We'll probably try those first to see if we can get the varnish dissolved. Hopefully the inside of the tank is not too rusty. I don't think we want to try applying a sealer to the inside....heard too many stories of failure. -Kevin
Posted on: 2023/7/27 10:24
|
|||
|
||||
|
Re: Morticus' Packard 200 Deluxe Touring Edition
|
||||
|---|---|---|---|---|
|
Forum Ambassador
|
And fortunately repro tanks are available and may be a less expensive and more hassle free solution if something other than a simple cleaning is needed.
There are some decent sealers and one may be worth a shot as long as you thoroughly clean the tank of any loose particles. After using chain or whatever to knock the particles free and then rinsing the loose out, let it dry completely before using the sealer. After the excess sealer is drained out be sure to tip the tank up slightly so bottom does not lie flat as the sealer cures.
Posted on: 2023/7/27 10:53
|
|||
|
Howard
|
||||
|
||||


