
|
Re: Rear Bumper
|
||||
|---|---|---|---|---|
|
Home away from home

|
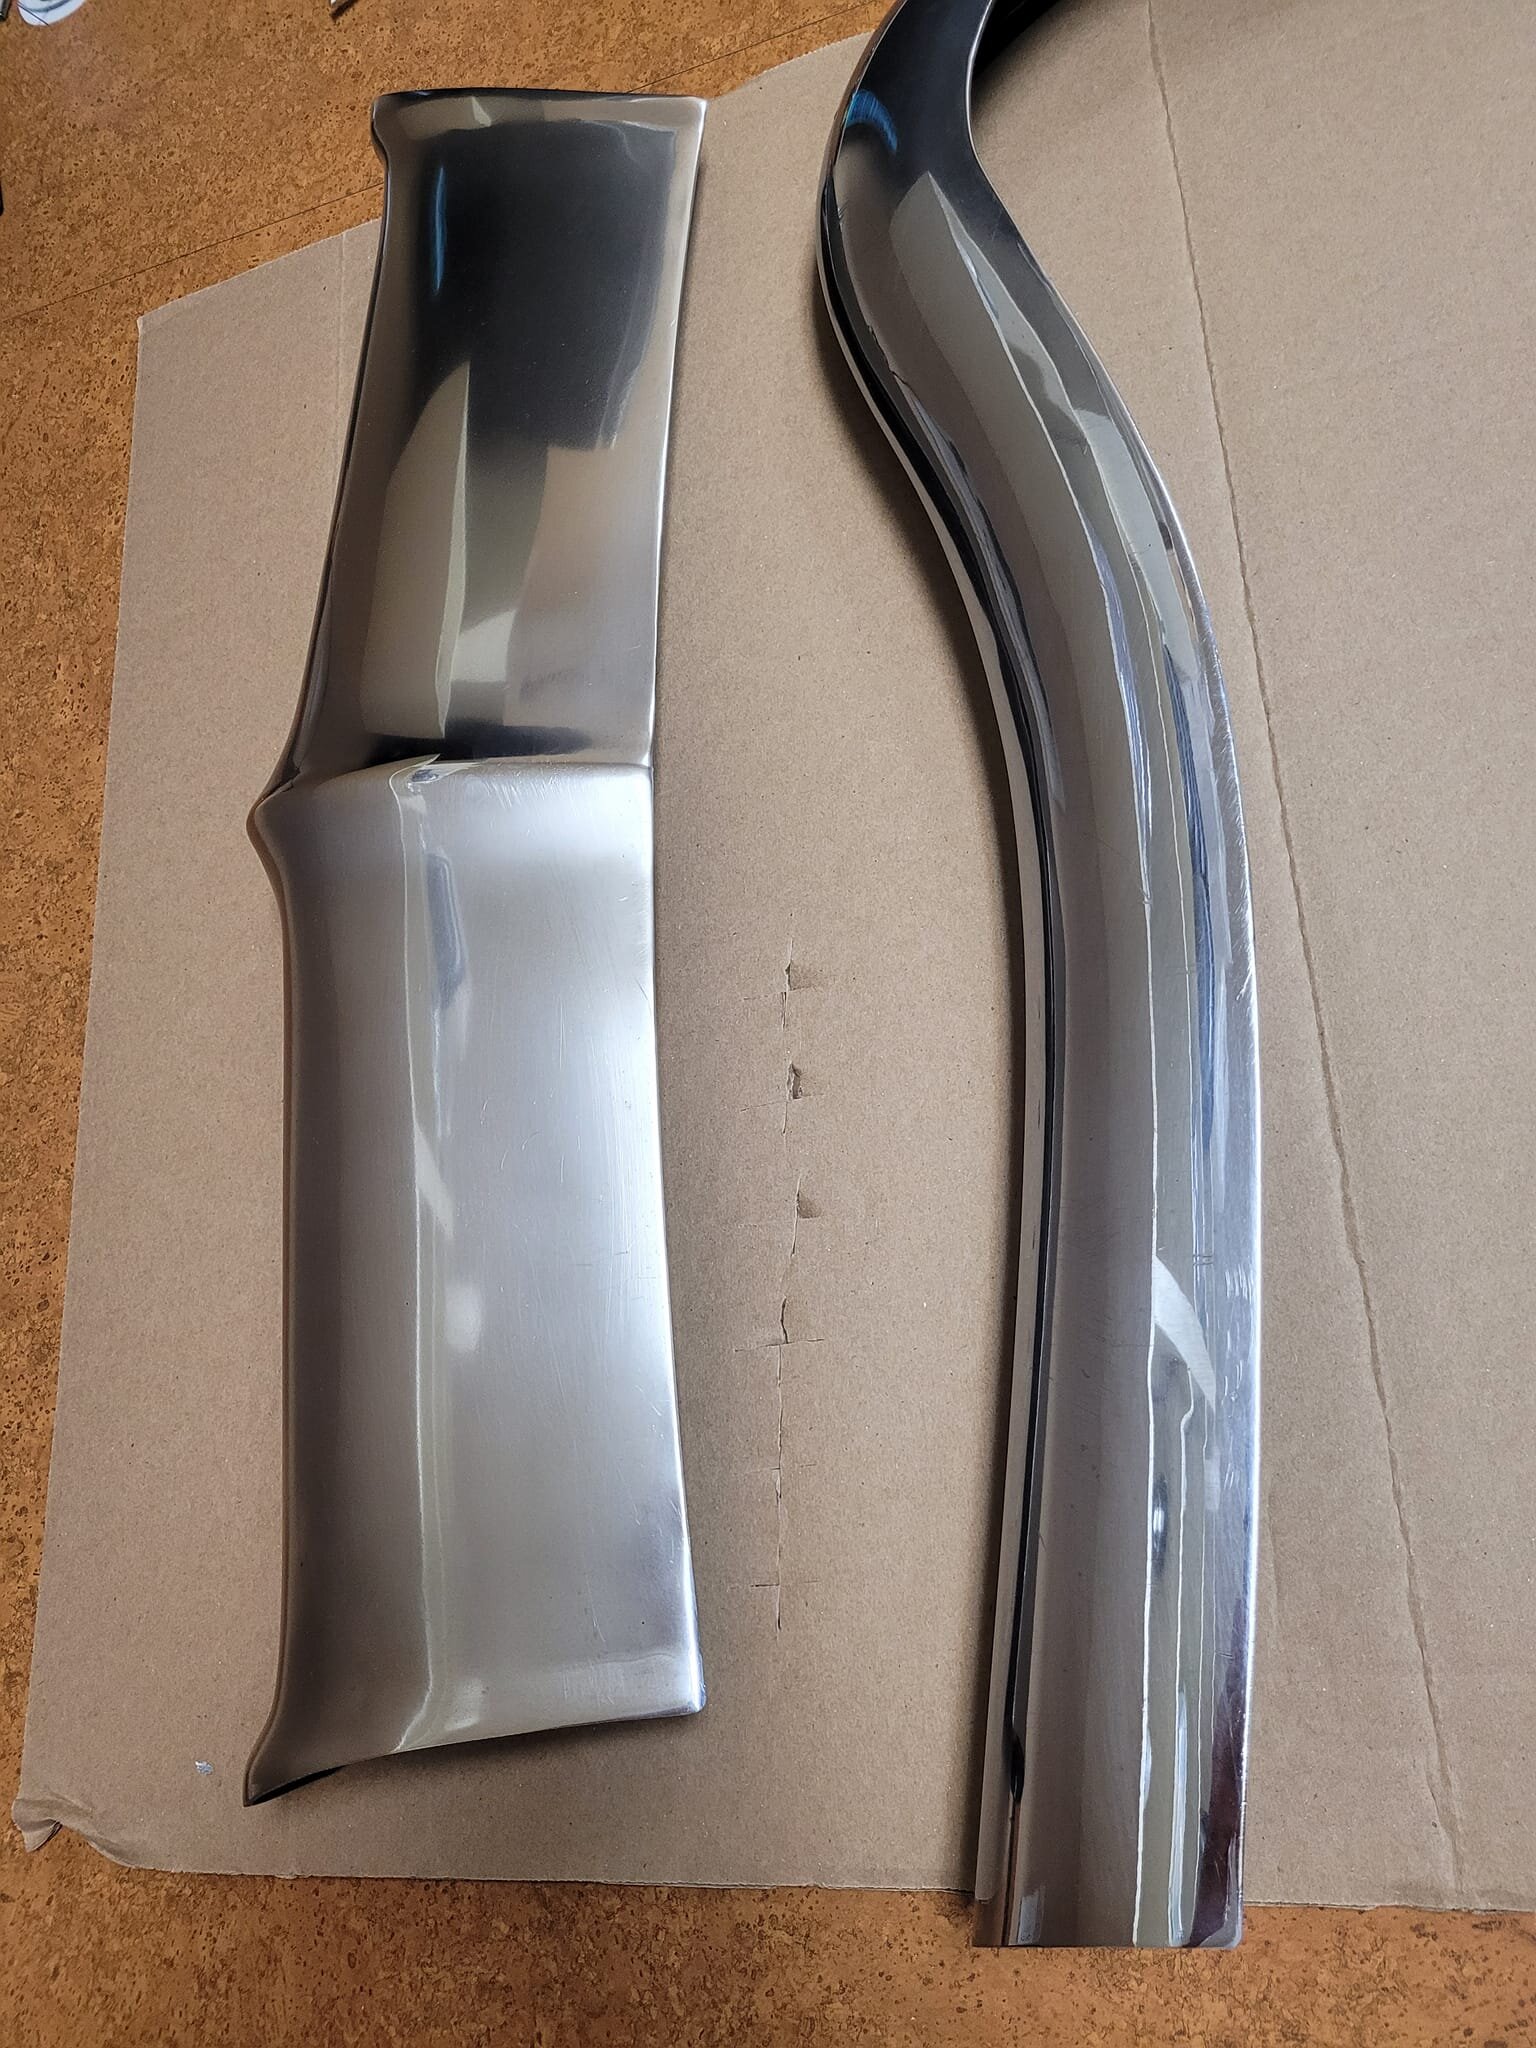
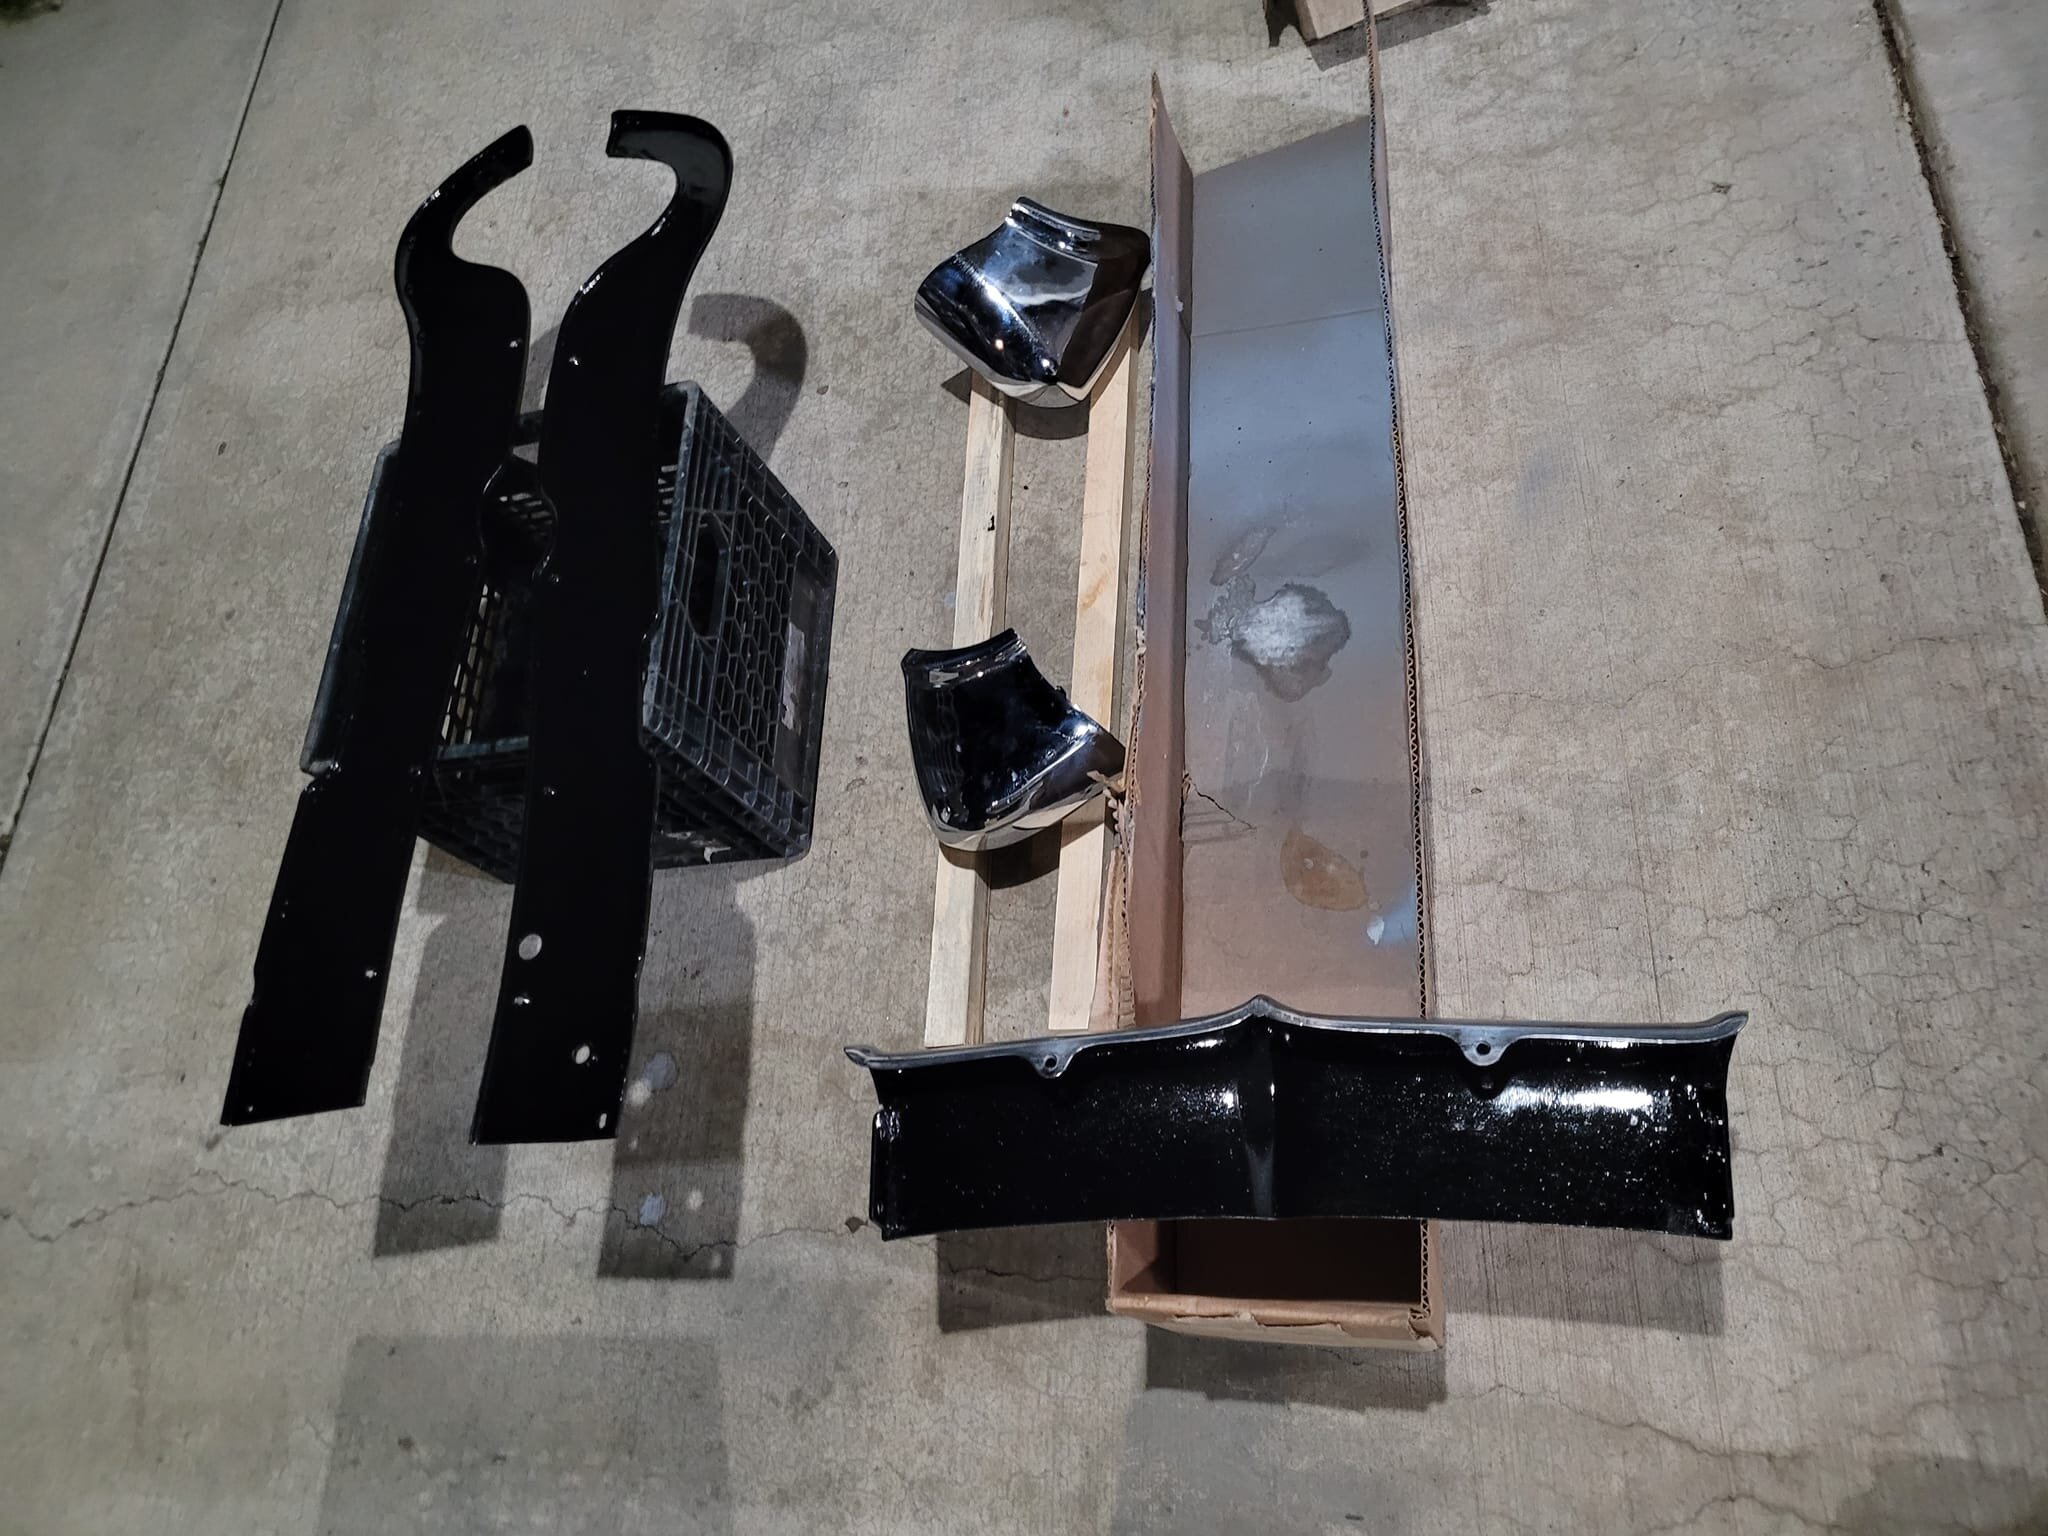
Looking good! On the crossbar, it’s probably starting to show through the copper layer.
Posted on: 2024/7/11 11:22
|
|||
|
All generalities are false.
Once I thought I was wrong but I was mistaken. Don Pierson Packard / IMPERIAL page CA DMV Licensed Vehicle VIN Verification 1951 Henney-Packard 3-Door Long Wheelbase Air Force Ambulance The 1951 Henney-Packard is For Sale! 1954 Packard Patrician 1954 Packard Patrician Parts Car 1956 Clipper Custom Sedan |
||||
|
||||
|
Re: Rear Bumper
|
||||
|---|---|---|---|---|
|
Home away from home
|
Quote:
Thank you! It's turning out well, I'll post pics when I'm done. I don't think it's thin chrome on the crossbar, if it was I would expect it to be thinner in some spots, but it is very even. It it was thin chrome it should at some point stop turning black when using Autosol. Maybe the crossbar has soaked up 71,000 miles of exhaust? But why only the crossbar? Our club president has one, so I may swap it out. I'll assemble the bumper and see how it looks with this crossbar, it may not be noticable.
Posted on: 2024/7/11 12:24
|
|||
|
||||
|
Re: Rear Bumper
|
||||
|---|---|---|---|---|
|
Home away from home

|
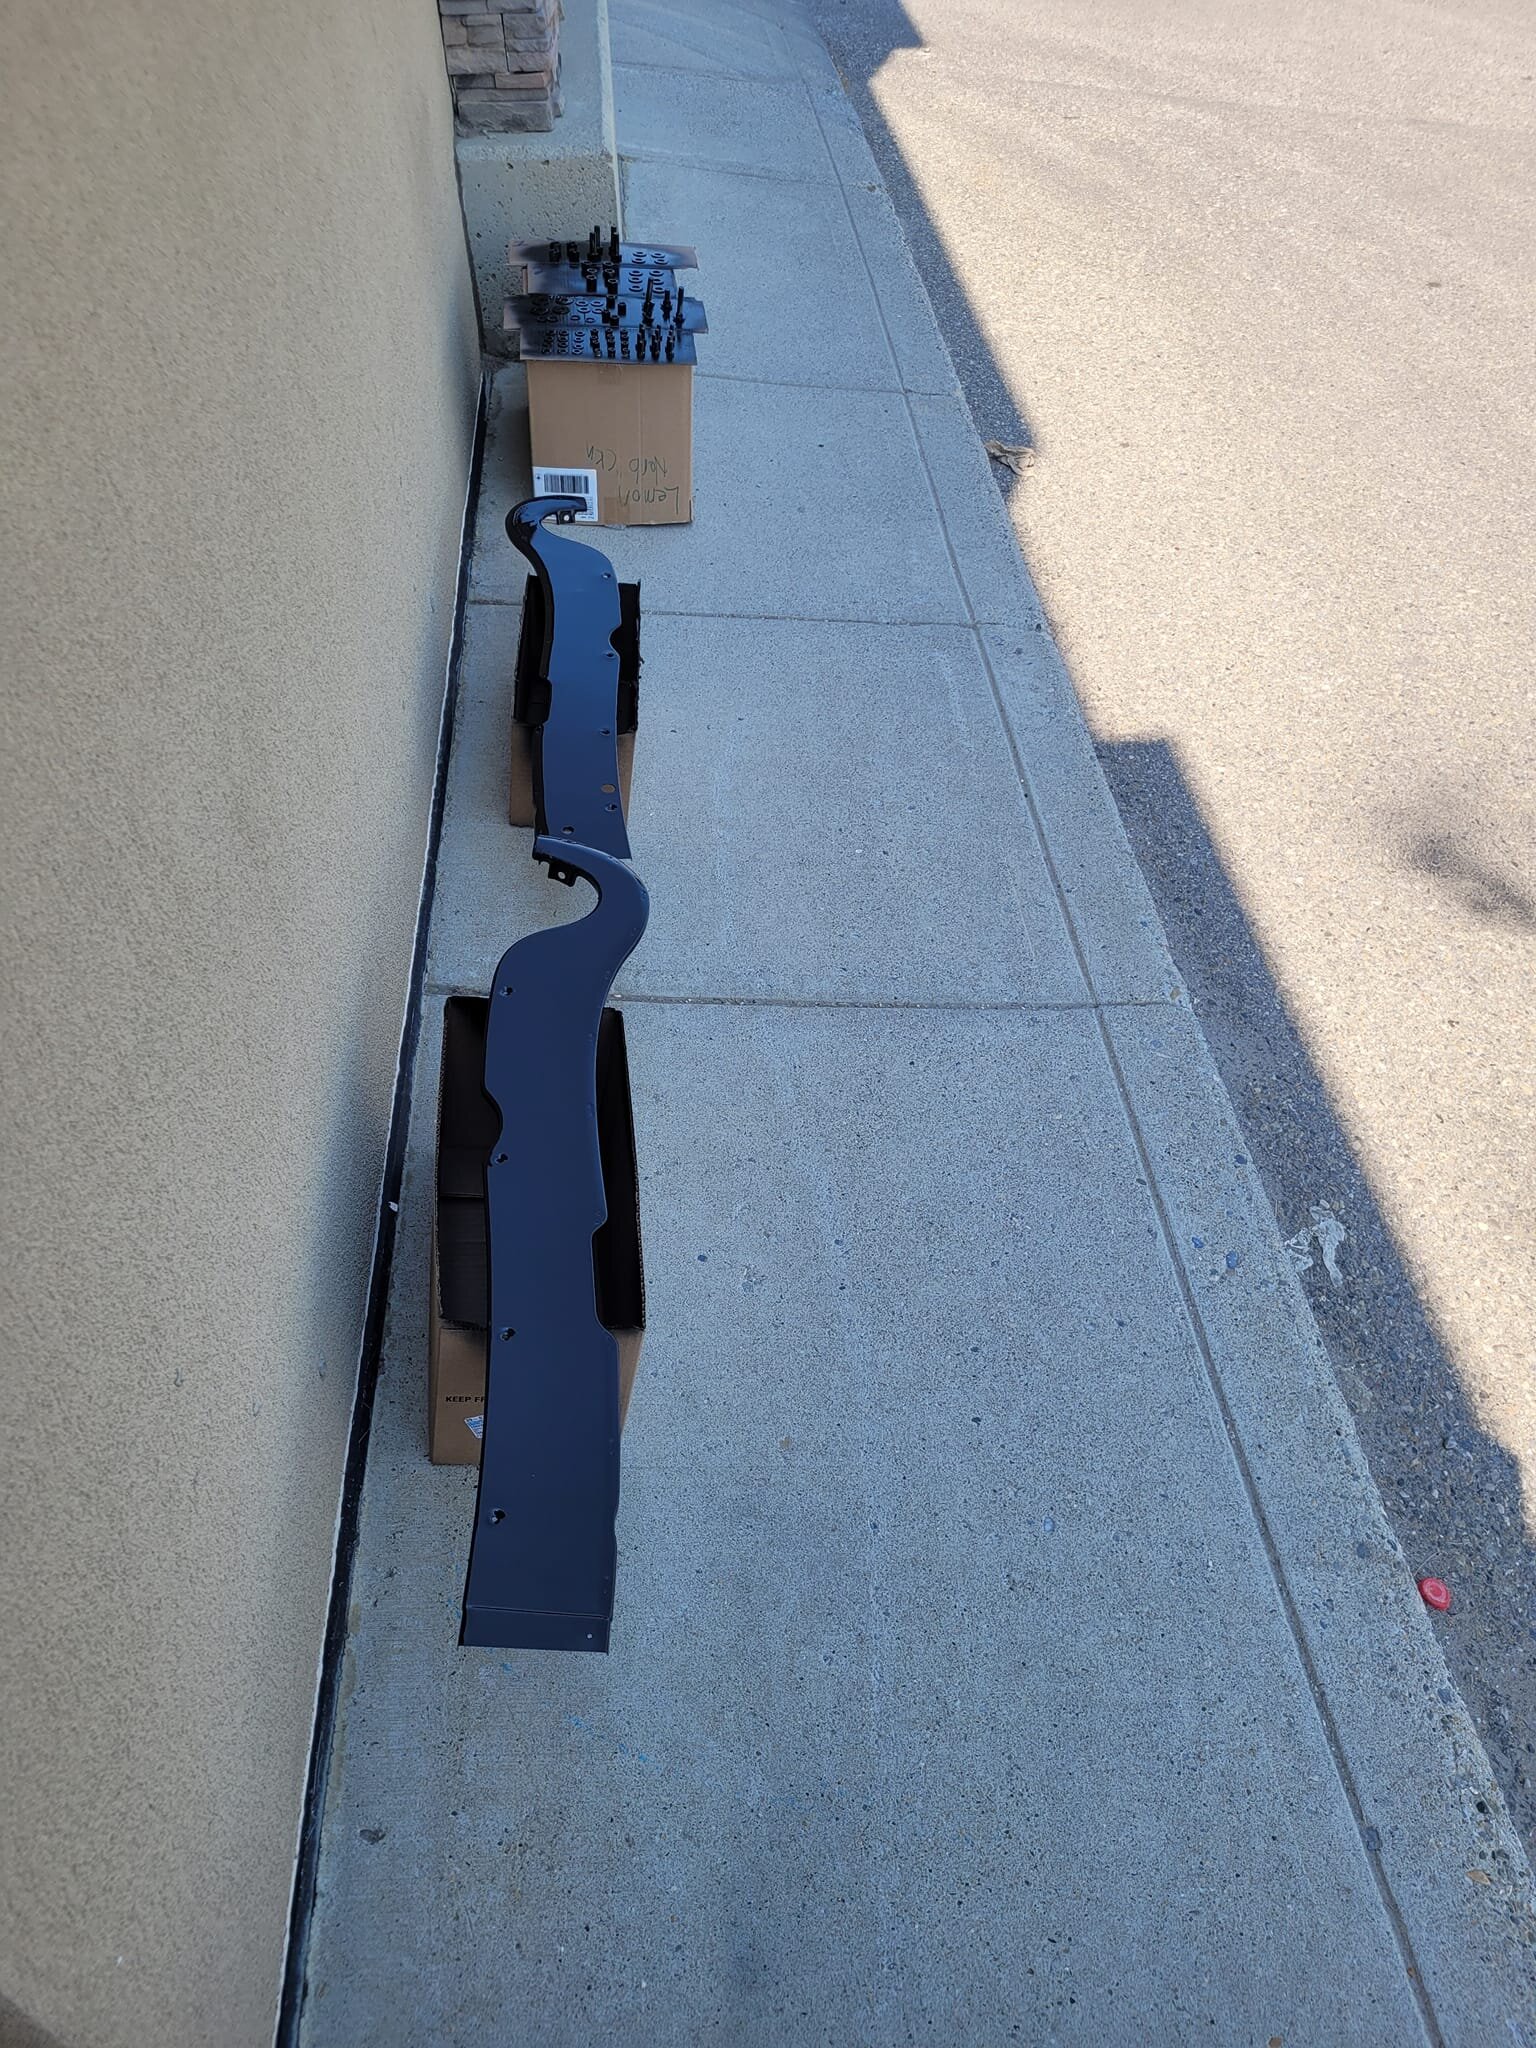
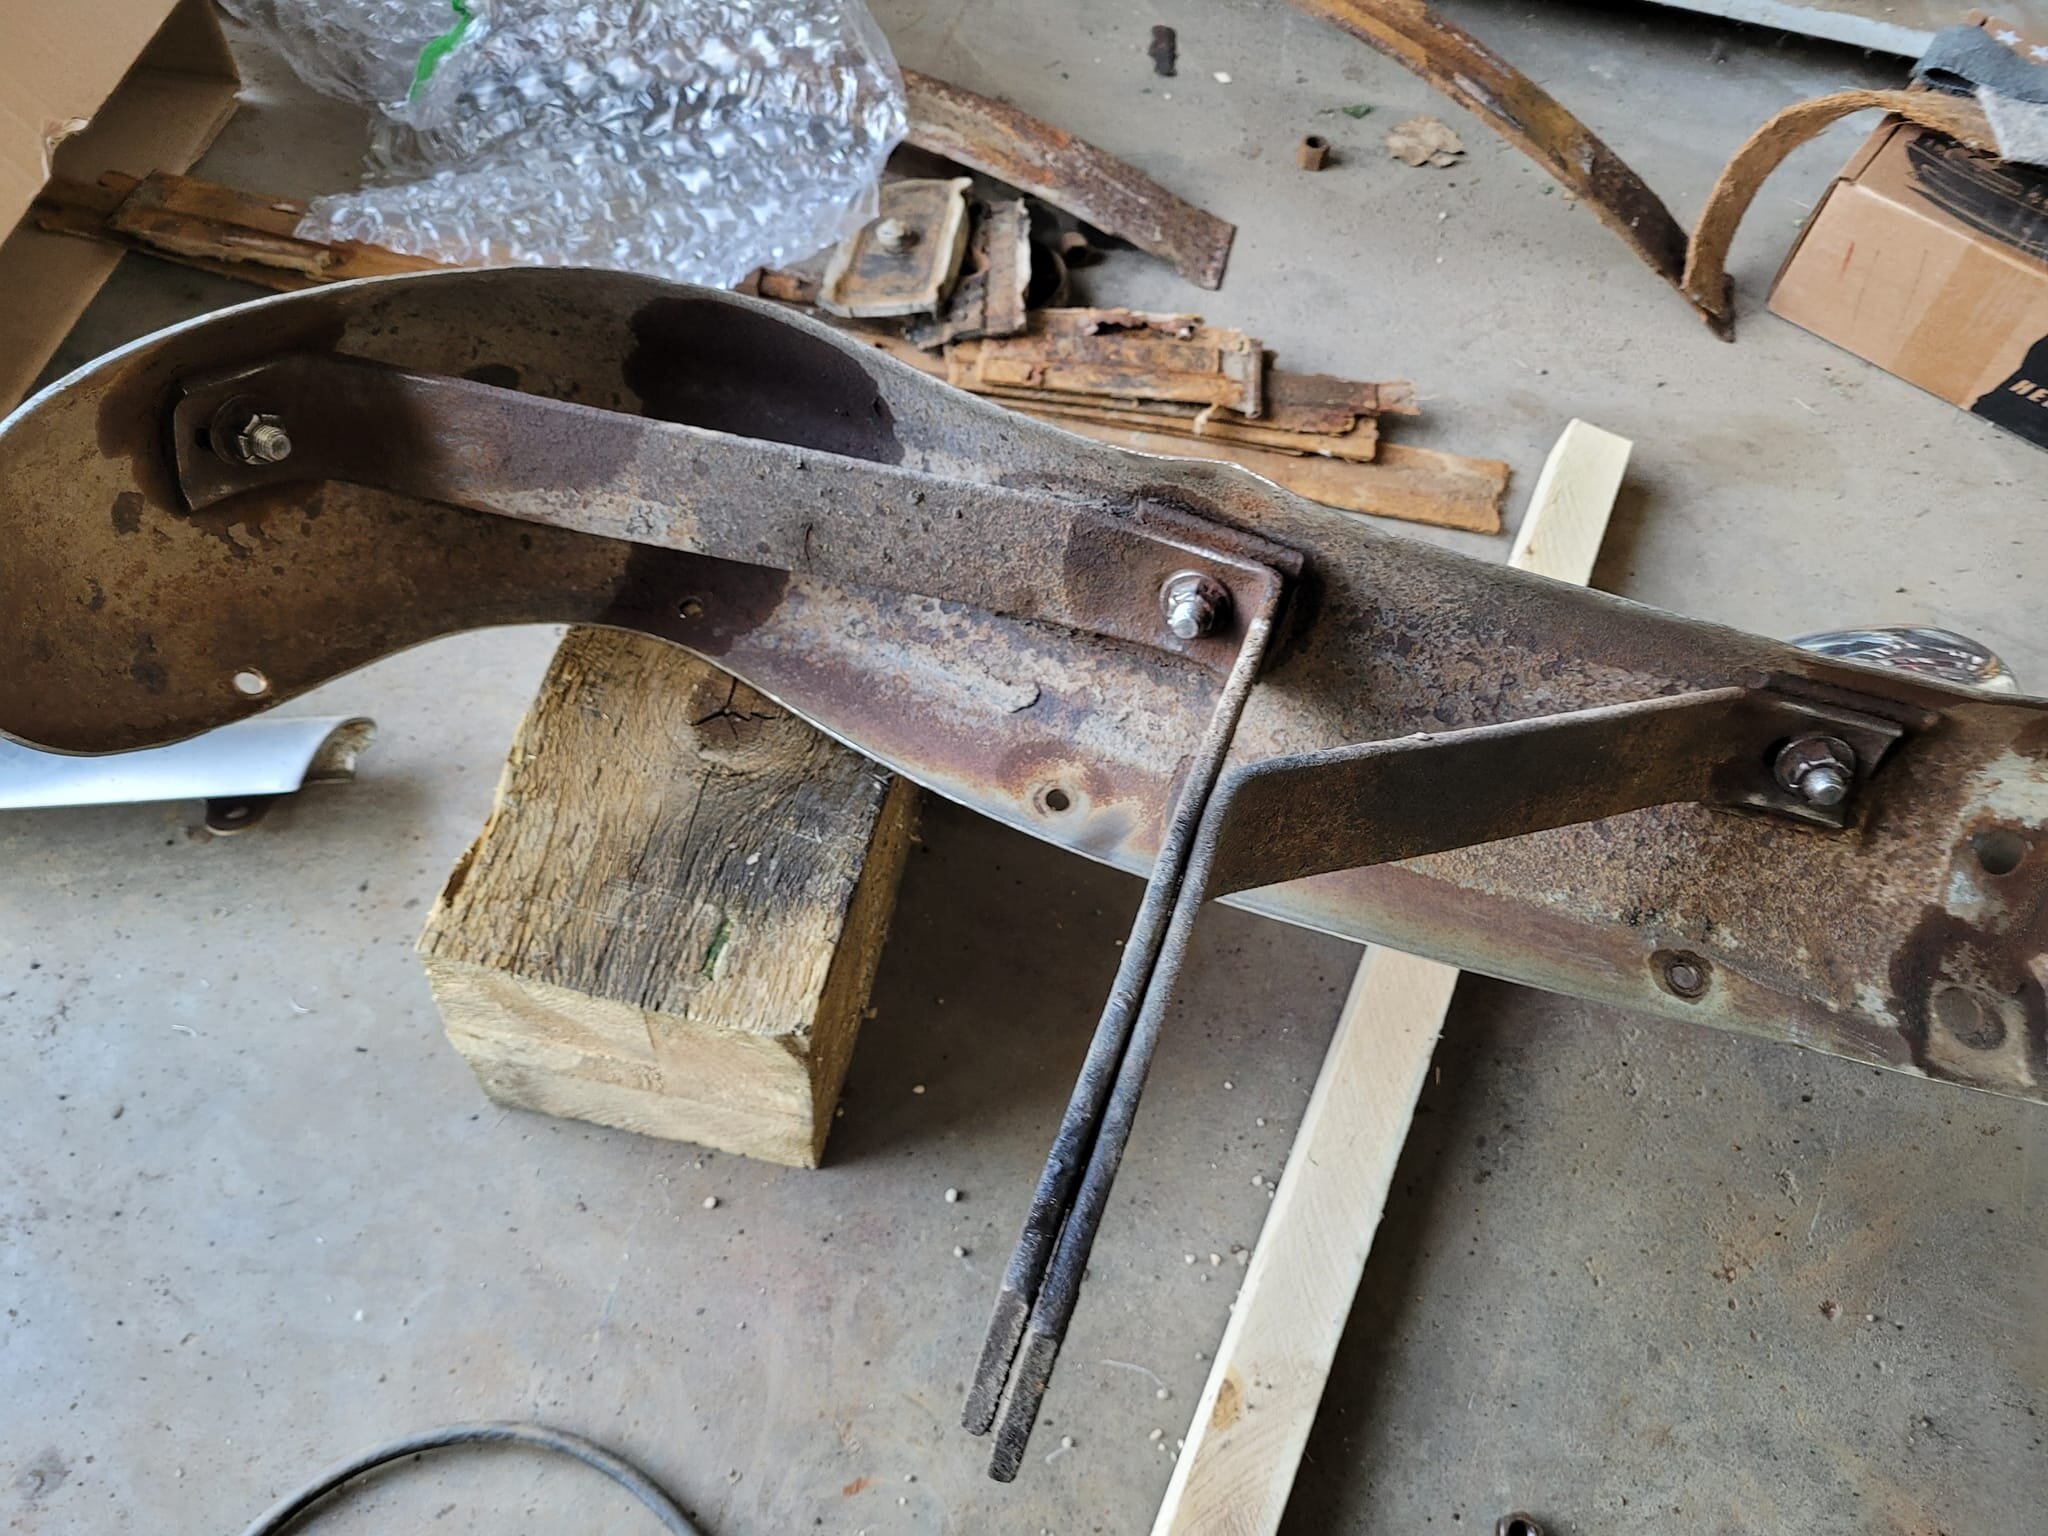
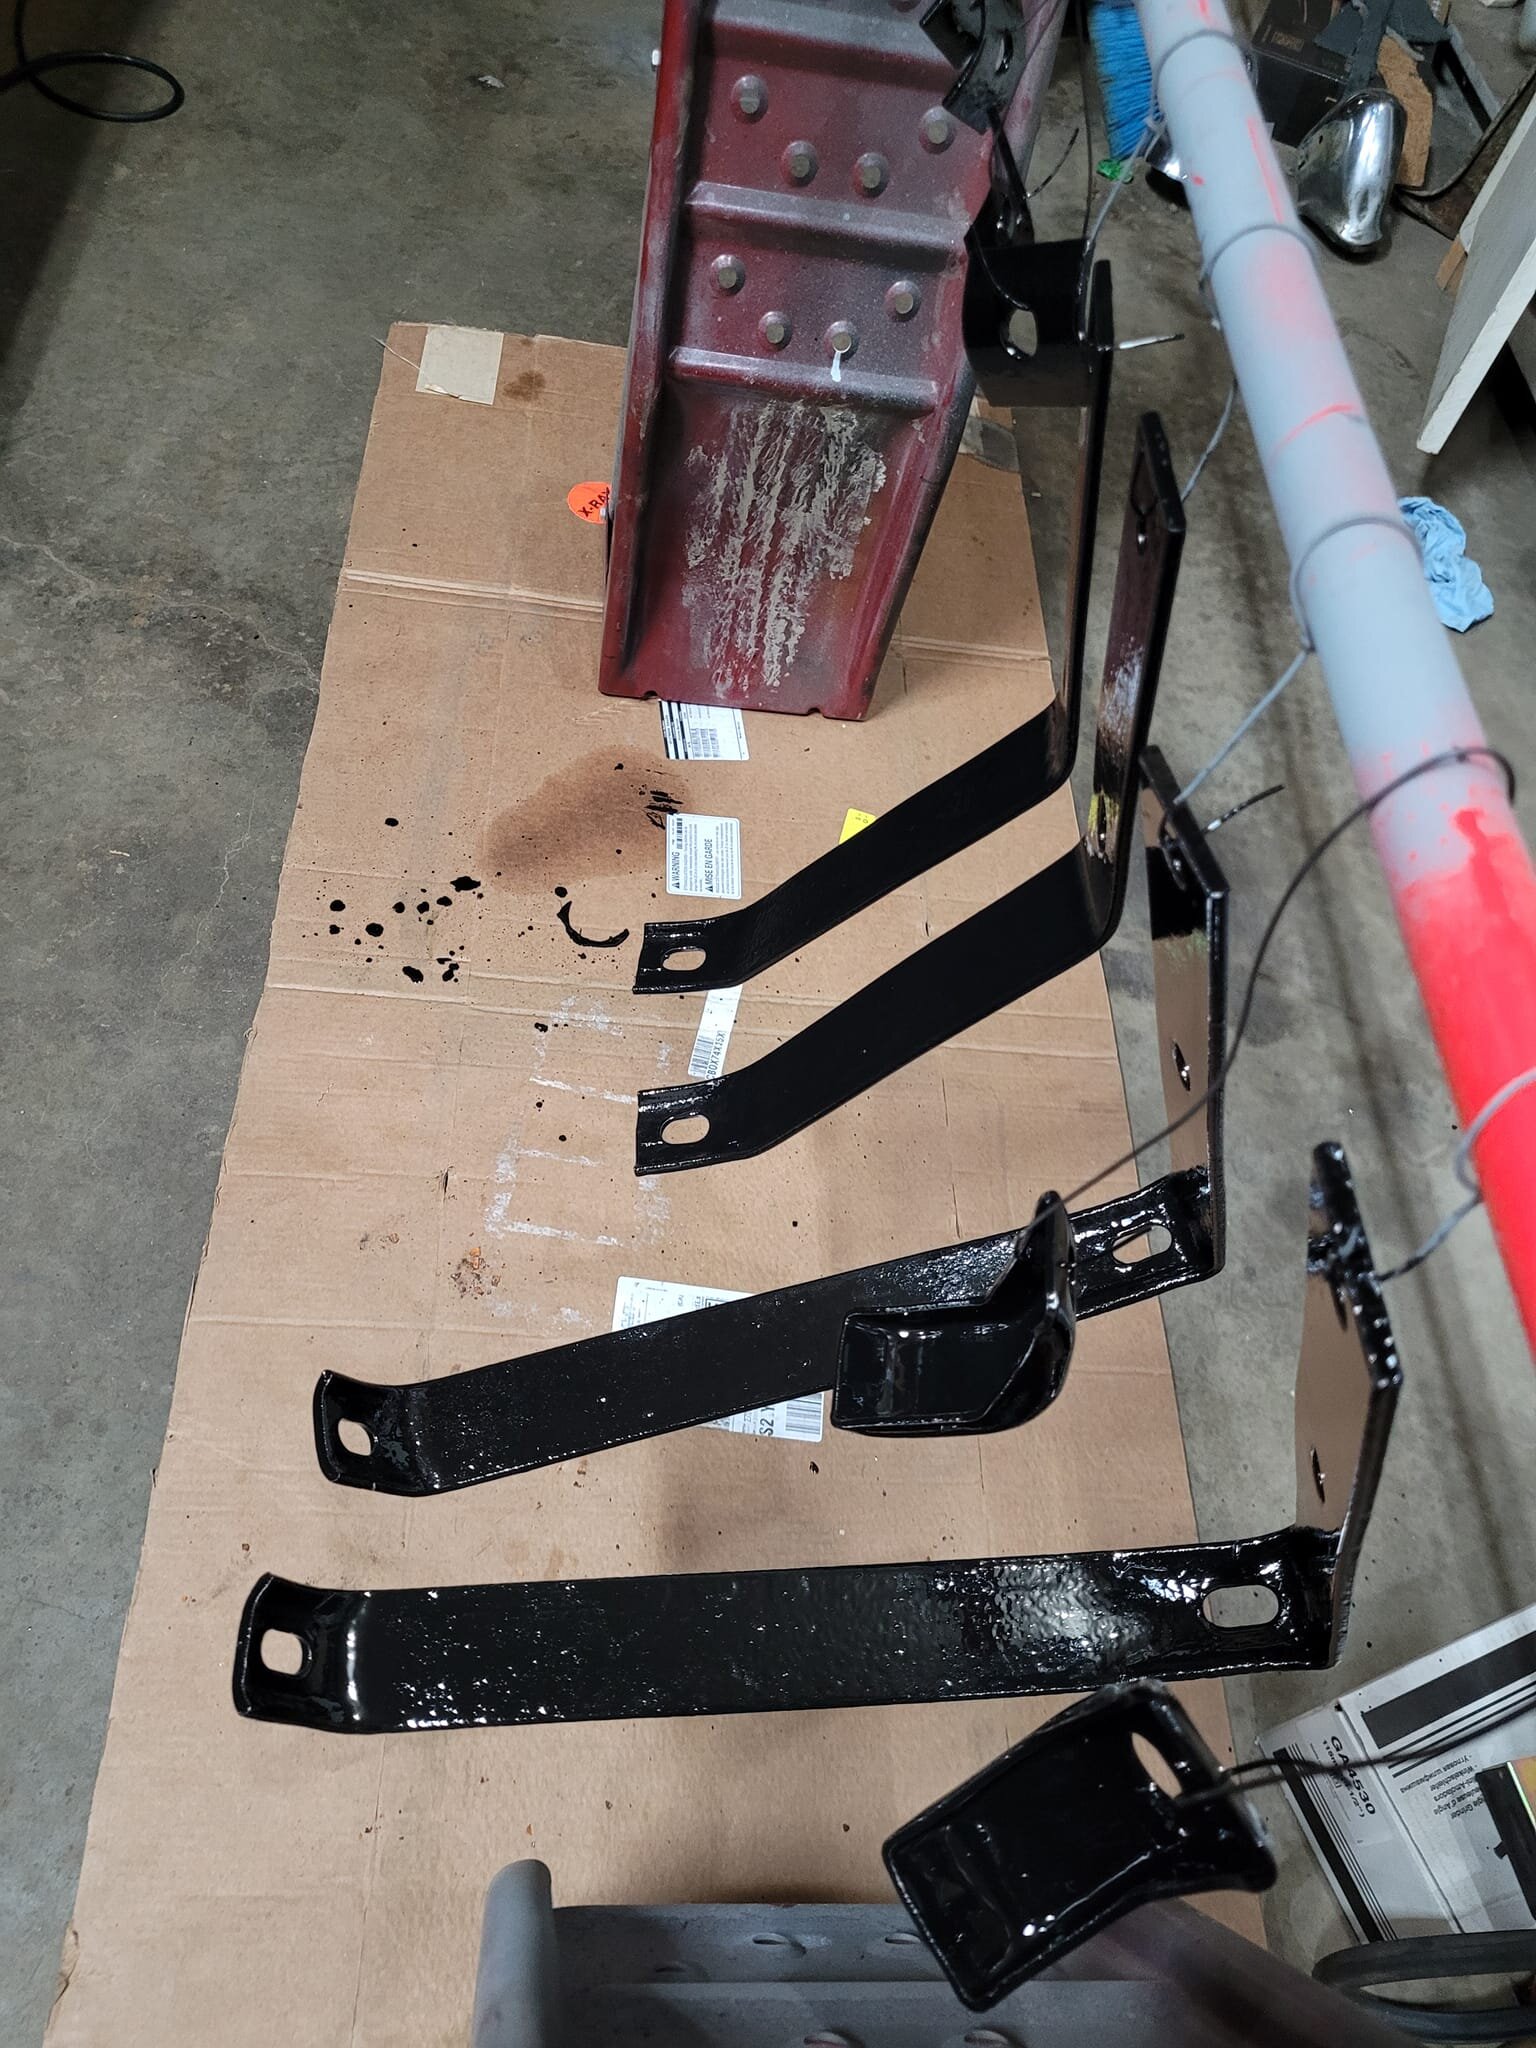
I've done this on my rear bumper and it was worth the work. But your chrome appears to be in better condition than mine. I have defects in my chrome that I can't get out. But it was satisfying to clean up the brackets and rear of the bumper and paint them. Looks better and is protected now.
Posted on: 2024/7/11 12:49
|
|||
|
||||
|
Re: Rear Bumper
|
||||
|---|---|---|---|---|
|
Home away from home
|
Quote:
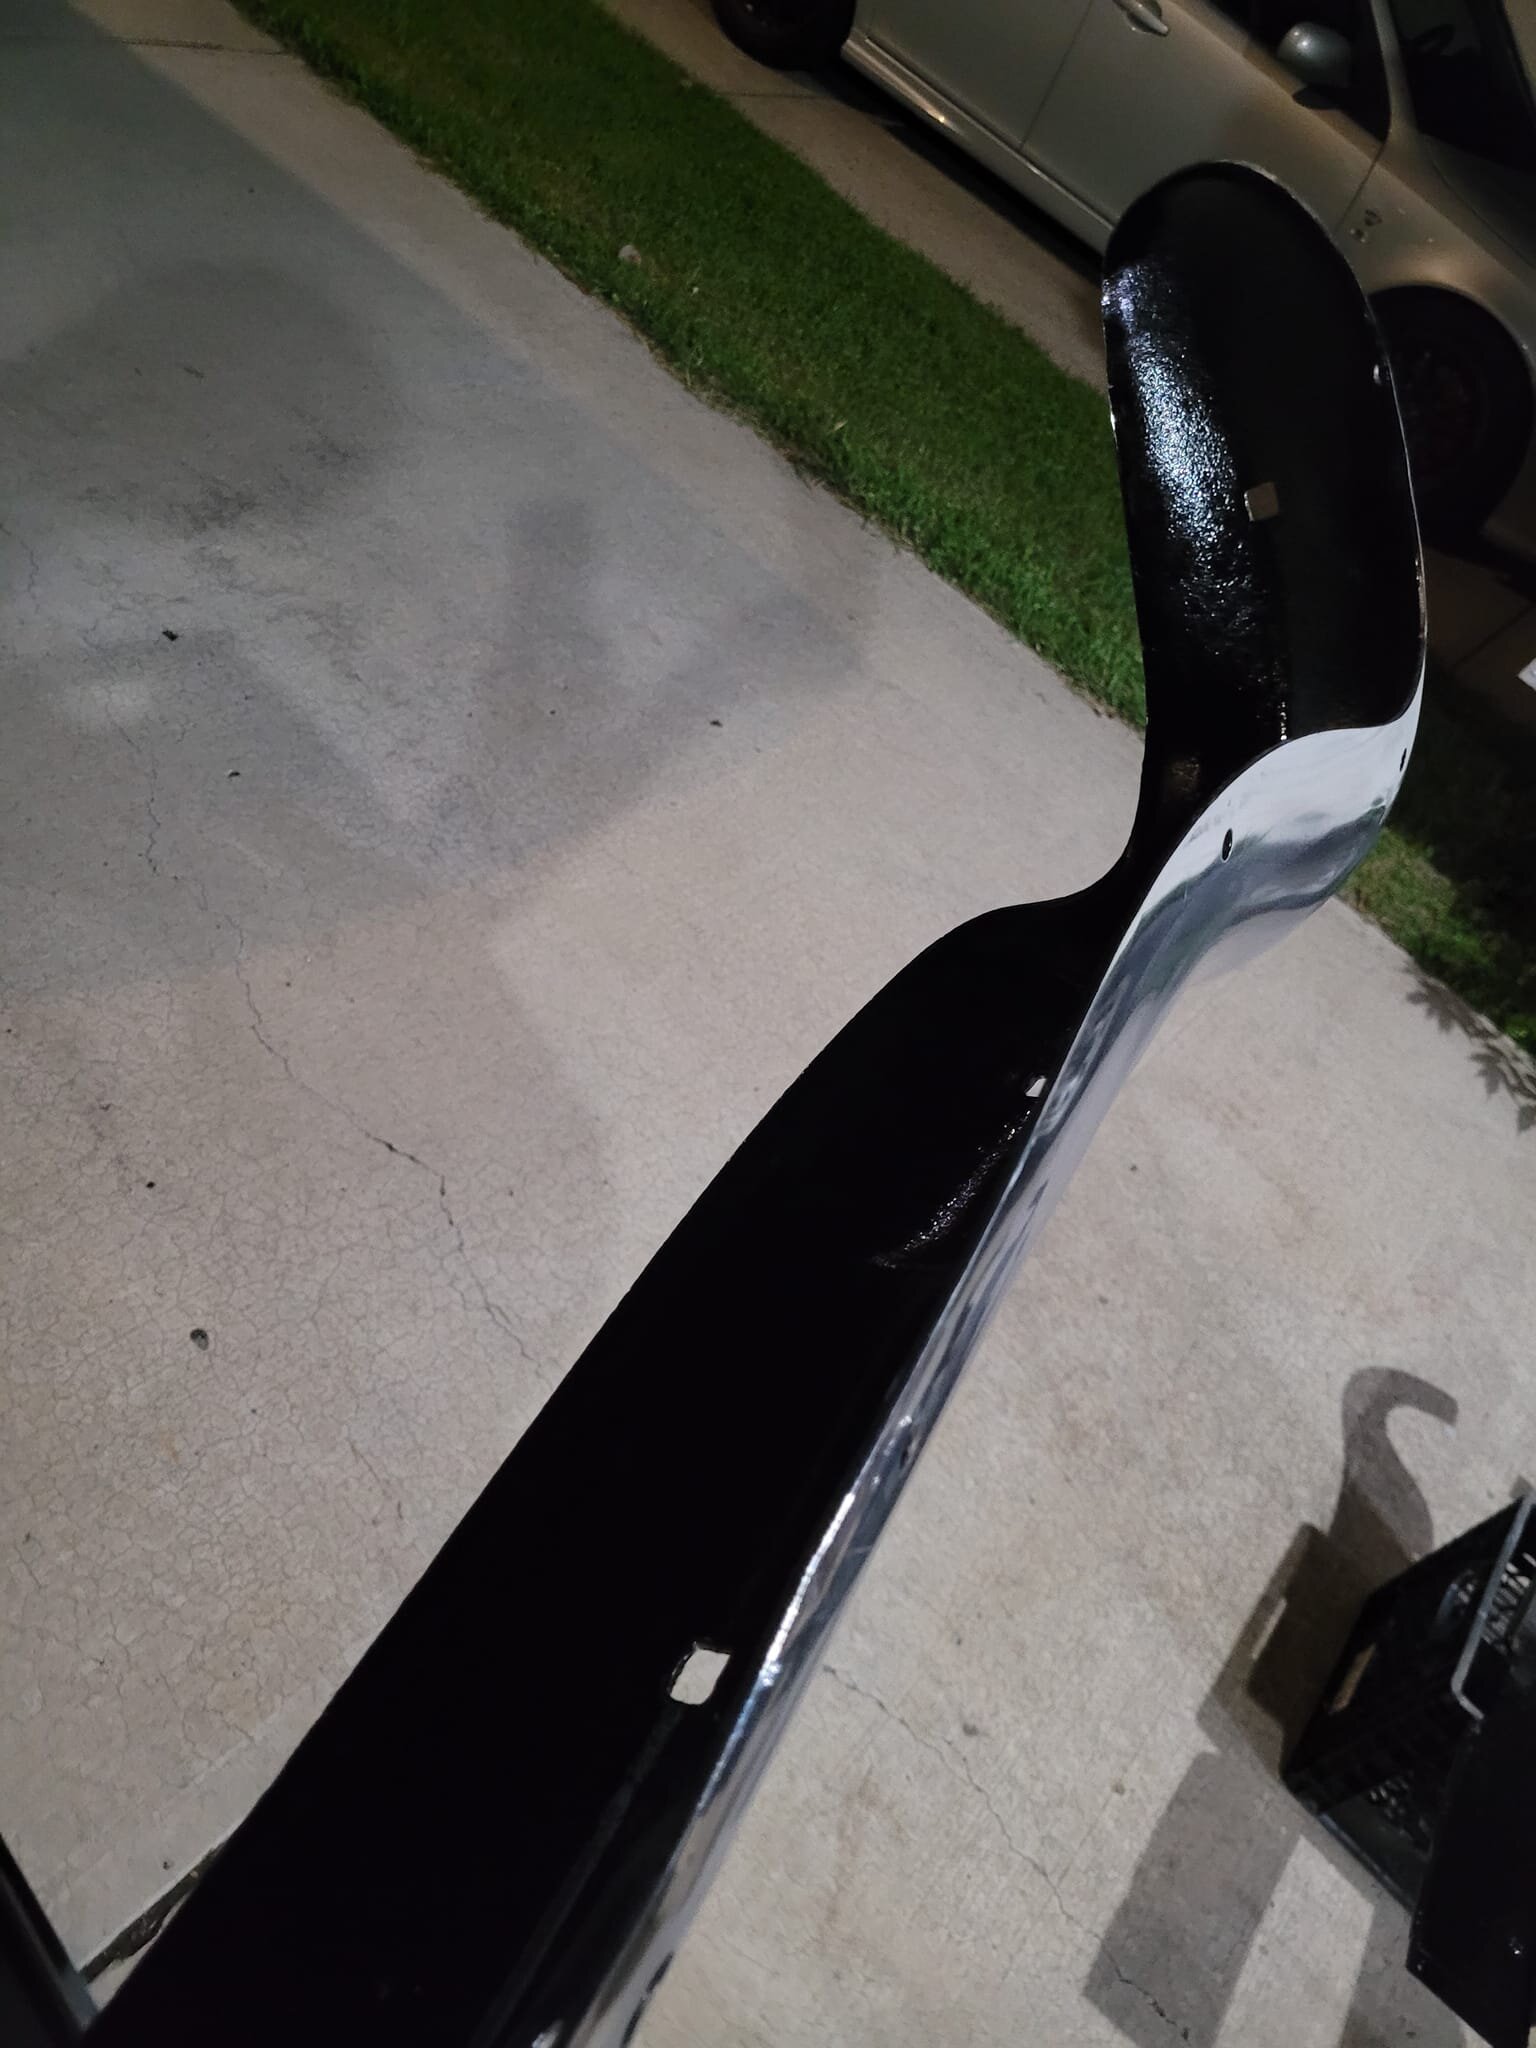
The chrome did clean up pretty well, it's certainly good enough for a driver! There were a few dents along the bottom of the bumper, maybe from the jack, that I was able to straighten and improve the look of the bumper as well. It is very satisfying to be able to take parts that are 70 years old, give them some TLC, and have them looking great again! This is another project that once completed will never need to be done again.
Posted on: 2024/7/11 13:09
|
|||
|
||||
|
Re: Rear Bumper
|
||||
|---|---|---|---|---|
|
Home away from home
|
Quote:
What did you use on your chrome? I've used 0000 steel wool (with liquid for lube), metal polish, and wax to varying degrees of success. Certainly nowhere near where I would like it to be. And how did you go about straightening the dents without damaging the chrome? I have several dents, and a replacement front bumper I'll be using has the lower lip folded up along one side. -Kevin
Posted on: 2024/7/11 15:32
|
|||
|
||||
|
Re: Rear Bumper
|
||||
|---|---|---|---|---|
|
Home away from home
|
My process and products....
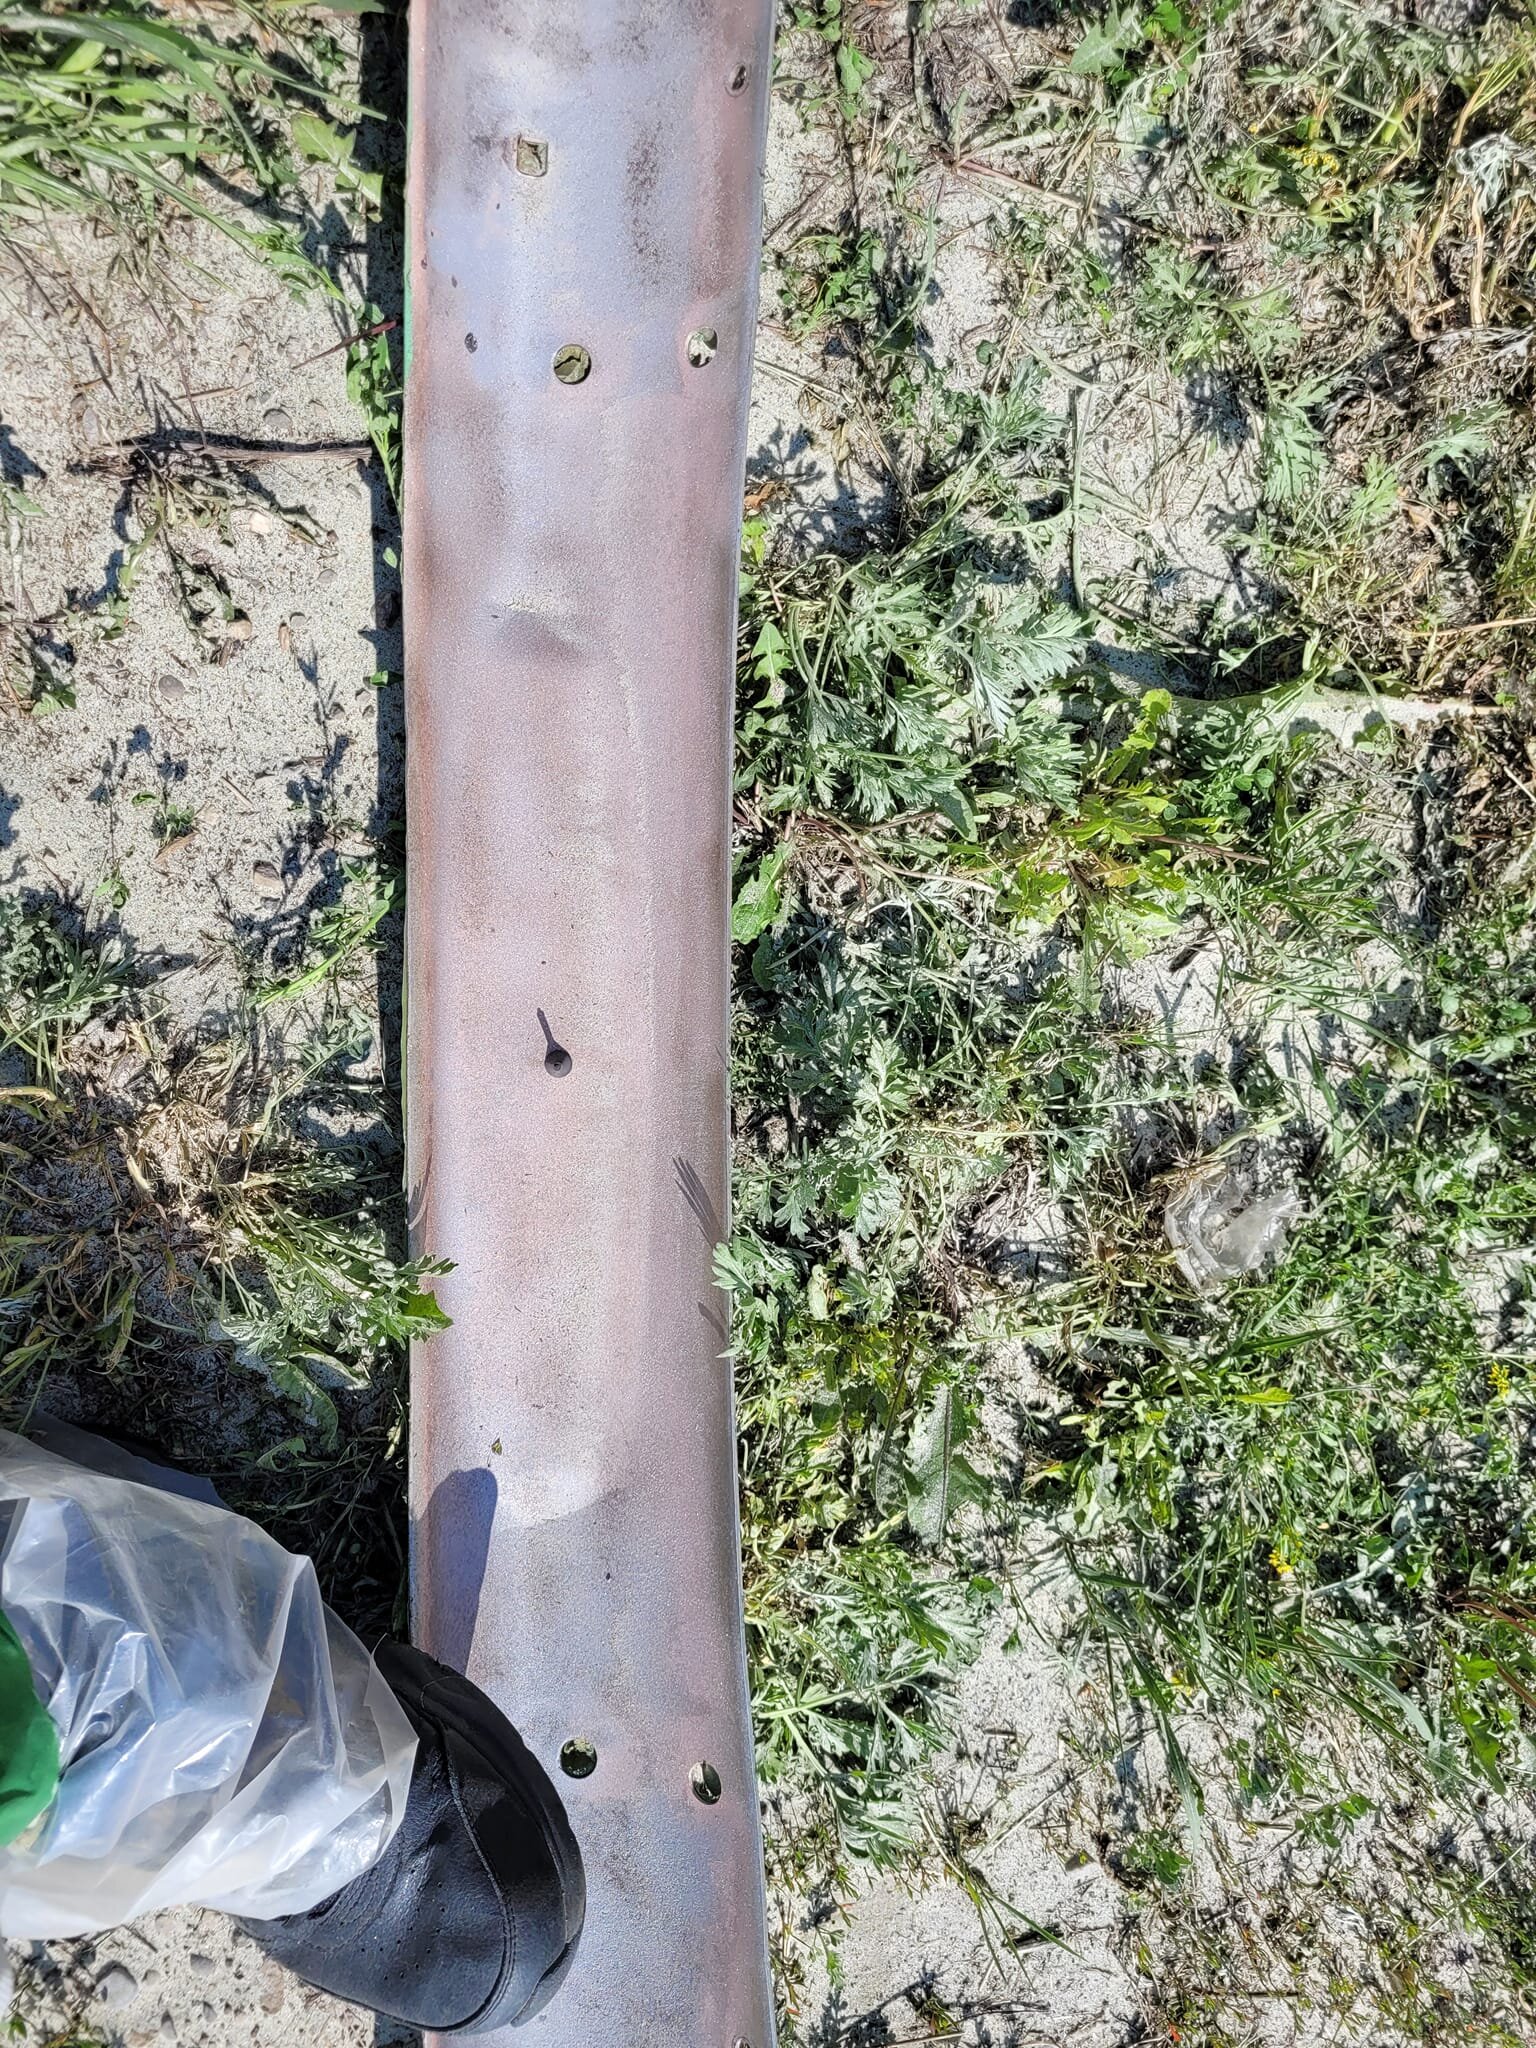
-Clean everything up, generally varsol to get off grime and bits of road tar. 0000 steel wool works well. -If there are any rust spots I clean them up with Rust Check rust remover and steel wool -The "dents" were primarily along the bottom edge and I was able to support the bumper on a 6 x 6 and then use another wood block to hammer the dents down. They're not 100%, but not noticable like they were. 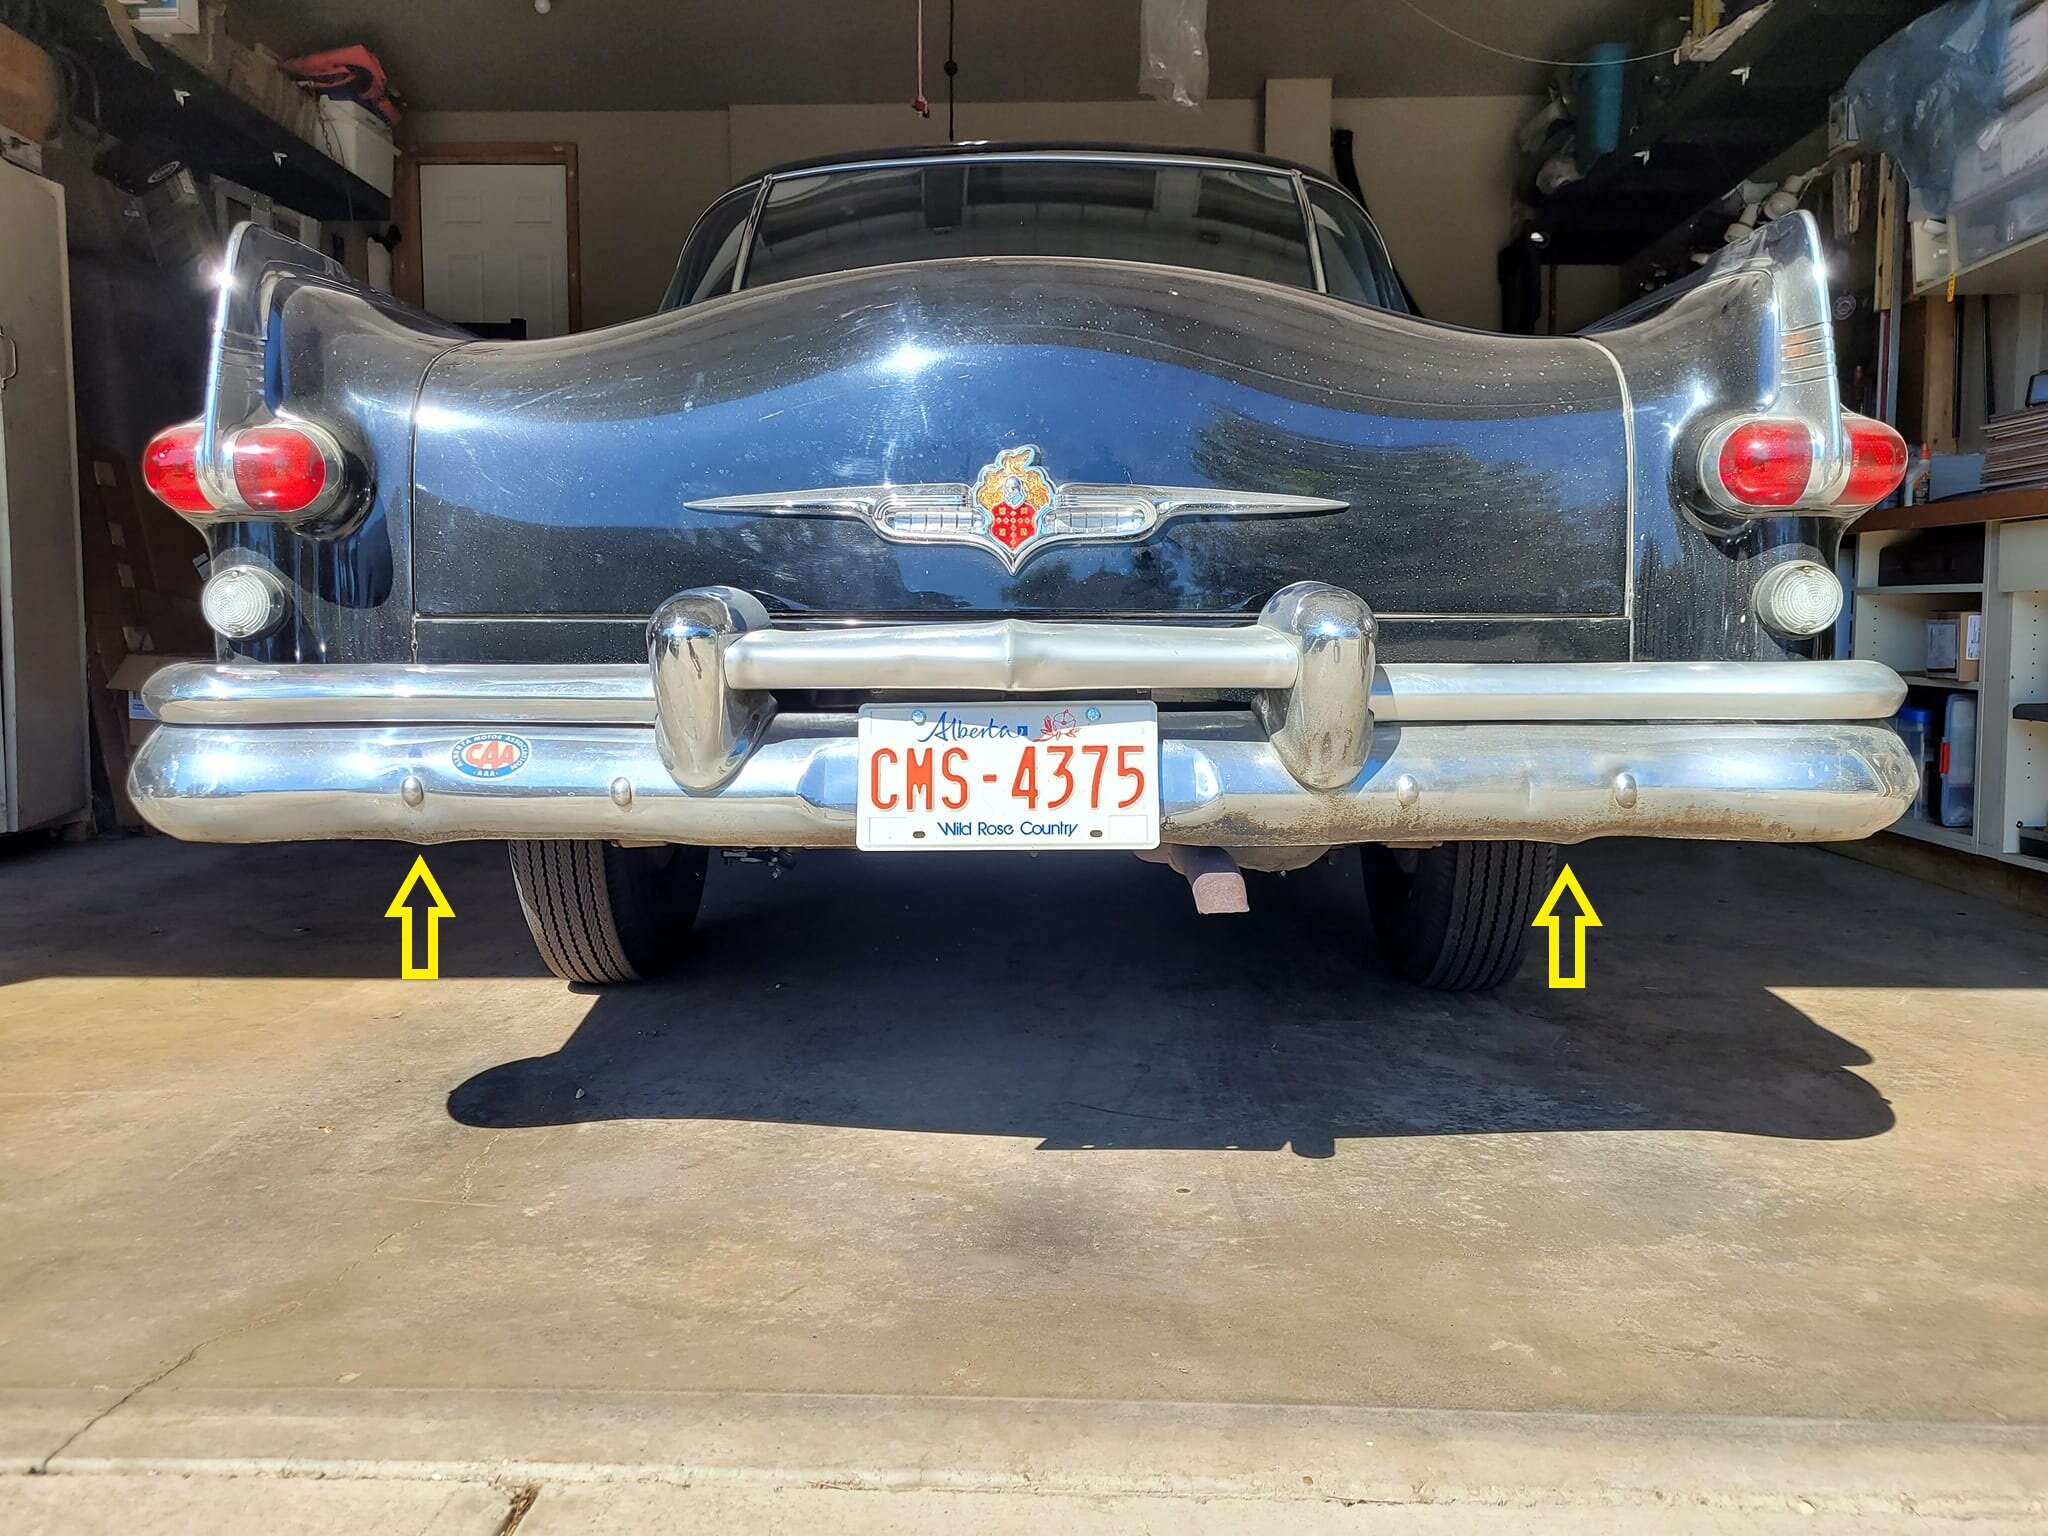 -Go over everything with Autosol, maybe a couple of times until it's clean. A little goes a long ways. -Lightly wet sand everything with 2000 grit sandpaper. -Power polish with a course wheel and blue rouge. -Power polish with a fine wheel and blue rouge. -Then I give it a quick once over with the Autosol again. And Bob's your uncle!
Posted on: 2024/7/11 16:18
|
|||
|
||||
|
Re: Rear Bumper
|
||||
|---|---|---|---|---|
|
Webmaster

|
Bumper jacks dented many a bumper.
Posted on: 2024/7/11 19:22
|
|||
|
-BigKev
1954 Packard Clipper Deluxe Touring Sedan -> Registry | Project Blog 1937 Packard 115-C Convertible Coupe -> Registry | Project Blog |
||||
|
||||
|
Re: Rear Bumper
|
||||
|---|---|---|---|---|
|
Home away from home
|
I just spend $1000 having a lower front straightened and rechromed even though it was already very shiny with no rust or scratches due to all the jack deformations.
Posted on: 2024/7/11 22:40
|
|||
|
All generalities are false.
Once I thought I was wrong but I was mistaken. Don Pierson Packard / IMPERIAL page CA DMV Licensed Vehicle VIN Verification 1951 Henney-Packard 3-Door Long Wheelbase Air Force Ambulance The 1951 Henney-Packard is For Sale! 1954 Packard Patrician 1954 Packard Patrician Parts Car 1956 Clipper Custom Sedan |
||||
|
||||
|
Re: Rear Bumper
|
||||
|---|---|---|---|---|
|
Home away from home
|
Quote:
You should see the front bumper on my car now. Bent, torn, and missing all the lower half of chrome. The bumper jacks were not kind to it.
Posted on: 2024/7/12 0:14
|
|||
|
||||


