|
Re: 1924 Sport 136
|
||||
|---|---|---|---|---|
|
Home away from home

|
.... replaces picture ..... 614 ....
Posted on: 2024/9/11 11:33
|
|||
|
||||
|
Re: 1924 Sport 136
|
||||
|---|---|---|---|---|
|
Home away from home

|
Thanks Don,
the thought of a flat tire on the road also occurred to me while I was working on the wheels. But I have the spare tire. This makes it possible to repair the puncture again in the workshop, where all the tools for a damage-free repair are available. By the way, I hope I don't get two flat tires in one trip. But so far I've been lucky and in 45 years I've never had a tire puncture on my classic cars. Karl
Posted on: 2024/9/11 14:53
|
|||
|
||||
|
Re: 1924 Sport 136
|
||||
|---|---|---|---|---|
|
Home away from home

|
Today I installed the engine in the frame. With my gantry crane that I built many years ago, this was a fairly simple matter. This crane is the ideal device to carry out such work alone. This allowed me to install all Jaguar XK140 engines with flange gearboxes myself. Anyone familiar with this process on this vehicle knows how careful it is to thread the engine into the engine compartment without damaging the side fenders and firewall. If you carry out this work, this is actually only possible with a gantry crane, as you can lower it millimeter by millimeter using the chain hoist and at the same time control the movement of the motor with your free hand.
I had my Sport's engine removed in the first year after I bought the car...almost 7 years ago...but the photos documenting this work ultimately do not show the order in which I did this work. Unfortunately, you couldn't tell from the photos whether I removed the steering gear after the engine or before the engine. NOw after all this years it looked like the steering gear couldn't be installed with the engine already installed because the clearance between the engine crankcase and the frame seemed so small that the gear couldn't be pulled out of the frame. The question also remained as to how the body can be brought into position later with the steering column already installed, as it cannot be lowered flat with the steering gear installed flat as the large flange in the frame does not allow this. As you can see, I installed the steering box first and steered the engine around it. But as it turns out, the steering gear can actually be removed with the engine installed if you turn the gear housing forward when you pull the splined shaft out of the frame. However, this only works if the body is not yet placed on the frame, as the steering column would hit the body when turning. Karl Here are the photos of the engine installation. In the next replays I will report on the details of the overhaul of the engine and its components. Karl Attach file:  k-P1020646.JPG (234.46 KB) k-P1020646.JPG (234.46 KB)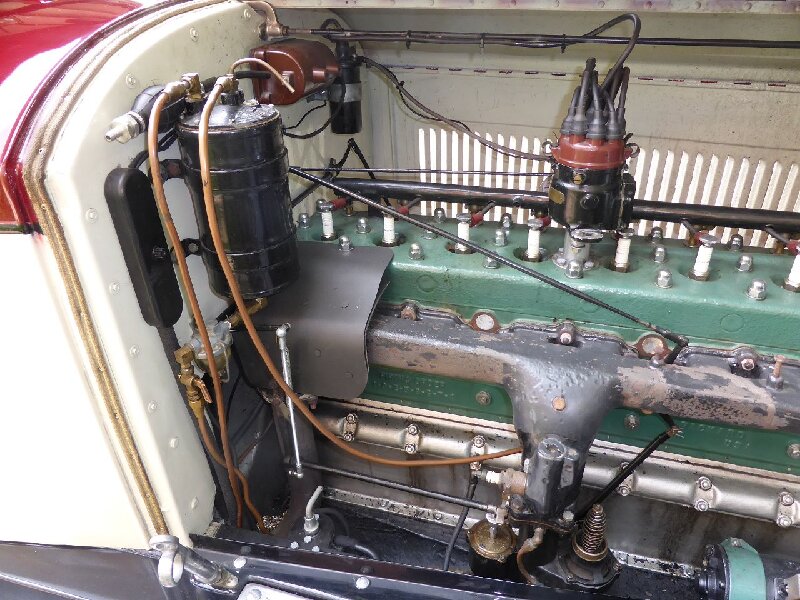  k-P1020675.JPG (208.63 KB) k-P1020675.JPG (208.63 KB)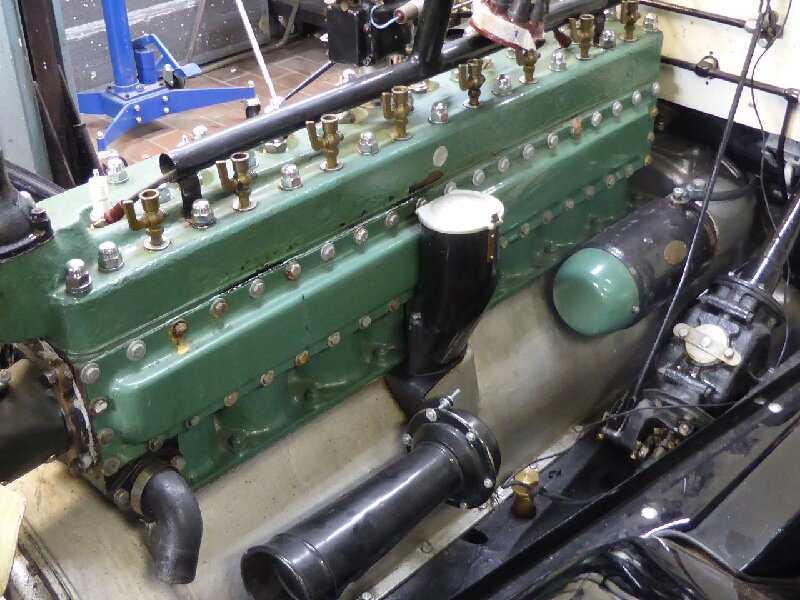  k-P1040343.JPG (190.75 KB) k-P1040343.JPG (190.75 KB)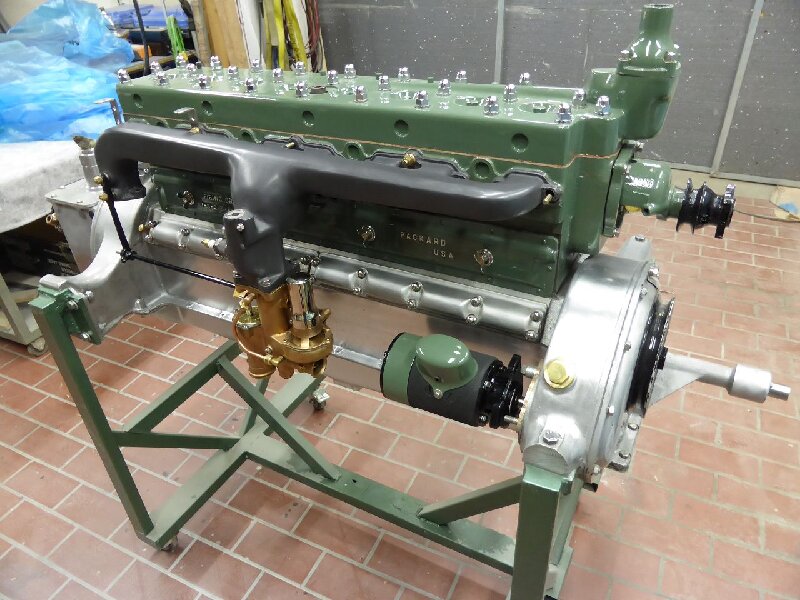  k-P1040618.JPG (148.63 KB) k-P1040618.JPG (148.63 KB)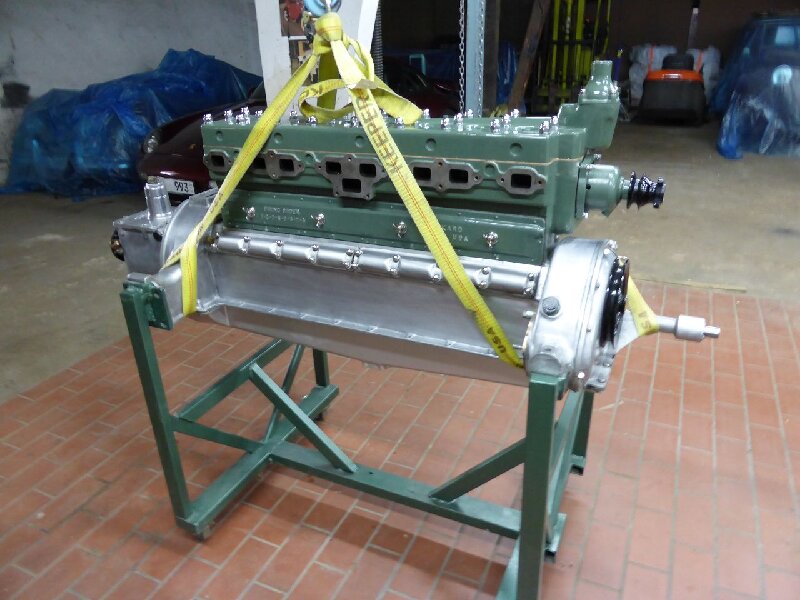  k-P1040620.JPG (214.69 KB) k-P1040620.JPG (214.69 KB)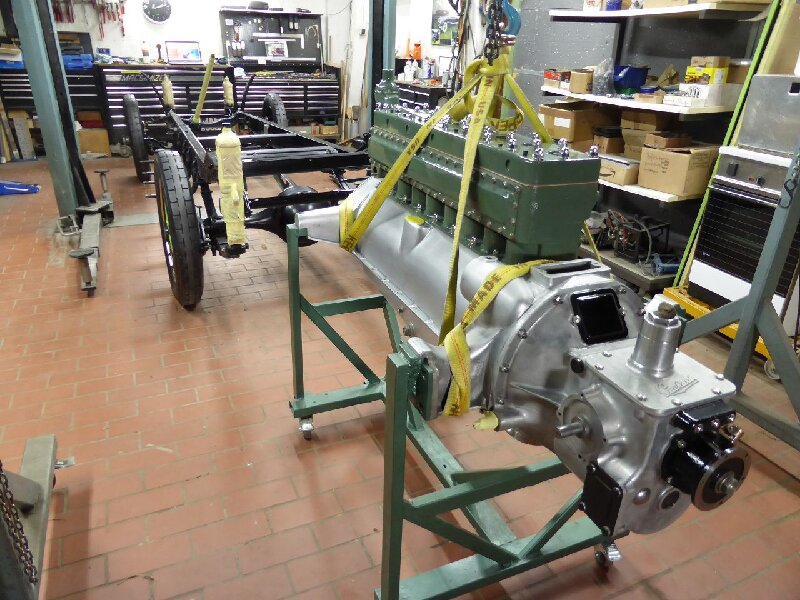  k-P1040621.JPG (144.01 KB) k-P1040621.JPG (144.01 KB)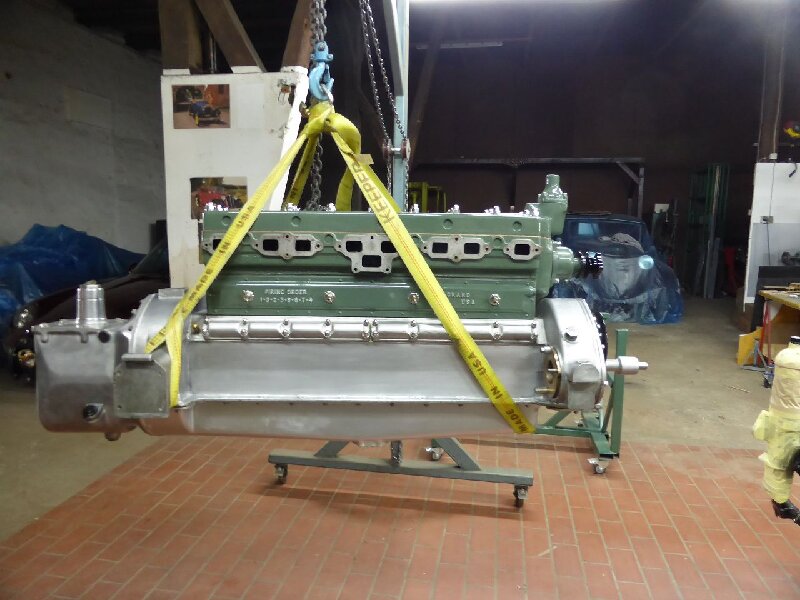  k-P1040622.JPG (201.70 KB) k-P1040622.JPG (201.70 KB)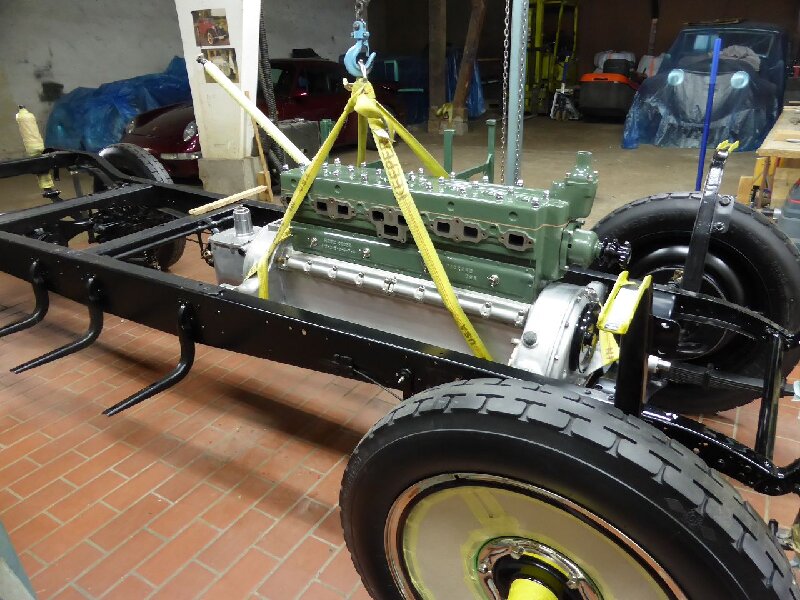  k-P1040625.JPG (207.20 KB) k-P1040625.JPG (207.20 KB)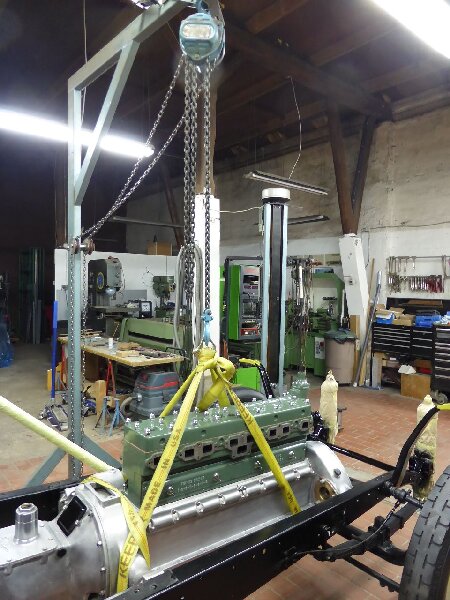  k-P1040626.JPG (201.83 KB) k-P1040626.JPG (201.83 KB)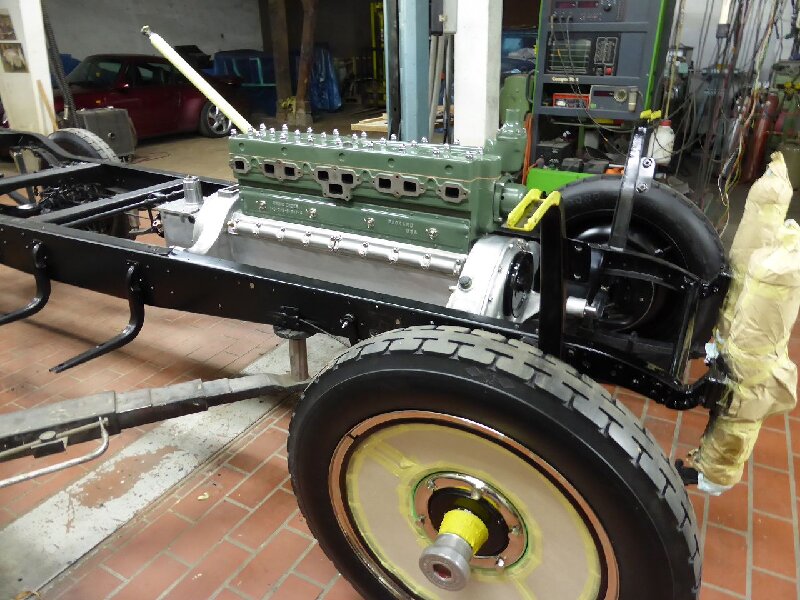  k-P1040627.JPG (237.45 KB) k-P1040627.JPG (237.45 KB)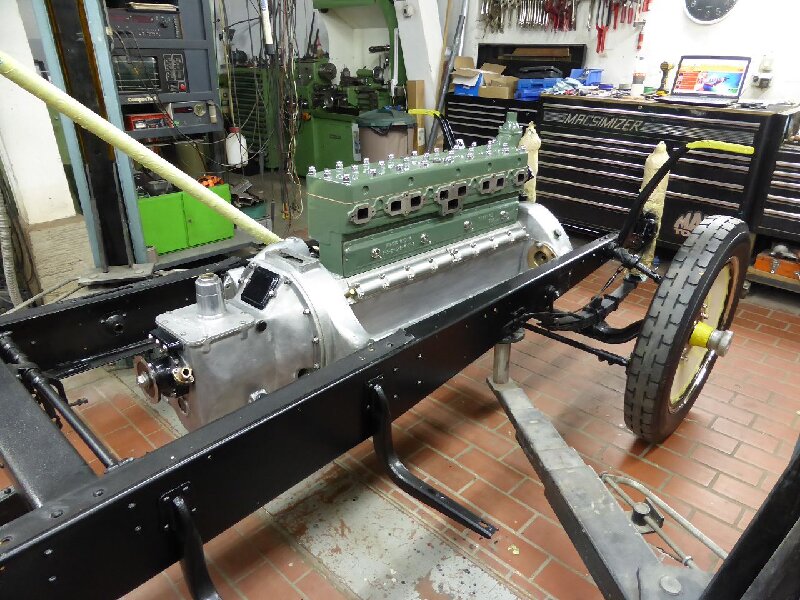
Posted on: 2024/9/13 12:41
|
|||
|
||||
|
Re: 1924 Sport 136
|
||||
|---|---|---|---|---|
|
Home away from home
|
That is beautiful! Did engines of this era have any kind of isolation, such as rubber blocks, at the attachment points to the engine?
Posted on: 2024/9/13 13:16
|
|||
|
||||
|
Re: 1924 Sport 136
|
||||
|---|---|---|---|---|
|
Home away from home

|
Thanks Don,
...no this Series 1 engine is bolted directly to the frame....metal to metal....at its mounting points. The nine-main-bearing crankshaft still gives the car a smooth running. Karl
Posted on: 2024/9/13 14:22
|
|||
|
||||
|
Re: 1924 Sport 136
|
||||
|---|---|---|---|---|
|
Home away from home

|
Before I report on the overhaul of the engine, I would like to say something about the components that are directly attached to the engine and that have to be installed in order to progress the work to the point where the engine can be started for a test.
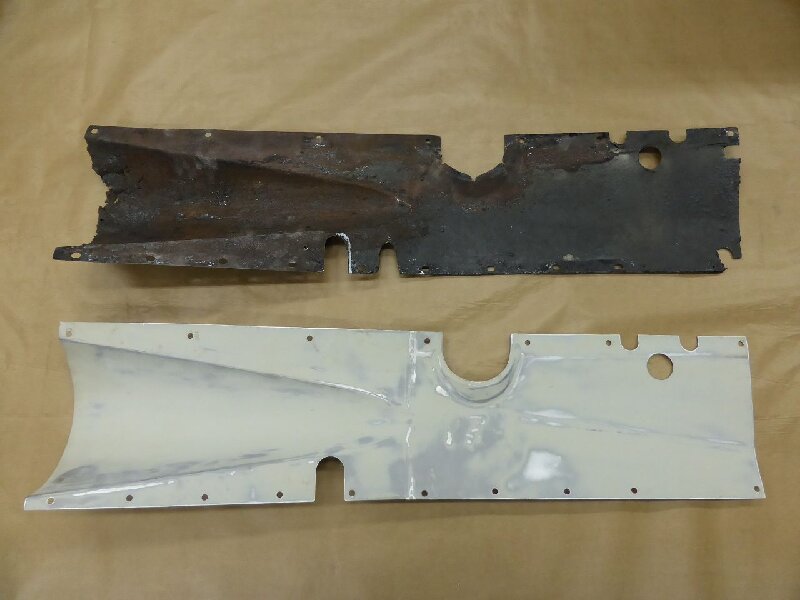
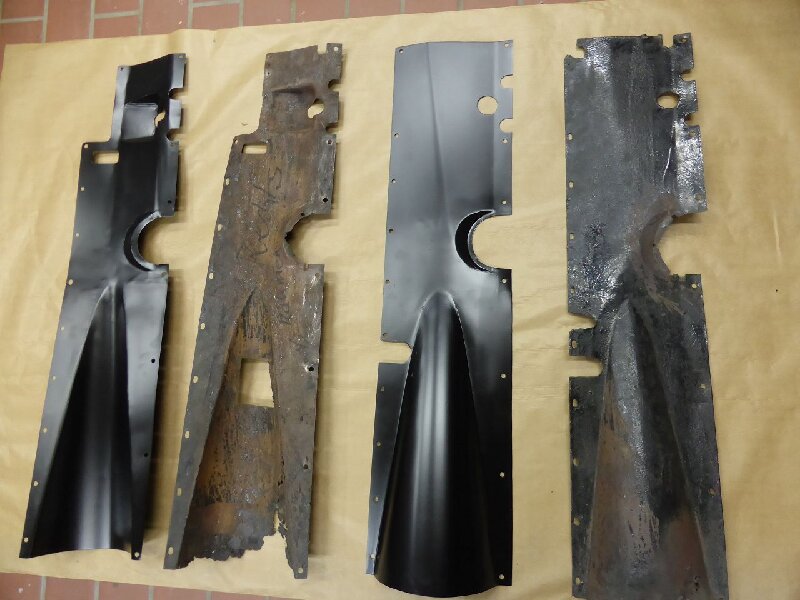
First … there are the two side panels that cover the area between the engine and the frame. Both sheets were in poor condition and the rusted areas had been filled with fiberglass mats. I also had to recreate these sheets. At first it looked problem-free, but then it turned out to be more difficult than expected. The problem was that I simply used the two old sheets as samples. But I didn't notice that the two outer edges of the sheets don't have to be at the same height. The side screwed to the motor runs horizontally. The slope screwed to the frame rises upwards as the frame becomes smaller in height. As a result, the surface of the entire sheet is twisted. Mainly the half funnel inserted/welded into the sheet and the recesses/edges do not allow the sheet to be subsequently deformed so that it adapts to the different heights. I also had to cut the half-funnel out of the “finished” component again and I screw the sheets to the engine and frame without this part, then I formed a new half-funnel and insert it into the now existing cutout and mark it. Then cut the half funnels again and fix them in their now correct position with welding points. Remove everything again, finish welding and you have the sheets as they should be. However, 2 days of additional work had gone by tougether with priming and painting. Finishing the sheets was necessary to make the connecting pipe between the newly built muffler and the exhaust manifold so that it passes with a good gap between the engine mount and the cover plate. Karl
Posted on: 2024/9/20 17:04
|
|||
|
||||
|
Re: 1924 Sport 136
|
||||
|---|---|---|---|---|
|
Webmaster
|
It's always the small details that take the most time!
80/20 Rule.
Posted on: 2024/9/20 18:34
|
|||
|
-BigKev
1954 Packard Clipper Deluxe Touring Sedan -> Registry | Project Blog 1937 Packard 115-C Convertible Coupe -> Registry | Project Blog |
||||
|
||||
|
Re: 1924 Sport 136
|
||||
|---|---|---|---|---|
|
Home away from home

|
THE ENGINE
I had no information about the engine as far as the condition of the relevant components. Only vague verbal information that the engine was probably rebuilt not long ago. I test drove the car before buying it and found that the engine was running rough and the valves were rattling. In addition, its visual impression was pitiful and indicated some leaks. The decision to restore the car “Frame Off” also included a complete overhaul of the engine. After dismantling the engine, it turned out that this engine was actually at the end of its life, which matched the overall dilapidated condition of the car. During dismantling it turned out that the engine had actually been worked on not long ago. The engine had new pistons, piston rings and new piston pins…. and of course the cylinders were drilled and honed “as much as possible”. Since I first check all dimensions and data of the components myself, I... (pistons/rods, crankshaft, camshaft, rocker arm, timing chain, freeze plug)... removed from the engine block and measured the cylinders. Apparently the engine had only been worked on to such an extent that the vehicle could at least be driven for test drives or from the trailer to an exhibition, as the water cooling system would not have made longer journeys possible. But more on that later. The pistons had the final oversize (0.60). The cylinders were “adjusted” (drilled) to the piston oversize, but only about 1” in the upper and 1” in the lower area of the cylinder surface. In the remaining working area of the pistons, the cylinders were already so worn that they could no longer be bored out. To describe it clearly…. The cylinders were shaped like a beer barrel. Upon request, EGGE initially offered to manufacture pistons in a size that corresponded to the smallest bore required. In this case you would have the cylinder liners and thus the work and costs saved. But such renovation solutions are not my approach. The cylinders were only bored out enough to allow new cylinder liners to be inserted so that the standard piston size could be installed again. EGGE supplied the new pistons and piston pins as well as the associated piston rings. In addition to the necessary worn timing chain, I unnecessarily ordered a set of new piston rings (0.60 oversize) before solving this problem. Now I have a set of barely used 0.60 oversized pistons with bolts and new piston rings that will probably no longer find any buyers here. The water area of the cylinder head and engine block was heavily rusted, as is usual with this type of engine. The frost plugs were rosted from the inside and so thin that I could easily penetrate them with the tip of a screwdriver and a light tap with the heel of my hand. The camshaft initially looked bad, but she was easily refinished by a special shop who works only on camschafts. The Rocker Arms were a disaster; but more on that later. The crankshaft had a minor runout in the 1/100mm range that could be pushed out. Only 2 of the main bearings had to be replaced. The first main bearing block had a larger corner in the bolt area where the sealing surface had broken out and was repaired by build-up welding. For an additional cost of $250, I had the engine's cast block and head cleaned in an ultrasonic bath for 24 hours. The result was impressive. No more rust and no more paint residue. I first blasted the aluminum block underneath with dry ice. The result was lousy. Only after blastin with walnut granules was the surface the way I wanted it... nice and clean. All aluminum surfaces were then finely sanded and painted with a special satin clear varnish for aluminum. Karl Attach file:  k-P1020649.JPG (233.37 KB) k-P1020649.JPG (233.37 KB)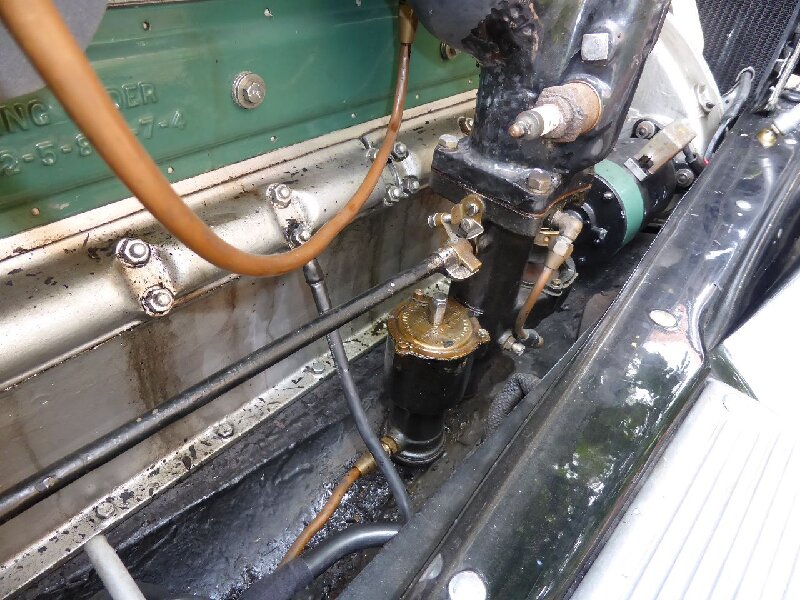  k-P1030333.JPG (194.06 KB) k-P1030333.JPG (194.06 KB)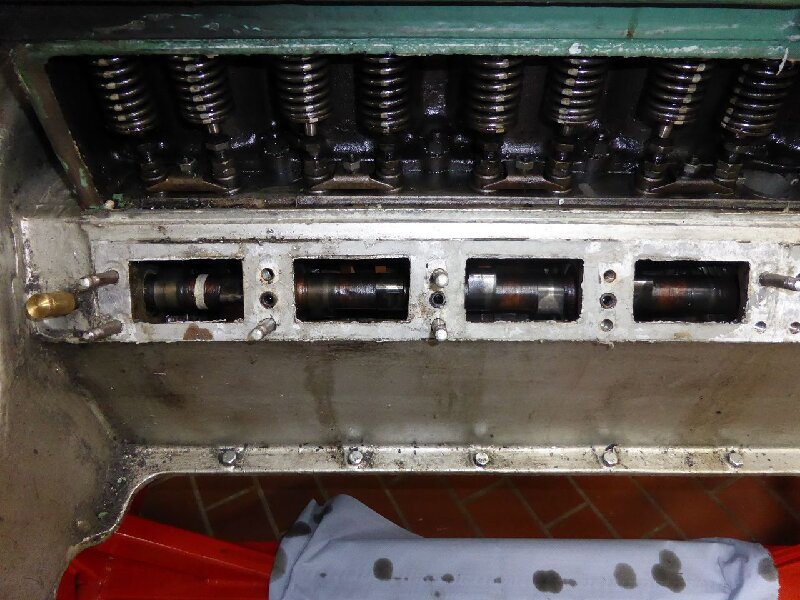  k-P1030870.JPG (165.34 KB) k-P1030870.JPG (165.34 KB)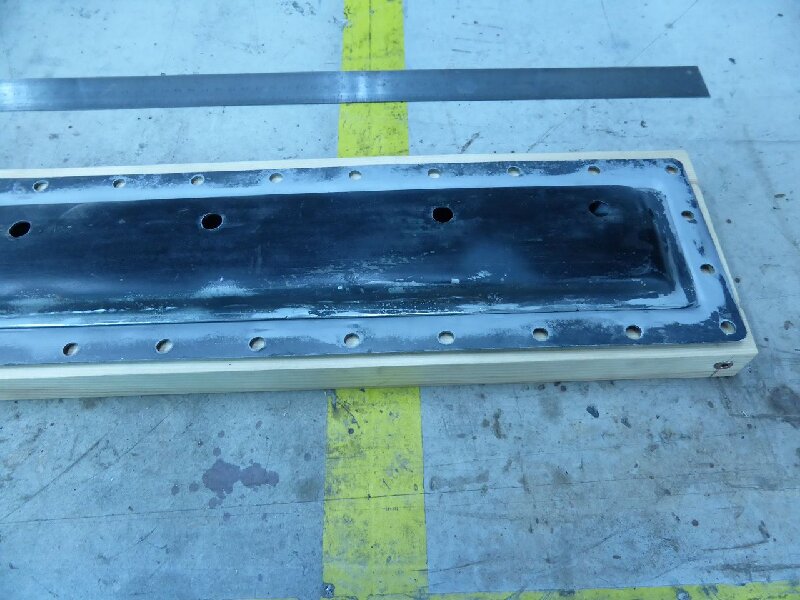  k-P1030987.JPG (185.36 KB) k-P1030987.JPG (185.36 KB)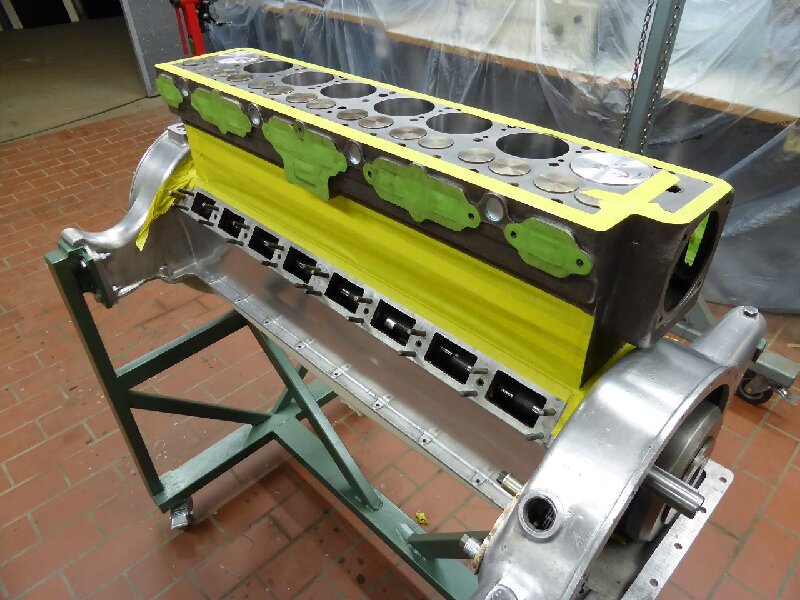  k-P1030988.JPG (174.32 KB) k-P1030988.JPG (174.32 KB)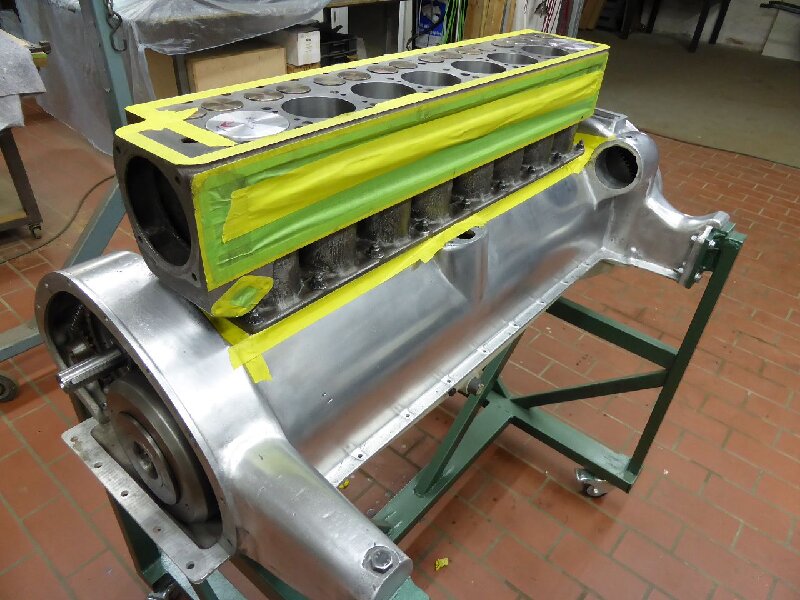  k-P1030990.JPG (165.54 KB) k-P1030990.JPG (165.54 KB)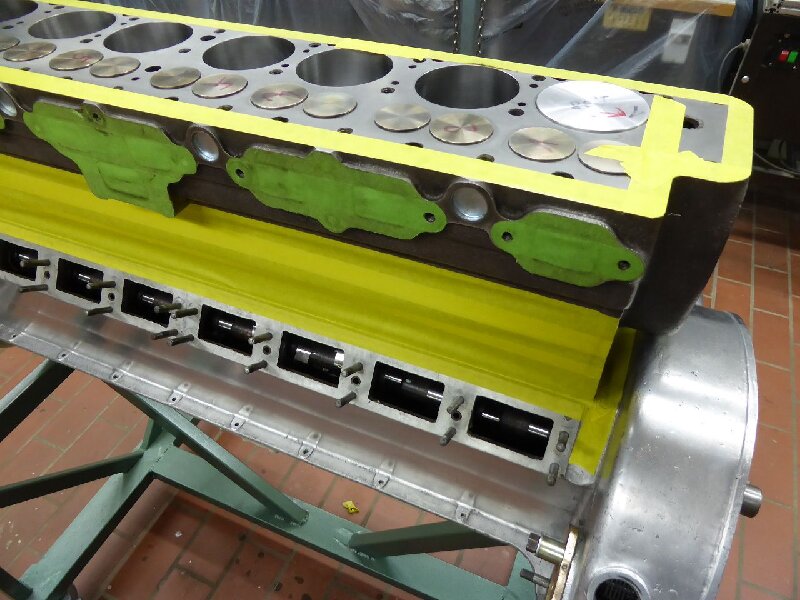  k-P1030871.JPG (141.55 KB) k-P1030871.JPG (141.55 KB)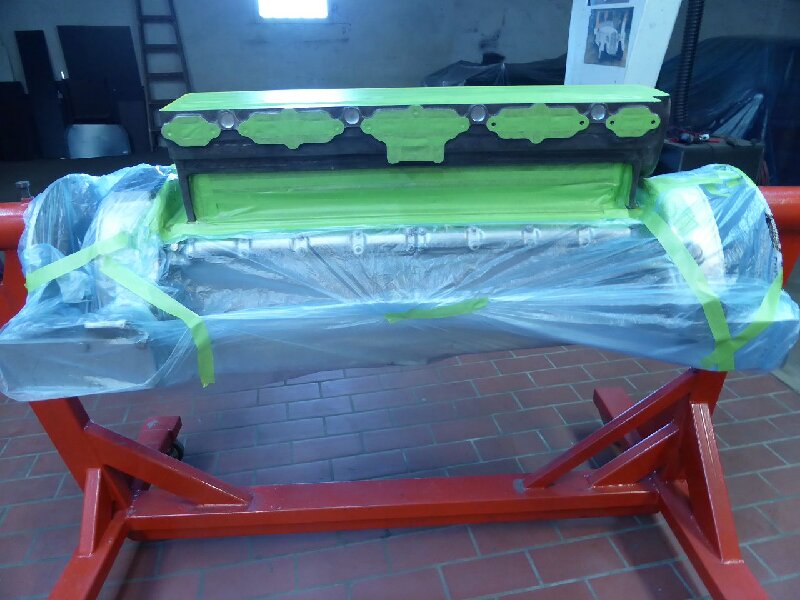  k-P1030872.JPG (174.63 KB) k-P1030872.JPG (174.63 KB)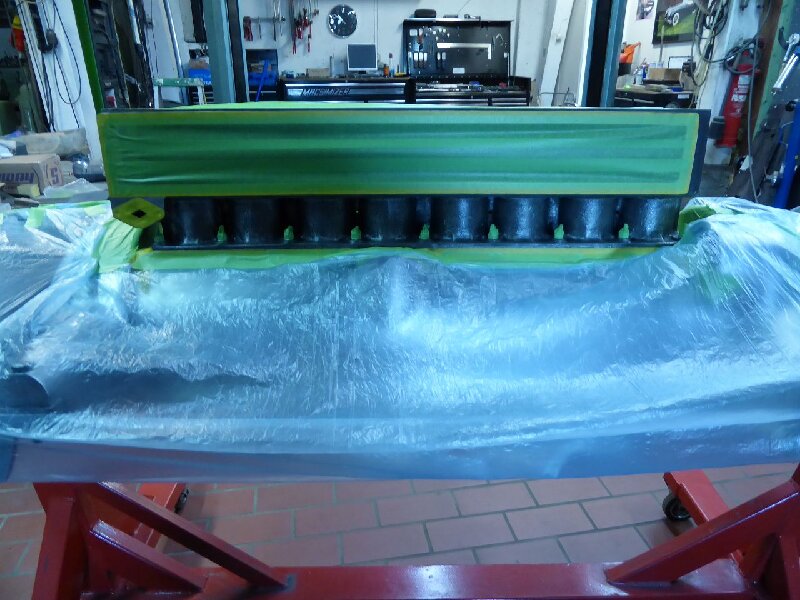  k-P1030873.JPG (120.91 KB) k-P1030873.JPG (120.91 KB)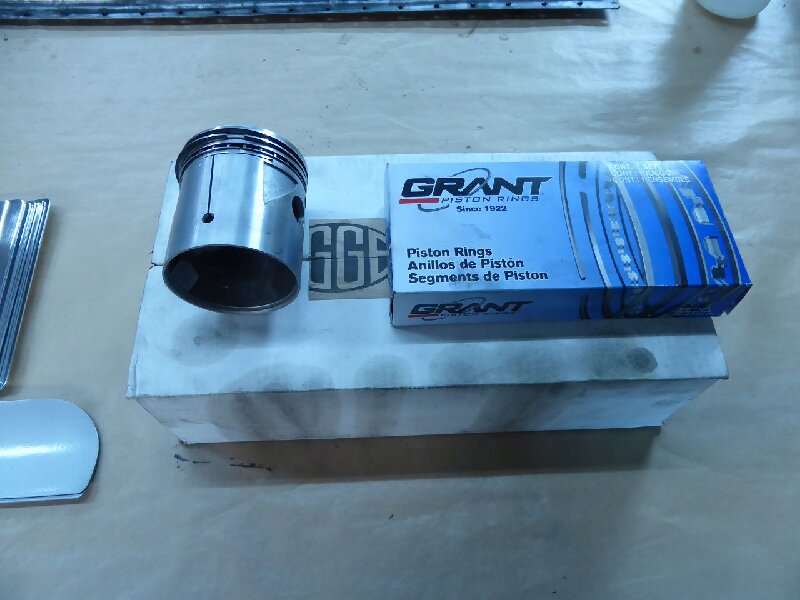  k-P1040039.JPG (146.47 KB) k-P1040039.JPG (146.47 KB)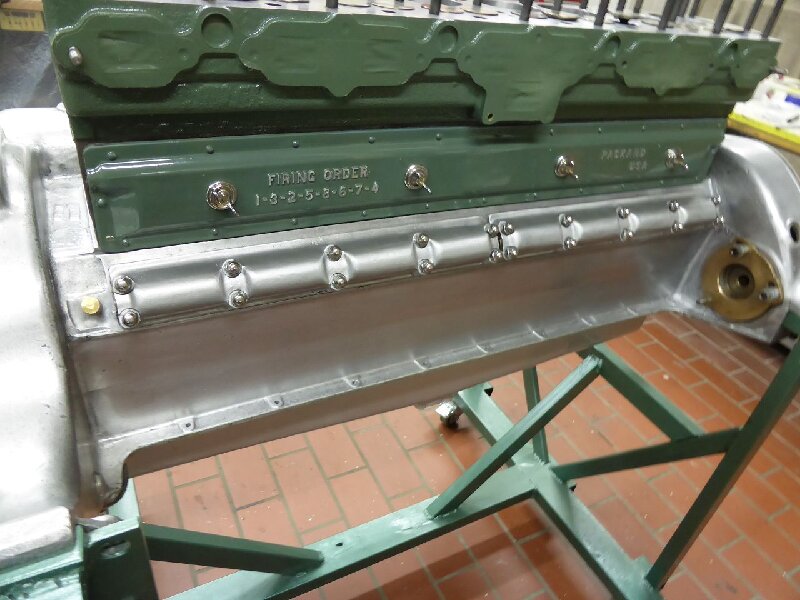  k-P1040051.JPG (164.45 KB) k-P1040051.JPG (164.45 KB)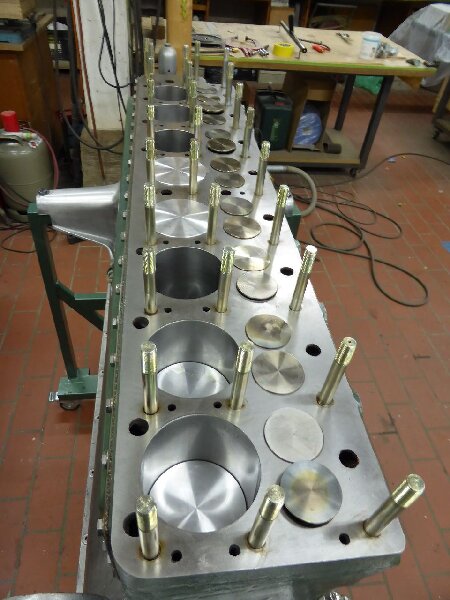  k-P1030907.JPG (169.95 KB) k-P1030907.JPG (169.95 KB)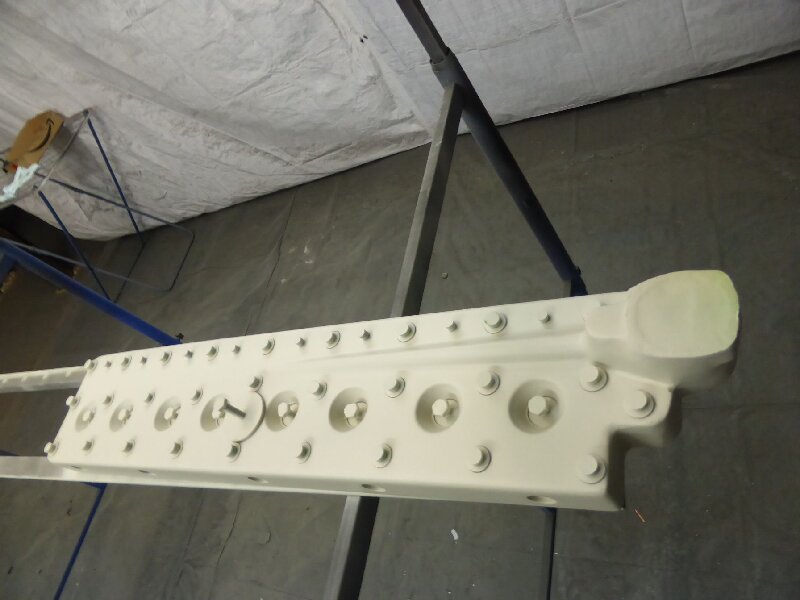  k-P1030908.JPG (168.49 KB) k-P1030908.JPG (168.49 KB)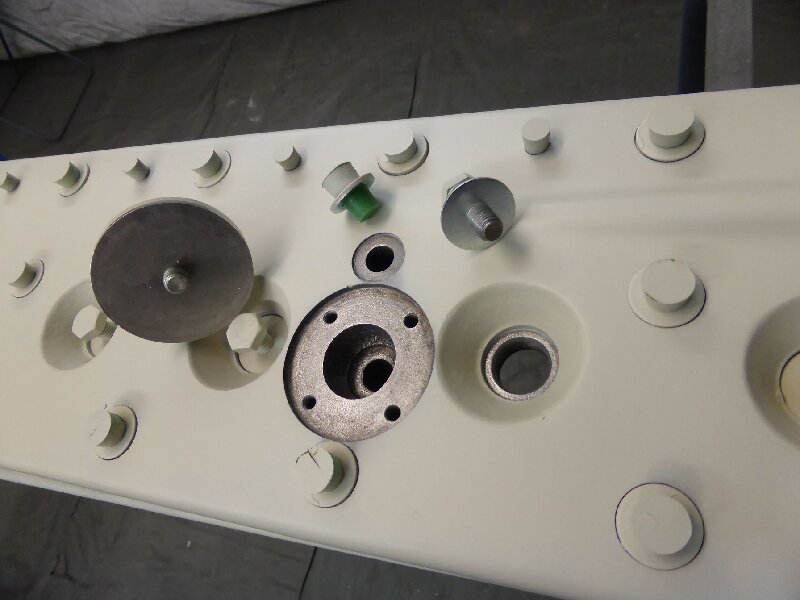  k-P1040343.JPG (190.75 KB) k-P1040343.JPG (190.75 KB)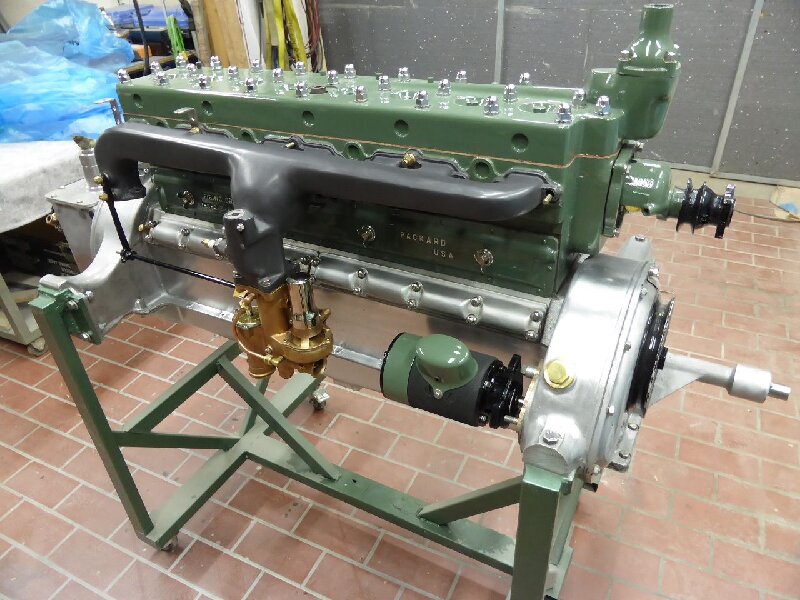
Posted on: 2024/10/7 9:05
|
|||
|
||||
|
Re: 1924 Sport 136
|
||||
|---|---|---|---|---|
|
Home away from home

|
The Oil Pump
After dismantling the pump, it became apparent that the crucial component for building up the oil pressure was showing heavy wear. The ball of the pressure valve was probably still the same that was installed in 1924. This explained why the oil pressure only showed half of the required value on the dial gauge. I carefully refinished the seat of the ball with a 45° milling cutter and ground it with grinding paste using a tool made on the lathe. A new ball bearing ball with the appropriate diameter was inserted into the valve. During the pressure test, with the pressure gauge connected, it showed that the valve now opened again at the specified pressure and the pressure gauge showed the correct value. Karl Attach file:  k-P1030993.JPG (152.60 KB) k-P1030993.JPG (152.60 KB)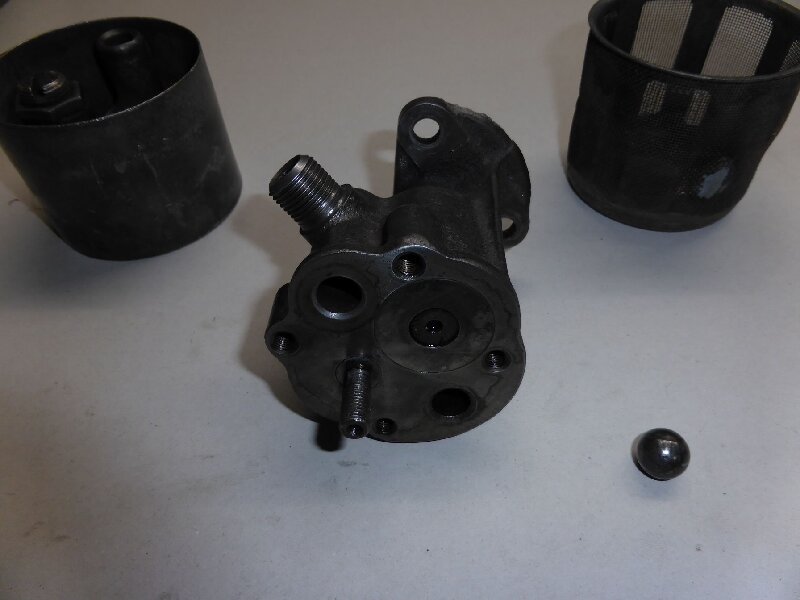  k-P1030996.JPG (198.43 KB) k-P1030996.JPG (198.43 KB)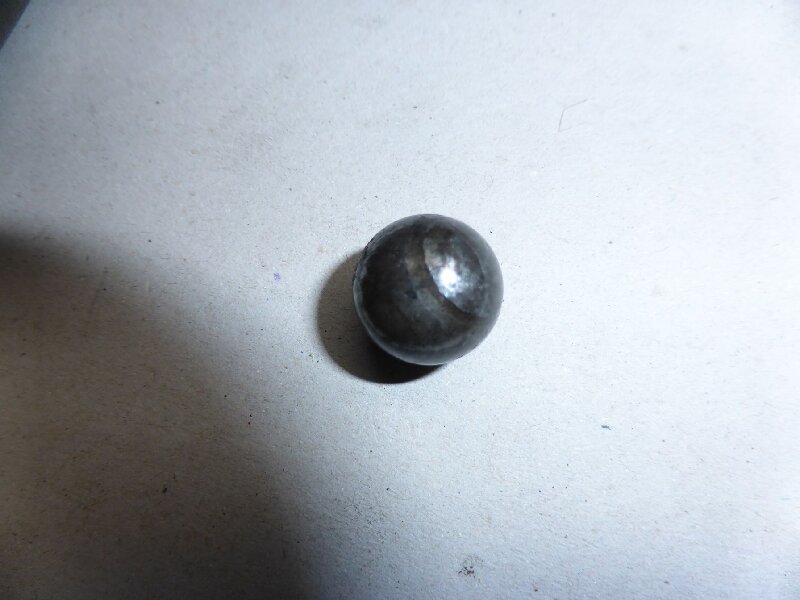  k-P1030997.JPG (201.67 KB) k-P1030997.JPG (201.67 KB)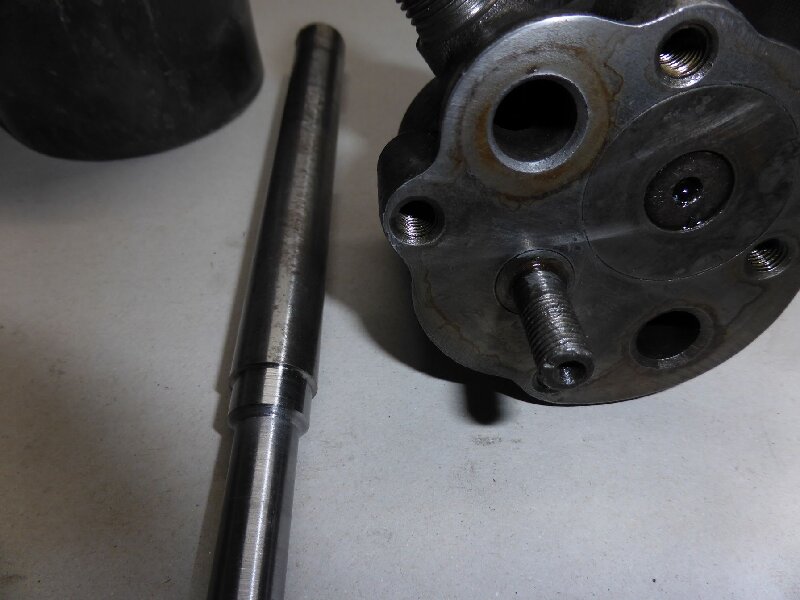  k-P1040001.JPG (341.96 KB) k-P1040001.JPG (341.96 KB)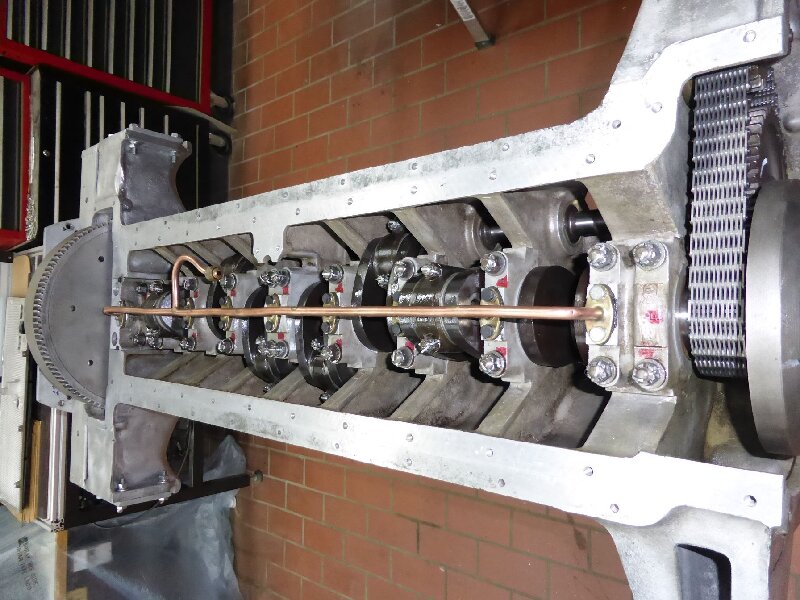
Posted on: 2024/10/9 4:53
|
|||
|
||||

