
|
Re: 51Packard's....51 Packard
|
||||
|---|---|---|---|---|
|
Home away from home
|
You also might want to use either Kodak lens tissue or Kim wipes to clean your surfaces. I go along HH about using Windex and the Q-tip to test an area. I use Windex applied directly to the Kodak lens tissue, which is extremely soft when I have to clean lenses or filters.
By wetting the tissue you have complete control of not getting excess moisture or liquid into your work. I use the wetted lens tissue starting at the center and work out in a very light circular motion, one direction only. Photographic or computer canned air might also be easier and more controllable on cleaning/drying out the clock mechanisms than the garage compressor.
Posted on: 2010/12/15 8:56
|
|||
|
Stephen
|
||||
|
||||
|
Re: 51Packard's....51 Packard
|
||||
|---|---|---|---|---|
|
Home away from home
|
I would prefer to clean the mechanism by letting it soak in a cleaner rather than trying to clean it with a cloth or brush. Sometimes you might have gunk around a shaft you have to take a very soft brush to, but some parts there are very delicate and you don't want to touch them at all.
To dry, i wouldn't even use compressed air. A hair dryer has less pressure and the heat dries it right up. Then you can oil the couple places it need it and you're set to go!
Posted on: 2010/12/16 10:56
|
|||
|
||||
|
Re: 51Packard's....51 Packard
|
||||
|---|---|---|---|---|
|
Home away from home

|
Thanks for the suggestions. I'm glad I asked because I was going to give the face and lens a good polish with polishing compound. Probably would have had an invisible clock by the time I was done!
Posted on: 2010/12/16 14:06
|
|||
|
[url=h
|
||||
|
||||
|
Re: 51Packard's....51 Packard
|
||||
|---|---|---|---|---|
|
Home away from home
|
There are some plastic polishes available if the plastic has light scratches or is a bit foggy. I have used them on lexan boat windshields and motor cycle visors, and they worked great. Not sure how they work on other plastics.
Here is one example. You would still want to go with the q-tip test first. Cheers, Tom
Posted on: 2010/12/16 14:41
|
|||
|
||||
|
Re: 51Packard's....51 Packard
|
||||
|---|---|---|---|---|
|
Home away from home

|
Lexan is a brand name for polycarbonate, a plastic particularly sensitive to solvents. But I think the sensitivity mentioned earlier was that of the paint.
Posted on: 2010/12/16 15:11
|
|||
|
||||
|
Re: 51Packard's....51 Packard
|
||||
|---|---|---|---|---|
|
Home away from home
|
12-20-10
Got most of the clock cleaned and put back together. The Windex and Q-tips worked great. Not a lot of dirt came off, but at least I got rid of the PB Blaster. The large metal trim circle in the middle of the clock face had two small dents and some discoloration. I tried to tap out the dents and it came out a little, but they are still there. I didn't want to press my luck and make it worse. I used the polishing compound on the dents thinking what was on the surface would come off, but it didn't. Not sure what it is, but can't really do anything about it. I thought there were scratches on the lens, but after washing, it came out great. When reassembling, two of the tabs around the face broke off. Made it a little cumbersome to get back together, but once assembled, the missing tabs to not seem to be an issue. Hour hand went on fine, but the minute hand is really messed up from me trying to get it on without resorting to glue. Lots of bending and rebending. Nothing is working so it looks like I'm going to need to buy some epoxy glue to put it on. Tried to run the clock again, but this time when I moved the weights, the clock would not run right away. I would have to touch the workings and it would go again. I must have gotten rid of the PB Blaster on the back, but now it does not have enough lubrication. Looks like I'll be buying some clock oil...
Posted on: 2010/12/20 21:39
|
|||
|
[url=h
|
||||
|
||||
|
Re: 51Packard's....51 Packard
|
||||
|---|---|---|---|---|
|
Home away from home
|
12-21-10
Got the clock all glued up. I couldn't find any epoxy glue at work so I used Guerrilla Glue. It's a thicker type of super glue. Hope I never have to take the needle off again! I'm really disappointed as to how the clock came out. Those dents and marks on the inner ring really look bad. Makes me think that someone has been in there before since all of this would have been protected by the lens. Oh well, I cleaned it up the best I can and hopefully it will work for many years to come. Attach file:  (68.77 KB) (68.77 KB)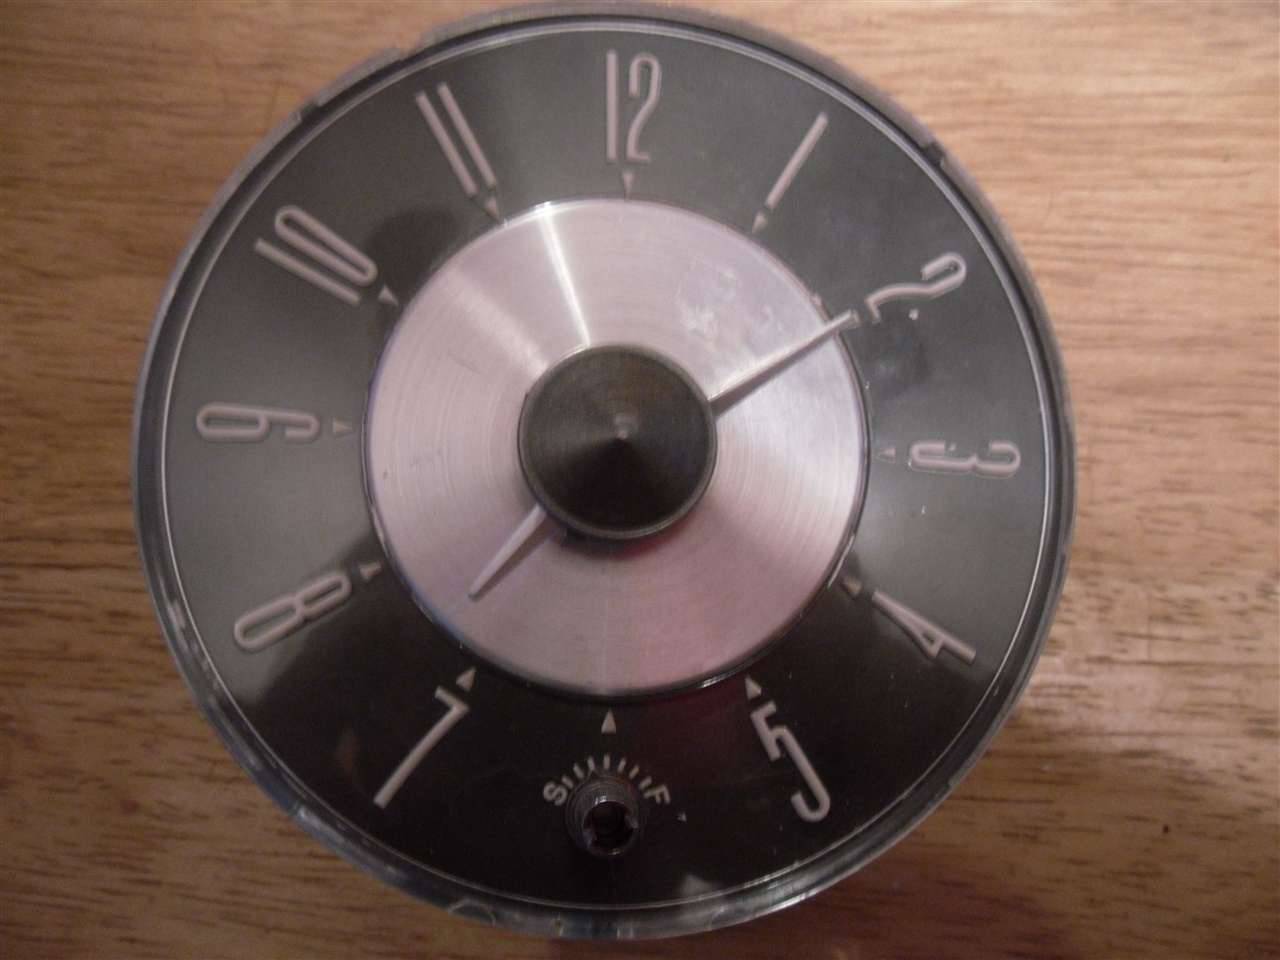
Posted on: 2010/12/22 22:46
|
|||
|
[url=h
|
||||
|
||||
|
Re: 51Packard's....51 Packard
|
||||
|---|---|---|---|---|
|
Home away from home
|
12-22-10
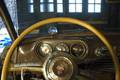
Since I have the instrument cluster out, I thought I would disassemble it and clean the inside to make it look as good as I could. There is a lot of rust dots around the chrome rings circling the instruments. I took some polishing compound to it. The chrome really started to shine, but the rust did not budge. Removed the gauges from the cluster and then the screws surrounding the back assembly. Removed that and the 4 screws that hold the gas/temp/bat/oil light faces and took that off. Left me with 3 empty lenses. There is a scratch on the speedo trim ring also. Someone must have removed that at one time too. Did they roll back the odometer? I don't think so because there are some old oil change stickers on the door jam that show lower miles back in the late '60's. I would think that most of the miles would have been put on the car when it was newer rather than later. I'll continue to work at the rust with the polishing compound. Hopefully I'll get rid of most of it and make it look better. Then I'll clean everything with Windex and dry it before reassembly. Attach file: (57.74 KB)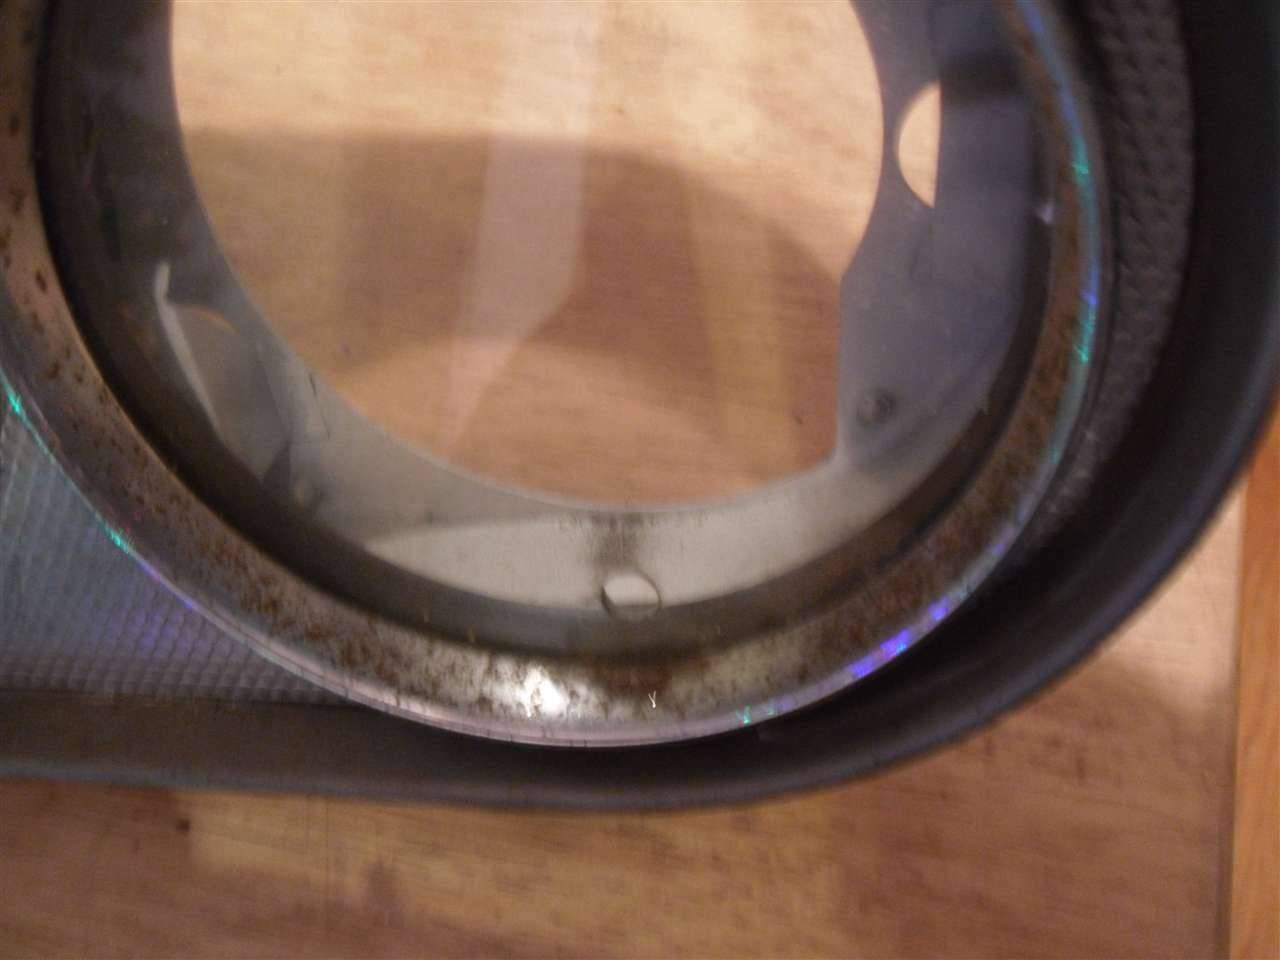 (74.28 KB) (74.28 KB)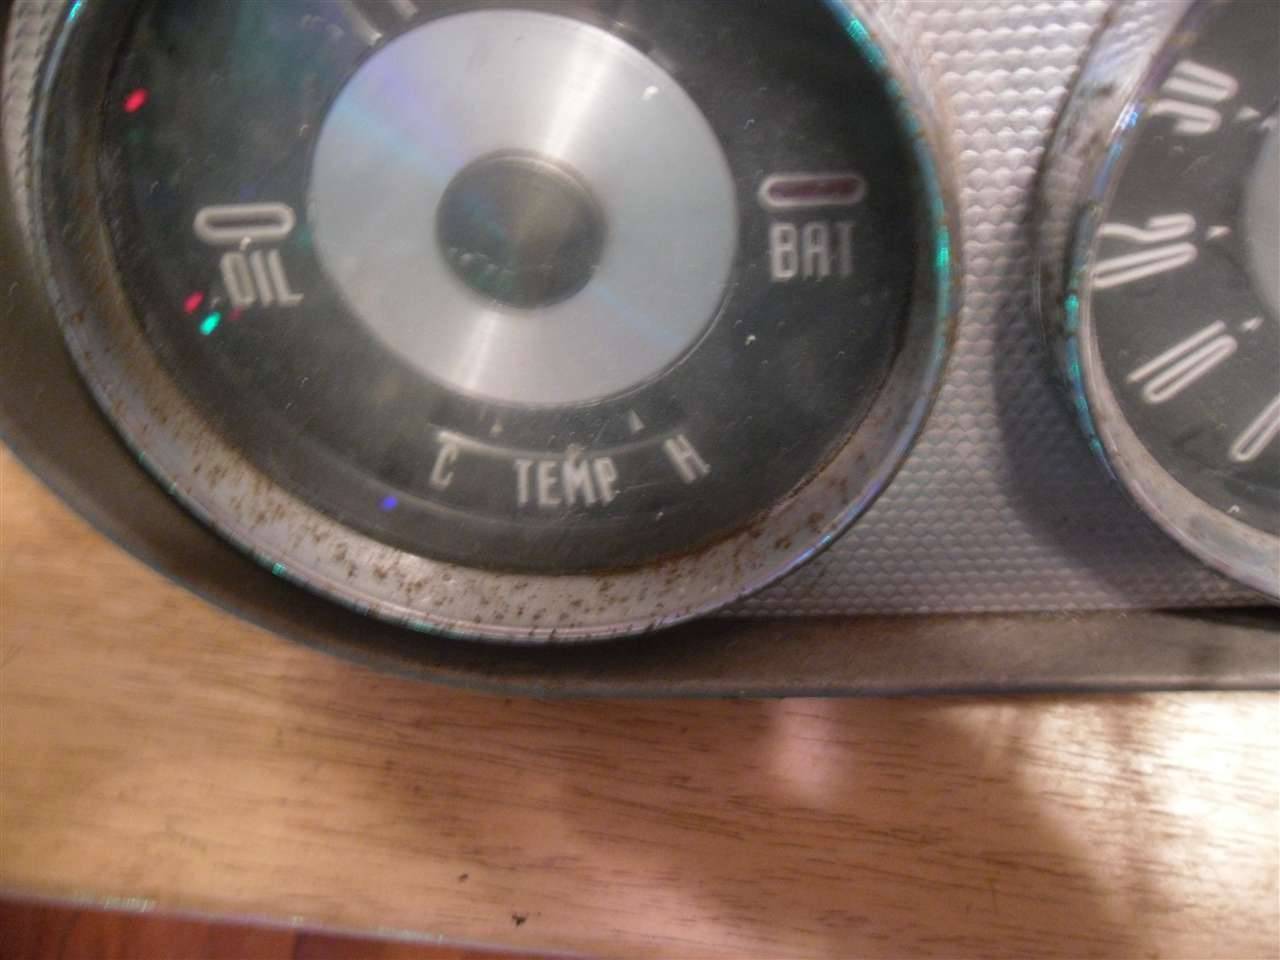 (50.73 KB) (50.73 KB)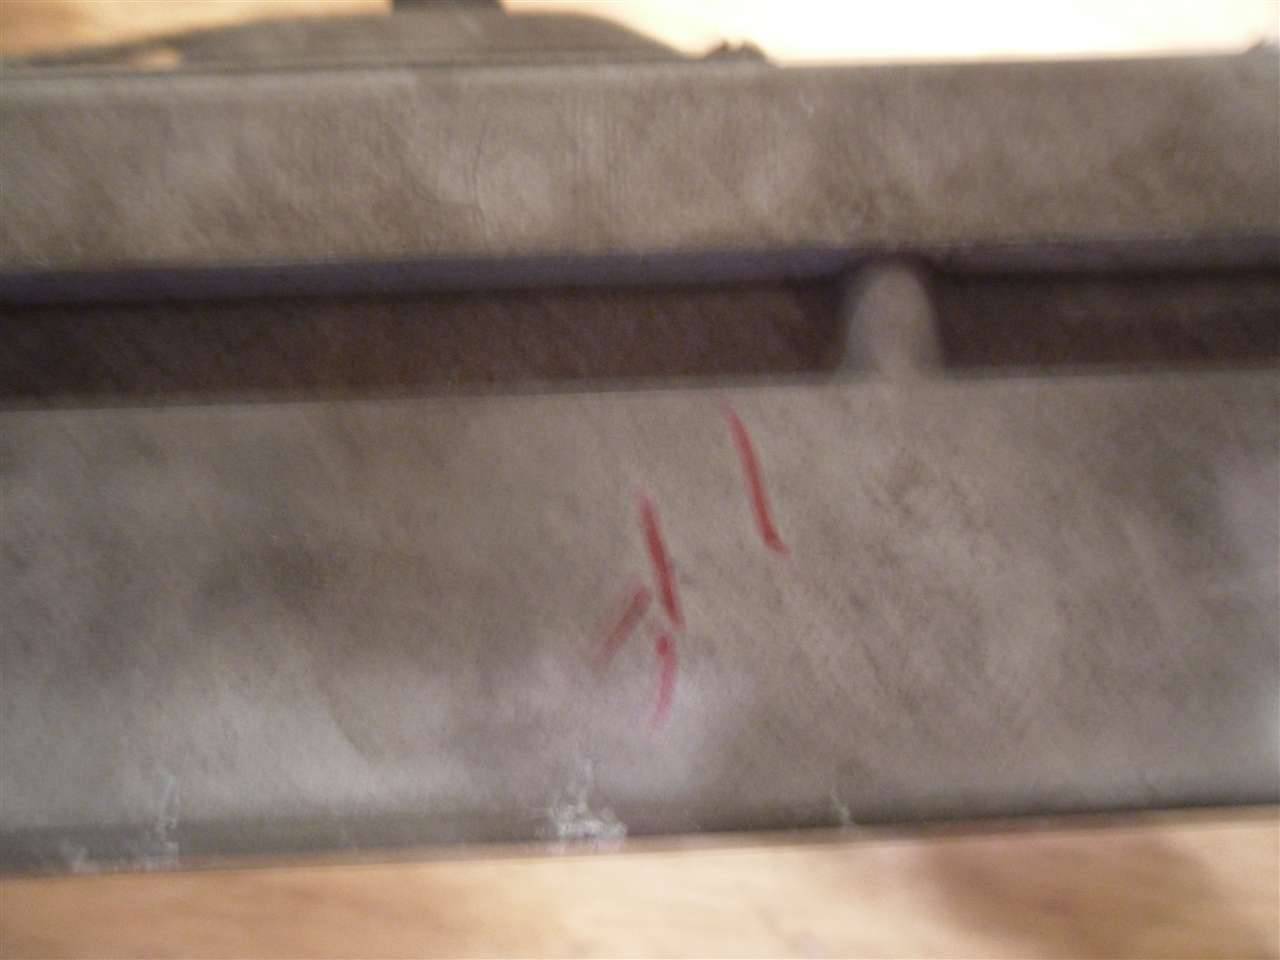 (53.61 KB) (53.61 KB)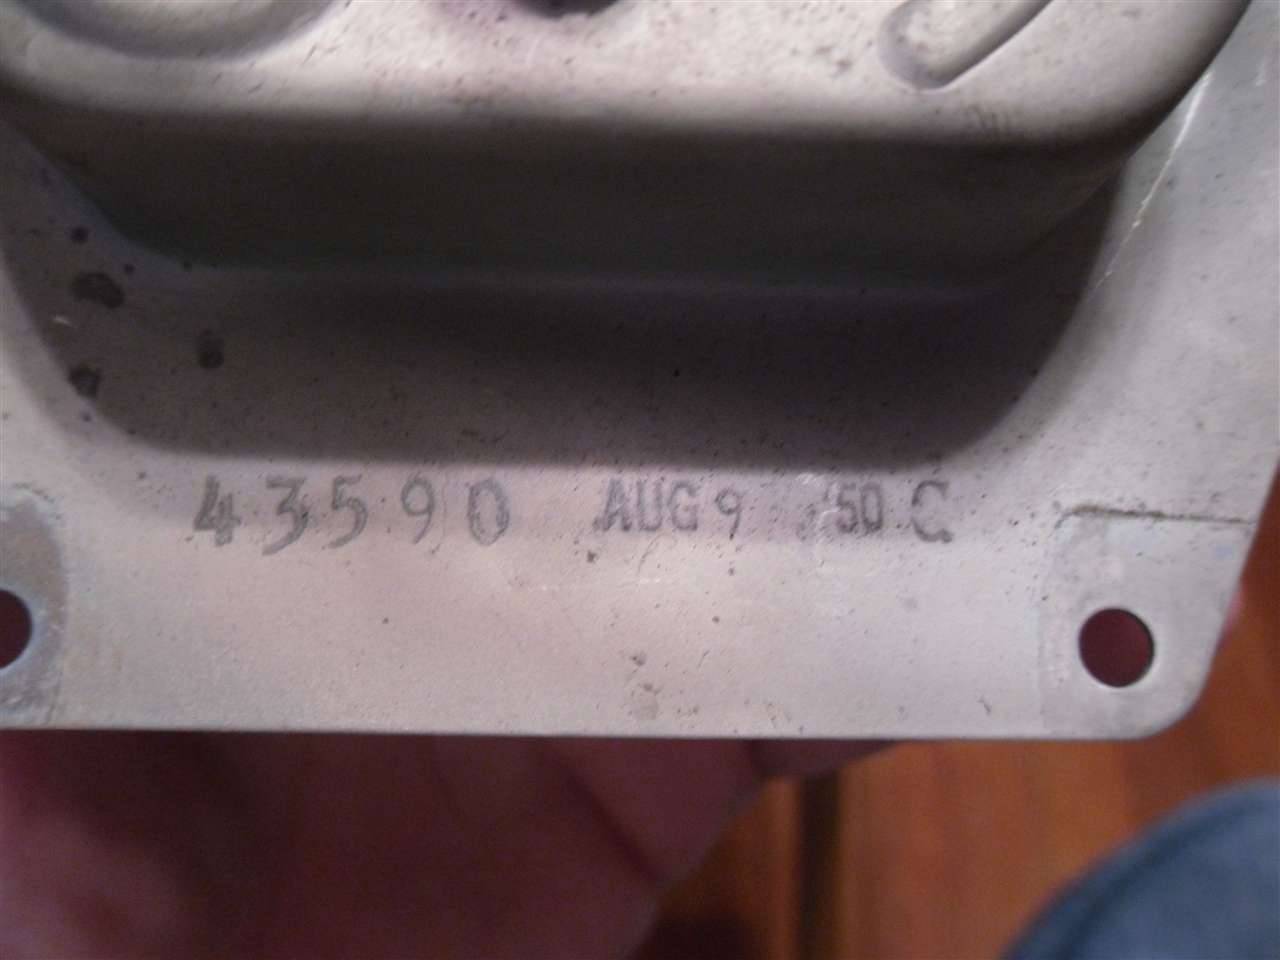 (96.24 KB) (96.24 KB)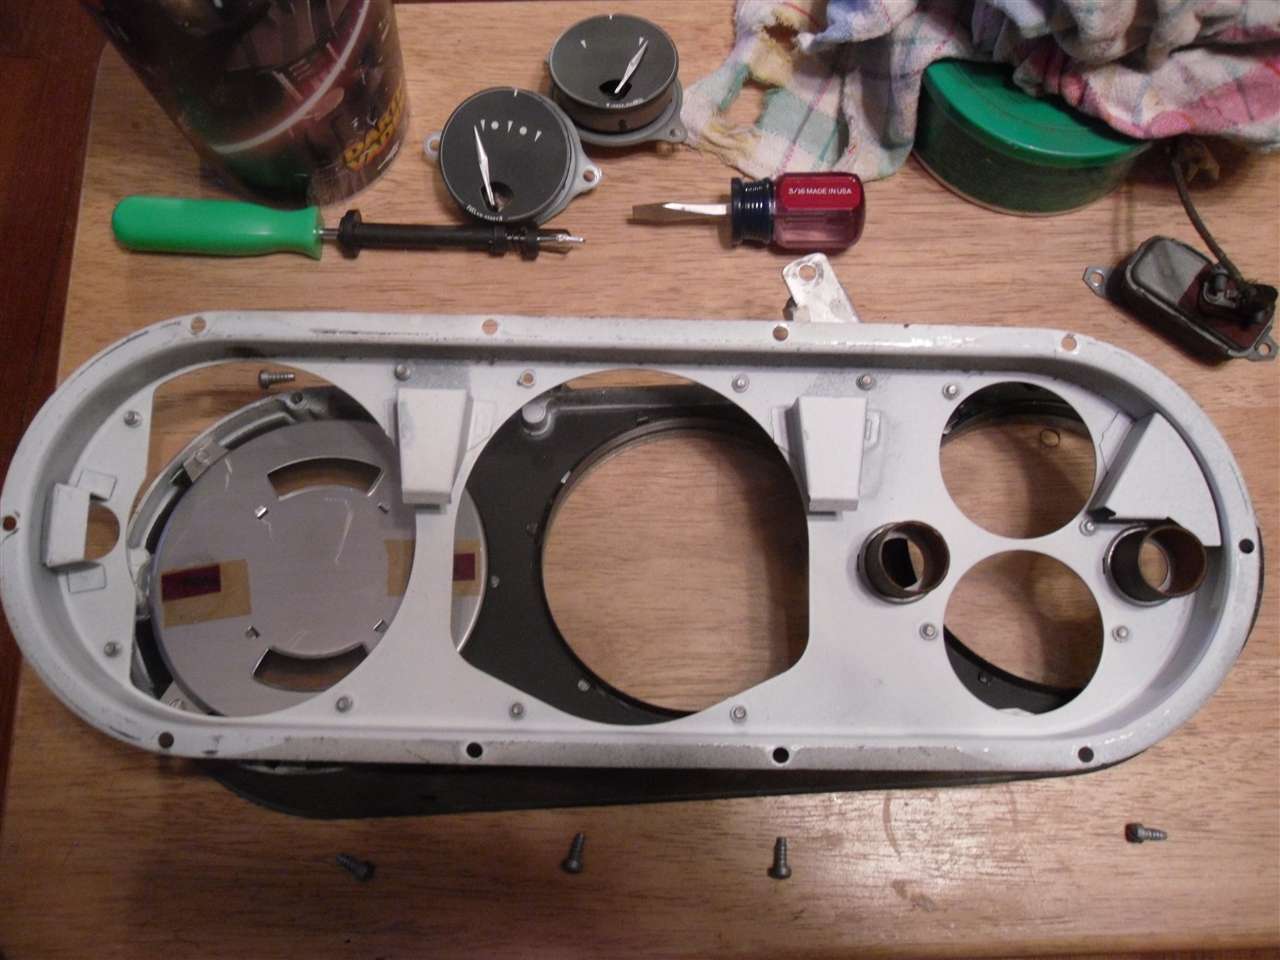 (99.87 KB) (99.87 KB)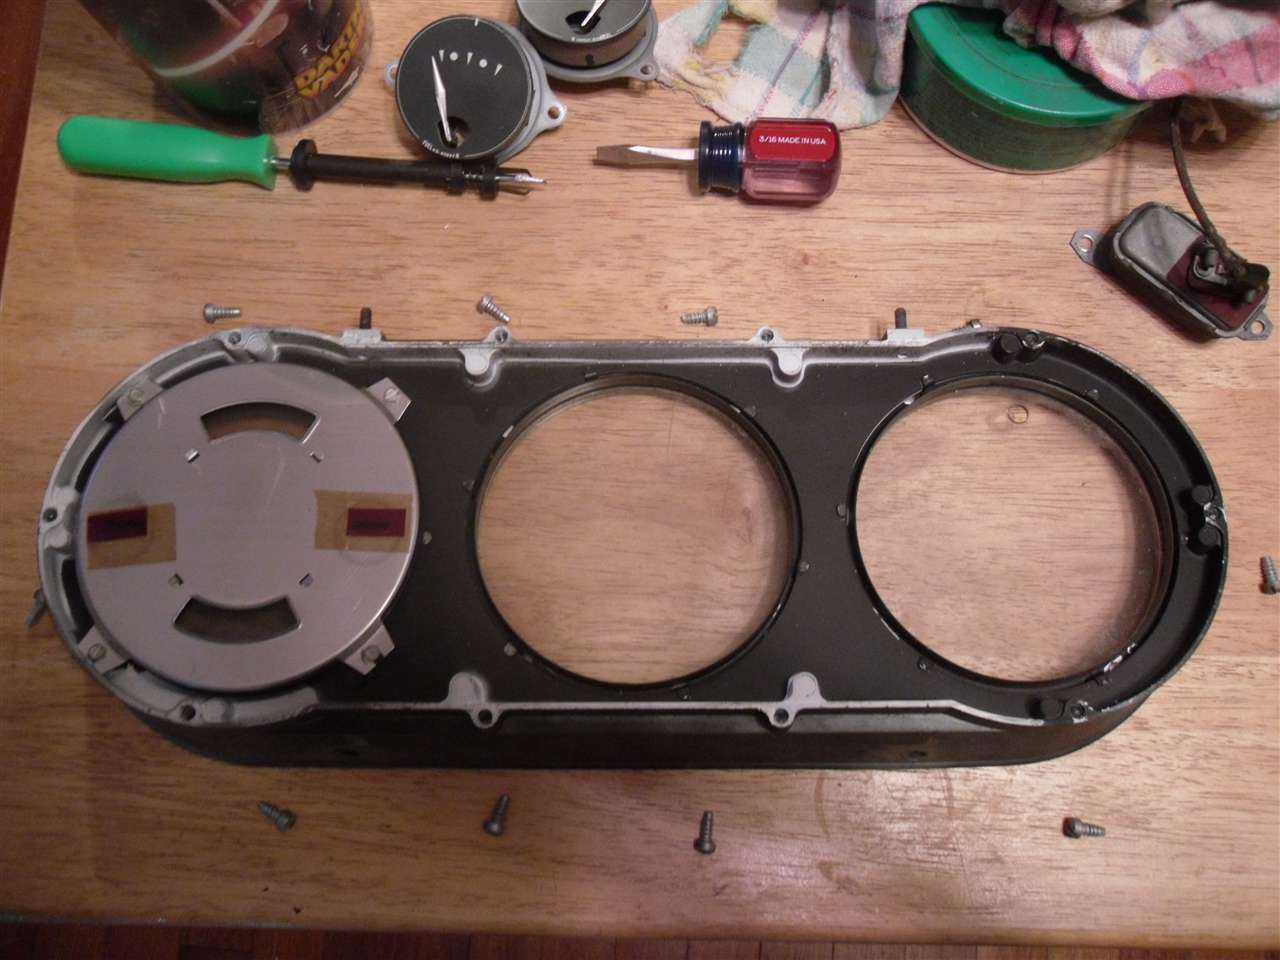 (93.03 KB) (93.03 KB)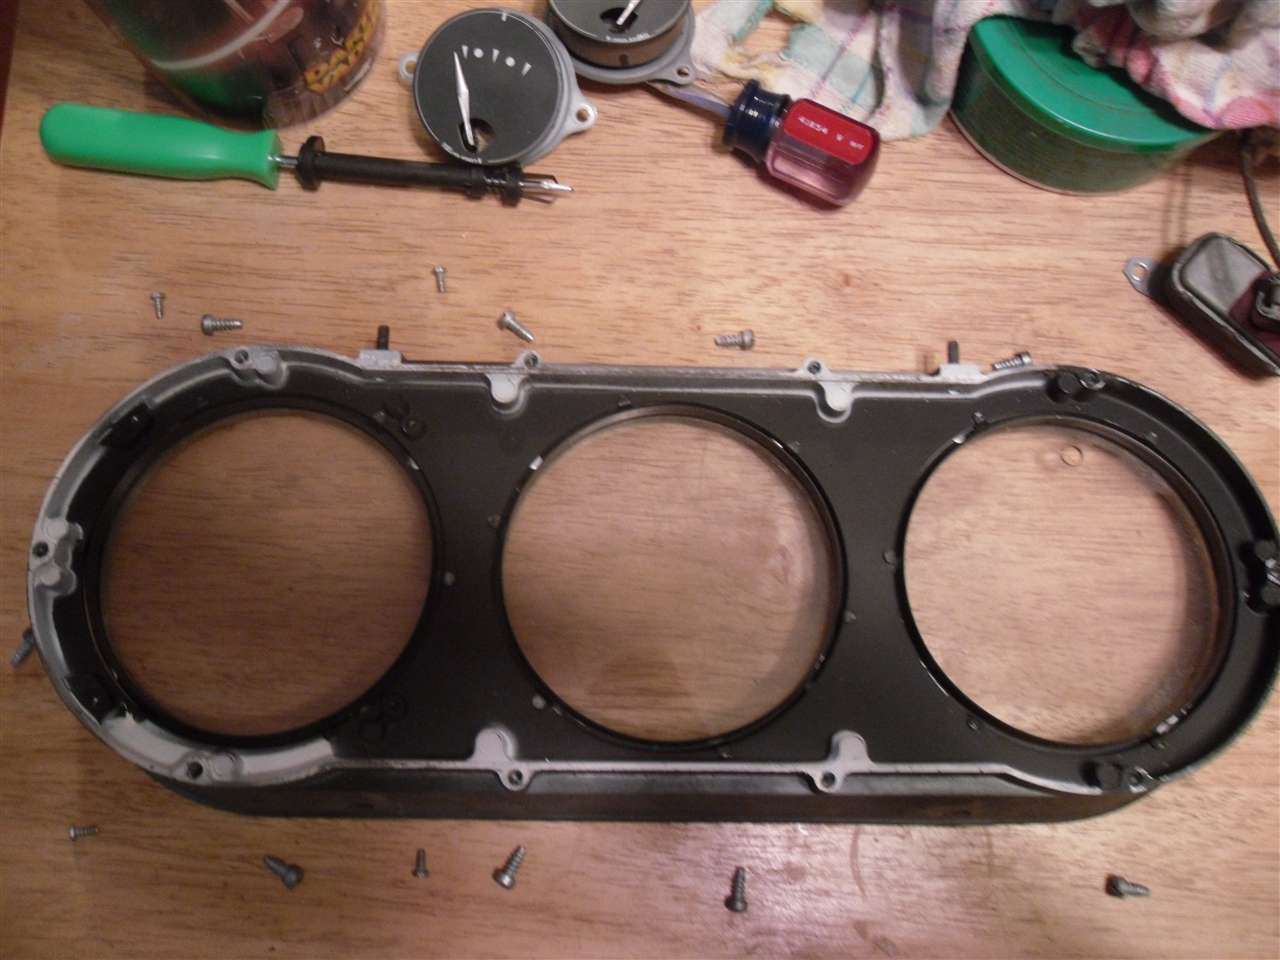
Posted on: 2010/12/22 22:57
|
|||
|
[url=h
|
||||
|
||||
|
Re: 51Packard's....51 Packard
|
||||
|---|---|---|---|---|
|
Home away from home

|
On those rims, fine steel wool is your best friend. 00 or 000 grade. Quick, easy, cheap, and won't scratch the chrome.
Posted on: 2010/12/23 7:00
|
|||
|
||||


