|
Re: 51Packard's....51 Packard
|
||||
|---|---|---|---|---|
|
Home away from home

|
Quote:
Here is a link to my project blog where I talk about cleaning the headliner in my Fifty-five. Also, in #81 Guy suggests using 409 to clean the windows. Hope this helps. (o{I}o) packardinfo.com/xoops/html/modules/newbb ... lat&order=ASC&type=&mode=0&start=80
Posted on: 2011/7/19 10:44
|
|||
|
We move toward
And make happen What occupies our mind... (W. Scherer) |
||||
|
||||

|
Re: 51Packard's....51 Packard
|
||||
|---|---|---|---|---|
|
Home away from home
|
Paul, sorry I can't help you with the front ash tray disassembly. Someone here will know the answer.
(o{I}o)
Posted on: 2011/7/19 15:22
|
|||
|
We move toward
And make happen What occupies our mind... (W. Scherer) |
||||
|
||||
|
Re: 51Packard's....51 Packard
|
||||
|---|---|---|---|---|
|
Home away from home

|
7-19-11
I wire brushed/media blasted (as appropriate) my trans cooler, thermostat housing, road draft tube, clamp and bracket. Then I treated them with phosphoric acid, primed and painted. On the thermostat housing, how does the thermostat go in? The service manual implies that it just sits under the housing on the cylinder head. Is that right or am I missing something? Mine did not have a thermostat so I'm not sure. I read somewhere that some thermostats were held in with a sleeve and others with a wire clip. I can't remember if that applies to my car or other years.
Posted on: 2011/7/19 21:11
|
|||
|
[url=h
|
||||
|
||||
|
Re: 51Packard's....51 Packard
|
||||
|---|---|---|---|---|
|
Forum Ambassador

|
Thermostat goes up inside the outlet and should have a wire ring to hold it in. Here is one place the ring can be found but some have made them out of stainless steel wire. There should be 3 or 4 "dimples" inside the housing unless they have rusted away. The thermostat goes in (proper direction) and then the ring goes between thermostat and dimples to hold it up.packards-today.com/catalog.php?CID=7
Posted on: 2011/7/19 21:19
|
|||
|
Howard
|
||||
|
||||
|
Re: 51Packard's....51 Packard
|
||||
|---|---|---|---|---|
|
Home away from home
|
As always, thanks Howard. Ordered it this morning. Also thanks for anticipating my next question on where the best place to buy it is!
Posted on: 2011/7/20 10:31
|
|||
|
[url=h
|
||||
|
||||
|
Re: 51Packard's....51 Packard
|
||||
|---|---|---|---|---|
|
Home away from home
|
7-22-11
Wire brushed the water pump and media blasted the pulley. Then I primed and painted them. OK guys, the moment has come. Does anyone remember where the longer bolt goes in the water pump when mounting it to the engine? The exploded parts diagram did not show it.
Posted on: 2011/7/22 19:57
|
|||
|
[url=h
|
||||
|
||||
|
Re: 51Packard's....51 Packard
|
||||
|---|---|---|---|---|
|
Home away from home
|
Be very careful with the water pump bolts. They vary in length depending upon location. You can look at the front of the block and see how deep the bolt holes are threaded. Measure this depth. Then measure the water pump thickness for each of the bolt holes. Adding these lengths for each respective bolt hole will tell you what the maximum length each bolt should be. Too long a bolt will damage the block casting and ruin an engine. Be sure to mark each bolt and hole to match. Also, you will want to use copper washers under the bolt heads. Use a Permatex sealer on those bolt threads that go into a water jacket. Here is a photo of the water pump installed on my '47 Custom Clipper. Note the markings on the bolt heads. I hope this helps.
(o{I}o) Attach file:  (44.78 KB) (44.78 KB)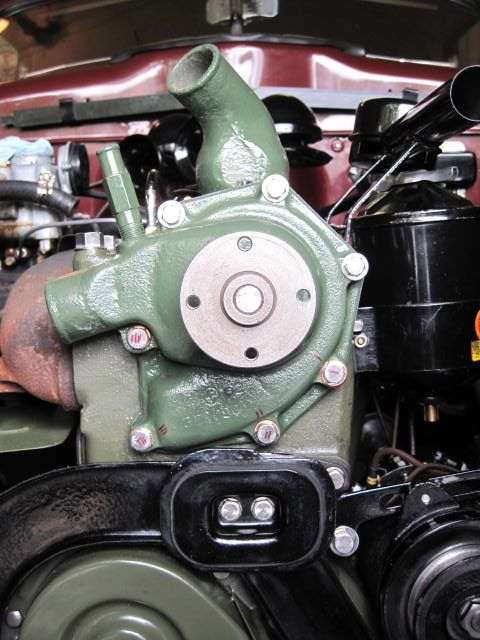
Posted on: 2011/7/22 22:07
|
|||
|
We move toward
And make happen What occupies our mind... (W. Scherer) |
||||
|
||||
|
Re: 51Packard's....51 Packard
|
||||
|---|---|---|---|---|
|
Home away from home
|
7-25-11
JW, what is the importance of the copper gaskets? What purpose do they serve? I looked at the parts manual again. Looks like I screwed up. My thermostat housing bolts got mixed up with the radiator housing bolts. Now I am a bolt short. I should have 4 of 3/8x16x1-5/8 and 1 of 3/8x16x2-1/4. I went to Ace Hardware to get new bolts and they only had sizes by the 1/2 inch. I'm going to try a new hardware store tomorrow. Using JW's suggestion, I checked the bolt position in each hole and decided that the one shown in the pic is where it should go because it would penetrate the block the least in that hole. Why do I need copper washers? The ones at Ace were too big. The parts manual says I should have two flat washers and two split washers. I bought the Duracraft thermostat shown in the X-Reference in the main menu. I installed it with the thermostat retainer spring I bought. Then I downloaded and printed the gasket in the photo archive. Not bad for my first gasket! I managed to wire brush some of the radiator support but ran out of what little time I had. What is this strap of metal for I noticed while wire brushing on the support? Attach file: (13.38 KB)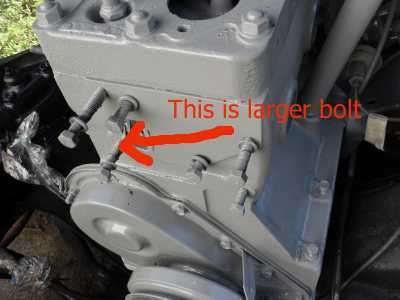 (95.54 KB) (95.54 KB)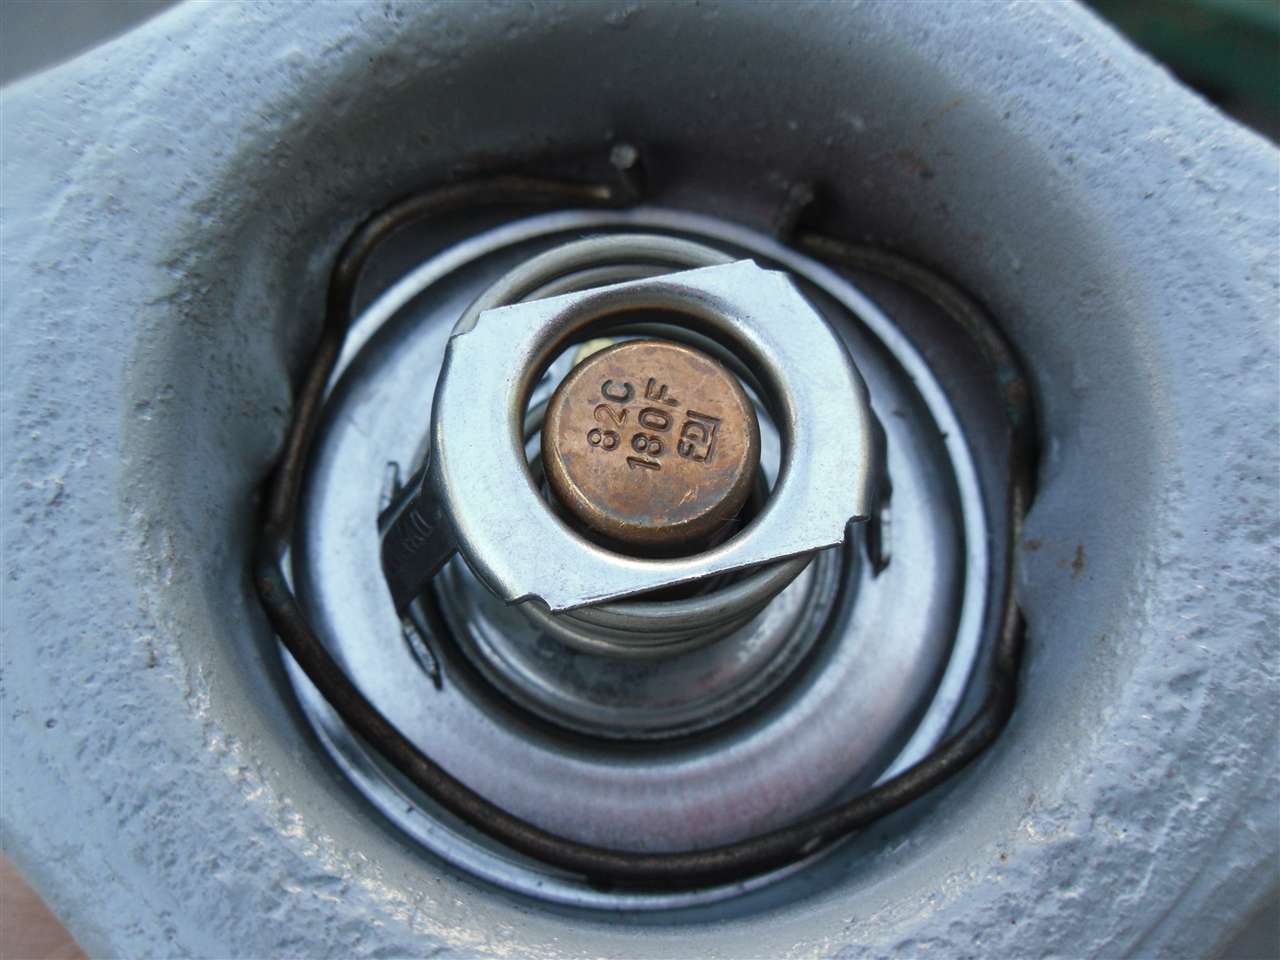 (139.13 KB) (139.13 KB)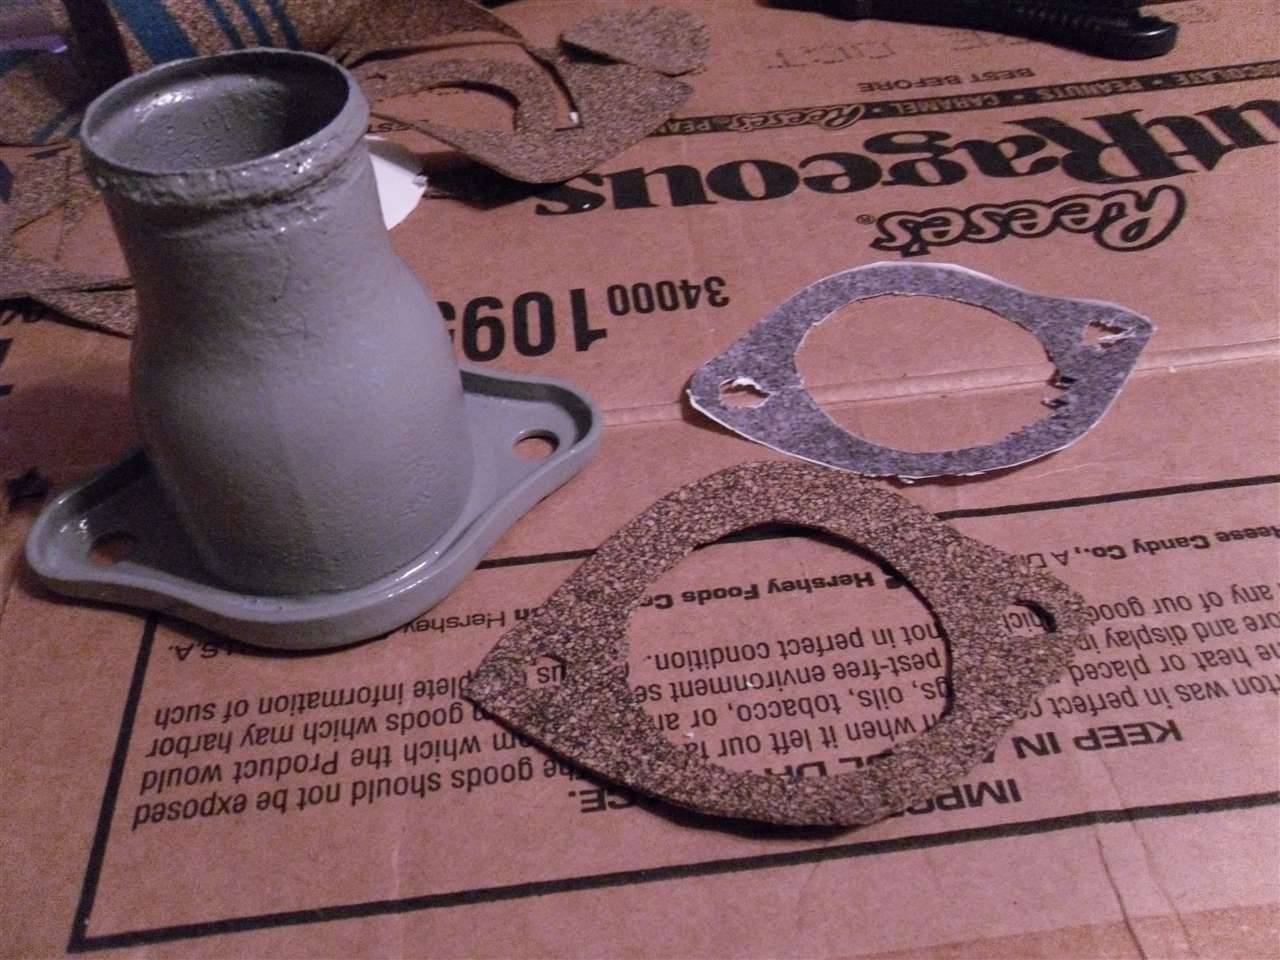 (96.24 KB) (96.24 KB)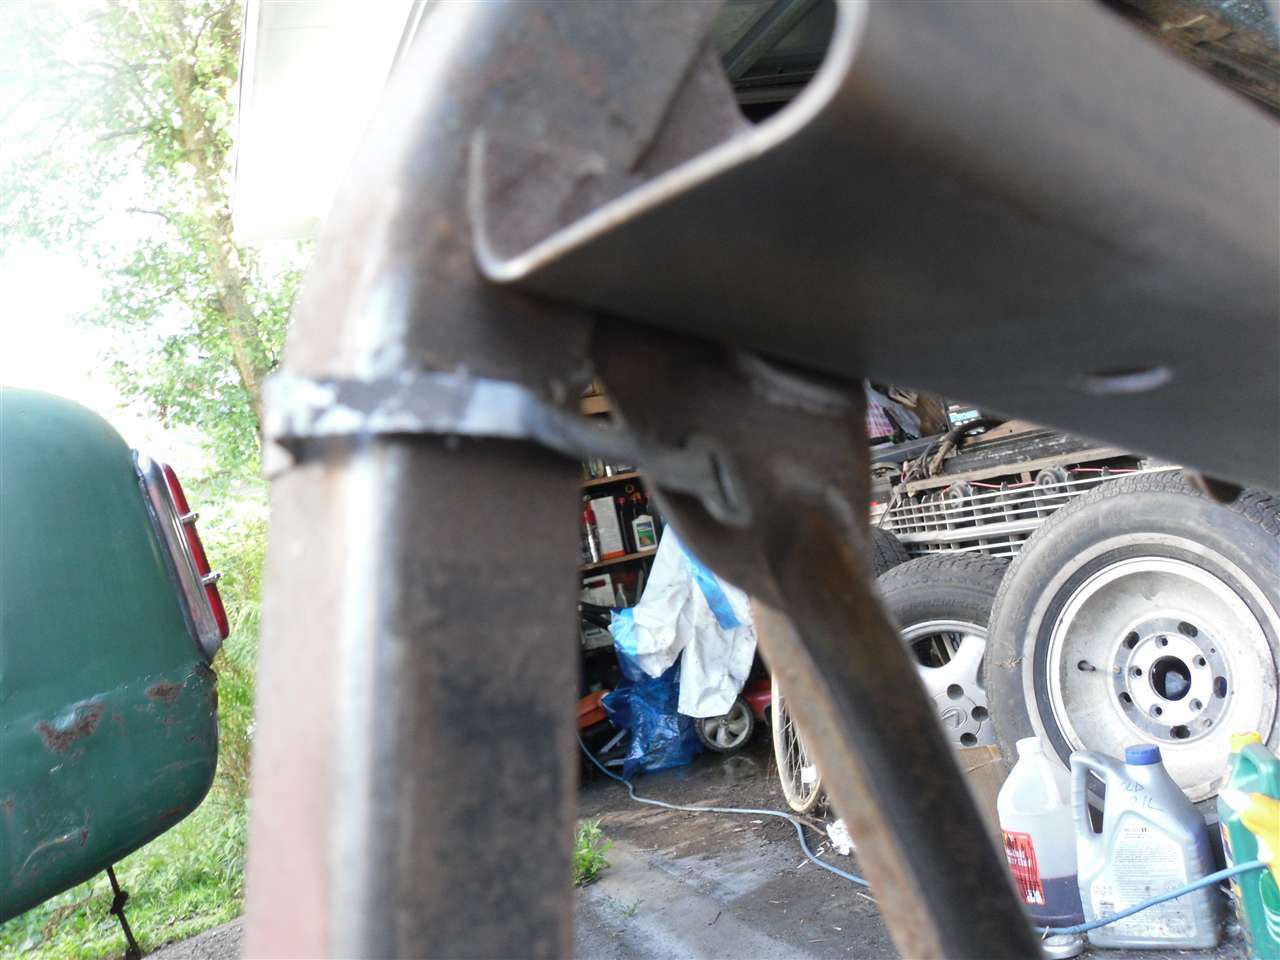
Posted on: 2011/7/25 21:53
|
|||
|
[url=h
|
||||
|
||||
|
Re: 51Packard's....51 Packard
|
||||
|---|---|---|---|---|
|
Forum Ambassador
|
The strap is an early form of tie wrap. Packard or maybe the mechanics used them for wiring, hoses, almost anything that needed to keep from getting caught or damaged. If there was any electrical wiring in that area, most likely used for that but also if long enough, possibly for heater hose.
Posted on: 2011/7/25 22:14
|
|||
|
Howard
|
||||
|
||||


