|
Re: Adventures with a 1955 Clipper
|
||||
|---|---|---|---|---|
|
Home away from home

|
Guy, thanks for the 409 recommendation. I think you may be correct; if the headliner was so dirty, the windows are probably just as bad. I will give it a try.
(o{I}o)
Posted on: 2011/7/7 12:42
|
|||
|
We move toward
And make happen What occupies our mind... (W. Scherer) |
||||
|
||||
|
Re: Adventures with a 1955 Clipper
|
||||
|---|---|---|---|---|
|
Home away from home
|
Hello All,
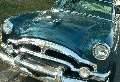
The last garage session could be titled a shady job. Not to be confused with shade tree mechanic. On our drive back from the Keels and Wheels Concours d'Elegance in May (held at the Lakewood Yacht Club in Seabrook near Houston) we stopped to visit with a Packard friend, Mike Grimes, who lives in The Woodlands, a growing community about 45 miles north of Houston. We were enticed by the offer of "Free Rides" in his Packards. True to his word we were treated to rides in and around the area in his maroon 1951 Patrician and black 1936 Standard Eight Coupe. Jane rode in the rumble seat of the Coupe and Mike and I in the passenger compartment. The '36, a recent acquisition, has its original interior and is in beautiful shape. The '51 is an older restoration and is most attractive. The Patrician is equipped with a period accessory called Vetshades. These are stamped metal shades that attach to the top outside edge of the door windows. They allow the windows to be lowered a couple of inches to provide ventilation without getting rain or wind into the passenger compartment (a pre air conditioning accessory). I am sure you have seen the modern version, these later ones are made of colored plastic. Anyway, I was impressed with the Ventshades and remembered that I had bought a set on eBay after I had bought the '55 Clipper, but before it was delivered to me. I thought they were cool looking (pardon the pun) and would add to the outside appearance of the Clipper. To make a short story long, upon returning from Keels and Wheels I found the Ventshades and decided to install them. Stamped on each Ventshade were the part number, shade location, and name of manufacture. The Auto Ventshade Co., Chamblee, Georgia made them. First they needed some straightening and cleaning. After that I re-sprayed the undersides with a flat black rattle can paint to restore the non-glare finish. They went on with reasonably easy. The one I had the hardest time fitting was the last one on the passenger side front window. I had to drill two holes in the doors for each shade for no. 8 sheet metal screws. I carefully considered doing this before going forward. I think the Ventshades are a nice period accessory to add to the car. Plus, they provide the added convenience of enhanced ventilation. Take care. (o{I}o) Attach file:  (26.84 KB) (26.84 KB)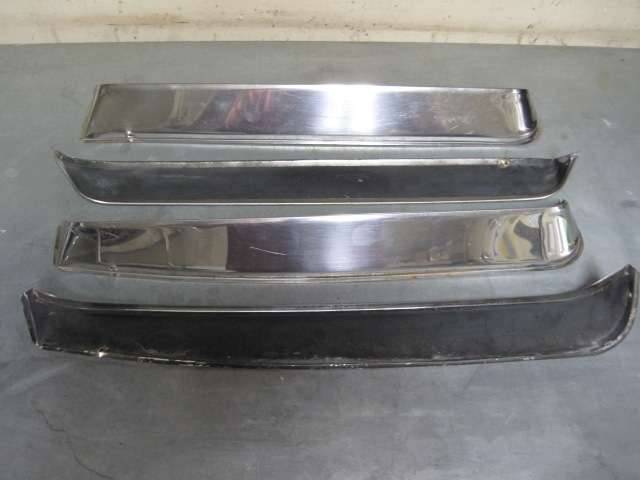 (22.35 KB) (22.35 KB) (39.12 KB) (39.12 KB)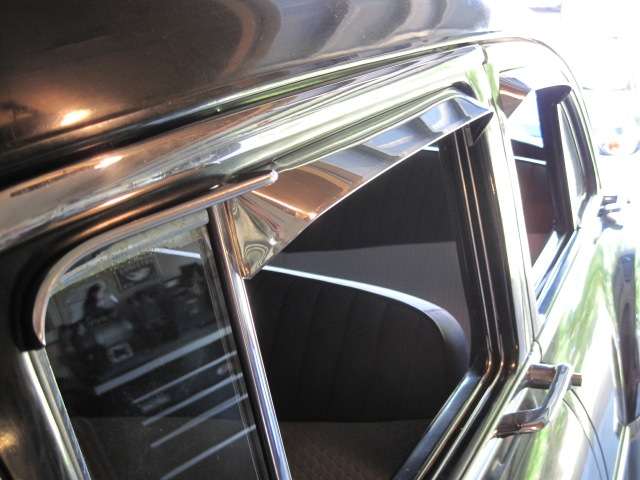
Posted on: 2011/7/10 16:11
|
|||
|
We move toward
And make happen What occupies our mind... (W. Scherer) |
||||
|
||||
|
Re: Adventures with a 1955 Clipper
|
||||
|---|---|---|---|---|
|
Home away from home
|
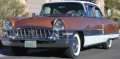
In the last post forgot to include a photo of us with Mike Grimes' 1401. Here it is. Neat Packard. Thanks Mike.
(o{I}o) Attach file: (65.33 KB)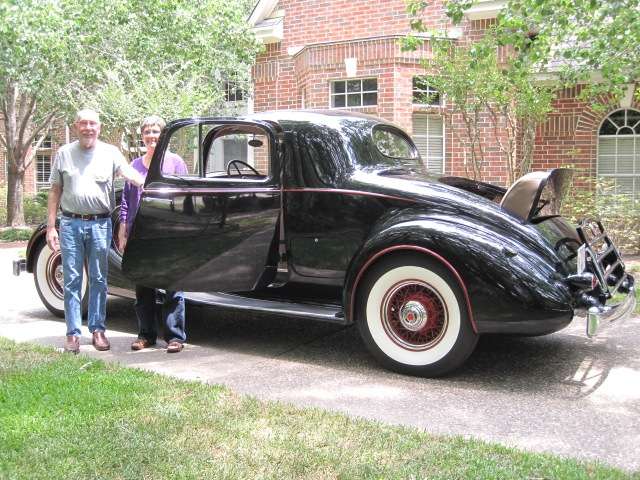
Posted on: 2011/7/11 10:06
|
|||
|
We move toward
And make happen What occupies our mind... (W. Scherer) |
||||
|
||||
|
Re: Adventures with a 1955 Clipper
|
||||
|---|---|---|---|---|
|
Home away from home
|
Hello All,
In the last garage sessions I spent a hot Austin weekend redoing the trunk mats and panels. I had been working on the interior and seats, but got distracted by the most unattractive trunk. It was filthy, stained, and worn. It needed something done to make it look better. I inquired around as to the pattern used on the 1955 mats and panels and found it is no longer available; actually, according to one vendor, it was never reproduced. The 1956 pattern has been reproduced, but would require an entire new set made at a cost of about $750. I understand the vendor does and excellent job, but I am saving the big bucks for the body repair and repainting. I started looking at shops and materials to have it done locally. Not thrilled with the results of this, I got to thinking that this job was within the boundaries of my pay grade. I found some dark gray indoor/outdoor carpeting at Lowe's and thought it would go nicely with the Clipper's black color, and that it be more attractive than the original material and pattern on the mats and panels. It is flexible and easy to work with and requires no binding so will not ravel at the edges. The trunk lining would not be authentic, but it would be a nice compromise. Even if I had gone with the 1956 pattern replacement pieces, the trunk would not be authentic. All of the original trunk pieces were there, albeit badly stained and worn. They made good templates or patterns for making the replacements. The mats were easy to make, including the multiple pieced ones. I cut the stitched seams on these pieces and used black 3M trim cement to fasten the new pieces together once they were cut. I laid the old mat pieces on the new carpet material, traced an outline with chalk, and cut. I followed the same method on the cardboard type fender panels and rear seat back panel. The fender panels have been molded with a curve in them, but I was able to get good new pieces cut from them. I then glued the new material on the original cardboard parts and did a final trimming to match the panel. I used a rattle can contact adhesive to glue these pieces together. I used 2 rolls of the carpeting at $20 per roll, 1 can of the spray adhesive at $6, 1 tube of trim cement at $6, and 11 plastic buttons at $5 for a total materials cost of less than $60. This was a new kind of job for me as I am usually working with something that is bolted or screwed together, and has grease or oil in, on, or around it. It was a good two days work, and I am most pleased with the results. I hope you think so too keeping in mind that this is not a restoration project but a rejuvenation. Now it is back to the seats, windlace, package shelf, and carpets. Please stay tuned for these exciting updates. Take care. (o{I}o) Attach file: (42.95 KB) (48.99 KB) (48.99 KB)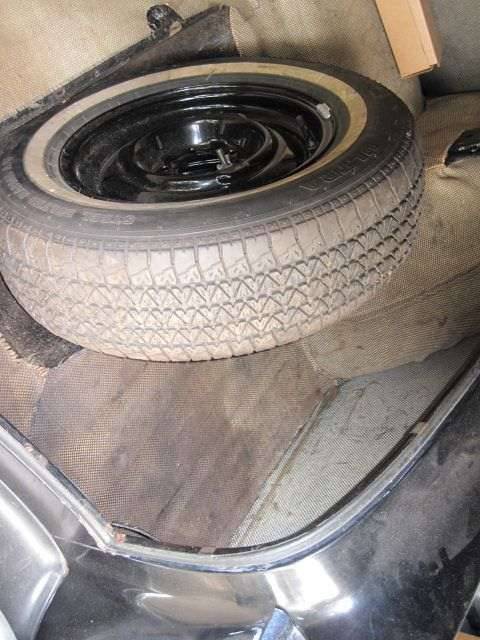 (51.39 KB) (51.39 KB)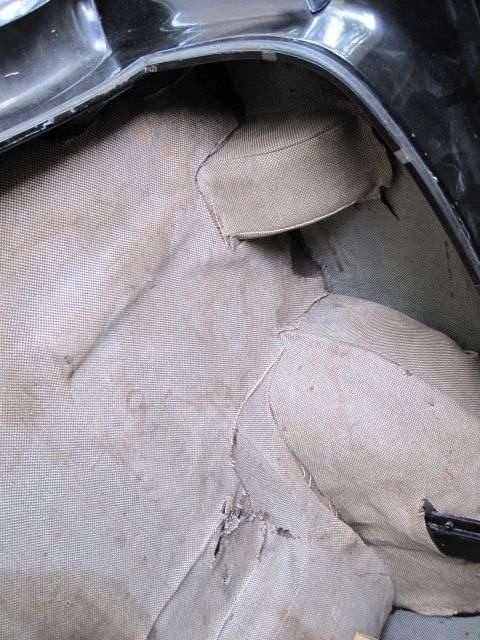 (45.24 KB) (45.24 KB)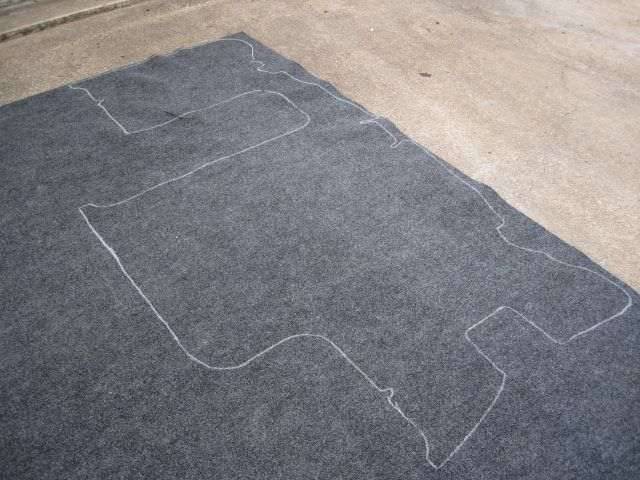 (48.75 KB) (48.75 KB) (48.97 KB) (48.97 KB)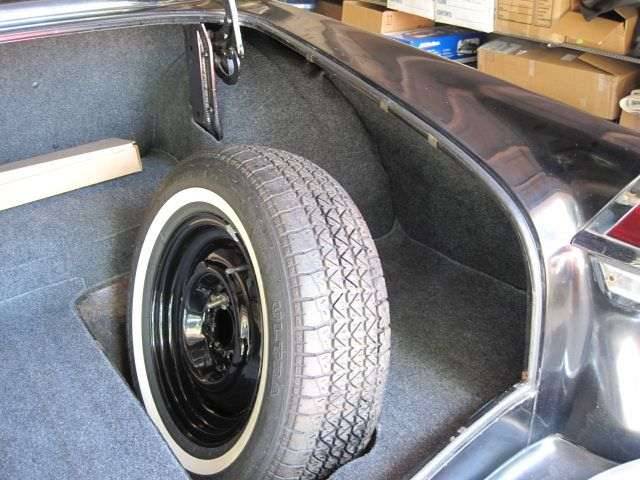 (47.61 KB) (47.61 KB) (29.22 KB) (29.22 KB)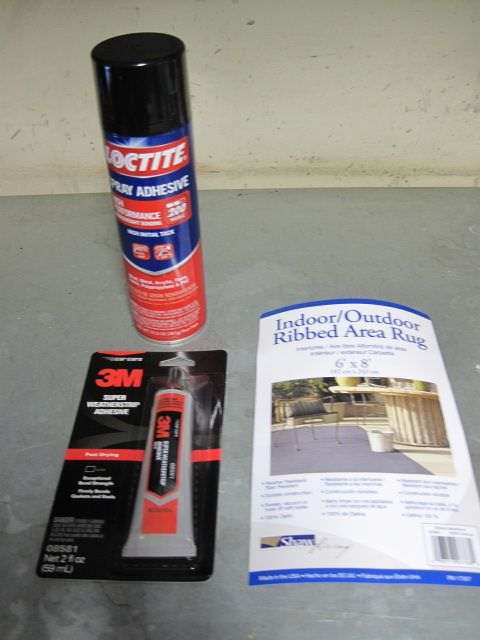
Posted on: 2011/7/20 11:55
|
|||
|
We move toward
And make happen What occupies our mind... (W. Scherer) |
||||
|
||||
|
Re: Adventures with a 1955 Clipper
|
||||
|---|---|---|---|---|
|
Forum Ambassador

|
looks great! at least you had a pattern to go by. mine was all gone except for a ratted out chunk and some of the backing on the back seat.
this is going to suck for me when it comes time to do my trunk if there is no original pattern available. crap..... i guess i'll do the best i can as you have. ;0) Hank
Posted on: 2011/7/20 12:07
|
|||
|
1937 Packard 138-CD Deluxe Touring Limousine
Maroon/Black 1090-1021 [url=https://packardinfo.com/xoops/html/modules/registry/View.php?ID=232]1955 Packard |
||||
|
||||
|
Re: Adventures with a 1955 Clipper
|
||||
|---|---|---|---|---|
|
Home away from home

|
Great job! Looks awesome!
Posted on: 2011/7/20 12:58
|
|||
|
[url=h
|
||||
|
||||
|
Re: Adventures with a 1955 Clipper
|
||||
|---|---|---|---|---|
|
Home away from home
|
Nice job! It rivals in appearance a professional job I had done 10 years ago. It is interesting that you did not put material in the spare tire well. My "pro job" did, but I like your solution just as well.
Craig
Posted on: 2011/7/20 14:51
|
|||
|
Nuke them from orbit, it's the only way to be sure! Ellen Ripley "Aliens"
Time flies like an arrow. Frui |
||||
|
||||
|
Re: Adventures with a 1955 Clipper
|
||||
|---|---|---|---|---|
|
Webmaster

|
JW, If you have the pattern still I wouldn't mind a paper tracing off the various pieces as I believe the trunks are all basically the same on 51-56 models. It looks great!
Posted on: 2011/7/20 15:44
|
|||
|
-BigKev
1954 Packard Clipper Deluxe Touring Sedan -> Registry | Project Blog 1937 Packard 115-C Convertible Coupe -> Registry | Project Blog |
||||
|
||||
|
Re: Adventures with a 1955 Clipper
|
||||
|---|---|---|---|---|
|
Home away from home
|
It would be great if we could get a pattern scanned and uploaded on the site.
Posted on: 2011/7/20 19:23
|
|||
|
[url=h
|
||||
|
||||


