|
Re: Tim's '55 Patrician
|
||||
|---|---|---|---|---|
|
Home away from home
|
This isn't exactly a progress report; but rather a request for advice and suggestions. I've noted with not a little bit of envy the results that others have gotten using media blasters and air tools in cleaning up various parts and getting things ready for repainting, etc. I've done some research over the internet relating to various media blasters and air compressors and came the the decision that I should ask those who came before me rather than rush blindly ahead and purchase what I think will be sufficient.
That being said, those of your out there who have their own garage/shop air compressors and media blasters, could you provide me with some recommendations as to what I should be looking for and from whom? I'm getting to the point where I'm taking apart things that I would really like to clean and re-finish before I put them back together and I would like to do a decent job. Also, I'm hoping not to have to spend more than $600 to $700 total for both the compressor and the media blaster. Other than that, I'm all ears.
Posted on: 2011/9/27 17:45
|
|||
|
PA Patrician (Tim Wile)
[size=x-small][color=000099][font=Georgia][url=https://packardinfo.c |
||||
|
||||
|
Re: Tim's '55 Patrician
|
||||
|---|---|---|---|---|
|
Webmaster

|
I've done all my work with this compressor which fits up neatly under the work bench. I even use it to paint with.
sears.com/shc/s/p_10153_12605_00916475000P?prdNo=15&blockNo=15&blockType=G15 It's very quiet and is oil lubricated. I find the oil-less ones annoying loud. I've run this compressor for hours on end non-stop and it has always done me well. Plus it's 110, so you can use a regular outlet and it's portable. I've seen it on sale for as low as $350. You can get a small media and Harbor Freight very cheap. The one i used was on sale last week for $79. Just make sure to get a good water trap.
Posted on: 2011/9/27 22:13
|
|||
|
-BigKev
1954 Packard Clipper Deluxe Touring Sedan -> Registry | Project Blog 1937 Packard 115-C Convertible Coupe -> Registry | Project Blog |
||||
|
||||
|
Re: Tim's '55 Patrician
|
||||
|---|---|---|---|---|
|
Home away from home
|
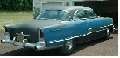
A damp cool Saturday seemed a fine time to put in a few hours work on the Patrician. Nothing spectacular to report but the '55 Pat now has new front and rear shock absorbers - probably for the first time in decades! As I've read from other blogs, the front shocks were the easiest and the rear ones the most challenging. I was surprised at how difficult it was to get a wrench to take hold of the upper retaining nut on the rear shocks even just to hold it stationary while I turned the rest of the shock. A pipe wrench came in pretty handy more than a few times. Still, it was nice to actually be putting on some new parts on to the car as opposed to simply taking old ones off.
I still haven't managed to get the damaged left exhaust manifold off as I am letting the penetrating oil do its work before I try the bolts. The last thing I want to confront is having one of the exhaust manifold bolts break off and then I'm confronted with having to figure out how to drill out the broken stud without removing either the engine or front fender. . . I did manage to remove the left hand exhaust system, which is now residing in my recycling bin. All that is present on the right is the header pipe and a short section thereafter. The bolts holding the header pipe to the exhaust manifold were pretty stuck when I first tried them so those are also soaking in PB Blaster for a day or so before I try again. I've also managed to get replacement hangers for the section between the muffler and resonator that is close to the rear axle. While I have stock hangers to replace the old, damaged ones, I'm planning on putting on more modern replacements since they appear to be easier to work with, a bit more flexible, and I'm looking to create a decent driver as opposed to a show car. If any of you veterans have any tips on the best way to remove the left exhaust manifold, other than removing the left front fender and using an impact wrench, which I don't have, please share. I've posted some new photos of the work in progress. Attach file:  (63.54 KB) (63.54 KB)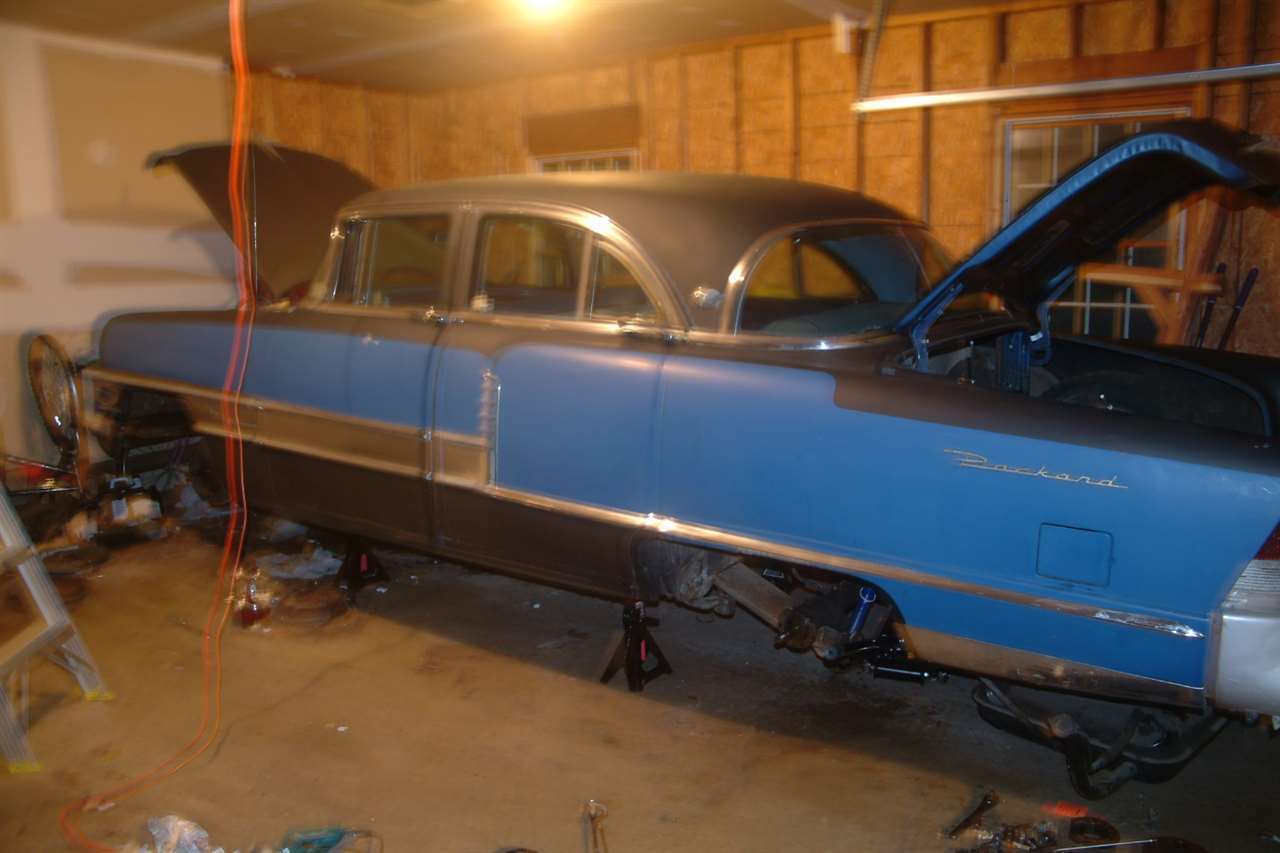 (49.98 KB) (49.98 KB) (52.10 KB) (52.10 KB) (62.89 KB) (62.89 KB)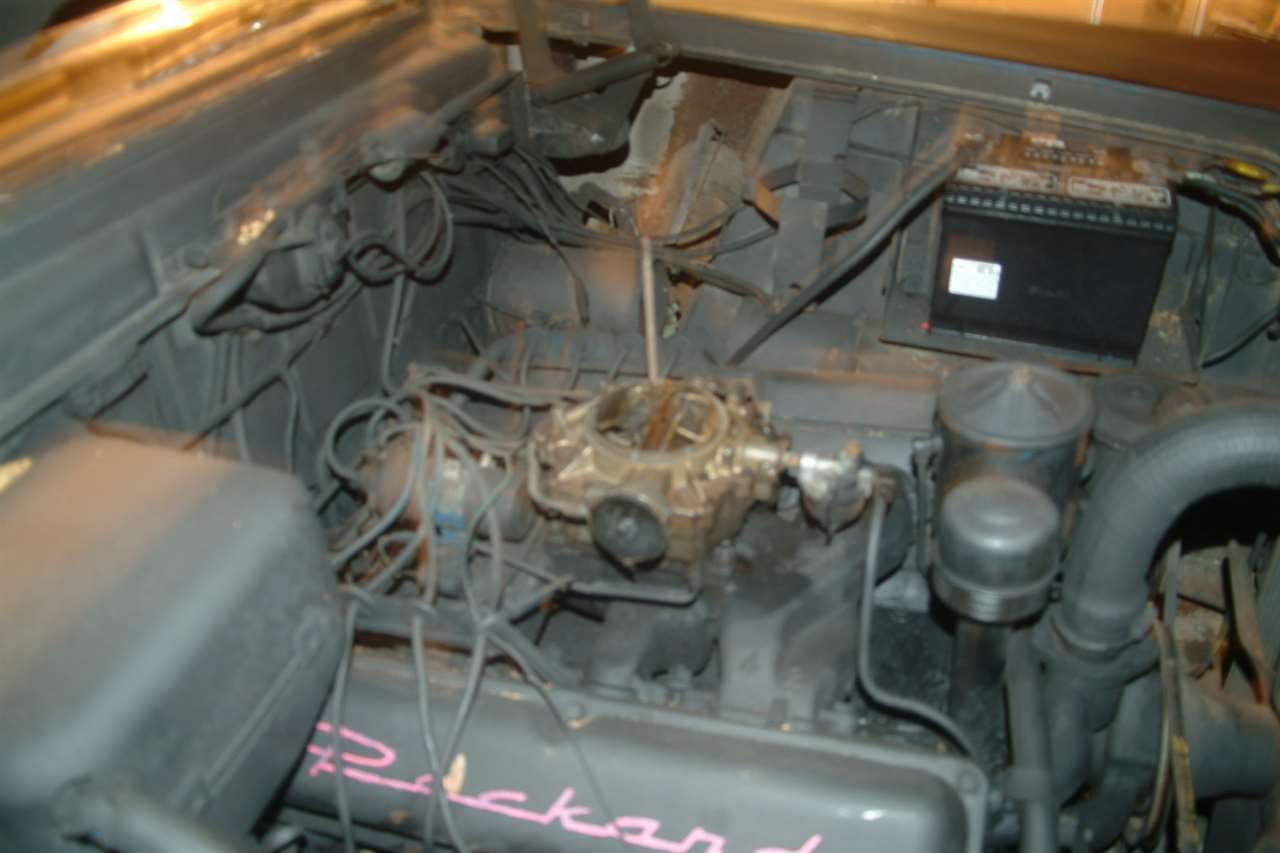 (49.17 KB) (49.17 KB)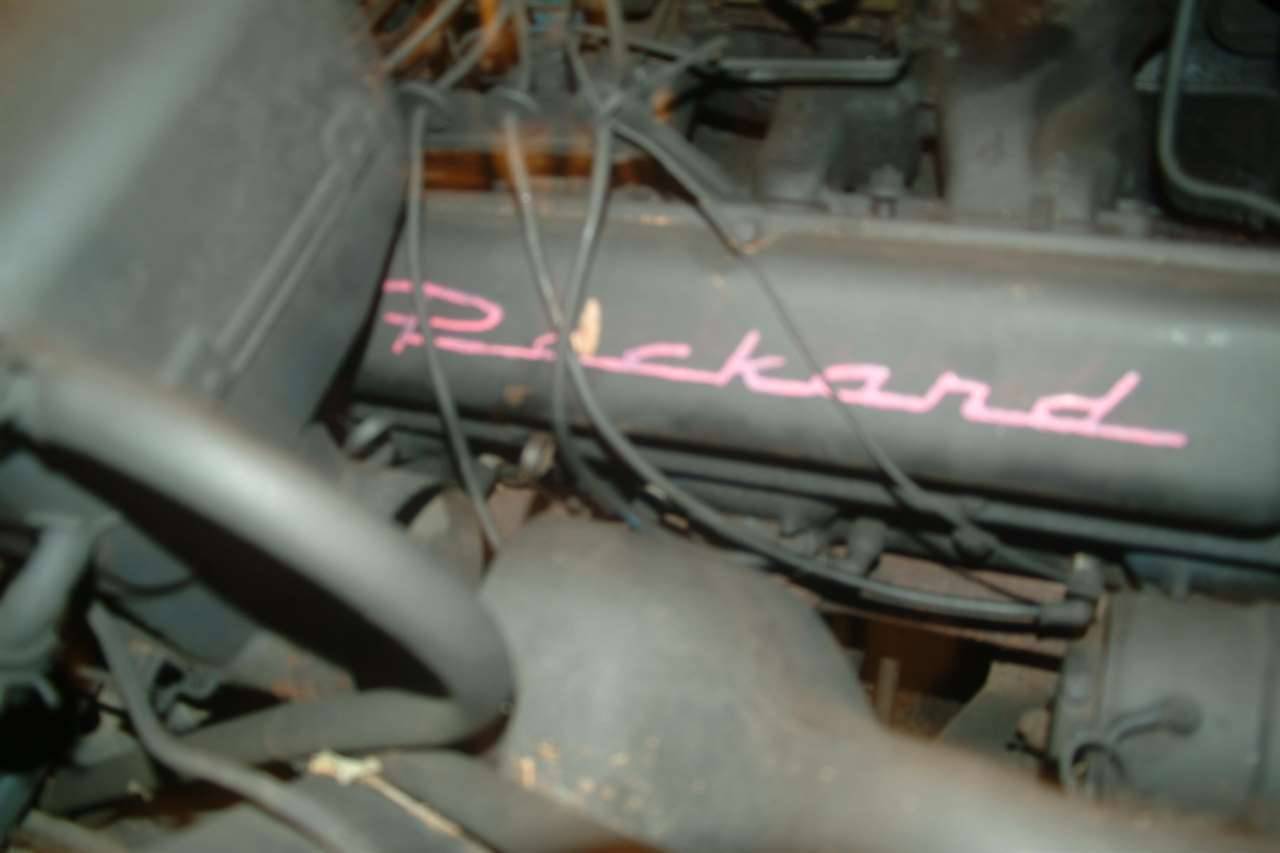
Posted on: 2011/10/1 20:36
|
|||
|
PA Patrician (Tim Wile)
[size=x-small][color=000099][font=Georgia][url=https://packardinfo.c |
||||
|
||||
|
Re: Tim's '55 Patrician
|
||||
|---|---|---|---|---|
|
Home away from home
|
October turned out to be a relatively productive month. All four wheels now have new brake parts and all that is left to finish re-building the brake system is to replace two more lines, install the rebuilt master cylinder, have the drums turned and re-installed, and then bleed the system. Not too bad, but it has taken longer than I had anticipated -- mostly due to my lack of ambition.
The exhaust system is also well underway. I should have the right hand system installed in another afternoon. I'm taking my time trying to remove the damaged left-hand exhaust manifold as I don't want to have any broken studs left in the engine block. After the new exhaust manifold has been installed, the left-hand exhaust should be relatively simple. I am ever hopeful.
Posted on: 2011/11/3 20:33
|
|||
|
PA Patrician (Tim Wile)
[size=x-small][color=000099][font=Georgia][url=https://packardinfo.c |
||||
|
||||
|
Re: Tim's '55 Patrician
|
||||
|---|---|---|---|---|
|
Home away from home
|
Quote:
I've got the same setup (sans media blaster - at least for now)as BigKev. Only I was fortunate to find mine at an estate sale. I've managed to get quite a few really top drawer tools that way.
Posted on: 2011/11/3 20:54
|
|||
|
1951 200 Deluxe Touring Sedan
1951 200 Deluxe Touring Sedan (parts ?) 1951 Patrician Touring Sedan 1955 Patrician Touring Sedan |
||||
|
||||
|
Re: Tim's '55 Patrician
|
||||
|---|---|---|---|---|
|
Home away from home
|
The exhaust system on my '55 Patrician was/is in pretty good shape except that someone undid the left side exhaust at the manifold to remove the starter. I found that reattaching the pipe to the manifold with a new gasket was a real bitch. The right side looks ever so much easier at least at the manifold. I expect the convoluted left side is the result of stuffing a big V-8 in what was originally designed for a Straight 8.
Hopefully yours will go easier than mine did.
Posted on: 2011/11/3 21:04
|
|||
|
1951 200 Deluxe Touring Sedan
1951 200 Deluxe Touring Sedan (parts ?) 1951 Patrician Touring Sedan 1955 Patrician Touring Sedan |
||||
|
||||
|
Re: Tim's '55 Patrician
|
||||
|---|---|---|---|---|
|
Forum Ambassador
|
Don't forget the heat control valve on the left side. That takes two different gaskets.
Posted on: 2011/11/3 21:16
|
|||
|
||||
|
Re: Tim's '55 Patrician
|
||||
|---|---|---|---|---|
|
Home away from home
|
Actually, the right-hand pipe went fairly easy into the exhaust manifold. I took the precaution of buying new bolts and washers to install it. I am, however, expected a much rougher time with the left side once I replace the exhaust manifold. I've sort of been putting off trying to remove the left exhaust manifold as I'm a bit squeamish about breaking off a bolt head and having the remaining stud in the engine block.
 So, I've been hitting the bolts with PB Blaster about once a week since I discovered that I had to replace that manifold. So, I've been hitting the bolts with PB Blaster about once a week since I discovered that I had to replace that manifold. I'm aware of the heat riser issue and I've already secured the two gaskets for it. I've also acquired new bolts and washers for the installation once the new manifold is in place. I think I'll be a bit more excited when I get the whole right side of the exhaust system installed. I had to replace the two exhaust hangers above the rear axle, which is already accomplished. I have to admit that putting on new parts is much more satisfying than removing old ones. Regarding the brake system, next Monday I take my brake drums to the local NAPA store to have them turned. The guy I spoke with in the machine shop there told me it was no problem for them to turn the drums. I first called the local Pep Boys store and the service manager there indicated that they probably can't handle drums as large as the Packard's and recommended I call NAPA.
Posted on: 2011/11/4 17:02
|
|||
|
PA Patrician (Tim Wile)
[size=x-small][color=000099][font=Georgia][url=https://packardinfo.c |
||||
|
||||
|
Re: Tim's '55 Patrician
|
||||
|---|---|---|---|---|
|
Forum Ambassador

|
As long as the drums will be turned, it would be best to start trying to find a place to arc-grind the shoes to fit the new drum diameter. Otherwise it will be many thousands of miles before you get full lining contact.
Posted on: 2011/11/4 17:14
|
|||
|
||||


