|
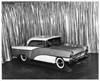
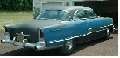
Re: BigKev's 1954 Packard Clipper Deluxe Sedan
|
||||
|---|---|---|---|---|
|
Home away from home
|
Your work is very inspiring! Keep it up BigKev!!

Posted on: 2011/11/24 10:35
|
|||
|
||||
|
Re: BigKev's 1954 Packard Clipper Deluxe Sedan
|
||||
|---|---|---|---|---|
|
Webmaster

|
Yes, by all mean start on the floors. I had about 2 days worth of welding experience before I started on my car and that was over 3 years ago. Both Miller and You Tube have some nice technique videos. I'm using an Eastwood Welder which is made by Lincoln. I found for me, lots of little tacks was better than trying to lay long beads on sheet metal. Also the reason I do the step flanges is that the Packard sheet metal feels thinner than 18ga, and is usually already compromised/rusty. So the step flange helps to back up the work to prevent burn through as opposed to me trying to butt weld the two pieces of thin sheet together.
The first few welds I did on the floors, were...ummm...scarey. But by the time I was done with the first pan, I had them looking pretty decent. Also "seam sealer hides a multitude of sins". The outside body panel were actually easier for me to weld when I got to them. Combination of better technique at that point, lightening, and position. There may be one more place on the rear quarter panel that I have to replace where the pin-hole rust is a little worse then I feared. Stay tuned for more. P.S. Also pick up a Auto-Darkening Welding Helmet. I got mine from HF for about $40. They are a godsend.
Posted on: 2011/11/24 12:35
|
|||
|
-BigKev
1954 Packard Clipper Deluxe Touring Sedan -> Registry | Project Blog 1937 Packard 115-C Convertible Coupe -> Registry | Project Blog |
||||
|
||||
|
Re: BigKev's 1954 Packard Clipper Deluxe Sedan
|
||||
|---|---|---|---|---|
|
Webmaster
|
Back at work on the Clipper today. First the rear of the car was disassembled (again) so I could throughly block sand everywhere. Also the bumper filler panel in the rear needs to come off the car for body work and needs to be painted separately much like the wheel shirts.
For those that have never done any body work here are a couple of pictures to illustrate why you block sand with a long sanding block. The first picture is the trunk filler panel under the trunk lid. Here you had see the high spots (bare metal), the low spots (untouched darker primer), and the level sanded areas (lighter color primer). The second picture show low spots (darker primer) on the trunk lid crown, but no high spots. This first primer coat is really a sacrificial one that you use to see where all the high and low spots are. A lot of these of these are almost impossible to see, but will for sure show up when the glossy top coat goes on. This is also the reason why you use a guide coat once you think you have all even leveled out, as it will show you all the little spots you missed. High spots need to get leveled out with a body hammer pick or shrinking hammer. Low spots need to get raised with either hammer and dolly work, or a bullseye pic to get them as level as possible. Better to be to low, then to high. As a skim coat of light weight body filler, or high build primer will fill in very shallow low spots, but will never mask a high spot. Attach file:  (72.20 KB) (72.20 KB)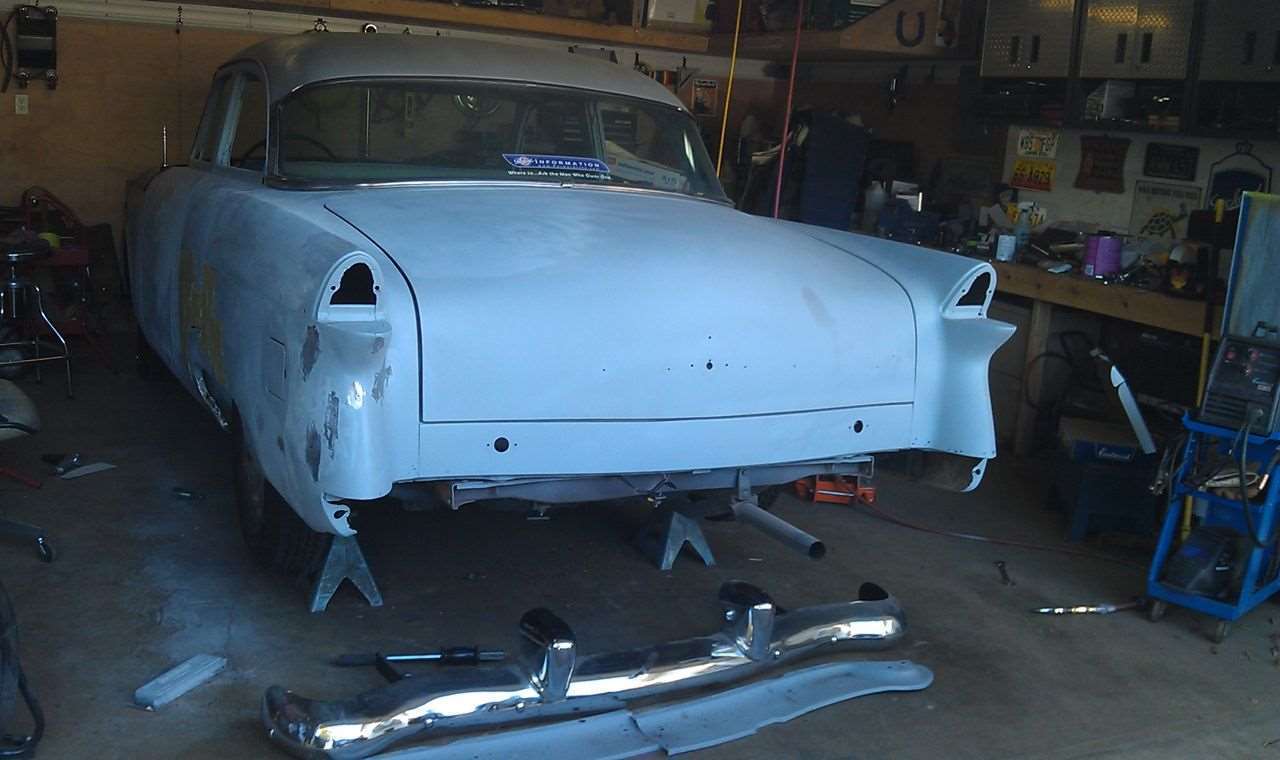 (36.12 KB) (36.12 KB)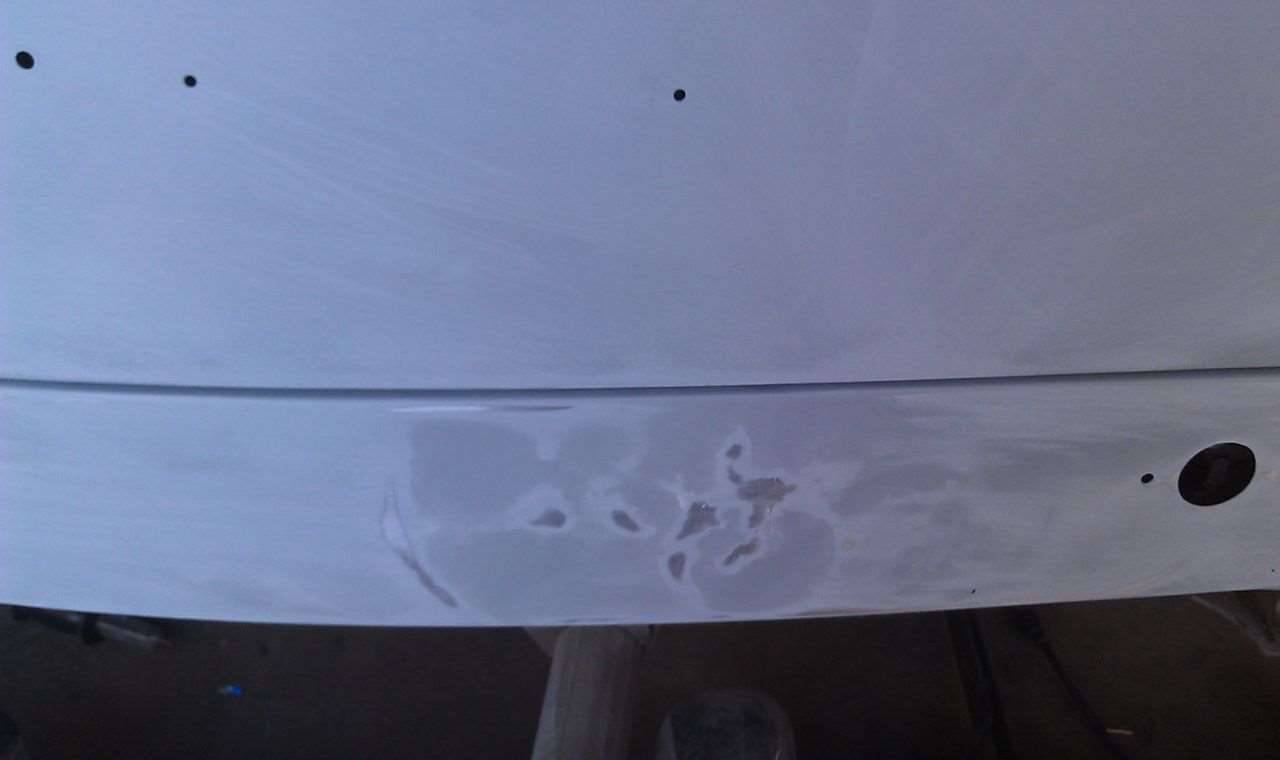 (31.84 KB) (31.84 KB)
Posted on: 2011/11/25 22:09
|
|||
|
-BigKev
1954 Packard Clipper Deluxe Touring Sedan -> Registry | Project Blog 1937 Packard 115-C Convertible Coupe -> Registry | Project Blog |
||||
|
||||
|
Re: BigKev's 1954 Packard Clipper Deluxe Sedan
|
||||
|---|---|---|---|---|
|
Forum Ambassador
|
All very good work Kev, and instructional for the rest of us.
Posted on: 2011/11/25 23:01
|
|||
|
||||
|
Re: BigKev's 1954 Packard Clipper Deluxe Sedan
|
||||
|---|---|---|---|---|
|
Webmaster
|
Thanks Randy. I appreciate that.
Posted on: 2011/11/25 23:17
|
|||
|
-BigKev
1954 Packard Clipper Deluxe Touring Sedan -> Registry | Project Blog 1937 Packard 115-C Convertible Coupe -> Registry | Project Blog |
||||
|
||||
|
Re: BigKev's 1954 Packard Clipper Deluxe Sedan
|
||||
|---|---|---|---|---|
|
Webmaster
|
No new pictures to post, but lots of mundane metal bumping, and sanding, and skim coating with filler, and sanding. Repeat. Both rear door had side-swipe damage at different times in the Clipper's life. The passenger door was repaired at least two different times. Once with lead, and another time with 1/2" of bondo, all of which I removed.
The driver side door sustained a later hit that basically caved-in the "scallop" on the door and left a deep crease that extended back a couple of feet into the quarter panel. Both of which I rough out a while back with a hammer/dolly, a stud welder and a torch. The fun began with trying to get all that rough-out leveled and recreate the original "scallop" contour on the door. Not fun, but doable, and I did it without having to use 10lbs of lead or 1/2" of bondo. Filler is basically skim coated and nearly transparent in most areas. No more than 1/16th" at the deepest in a couple of trouble spots that would not raise without throwing the rest of the panel off, and cause me to keep chasing dents for hours. Sometimes you have to pick and choose your battles. My tip of the day, buy the good filler. I use Evercoat Rage Gold, and It is night and day difference in both durability, application, and sanding when compared to Bondo. Not cheap, but worth every penny in the end. Anyway the Garage (and me at times) look like a large bag of flour exploded. Rhonda has started to call me Casper when I come into the house.
Posted on: 2011/11/27 22:53
|
|||
|
-BigKev
1954 Packard Clipper Deluxe Touring Sedan -> Registry | Project Blog 1937 Packard 115-C Convertible Coupe -> Registry | Project Blog |
||||
|
||||
|
Re: BigKev's 1954 Packard Clipper Deluxe Sedan
|
||||
|---|---|---|---|---|
|
Webmaster
|
Just an update. Been doing lots of sanding/blocking, and panel beating. Both of the rear doors are done. Starting working on repairing all the damage around the back of the car. At one point the car was rear ended and the bumper guards pushed into the filler panel. Also the damage was severe enough that the trunk lid was replaced at some point.
I roughed out a lot of this damage a long ago, but now it was time for final metal work on the filler panel. I was able to get most of it straighter with a hammer and a dolly. But in one area the metal was so stretched, and it was oil canning. So I broke out the torch to and heated two areas to shrink the metal. Then I was able get that area back into place without in oil canning on me. Also part of the rear-end damage severally misshaped the lower weather stripping channel on the trunk. So I shaped a piece of aluminum I had left over, and used that a form to straighten and reshape the channel. Attach file: (84.91 KB)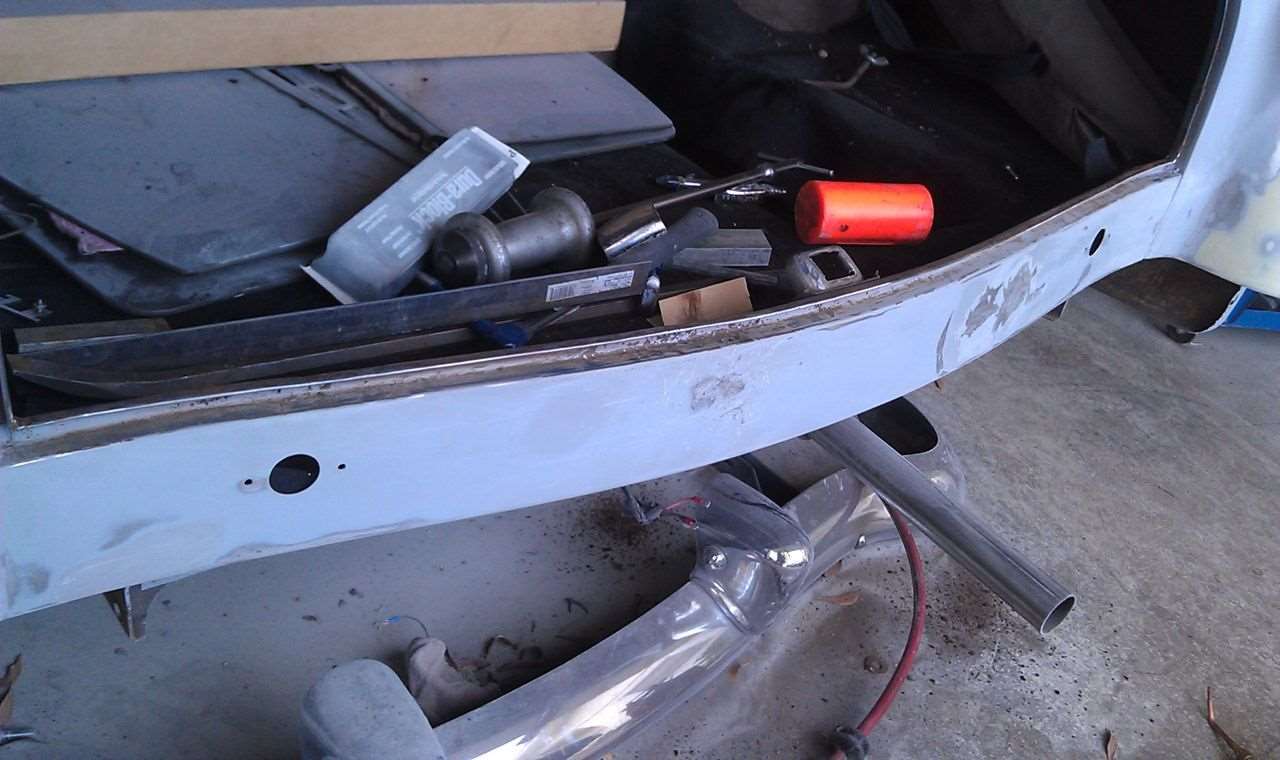 (57.22 KB) (57.22 KB) (71.65 KB) (71.65 KB)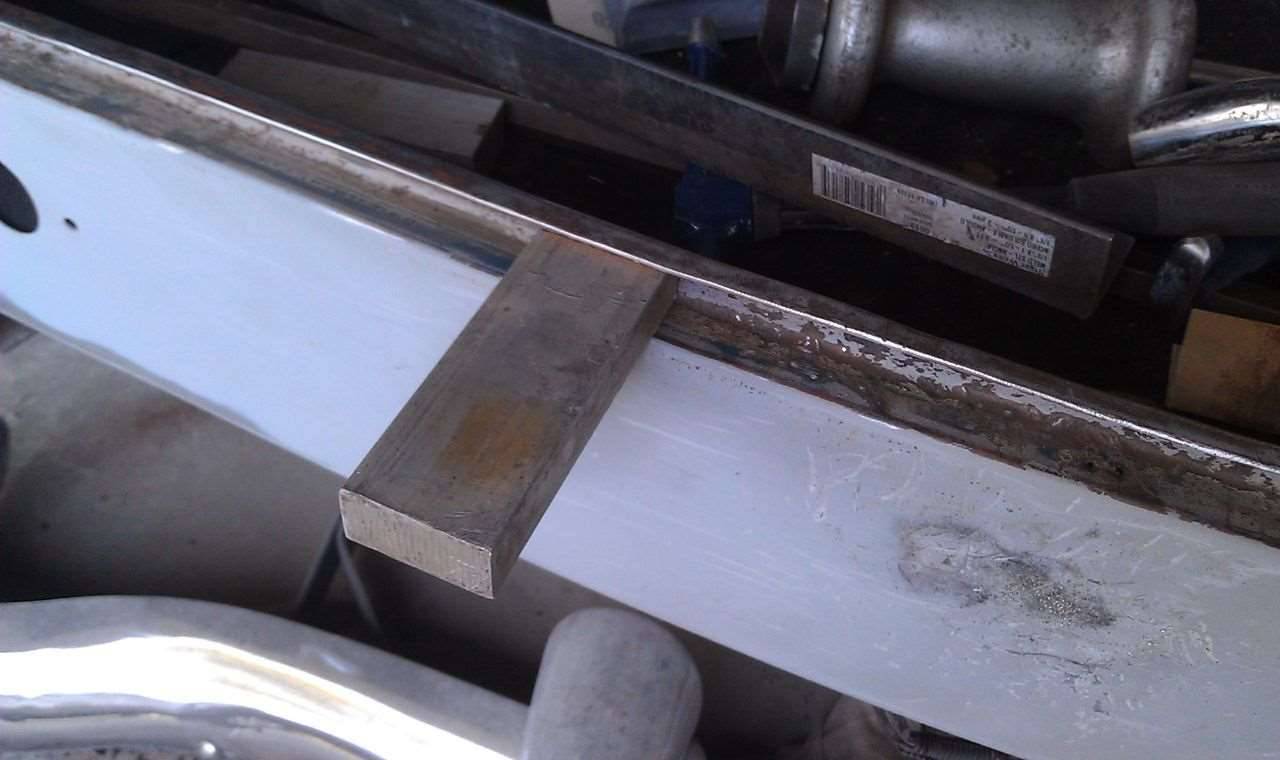
Posted on: 2011/12/4 21:34
|
|||
|
-BigKev
1954 Packard Clipper Deluxe Touring Sedan -> Registry | Project Blog 1937 Packard 115-C Convertible Coupe -> Registry | Project Blog |
||||
|
||||
|
Re: BigKev's 1954 Packard Clipper Deluxe Sedan
|
||||
|---|---|---|---|---|
|
Home away from home
|
Quote:
Y'see, that's probably where I would've stopped. 
Posted on: 2011/12/5 14:26
|
|||
|
Guy
[b]Not an Expert[/ |
||||
|
||||
|
Re: BigKev's 1954 Packard Clipper Deluxe Sedan
|
||||
|---|---|---|---|---|
|
Webmaster
|
Back on the horse again today......
A lot garage clean up was needed, everything was coated in heavy layer of sanding dust. So got everything cleaned up pretty well, and then back to work on the car. Did the some metal finishing on the rear bumper splash pans. The were pretty buggered when I got the car from a rear end hit. I roughed them out awhile back, but did all the finish work today. Also they were heavily rust pitted when I found the car. All the rust was removed last year, but still needed to be filled. So a skim coat of Evercoat thin glazing filler took care of them. Off to Portland in the morning, so no more work till next weekend. Also the Packard Parts Elf left sent me a couple of presents over the holiday. First a working, Packard branded, hand held trouble light. Just needs a new cord to be presentable. Next a '56 Twin-Ullta (aluminum case) out of a '56 Clipper Deluxe (non-PB). This I need to meet the guy coming down from Northern Calif with it on Saturday in Pasadena to make the transfer. He doesn't know the history on the transmission, but it is coming out of a car that has a motor missing a core plug. So I am hoping the car was parked because of engine problems, and the tranny is still in good shape. I guess I will find out soon enough. The plan is to swap the bell housing on it with the one from my '54 Gear tranny so it will mount to the year of my 328 S8. Ross consulted for any other tweaks needed. Attach file: (87.22 KB)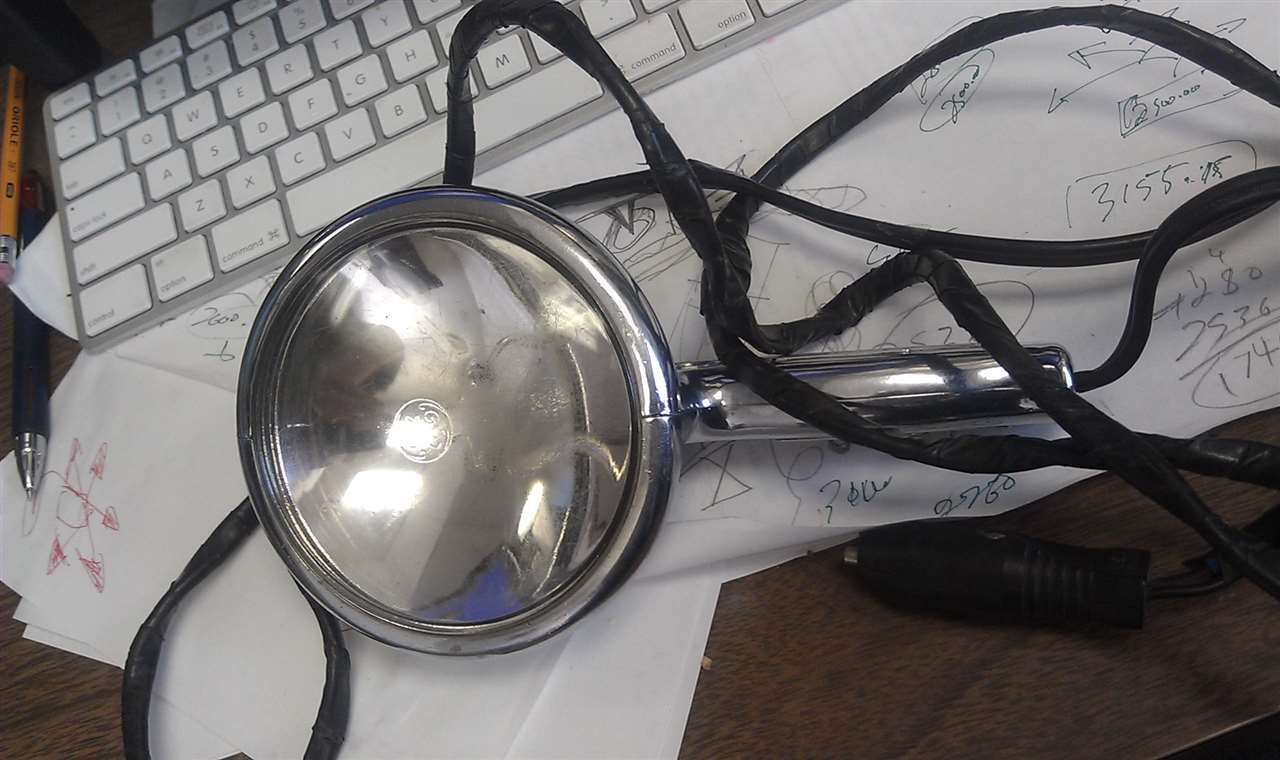 (67.41 KB) (67.41 KB)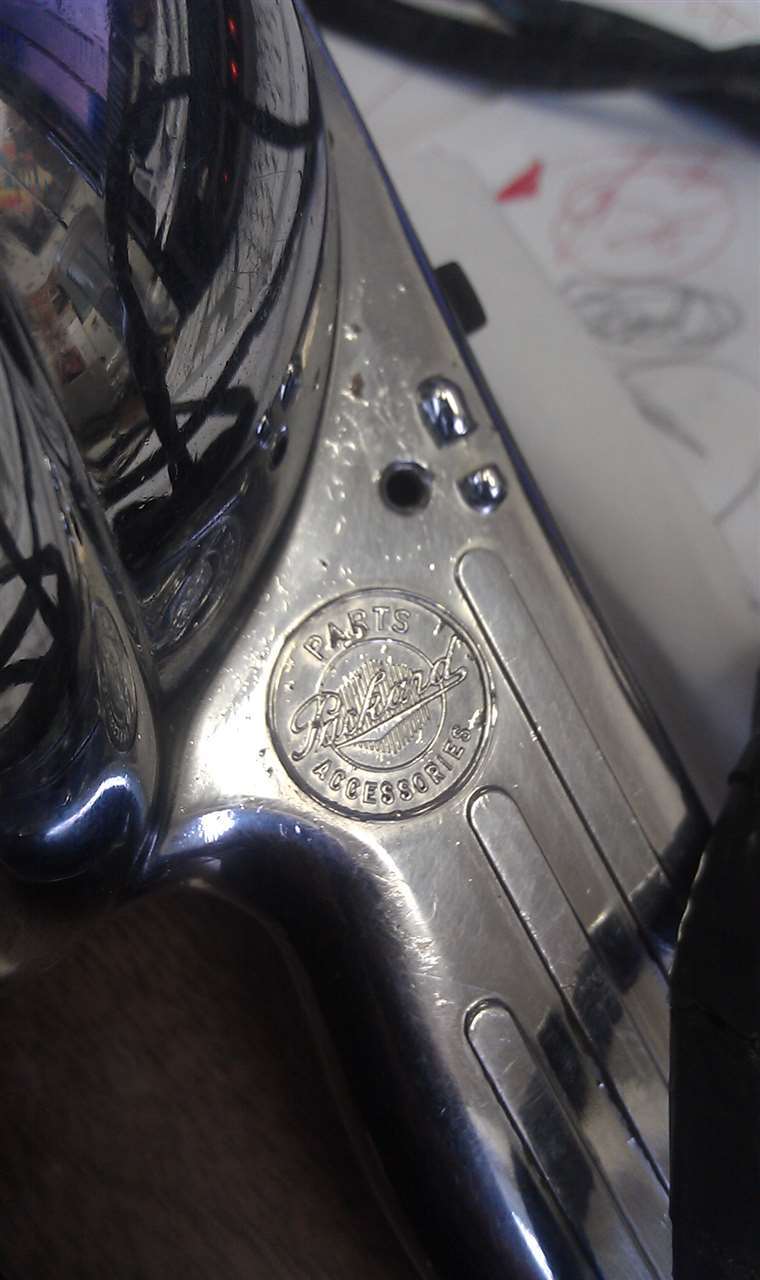 (62.74 KB) (62.74 KB)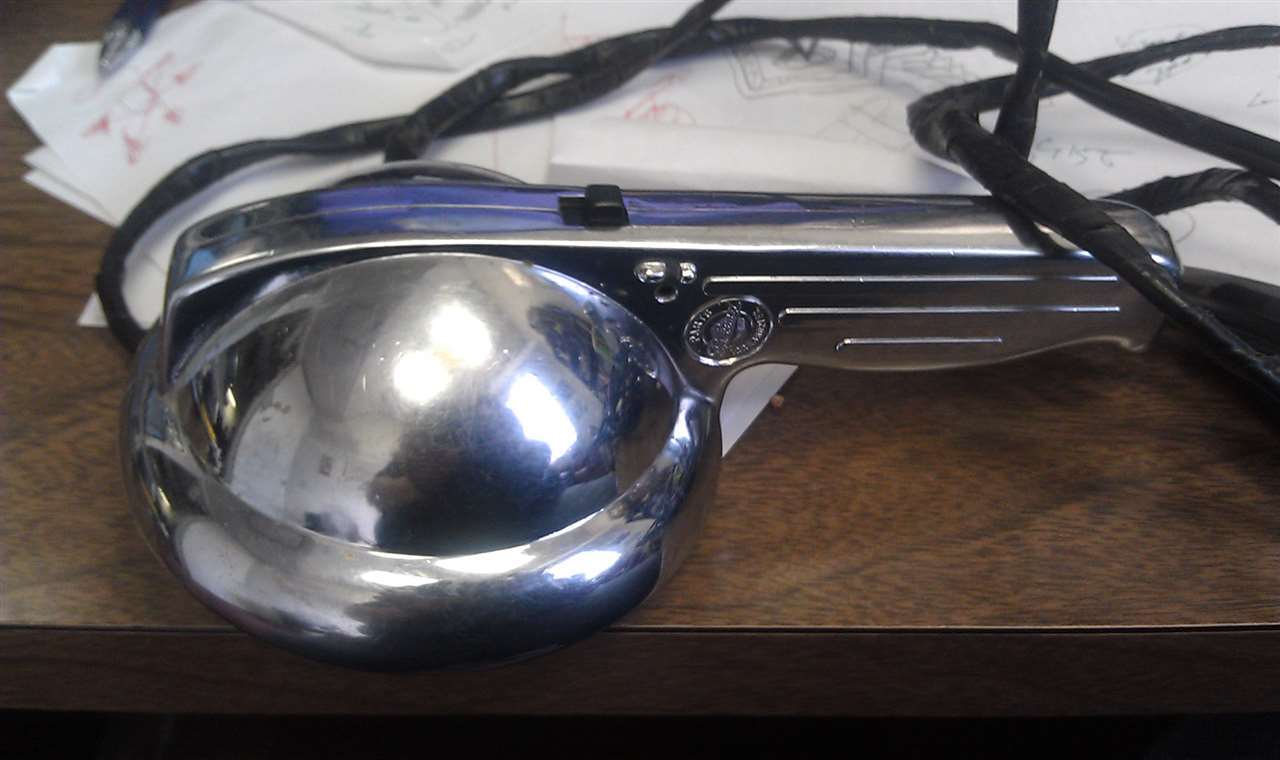
Posted on: 2012/1/3 1:05
|
|||
|
-BigKev
1954 Packard Clipper Deluxe Touring Sedan -> Registry | Project Blog 1937 Packard 115-C Convertible Coupe -> Registry | Project Blog |
||||
|
||||


