

|
Re: Resurrecting a 1951 Henney-Packard Parts Car
|
||||
|---|---|---|---|---|
|
Home away from home

|
I also lightly sanded and coated the top side of the tank with chassis paint from Hirsch and tomorrow I will give the second side a coat. I also need to clean up the filler and vent pipes which are still installed.
Attach file:  B7BFBD26-A313-49AD-B132-084E7559D414.jpeg (198.74 KB) B7BFBD26-A313-49AD-B132-084E7559D414.jpeg (198.74 KB)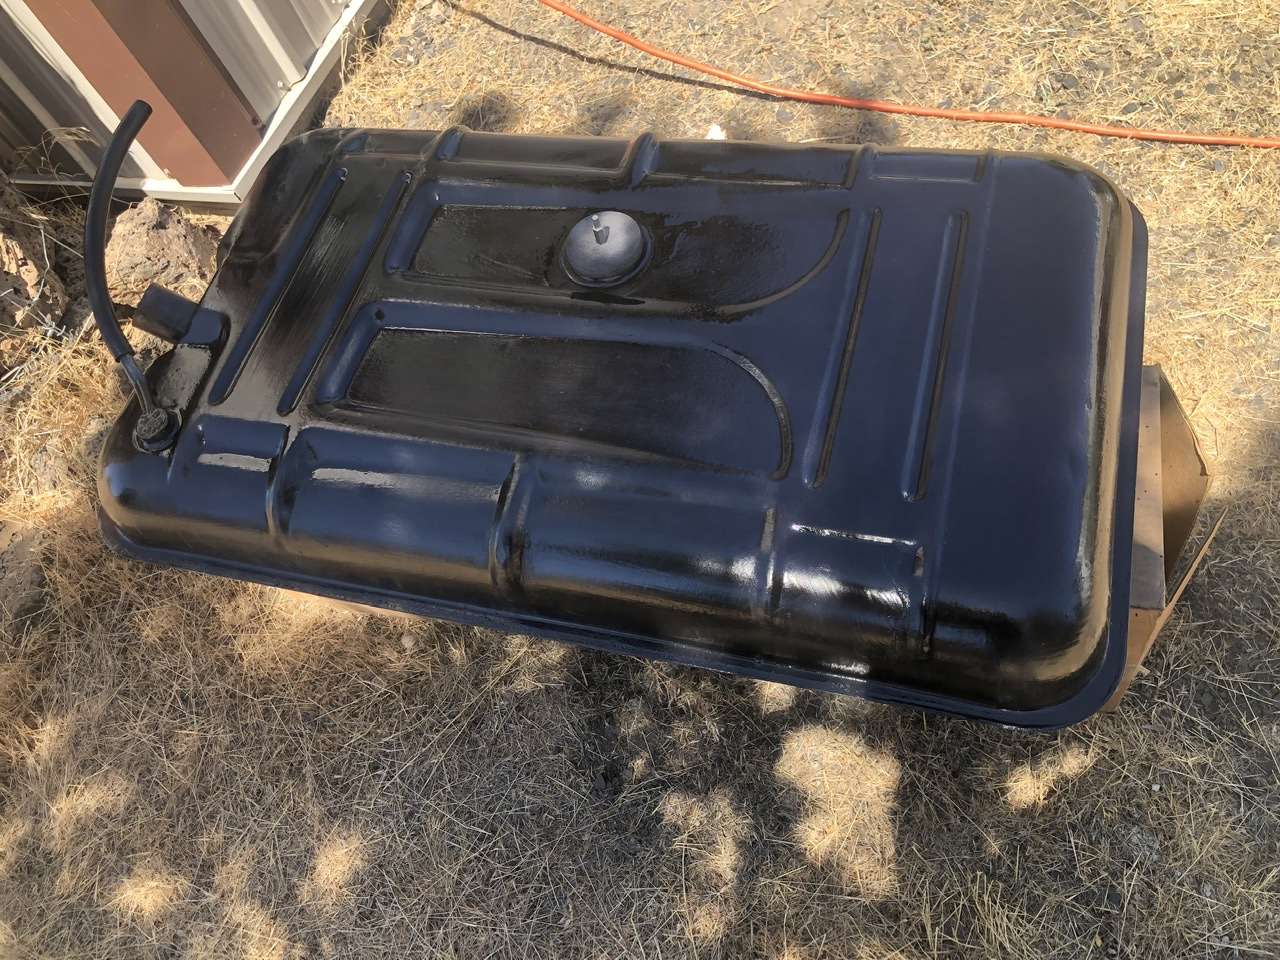 4705C40C-8FC3-4F8E-A658-F6D62A695987.jpeg (216.20 KB) 4705C40C-8FC3-4F8E-A658-F6D62A695987.jpeg (216.20 KB)
Posted on: 2023/7/14 20:41
|
|||
|
||||
|
Re: Resurrecting a 1951 Henney-Packard Parts Car
|
||||
|---|---|---|---|---|
|
Home away from home
|
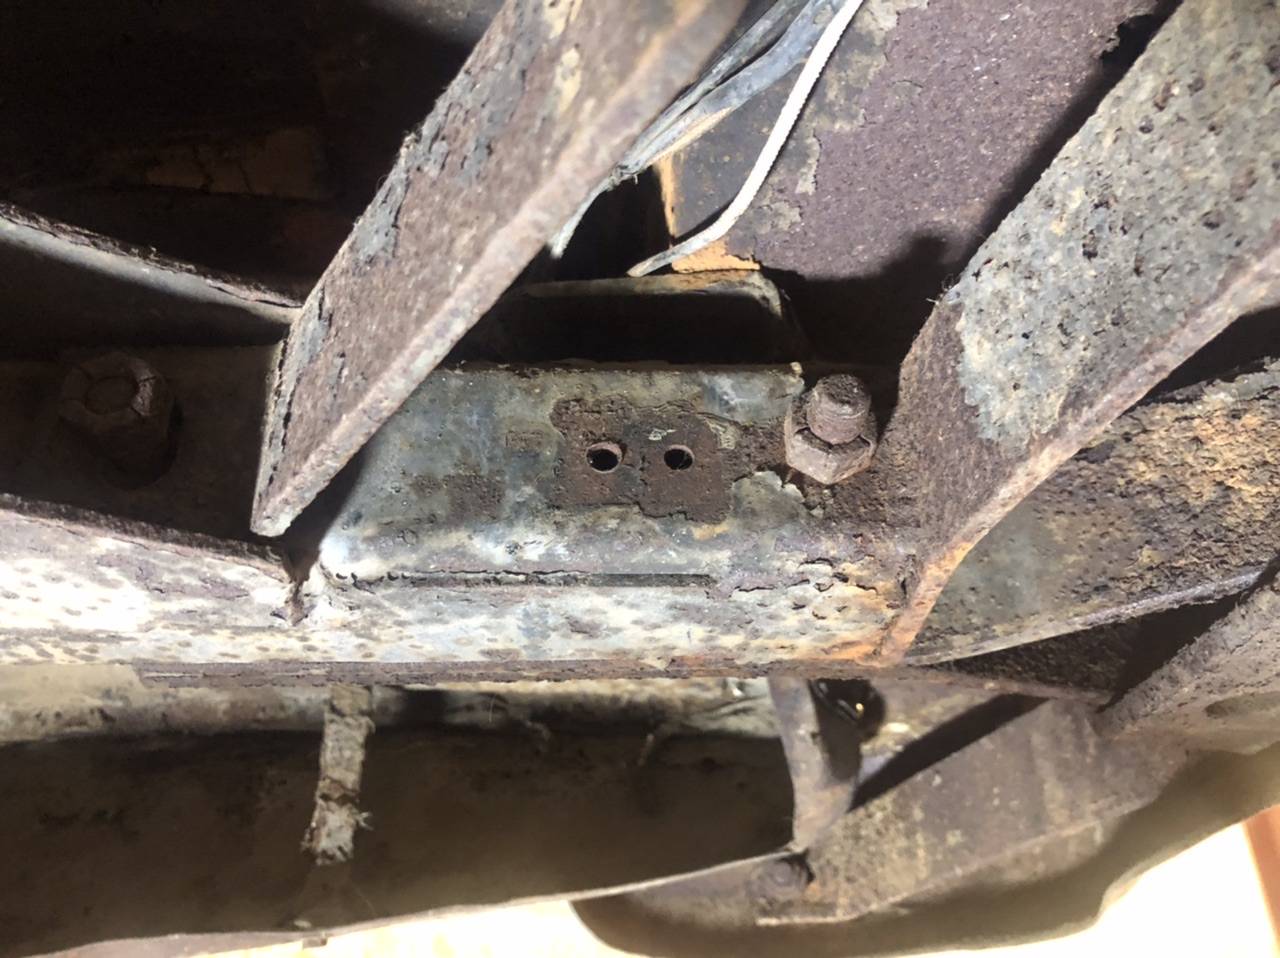
Got quite a few little things done today including installing the driveshaft, connecting the brake lines to the master and starting on the gearshift linkage connections. Looks good seeing something that looks like it could drive!
A couple issues: the gearshift links seem out of line so I was unable to get them together. Also, does the curved washer go behind the arm or at the cotter pin side with a flat washer? Also, it seems that the yoke sticks out the back of the transmission farther than expected with no room for travel. In trying to determine what it’s hitting, I see that it has some kind of insert at the back end and is hitting that. There is also a hole through it so maybe its bottoming out is what keeps it from leaking oil out the back! Then last, I do not see the anchor bracket anywhere to which the clutch arm spring connects. I see no holes either from where it may have been! PHOTOS SHORTLY Attach file: 3E5A7132-45C5-475B-AE41-E6C3624349C8.jpeg (188.94 KB) ABEBB14A-80FA-4A07-B1FE-64A44802E7E2.jpeg (173.08 KB) ABEBB14A-80FA-4A07-B1FE-64A44802E7E2.jpeg (173.08 KB) C7E2F40C-5A45-48AF-8F9F-62A061B3C264.jpeg (131.64 KB) C7E2F40C-5A45-48AF-8F9F-62A061B3C264.jpeg (131.64 KB)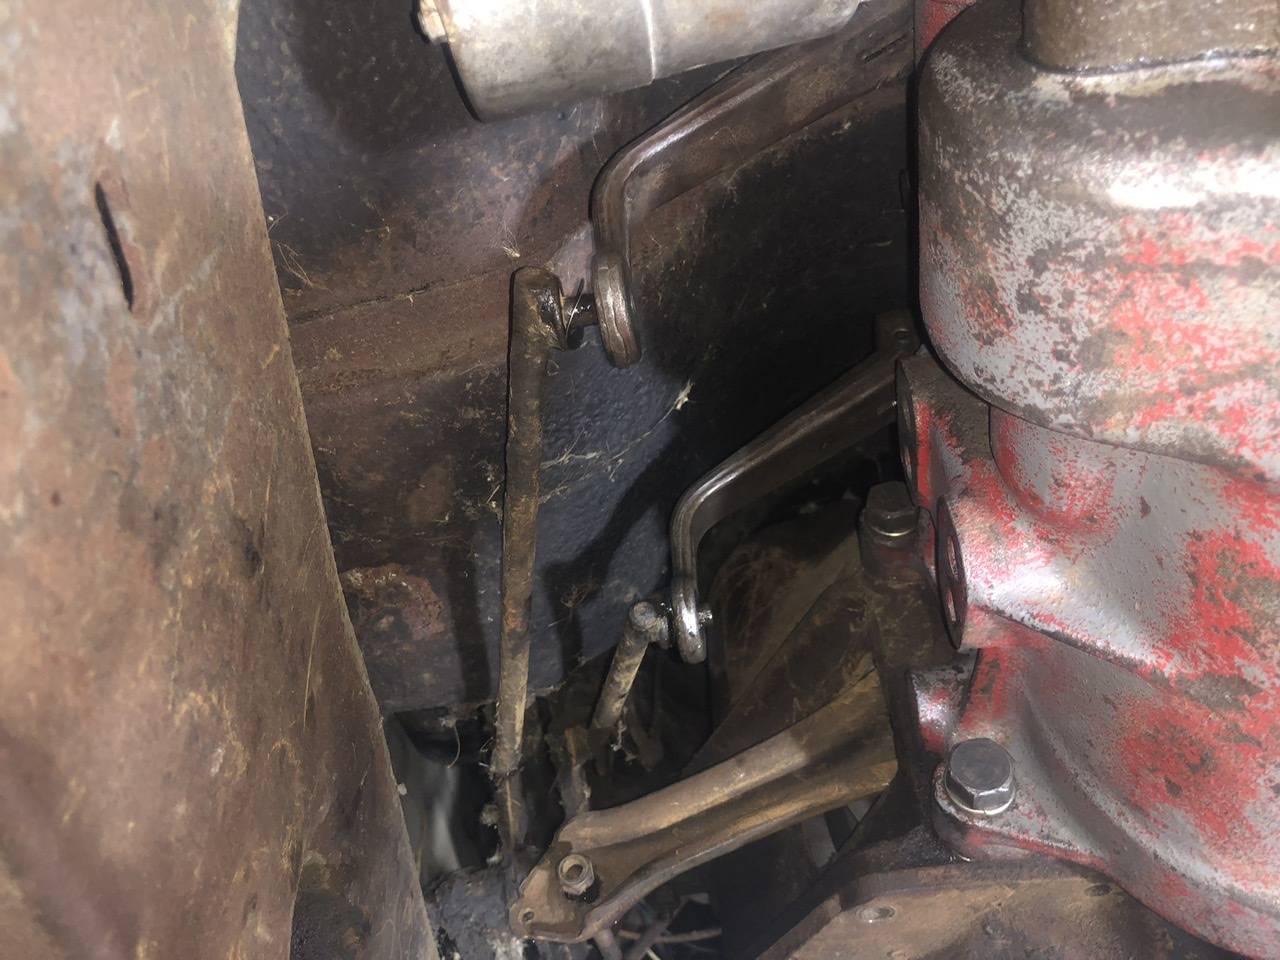 96921E31-1506-4896-9E93-6F9384C9BAF7.jpeg (153.48 KB) 96921E31-1506-4896-9E93-6F9384C9BAF7.jpeg (153.48 KB)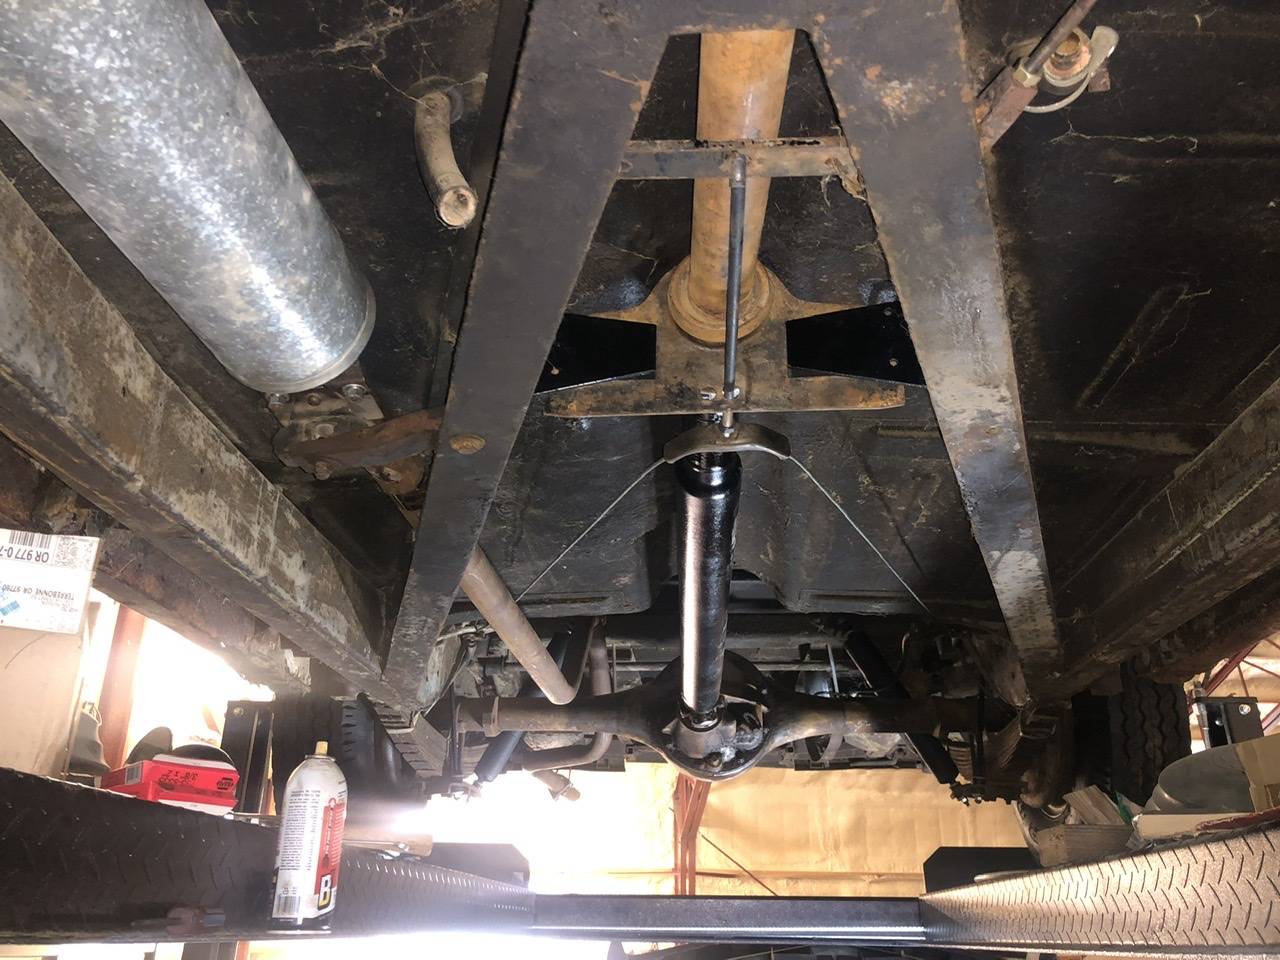
Posted on: 2023/7/15 19:58
|
|||
|
||||
|
Re: Resurrecting a 1951 Henney-Packard Parts Car
|
||||
|---|---|---|---|---|
|
Forum Ambassador

|
Providing the Henney's had the same clutch and linkage arrangement as regular cars there is apparently a small bracket the end of the spring hooks onto. The way the regular parts book has it laid out it looks to bolt somewhere near the engine side on the 51 and later models so the spring is almost straight back to the fork. If you have a Henney parts book maybe it is shown. Clipper based bodies thru 50 had a long angled bracket that bolted to the frame sort of under the steering box and the spring angled over towards the frame to catch the end of the bracket near the engine side of steering box.
Not sure what your curved washer looks like but if it is a bit thinner than a regular flat washer and slightly curved it could be a Belleville washer. If that is what it is and thick enough they sometimes take the place of regular flat washers to act as sort of a spring to control vibration. Regular cars thru 50 had rods with a fairly wide flanged end where the part that went thru the various bushings fastened. On those a wave washer went between the flange and lever to control vibration. The flange pushed on one side and the lever on the other to compress the washer. A regular flat washer went next to the cotter key. If the 51 rods are similar and it is a fairly thin Belleville washer it probably goes in the same place. I doubt it really matters which side the curved washer is placed just as long as it contacts enough of a surface at the curved side to provide a slight tension to keep vibration under control once the cotter key is inserted. Attach file:  bracket.jpg (83.40 KB) bracket.jpg (83.40 KB)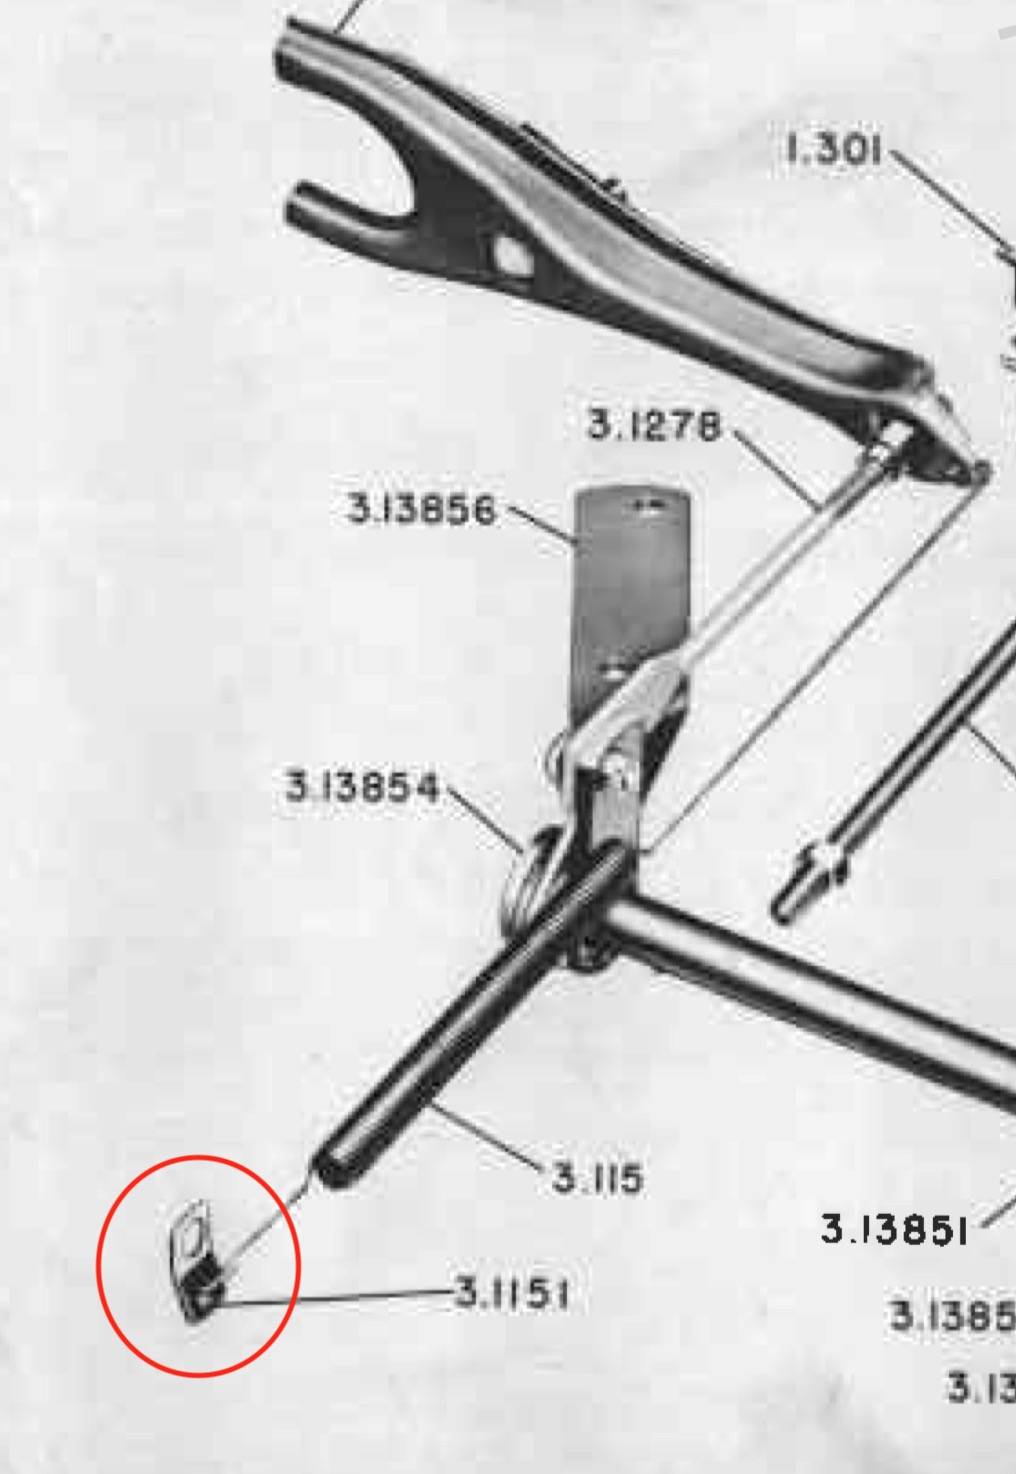
Posted on: 2023/7/15 20:56
|
|||
|
Howard
|
||||
|
||||
|
Re: Resurrecting a 1951 Henney-Packard Parts Car
|
||||
|---|---|---|---|---|
|
Home away from home
|
Quote:
Regular cars thru 50 had rods with a fairly wide flanged end where the part that went thru the various bushings fastened. On those a wave washer went between the flange and lever to control vibration. The flange pushed on one side and the lever on the other to compress the washer. A regular flat washer went next to the cotter key. If the 51 rods are similar and it is a fairly thin Belleville washer it probably goes in the same place. I doubt it really matters which side the curved washer is placed just as long as it contacts enough of a surface at the curved side to provide a slight tension to keep vibration under control once the cotter key is inserted. Thank you Howard. It seemed to me that it made sense to put it between the flange of the arm and the lever as you said and is what I started to do but as tight as they are, I wanted to be sure! I need to find out why it's so tight which is probably an aliment issue as I did try on the arms by themselves before attaching them to the transmission. I forgot to post the photo so I'll go back to the question to add it. Oddly, the size of the washer specified in the parts book is considerably larger than the shafts while the flat washer specified is the proper size. On the spring, I had that chart in my hand on my phone while looking under the car today but see nothing and not even a hole where a bracket might be! I'll look a bit more tomorrow. No, a curved washer is not a Belleville washer. A Belleville is typically concave (or convex, depending how you're looking at it) while a curved washer is a very thin washer with a curve or bend across it. There are also wavy washers which are similar but have multiple bends. Here's a generic photo of a curved washer. Attach file: 22RJ47_AS01.jpeg (13.28 KB)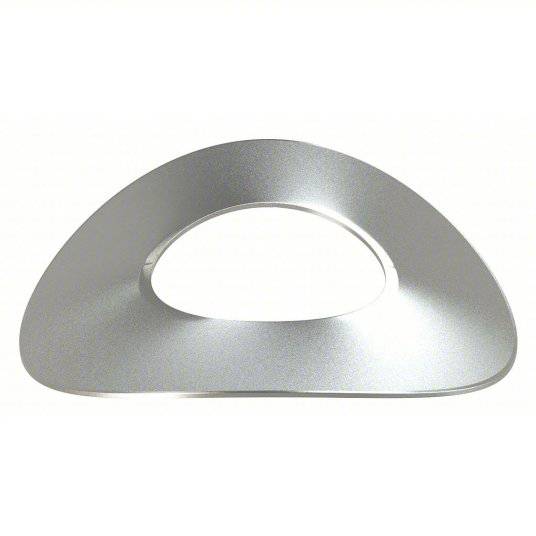
Posted on: 2023/7/15 21:08
|
|||
|
||||
|
Re: Resurrecting a 1951 Henney-Packard Parts Car
|
||||
|---|---|---|---|---|
|
Forum Ambassador
|
That is what I and I think Packard in some manuals call a wave washer and looks similar to what is used in the earlier cars. If the rods have a wide flange I would almost bet it goes on the rod side between the rod and lever.
Posted on: 2023/7/15 21:11
|
|||
|
Howard
|
||||
|
||||
|
Re: Resurrecting a 1951 Henney-Packard Parts Car
|
||||
|---|---|---|---|---|
|
Home away from home
|
Here is a typical wave washer but I was using Packard's terminology from the parts book and per the package from Merritt. I think the term applies to either one but referring it as a curved washer is specific to the type with only a single bend.
Attach file:  Mpng_BG.png (55.02 KB) Mpng_BG.png (55.02 KB)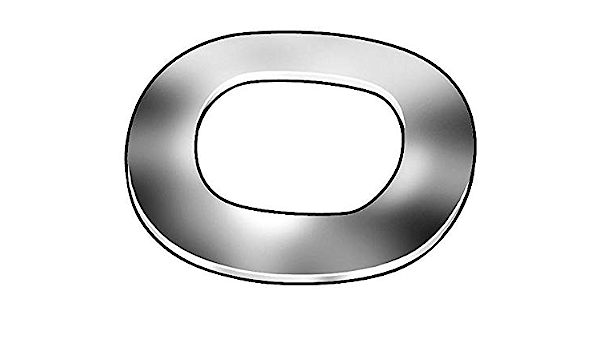
Posted on: 2023/7/15 21:14
|
|||
|
||||
|
Re: Resurrecting a 1951 Henney-Packard Parts Car
|
||||
|---|---|---|---|---|
|
Home away from home
|
Although I was out at the shop for most of the afternoon, much of the time was in helping to load a rebuilt engine that was purchased from me pre-COVID.
That done, I got to work on installing the fuel tank after having painted the second side yesterday. It is just loosely in place as I try to figure out what to do with the filler tube as I can’t see how to connect it with the tank in place! Also, I would prefer to remove the pipe for a thorough cleaning first and it is loose already but doesn’t seem to want to come out from the top and no better luck when I tried from the bottom before setting the tank into place. I think the two pipes which are attached together go through a larger opening that has since been tarred over so I may have to remove the tar although I have no idea how to put some back or even what it is but it looks like shiny roofing tar of some sort. Interesting how the tailpipe goes under the corner of the tank. It would seem it might warm up the petrol a little like that. Attach file: 4089D547-7EC7-4D80-8D90-54BAE7F91025.jpeg (122.44 KB) 50566623-E072-4C15-AE08-378D897002E9.jpeg (112.42 KB) 50566623-E072-4C15-AE08-378D897002E9.jpeg (112.42 KB)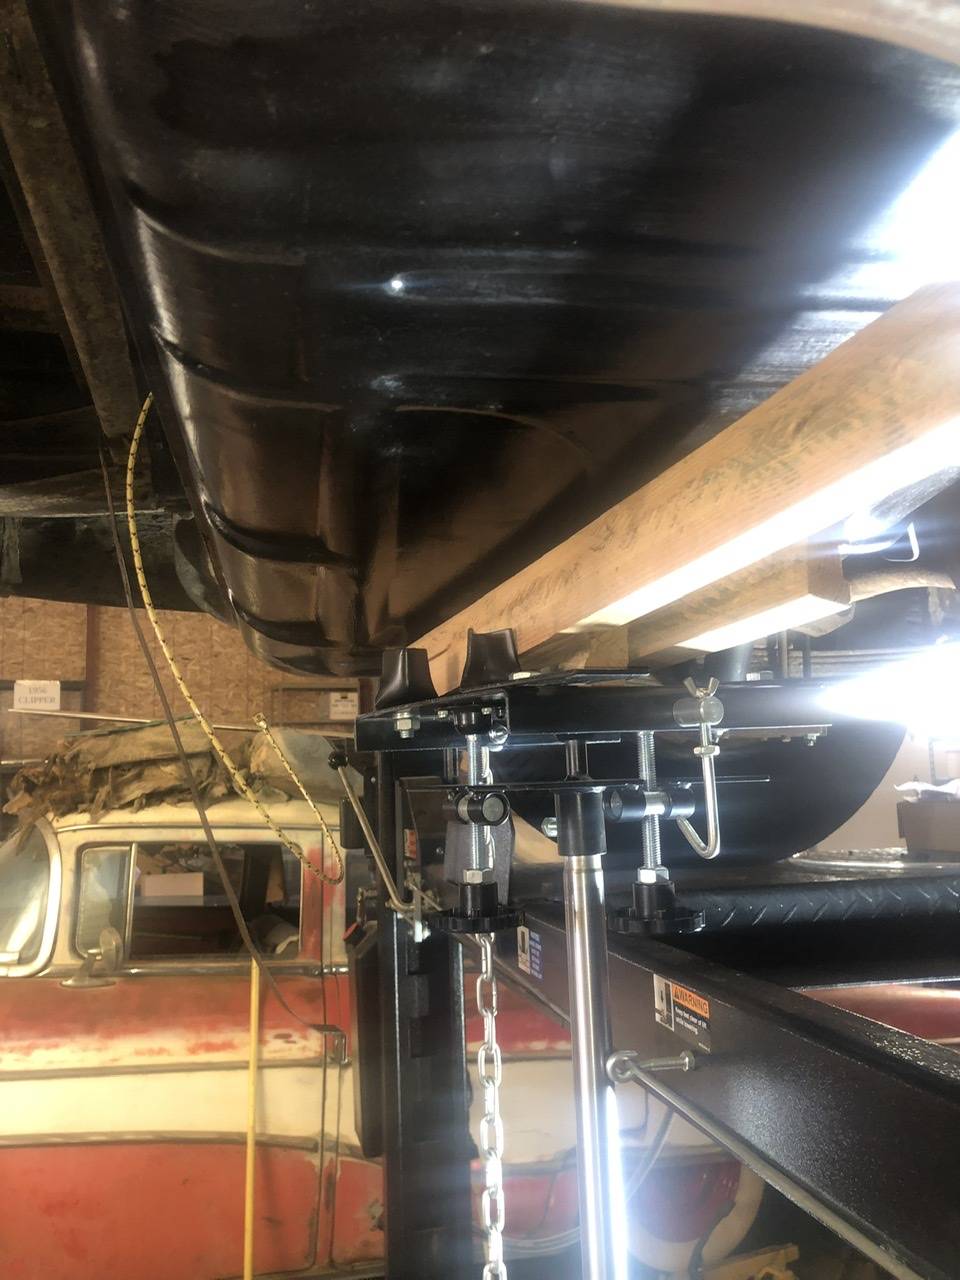 BD88B01A-894E-44A8-B98A-CCFFB778B1CE.jpeg (159.27 KB) BD88B01A-894E-44A8-B98A-CCFFB778B1CE.jpeg (159.27 KB) A3048FB3-5EEB-43BB-9A64-739EC4B15F3F.jpeg (142.02 KB) A3048FB3-5EEB-43BB-9A64-739EC4B15F3F.jpeg (142.02 KB)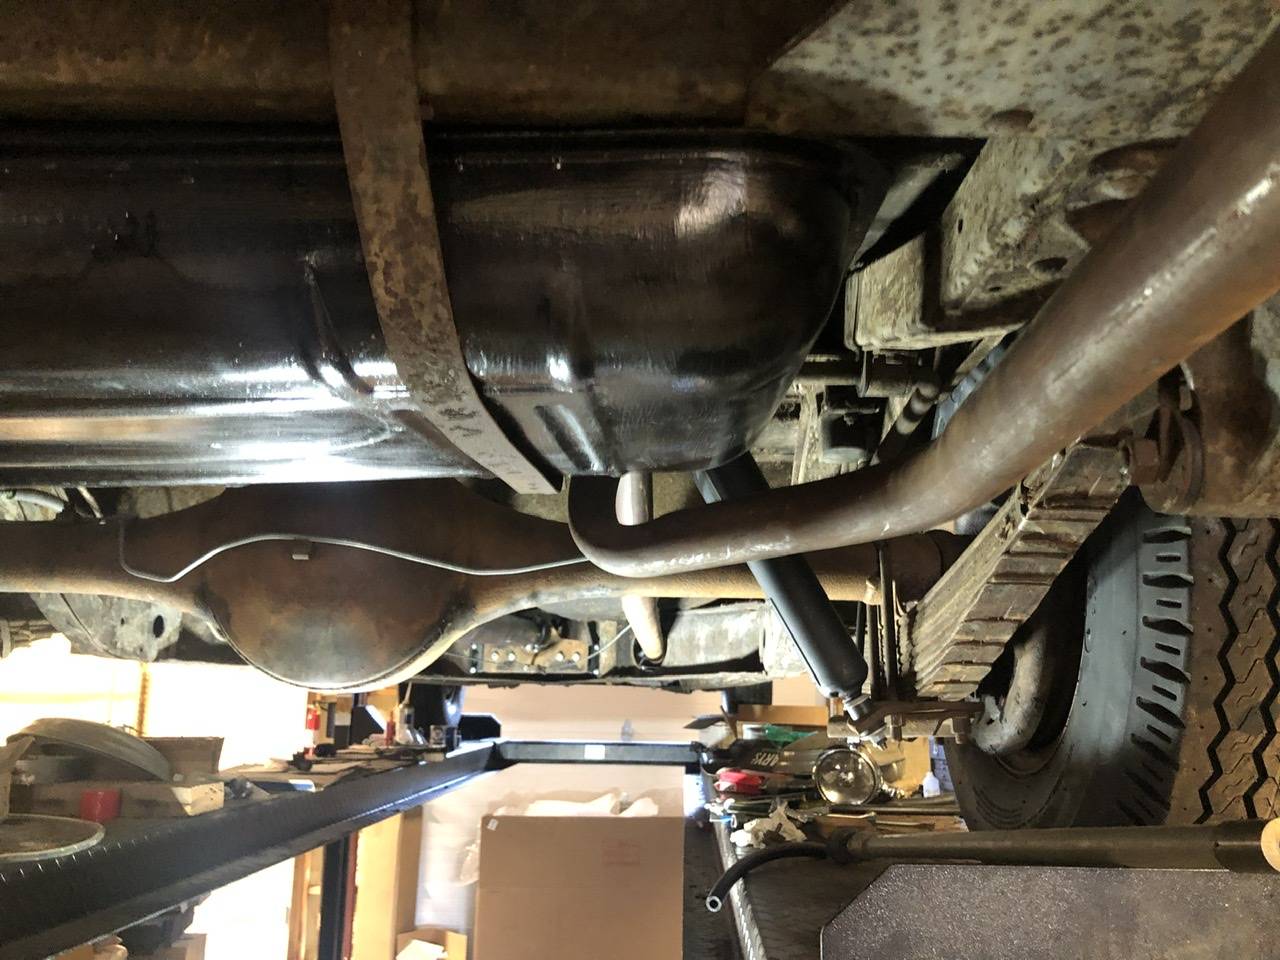
Posted on: 2023/7/16 20:36
|
|||
|
||||
|
Re: Resurrecting a 1951 Henney-Packard Parts Car
|
||||
|---|---|---|---|---|
|
Home away from home
|
I wasn’t at the shop long on Monday due to bing also in the midst of some Web site programming so didn’t even get out there until the mid-afternoon!
Anyway, as the tank was just hanging loosely in place I took it back out to try to address the filler but I am sure they built the car around it as it’s impossible to remove without cutting! It has two bends in it so between them, the physics simply don’t work. If you’ve ever read Douglas Adams’ Dirk Gently books, in one there was a sofa stuck at the top of the stairs that no one could remove (apparently some portal had momentarily opened while it was being brought up that once closed, got it stuck there) and this feels much like that. The first photo shows it in as far as it will go while the second shows it out as far as it will go. Also, if there is anyone here with a Military ambulance, any guidance on these holes in the dash? I presume that the two lower ones are for the lights in the front and rear of the siren but what is the larger one? It seems cut to a specific shape so probably for the siren but was it a button or switch? Attach file: E08DC708-4A90-4207-B504-20C7EC1E8999.jpeg (136.60 KB)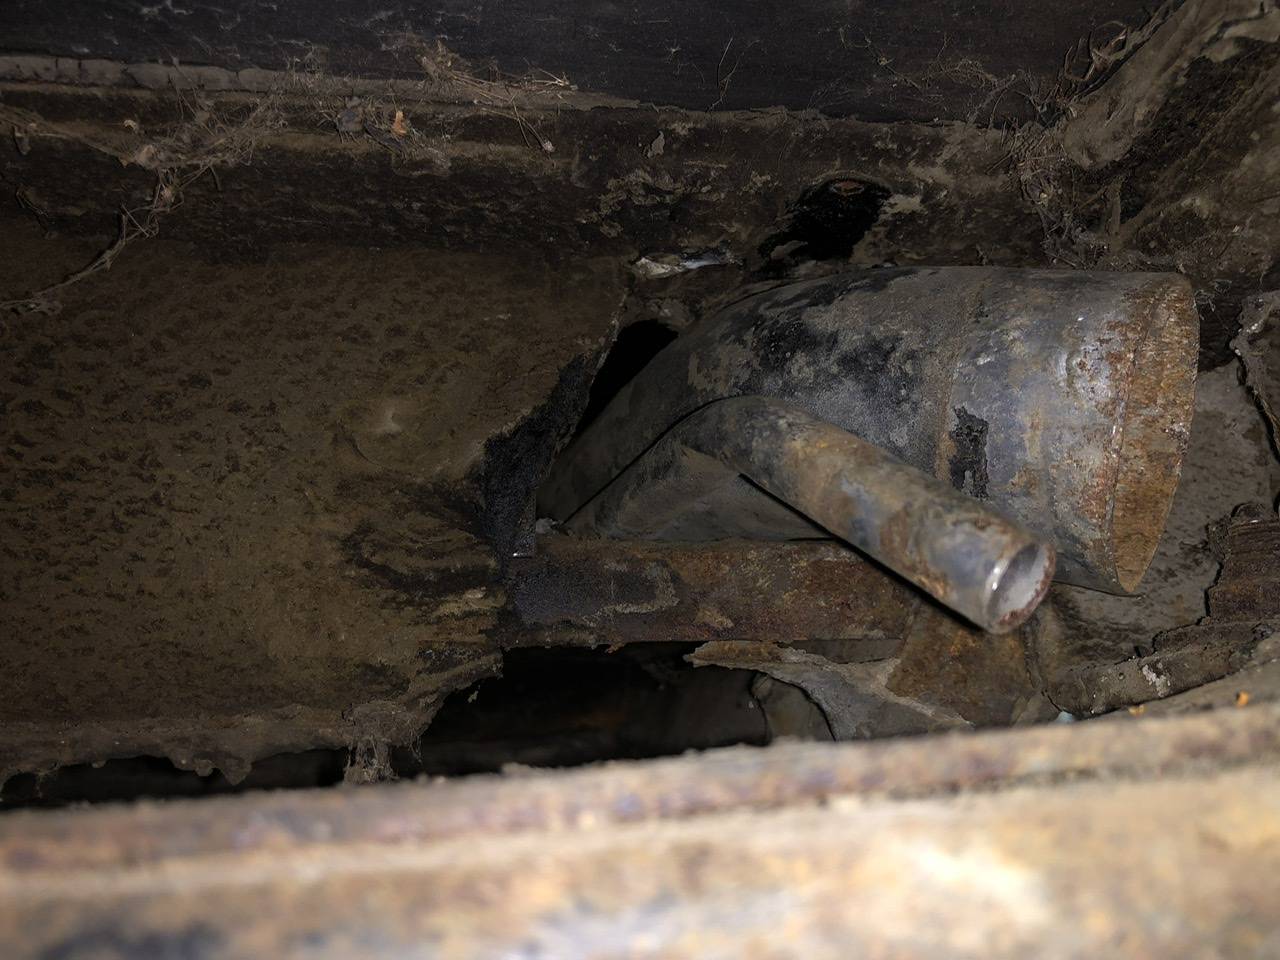 7C19B8B4-6DE4-4629-9C06-F1C73038FFDB.jpeg (151.27 KB) 7C19B8B4-6DE4-4629-9C06-F1C73038FFDB.jpeg (151.27 KB)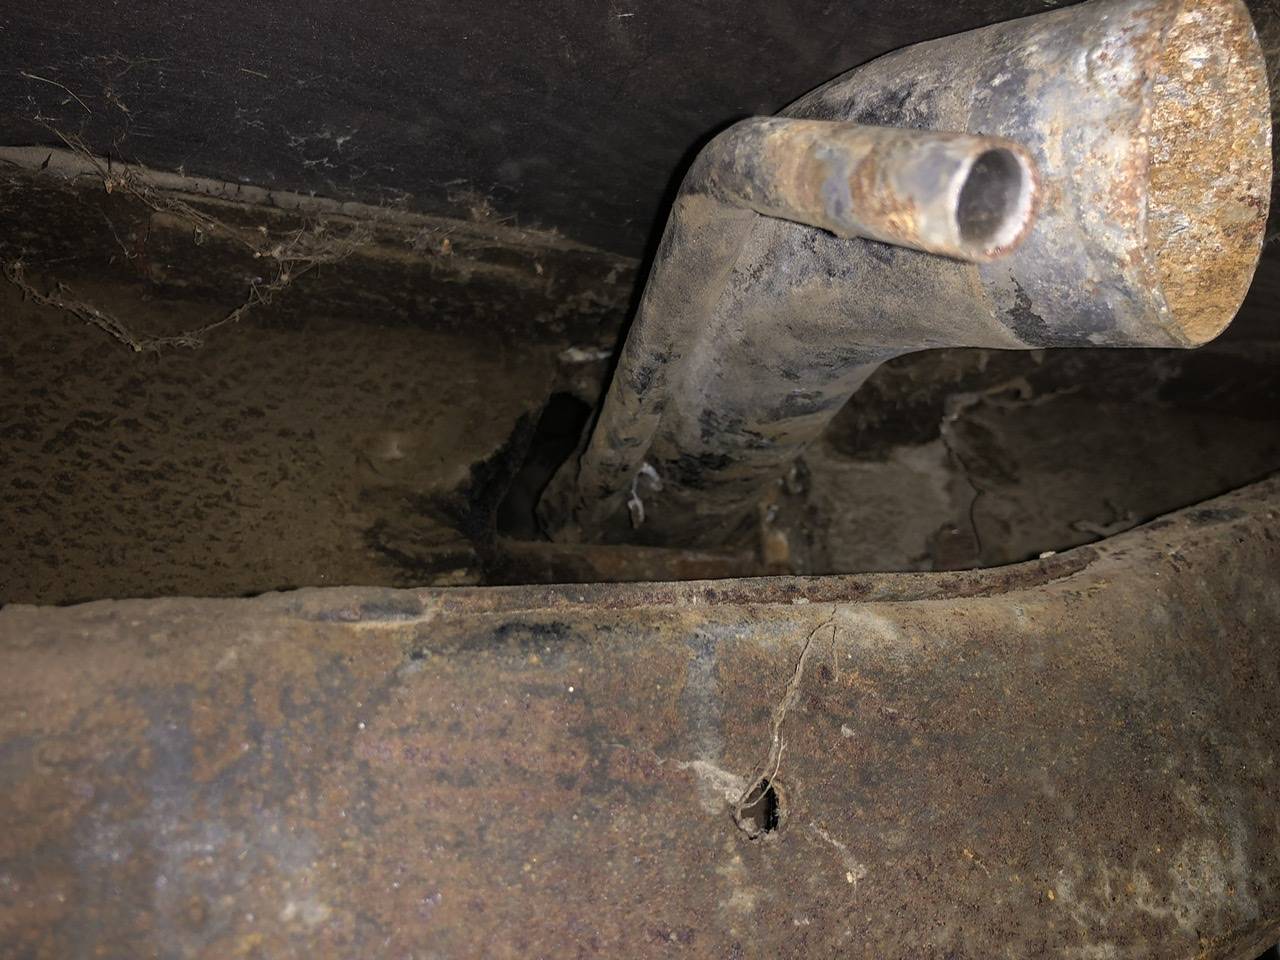 316C27B5-C70E-4788-97D0-DF9CA2DE4DDB.jpeg (95.18 KB) 316C27B5-C70E-4788-97D0-DF9CA2DE4DDB.jpeg (95.18 KB)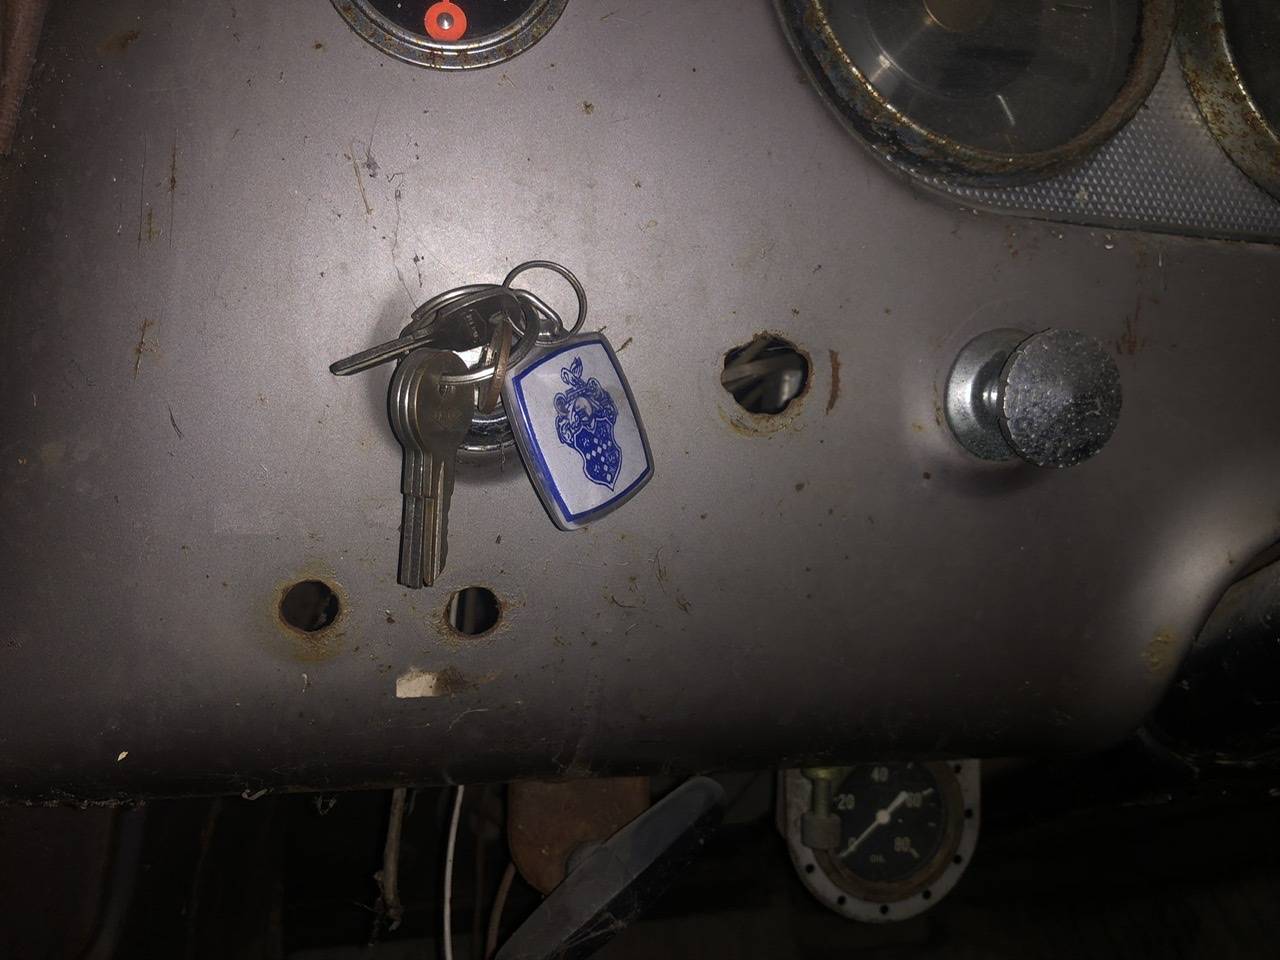
Posted on: 2023/7/18 14:22
|
|||
|
||||
|
Re: Resurrecting a 1951 Henney-Packard Parts Car
|
||||
|---|---|---|---|---|
|
Forum Ambassador
|
You might do a search for 1951 Henney military ambulance interior and see what comes up. When results came up and selecting the image category, there were several photos of a 54 dash but that only had 3 toggle switches. Some other interesting items though like a fan and of course, the radio. Another 54 dash had a pushbutton in addition to the toggle switches which kind of looked like a regular starter PB but was labeled siren brake. Even if you don't find the exact answer to what goes in the hole you might get inspiration from seeing the other components and the varied interior finishes.
Posted on: 2023/7/18 14:42
|
|||
|
Howard
|
||||
|
||||


