|
Re: Ken's 1937 120 Touring Sedan
|
||||
|---|---|---|---|---|
|
Home away from home

|
If your car has a tapered hub and key arrangement at the rear wheel hubs, be sure both rear hubs are absolutely tight on the axle shafts and that all mating parts are in good condition and the keys and keyways are a tight fit.
Posted on: 2023/4/20 15:28
|
|||
|
||||
|
Re: Ken's 1937 120 Touring Sedan
|
||||
|---|---|---|---|---|
|
Home away from home
|
I finally tackled a project that has been on my list for several years, and per usual, it snowballed. Public service announcement - flush your brake fluid!
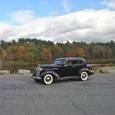
For background. I bought the car in 2015. I was planning on flushing the brake system, and converting to DOT5, that year. Life (and 4 moves!) between then and now got in the way, so I had not ever flushed it. I have had the front drums off a few times, and the brakes were clearly rebuilt in recent history - new hard lines, shoes looked essentially new, new rubber lines, etc. Also, the brakes worked GREAT! Firm pedal, stopped well, during a few hard stops nothing drug or pulled to one side or the other, so I always found a reason to do something more urgent, or just drive the thing. I decided to flush it a few weeks ago. The plan was to put it up on jackstands, drain the system, flush with isopropyl alcohol, then convert to DOT5 fluid. I got through step 1, haha. When I started inspecting the system, I noticed a little weepage on the master cylinder. Pulled that out for inspection, and noted heavy pitting in the bore, even after honing. Next, inspected the wheel cylinders. Right front and left rear had some rust. The piston for the secondary shoe on the left rear cylinder was completely stuck, and I had to drive it out of the wheel cylinder with a hammer and brass drift! I also found that although the rear brake shoes and drums were in excellent condition, the left rear axle seal was leaking. So, instead of a simple flush, I am in the midst of the following: 1. Drain old brake fluid (done) 2. Flush all hard lines (done) 2.a. Rebuild the hard line whose nut failed during disassembly (done) 3. Replace rear axle seals (done) 4. Replace master cylinder, all wheel cylinders, and perform major adjustment. While I was back there, I also drained and re-filled the rear differential. I'll do the transmission too, because it's been 5 years since I last changed the oil in it. (time flies!) For this job, it is made much simpler by removing the drivers side inner fender for easier access to the master cylinder. I also learned that if I park the car transversely in the garage, it gives me plenty of room to work on it. Where I park it normally, I only have about 18 inches on one side of the car. I made a simple tool out of 1/4" steel strap to pull the original leather seals out of the rear axle with my slide hammer. The mechanics wire is for positioning, and I welded a nut to the backside to give my slide hammer something to screw into. It took some doing to get the seals out, but I got them both out before my tool failed catastrophically. The new seals (National 410190) went it without a hitch. With any luck, I'll finish up and get it back on the road this weekend. Attach file:  Transverse storage.jpg (214.35 KB) Transverse storage.jpg (214.35 KB)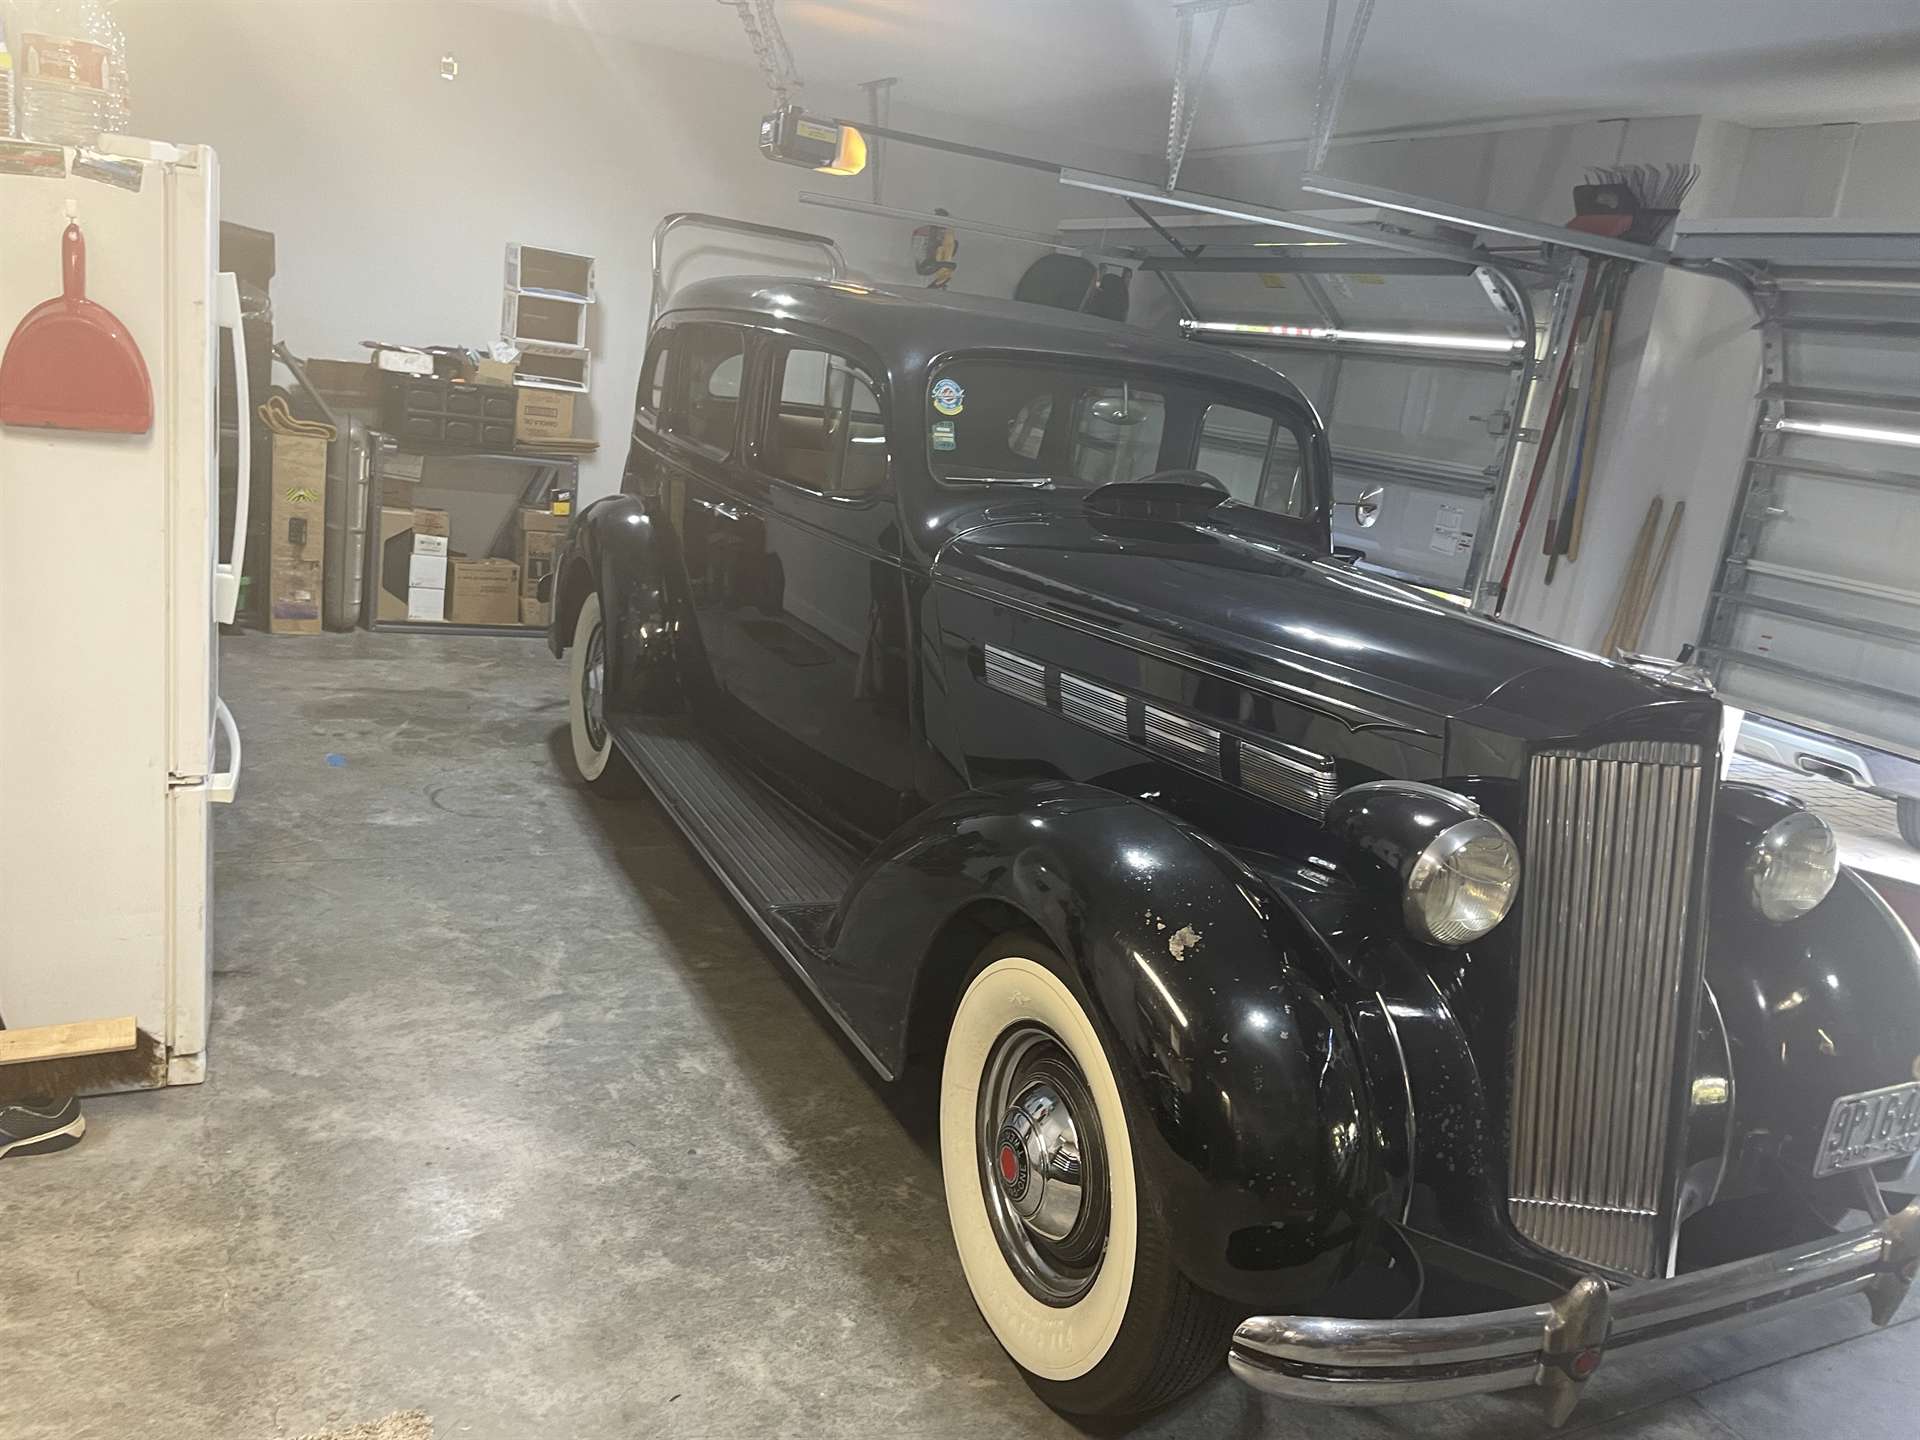 Rusty wheel cylinder.jpg (157.63 KB) Rusty wheel cylinder.jpg (157.63 KB) Leaking rear axle seal and rusty wheel cylinder.jpg (187.53 KB) Leaking rear axle seal and rusty wheel cylinder.jpg (187.53 KB)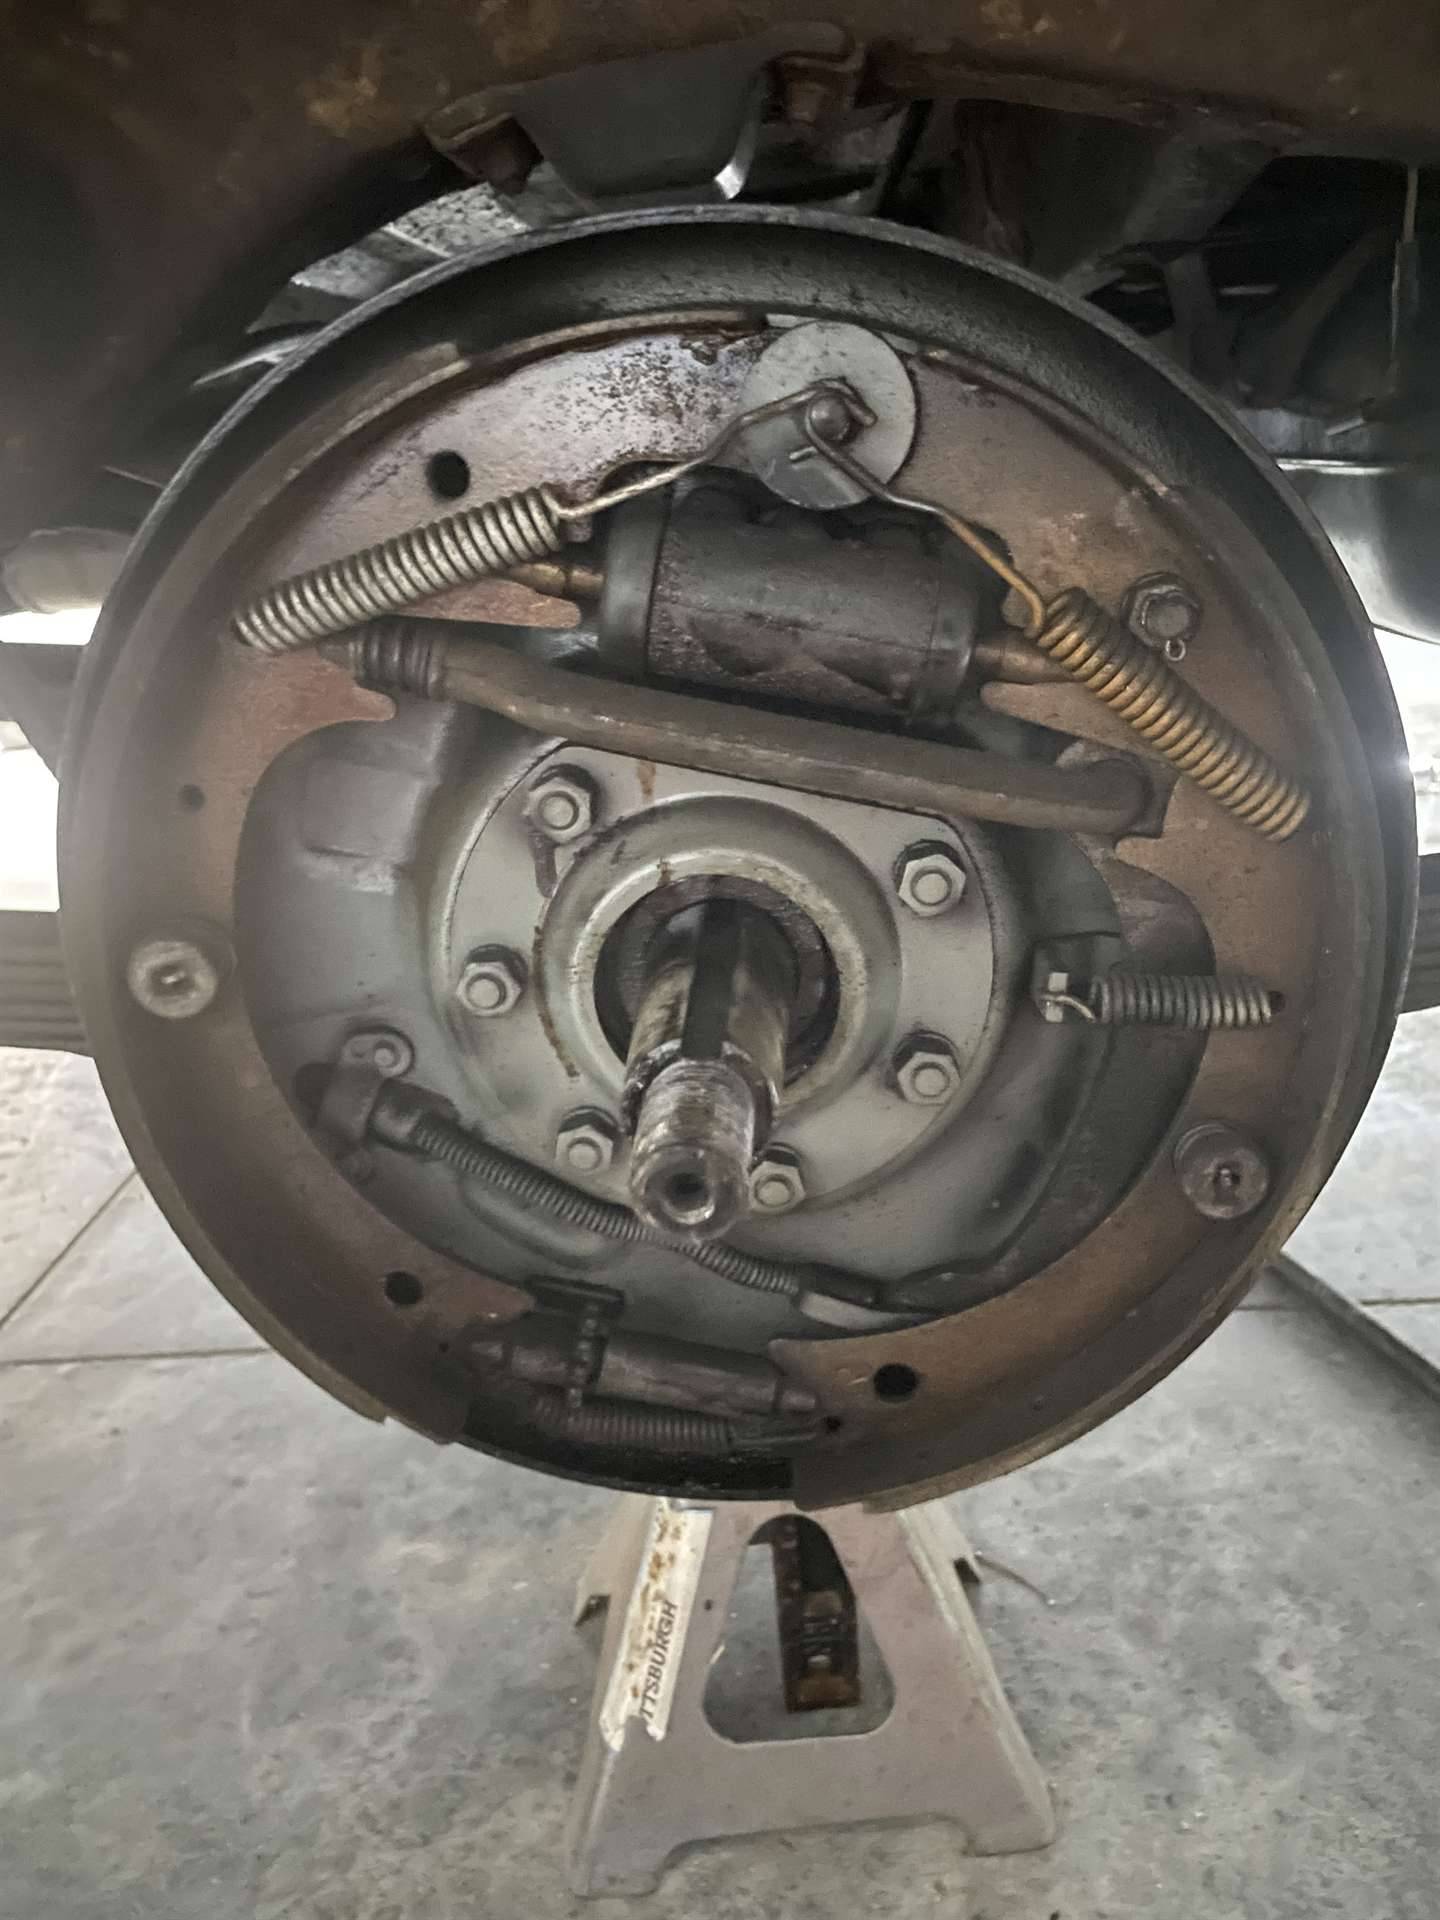 Leather seal.jpg (249.16 KB) Leather seal.jpg (249.16 KB)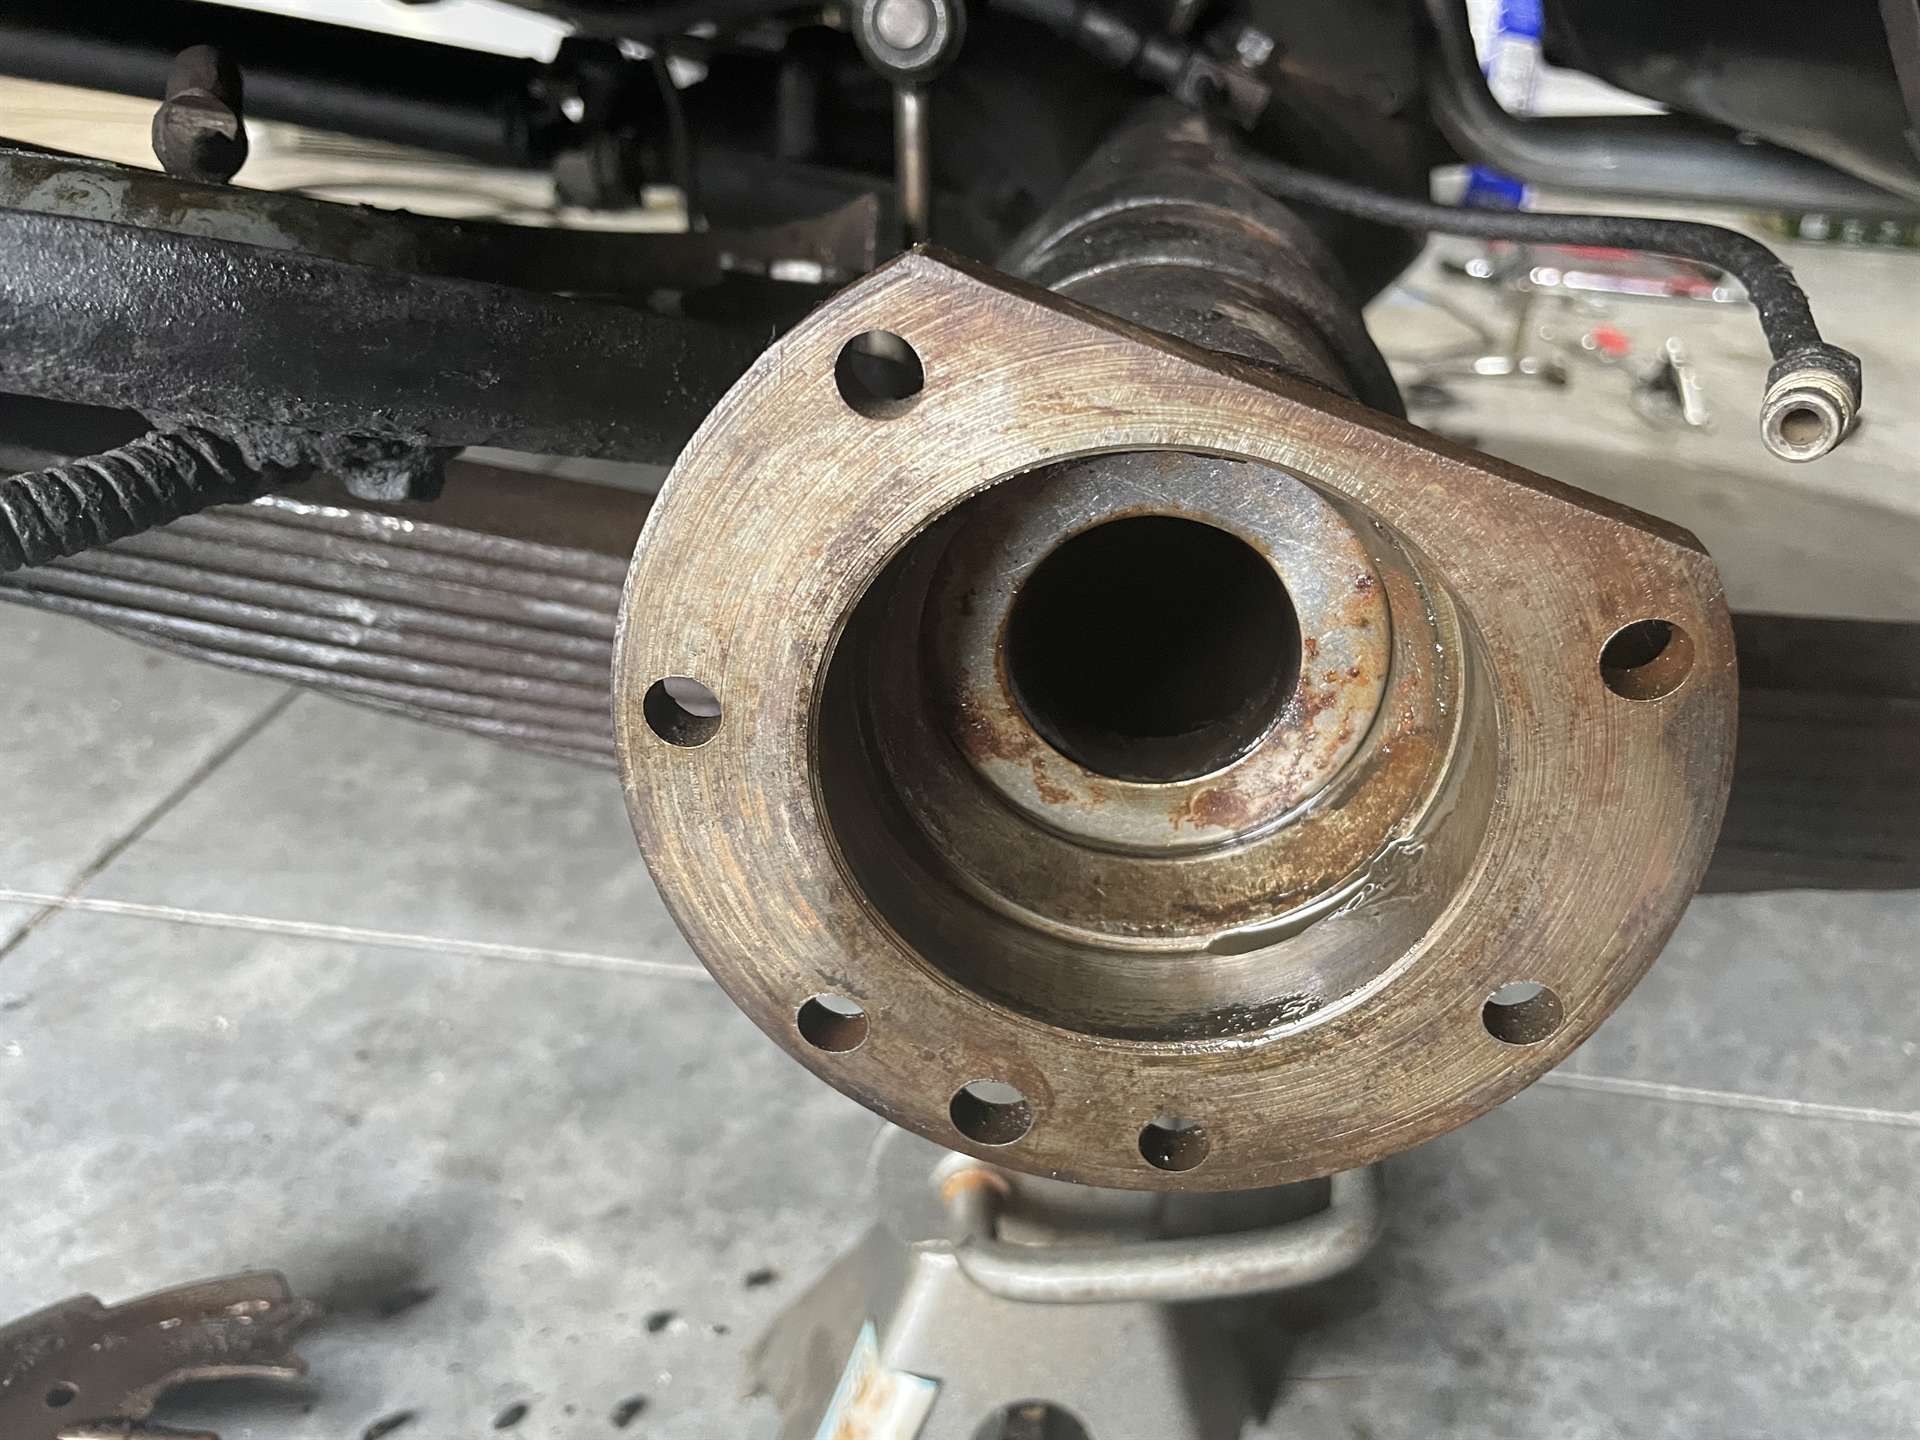 Seal removal tool - limited use!.jpg (269.03 KB) Seal removal tool - limited use!.jpg (269.03 KB)
Posted on: 2023/8/7 20:30
|
|||
|
1937 120 1092 - Original survivor for driving and continued preservation.
https://packardinfo.com/xoops/html/modules/newbb/viewtopic.php?topic_id=16514&forum=10 1937 115 1082 - Total basket case, partial restoration, sold Hershey 2015 https://packardinfo.com/xoops/html/modules/newbb/viewtopic.php?start=0&topic_id=6550&order=ASC&status=&mode=0 |
||||
|
||||
|
Re: Ken's 1937 120 Touring Sedan
|
||||
|---|---|---|---|---|
|
Webmaster

|
It's amazing how time flies and a simple jobs turns into a huge one!
Posted on: 2023/8/7 20:58
|
|||
|
-BigKev
1954 Packard Clipper Deluxe Touring Sedan -> Registry | Project Blog 1937 Packard 115-C Convertible Coupe -> Registry | Project Blog |
||||
|
||||
|
Re: Ken's 1937 120 Touring Sedan
|
||||
|---|---|---|---|---|
|
Forum Ambassador

|
If you had DOT 5 and have those problems now… you had those problems then. DOT 5 is lifetime fluid
Edit… I read your post wrong… ignore this post.
Posted on: 2023/8/7 21:04
|
|||
|
1937 Packard 138-CD Deluxe Touring Limousine
Maroon/Black 1090-1021 [url=https://packardinfo.com/xoops/html/modules/registry/View.php?ID=232]1955 Packard |
||||
|
||||
|
Re: Ken's 1937 120 Touring Sedan
|
||||
|---|---|---|---|---|
|
Home away from home
|
Most hydraulic brake systems are designed to retain some pressure in the system when the pedal is fully released. This low pressure keeps the rubber cups set and prevents fluid leaking out or air leaking in during temperature changes, etc.
When a car sits unused for extended periods, this residual pressure may leak off, which can lead to fluid leakage or air intrusion or both. It's a good idea to press the brake pedal a few times once every few weeks to restore residual pressure and prevent cups and pistons from sticking. No need to press hard on the pedal or drive the car, just press the pedal a few times. It's also a good idea to check the fluid level in the master cylinder and set and release the parking brake a few times. Unless the parking brake is needed to hold the car in place, it would probably be best to leave it in the released mode to prevent the shoes from sticking to the drums. Clutches can also stick, so depressing the clutch pedal a few times once in a while is a good idea.
Posted on: 2023/8/7 22:34
|
|||
|
||||
|
Re: Ken's 1937 120 Touring Sedan
|
||||
|---|---|---|---|---|
|
Home away from home
|
Have all the hydraulic parts flushed or replaced. Rear end is waiting on some penetrating oil on the eccentrics to do the brake adjustment, front is waiting on Welch plugs to re-cover the king pin ends before I move on (I had to add one more shim to the king pin I rebuilt a few years ago, it didn’t have enough preload).
I also fixed the junction block on the frame. It had popped out of its bracket, and the bracket cracked. Welded the steel bracket back together and peened the block back into place. That’s the first picture. The second shows mission creep, my favorite, haha. Seriously though, the king pin feels great now! My rear axle bearings felt fine, but… since they’re unobtainable, should I drill a very small hole in the cover, push grease in with the needle fitting on the grease gun, and then cover the hole with silicone? Or just trust the lifetime lubricant and the fact that I only put a few thousand miles a year on the car, if I’m lucky? With any luck, it’s on the road next weekend. Attach file:  IMG_0344.jpeg (219.71 KB) IMG_0344.jpeg (219.71 KB) IMG_0345.jpeg (223.83 KB) IMG_0345.jpeg (223.83 KB)
Posted on: 2023/8/14 20:55
|
|||
|
1937 120 1092 - Original survivor for driving and continued preservation.
https://packardinfo.com/xoops/html/modules/newbb/viewtopic.php?topic_id=16514&forum=10 1937 115 1082 - Total basket case, partial restoration, sold Hershey 2015 https://packardinfo.com/xoops/html/modules/newbb/viewtopic.php?start=0&topic_id=6550&order=ASC&status=&mode=0 |
||||
|
||||
|
Re: Ken's 1937 120 Touring Sedan
|
||||
|---|---|---|---|---|
|
Home away from home
|
Well, brakes are almost done, but no luck. At some point in the car's past, the brass junction block on the front of the master cylinder had been cross threaded where one of the brake lines goes in. I spent some time with a file cleaning it up, and thought I had it, but when I attempted to bleed the brakes, it leaked from that fitting. When I attempted to tighten it, it stripped. So, on hold until I can find a new block.
I did complete a major adjustment on all four corners, re-attached the park brake, and re-packed the front wheel bearings. Once I can get a new junction block, I should be able to bleed the system and go! Here's hoping. Attach file: Failed master cylinder junction block 2.jpg (287.90 KB)
Posted on: 2023/8/20 9:01
|
|||
|
1937 120 1092 - Original survivor for driving and continued preservation.
https://packardinfo.com/xoops/html/modules/newbb/viewtopic.php?topic_id=16514&forum=10 1937 115 1082 - Total basket case, partial restoration, sold Hershey 2015 https://packardinfo.com/xoops/html/modules/newbb/viewtopic.php?start=0&topic_id=6550&order=ASC&status=&mode=0 |
||||
|
||||
|
Re: Ken's 1937 120 Touring Sedan
|
||||
|---|---|---|---|---|
|
Home away from home
|
Similar items are used on other vehicles, often on the rear axle brake line junction. I don't know whether any of them would fit your application.
Posted on: 2023/8/20 9:38
|
|||
|
||||
|
Re: Ken's 1937 120 Touring Sedan
|
||||
|---|---|---|---|---|
|
Home away from home

|
Weatherhead is/was a maker of brass fittings. Maybe there is an online listing for their parts.
Posted on: 2023/8/20 12:09
|
|||
|
We move toward
And make happen What occupies our mind... (W. Scherer) |
||||
|
||||


