|
Re: Installing fenders & splash aprons on a '32
|
||||
|---|---|---|---|---|
|
Home away from home

|
Marston,
I only have a couple of comments. I would install the frame rail covers, radiator and hood and get them aligned before installing the fenders. This will reduce the chance of banging up the fenders and make the work much easier. On the 30 I am working on, there was no anti-squeek material that ran along the entire length of the frame rail, only at the body mounts. It is probably the same on your 32. Otherwise it looks like a good plan. Cheers, Tom
Posted on: 2013/3/8 11:53
|
|||
|
||||
|
Re: Installing fenders & splash aprons on a '32
|
||||
|---|---|---|---|---|
|
Home away from home

|
Tom,
Thanks for the quick input. Your idea about the frame rail covers makes good sense. I was thinking about using 6 mil black polyethylene as an anti-squeak material in place of nothing figuring it wouldn't hurt since it is so thin. Also, it would help to protect the painted surfaces. Again Thanks for the great input.
Posted on: 2013/3/8 15:17
|
|||
|
||||
|
Re: Installing fenders & splash aprons on a '32
|
||||
|---|---|---|---|---|
|
Home away from home

|
Dear Martson:
If the body has not been off the frame then you will notice there is a gap between the body and the frame and that the body weight is born by alignment shims fitted by the factory. If the body has been removed and these shims discarded you will have to start over. They can be reused if saved and placed on a card/diagram. The gap is perhaps 1/8-3/16 inch, but under no circumstances should the body rest on the frame. There are rivet heads under there that do not touch the body. Once the alignment is set the side apron can be slid into place, I believe on top of the shims.
Posted on: 2013/3/8 16:37
|
|||
|
||||
|
Re: Installing fenders & splash aprons on a '32
|
||||
|---|---|---|---|---|
|
Home away from home
|
Can anyone out there help me out with the correct placement of the fender welt. Especially where it goes around the running board and where it ends. Also, a picture of what the corect look for material to use on the running board mat.
A few pictures would be greatly appreciated.
Posted on: 2013/3/16 4:20
|
|||
|
||||
|
Re: Installing fenders & splash aprons on a '32
|
||||
|---|---|---|---|---|
|
Home away from home
|
Dear Marston:
Welting goes between the fenders, splash apron, and body. Starting at the running board, a single piece all the way to the back of the fenders. A single piece for the front fenders. There is no welting between the front running board instead they used rubber spacers that can be made from stock. A picture of the running board mat is in the parts book available on this site.
Posted on: 2013/3/16 11:25
|
|||
|
||||
|
Re: Installing fenders & splash aprons on a '32
|
||||
|---|---|---|---|---|
|
Home away from home
|
Tim,
Thanks for the info on the welt. I looked in the parts book for the mat but did not see it. Know that I know it is there I'll give it some time.
Posted on: 2013/3/16 12:52
|
|||
|
||||
|
Re: Installing fenders & splash aprons on a '32
|
||||
|---|---|---|---|---|
|
Home away from home
|
You're right. It's not listed, but the picture is there.
It's the late style shown on the right and it's available from Northfield Ltd. (440) 786-8141.
Posted on: 2013/3/16 17:52
|
|||
|
||||
|
Re: Installing fenders & splash aprons on a '32
|
||||
|---|---|---|---|---|
|
Home away from home

|
Marston,
A few pictures of original '32 running board material, molding, welting, and body mounting / wiring. Regards, Dave Attach file:  (106.26 KB) (106.26 KB)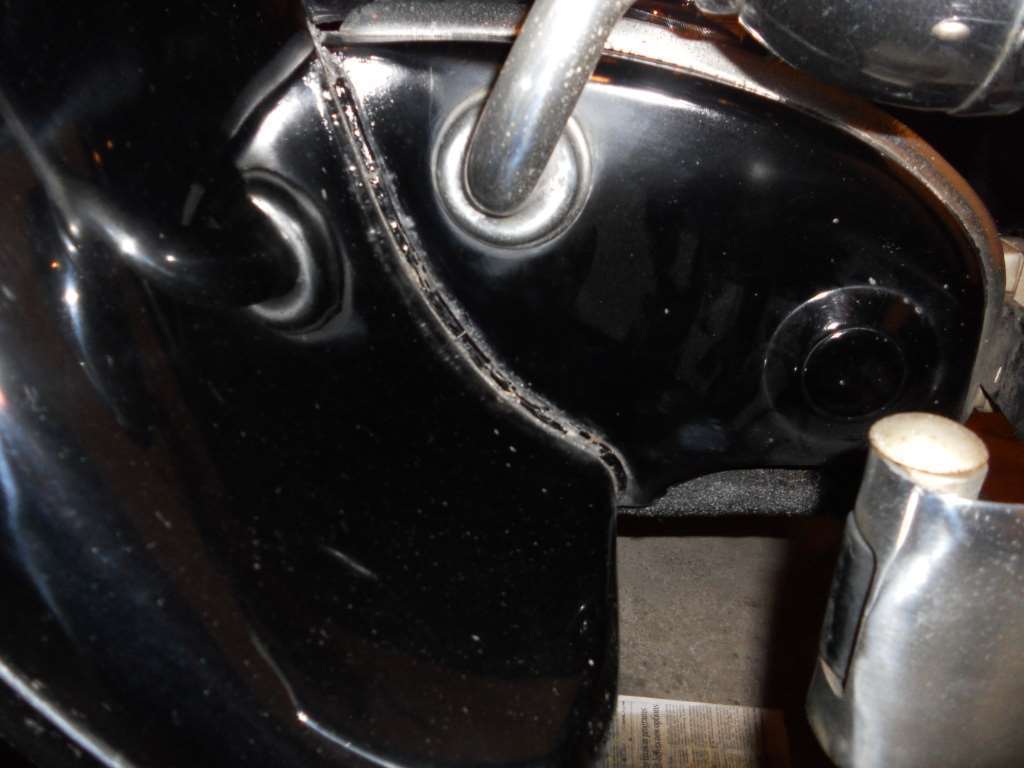 (130.65 KB) (130.65 KB) (73.35 KB) (73.35 KB)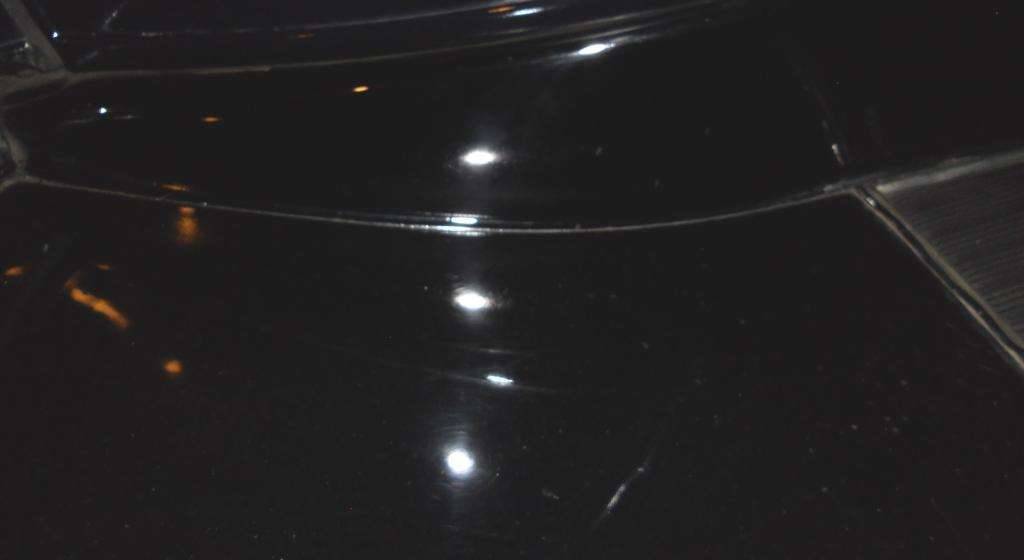 (110.50 KB) (110.50 KB)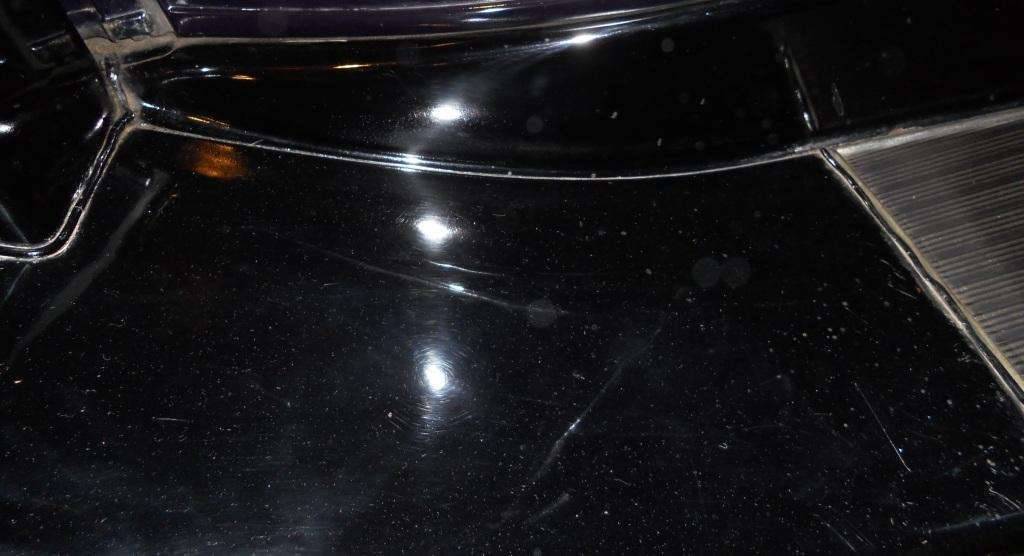 (82.69 KB) (82.69 KB) (147.06 KB) (147.06 KB) (102.87 KB) (102.87 KB)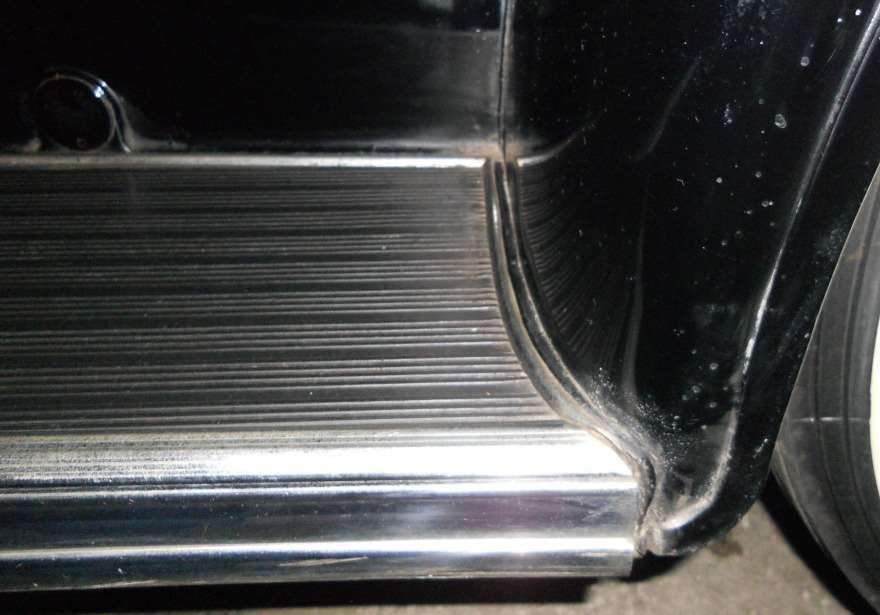 (116.46 KB) (116.46 KB)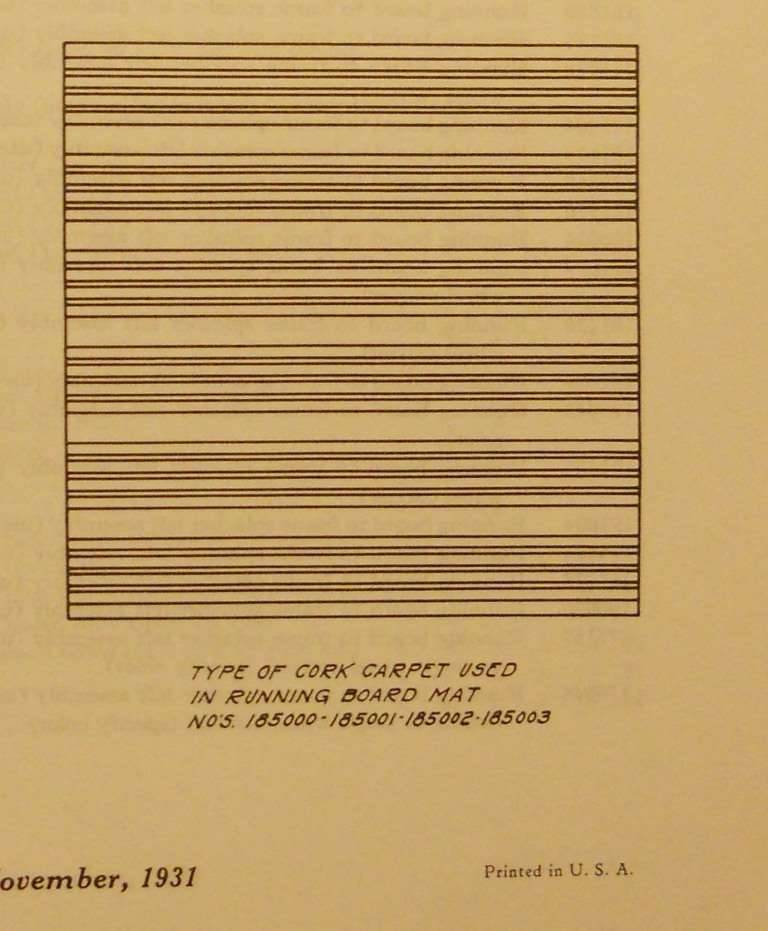 (107.51 KB) (107.51 KB) (168.93 KB) (168.93 KB) (131.10 KB) (131.10 KB)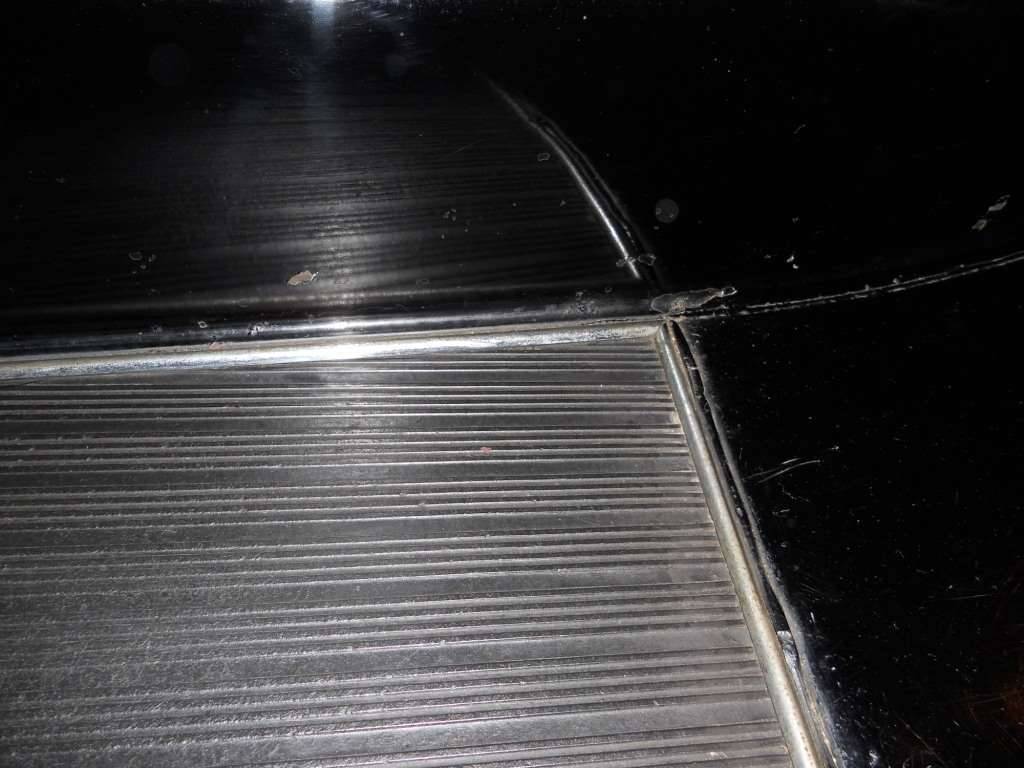 (147.48 KB) (147.48 KB) (153.63 KB) (153.63 KB) (152.14 KB) (152.14 KB)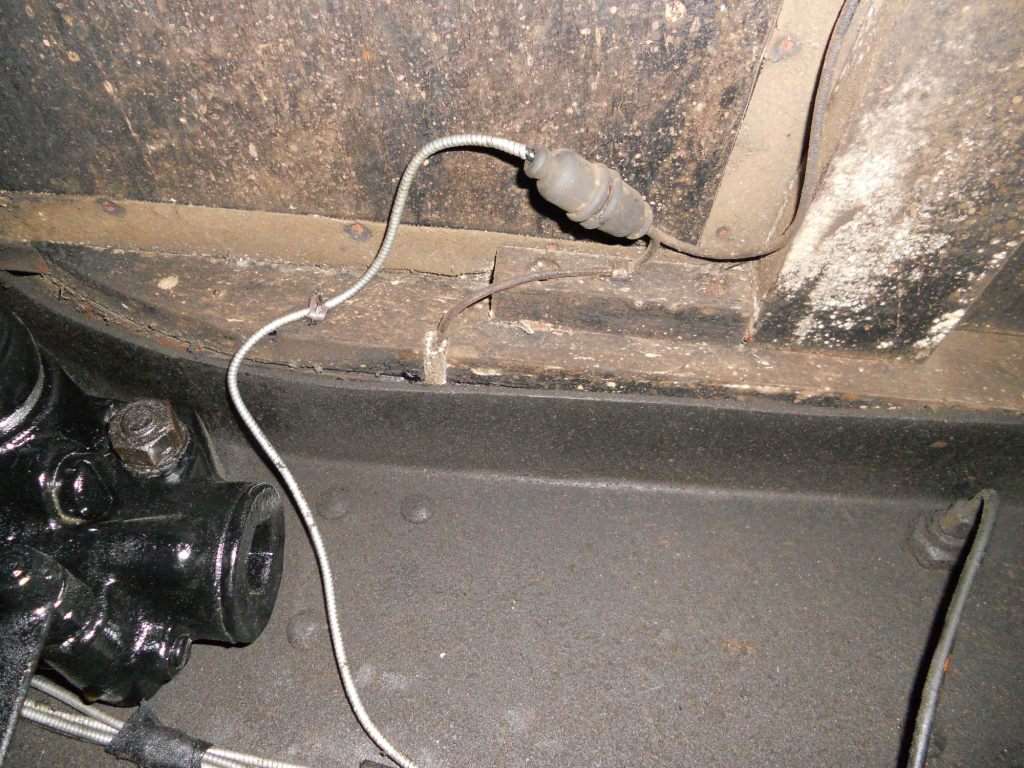
Posted on: 2013/3/16 20:13
|
|||
|
||||
|
Re: Installing fenders & splash aprons on a '32
|
||||
|---|---|---|---|---|
|
Home away from home
|
Boy those sure are great pictures.
Especially the little grommet for the interior lights. However, given the chassis wiring is not original, I would add a 5 amp inline fuse for the interior lights. Some of those wires go through drilled wood and can short out. I did that on every car I handled.
Posted on: 2013/3/17 9:37
|
|||
|
||||


