|
Re: KPack's 1954 Panama
|
||||
|---|---|---|---|---|
|
Forum Ambassador

|
Quote:
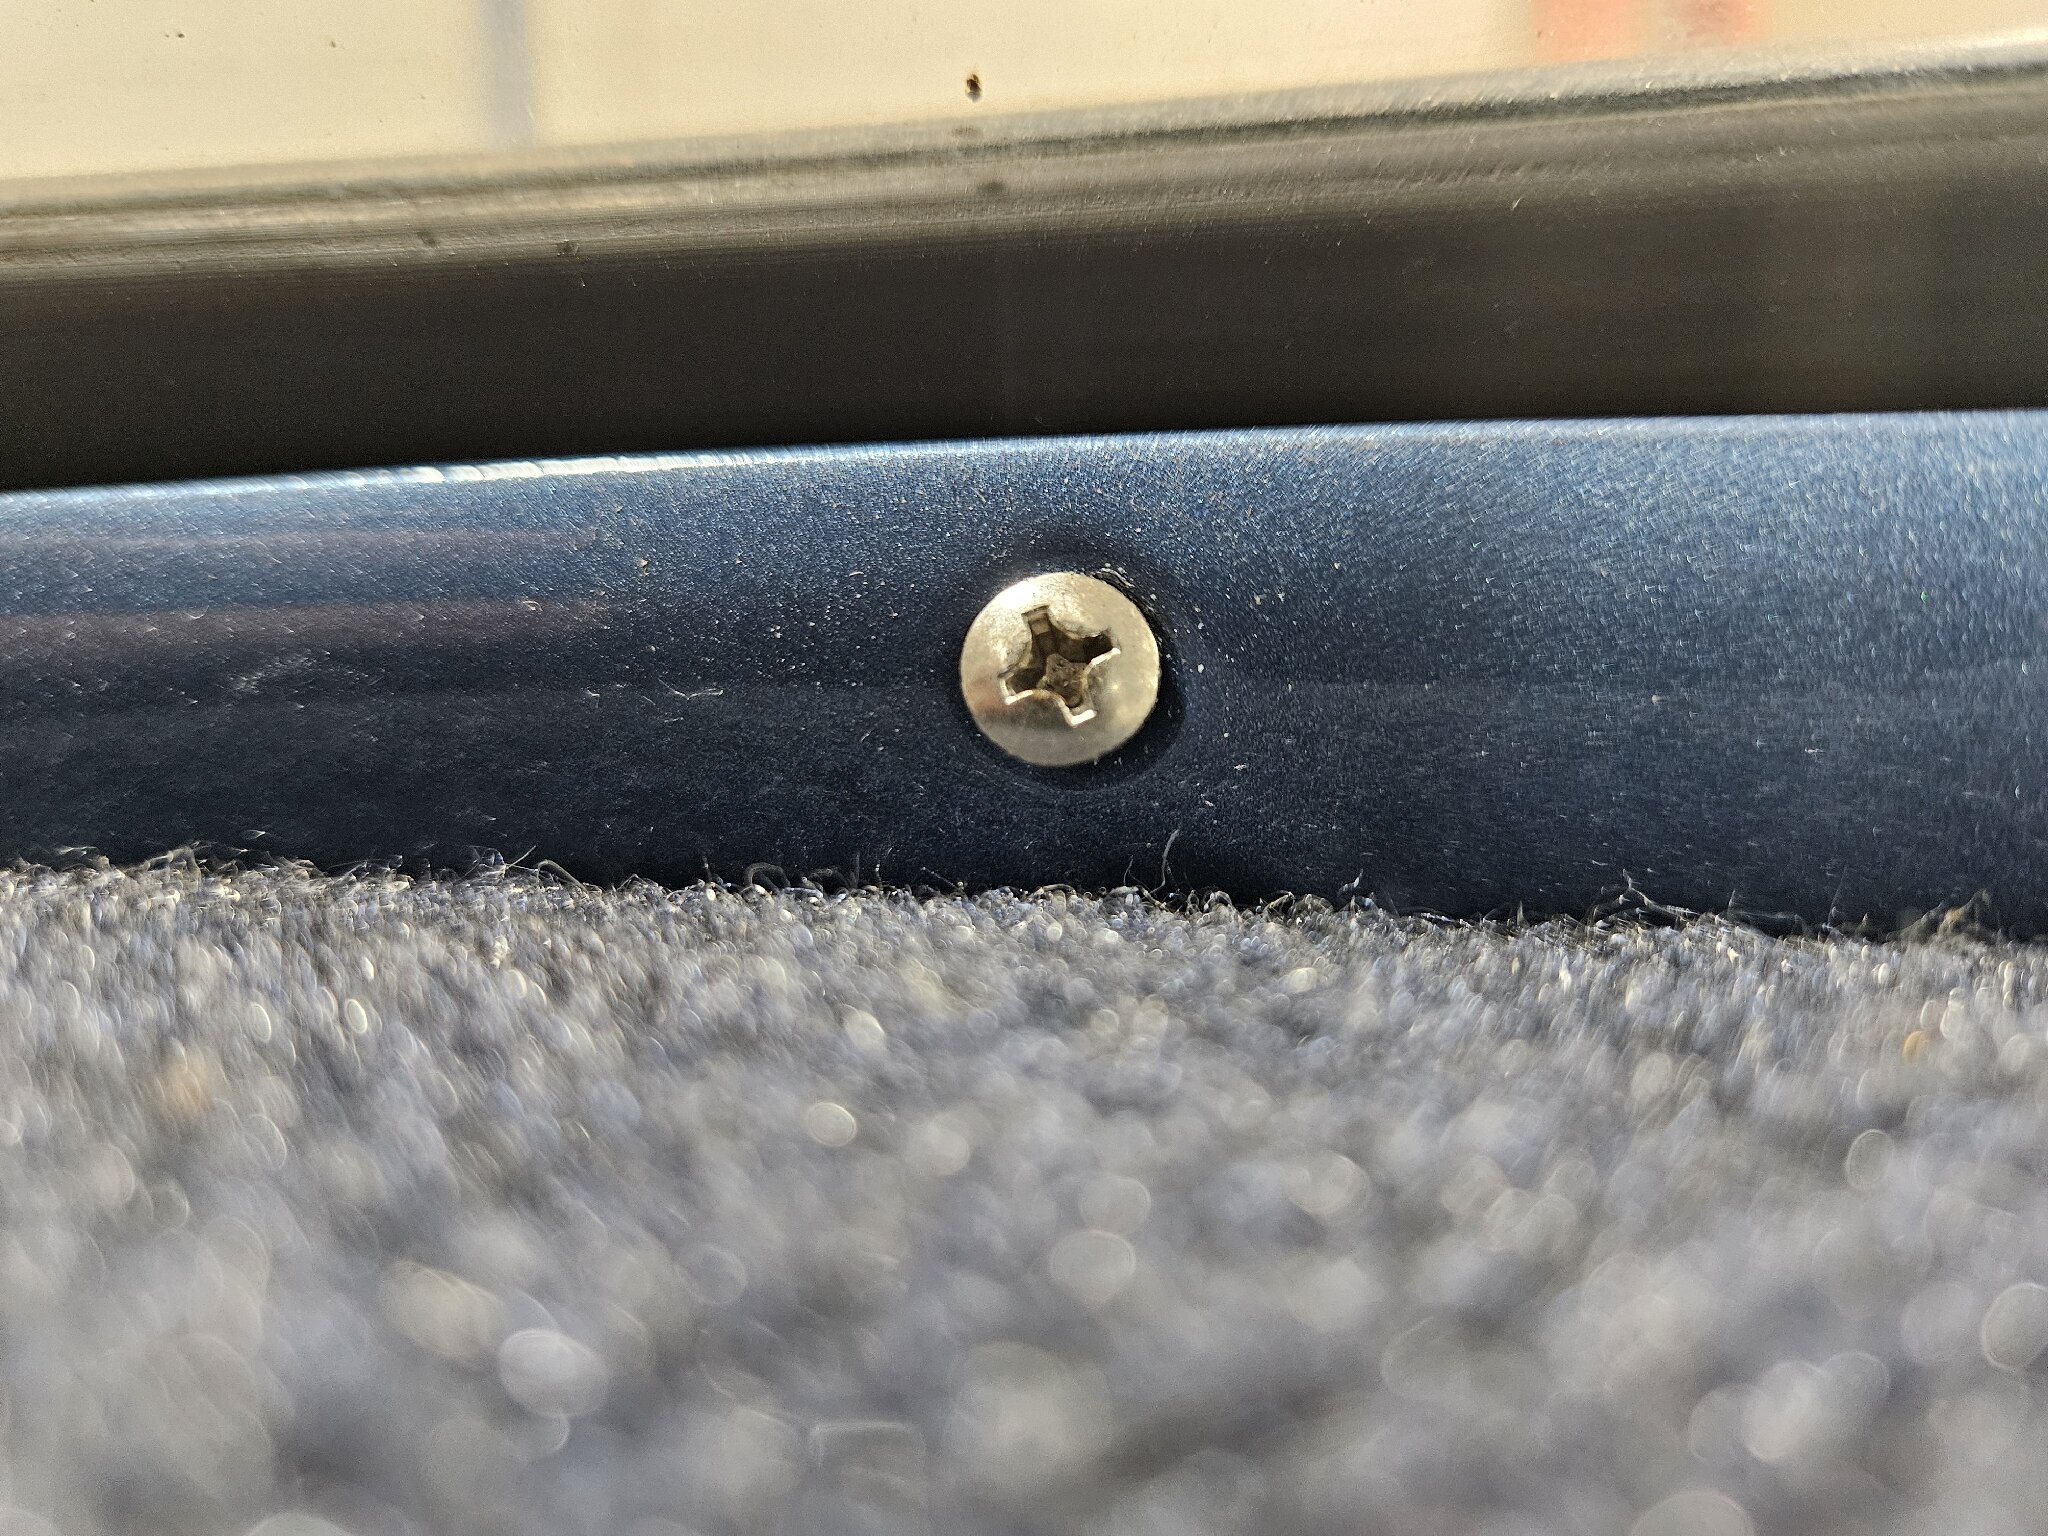
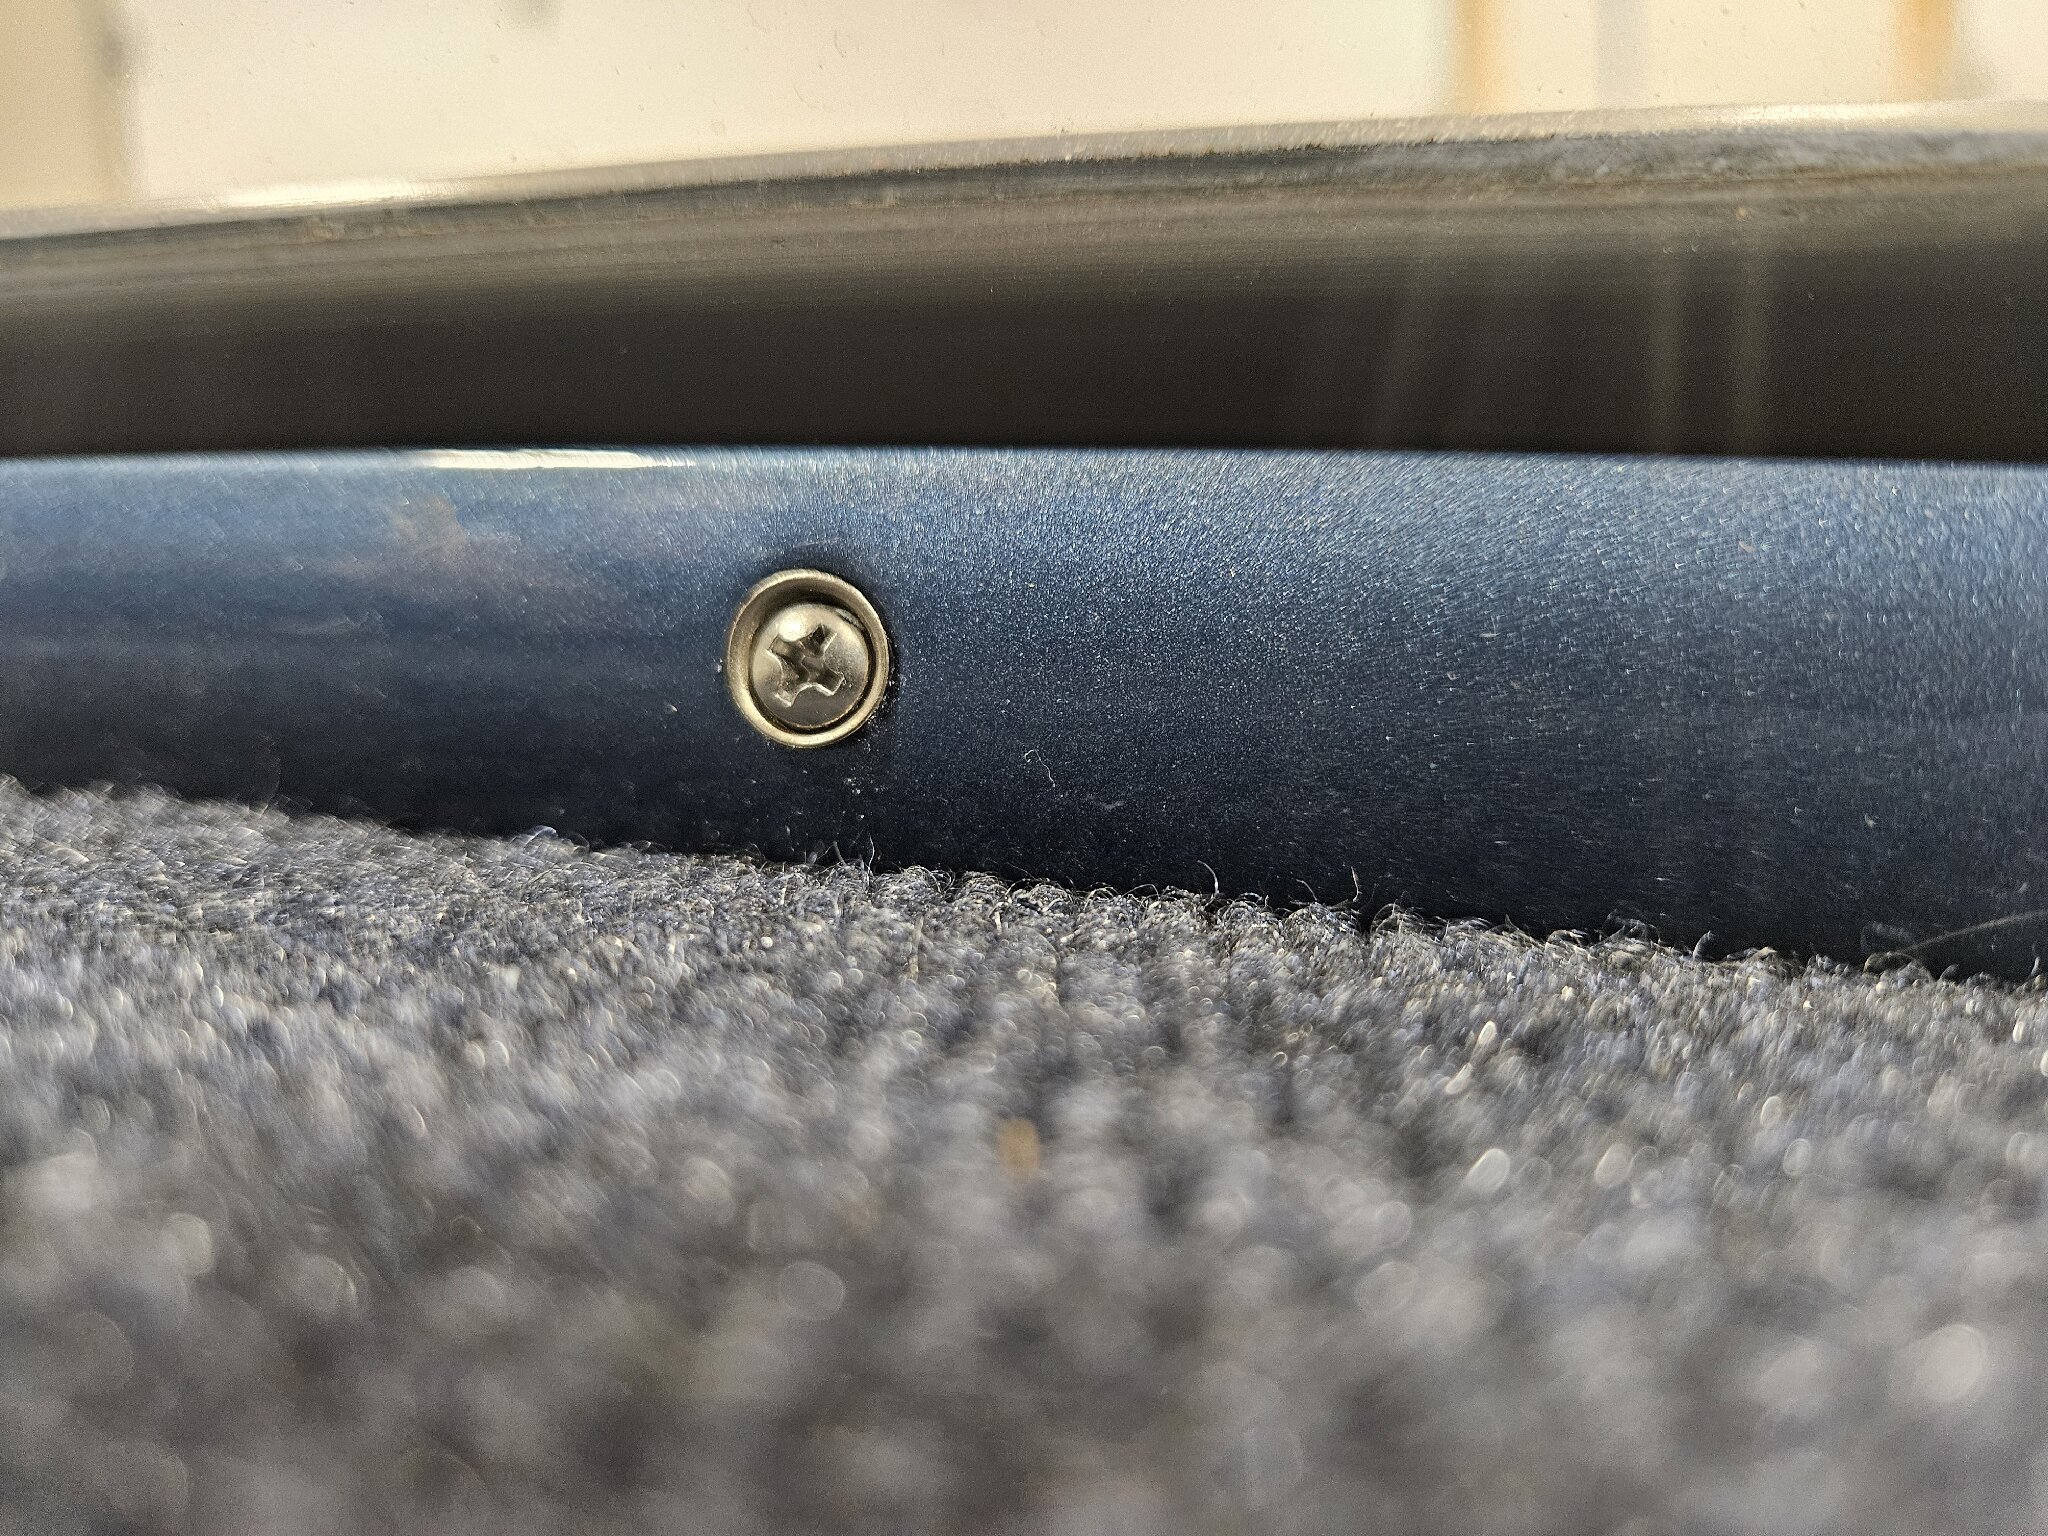
Except for one or two that was a bit longer than the factory item the reduced head chrome screws from Restoration Specialties shown in the catalog page above worked perfectly on my 47. They also had a few sizes in black oxide if a screw needed to be painted instead of chromed.
Posted on: 2/15 18:20
|
|||
|
Howard
|
||||
|
||||
|
Re: KPack's 1954 Panama
|
||||
|---|---|---|---|---|
|
Home away from home

|
For the windshield trim maybe Group 31.395 has the information and to determine if it’s what you’re looking for, also check it in Group 50 (use the print version with images) which should give you a good idea. Other areas can be determined similarly once you know the general group. Some of the small-head screws had ferrules behind them, especially when used on painted surfaces, so check for those too.
Posted on: 2/15 20:11
|
|||
|
||||
|
Re: KPack's 1954 Panama
|
||||
|---|---|---|---|---|
|
Home away from home

|
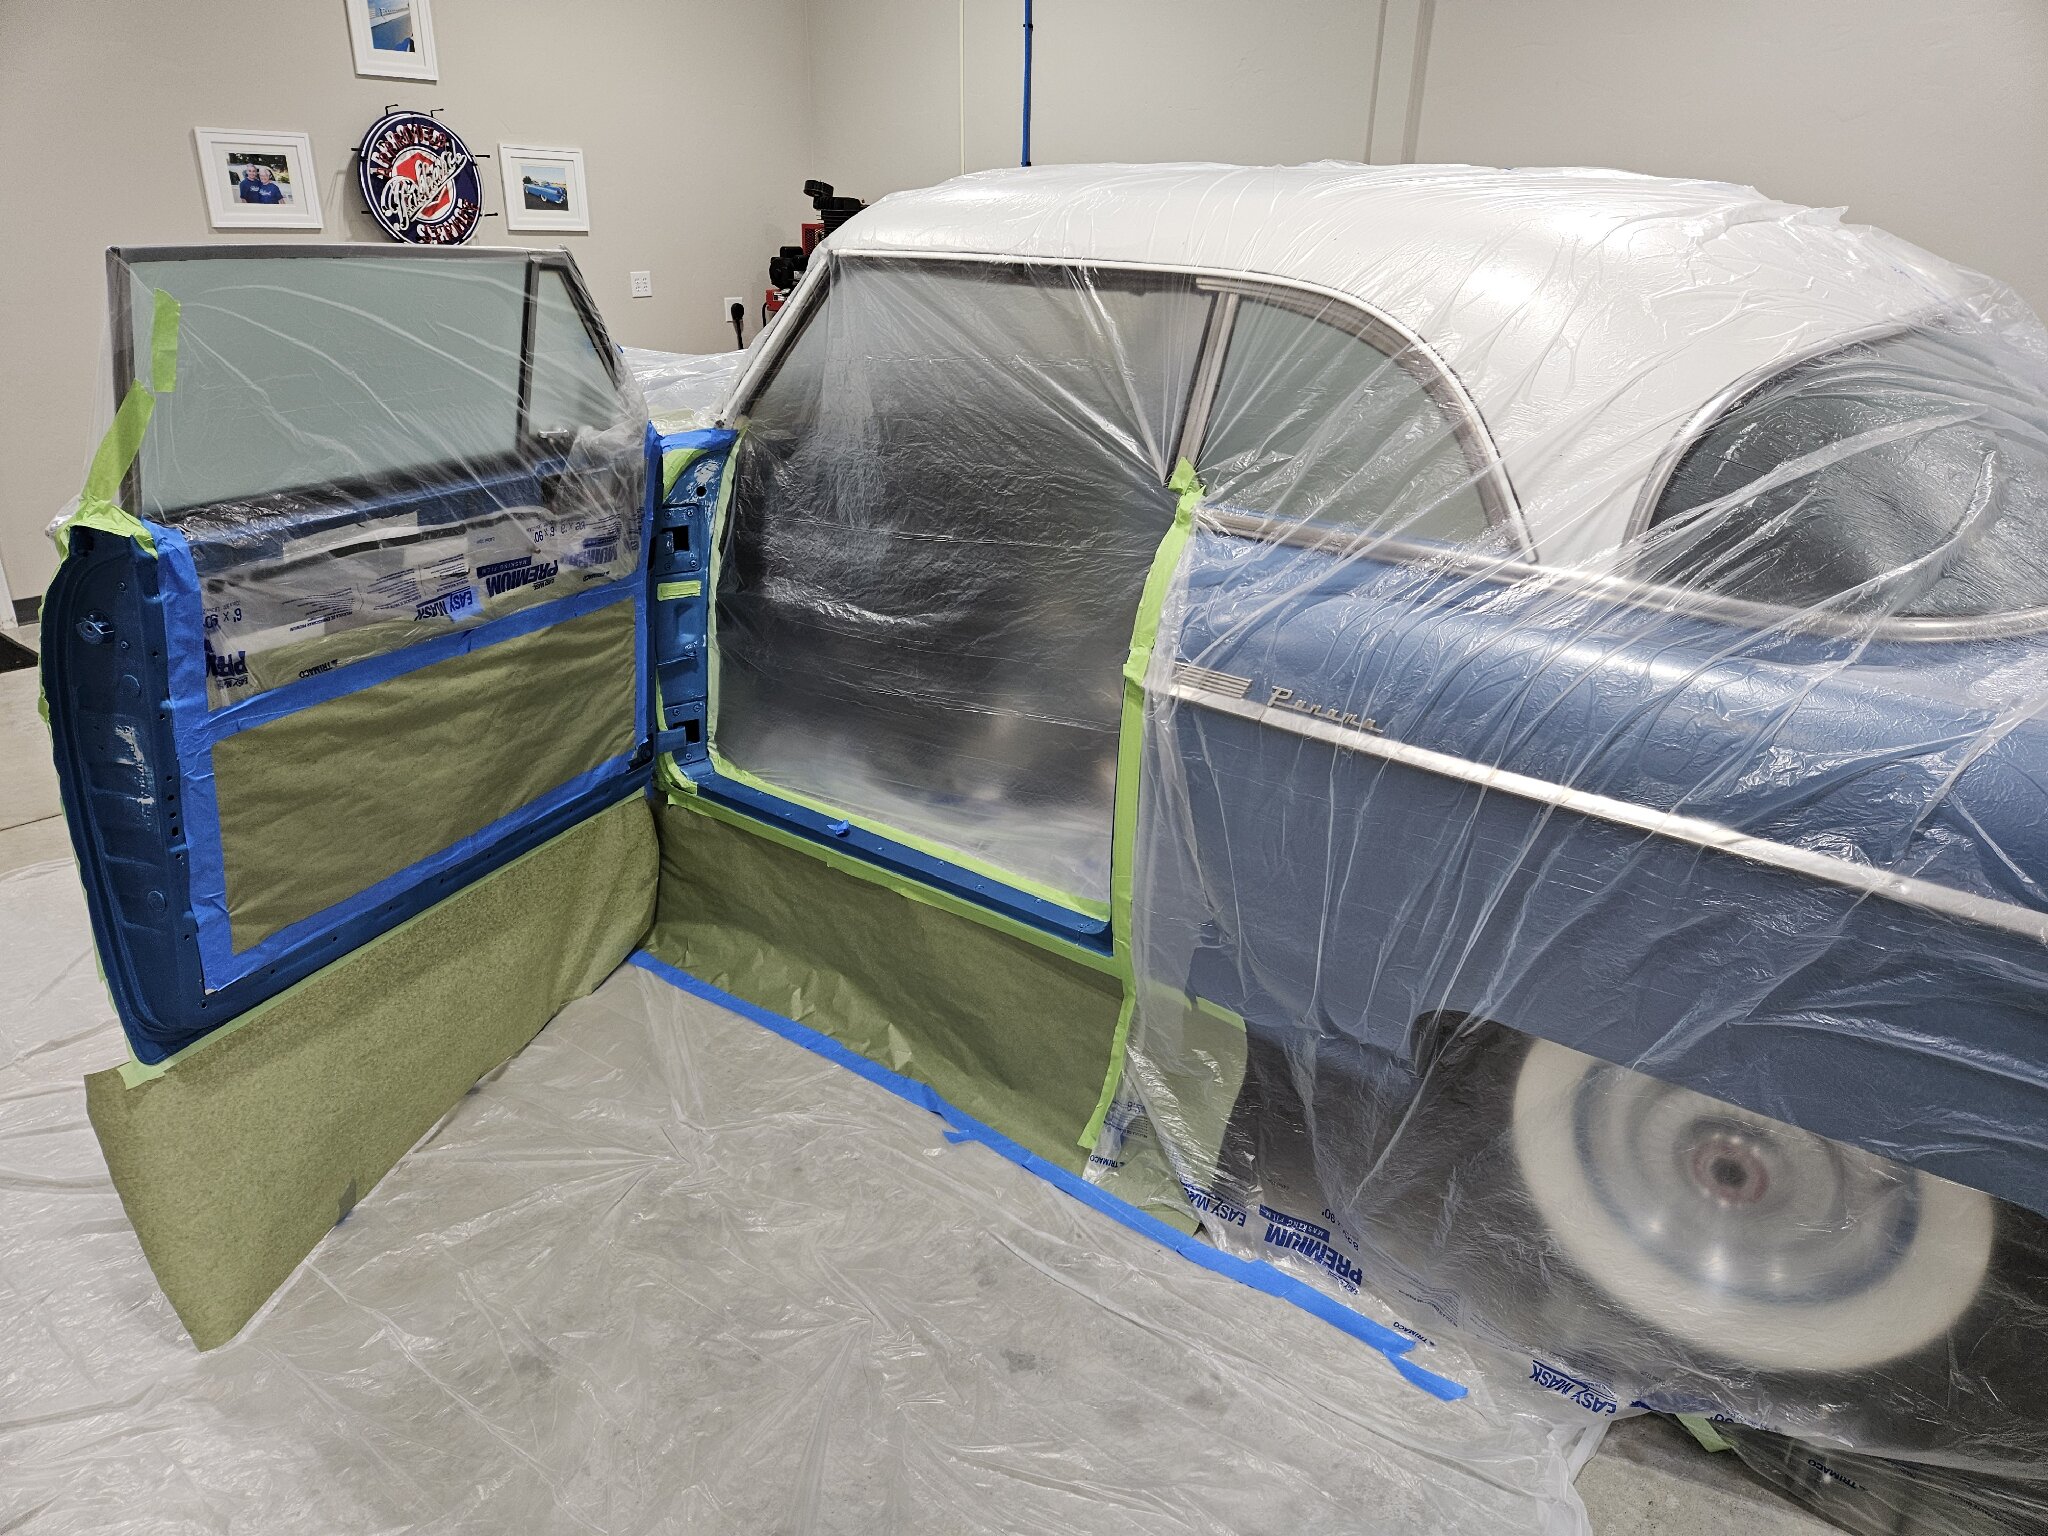
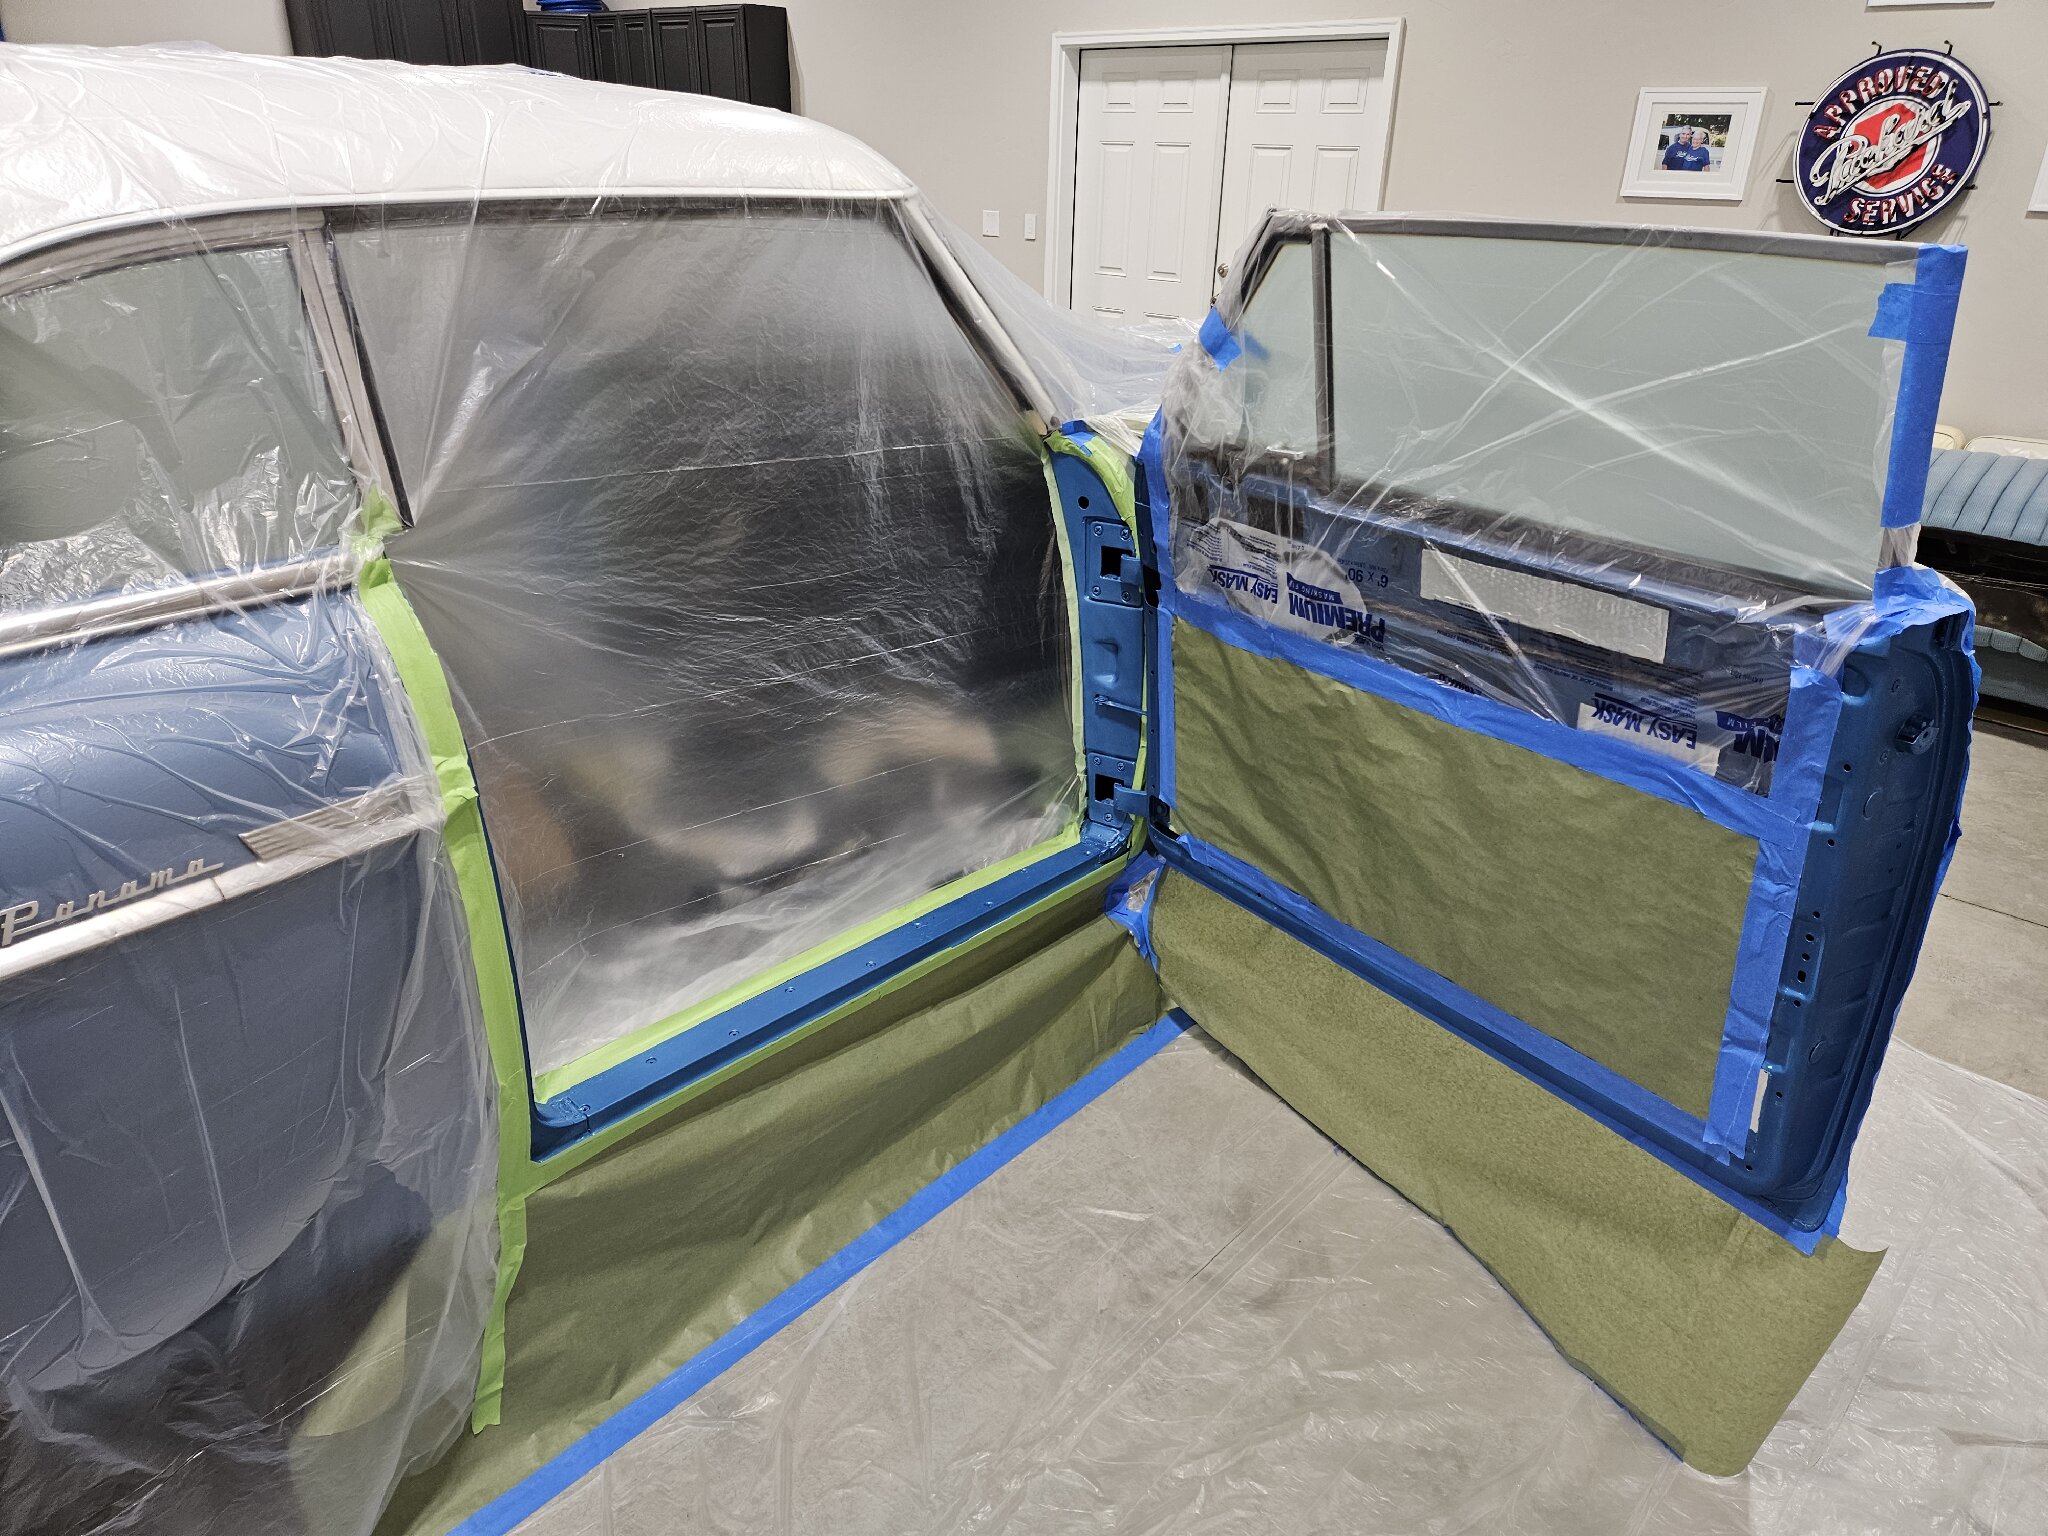
Masking part 2. Hours of work to prep for painting that will be done in 30 minutes. Plan is to get up early tomorrow, heat the shop, and spray before the day begins. Going to be very busy tomorrow so early morning is the only chance I have.
Posted on: 2/17 1:02
|
|||
|
||||
|
Re: KPack's 1954 Panama
|
||||
|---|---|---|---|---|
|
Home away from home
|
Two coats applied this morning. Color looks much better. Not a perfect match but it looks to be closer enough. From some angles it looks a little darker.
The metal flake is also the same size as the body paint, whereas the first paint barely showed flake at all. 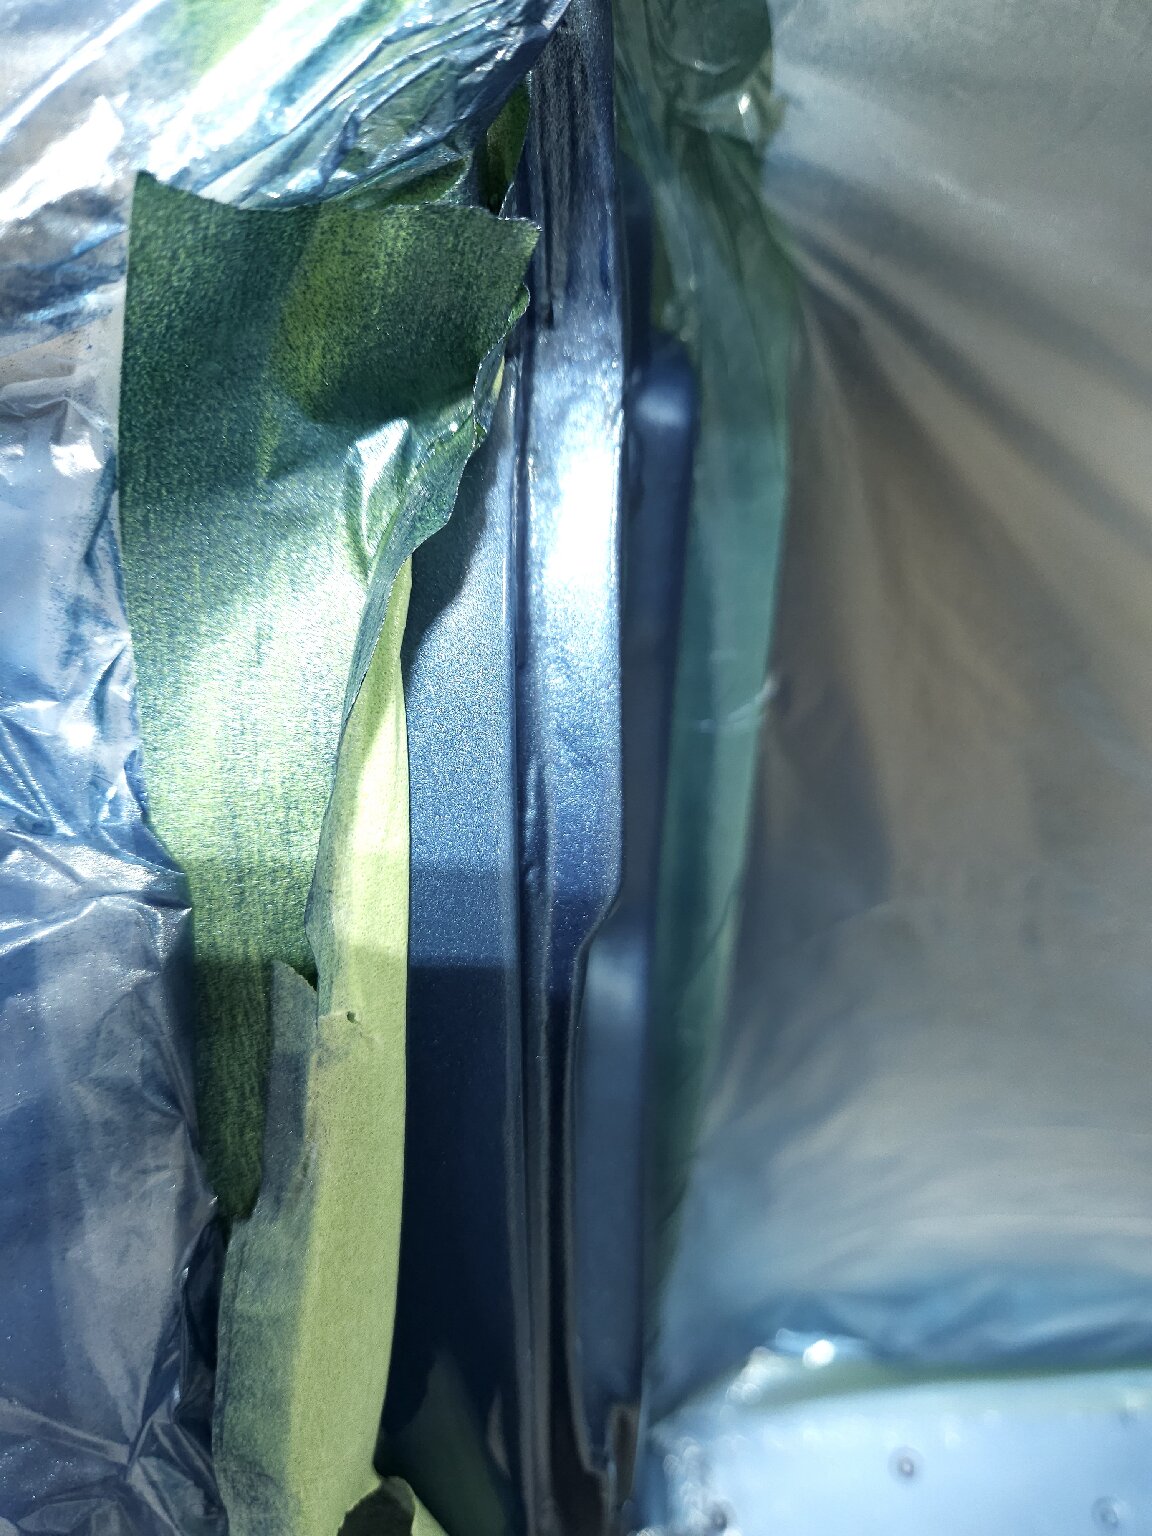 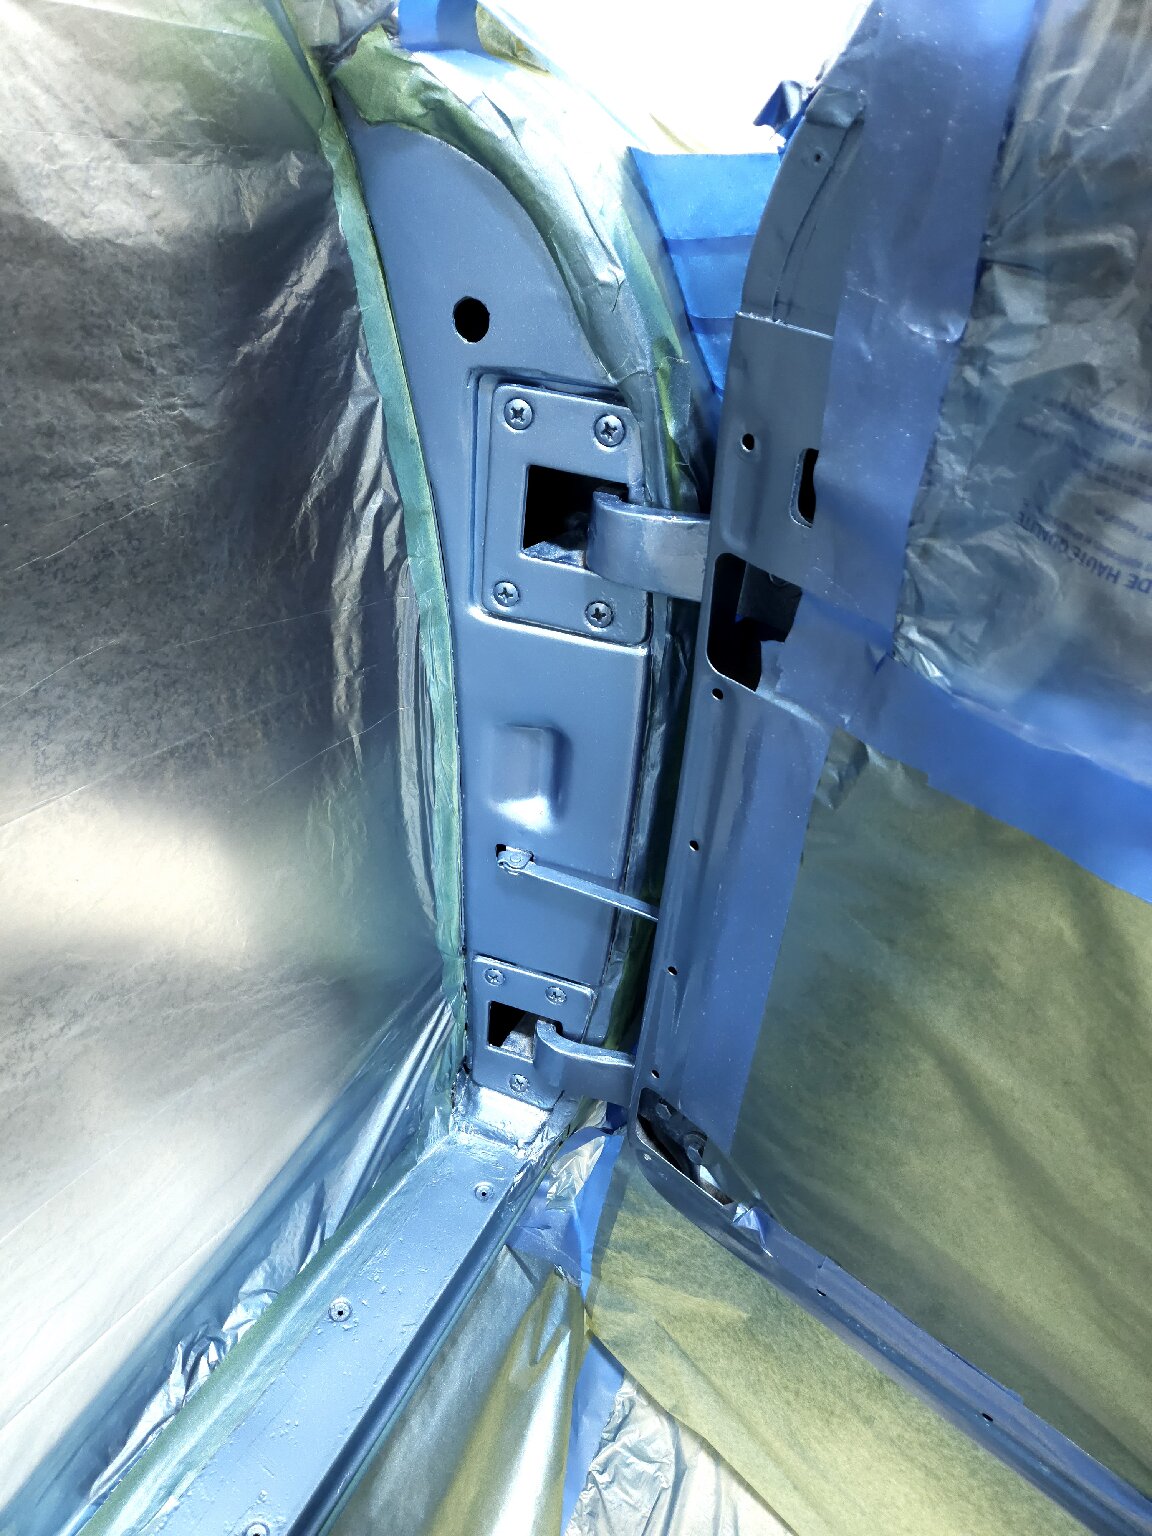 I ended up with some orange peel, but to be honest it almost looks better with it. The first blue I sprayed ended up super shiny, way more than the body of the car. Just didn't look right. Now the gloss looks about the same as the rest of the car. Good enough for door jambs I guess. 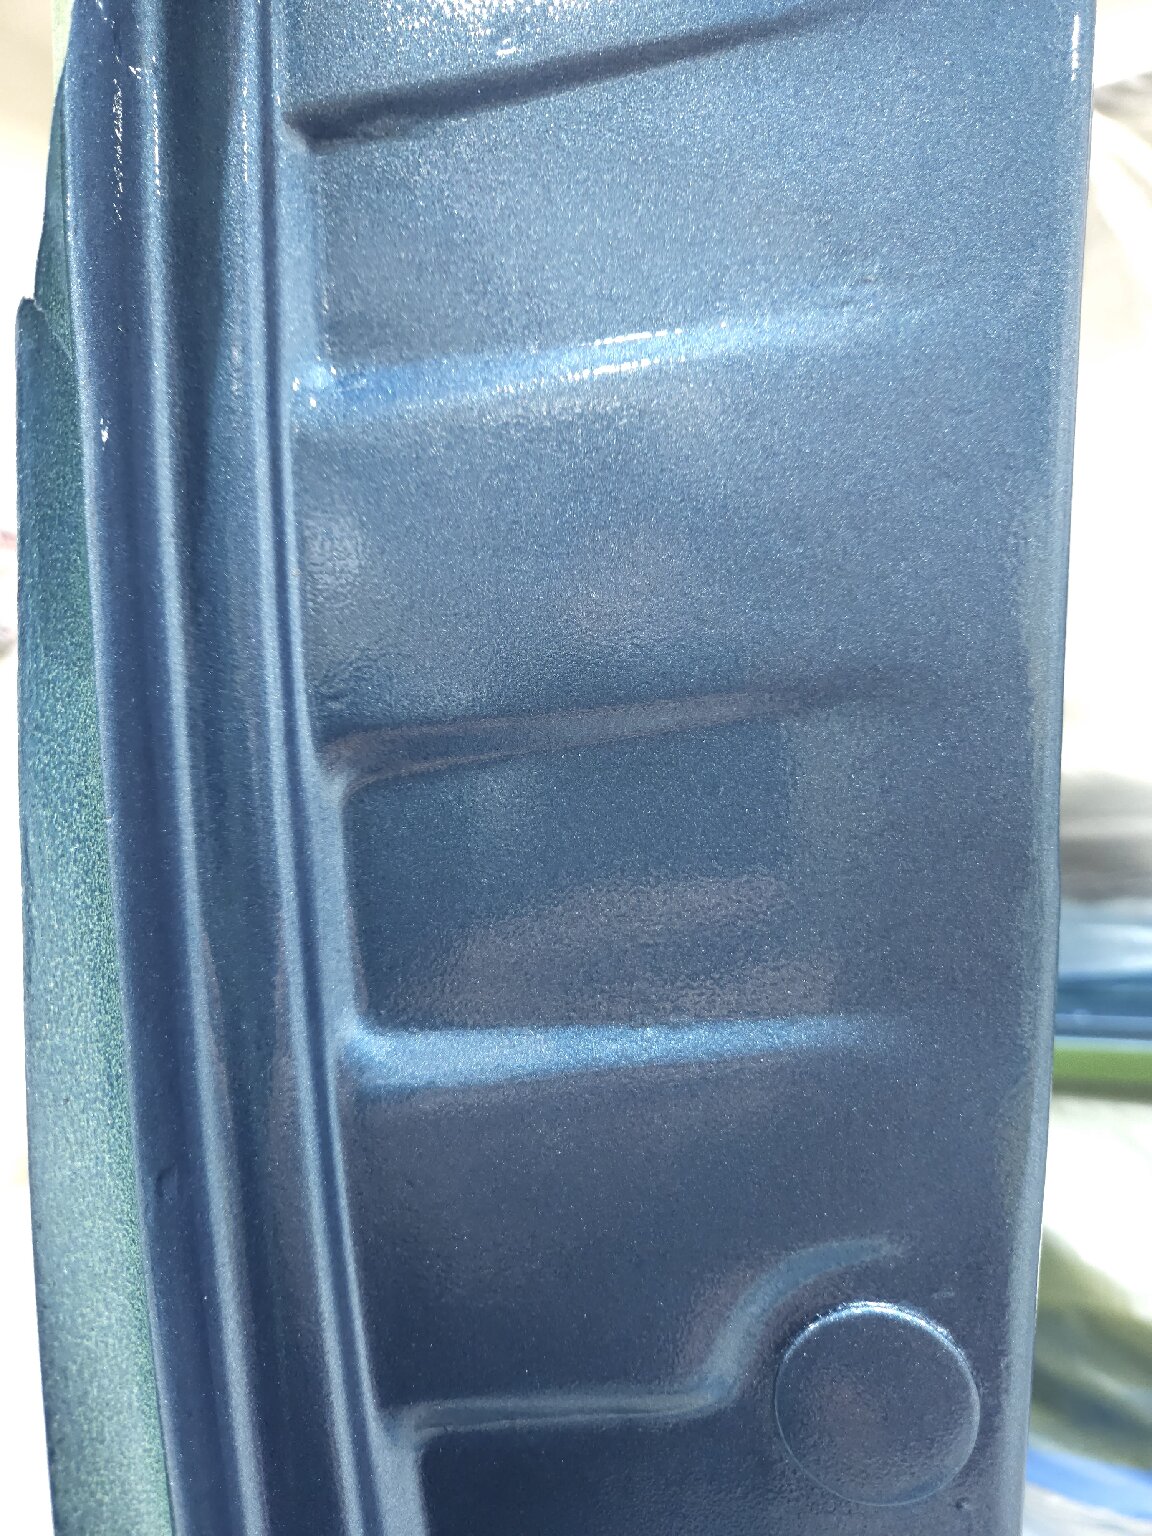
Posted on: 2/17 12:30
|
|||
|
||||
|
Re: KPack's 1954 Panama
|
||||
|---|---|---|---|---|
|
Home away from home
|
Made some progress today. Unmasked the car, then started putting things back in. Before I could install the passenger door panel I had to get the door aligned better. It's always struggled and was pretty far off. After messing with it for over an hour I think I got it in a decent spot. I had to mess with the glass alignment as well, and that's when I found out that somehow I had missed the rear window track when I installed the window. It wasn't in the track at all. I got that all sorted out.
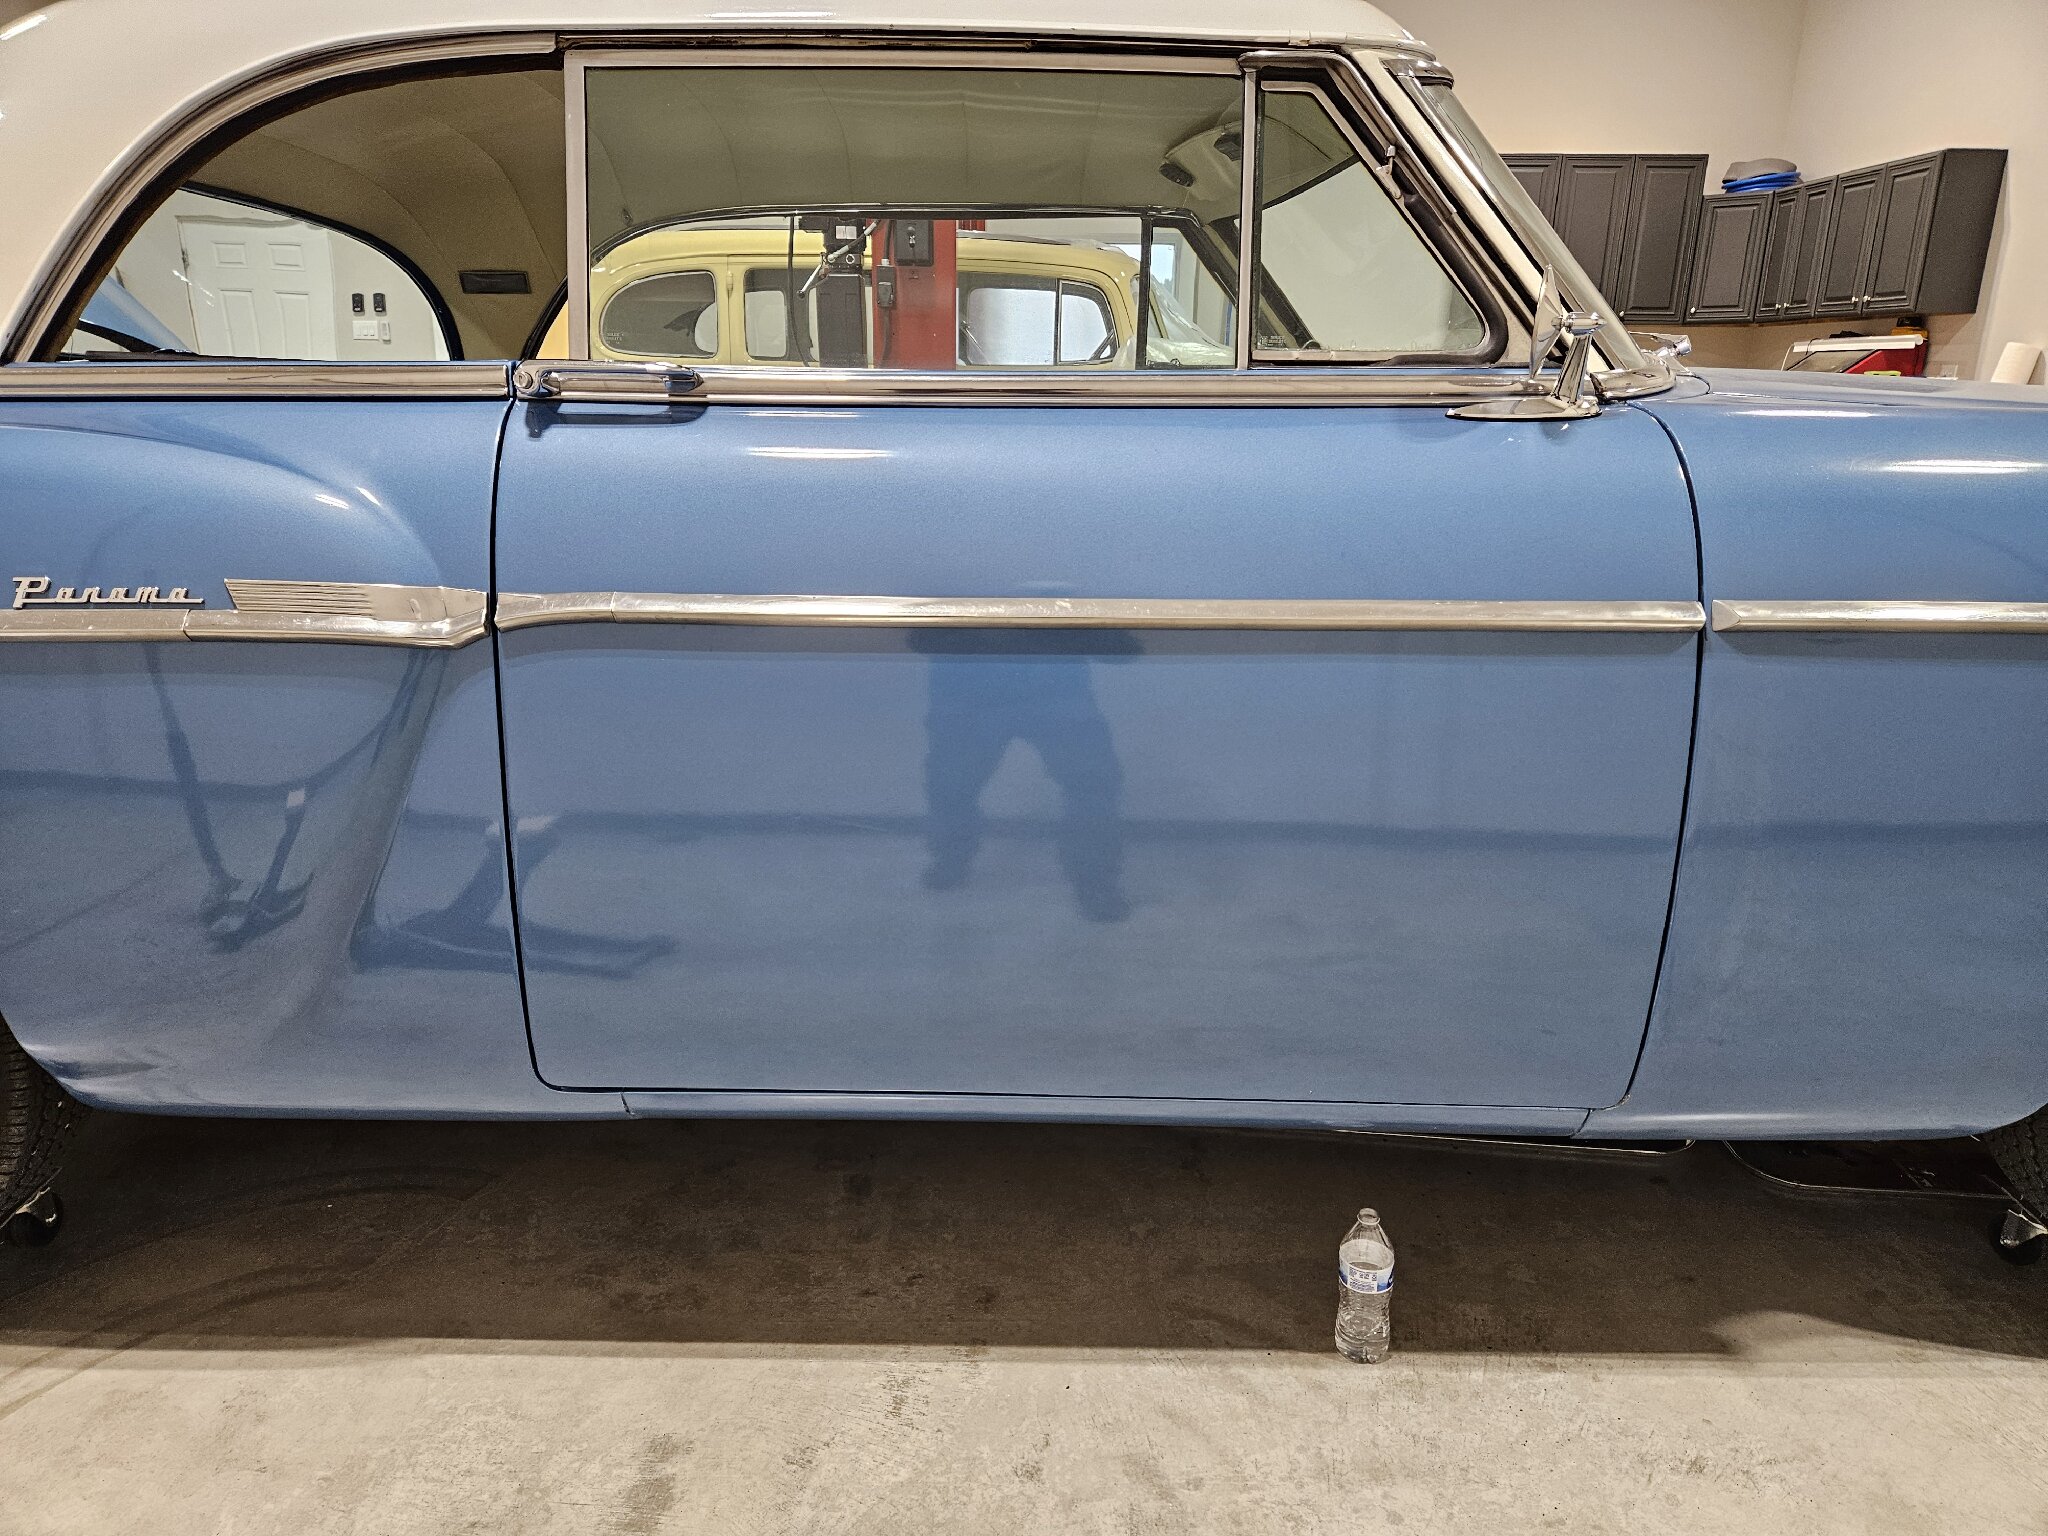 I then worked on the windlace. I measured, cut and gave myself some excess, the pulled the foam inner out to one side, leaving just fabric for a few inches at the end. I then folded this back on itself and tucked it under the door panel and window trim when I installed them. It gave it a nice clean look. 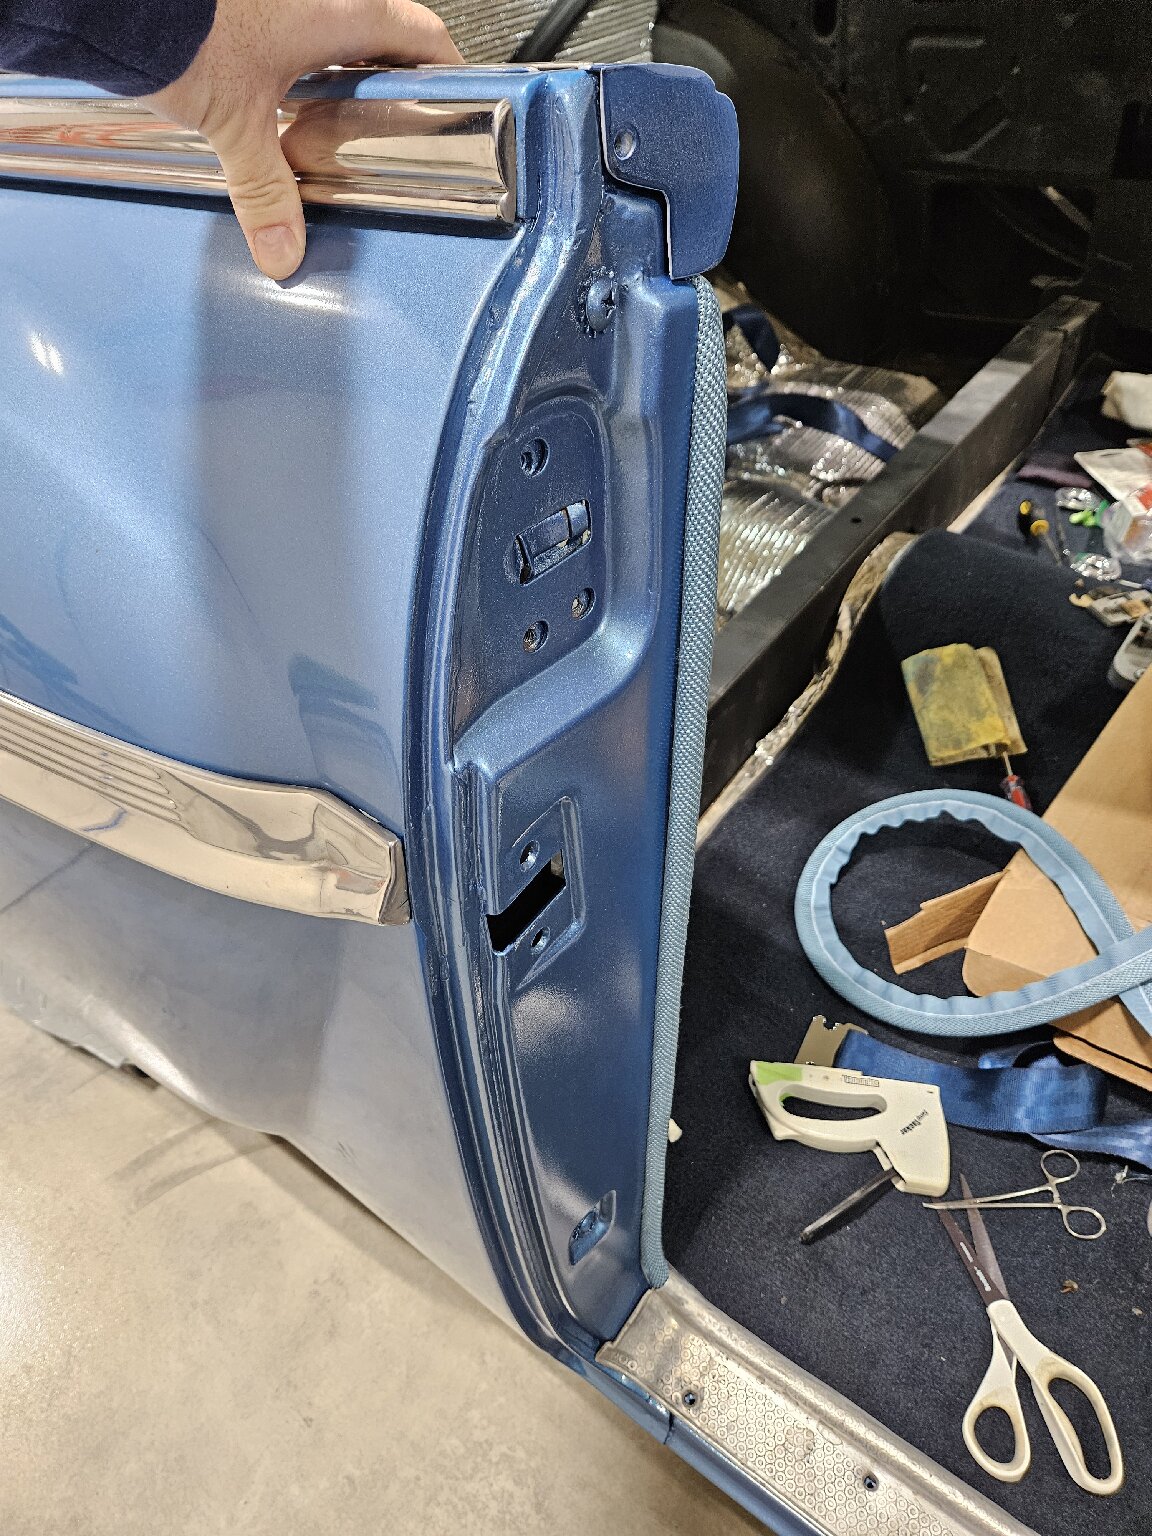 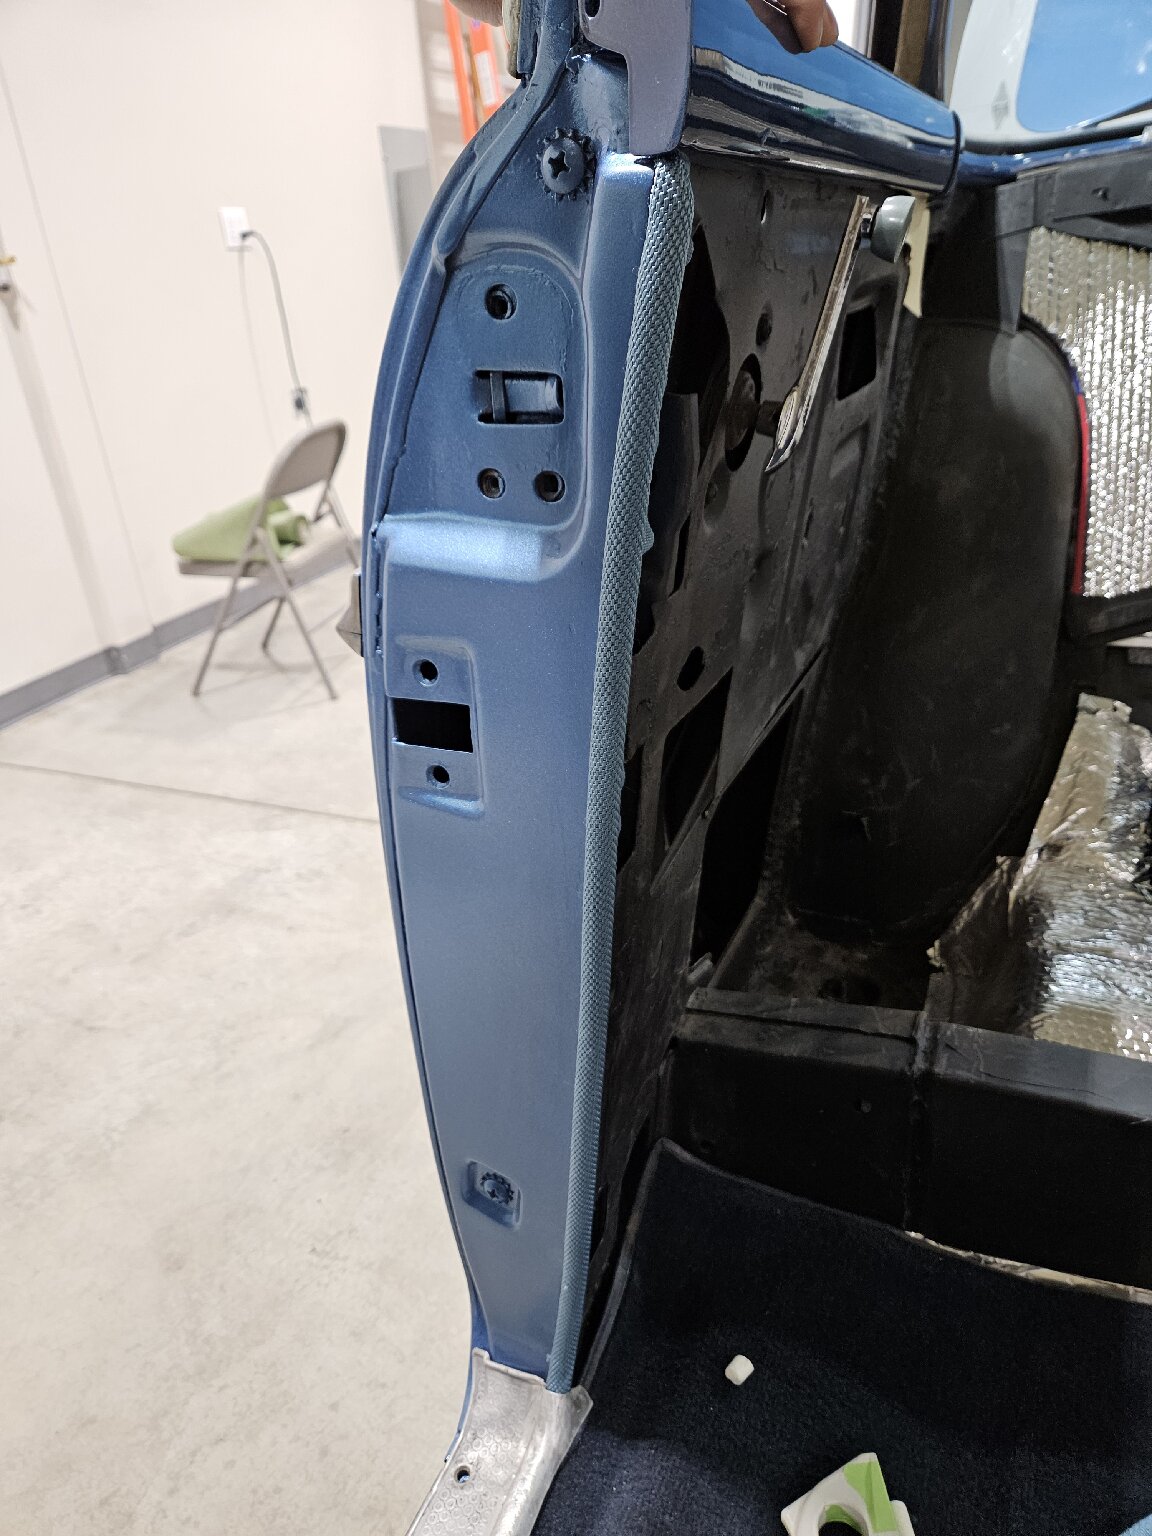 The rear was stapled to the tack strip. The front has no tack strip and holds with tabs. It's not as strong as the staples in the back, so I'll have to be careful not to rip it out with my feet. The color of the windlace is good match to the blue vinyl on the doors. It's also a compliment to the body color and the dash/window trim color. I'm happy with the choice. I then moved to the dash. Before installation I cleaned off the rear of the mounting holes for grounding. I'm pretty sure there are some other areas that I still need to clean. The two side mounting tabs for the dash come to mind. 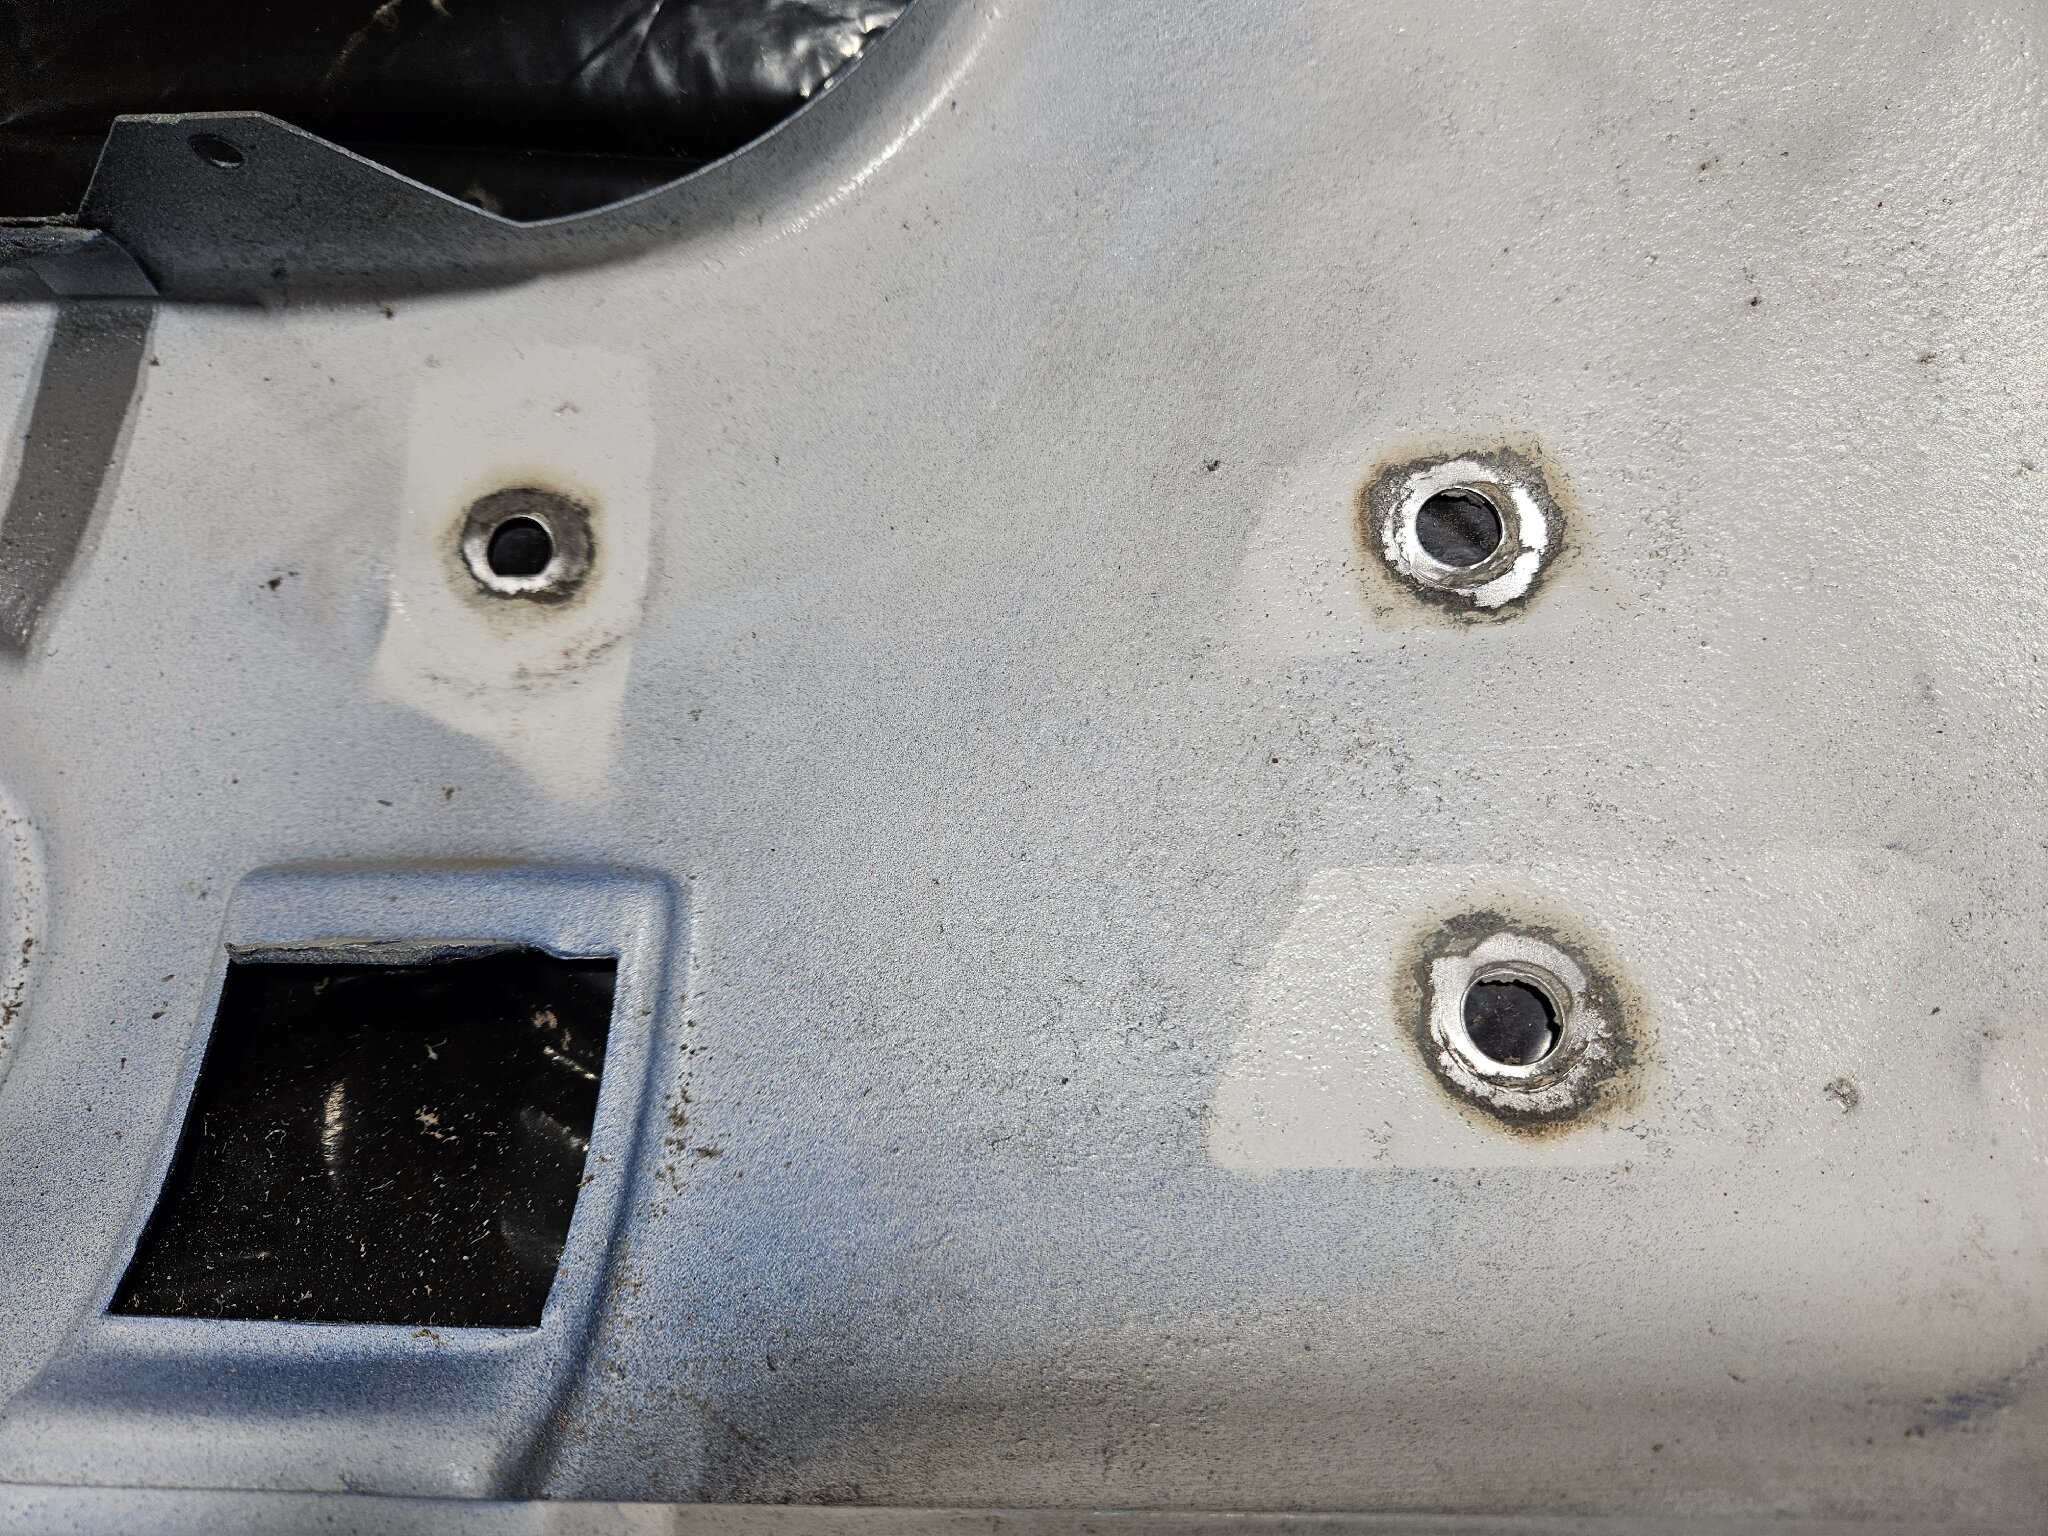 I put the dash in and loosely installed the mounting hardware. Started to put back some of the controls and knobs, then ran out of time. I'm excited to get it back together and see if I managed to mess anything up. 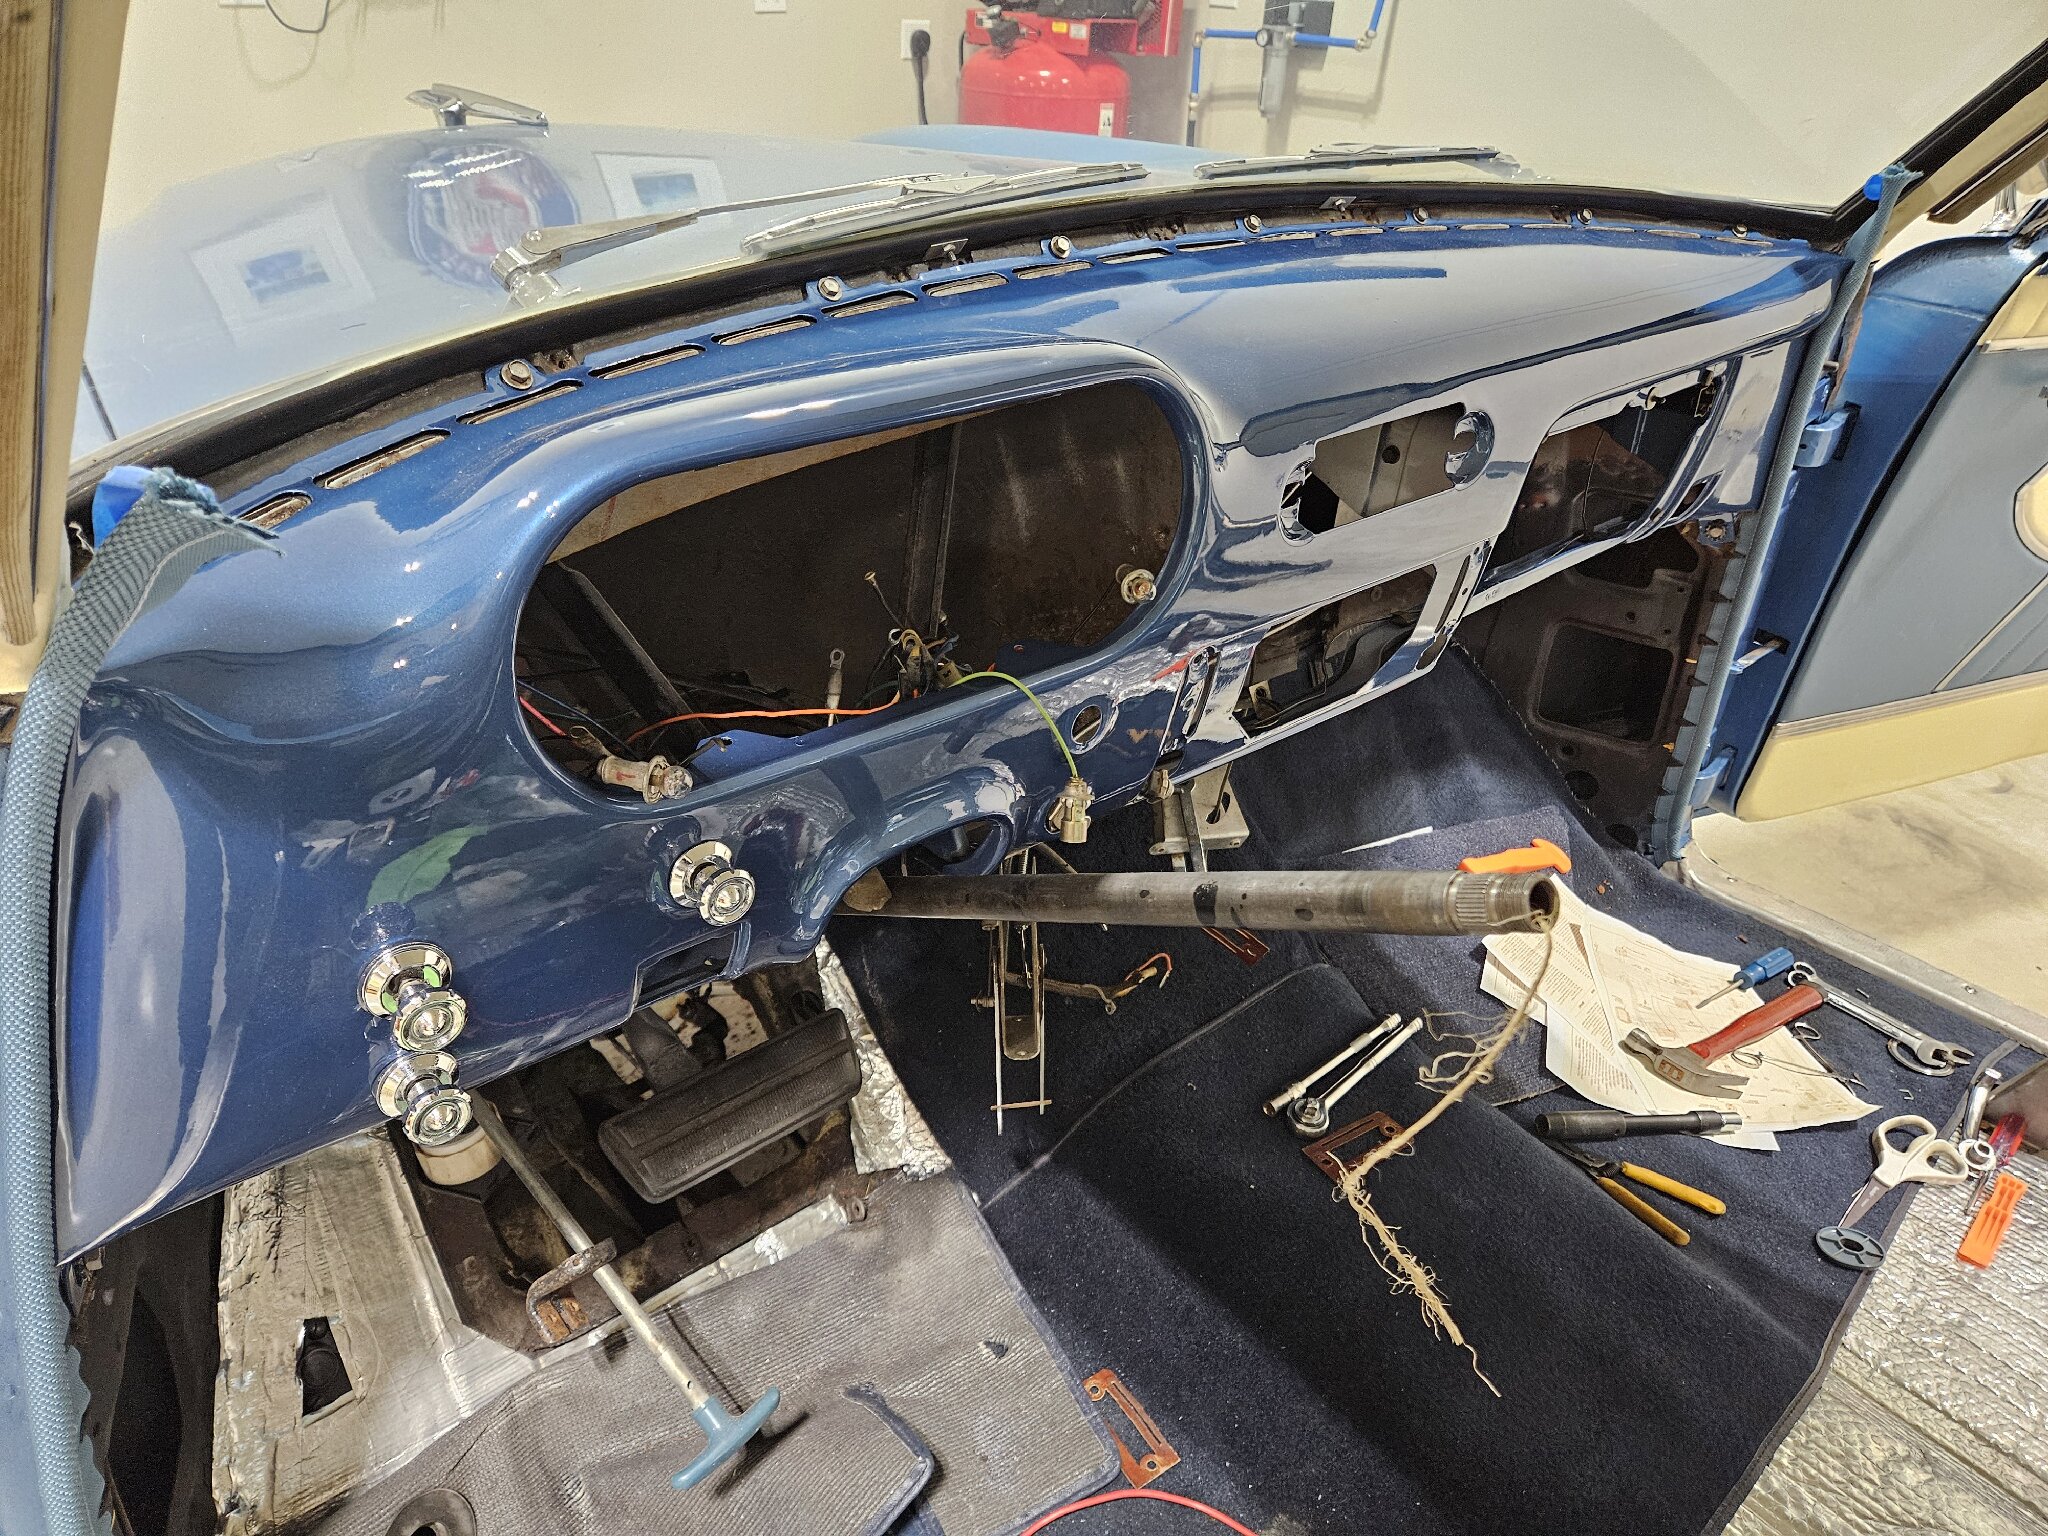 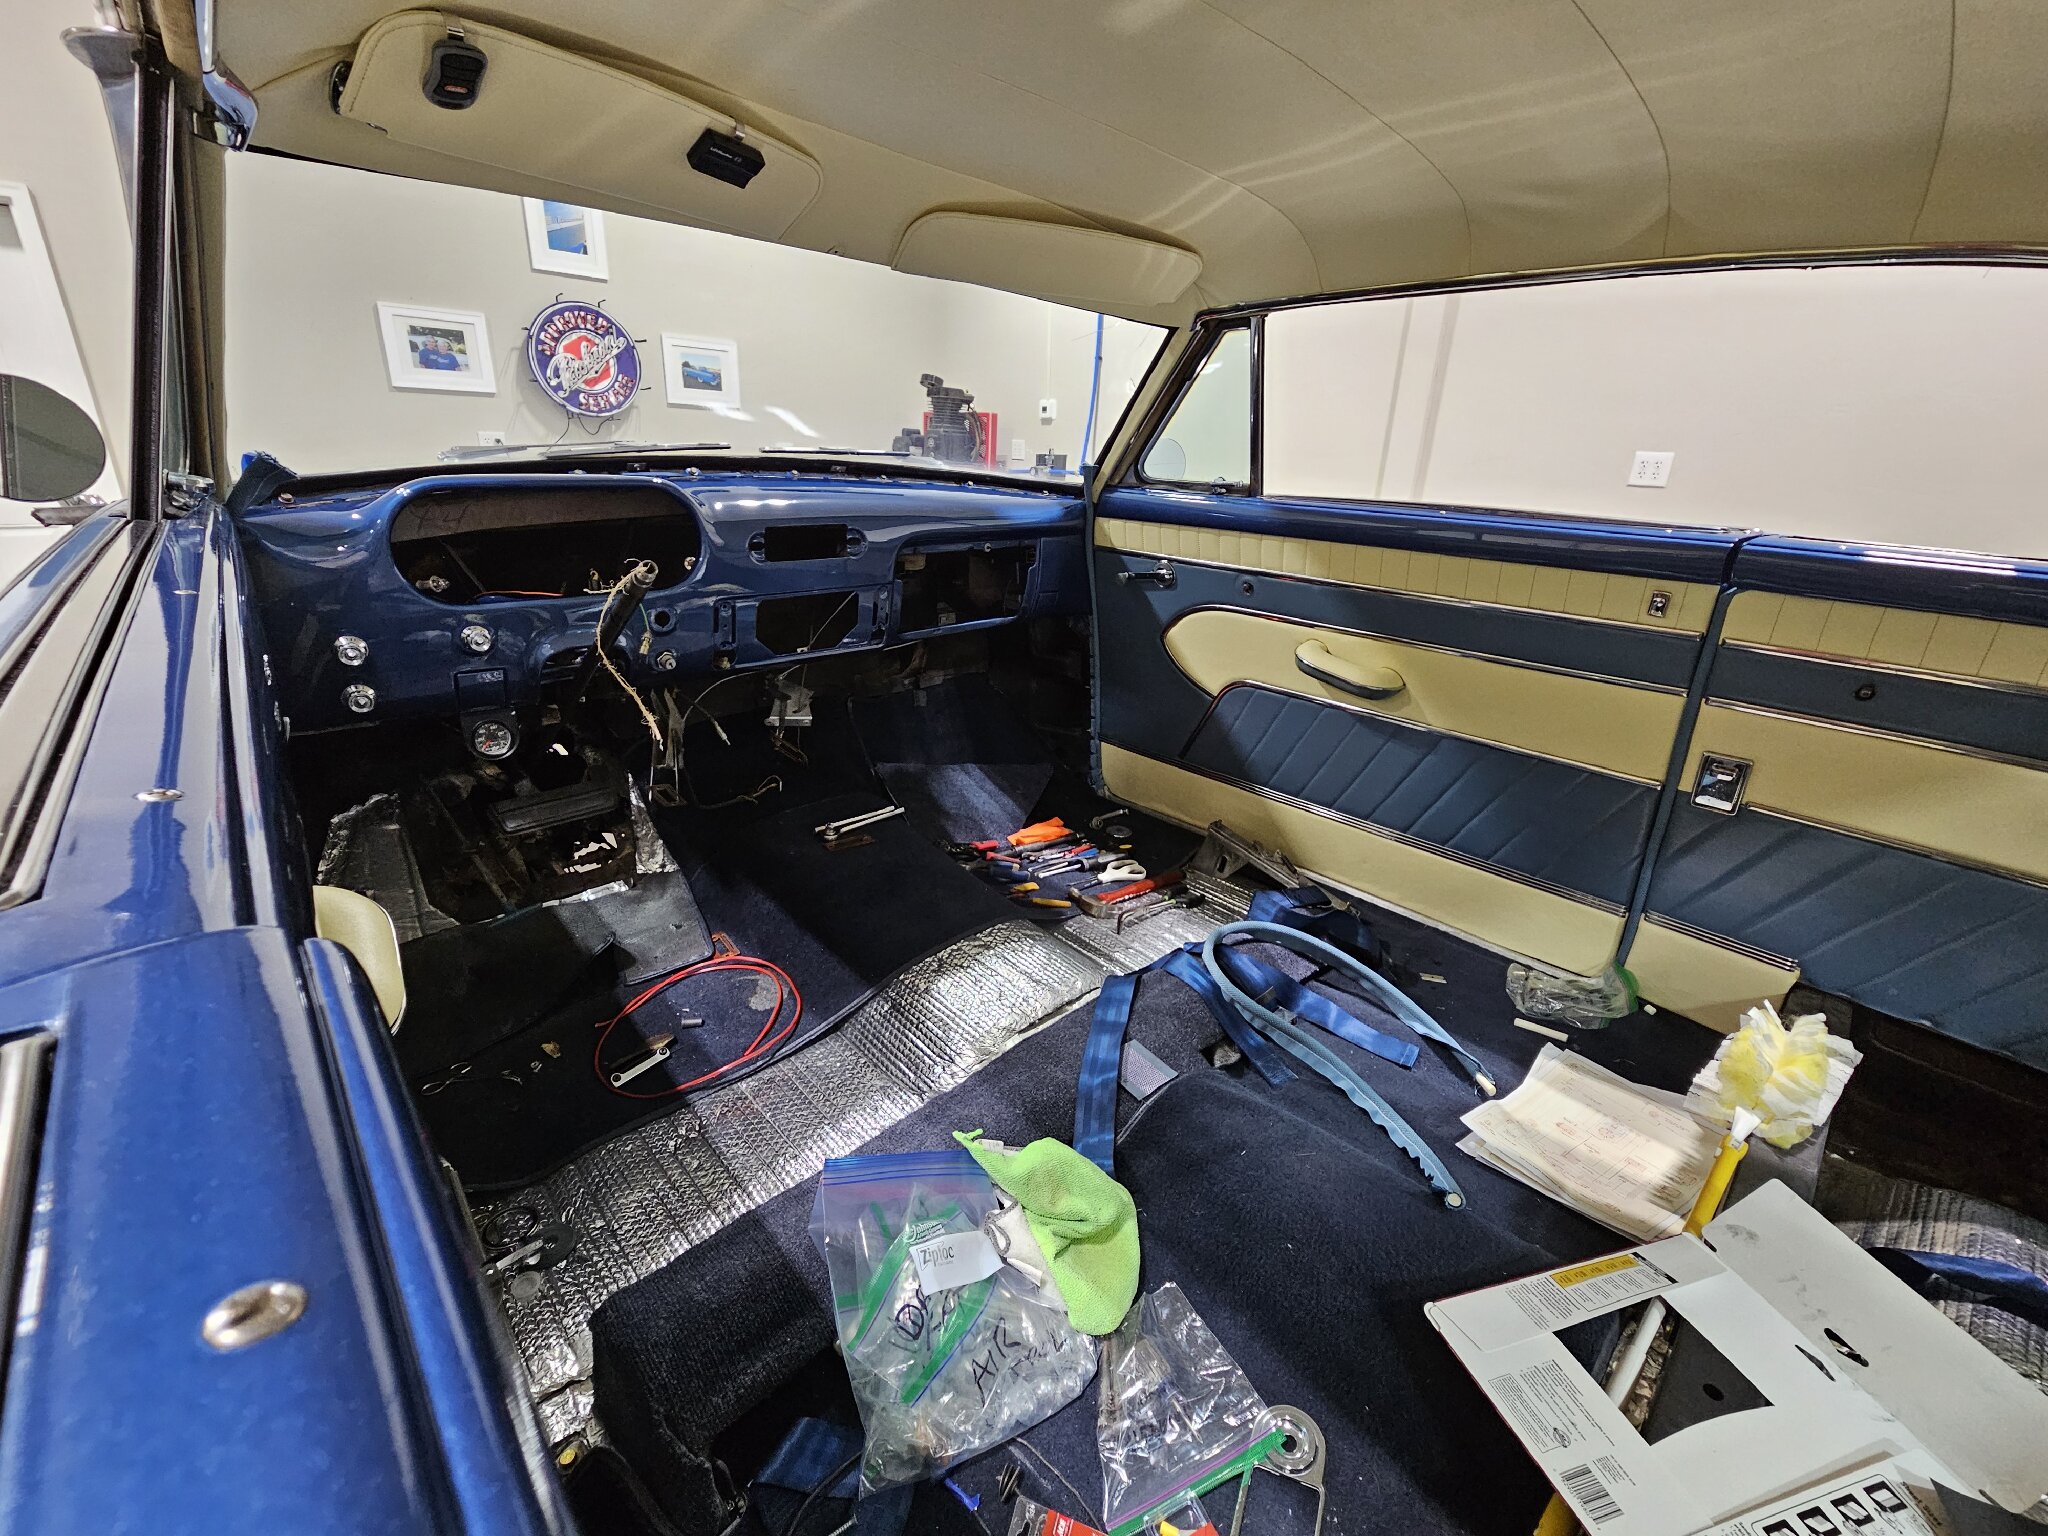 -Kevin
Posted on: 2/20 1:09
|
|||
|
||||
|
Re: KPack's 1954 Panama
|
||||
|---|---|---|---|---|
|
Home away from home
|
Kevin, it’s looking really good! I bet you can hardly wait to get it back together but I’m glad to see that you have more patience than I do by not rushing or pushing yourself too hard.
Posted on: 2/20 3:46
|
|||
|
||||
|
Re: KPack's 1954 Panama
|
||||
|---|---|---|---|---|
|
Home away from home
|
Thanks Don.
Small progress last night. A few more items mounted: cigarette lighter, ignition switch, speaker grille and heater controls, and the steering column. Next I need to hook up the shift linkage again, then set the shift indicator to the correct position. I had to replace it because I broke off the pointer, and the position is lost when it's removed. Then I'll put the gauge cluster back in and test. I'll leave the radio out for now on case I need to get back in and fix something. Much easier without that in the way 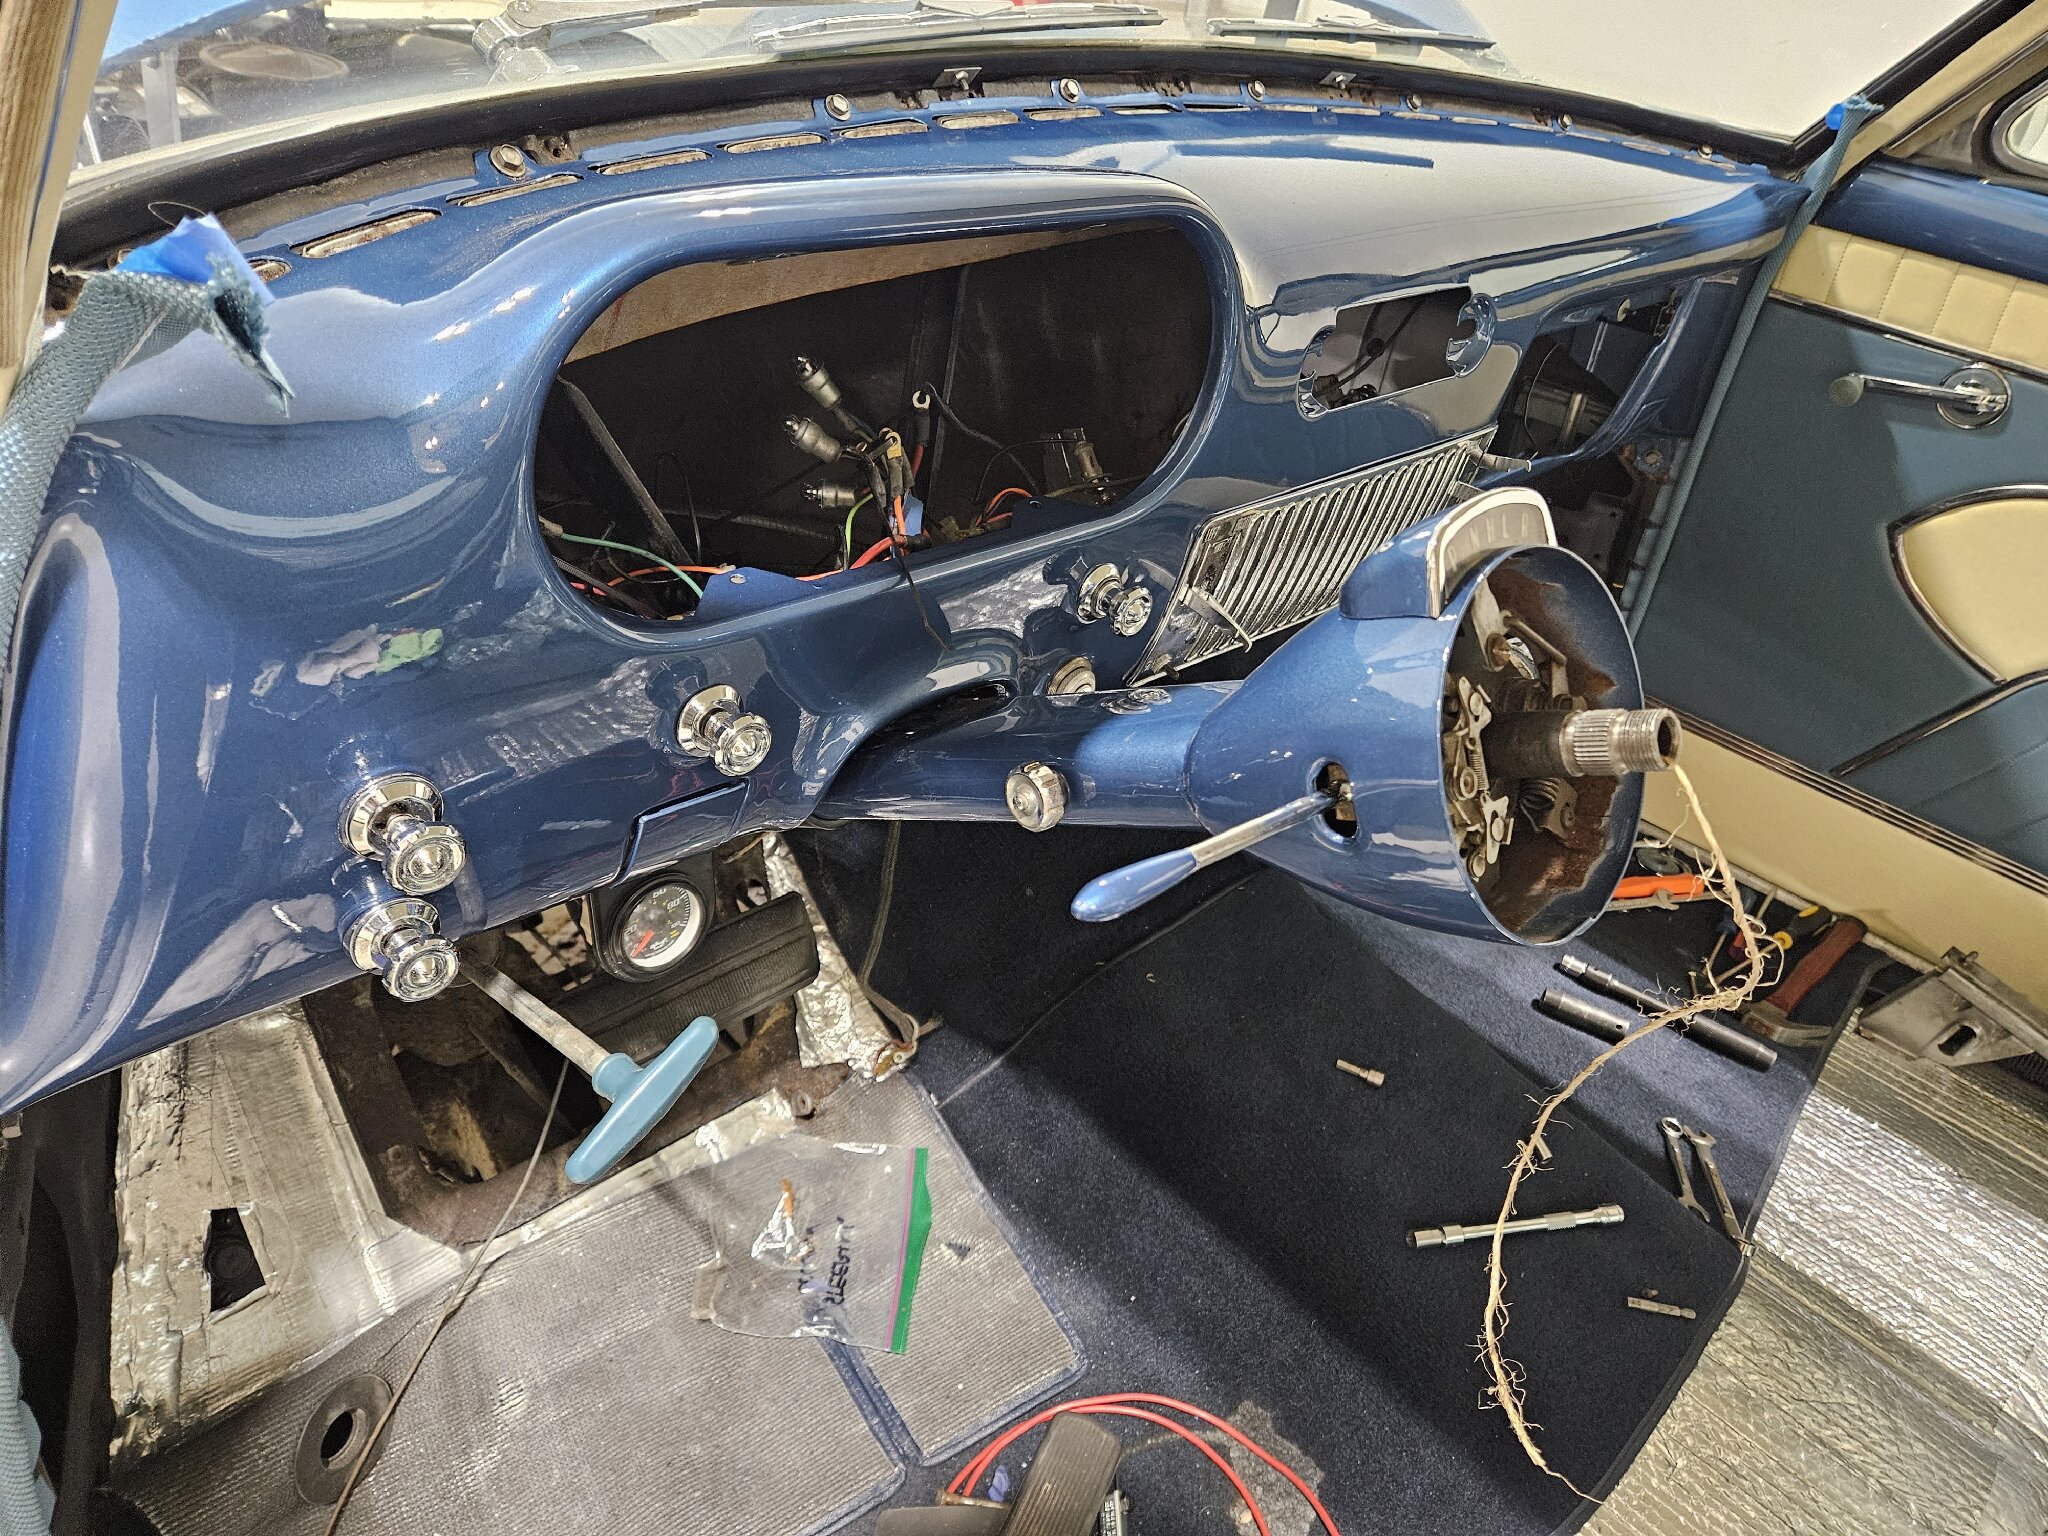
Posted on: 2/21 11:09
|
|||
|
||||
|
Re: KPack's 1954 Panama
|
||||
|---|---|---|---|---|
|
Home away from home
|
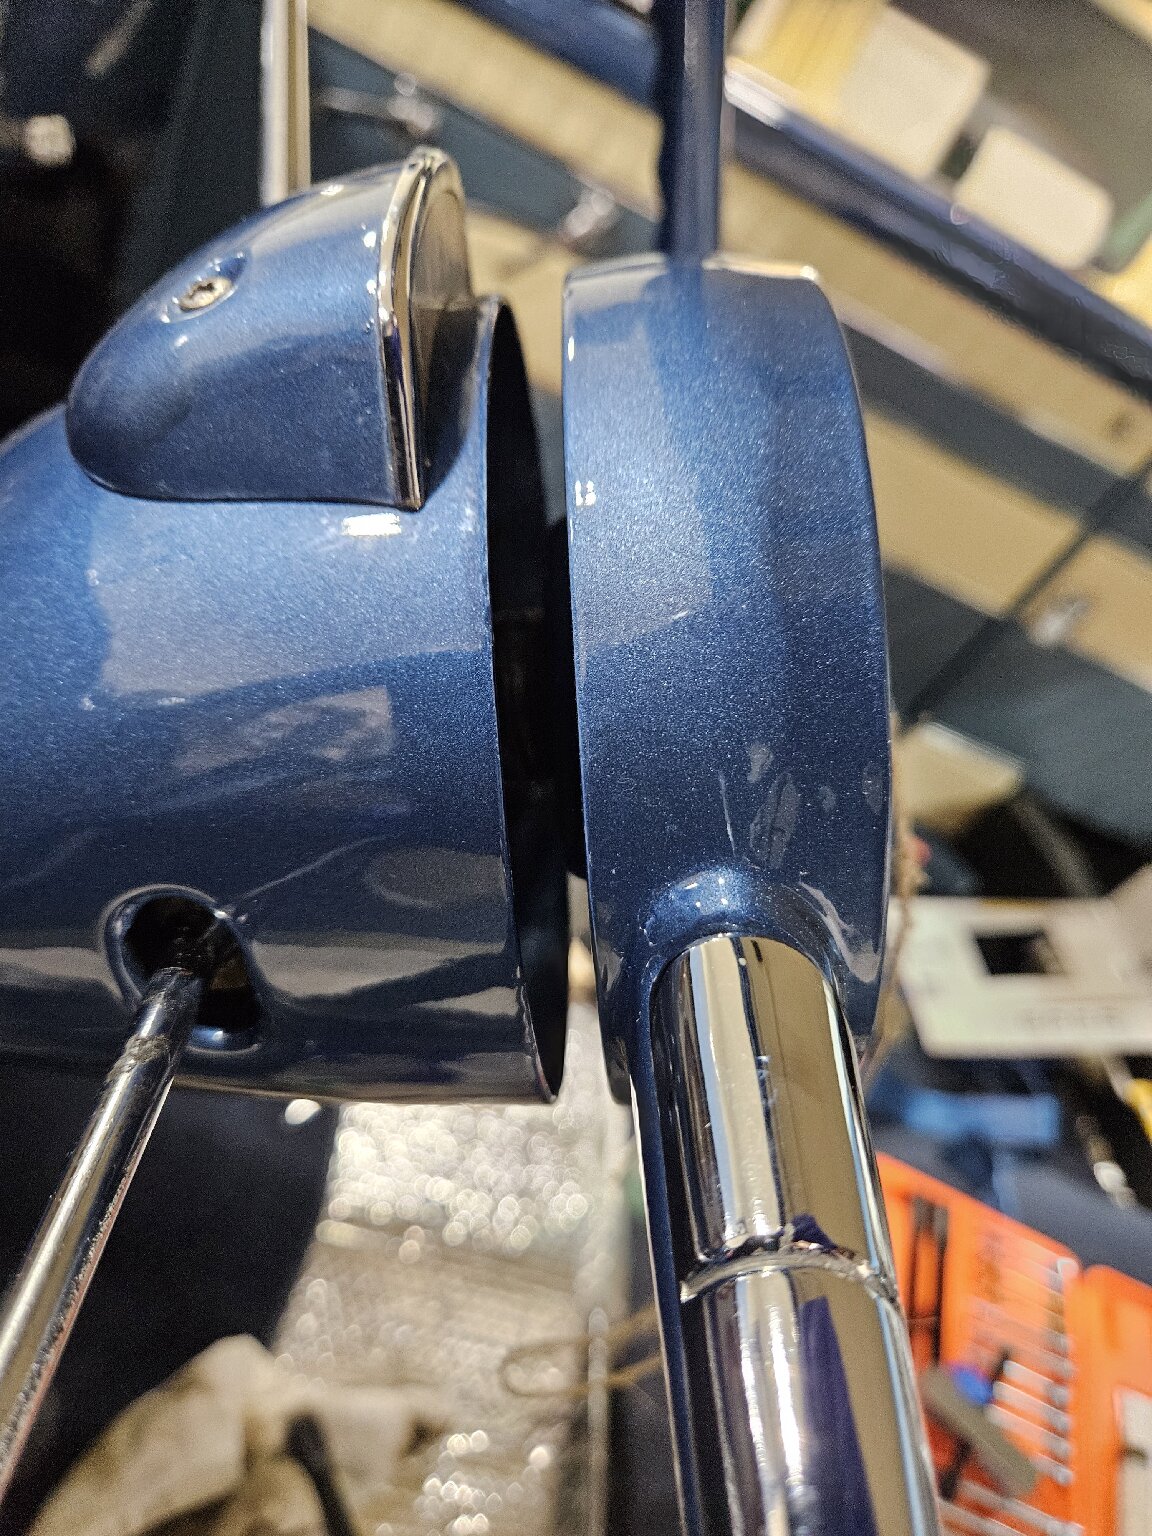
I'm trying to get the steering wheel back on I don't remember it begging this hard to seat it fully. It's not sitting all the way down, and I've cranked all much as I can on the main nut. It felt like it went on to the splines okay before I tightened it up. What am I missing?
Posted on: 2/24 20:03
|
|||
|
||||
|
Re: KPack's 1954 Panama
|
||||
|---|---|---|---|---|
|
Home away from home
|
As long as the key spline is oriented properly (one is different than the others to go on only one way) it should go on so is it possible that the shroud is too far down?
Posted on: 2/24 20:39
|
|||
|
||||


