|
Re: 51Packard's....51 Packard
|
||||
|---|---|---|---|---|
|
Home away from home

|
5-23-11
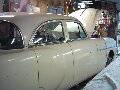
I think my metal working skills are getting better. This panel I made was somewhat complicated with the bend going at an angle up the frame. This time I took more time to try to get as close of a fit as possible. I made a cardboard template to locate where the bend should go and get a pattern for the patch. When I cut it out, I cut it on the outside of the marker line to make it bigger. Doing this made the panel almost perfect. I put the bend in it on my bench vise, gently hitting it along the crease until it was in the right position, but not sharply bent. After fitting the panel, I had to do some trimming on the panel as well as on the car. Then I removed the paint (I'm using old metal from a machine at work) and did a last trial fit. The top doesn't look like it is lining up right, but it actually is. I just have the piece laying in place right now. Attach file:  (124.92 KB) (124.92 KB)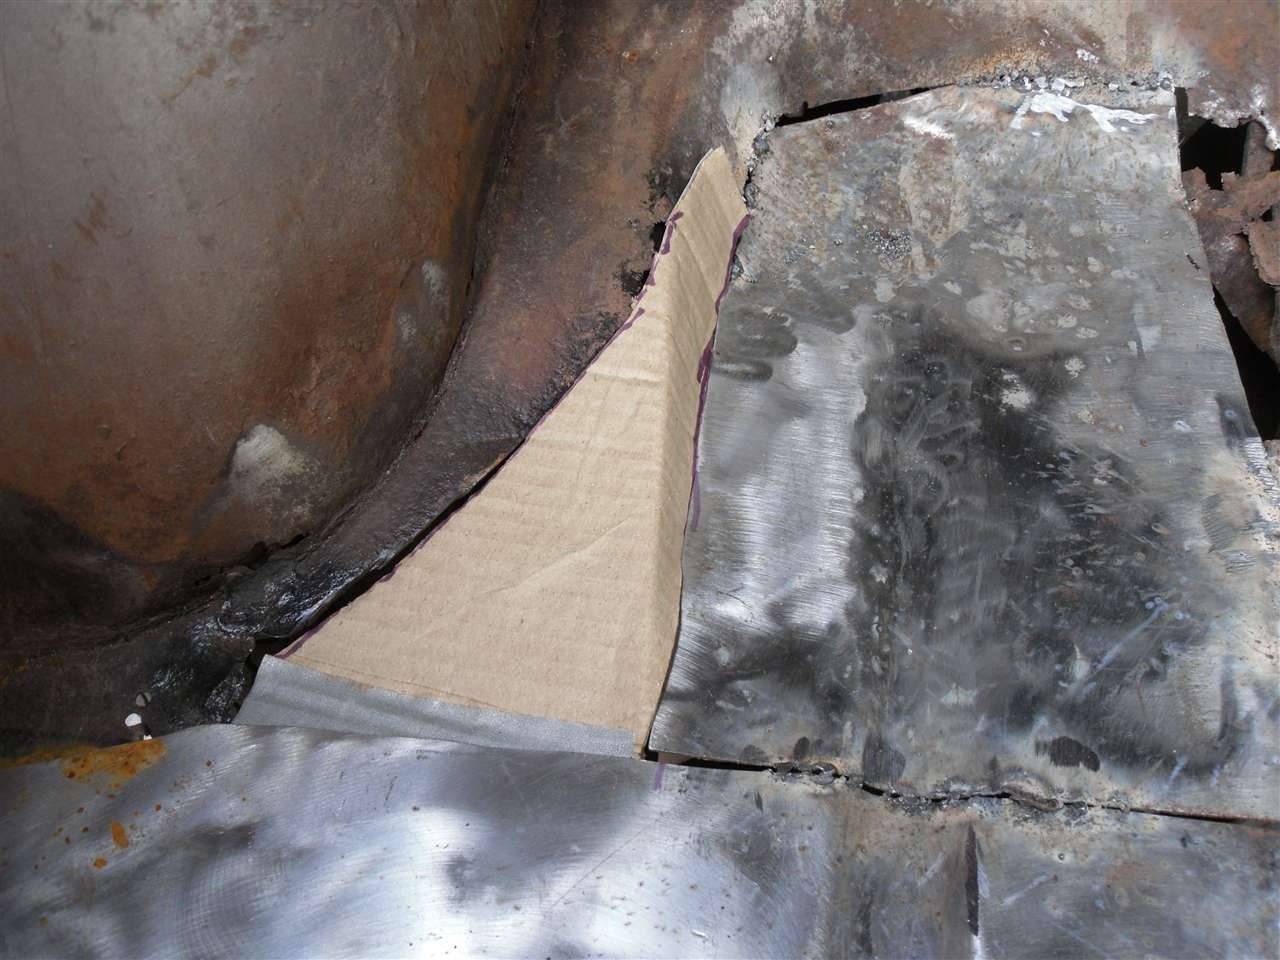 (117.36 KB) (117.36 KB)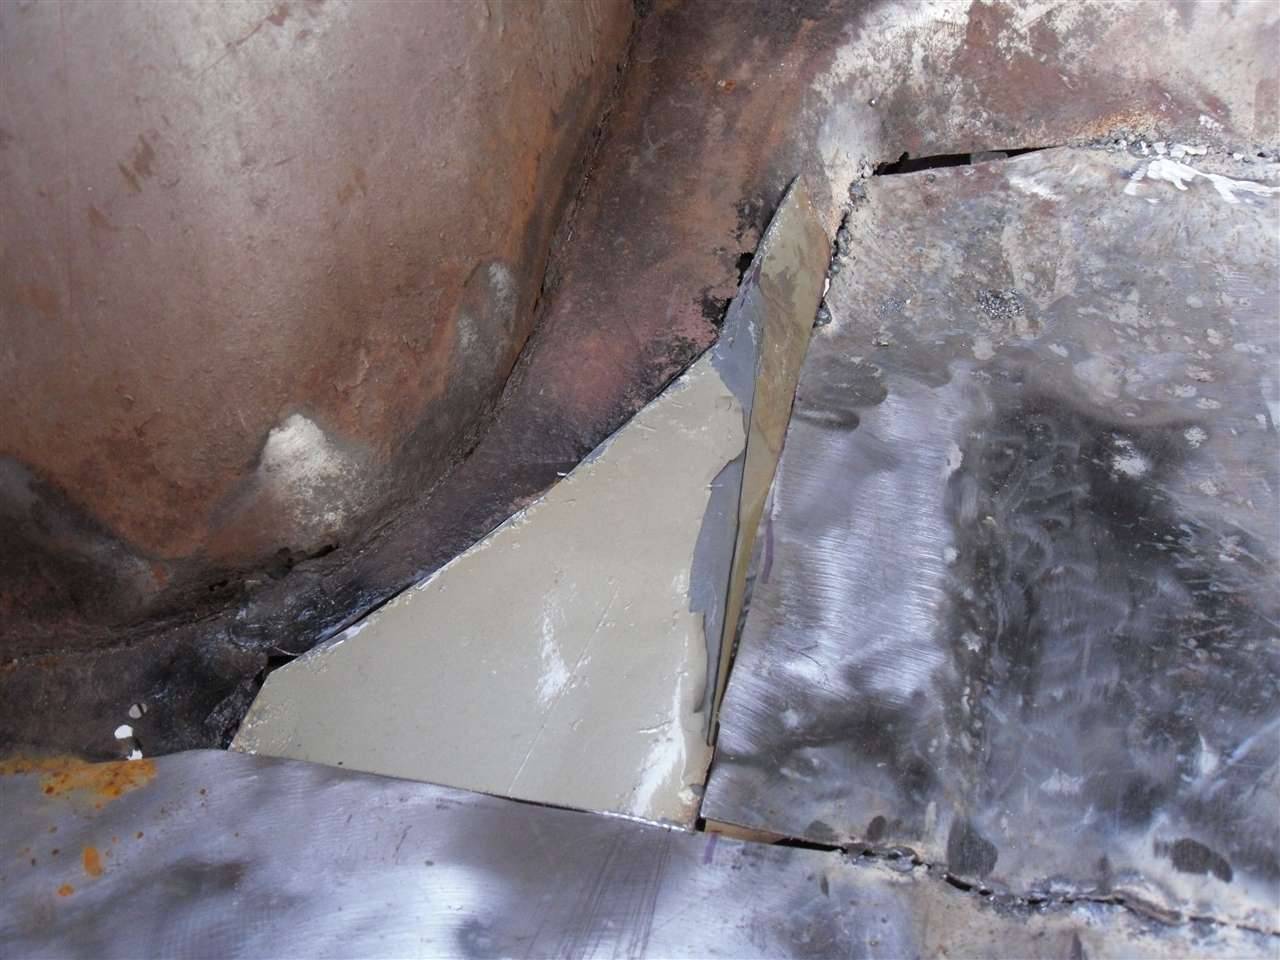 (138.62 KB) (138.62 KB)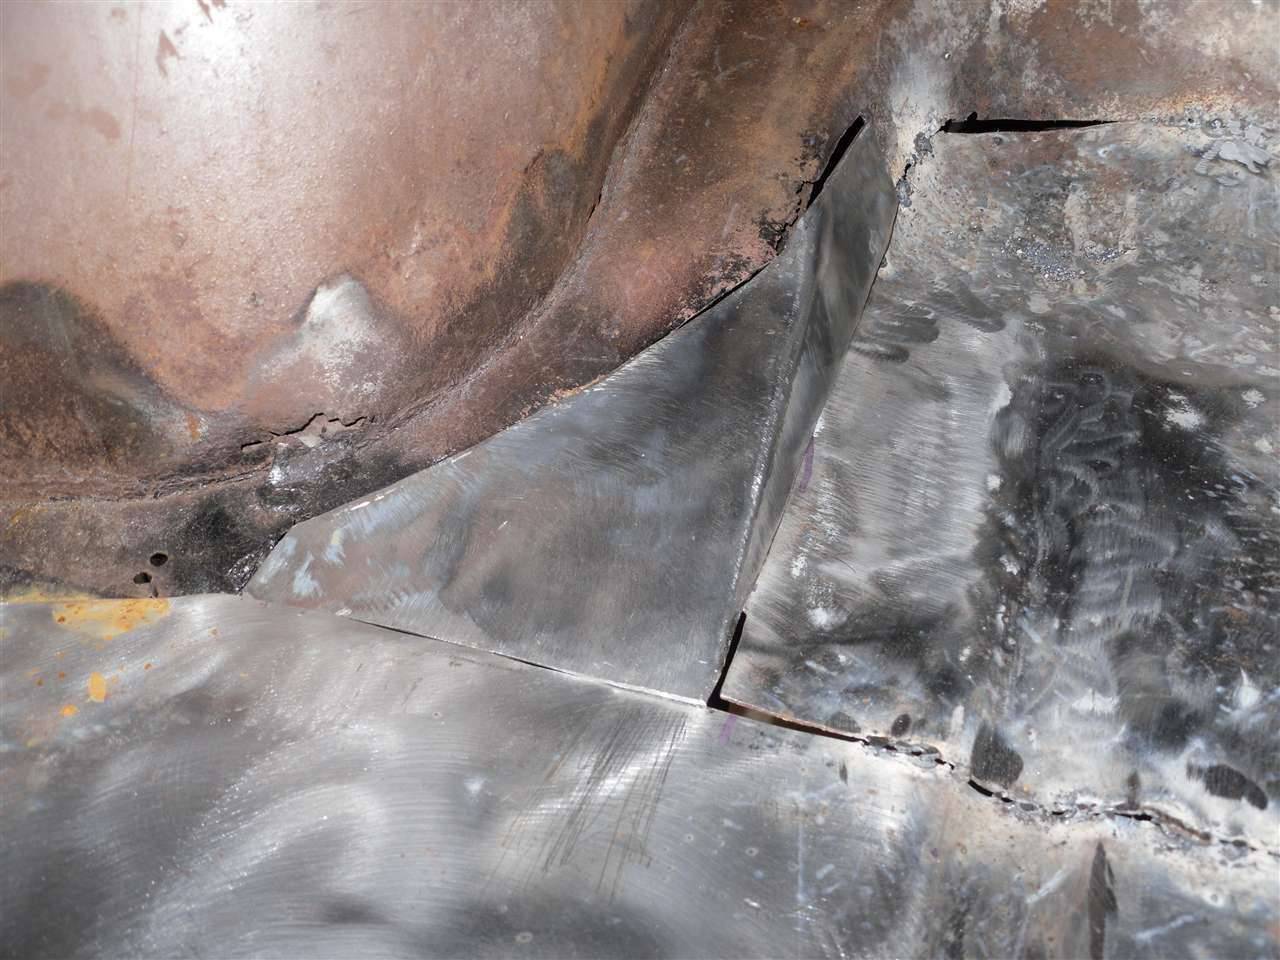
Posted on: 2011/5/23 19:15
|
|||
|
[url=h
|
||||
|
||||
|
Re: 51Packard's....51 Packard
|
||||
|---|---|---|---|---|
|
Home away from home
|
5-24-11
I put in some new welding wire. What a pain! It unrolled three times on me! I managed to tack in the patch panel I made yesterday. The welds seem to be getting better. I'm now pretty sure that my main problem is the equipment I have to use. Maybe I'll get all the patch panels tacked in with my welder and then have my maintenance guy at work fix the mig welder so I can borrow it for a weekend and do some final welds. Attach file: (139.76 KB)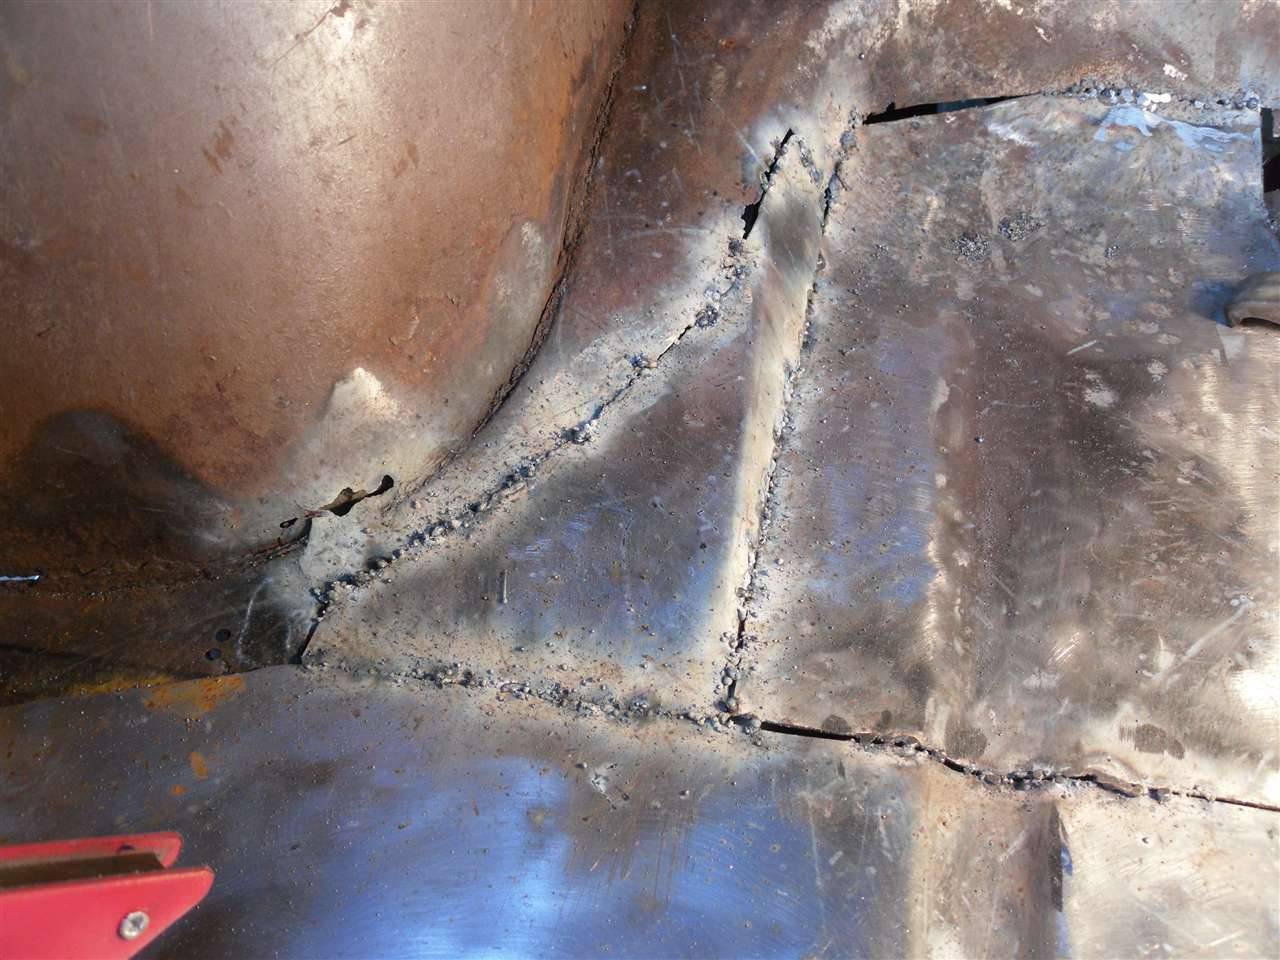
Posted on: 2011/5/24 20:01
|
|||
|
[url=h
|
||||
|
||||
|
Re: 51Packard's....51 Packard
|
||||
|---|---|---|---|---|
|
Just can't stay away
|
'51
When I was younger I would build wooden model airplanes. To cover the wings and body we used tissue paper and dope. the dope would make the tissue stiff, but not heavy and still flexible. I have repaired speakers with the same method. The tissue was light enough to vibrate with the rest of the speaker. The method is to fit the patch over the hole, hold the tissue over the hole and wet the tissue with water to conform to the shape. Before the patch is completely dry, put the dope on the patch. The airplane dope will soak thourgh the tissue into the speaker making a perfect light-weight patch that will not interfere with the movement of the speaker. I should mention to only use the tissue paper used on model planes which should be available at a decent hobby shop ( if you can still find one)
Posted on: 2011/5/27 21:54
|
|||
|
||||
|
Re: 51Packard's....51 Packard
|
||||
|---|---|---|---|---|
|
Home away from home
|
Hi 51,
Wow what an improvement with the welding. You sure took note of all the advice given.Next stage join all the tacks together grind of nice and flush and you have a professional repair. Gives you a real good feeling when your learning to come up with the goods. Keep up the good work Terry
Posted on: 2011/5/28 2:28
|
|||
|
||||
|
Re: 51Packard's....51 Packard
|
||||
|---|---|---|---|---|
|
Home away from home
|
Casey Rog...that's a great idea. I'm going to leave it as is right now until I get a chance to try it out. If the performance is bad or the tear increases, I'll try your method.
Posted on: 2011/5/28 16:52
|
|||
|
[url=h
|
||||
|
||||
|
Re: 51Packard's....51 Packard
|
||||
|---|---|---|---|---|
|
Home away from home
|
Terry...thanks for the compliment! I think the welds are looking better too. I would really like to try using gas to see if it is easier like I have been reading. Still not sure if I will get that chance so I will plug along with what I have. This has been a combination of frustration and fun. A part of me wants this to be over and another is excited about making another patch panel. I will press on.
Posted on: 2011/5/28 16:56
|
|||
|
[url=h
|
||||
|
||||
|
Re: 51Packard's....51 Packard
|
||||
|---|---|---|---|---|
|
Home away from home
|
I tried testing the radio. I used my battery charger. Positive clamp on the bottom mounting bolt of the radio and the negative clamp on the power wire for the radio. Turning the on/off knob had the station indicator light come on. Also, there was a humming sound, but no static. Turning up the volume on the radio did not increase the humming sound. Changing the stations did not change the humming sound either. I'm hoping the charger does not produce enough amps to kick on the volume portion of the radio and that nothing is actually wrong with it. I can't test it with a battery because I fried mine.
Posted on: 2011/5/28 17:49
|
|||
|
[url=h
|
||||
|
||||
|
Re: 51Packard's....51 Packard
|
||||
|---|---|---|---|---|
|
Home away from home

|
Could be a number of things 51, so start by having a really good 'visual' of the unit to check for obvious broken wires / bits etc and leaky caps. You also need to make sure that you're supplying enough volts and current, but you probably are with a decent battery charger I would think.
If nothing shows up, start with the least expensive, most likely problem first which is replacing the capacitors. These are the components that tend to fail 'first' in old radios.They're not expensive. You'll need to be able to read the old style mica cap colour codes, so will need a chart, which can get from this site at Cornell Dubilier Mica Cap chart and if you're reasonably handy with a small soldering iron give it a go! If caps are not the problem next choice (personally) would be replace the vacuum tubes, as after years they can become gassy.You can get a plug-in solid-state (diodes etc) replacement for the 'vibrator' if / when you come to check it and find it is faulty Start there, see how you go! (I think from memory you have the circuit diagram -? Will need to isolate what are caps and what are not caps using that).
Posted on: 2011/5/28 18:41
|
|||
|
1951 Packard Club Sedan | [url=ht
|
||||
|
||||
|
Re: 51Packard's....51 Packard
|
||||
|---|---|---|---|---|
|
Forum Ambassador

|
Also make sure antenna lead wire and ground are not touching. With antenna hooked up, check between the center pin on antenna wire and the outer shell before connecting to radio -- there should be no continuity reading. There should be continuity between the antenna mast and center pin and between the antenna housing and ground shell.
Posted on: 2011/5/28 18:49
|
|||
|
Howard
|
||||
|
||||


