
|
Re: Hydraulic Lifter Tick
|
||||
|---|---|---|---|---|
|
Home away from home
|
Wow, looking good! Going to take several days?!?! I pulled my engine spart last year on the May long weekend and it was 3 months before I was up and running again. That said, I think you're doing great!!
Posted on: 2024/1/14 0:44
|
|||
|
||||
|
Re: Hydraulic Lifter Tick
|
||||
|---|---|---|---|---|
|
Home away from home
|
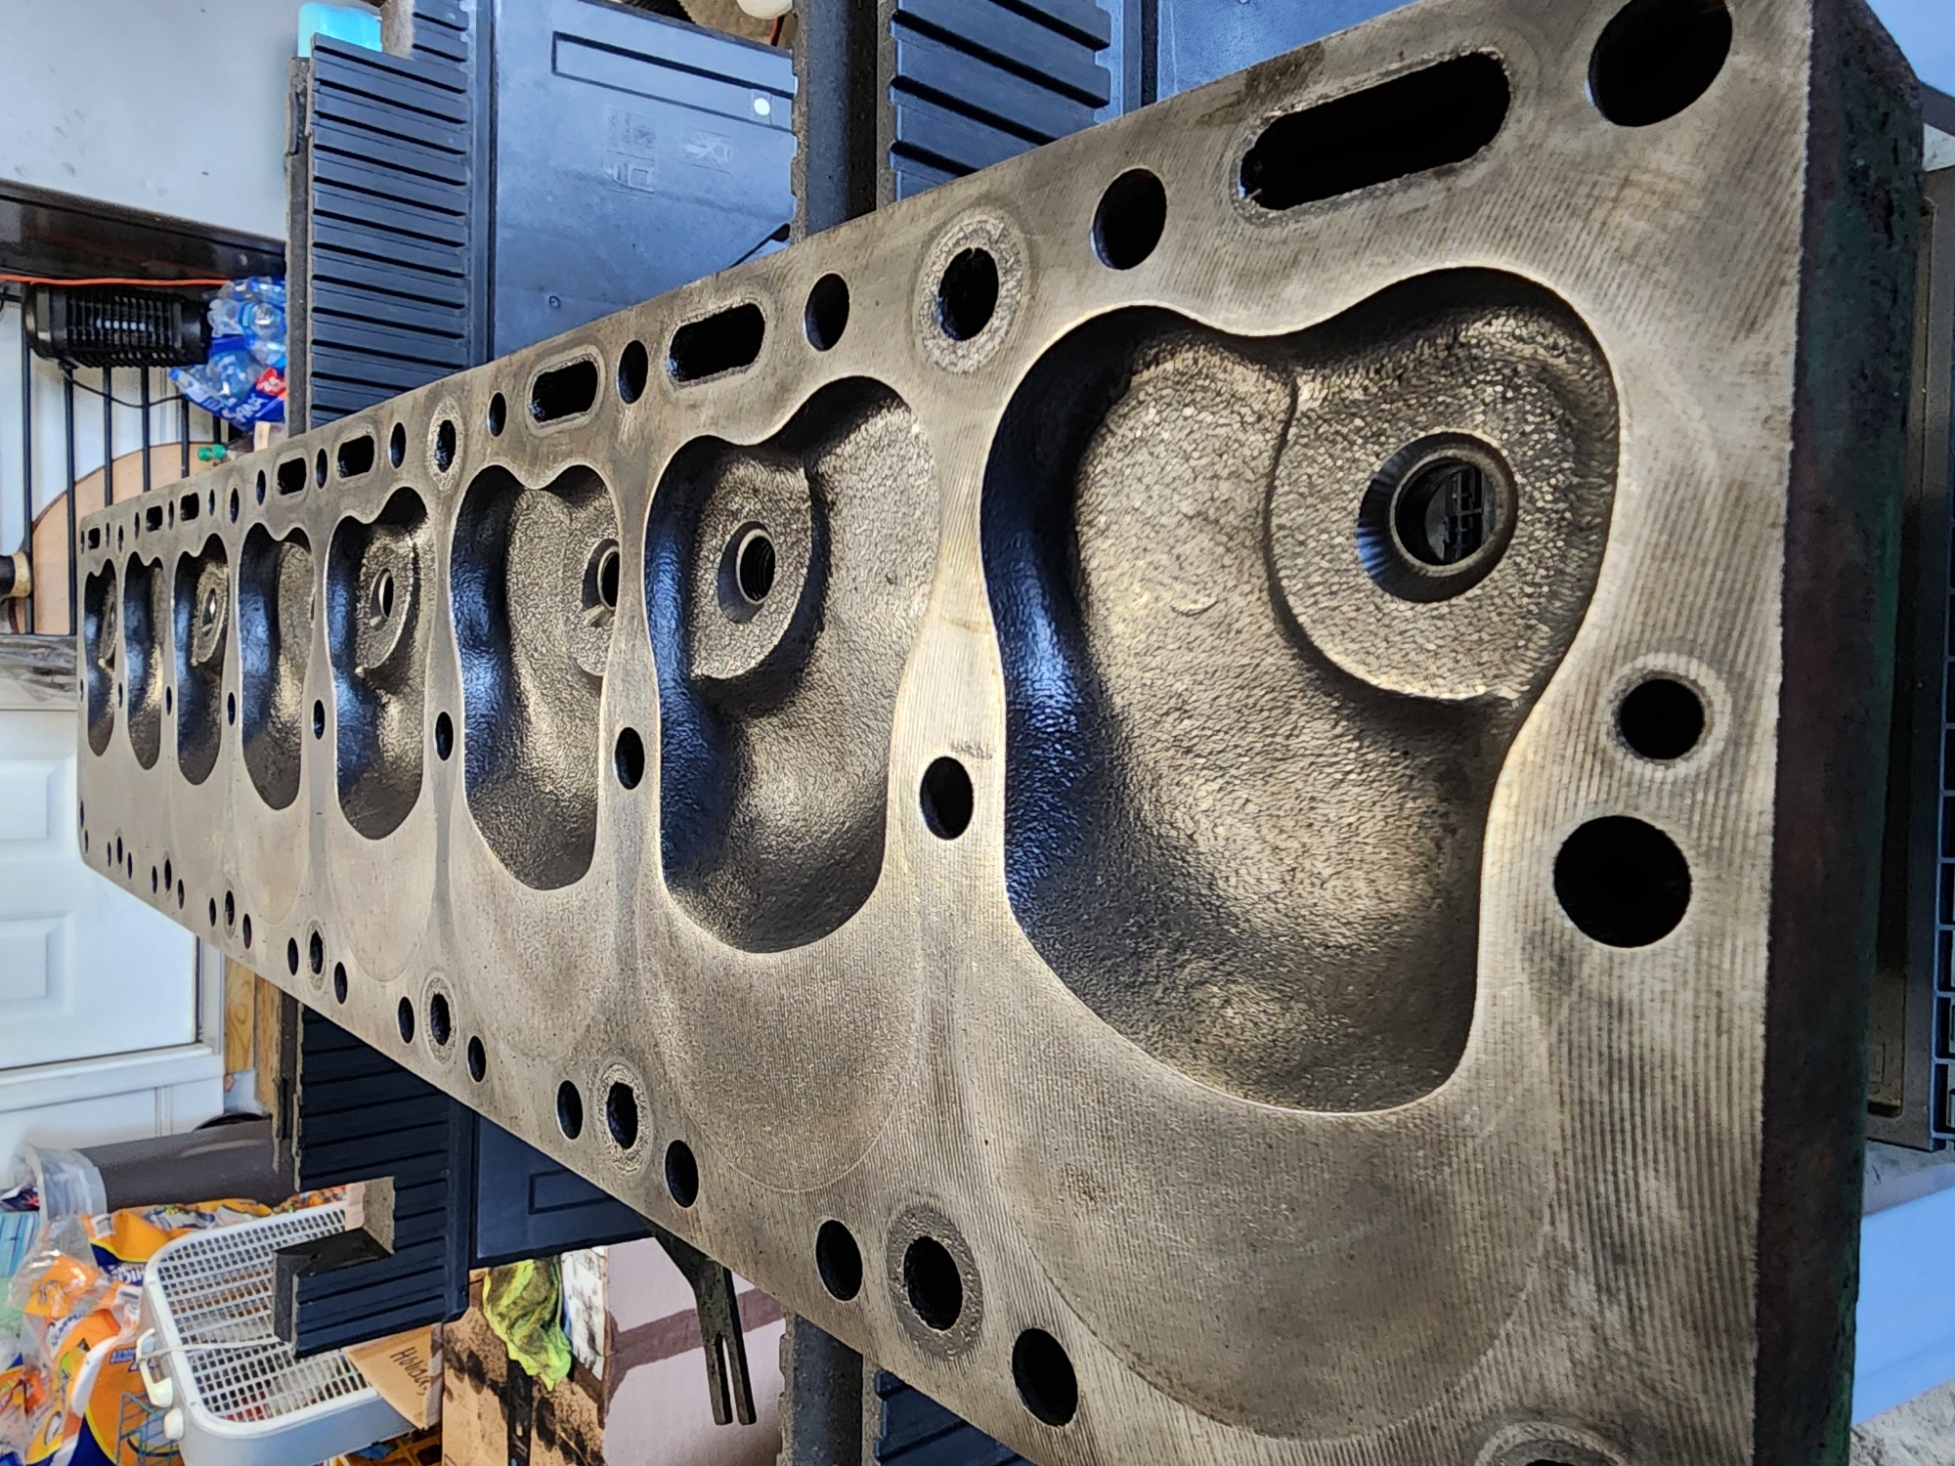
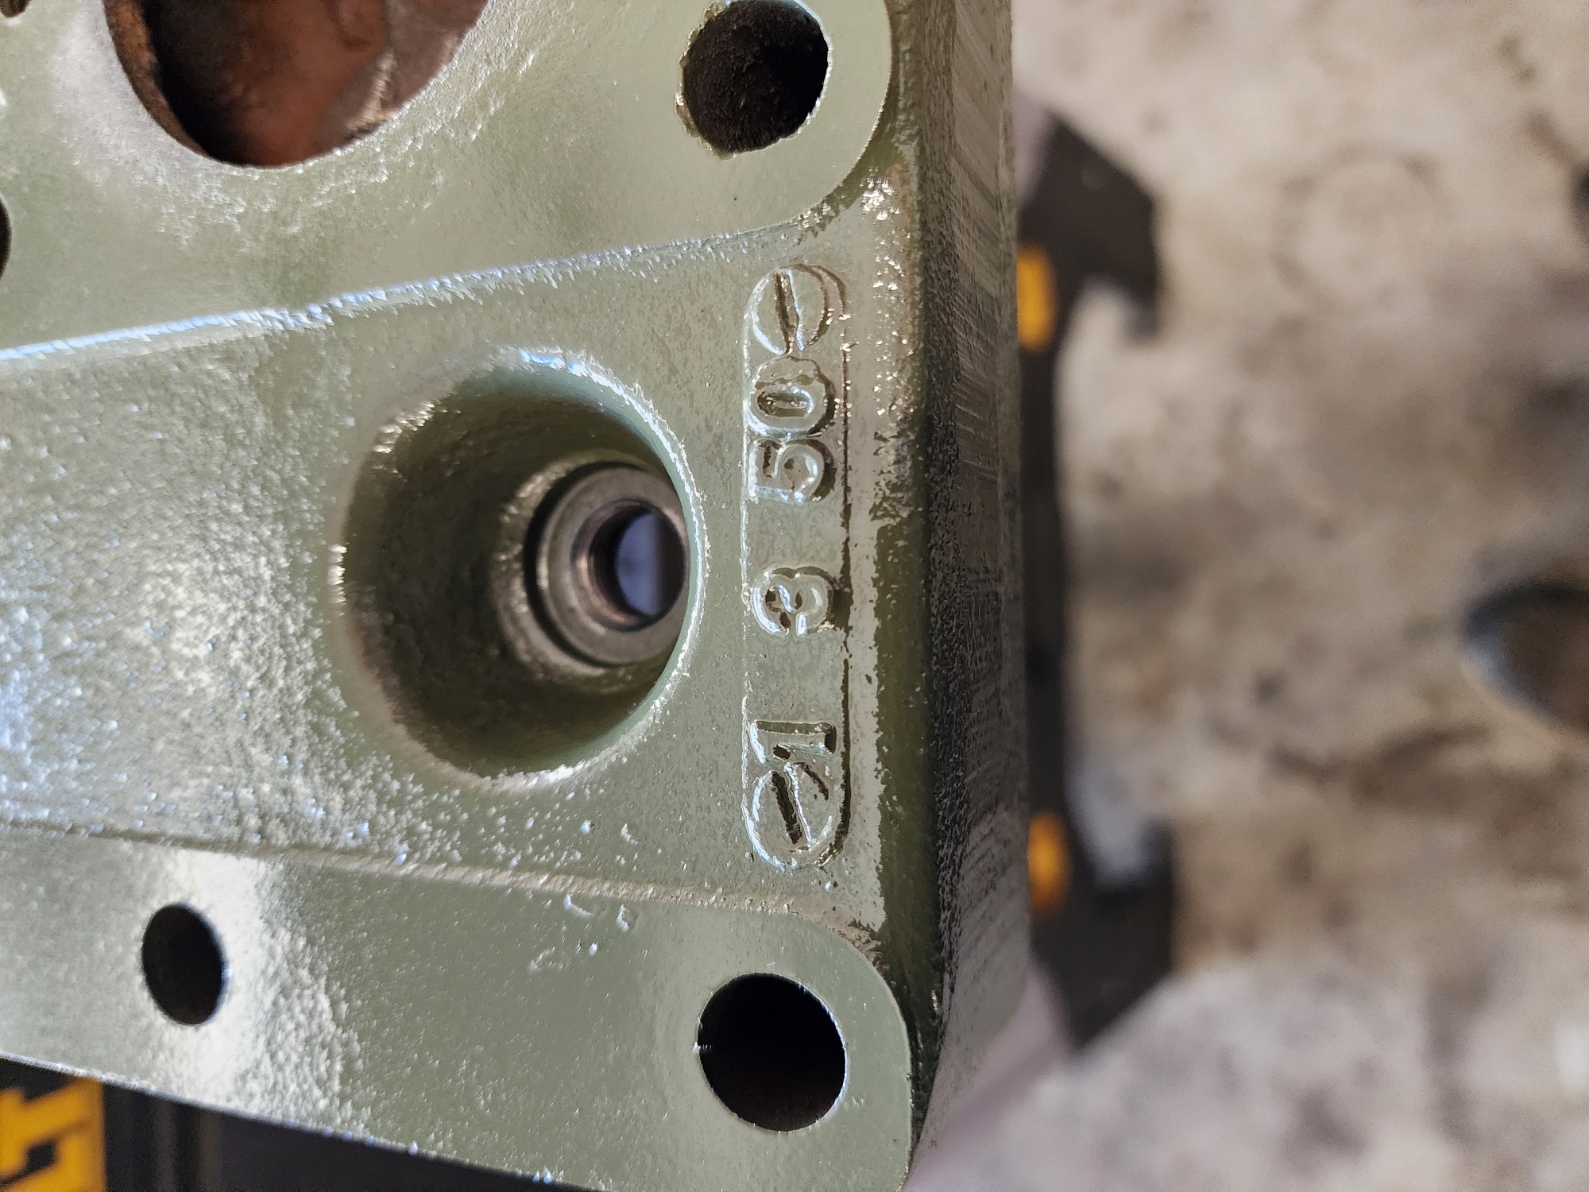
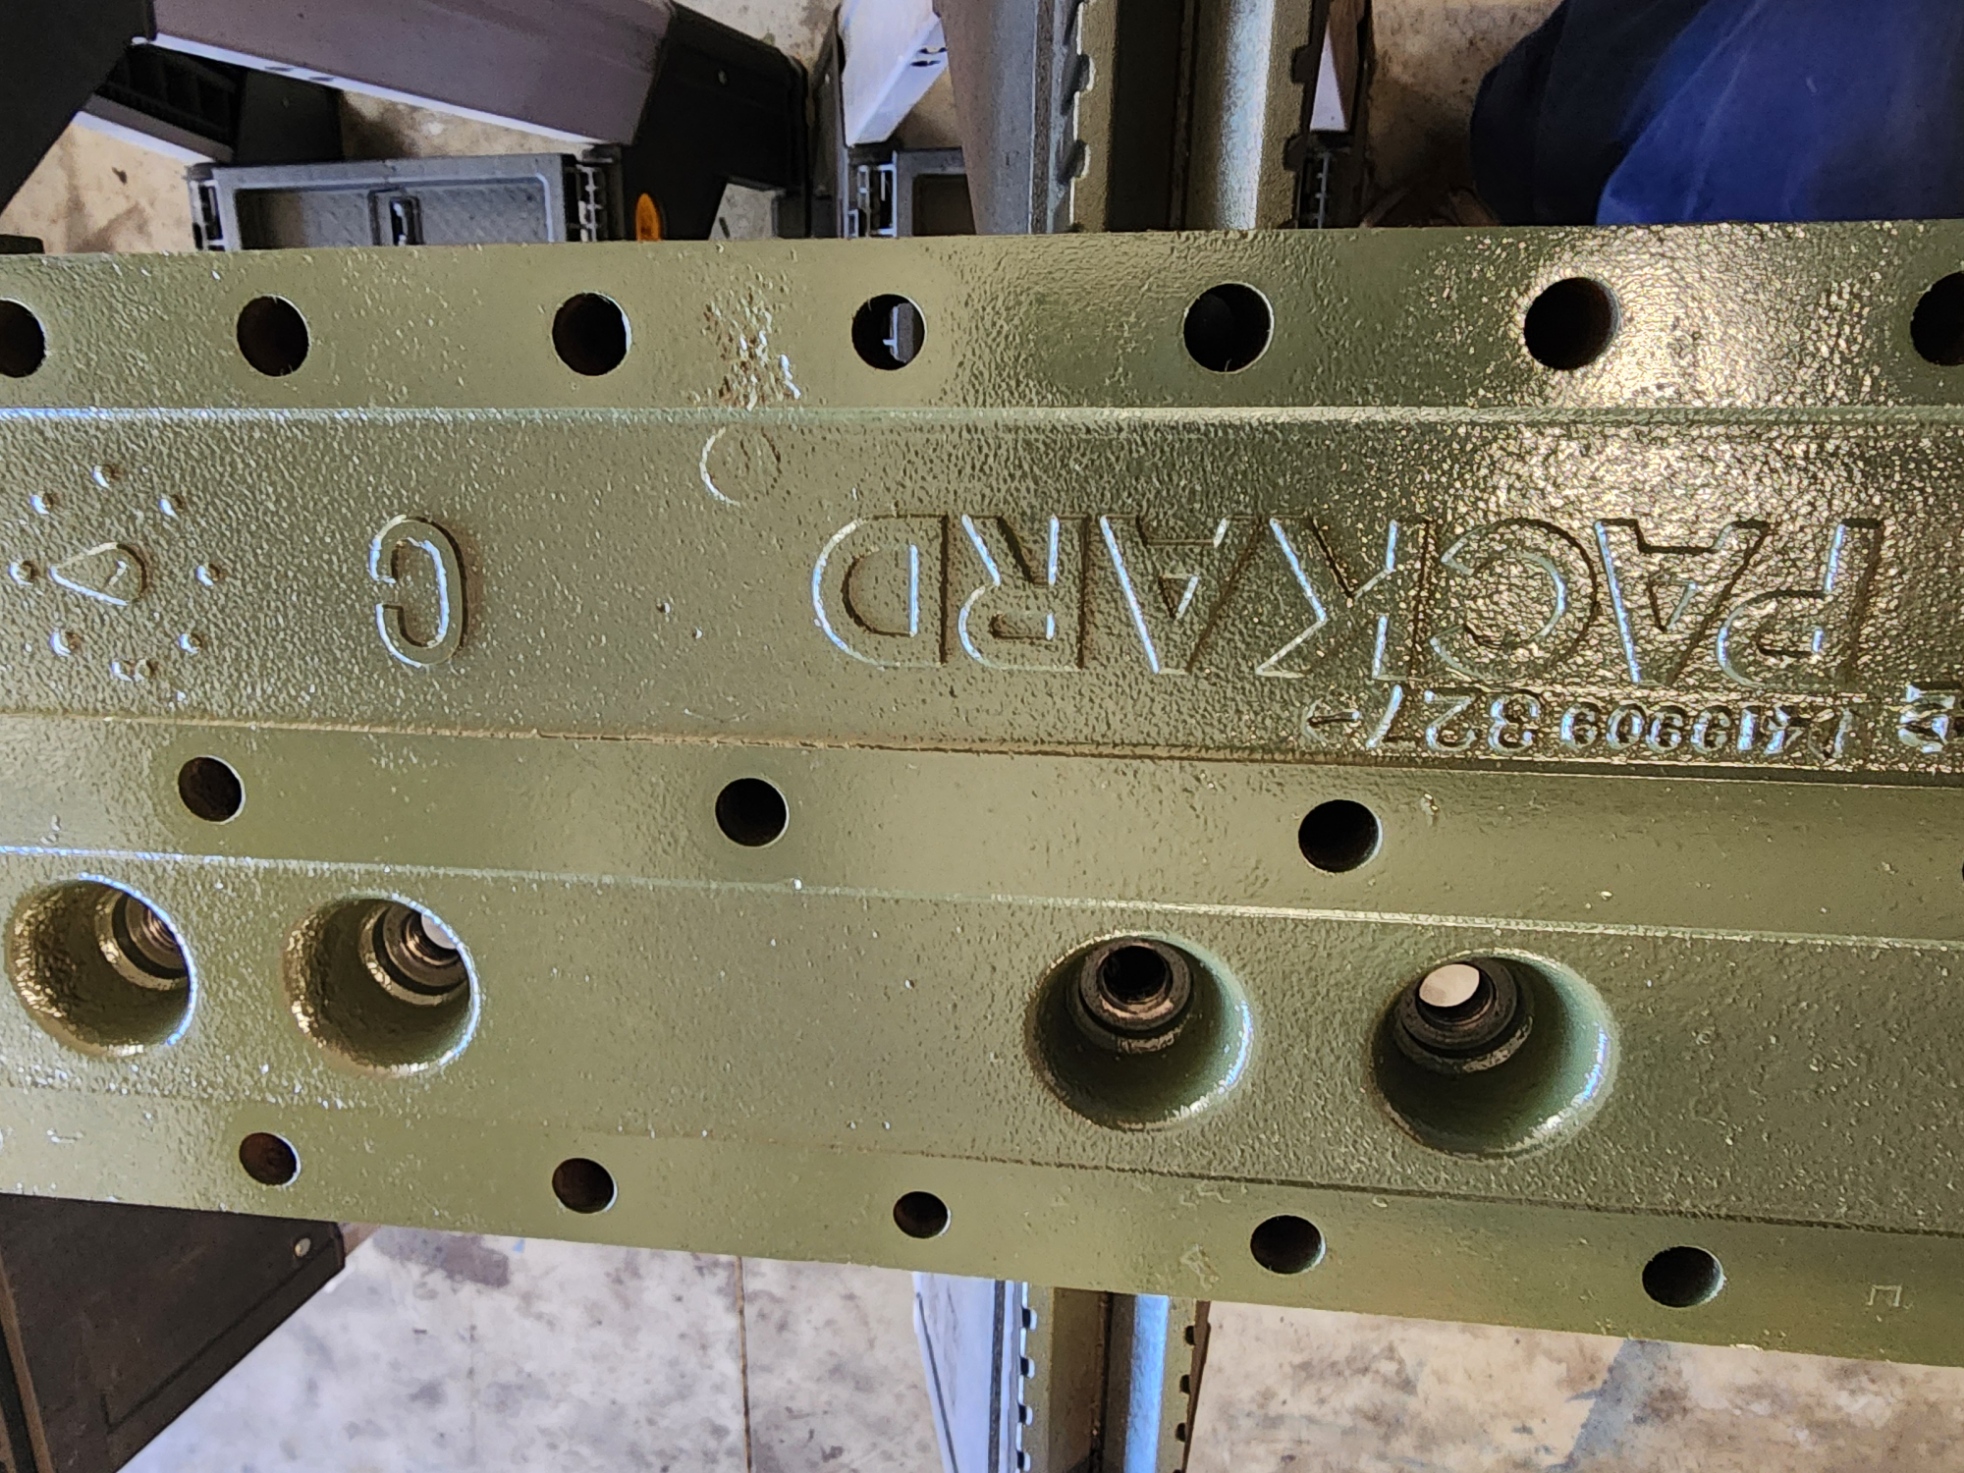
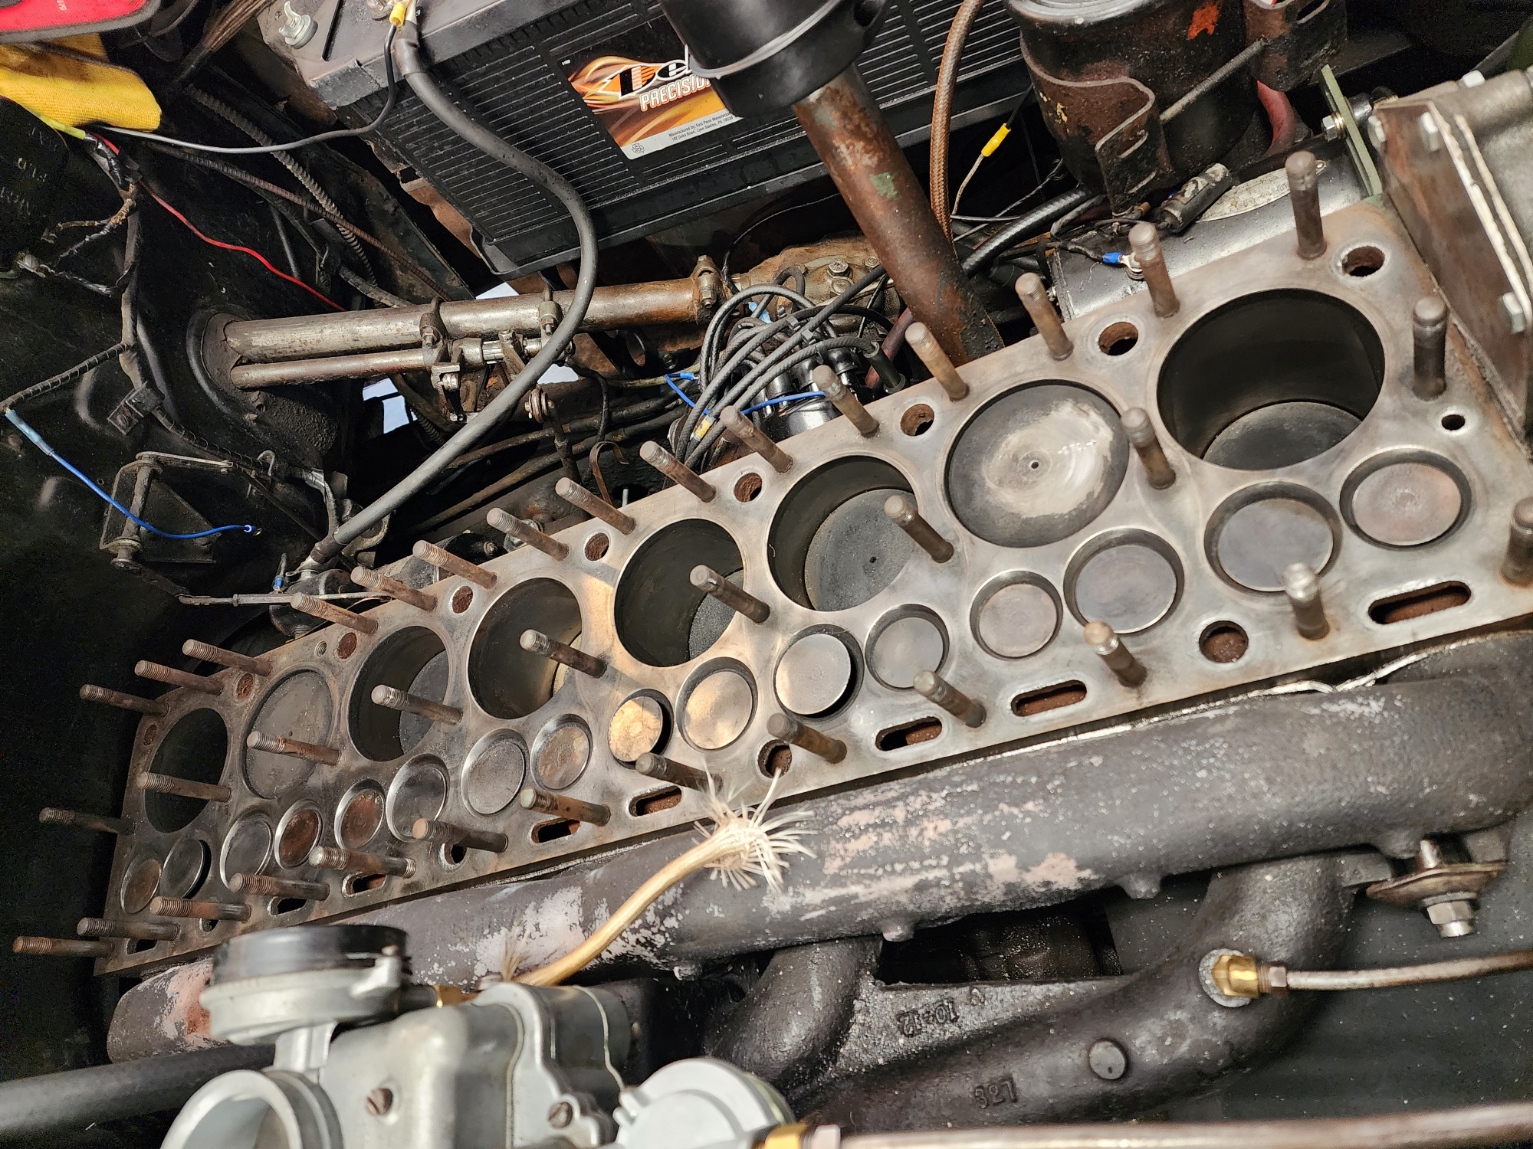
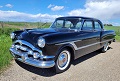
Haha, well, who knows what sort of nightmare I'll run into along the way. But I kept after the offending valve and finally got it. I'll wait for the beefier tool to get the rest, but here's how it all checks out.
- original valves still in the engine, they clean up pretty nicely. Not tons and tons of carbon. Very little play in the valve guide - I suspect the lifter plunger was indeed just dirty, and the check ball wasn't, well, checking. Looking forward to cleaning all these. - not a lot of pitting around the valves Productive night! Attach file:  20240114_002930.jpg (500.81 KB) 20240114_002930.jpg (500.81 KB)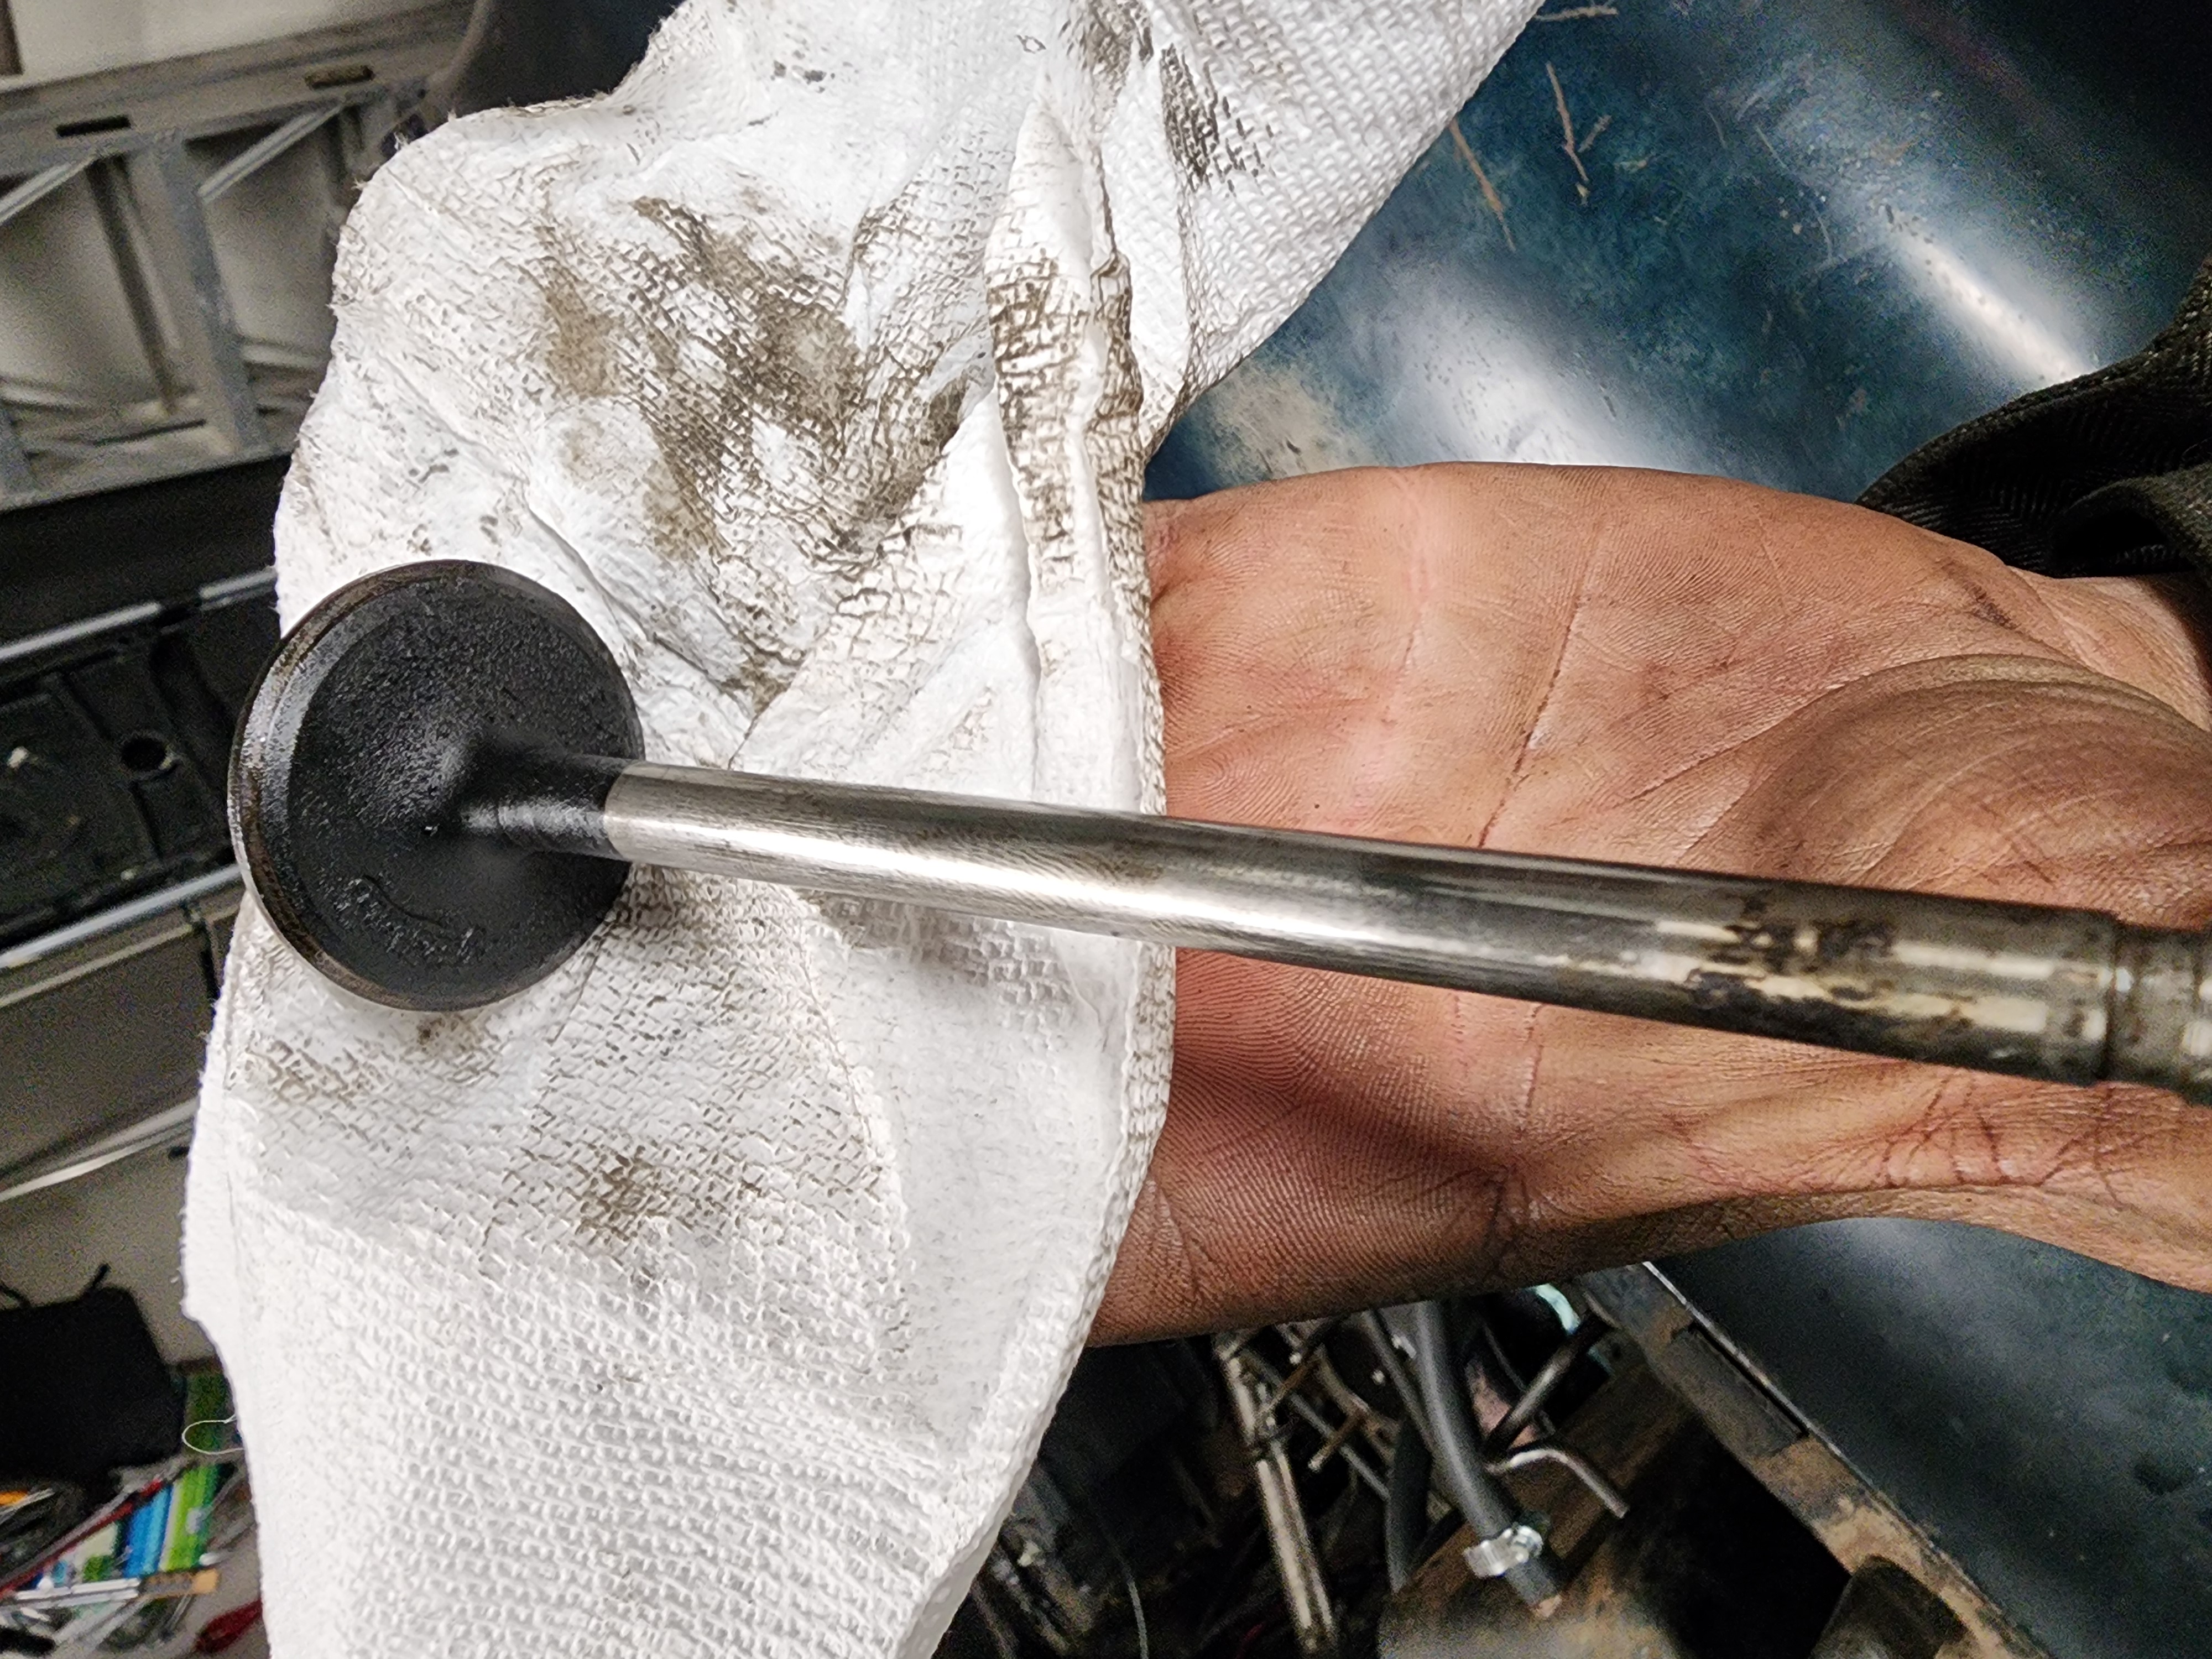 20240114_002640.jpg (988.45 KB) 20240114_002640.jpg (988.45 KB)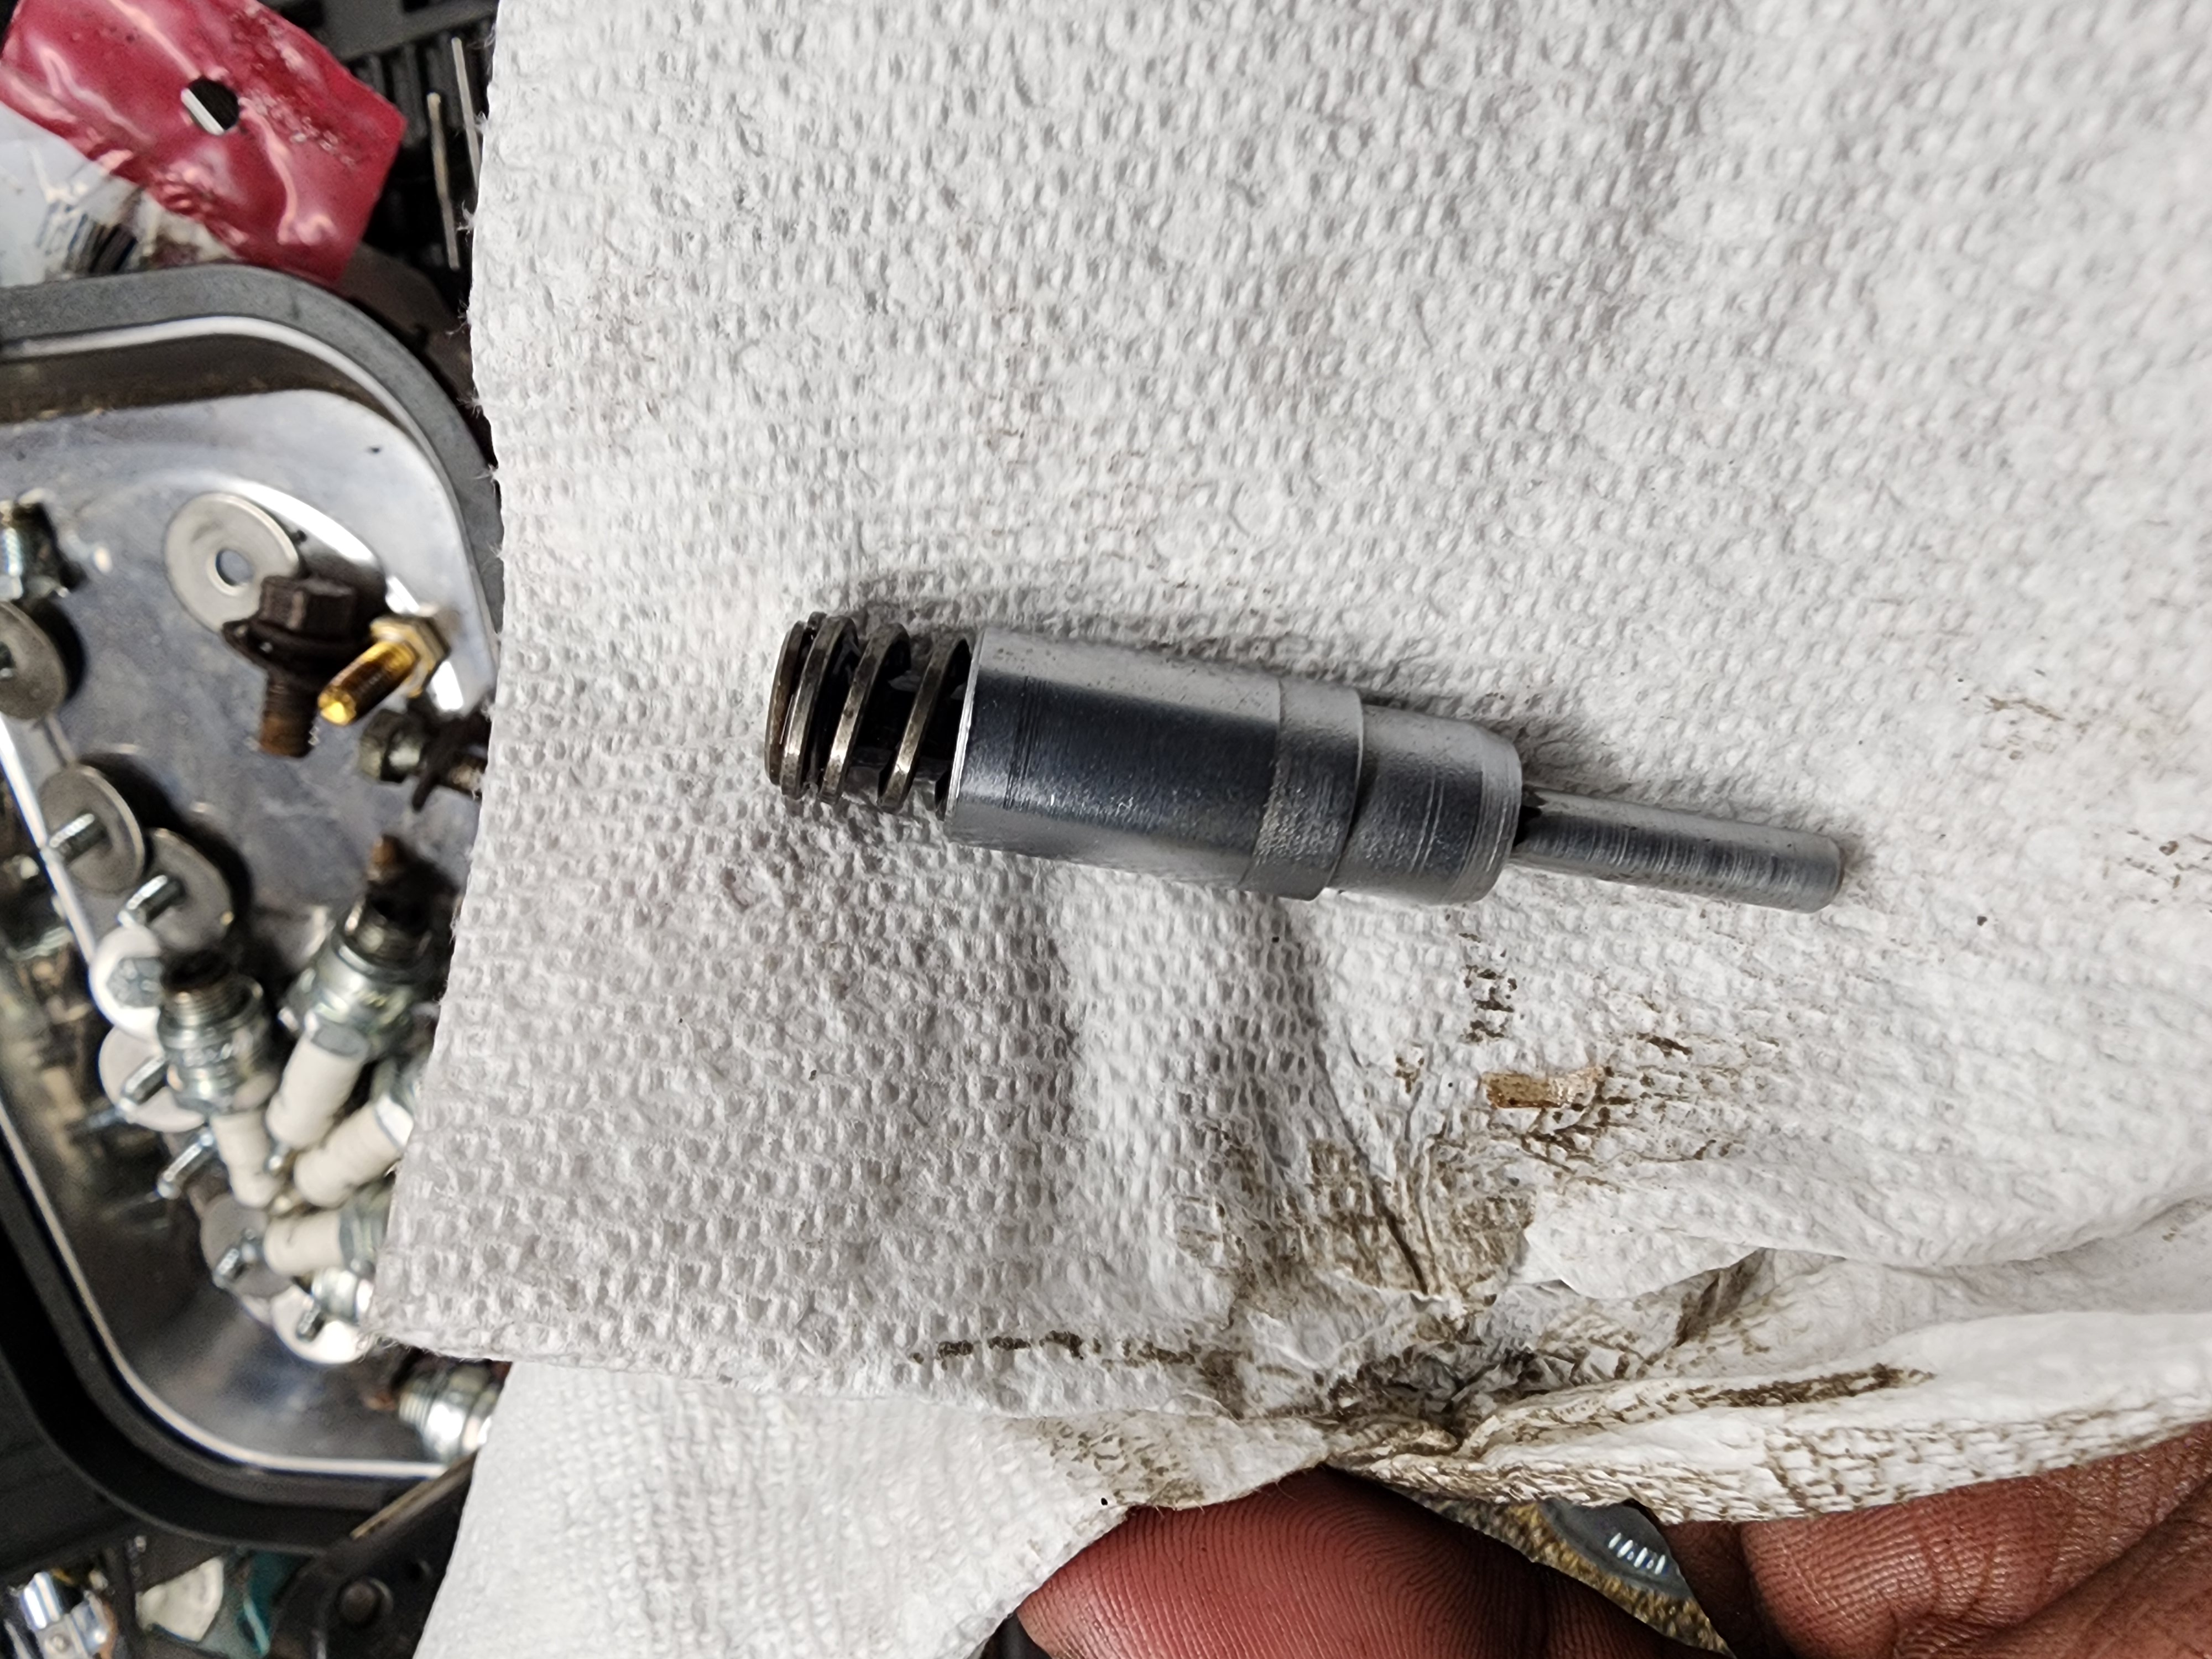 20240114_003727.jpg (971.66 KB) 20240114_003727.jpg (971.66 KB)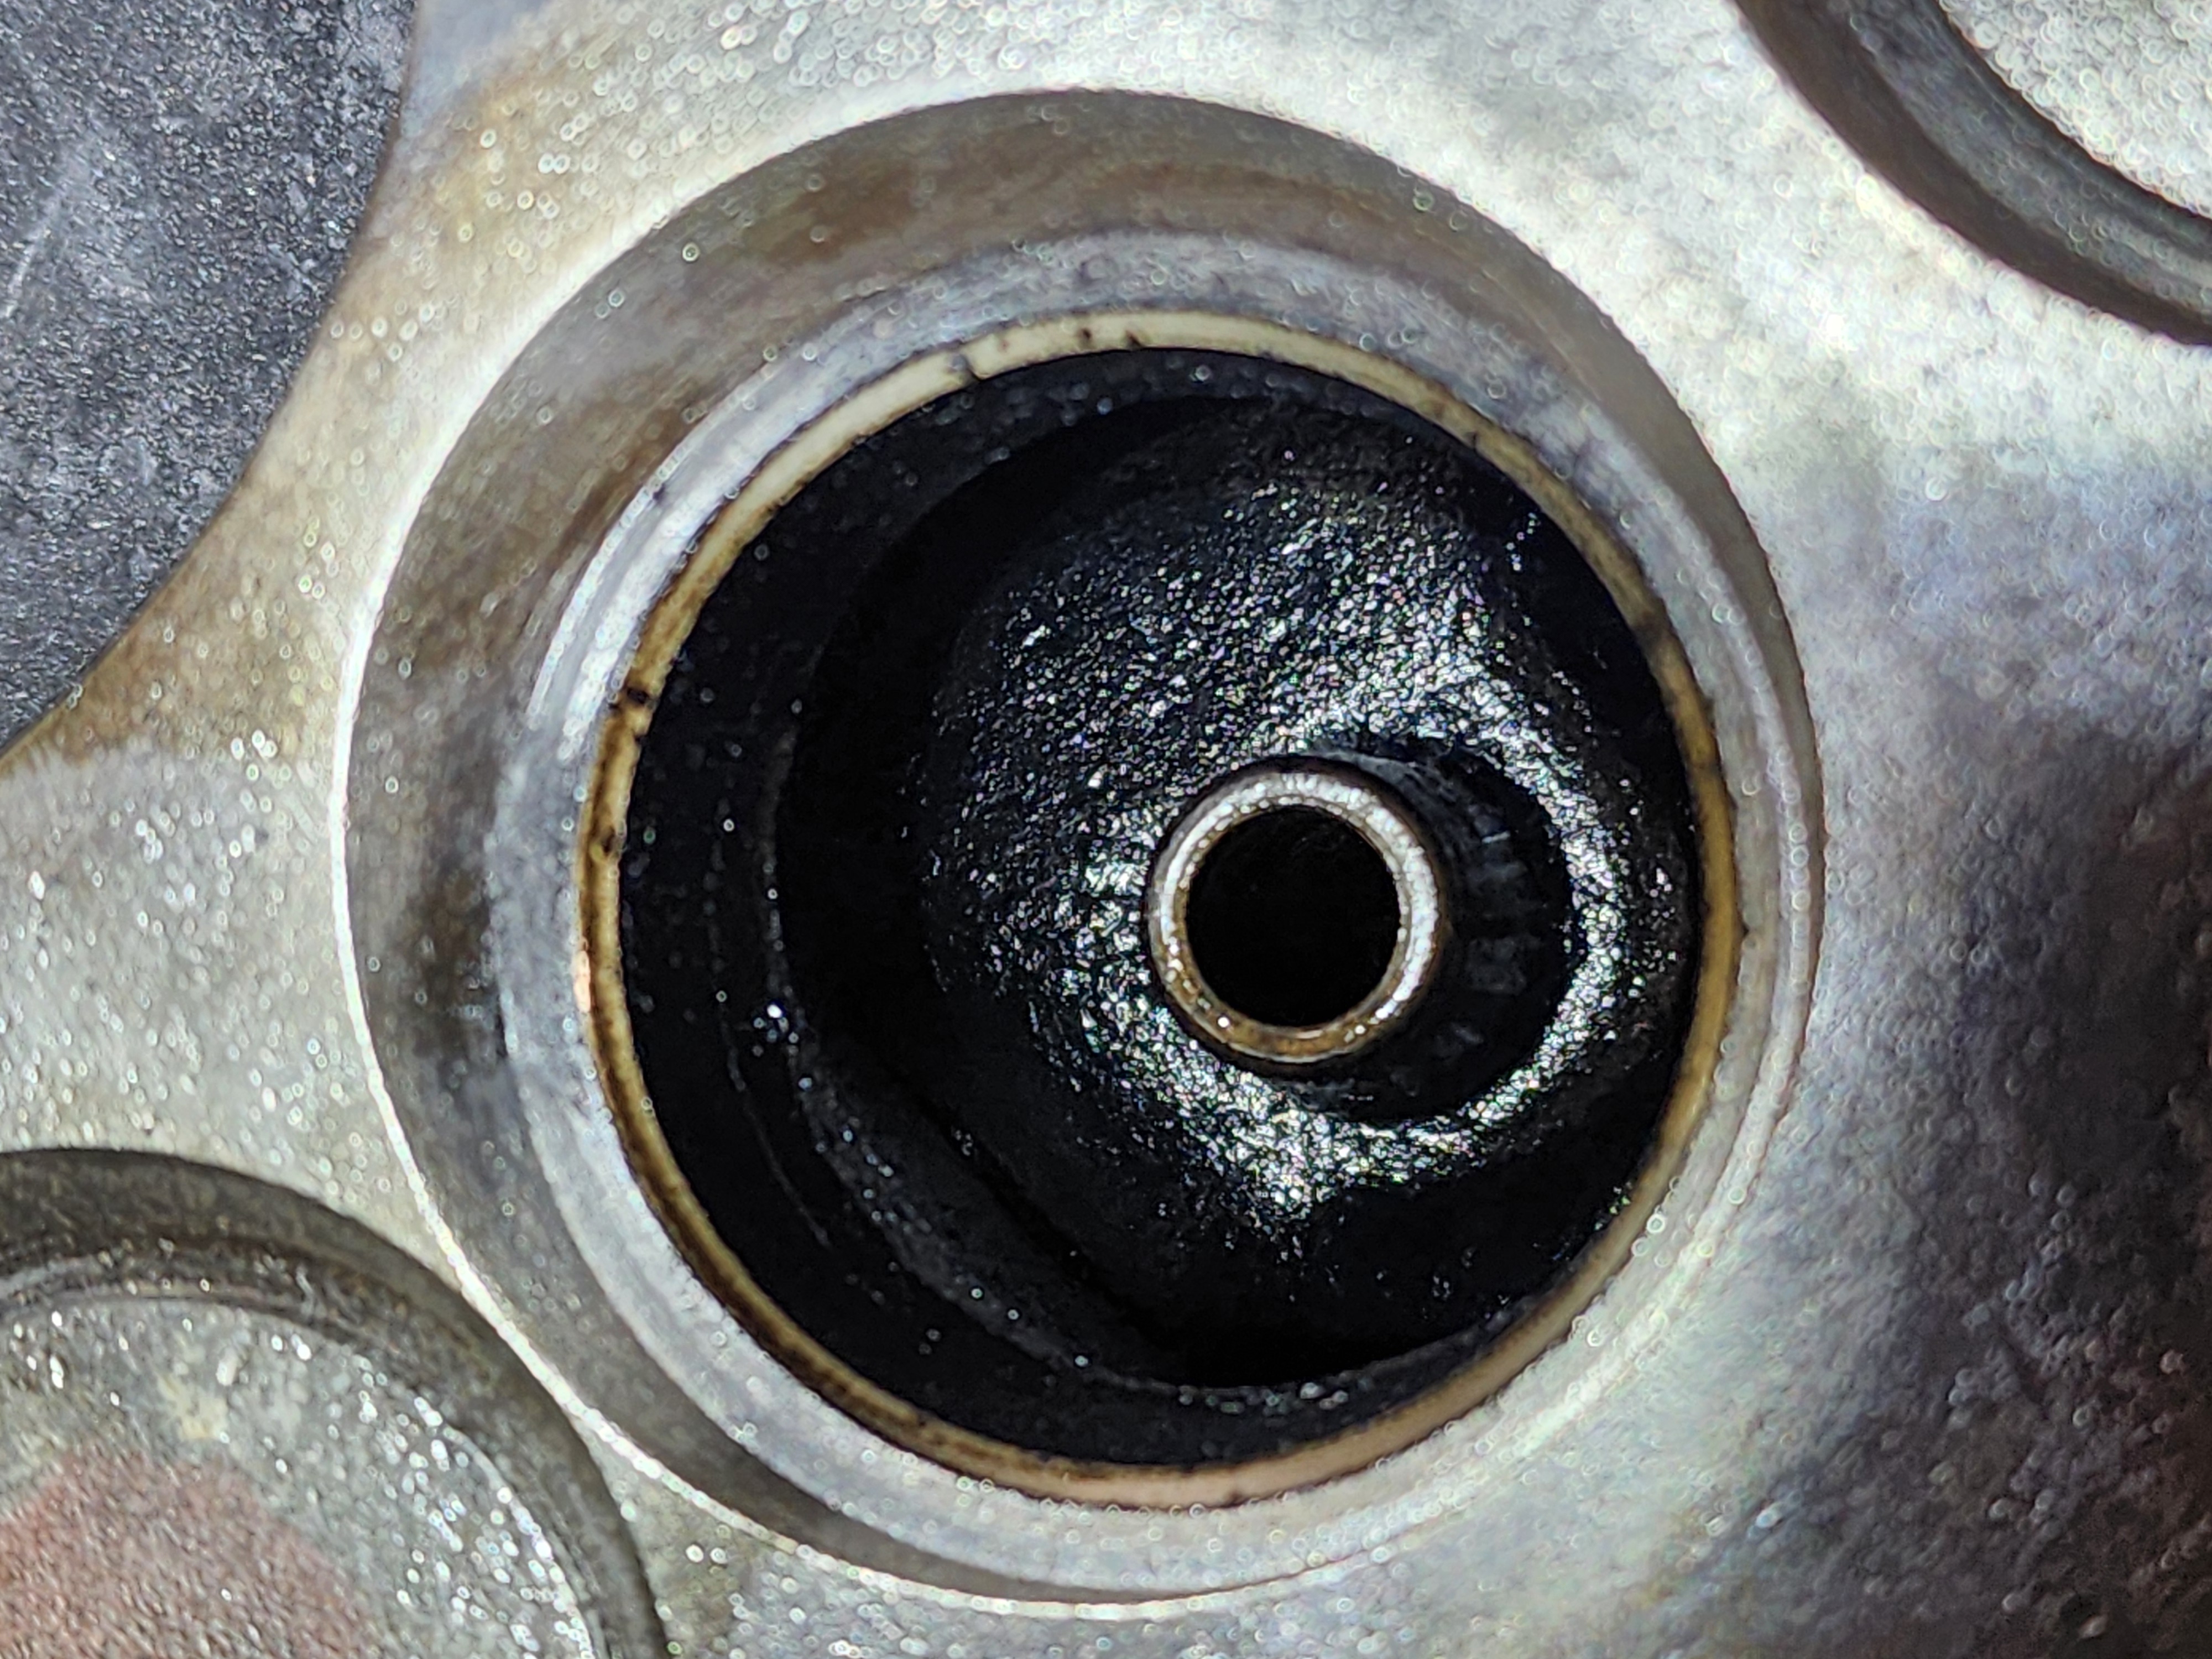 20240114_010320.jpg (583.49 KB) 20240114_010320.jpg (583.49 KB)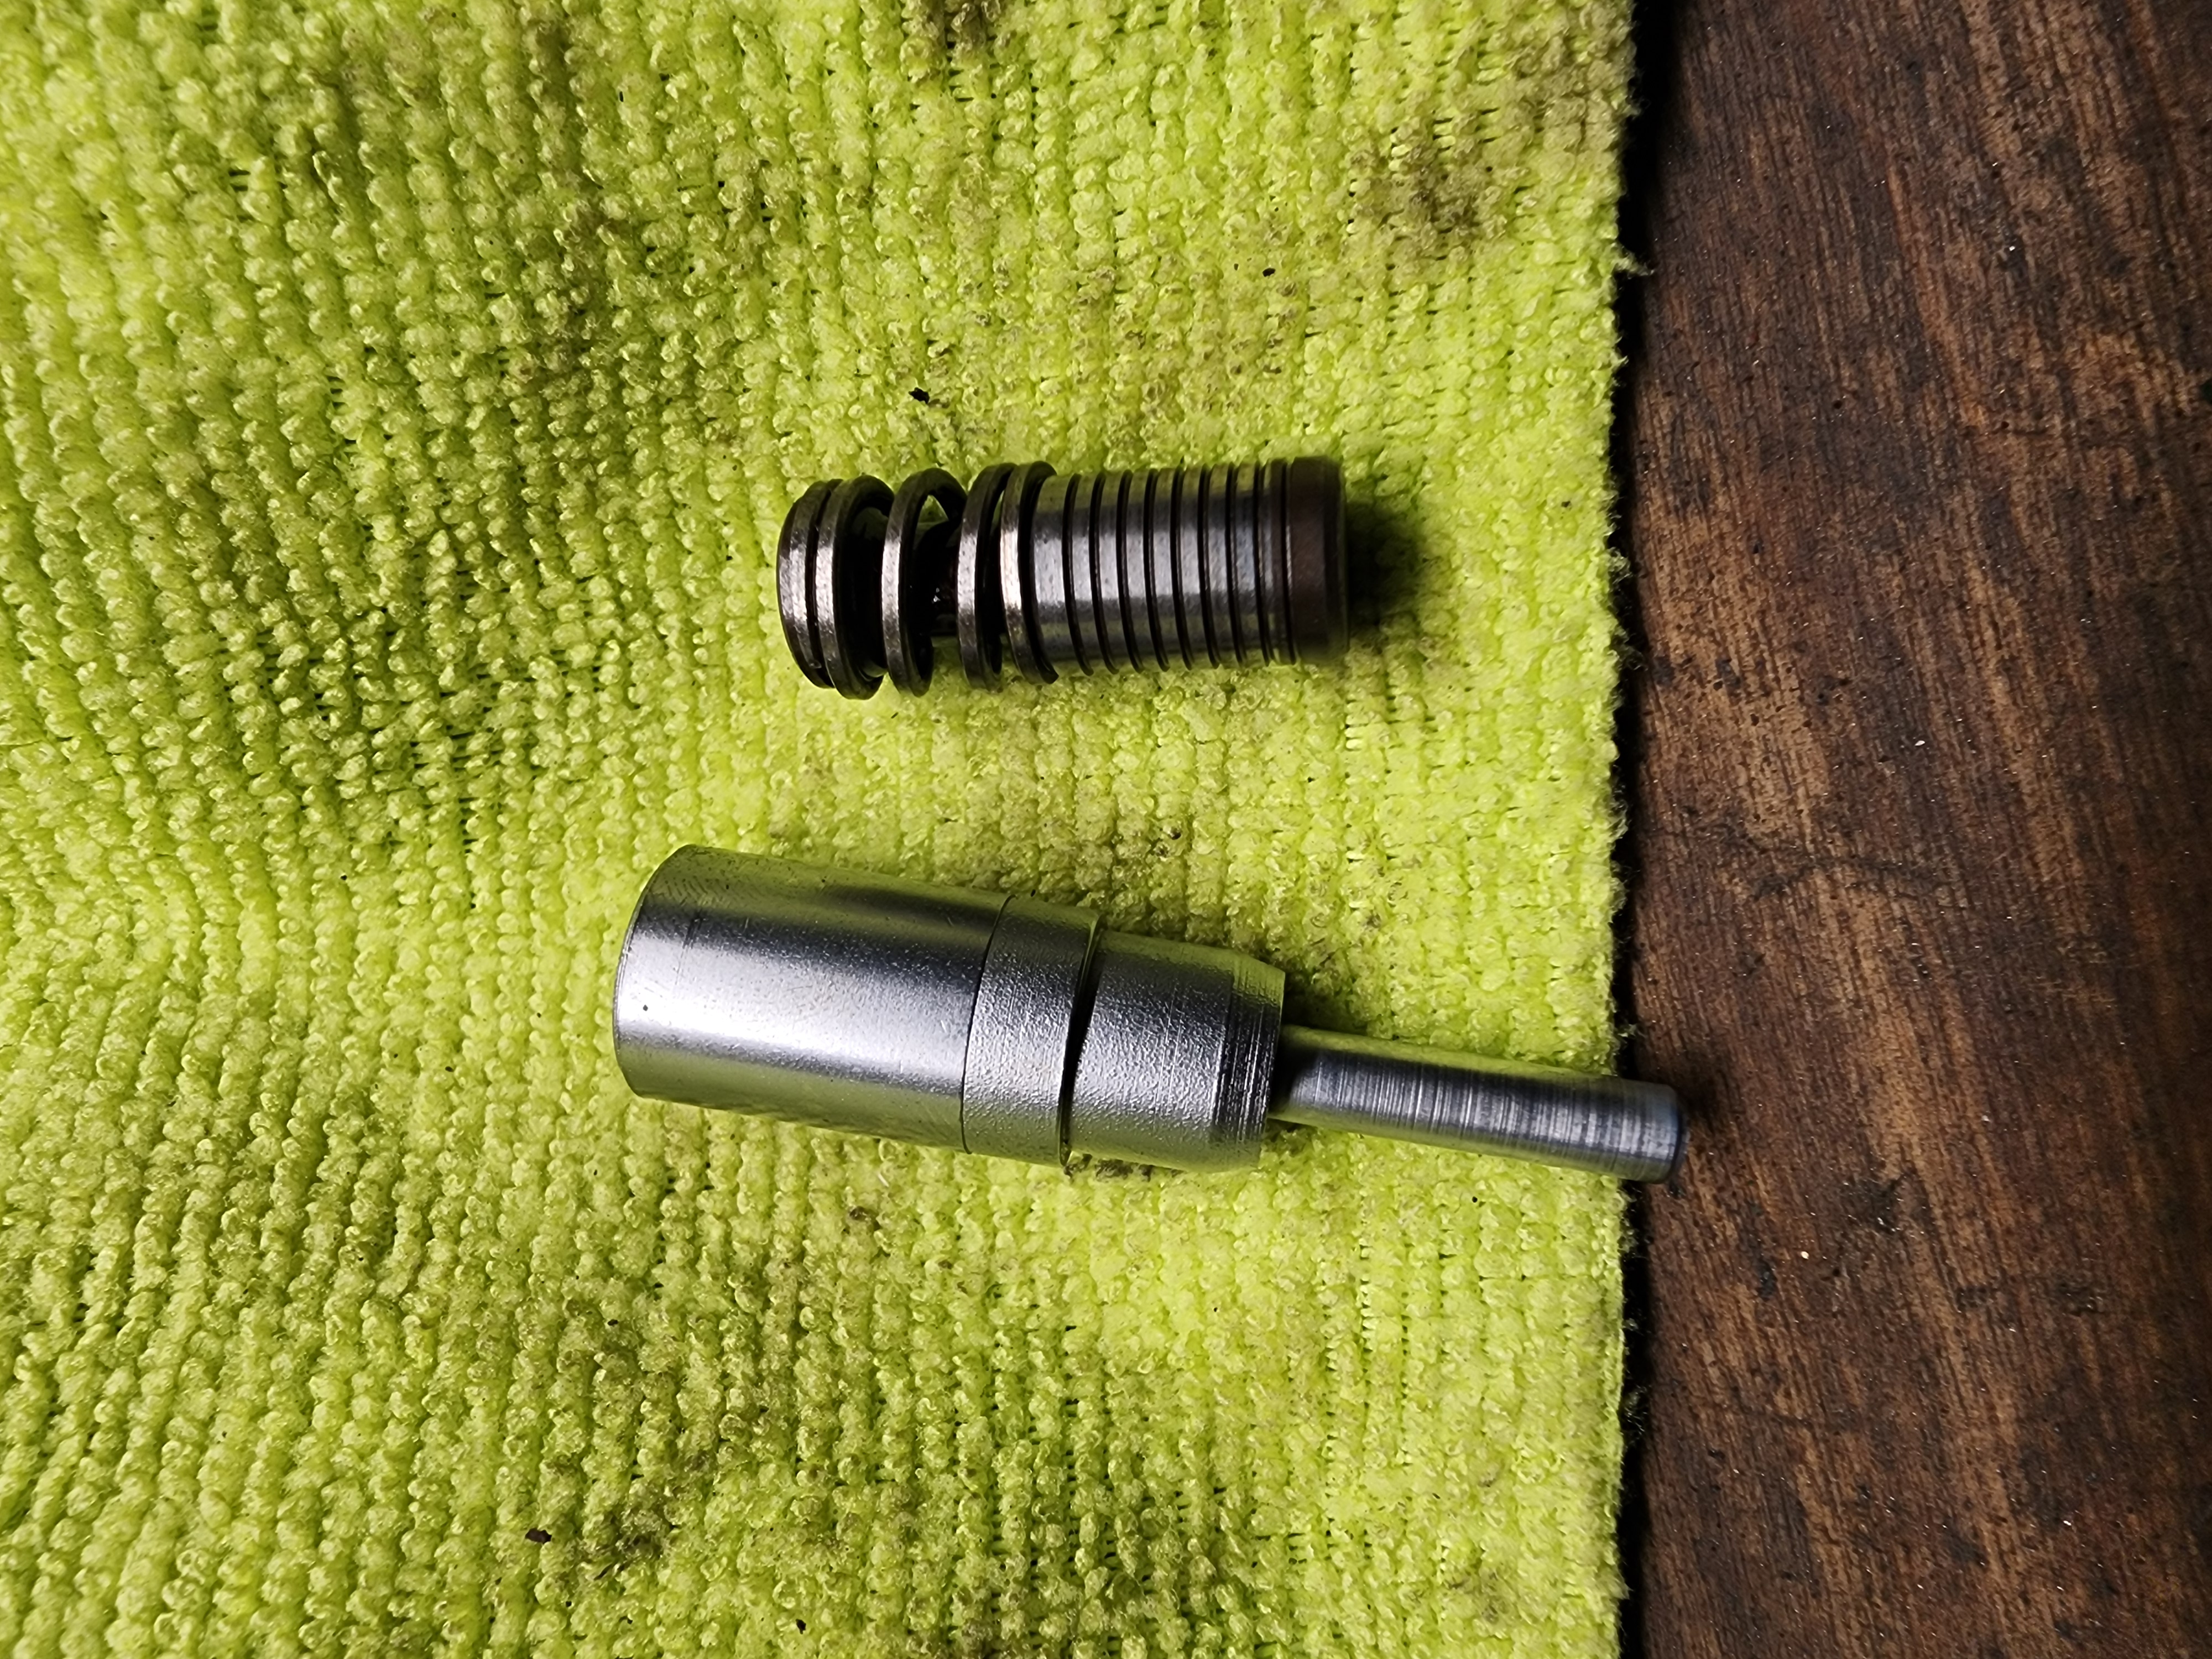 20240114_011332.jpg (596.53 KB) 20240114_011332.jpg (596.53 KB)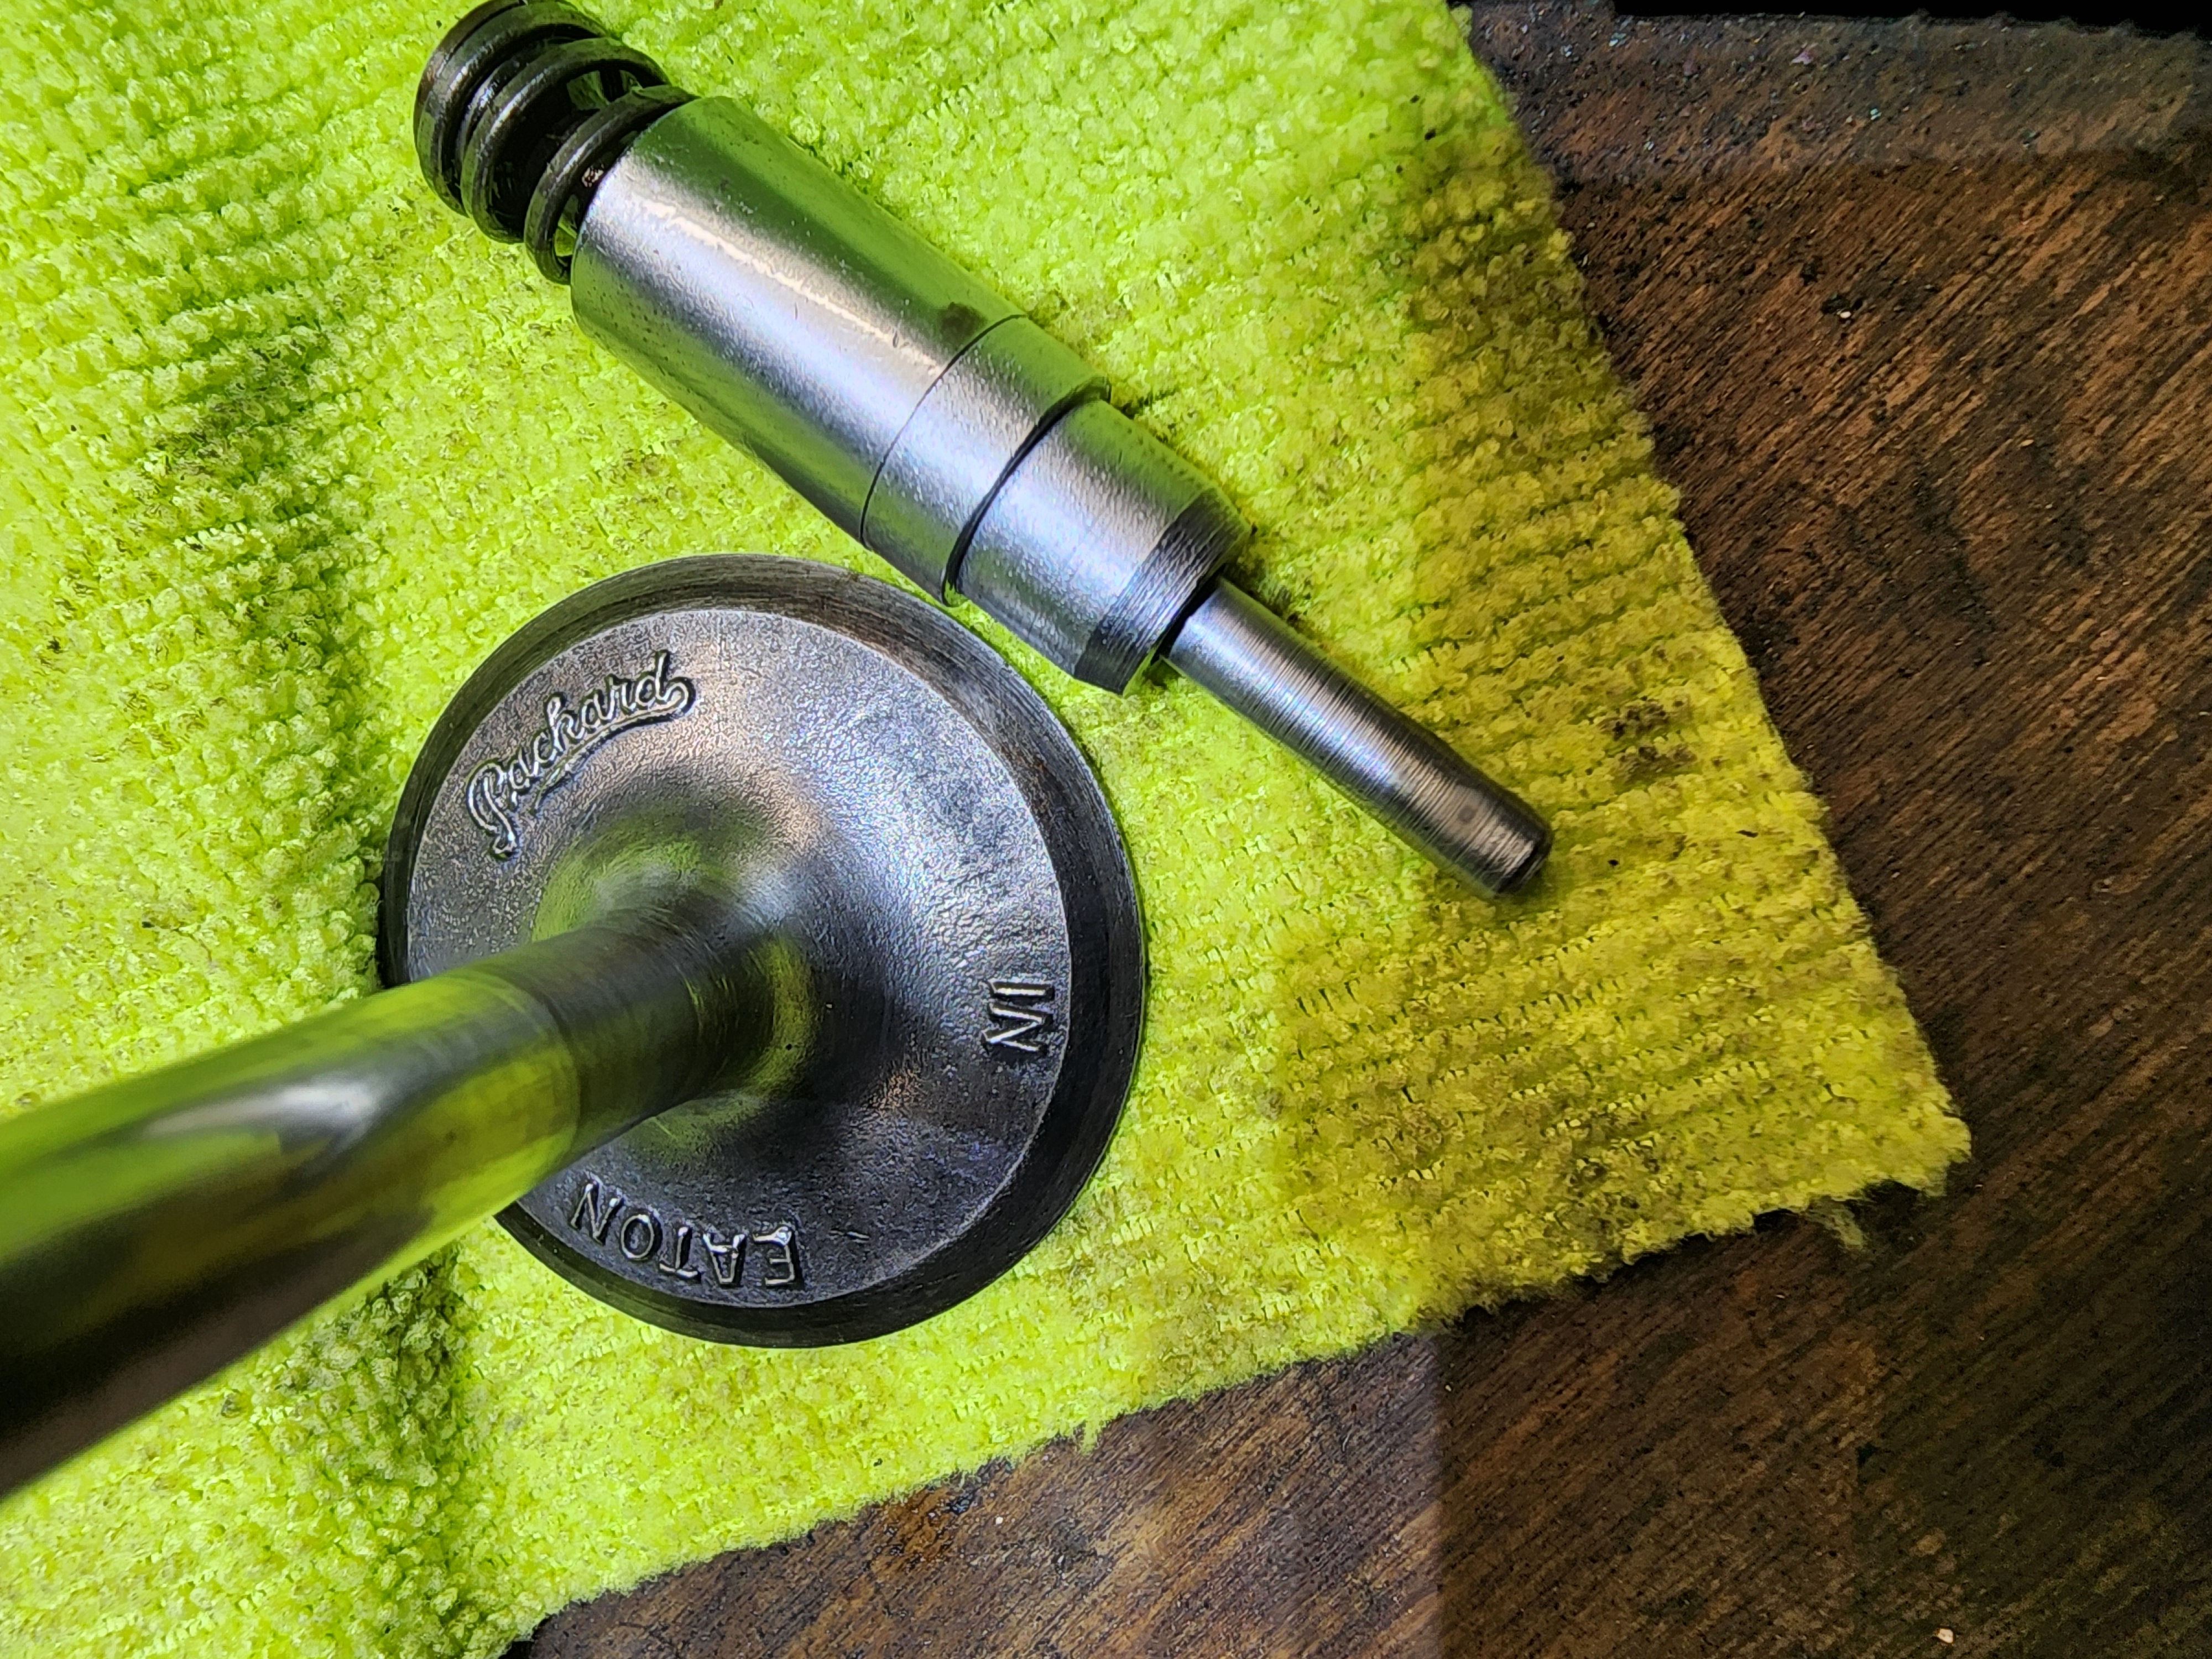
Posted on: 2024/1/14 1:23
|
|||
|
Joe B.
Greenville, NC 1950 Super Deluxe Eight Touring Sedan, Model 2302-5 327 w/ Ultramatic, 6v+ |
||||
|
||||
|
Re: Hydraulic Lifter Tick
|
||||
|---|---|---|---|---|
|
Home away from home
|
Maybe a good cleaning is all it needs!
If your car wasn't smoking I think that would indicate that your rings are not too bad, but the low compression tells a different story. Either valves or rings... A few things I did/learned when working on my engine. Be sure to cover the drain holes so you don't have any keepers fall into the oil pan when removing and installing valves. Do a leak-down test on your lifters to make sure they're up to the task after you clean them. Don't change plungers from one lifter to another, they're very finely machined and are matched. I found on my valves that one side had just a bit of wear, so I turned the valves that I reused 180 degrees. (Put valves back where they came from.) I replaced all of my exhaust valves and a couple of my intake valves. I tested my valve springs to make sure I didn't have any weak ones in the mix. (I was not sure what was causing my noise, so I was leaving no stone unturned.) When lapping valves I found that most lapping compounds in the auto parts store are very coarse, too coarse, I ended up ordering some finer lapping compound. (This is based on my YouTube research. I picked up a used Blue Point CF-12 valve spring compressor off FB MarketPlace that needed a little repair. It worked very well. Take your time when putting your valves back in to make sure keepers are in correctly, especially for the valves behind the exhaust that are hard to see and get at. A mirror or your phone are helpful to check these ones. As another member commented just put a bit of grease on the keeper and stick it to the valve stem. Squish them on tight and slowly loosen your compressor watching to make sure the keepers stay in place. I found reassembly very satisfying! Although I did need to swear at a couple of them! LOL When you put the head back on, I torqued mine down, and then retorqued it after it warmed up and cooled down and then did it a couple of more times after that. This was recommended by a few forum members and I found it was necessary. BTW, I'm not a mechanic, just a farm kid that's a bit mechanically inclined. You'll well on your way and you'll be ready for start-up before you know it!
Posted on: 2024/1/14 11:03
|
|||
|
||||
|
Re: Hydraulic Lifter Tick
|
||||
|---|---|---|---|---|
|
Home away from home

|
Quote:
The head came off in about 30 seconds with an assist from my wife. I don't know anyone does it by themselves. I’ve never had help removing a Packard head! In fact, I just removed the one recently by myself in my 1951 Henney-Packard. The hard part wasn’t removing it but rather in getting it to break free so it took more like an hour to get it off.
Posted on: 2024/1/14 11:41
|
|||
|
All generalities are false.
Once I thought I was wrong but I was mistaken. Don Pierson Packard / IMPERIAL page CA DMV Licensed Vehicle VIN Verification 1951 Henney-Packard 3-Door Long Wheelbase Air Force Ambulance The 1951 Henney-Packard is For Sale! 1954 Packard Patrician 1954 Packard Patrician Parts Car 1956 Clipper Custom Sedan |
||||
|
||||


