|
Re: Rear Window-2672
|
||||
|---|---|---|---|---|
|
Home away from home

|
As to the hard rubber I've tried almost everything (talcum, glycerin, diesel, soft soap, hot water, ...). Hot water works but only short. The same goes for a rubber mallet. It works but the effect is too brief to be useful. Soap is necessary. Summer and sunshine help and one or another friend.
I know that's not much consolation, but the stubborn battle between man and rubber shapes the character.  -> Video on how to properly install car windows.
Posted on: 4/1 17:56
|
|||
|
The story of ZIS-110, ZIS-115, ZIL-111 & Chaika GAZ-13 on www.guscha.de
|
||||
|
||||

|
Re: Rear Window-2672
|
||||
|---|---|---|---|---|
|
Home away from home
|
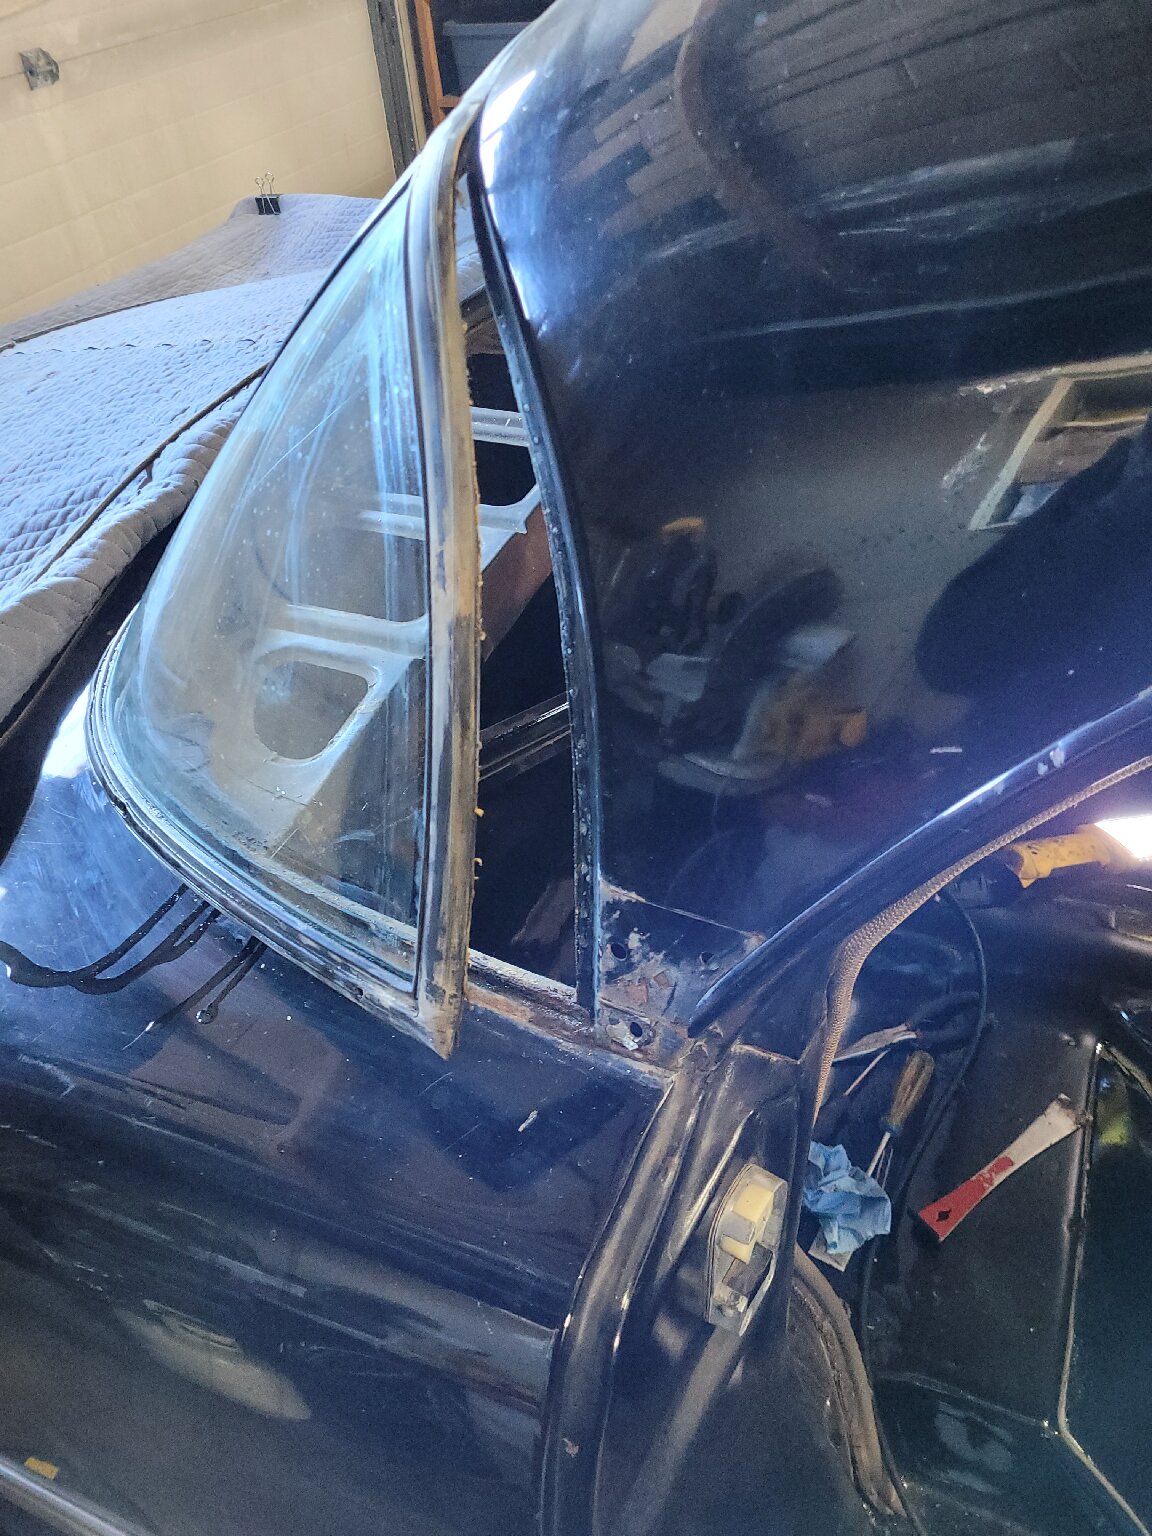
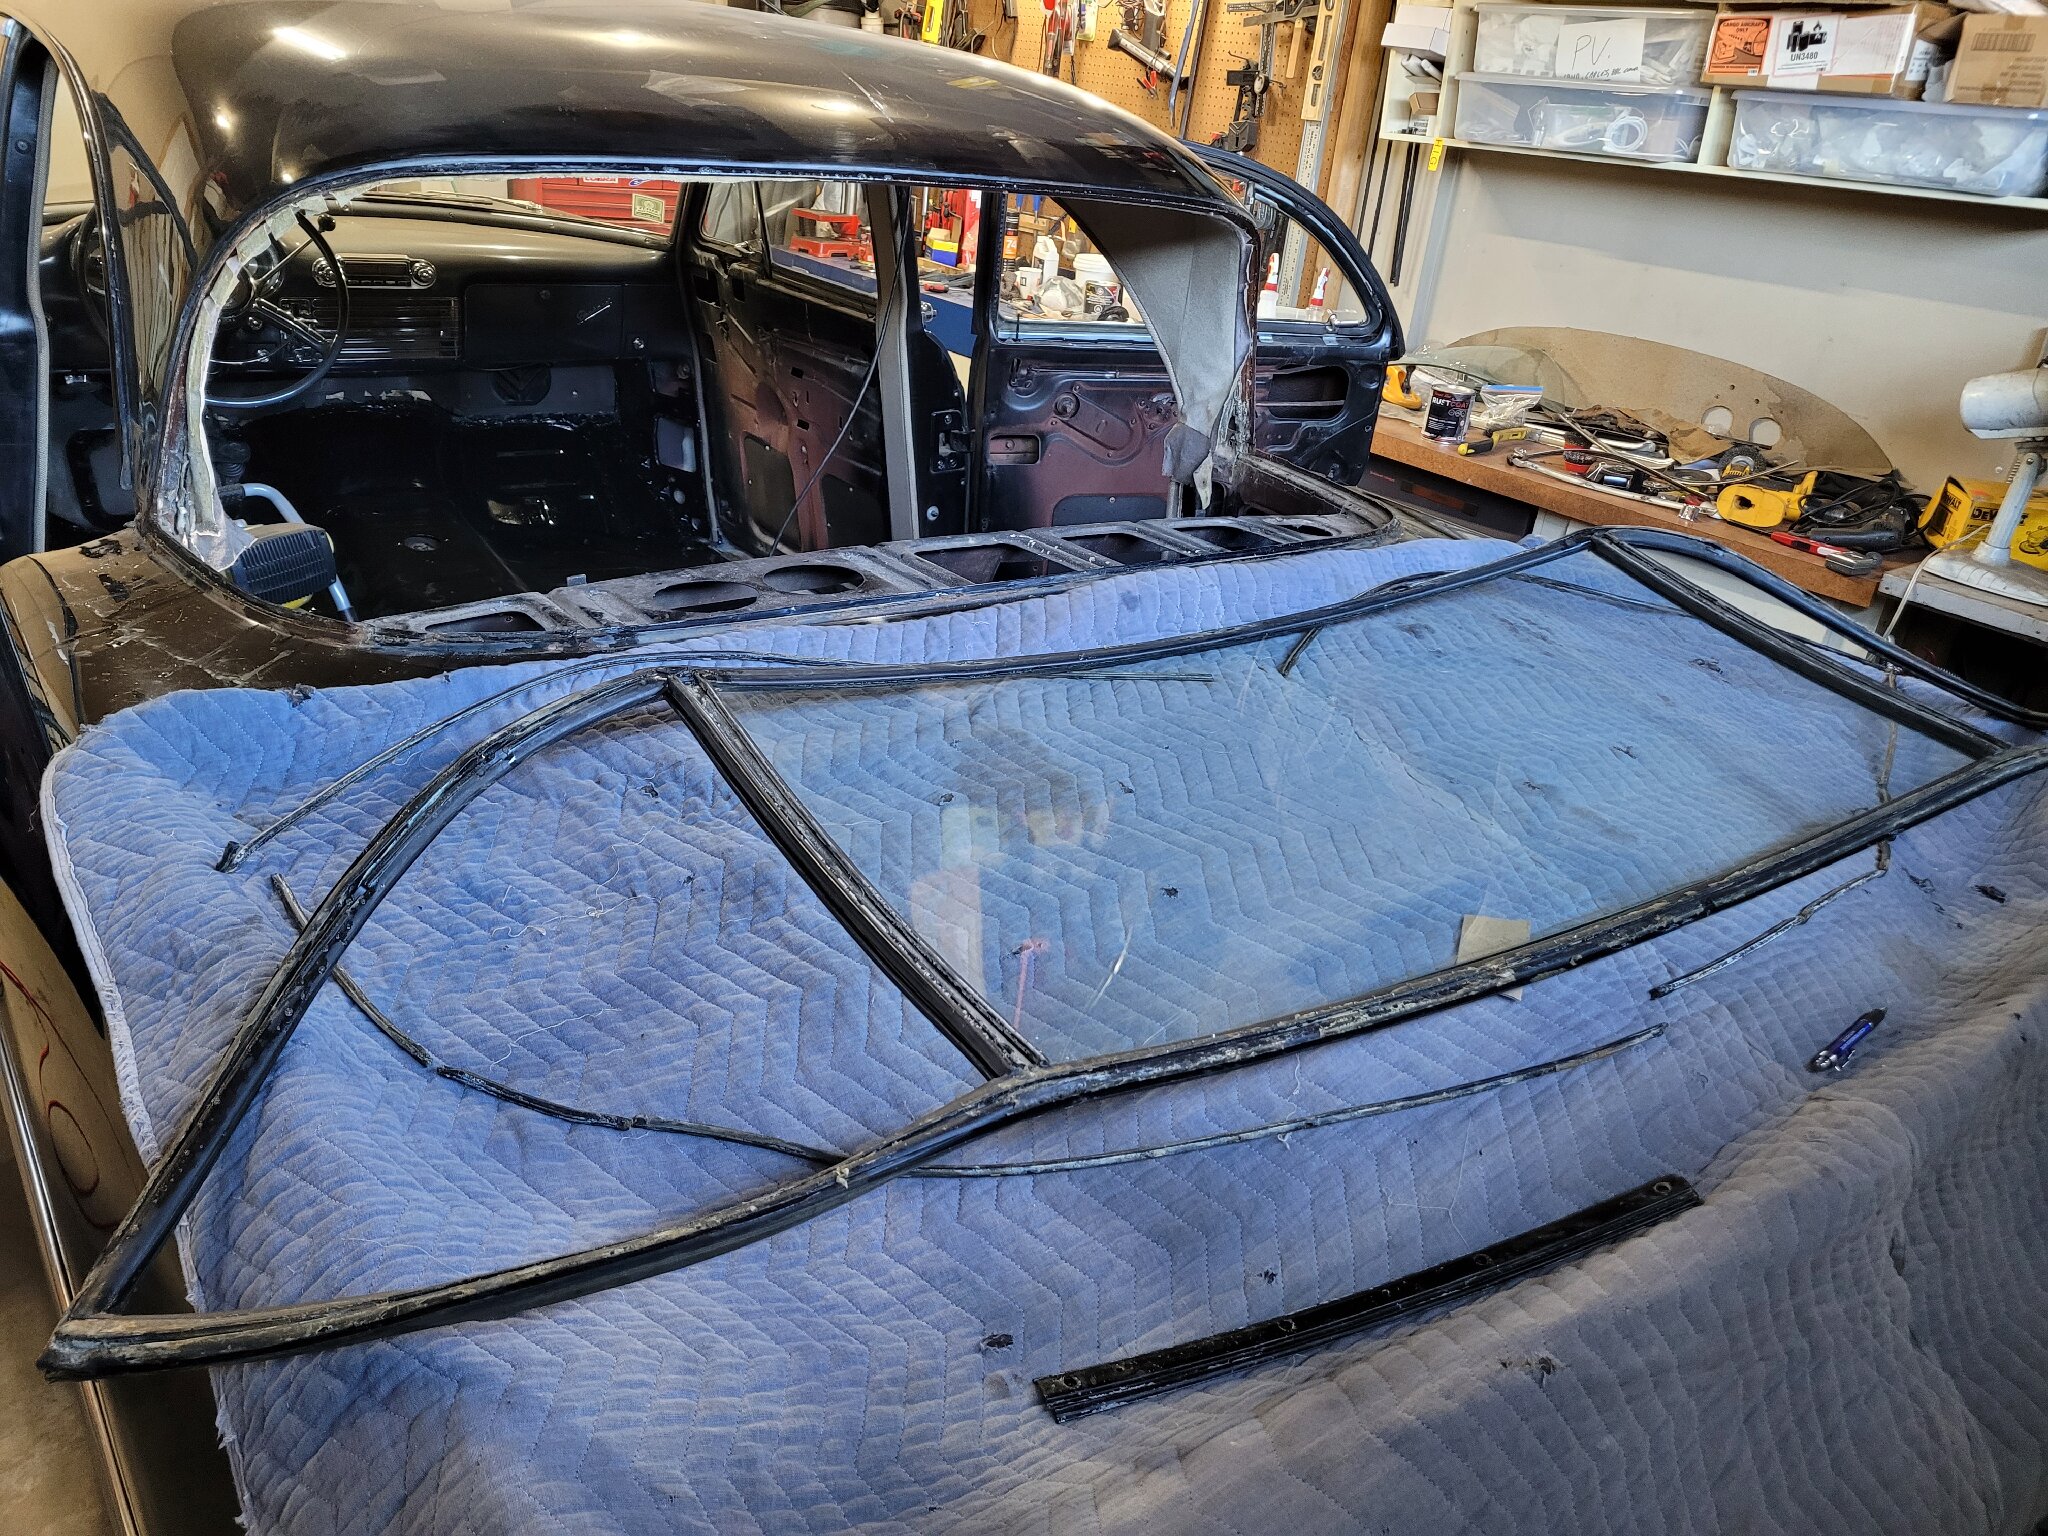
Getting ready to reinstall my rear window on my 53 Cavlaier, and looking for your thoughts. The little clips at the bottom of the dividers, for the little chrome caps, do not hook into the body like the other "similar" clips. It seems like they are supposed to, but the holes are not lined up to allow them to hook in.
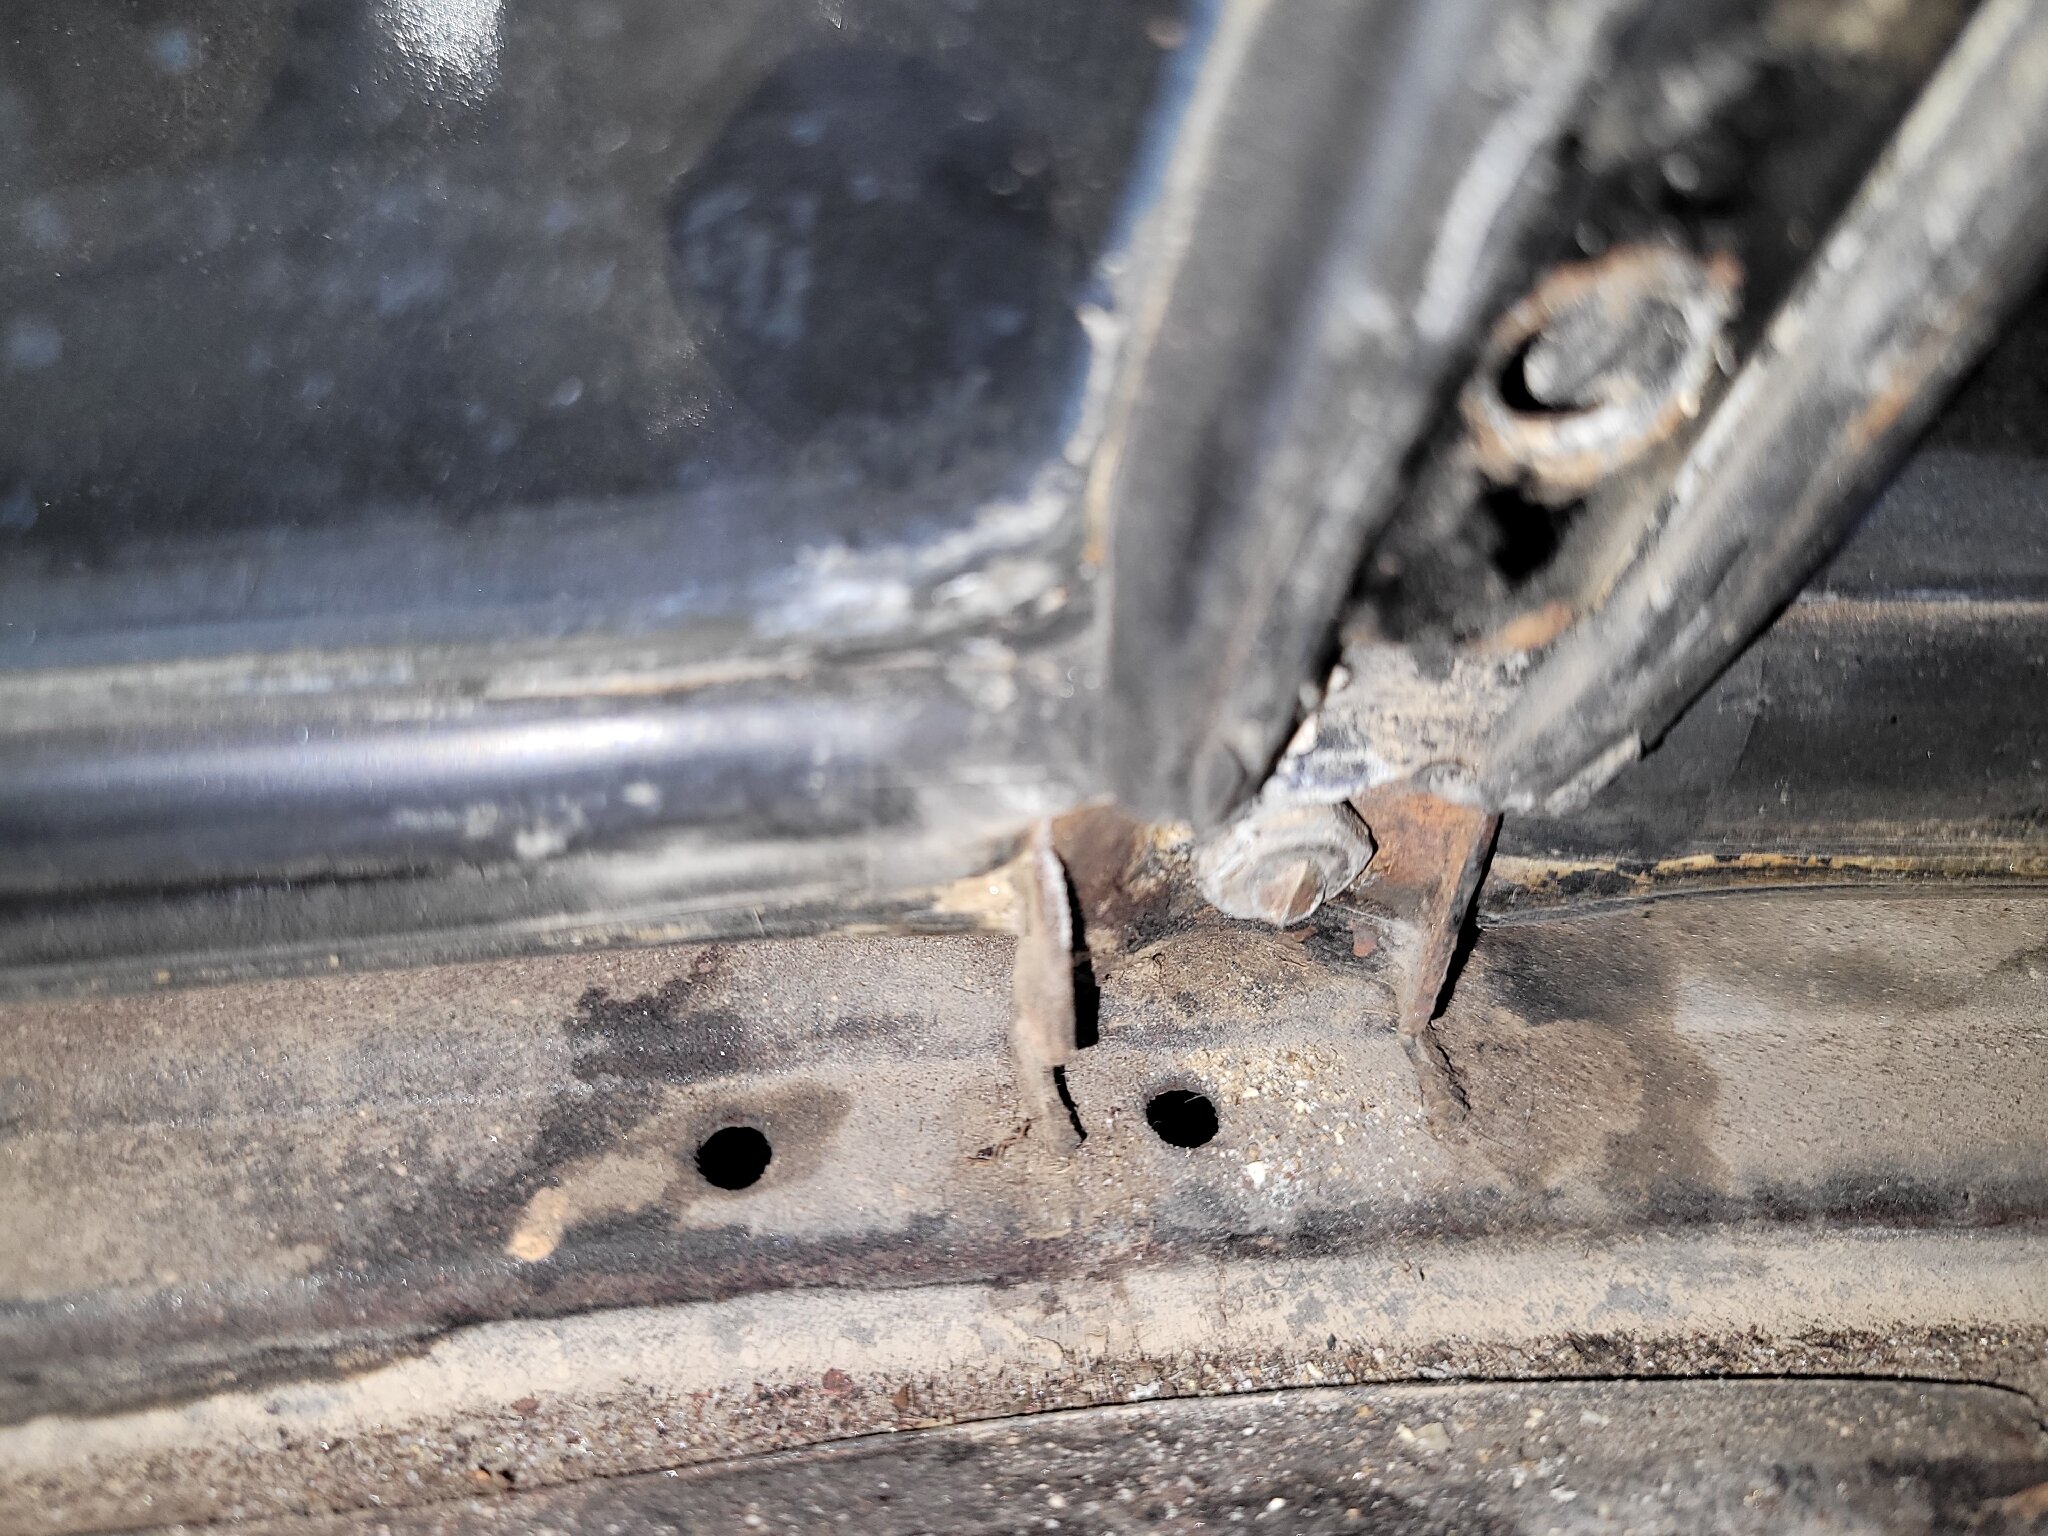 The other clips are not evenly spaced, which is a bit suspicious, but it didn't matter as they just put the trim bolts where the clips were. But, the dividers are fixed positions, so they kinda smushed these clips into place. 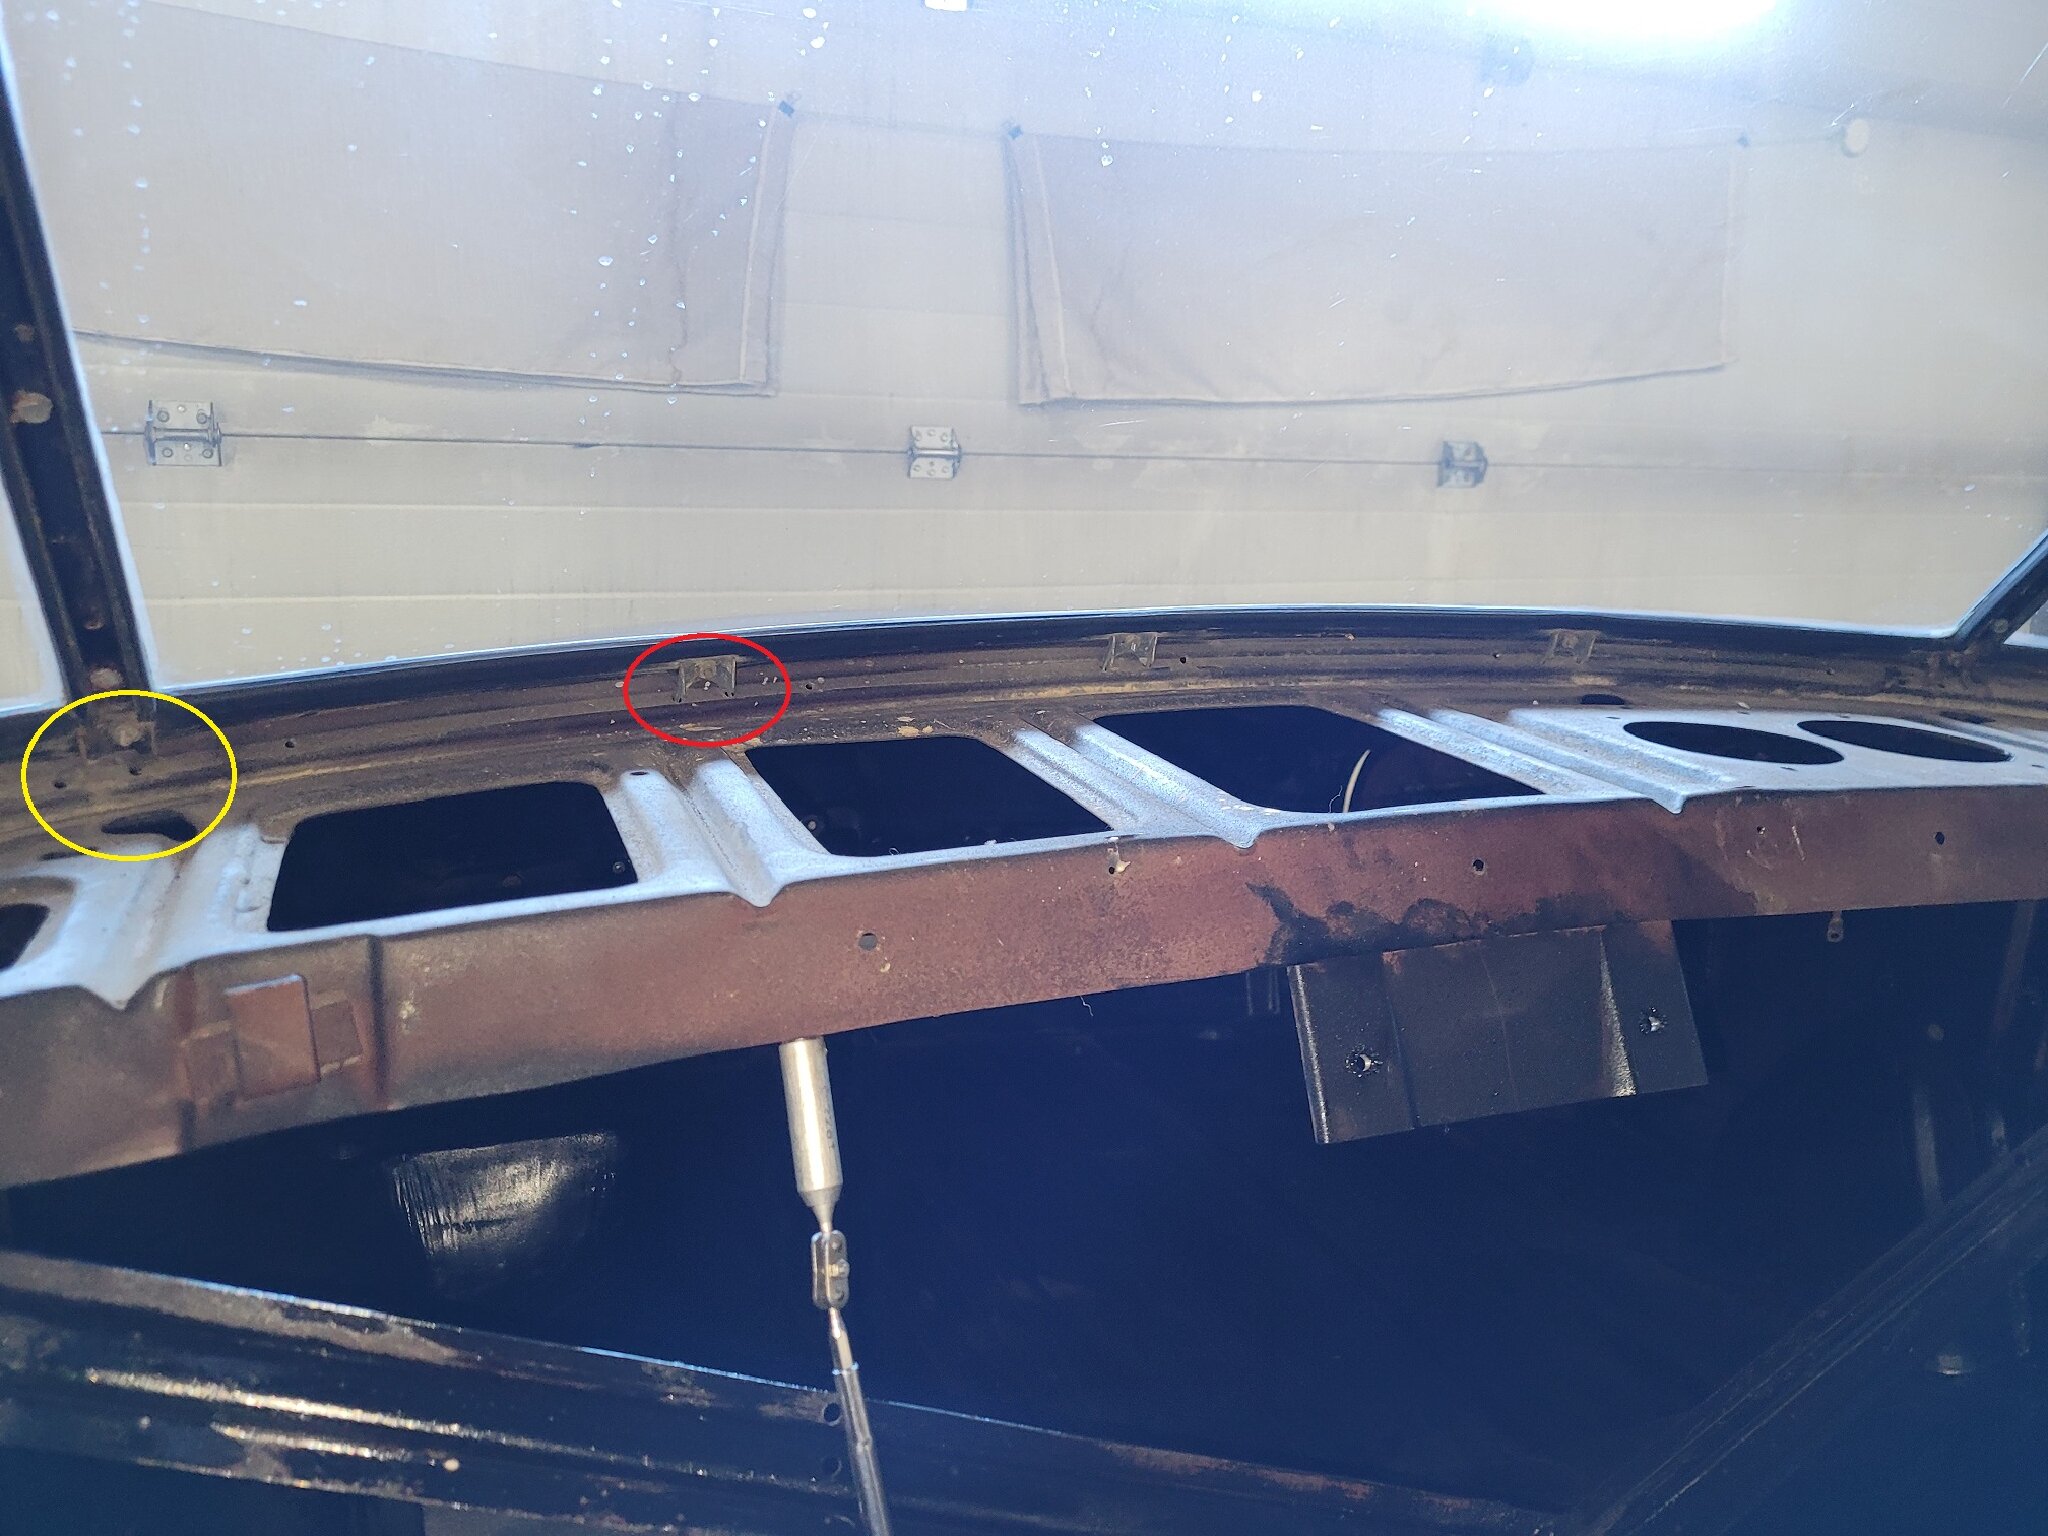 Both of the little chrome caps didn't sit quite right, but the passenger side was quite wonky. I'm hoping to be able to correct this. Maybe they are sitting too high and not pulling down and in? Or, maybe it's just that the ends of the belt molding are not in and aligned correctly. Maybe the clip not being locked into the body doesn't provide a solid place for the bolt to pull against?  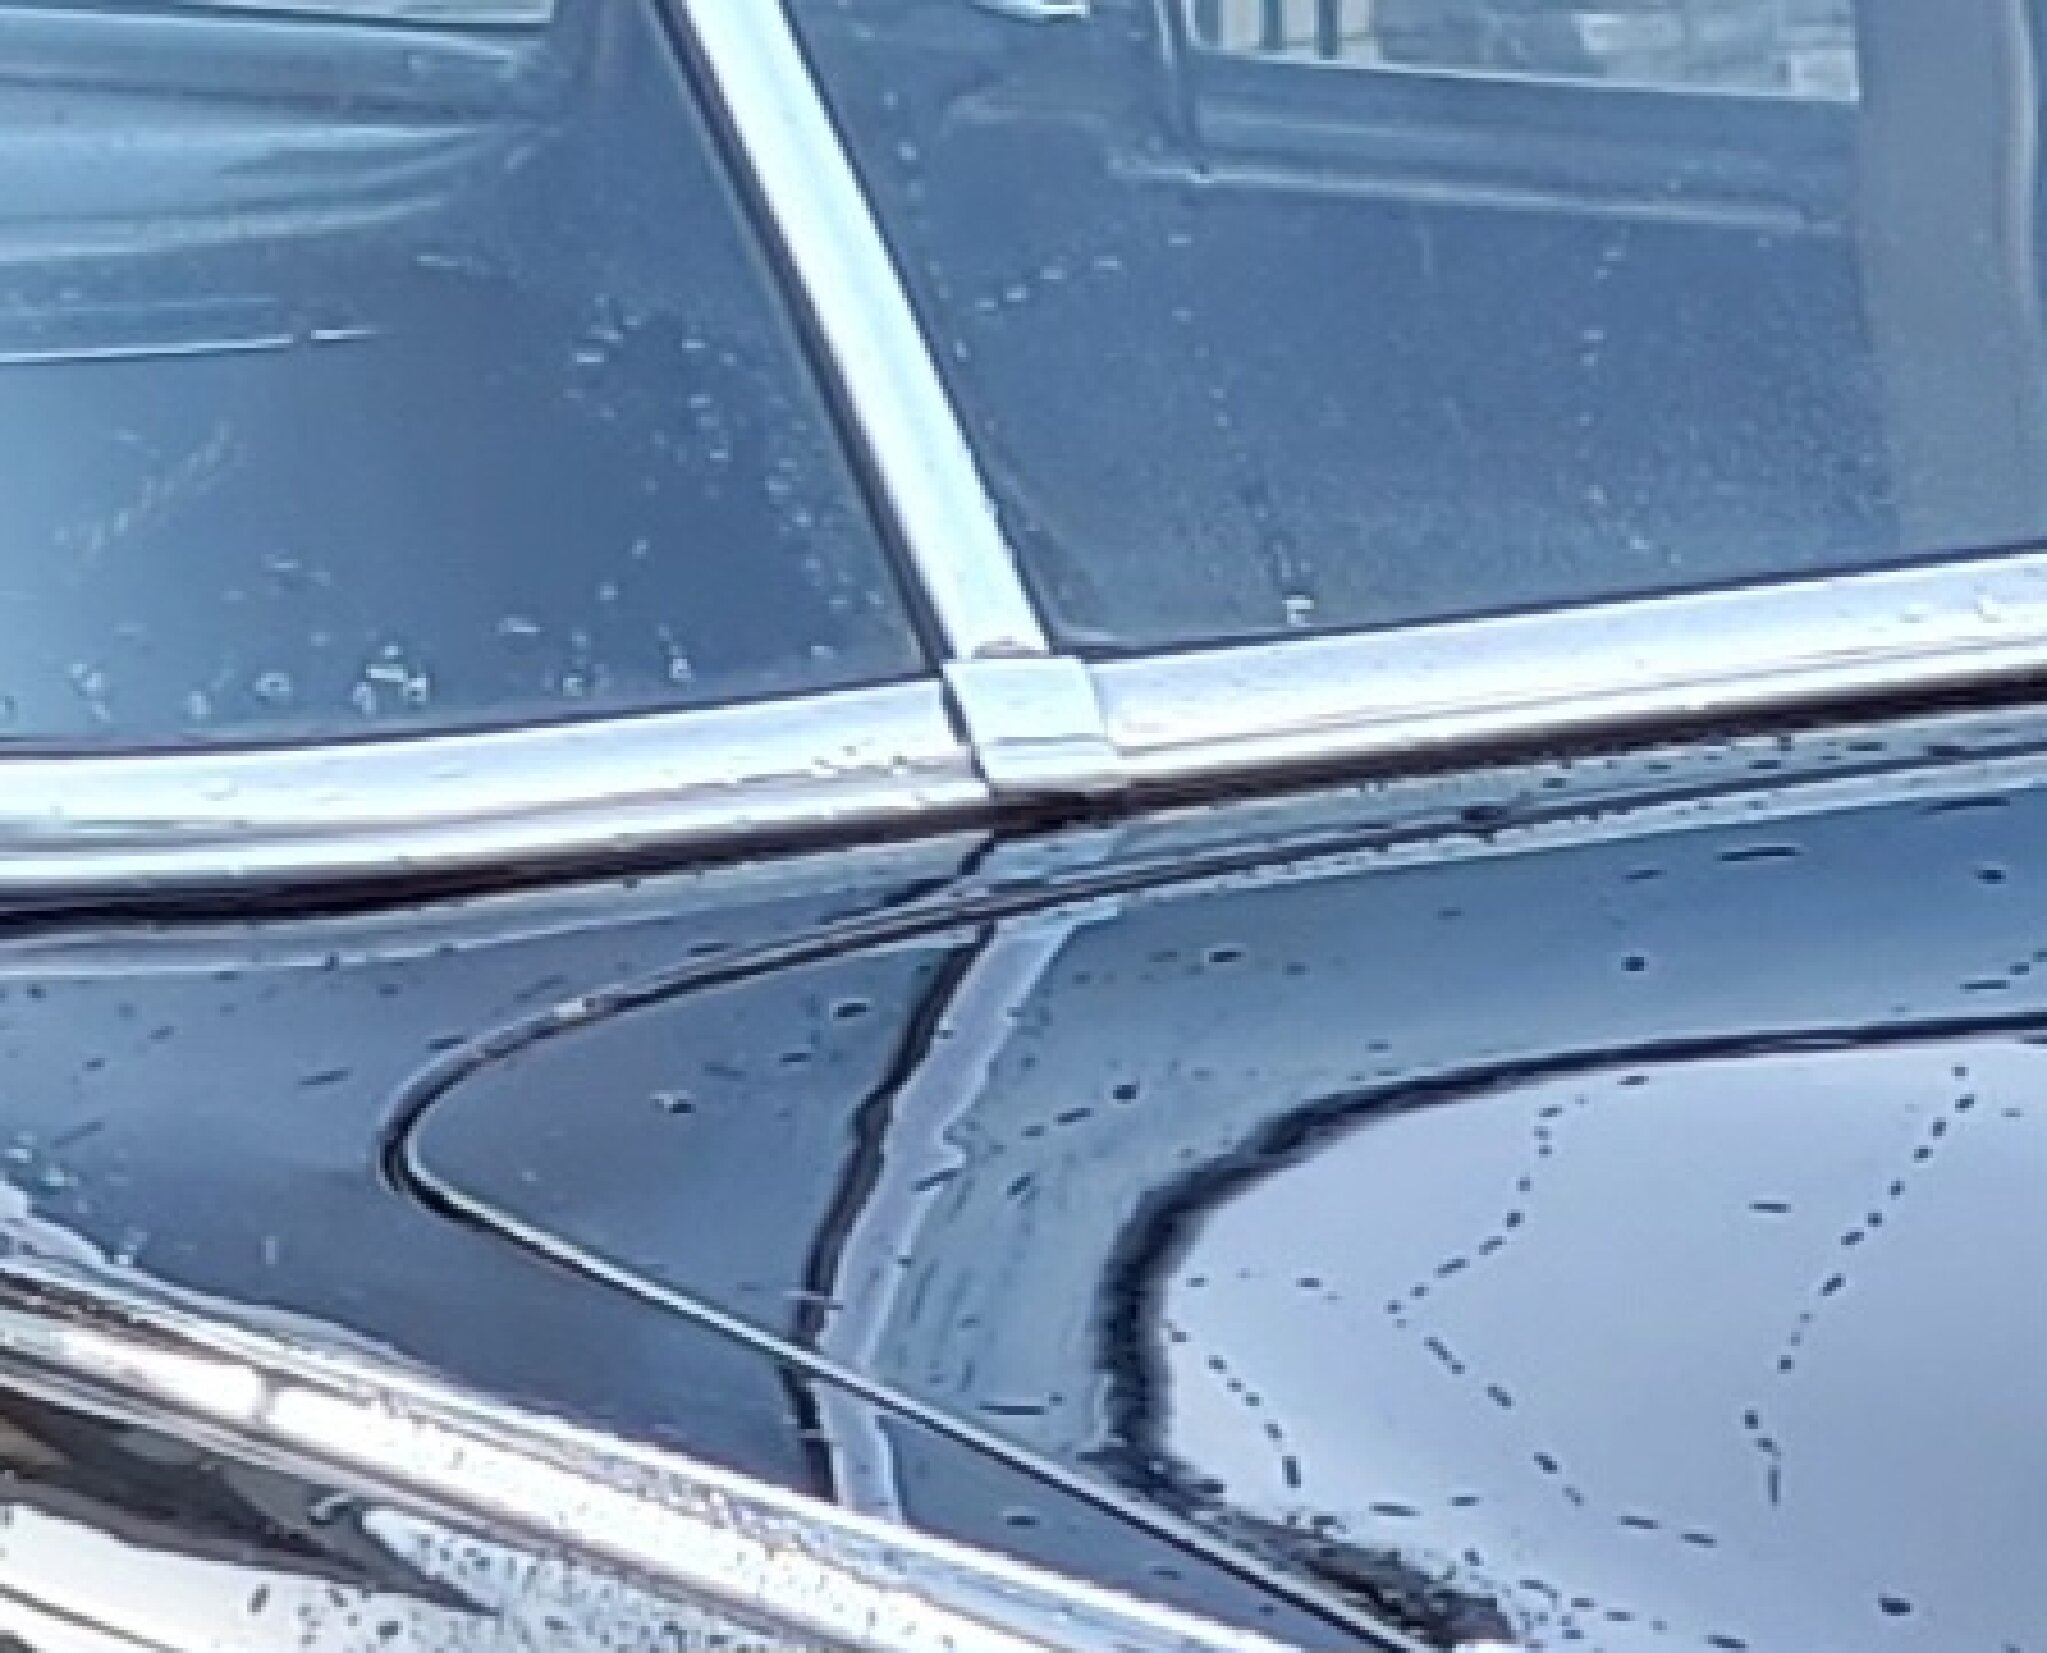 I figure I could drill little holes in the body that line up and try hooking those clips into the body like the other clips. Or, I could put them back the way they were and see if I can get things to line up. Or, I could use a little rectangular plate that doesn't have and hooks, like the windshield uses, and see if the chrome caps will just pull down into place. Have you had any experience with this? Do you know how it's supposed to be? What are your thoughts? What would you do/try?
Posted on: 4/4 1:10
|
|||
|
||||
|
Re: Rear Window-2672
|
||||
|---|---|---|---|---|
|
Home away from home
|
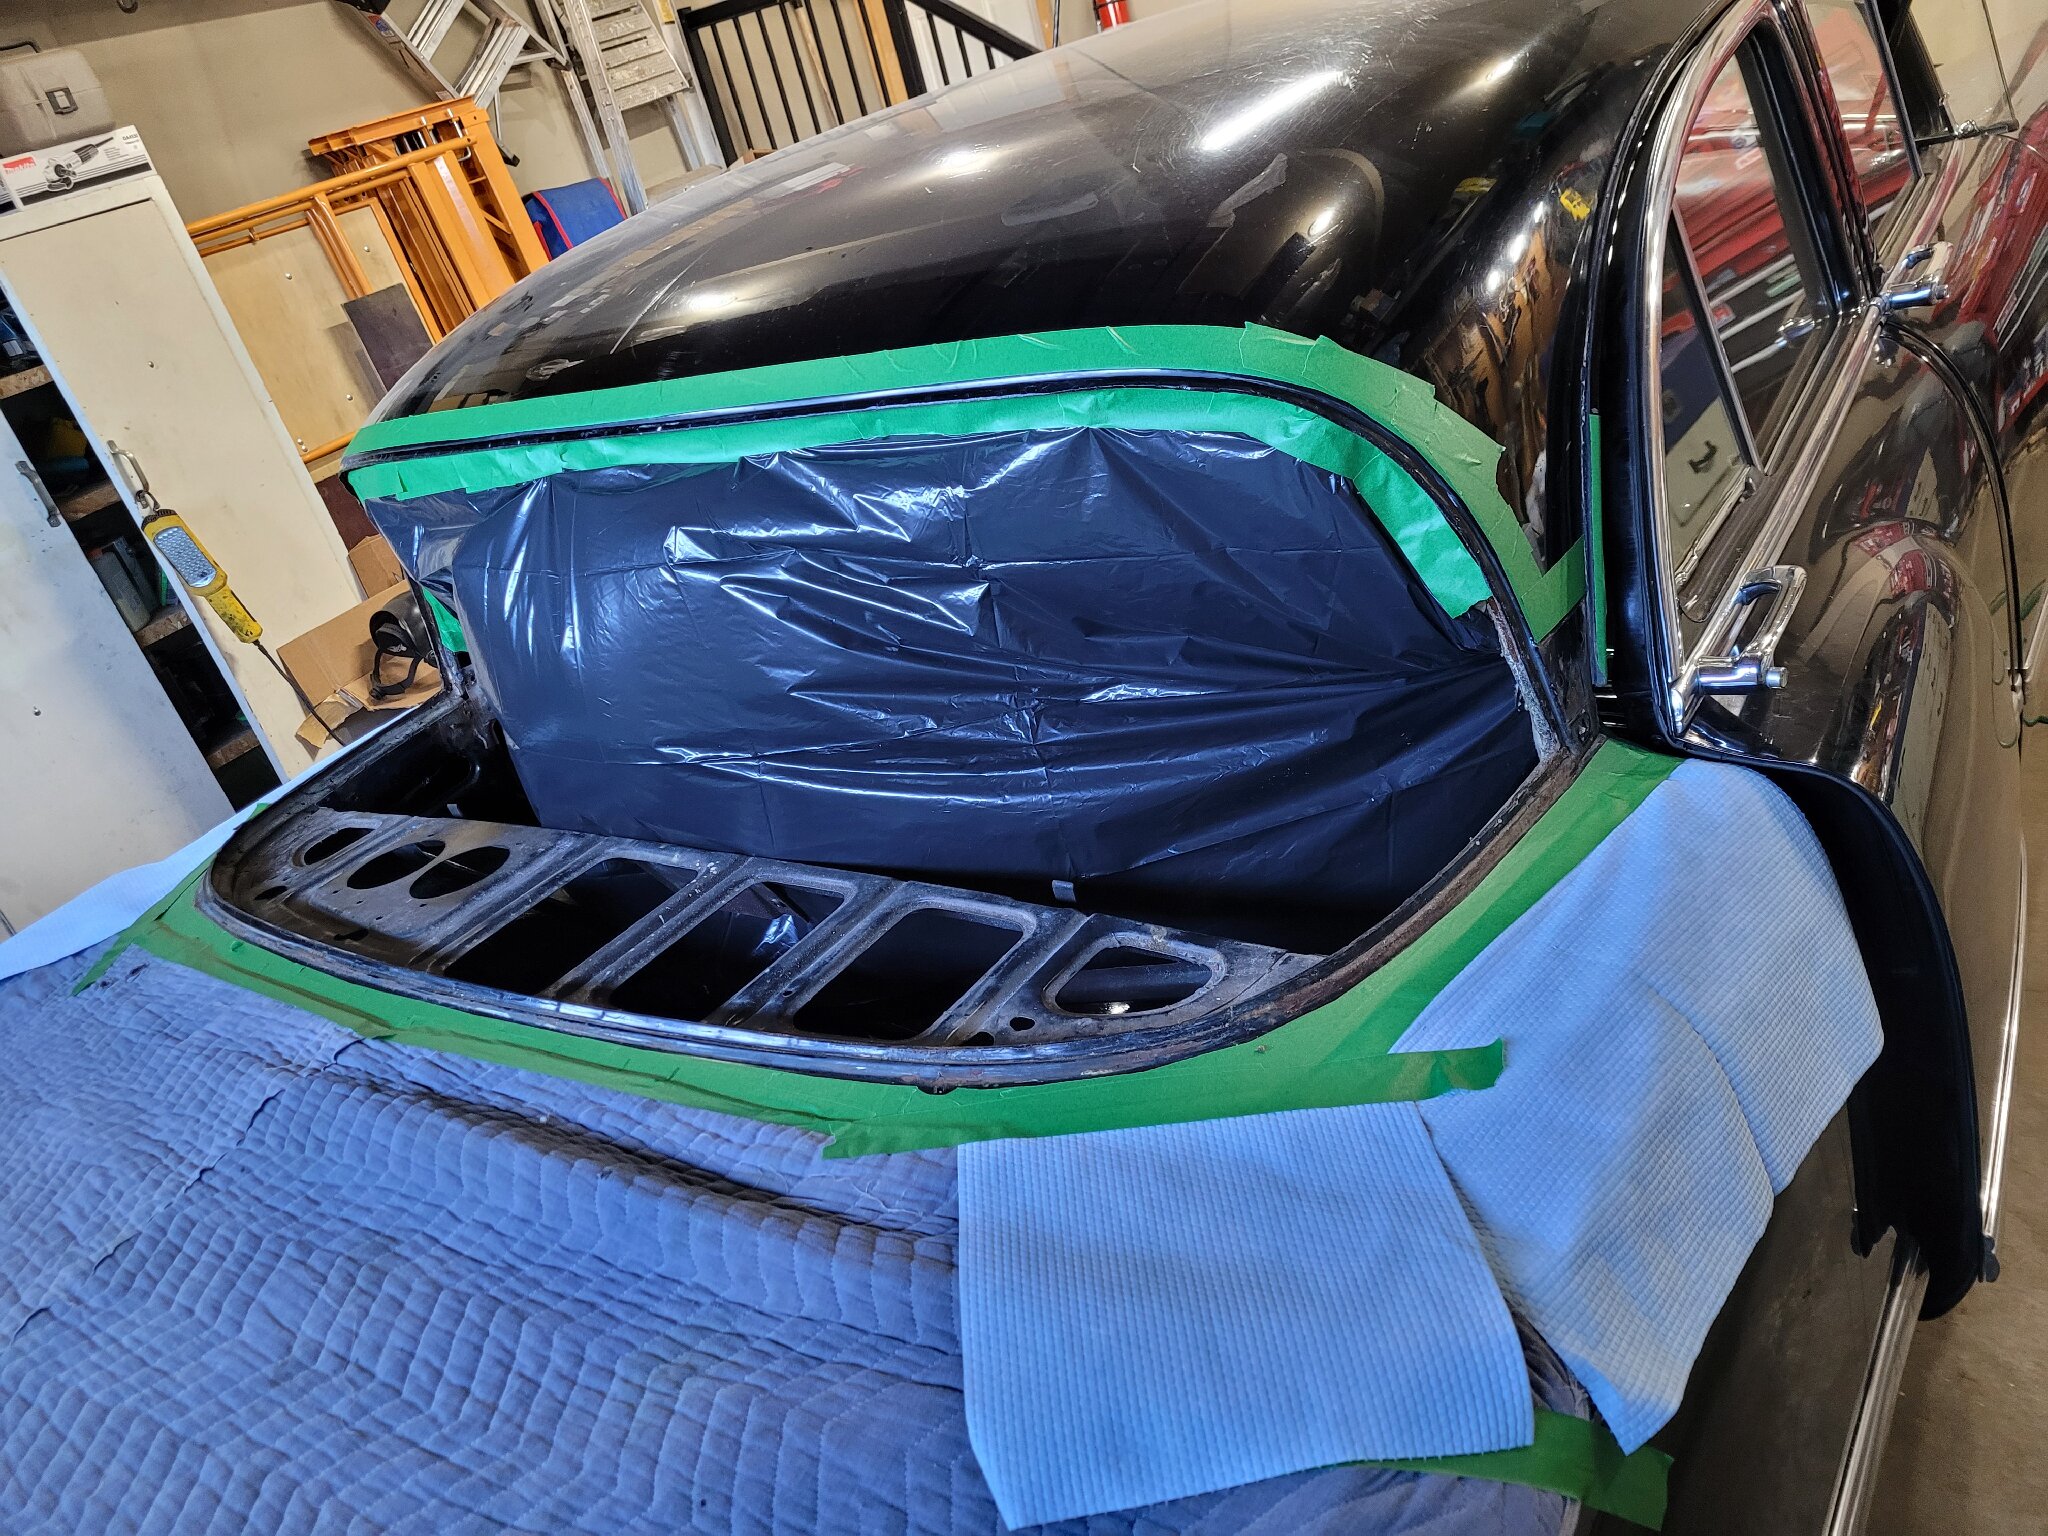
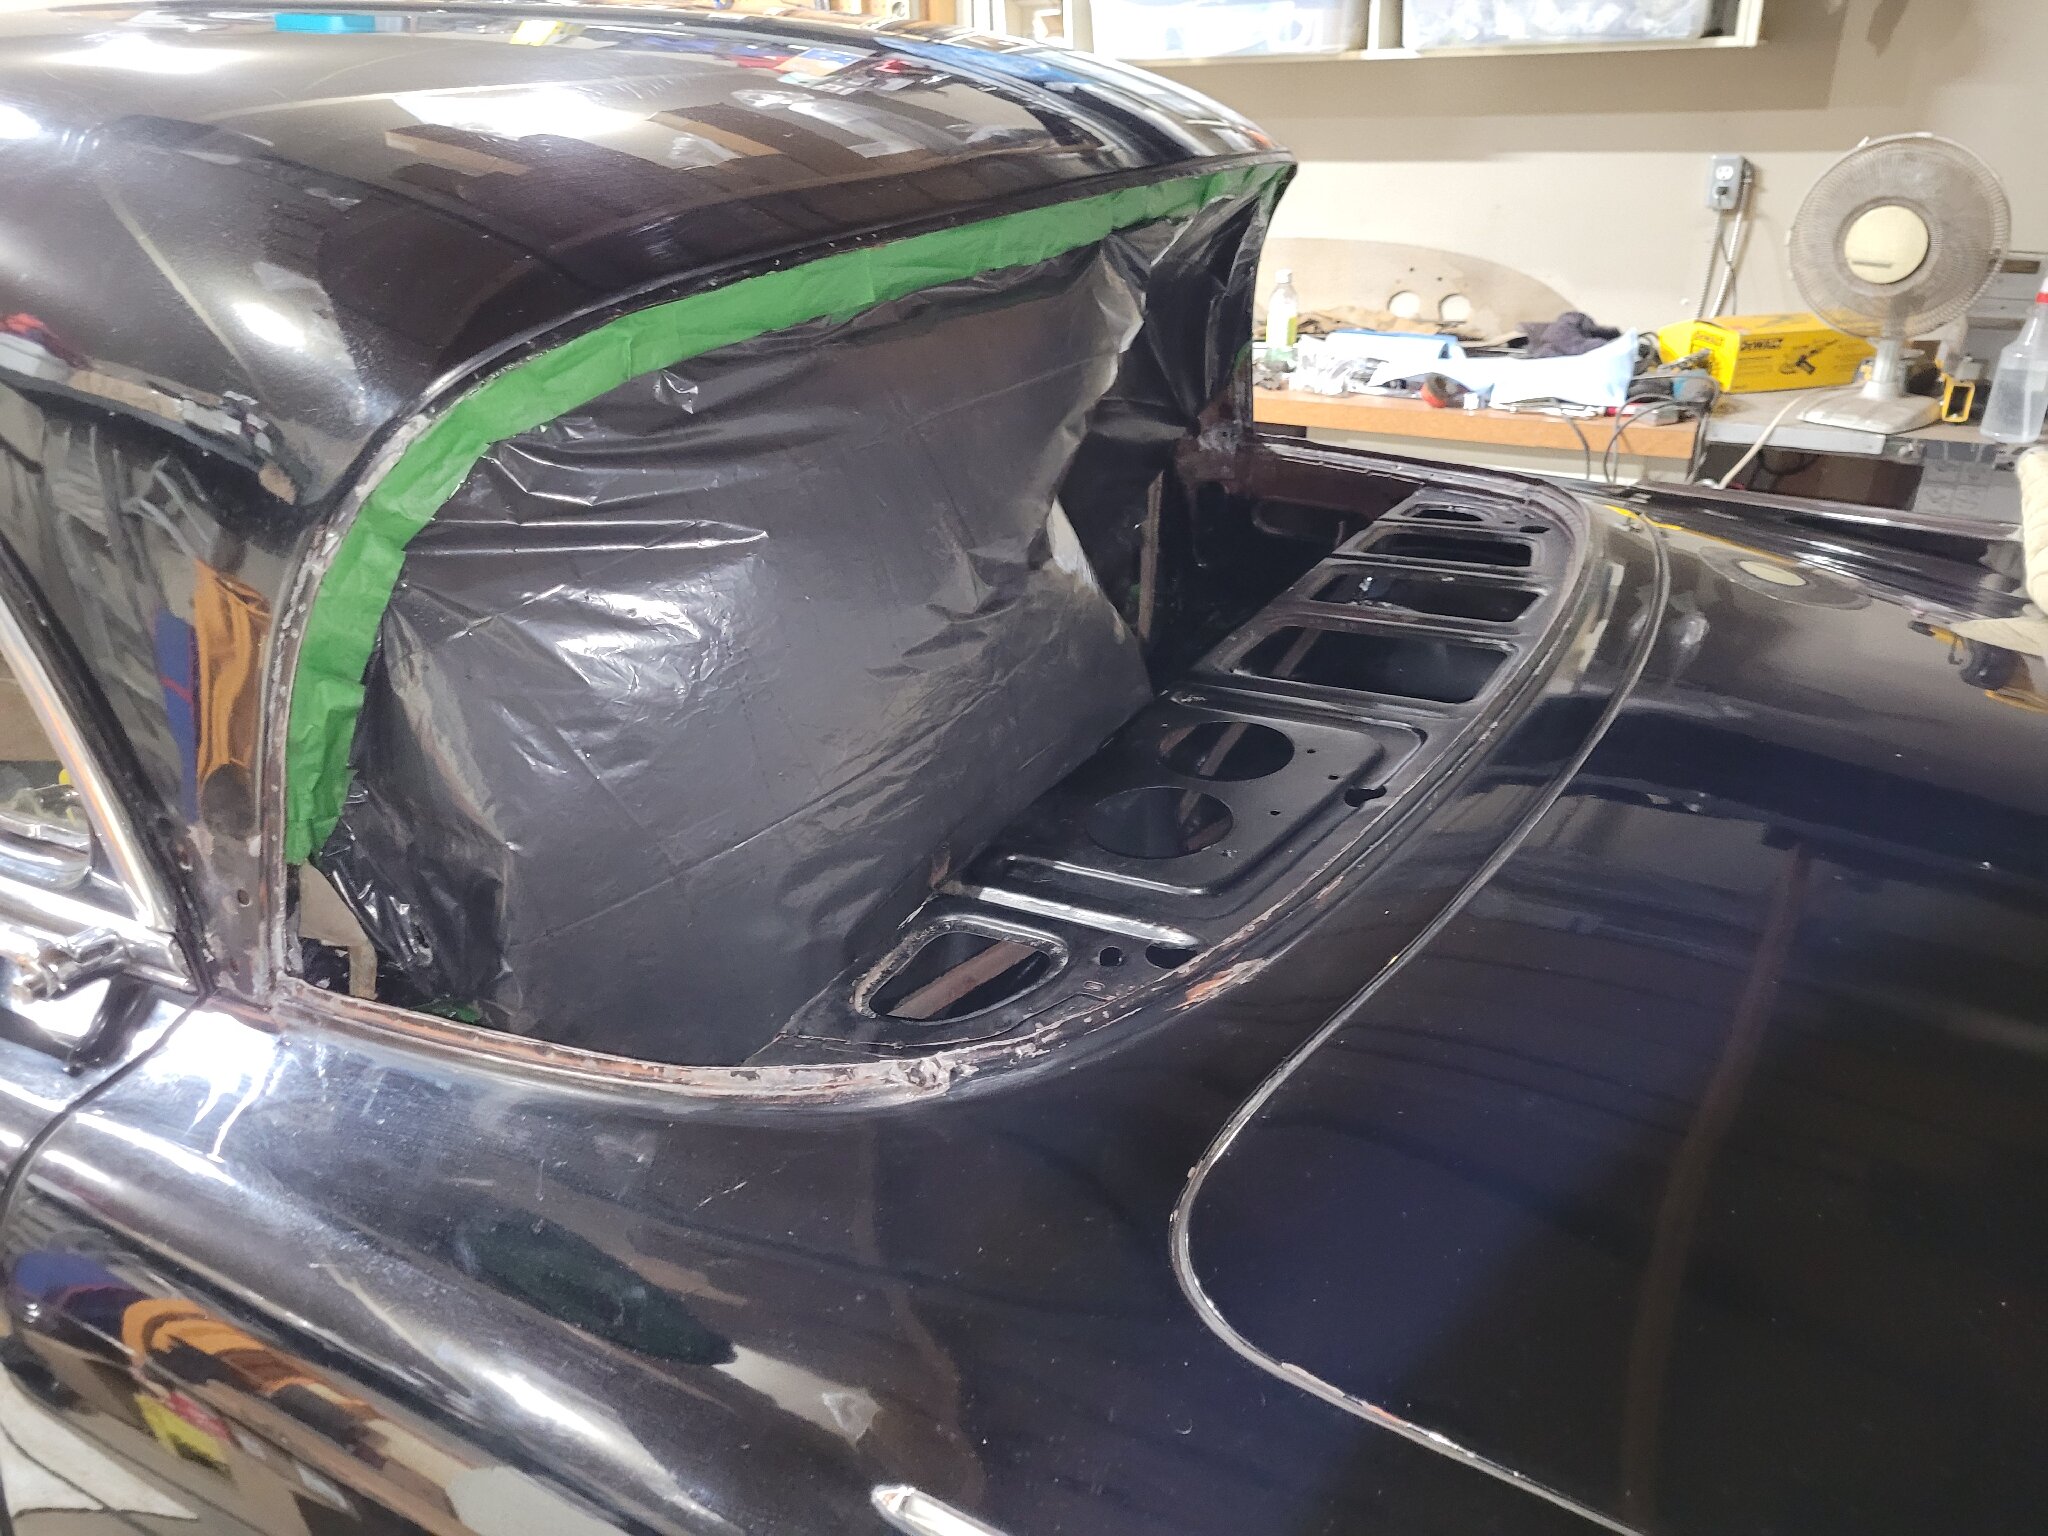
Rear window done!
Rope with soap and it went back in no problem. I was working by myself so I installed the three pieces individually. 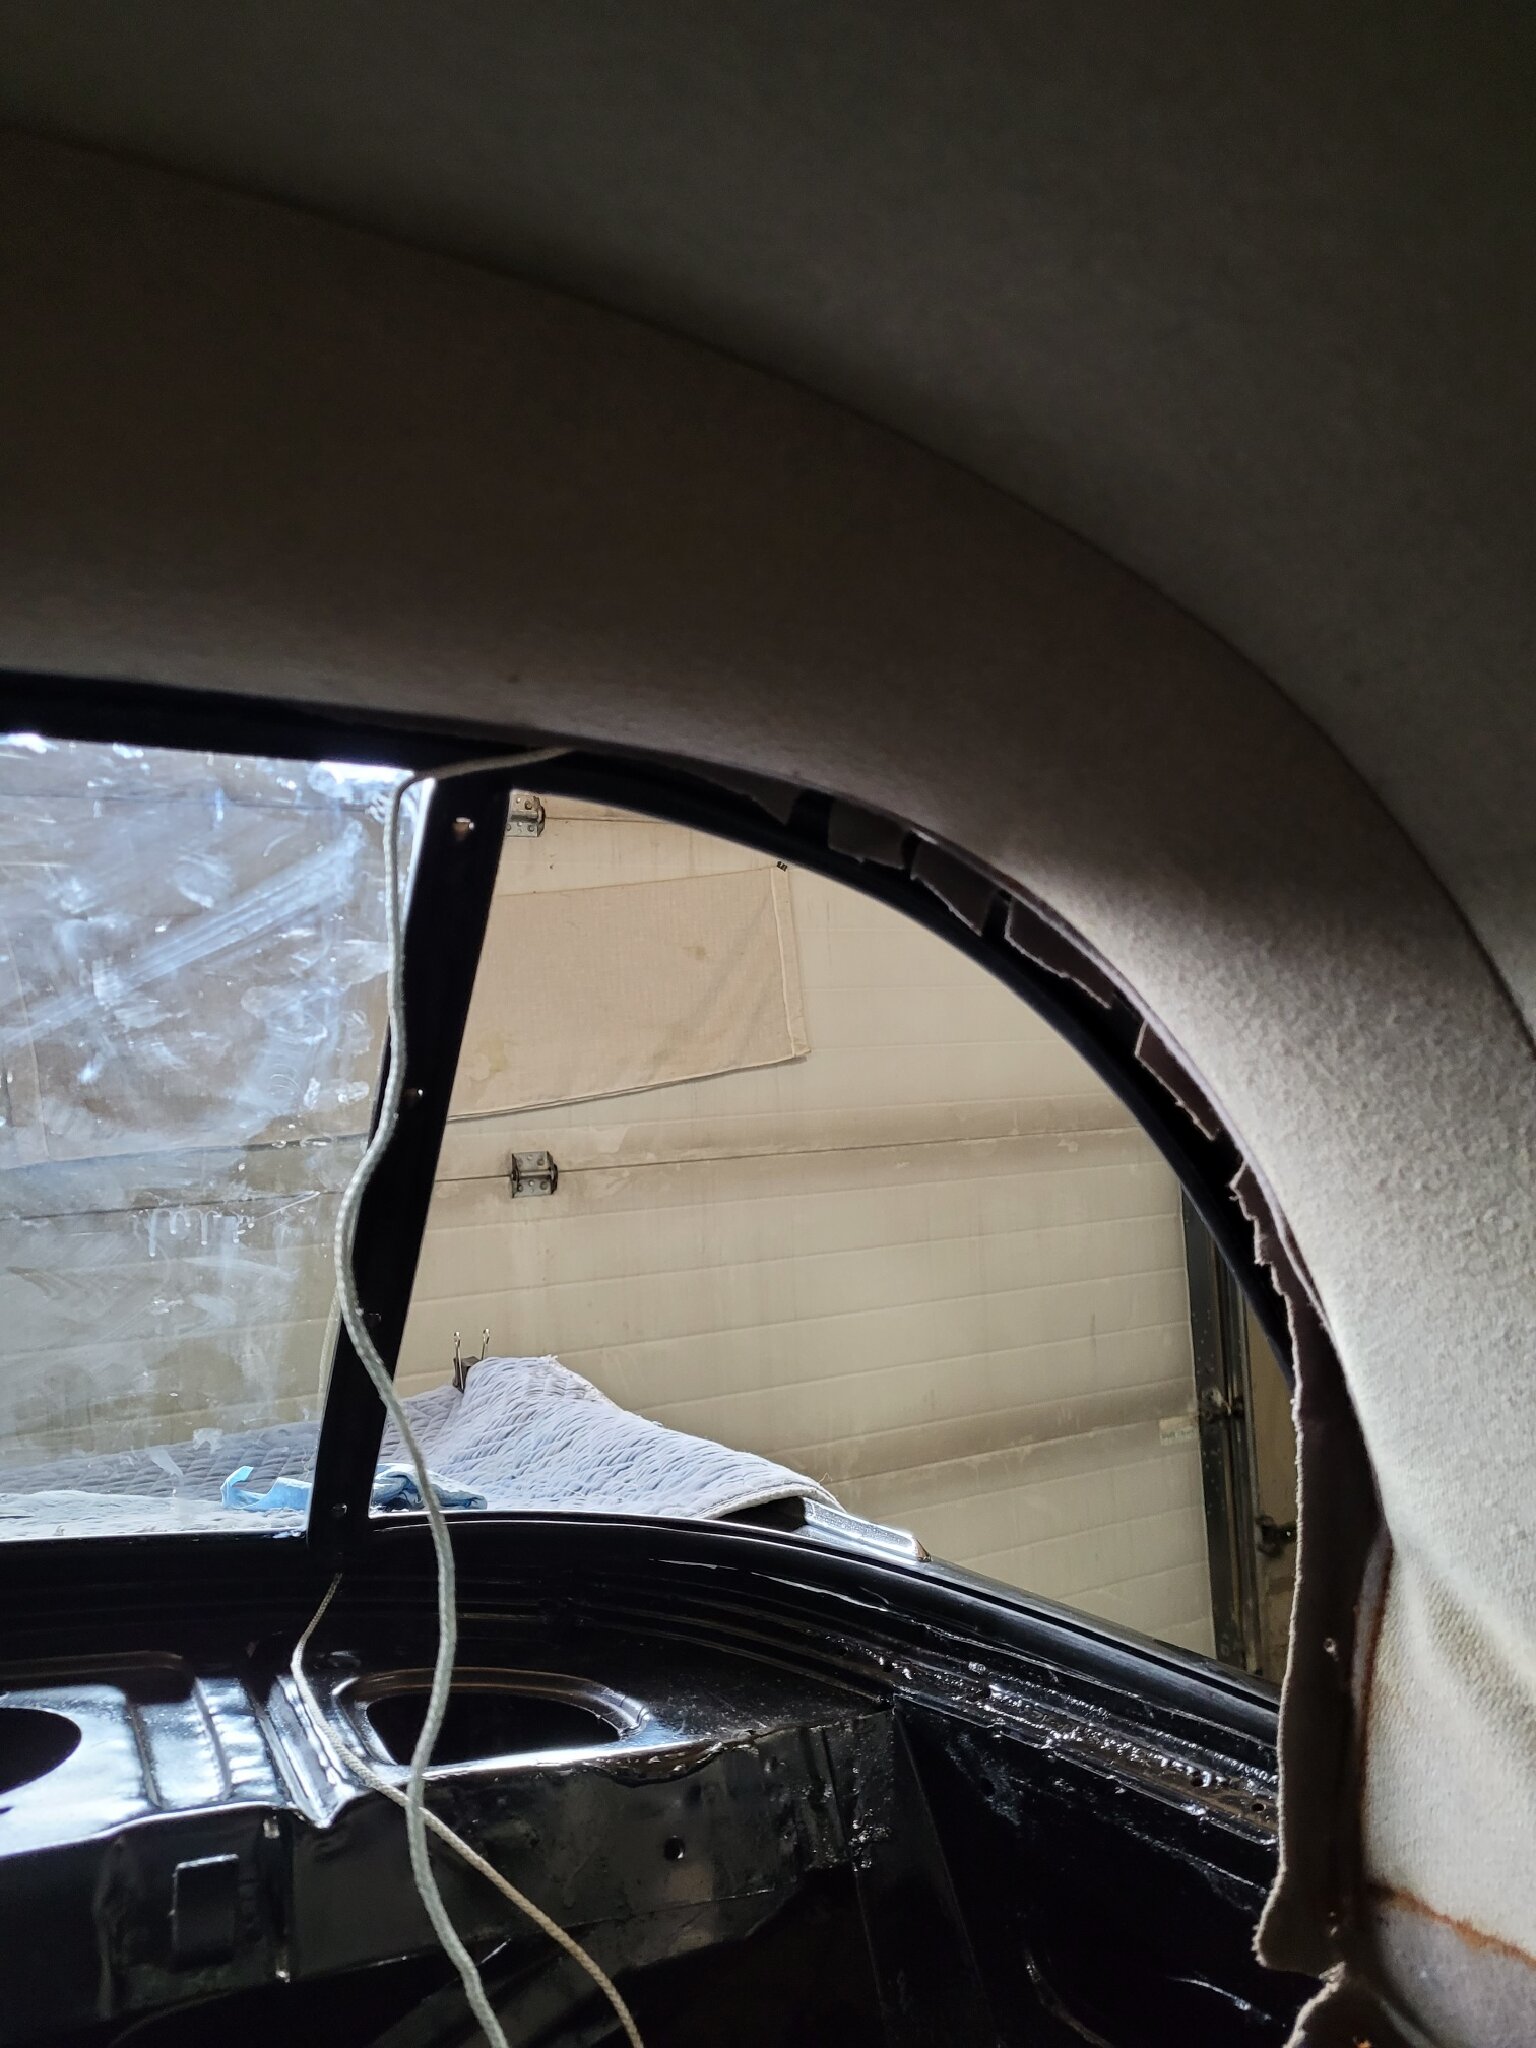 I redrilled the holes for the little clips at the bottom of the dividers so they were correct and hold the little chrome caps straight. 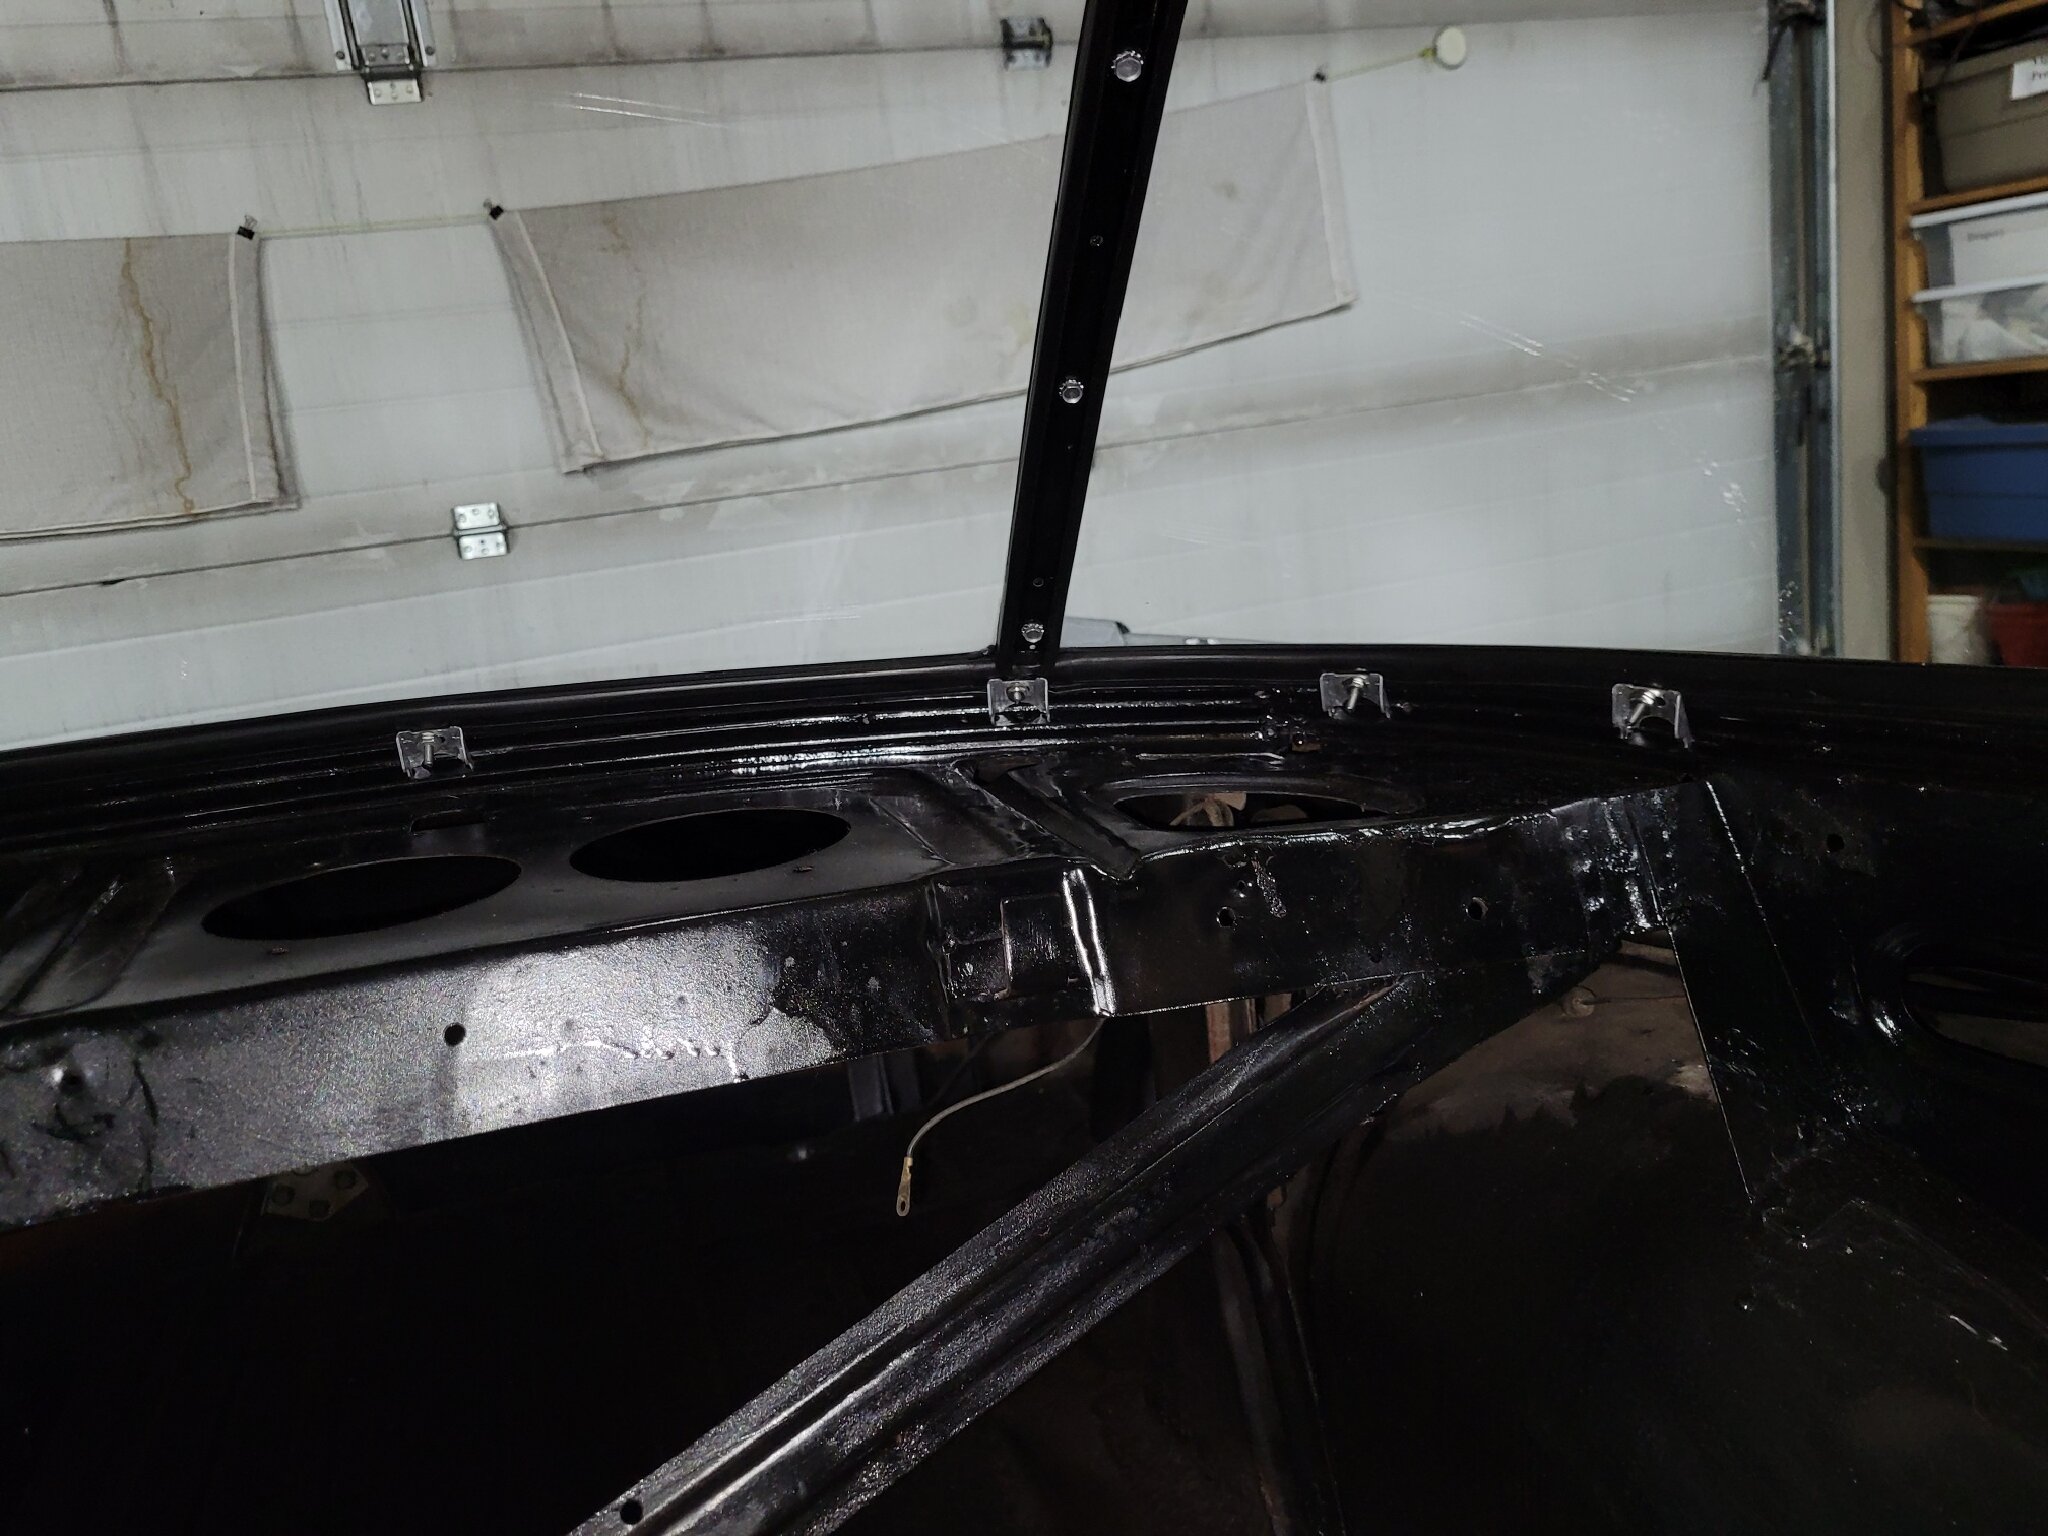 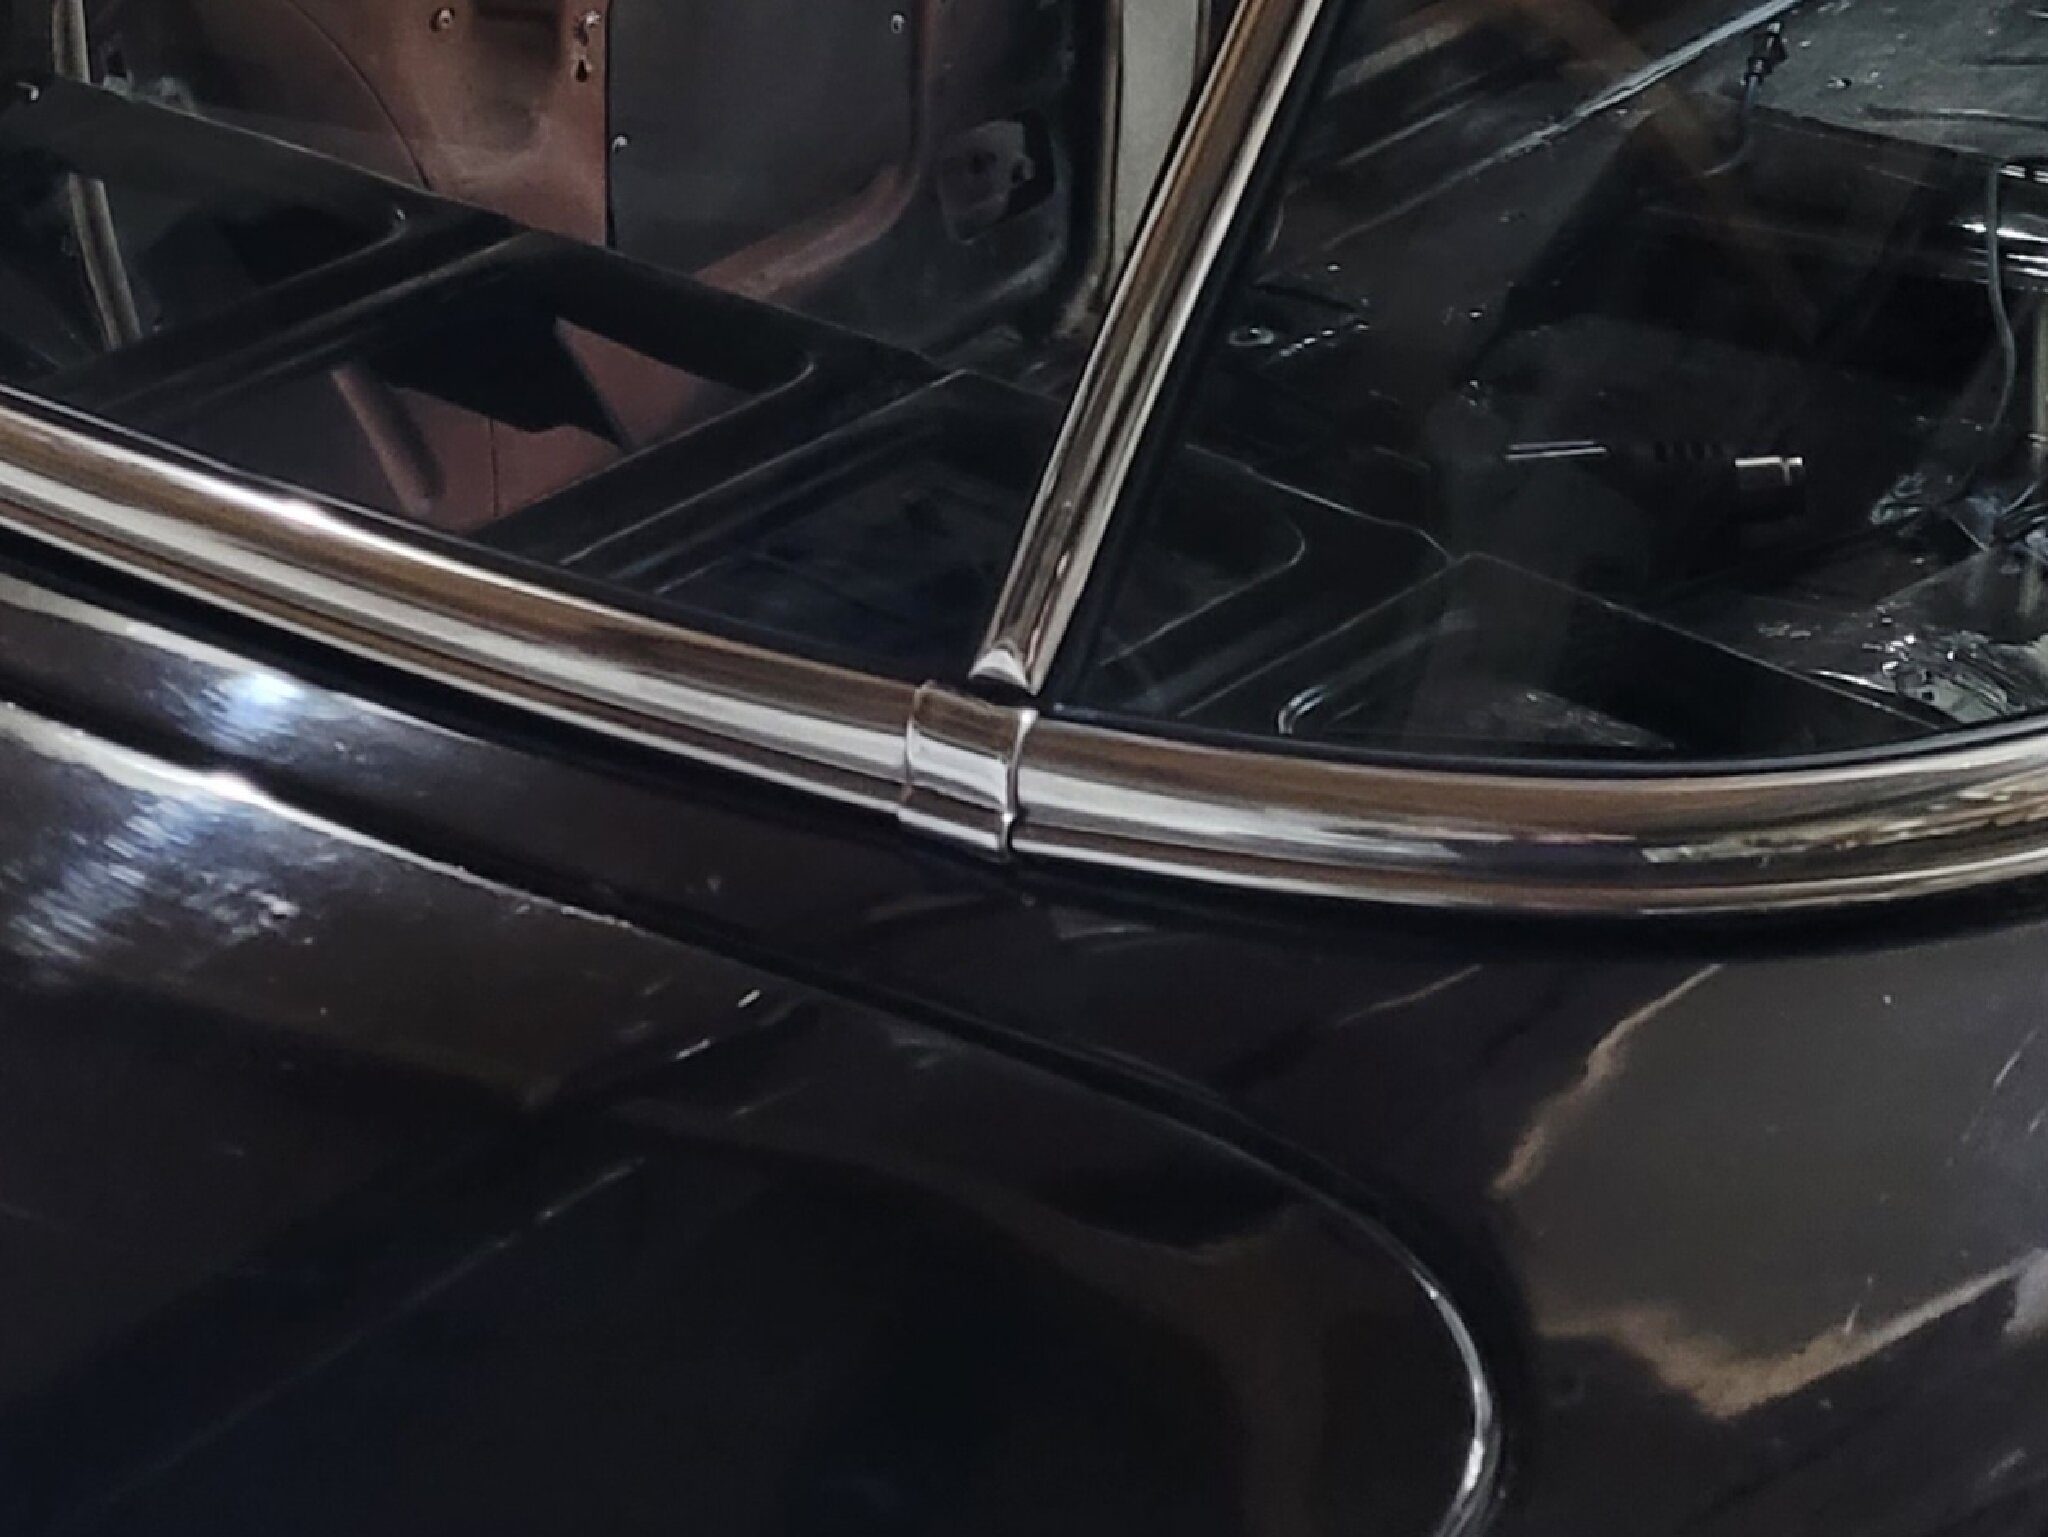 All sealed up and will be good for another 71 years! I'm going to check it for leaks before putting interior back in. 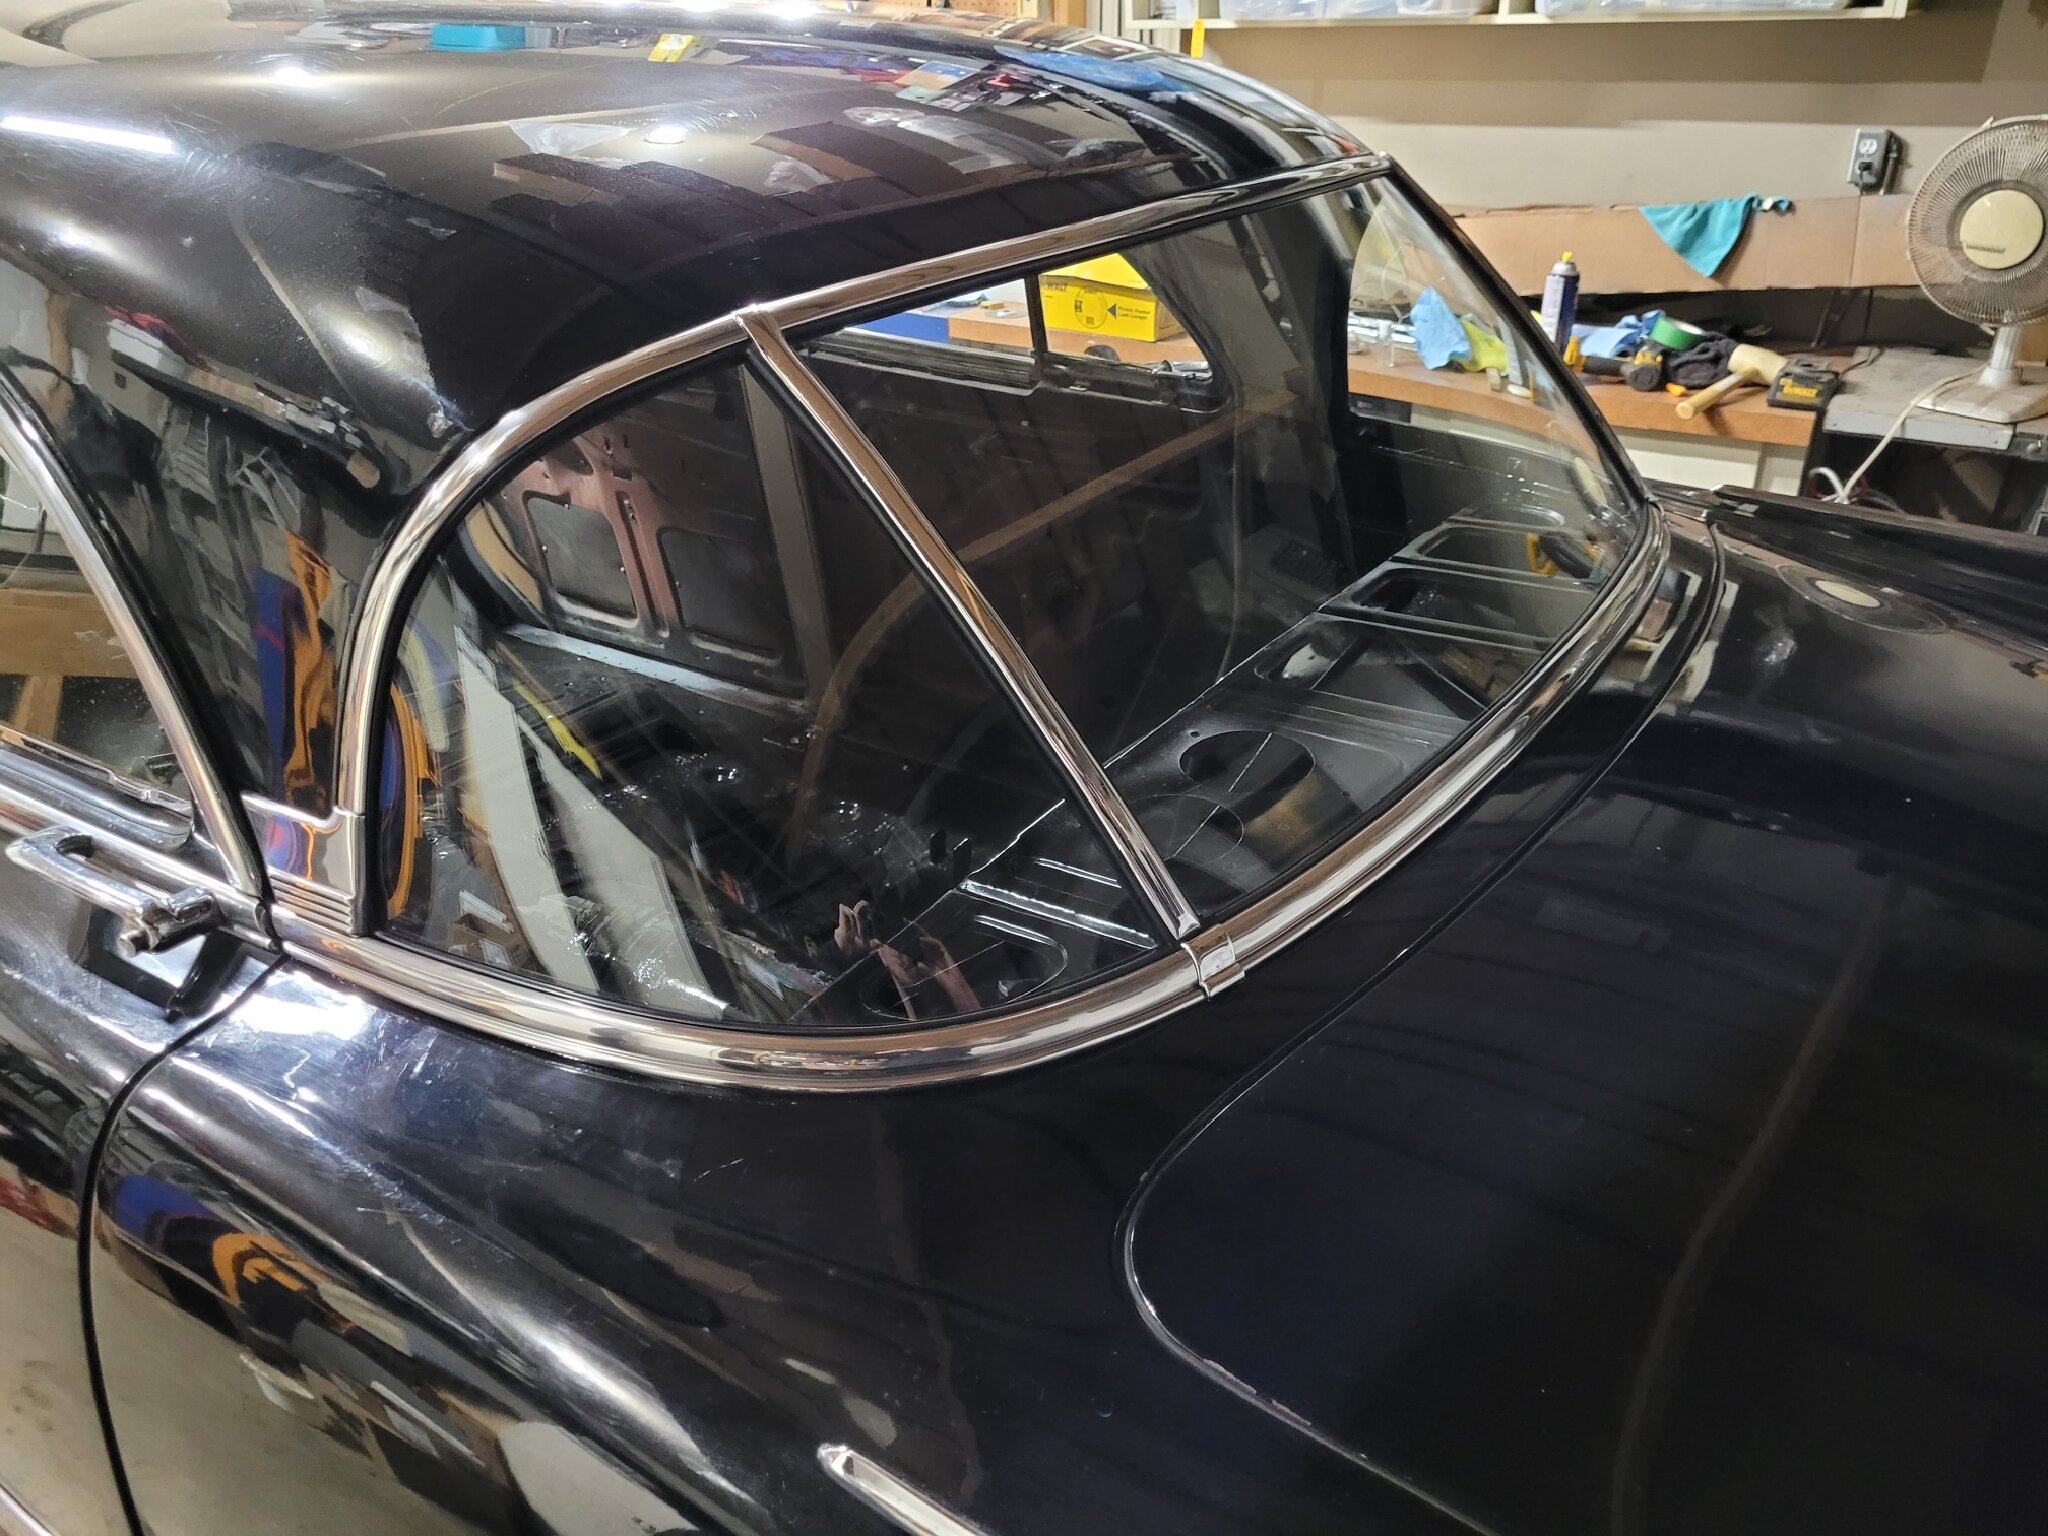
Posted on: 4/8 9:14
|
|||
|
||||
|
Re: Rear Window-2672
|
||||
|---|---|---|---|---|
|
Home away from home

|
That's a good job and one I wouldn't want to tackle myself!
Posted on: 4/8 11:33
|
|||
|
||||
|
Re: Rear Window-2672
|
||||
|---|---|---|---|---|
|
Home away from home
|
Quote:
It's not a hard removing and installing the 3 piece rear window. Slowly and carefully is the key, like all projects should be on a vintage car! IMHO
Posted on: 4/8 12:09
|
|||
|
||||


