|
Re: 51Packard's....51 Packard
|
||||
|---|---|---|---|---|
|
Webmaster

|
Also make sure you are getting a good clean ground with the welder clamp.
Posted on: 2012/3/29 12:34
|
|||
|
-BigKev
1954 Packard Clipper Deluxe Touring Sedan -> Registry | Project Blog 1937 Packard 115-C Convertible Coupe -> Registry | Project Blog |
||||
|
||||

|
Re: 51Packard's....51 Packard
|
||||
|---|---|---|---|---|
|
Home away from home

|
Charles, with your welding - hard enough to do a good job on good new 18g but it can be very difficult to weld metal that has become thin due to rusting. Some areas on my car were like that, just always burning through. I had to cut out a larger area to get to an edge of good thick metal before the weld was satisfactory. Also - as mentioned - copper spoon (or sheet, or bar) is very useful or even necessary especially when filling holes. But as I said, if the metal around the holes is really thin you will have a hard time. Pinholes are different - they'll have generally a bit of thick metal all around them so they usually weld more easily.
Make sure you get the copper spoon pressed firmly against the job, it has to sink the 'surplus' heat and support the new metal. You've done some good welds I see, despite difficult circumstances! So you are on track, just keep at it. Couple of hints . . . . as BigKev says, always tack at wide intervals maybe 6'' so as not to warp, then midway until your whole weld is just many tacks filling all the gaps. A bead will warp the metal. Also, moving a along a bead is more likely to burn through than not moving, and just doing a tack. Slow is the secret, it's no problem leaving the wire on the same spot for maybe two seconds or more (not advancing, just take the time to get the puddle where you want it). Let it melt consistently and flow into the area you want it. Gun angle - I think angle is important to reduce blow through, have it at around 50 degrees to the job for butt welds. Make tiny circles to create the puddle, no big zig-zags. Keep wire exactly in the centre of the butt join, which means a good bright light to see the work by. For penetration you need to get the area hot, so get a puddle going. It's a trade off because vertical gun gets more penetration but is more likely to burn through. Angled gun - have to sit in same place longer for penetration but you'll get (should get!) less burn through. Poor metal - damned hard to avoid burn through no matter how good a welder you are. Remember also - Argon is not for MIG welding, that's for TIG. Sometimes they'll sell you Argon but you need to ask for a MIG mix, which I believe is mainly CO2. Argon welds cool so it's difficult to get good penetration. I had that problem when I was sold Argon one time.
Posted on: 2012/4/8 7:32
|
|||
|
1951 Packard Club Sedan | [url=ht
|
||||
|
||||
|
Re: 51Packard's....51 Packard
|
||||
|---|---|---|---|---|
|
Webmaster
|
The gas mix I use is C25. Which I use is 75% Argon, 25% CO2.
Posted on: 2012/4/8 12:37
|
|||
|
-BigKev
1954 Packard Clipper Deluxe Touring Sedan -> Registry | Project Blog 1937 Packard 115-C Convertible Coupe -> Registry | Project Blog |
||||
|
||||
|
Re: 51Packard's....51 Packard
|
||||
|---|---|---|---|---|
|
Home away from home
|
There are some differing opinions about what gas or gas mix to use. A local welder was the bloke who told me that straight Argon is too cool for MIG on sheet metal. I was having problems using 100% Argon - not much penetration and weld sitting high despite any and all adjustments to current & volts.
Looked up Welders Handbook (Richard Finch p. 100) who says: 'Ask your gas supplier to advise you on the best mix for MIG welding. So-Cal Airgas makes a mix of Argon and Oxygen for MIG welding'. Elsewhere he says: 'CO2 is used instead of Argon because it is effective and inexpensive. Where high quality welds are required in 4130 steel a mixture of 75% Argon and 25% CO2 may be used'. He also mentions that 'CO2 has superior heat conductivity' but says 'regardless of what gas is used . . . . different gases use different flow meters (gauges) . . . the CO2 must have its pressure and flow regulated'. So if you use an Argon or C25 mix you might need a different gauge to CO2. I just use the same one, my gauge doesn't state whether it's for C25, CO2, 'Gold Gas' or pure Argon. All a bit confusing but CO2 is an option that might help get better penetration.
Posted on: 2012/4/8 19:00
|
|||
|
1951 Packard Club Sedan | [url=ht
|
||||
|
||||
|
Re: 51Packard's....51 Packard
|
||||
|---|---|---|---|---|
|
Home away from home

|
4-9-12
Thanks guys for the tips! Today was mostly spent trying to make a patch panel for the new section I cut out. The bends proved to be too complicated for me and my primitive tools so I cut the part I fabricated up to salvage it since I had a lot of time in it. That's why there are still so many missing parts. I also used BigKev's suggestion about using flanges. I didn't use them around the entire patch, but in places I could that I did not cut the metal too short. Used a couple of sheet metal screws where I had a lap joint because there was no place to clamp the patch conveniently. Set my welder to BigKev's settings (as I can approximate) and took Larry's advice and put a sharper angle on the gun. I took my time and tacked around, trying to stay out of one area for too long. I think the welds are better, but you guys can tell me. I thought they were good last time so shows how much I know! Larry is right about bad metal. I tried to fill a couple of small rust holes and the welder cooked the metal. Been emailing back and fourth with the gentleman who is parting out the '54 Cavalier. He said he might be able to cut the back panel under the trunk lid for me from his car. If he can do that and possibly the body mounts near it, it would save me a ton of work. Keeping my fingers crossed! Attach file:  (58.32 KB) (58.32 KB)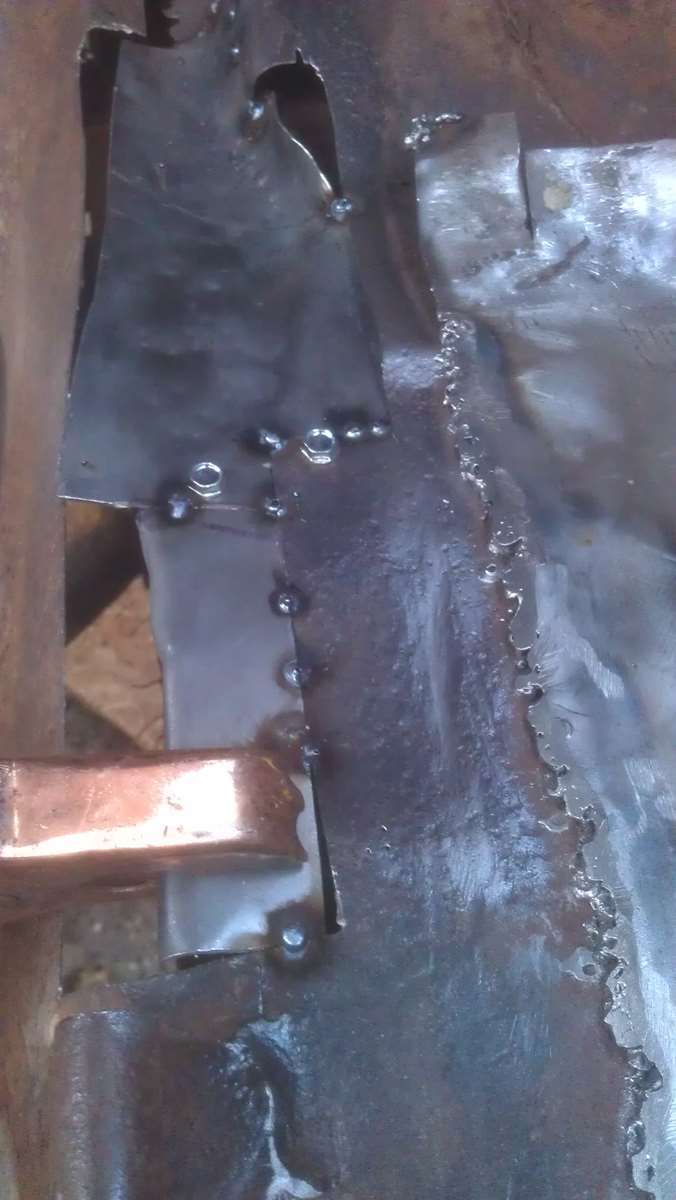 (61.63 KB) (61.63 KB) (69.14 KB) (69.14 KB)
Posted on: 2012/4/9 20:25
|
|||
|
[url=h
|
||||
|
||||
|
Re: 51Packard's....51 Packard
|
||||
|---|---|---|---|---|
|
Just can't stay away

|
Charlie,
I wanted to see what your were working on since you had inquired about some of the sheet metal I had. Let me say,......wow. (that meant as a compliment) I did a skim through on your post, did not read it all, sorry, 60 pages! I emailed you pictures tonight of the area below the trunk on my car, stop work on that until you get some replacement metal. I am amazed at your love for this car. The people here are awesome, so much knowledge, it seams I have nothing to add. Make sure you let me know any other areas that you need, even the small ones. I wish the rockers were in better shape, although they actually are present unlike yours. Loved the 2x4 fix, bet that soaked up the salt. Lynn
Posted on: 2012/4/11 0:07
|
|||
|
||||
|
Re: 51Packard's....51 Packard
|
||||
|---|---|---|---|---|
|
Home away from home
|
Thanks Lynn,
You say Wow as a compliment, while I'm at the point of Wow, what am I thinking LOL! Actually this has been kind of fun. I'm teaching myself new skills so if I ever try another car, it will come out better. This car was grandfathered in (aka had it before I got married) so I'm afraid if I was to abandon it for one in better shape, I would not be allowed to get the replacement and would be out this car too. Gotta work with what I got. Thanks also for reminding me about the 2x4. I forgot about that! Another thing for the repair list...
Posted on: 2012/4/11 7:16
|
|||
|
[url=h
|
||||
|
||||
|
Re: 51Packard's....51 Packard
|
||||
|---|---|---|---|---|
|
Home away from home
|
Couple of questions for your guys:
Lynn sent me pics of his rocker panels. Do you guys think they are worth trying to save, considering mine are non-existent? Other option I have is to use the "generic" rocker panels that are formed using sharp bends. Never seen them on a car so I don't know how good they look. He also has this filler panel between the rear of the car and bumper. I saw BigKev has one, but do the '51 200s have this panel and if so, does this one fit my car? I can't tell from the parts manual. Attach file: (98.22 KB) (144.57 KB) (144.57 KB)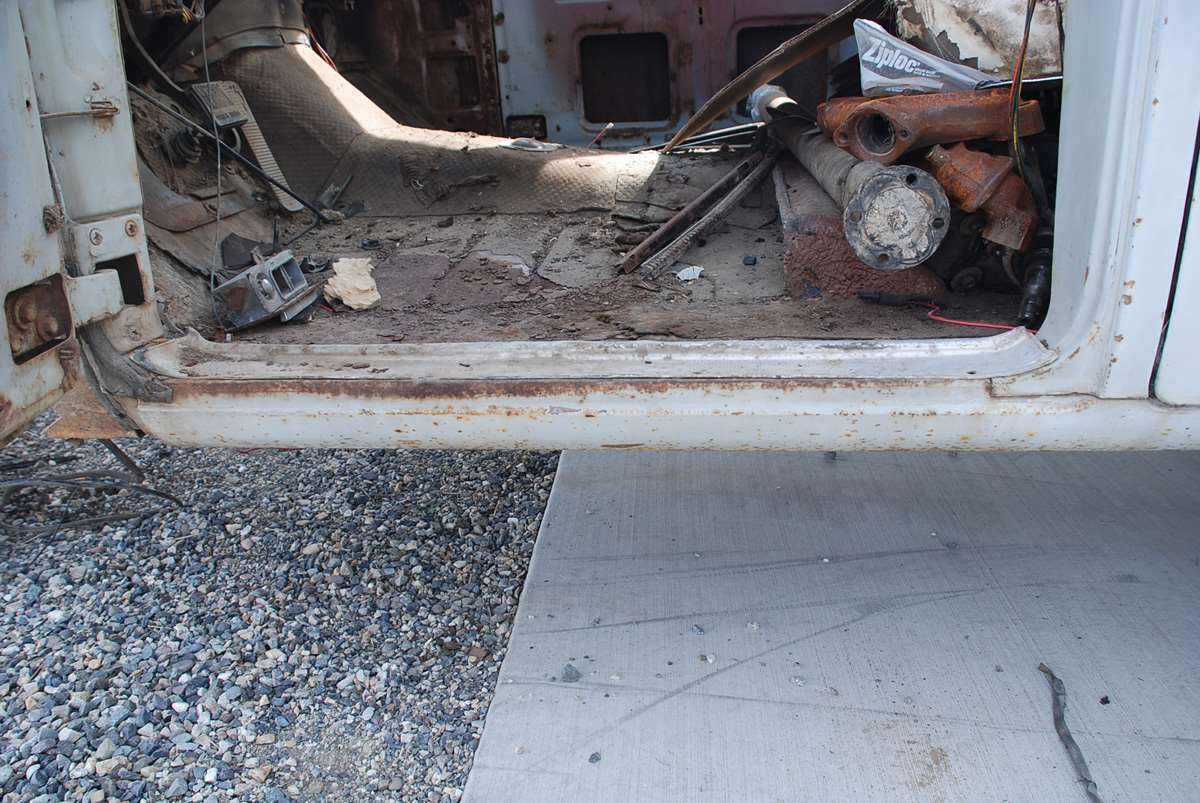 (91.23 KB) (91.23 KB)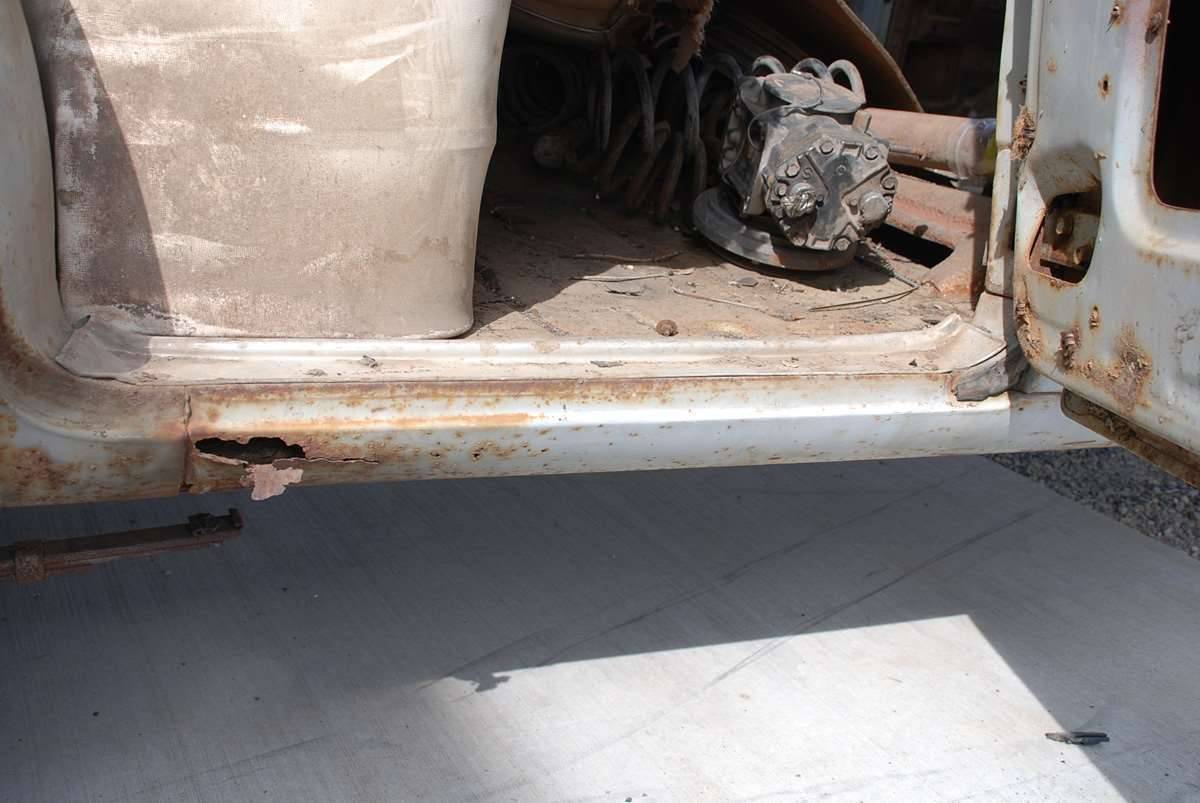 (51.46 KB) (51.46 KB)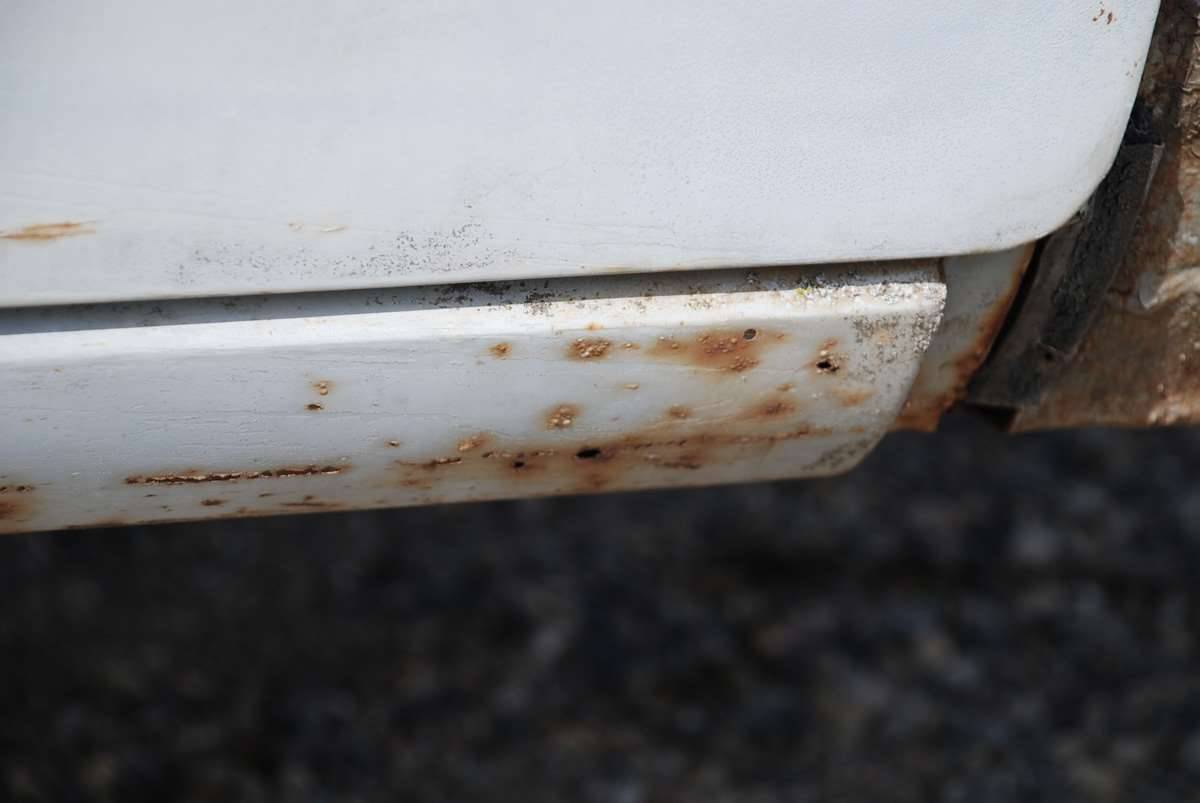 (121.34 KB) (121.34 KB)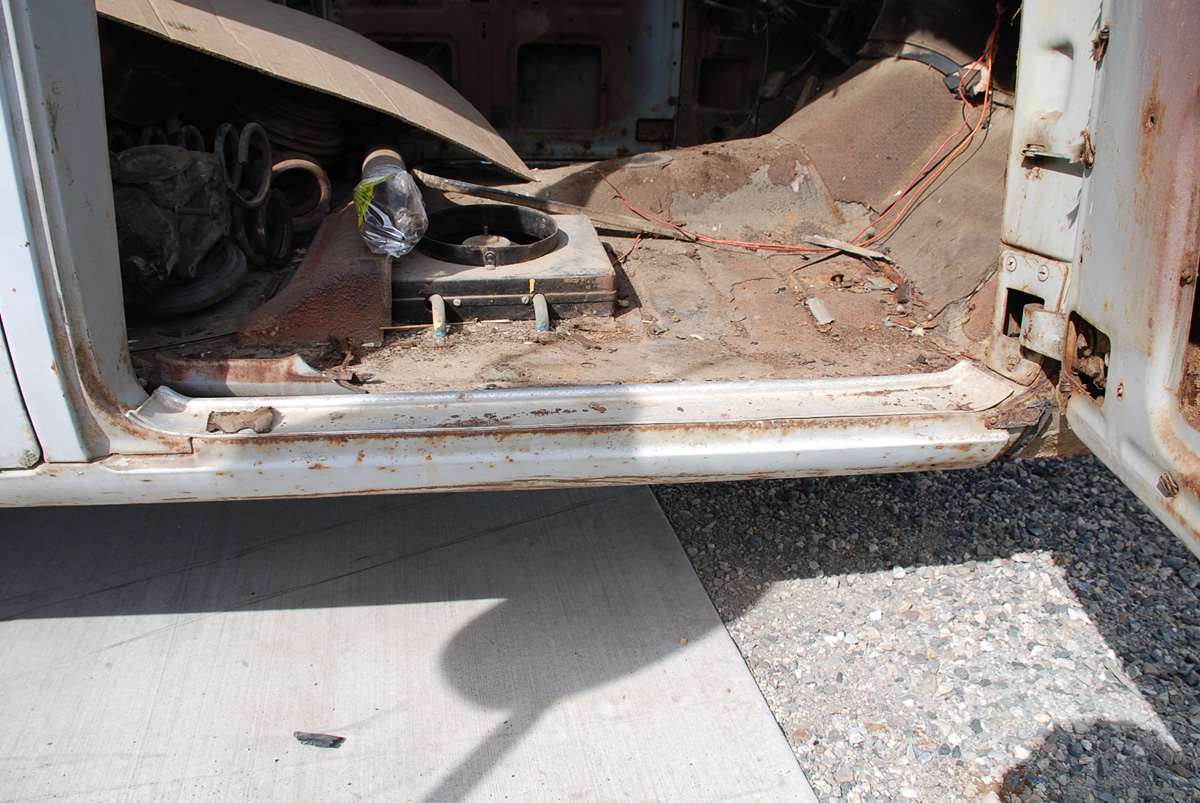 (79.53 KB) (79.53 KB)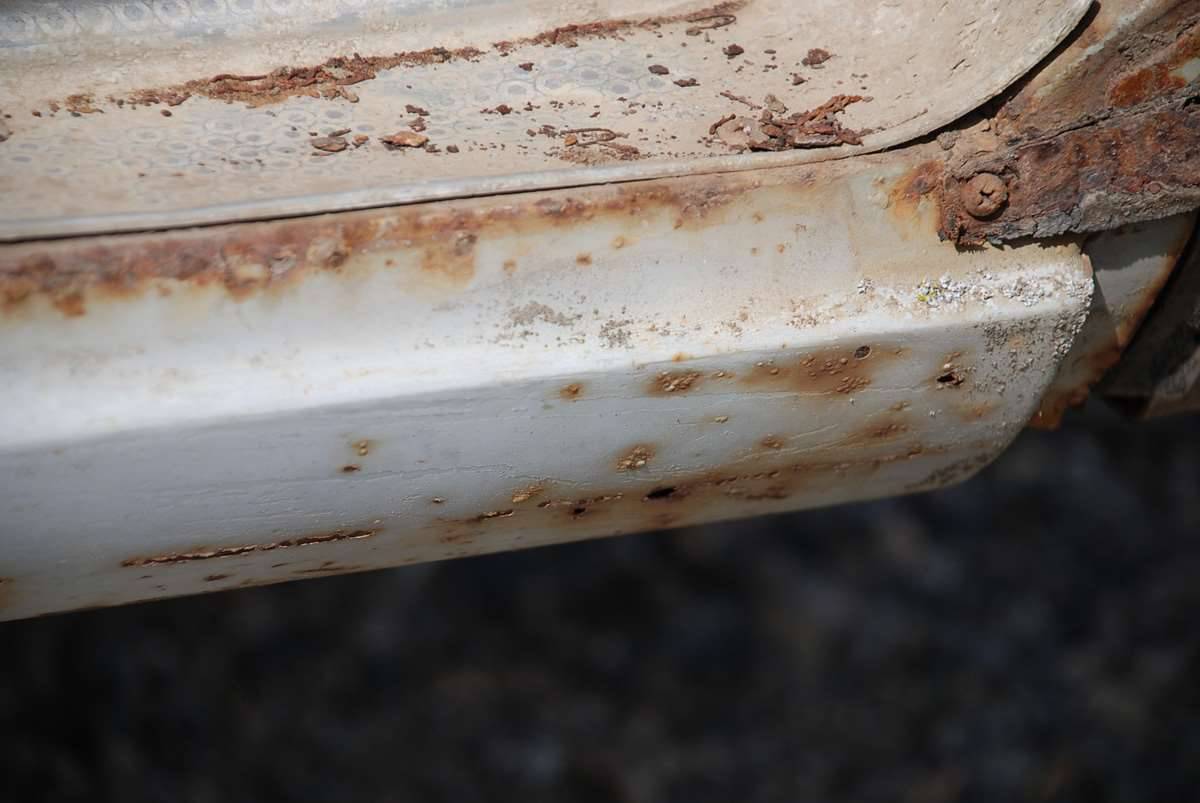 (48.94 KB) (48.94 KB)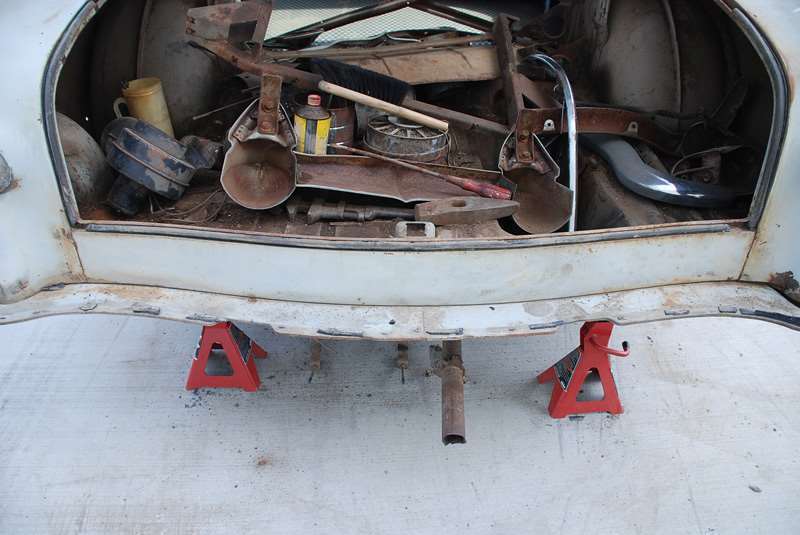
Posted on: 2012/4/11 7:27
|
|||
|
[url=h
|
||||
|
||||
|
Re: 51Packard's....51 Packard
|
||||
|---|---|---|---|---|
|
Home away from home
|
I'm really think I will get his rockers. He can cut them out and give the braces behind them and I think it would be easier to fix his than use the "new" ones.
Here are pics of the "new" replacement ones I have. They seem to fit and look OK, but would take work to blend it in to the old metal. Attach file: (44.43 KB)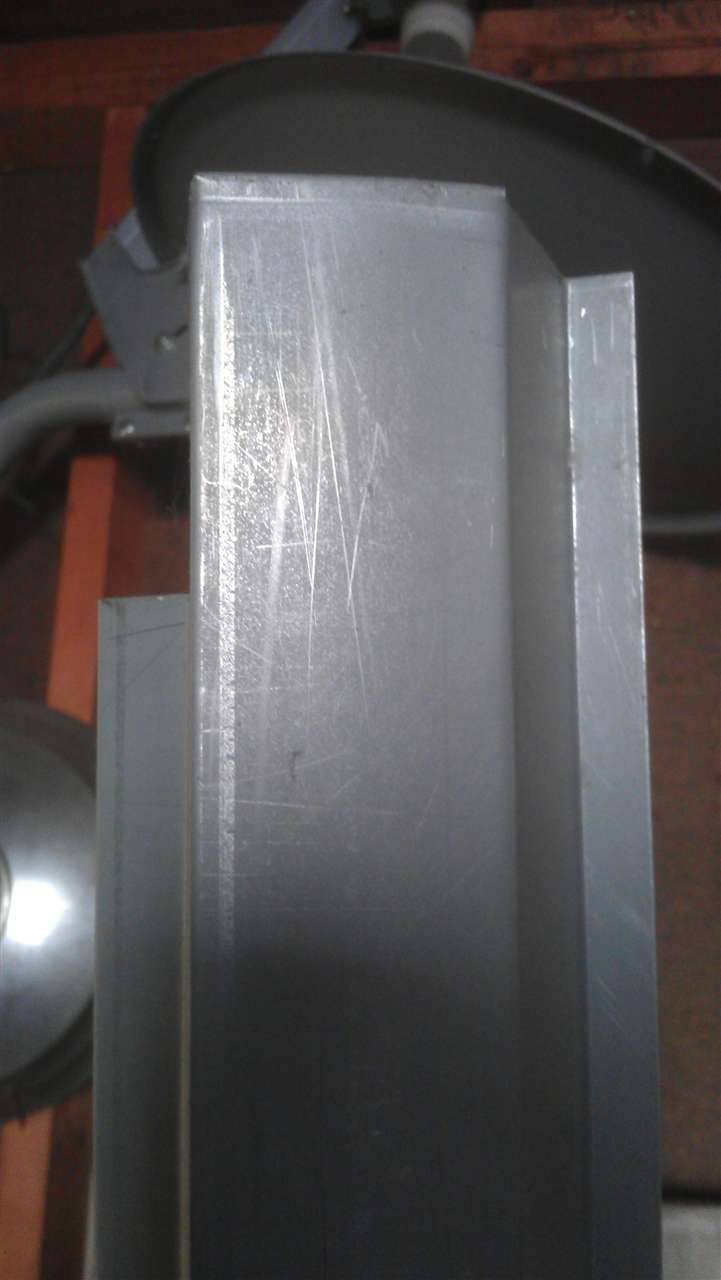 (49.60 KB) (49.60 KB) (35.11 KB) (35.11 KB)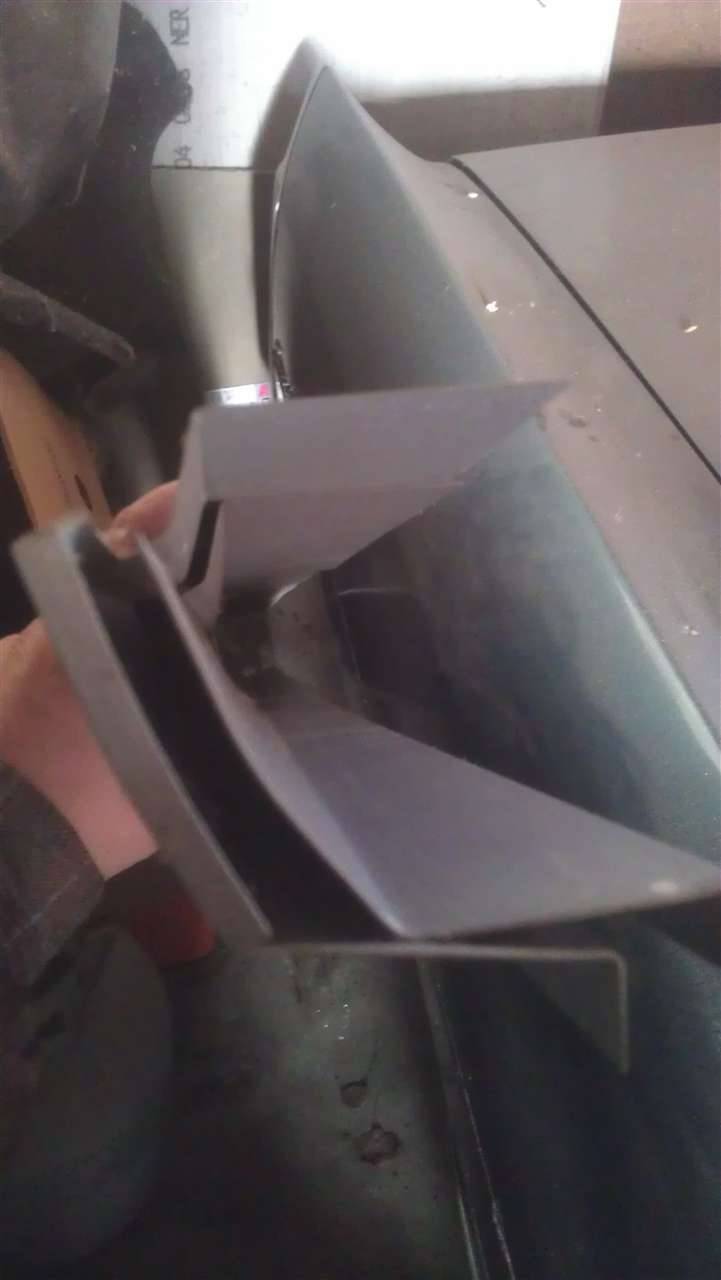 (49.52 KB) (49.52 KB) (87.67 KB) (87.67 KB)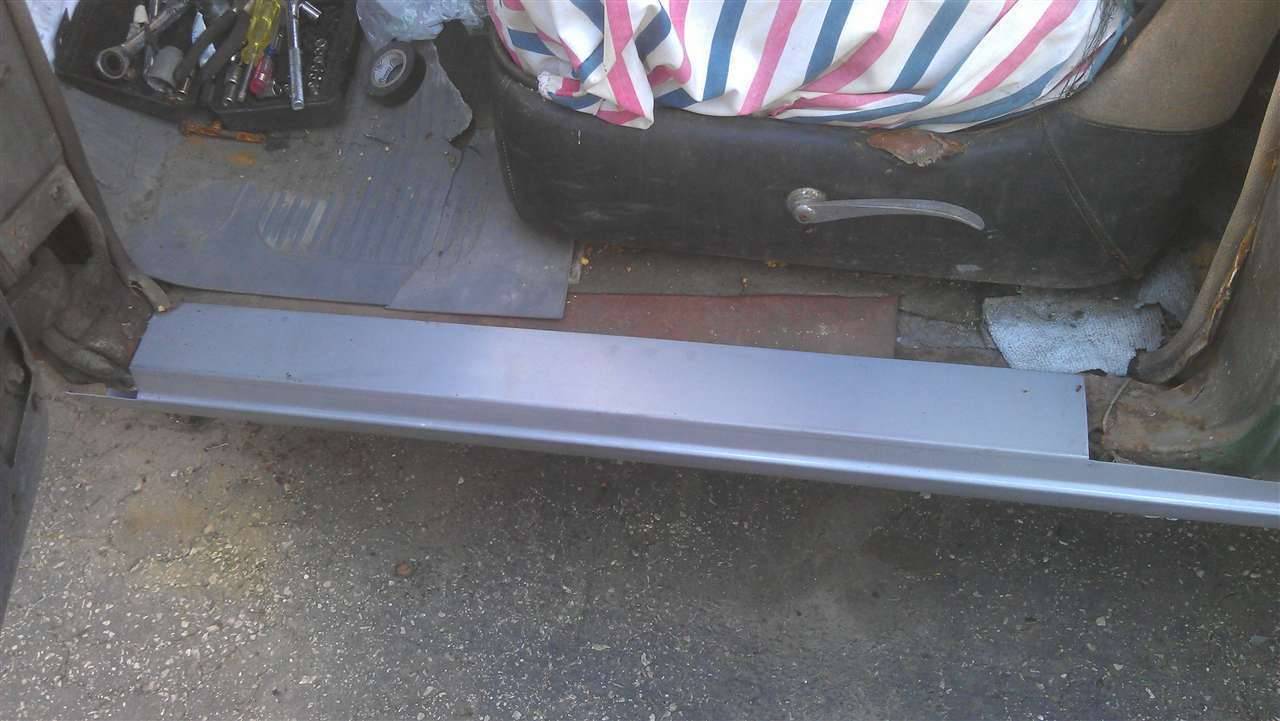 (54.69 KB) (54.69 KB)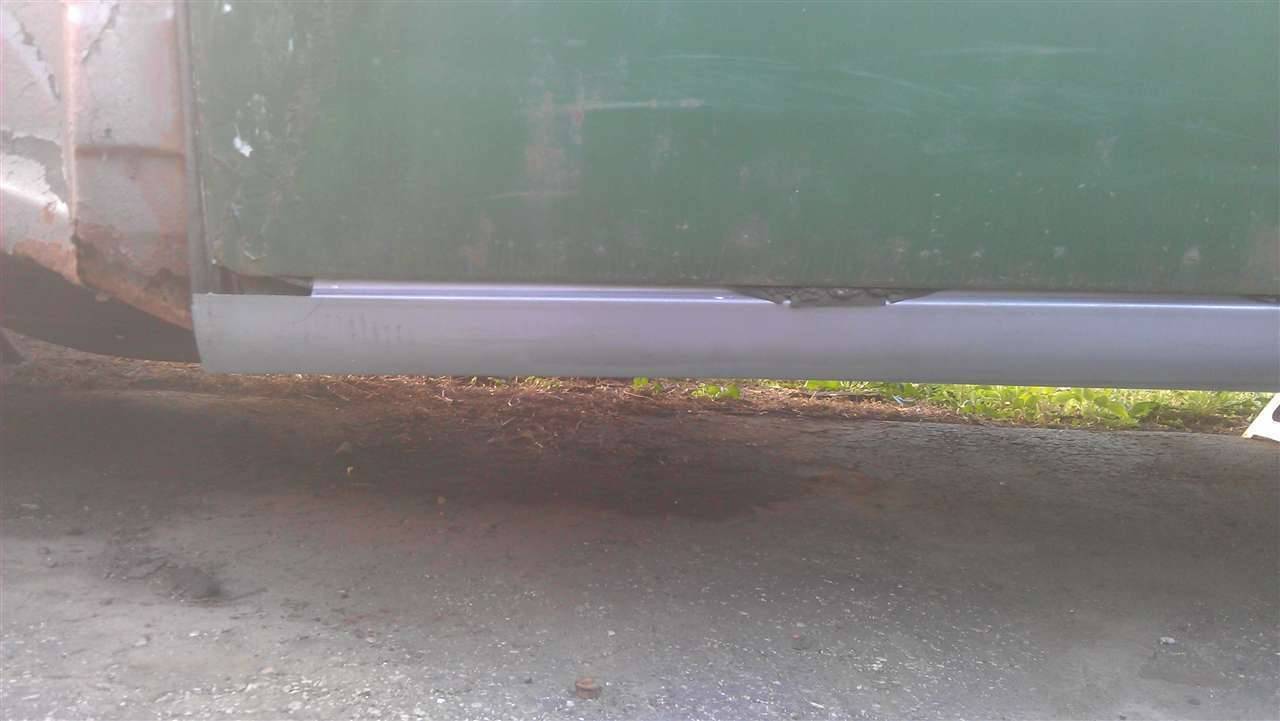 (49.51 KB) (49.51 KB) (82.06 KB) (82.06 KB)
Posted on: 2012/4/11 19:49
|
|||
|
[url=h
|
||||
|
||||


