|
Re: Our 1932 901
|
||||
|---|---|---|---|---|
|
Home away from home
|
A few more...
Posted on: 2014/3/23 20:29
|
|||
|
||||

|
Re: Our 1932 901
|
||||
|---|---|---|---|---|
|
Home away from home

|
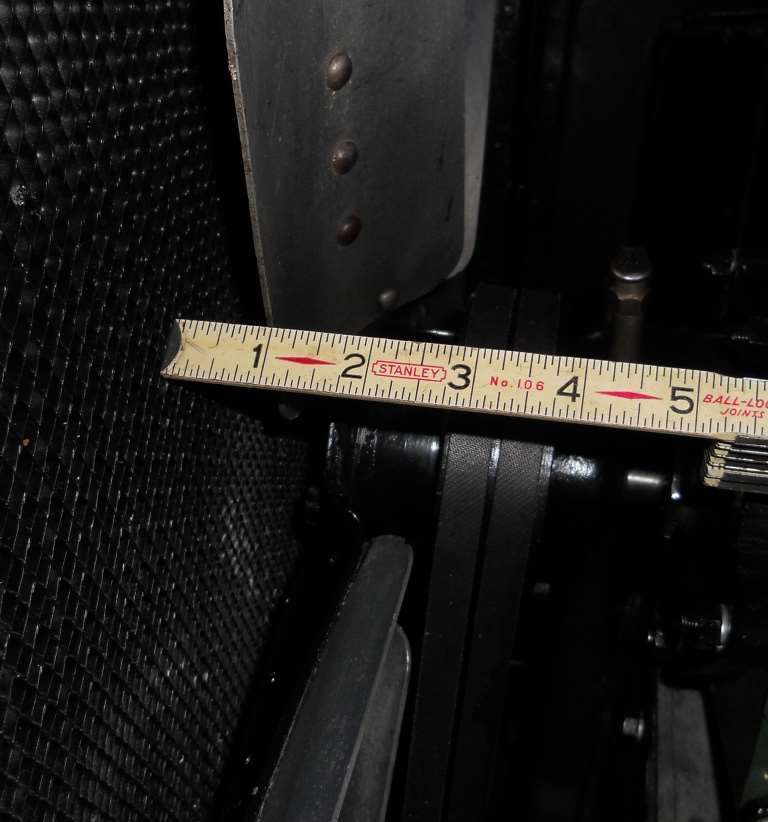
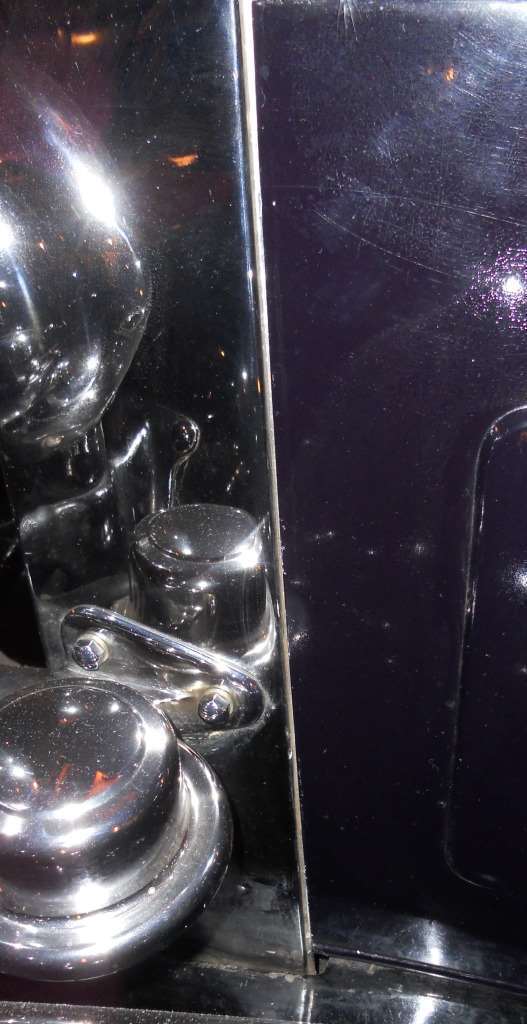
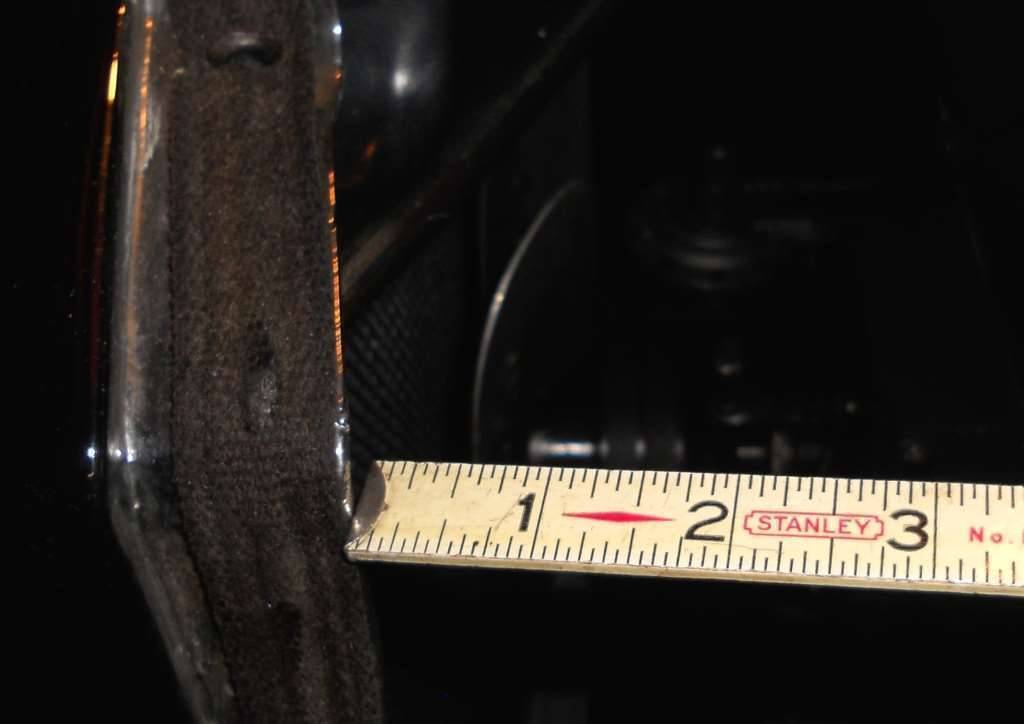
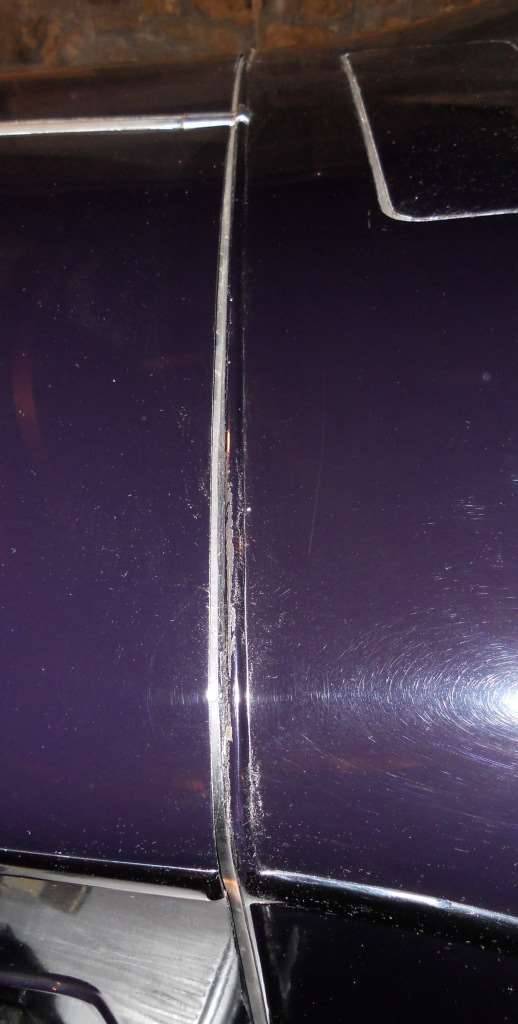
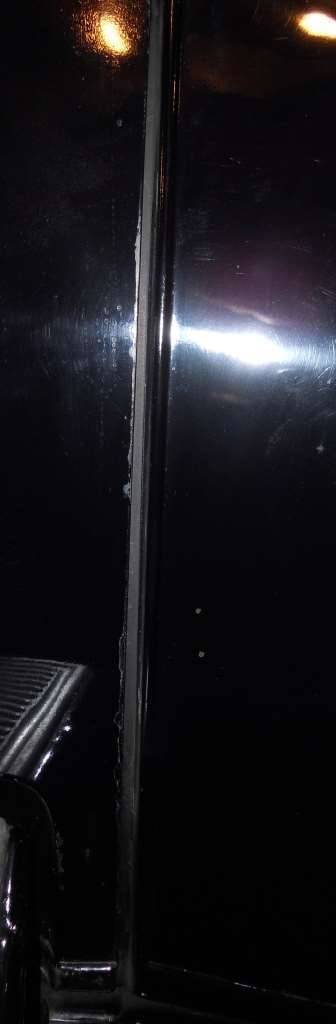
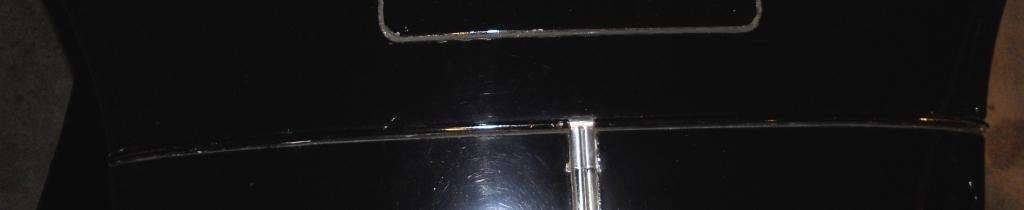
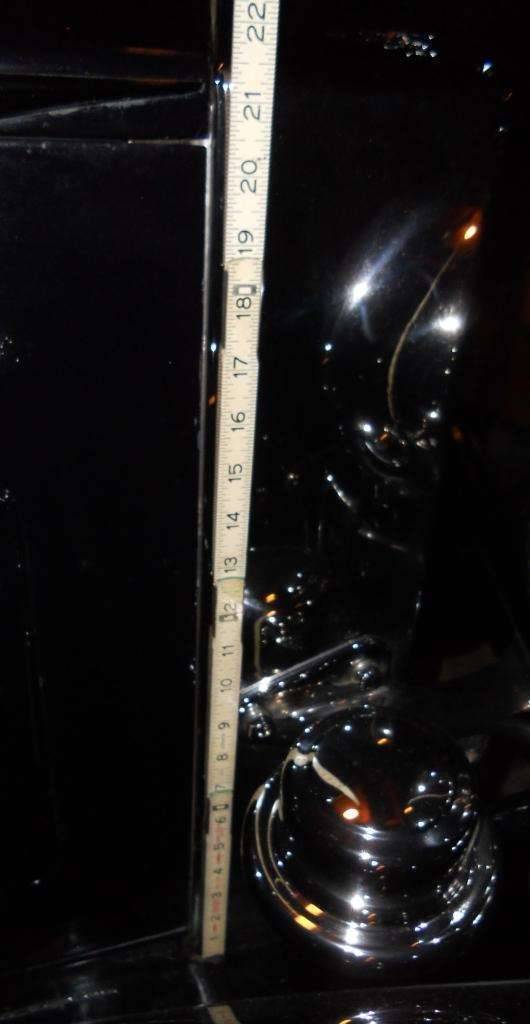
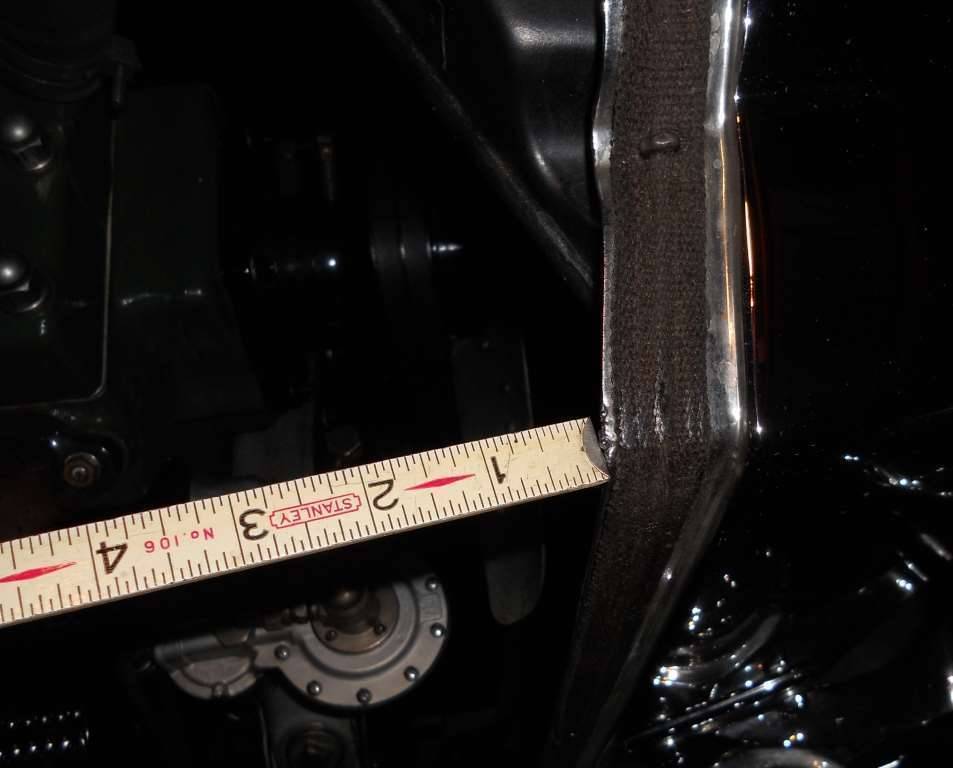
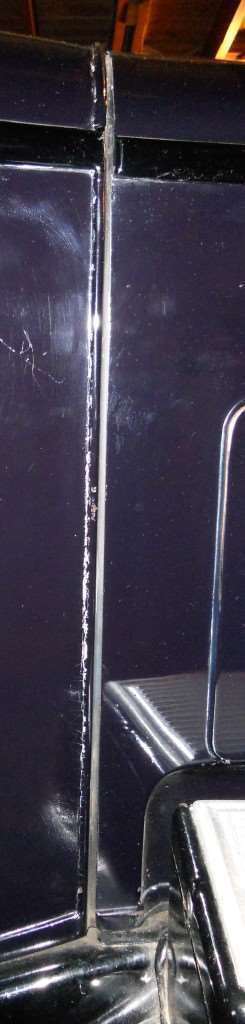
I really appreciate your inputs. The car has a three speed transmission, the shell does not have a center bar, no vacuum assist, the radiator has been tried with and without the rubber, and the gap between the other various other parts has in general been a consistent gap (see photos),. Based on the car's engine number (343292), it would be near the middle of the production sequence.
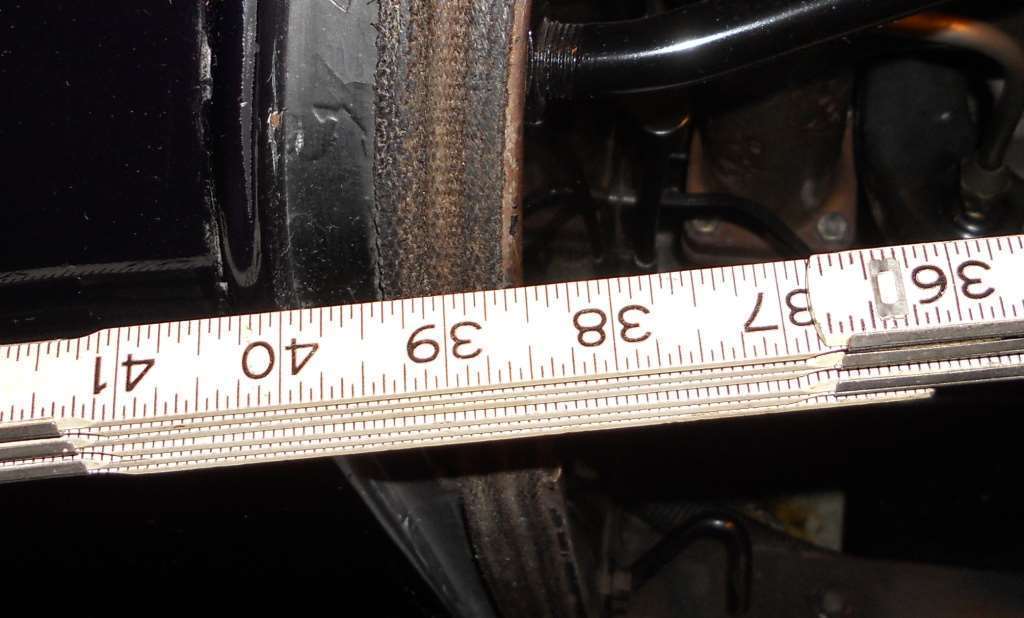
I'll measure the panels and post the data here and maybe I can get some feedback as to whether or not I have the correct hoods parts. How can I determine if the shell is correct? I can't work on the car until Thursday, but plan on moving the body as far forward as possible. Then, if I can get the distance between the fan blades and the radiator core greater than 1/2", I may decide to cut the two top panels to fit depending on how everything fits. Attach file:  (31.95 KB) (31.95 KB)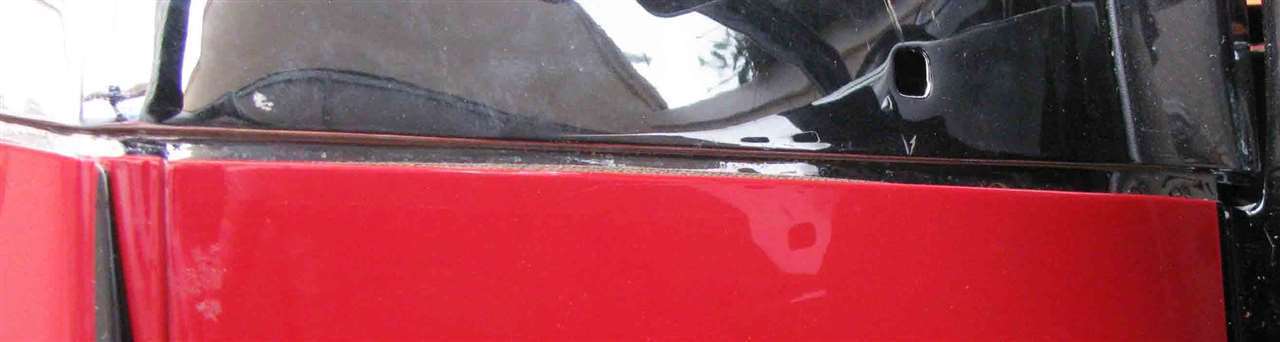 (27.83 KB) (27.83 KB)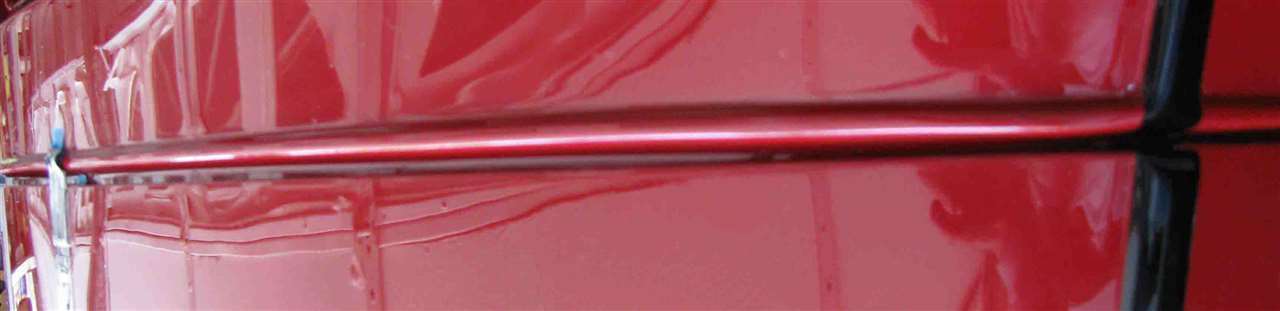 (21.46 KB) (21.46 KB)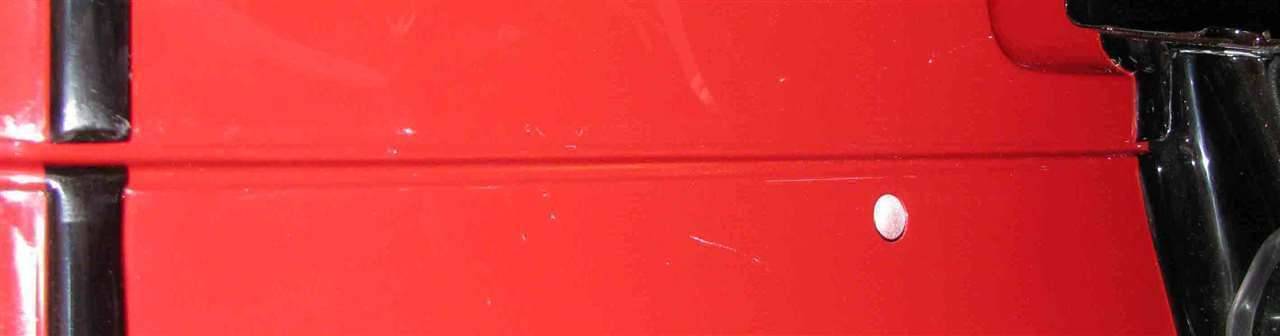 (65.83 KB) (65.83 KB)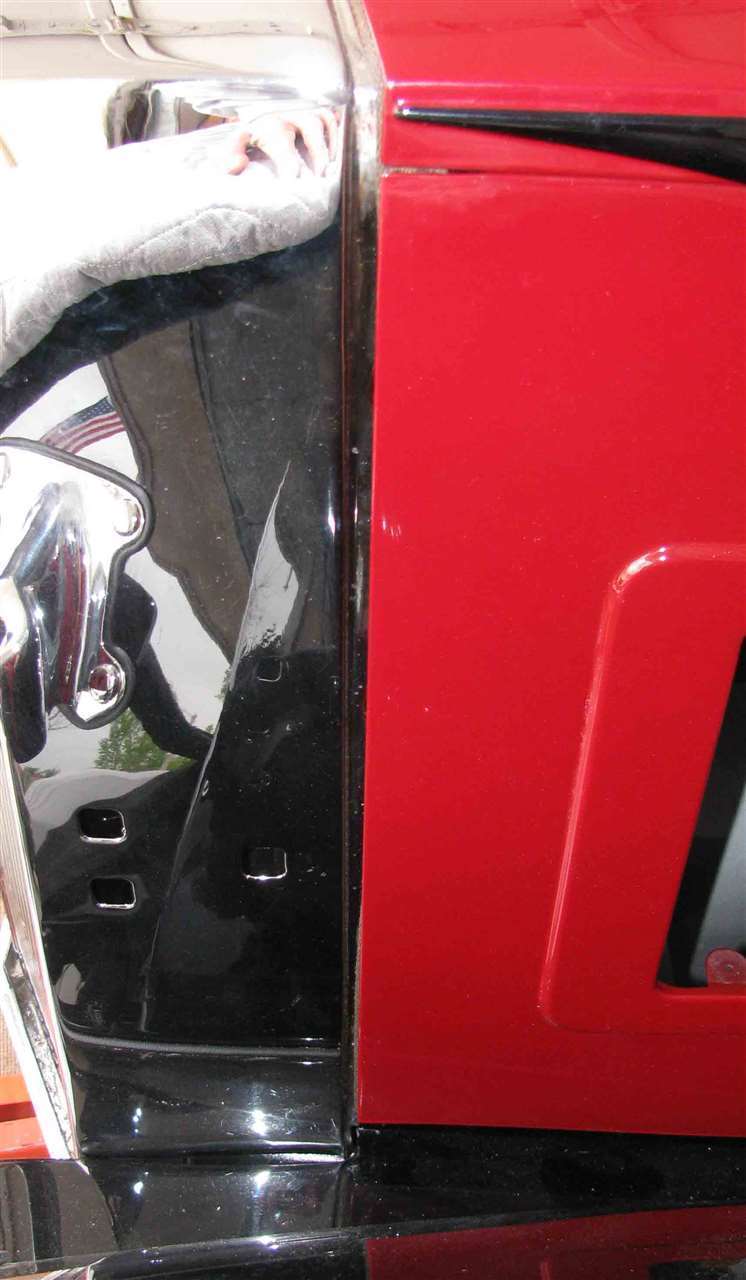 (27.83 KB) (27.83 KB) (18.61 KB) (18.61 KB)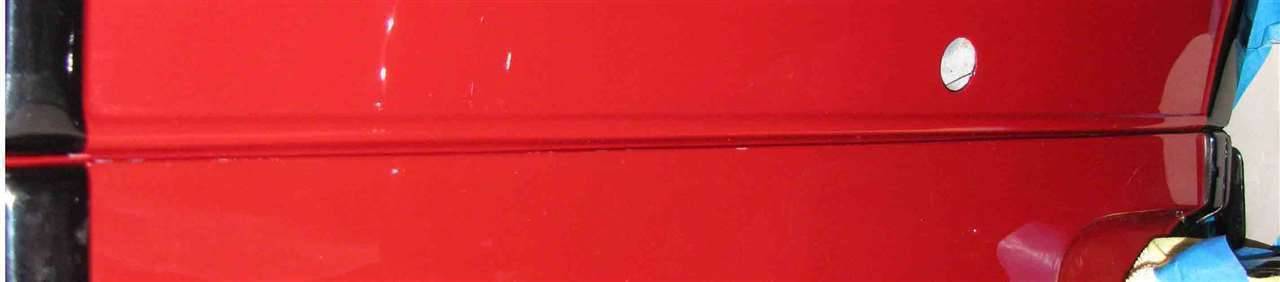
Posted on: 2014/3/24 19:40
|
|||
|
||||
|
Re: Our 1932 901
|
||||
|---|---|---|---|---|
|
Home away from home
|
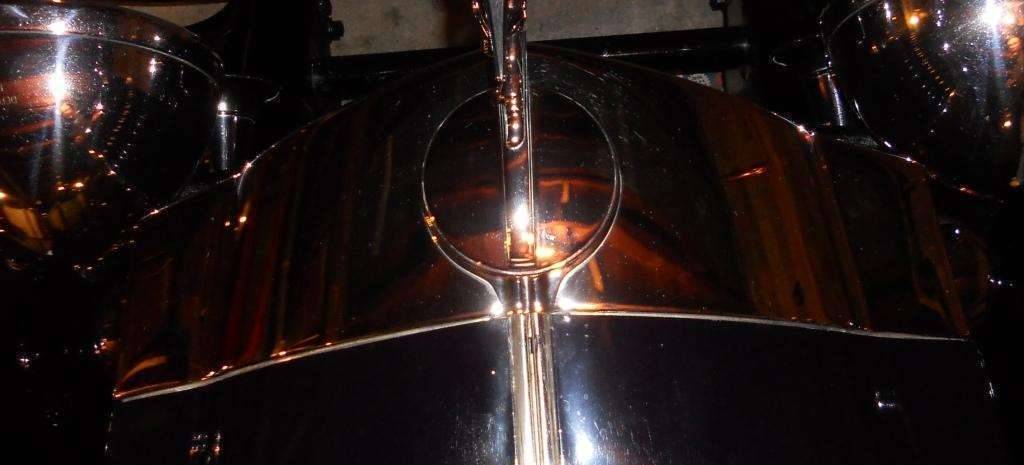
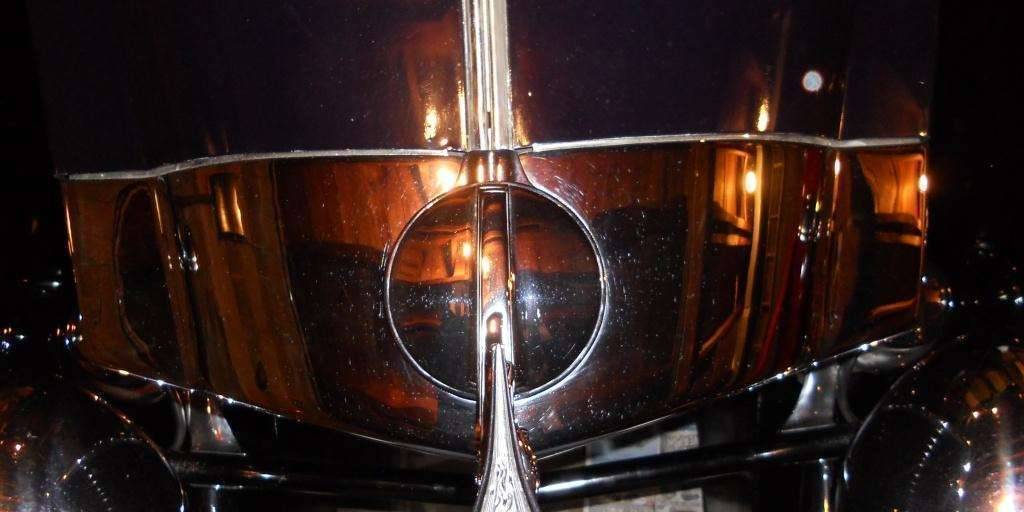
I unbolted the body and moved it forwards as far as possible. I gained maybe a 1/8 of an inch, but not enough that I would feel comfortable trimming the top panels. I'm concerned that the blades from the fan would be too close to the radiator.
Next I think that I'll work with the shell to see if it would be possible to move it towards the rea of the in order to gain some additional clearance for the fan blades, which would allow me to trim the top two hood pieces. In the interim, I've been working on the trunk rack and the right & left frame brackets. They needed priming, body filler to take care of a few areas that were pitted from. The parts were then sprayed with base coat and then 3 coats of clear. The rack turned out nice looking, but I'm not happy with the right bracket, a run that did not look good after color sanding. So I'll give them a light sanding with 1200 grit Wet Or Dry paper and re-shoot the clear. Both trunk rack brace joint assemblies need to be chrome plated and I could use some input. I tried to push the pin out using a vice but ran into more resistance than I thought would be required. Has anyone out there done before and are there any thoughts on how best to do it (or maybe not do it)? Also, the 5 stainless steel trim pieces have a few dents and two have areas where they have been partially crushed. It appears that I should be able to "un-dent and un-crush" them. At that point, they should buff and polish up nicely. Another question that I have is what type of connector it used to install the trim pieces and are they available somewhere. Attach file: (59.72 KB)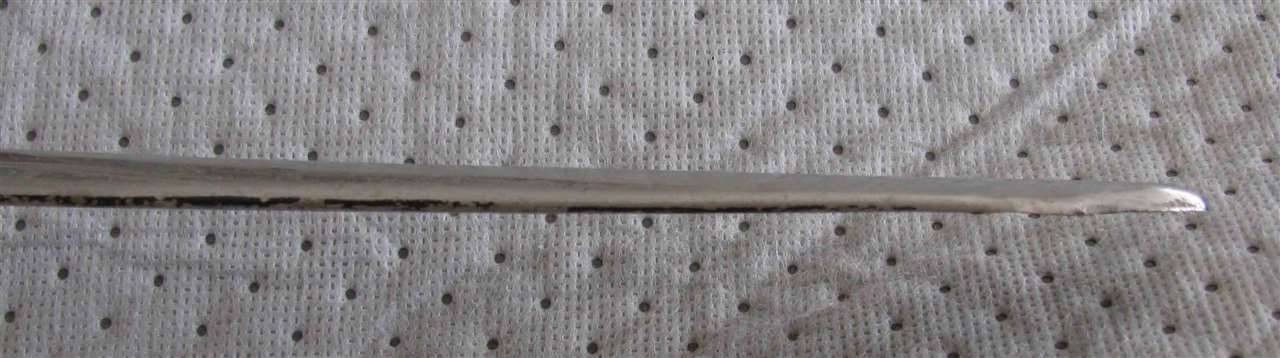 (110.72 KB) (110.72 KB)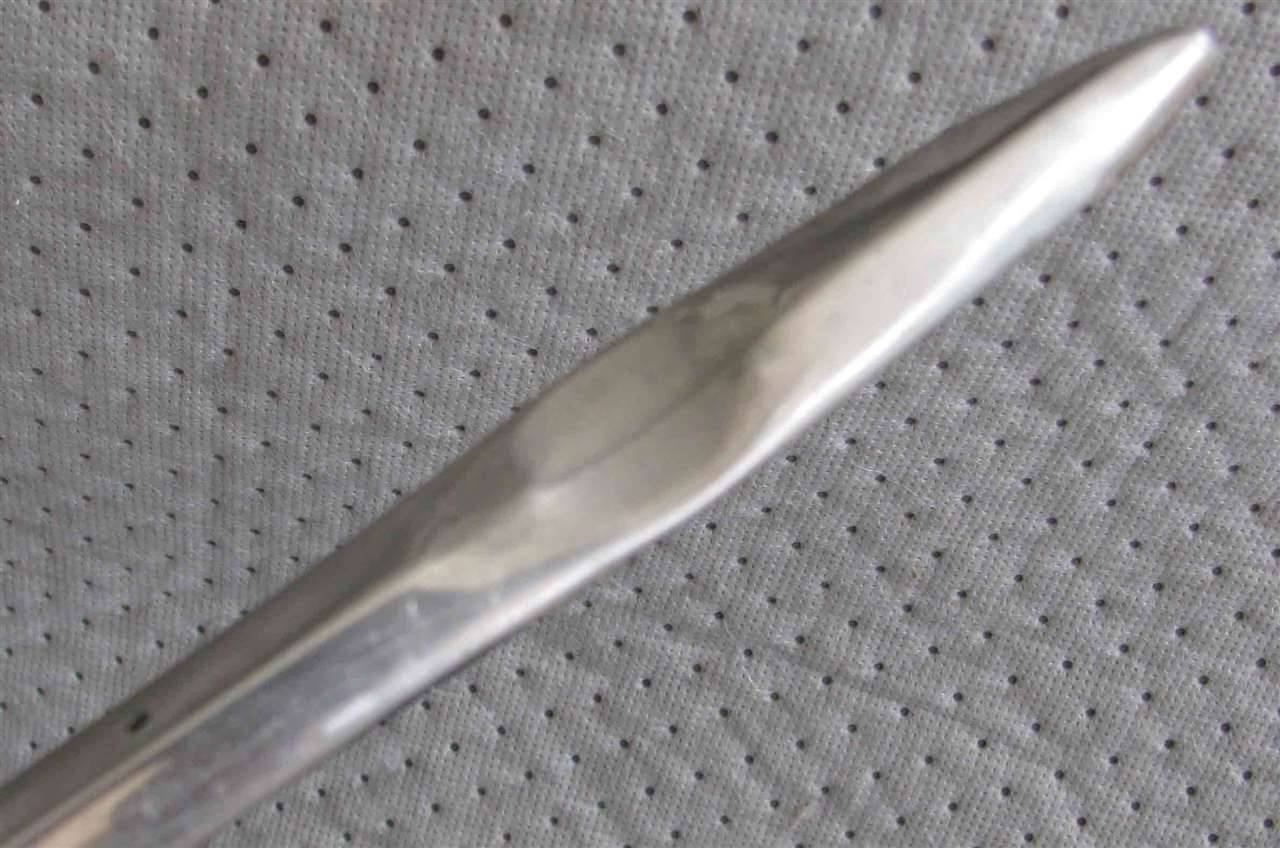
Posted on: 2014/4/21 23:17
|
|||
|
||||
|
Re: Our 1932 901
|
||||
|---|---|---|---|---|
|
Home away from home
|
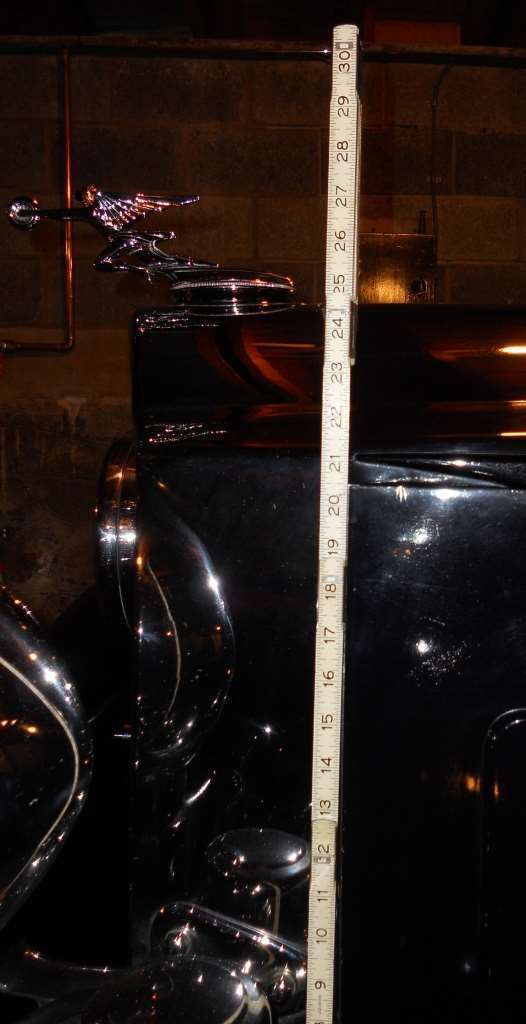
Last weekend I finished realigning the doors after moving the body forward and can now proceed. Raising the radiator helped on the gap at the front on the top two pieces, but hurt elsewhere. Also, it appears that the radiator shell is back as far as possible so there's nothing to be gained there. Therefore, I set about working on other things while I investigate the hood gap problem some more.
In need of shoulder rivets for the 8 hood side doors (8 with a long shoulder and 8 with a short shoulder) I searched and found a source for them at $12.50 each. With an extra one of each size for insurance, this would have been a $225.00 hit for several ounces of brass. Therefore, I thought maybe a shoulder screw would work and found some in stainless for $1.00 each, but didn't like the look. So I set about making shoulder rivets myself on a lathe. I bought a short piece of 5/16" brass rod. Turned a prototype of each and then adjusted my measurements estimates. The first 2 or so took about 15 to 20 minutes each while the final ones were clocking in at less than 10. I made the 8 brackets that hold the locking mechanism on the side doors from 16 gauge steel as the ones I had were fairly well rusted and I only had enough for one side.. To form the "U" bend in the bracket I made a die from a piece of 5/8" thick aluminum flat bar by drilling a 3/8' hole right next to the side of the bar. The hole was opened up so it was "U" shaped (see photo). The holes on both sides of the "U" are guides for drilling the holes in the bracket. One of the photos shows the bend being formed using the die and pressing a 1/4" rod into the slot with a vice. Attach file: (108.27 KB)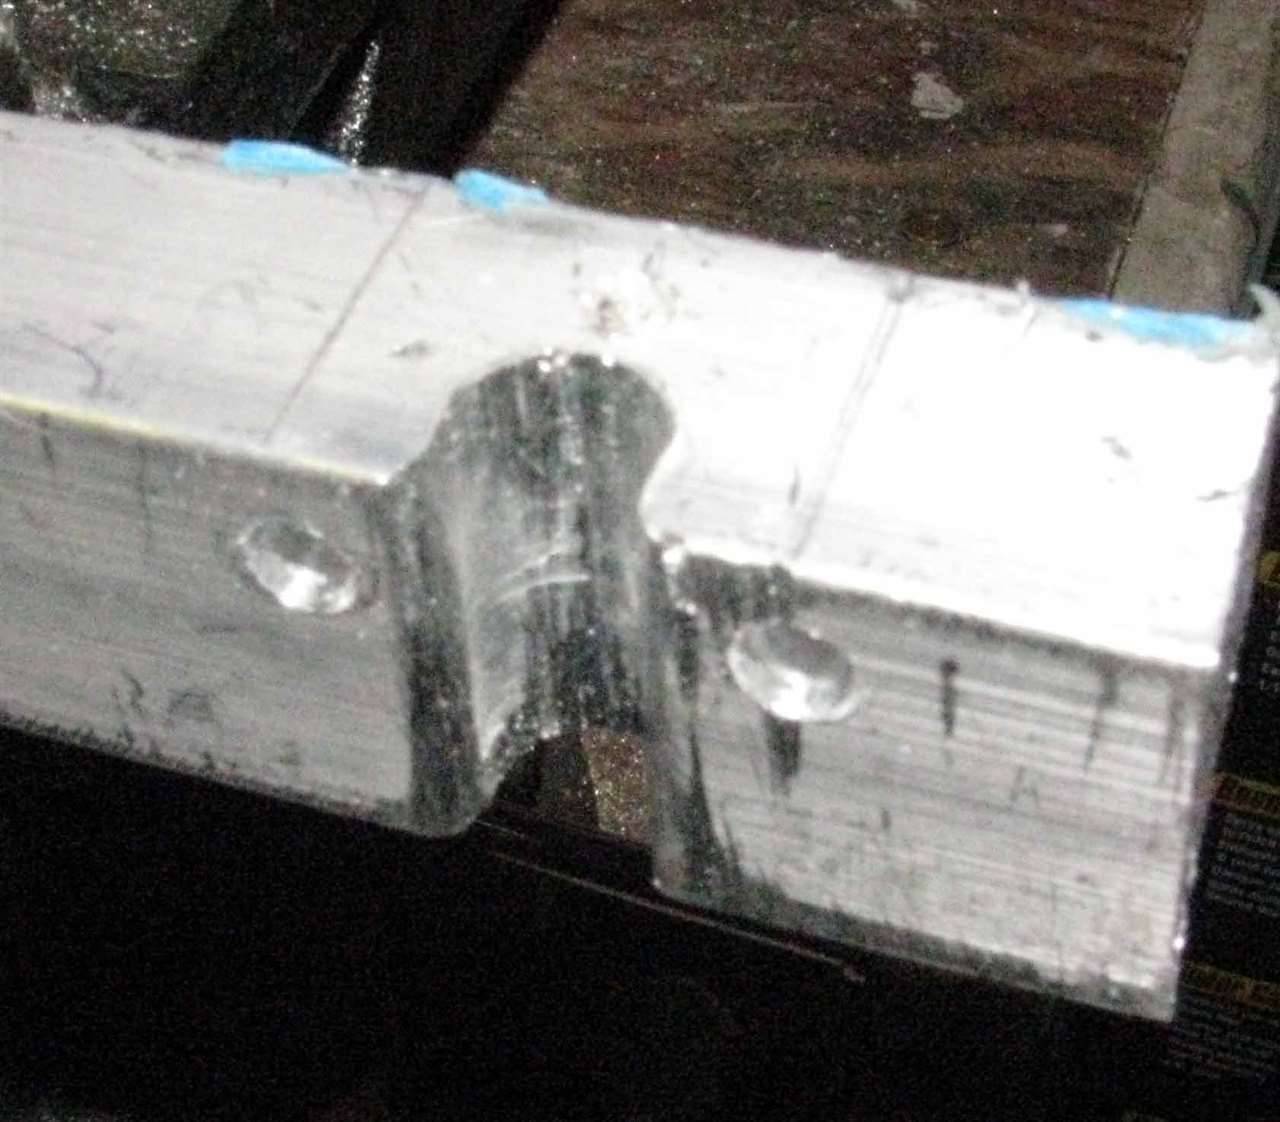 (108.70 KB) (108.70 KB)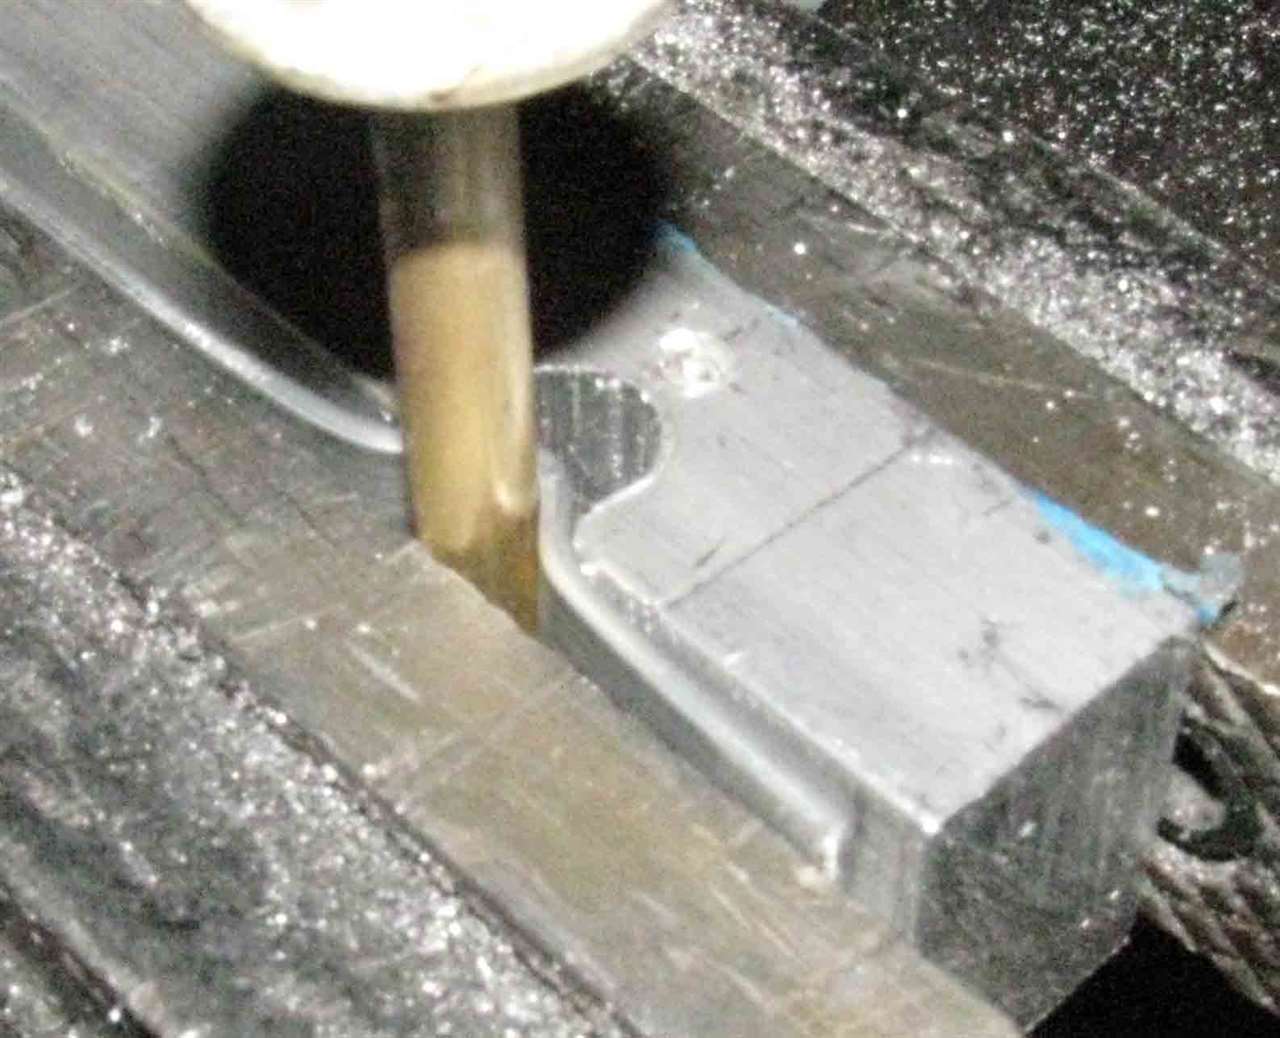 (148.51 KB) (148.51 KB)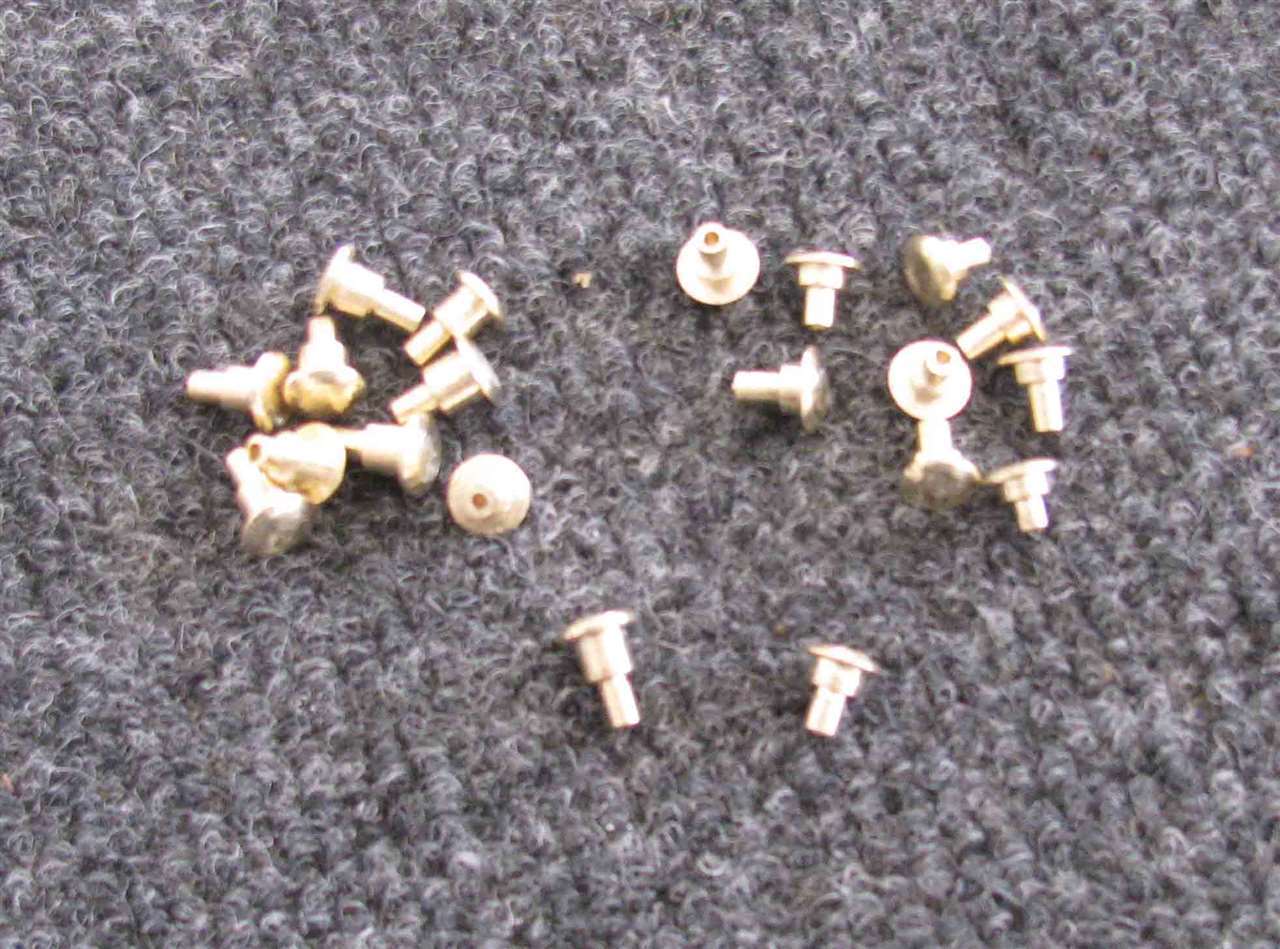
Posted on: 2014/5/12 18:18
|
|||
|
||||
|
Re: Our 1932 901
|
||||
|---|---|---|---|---|
|
Home away from home
|
Recent activity included working on the hood and mounting the headlight braces.
The shoulder rivets mentioned earlier were used to install the doors on the lower hood panels. They worked out very well and their heads were painted in place with a small artist paint brush. Newly chrome plated knobs and painted springs were installed (see photo) All in all the assembly went very well. The headlight braces were a different matter. I looked through all the boxes of parts that came with the car and none of the parts looked correct for installing them. Having no idea of how the braces were attached to the headlight bar or to the side of the radiator shell allowed me an unfretted approach as I surmised both areas would be out of sight (unless of course the diehard Packard aficionado wants to lay on his back and look up underneath the headlight bar or get their trusty little flash light and mirror out to peering into the gap between the radiator and shell - LOL). Some of you may consider this a sexist attitude because of the use of the word "his", But I'm certain that no Packard loving woman would stoop so low. Enough ranting - I found a piece of scrape steel bar that was 11/16' in diameter that would easily slipped into the empty space in the headlight bar. It was cut to a length of 2 ?" and two holes were drilled into the bar 1.5" apart. The holes were threaded for a 3/8" bolt. For attaching the brace to the shell, a piece of 16 gauge sheet metal was cut into a triangle shape and 7/16" holes were drilled so as to align with the three holes in in the brace. Nuts (3/8" NF) were welded on the sheet metal. The fabricated bars and sheet metal parts were painted flat back. To prevent the brace from scratching the chrome in the radiator shell, a thin piece of clear polyethylene was attached to the brace with double-faced tape. Everything went together with a little pushing and shoving. The horns were then installed on the headlight brace. As a temporary solution standard bolts were used on the brace. I have bolts on order from Bruce Blevins to finish off task. Attach file: (118.76 KB)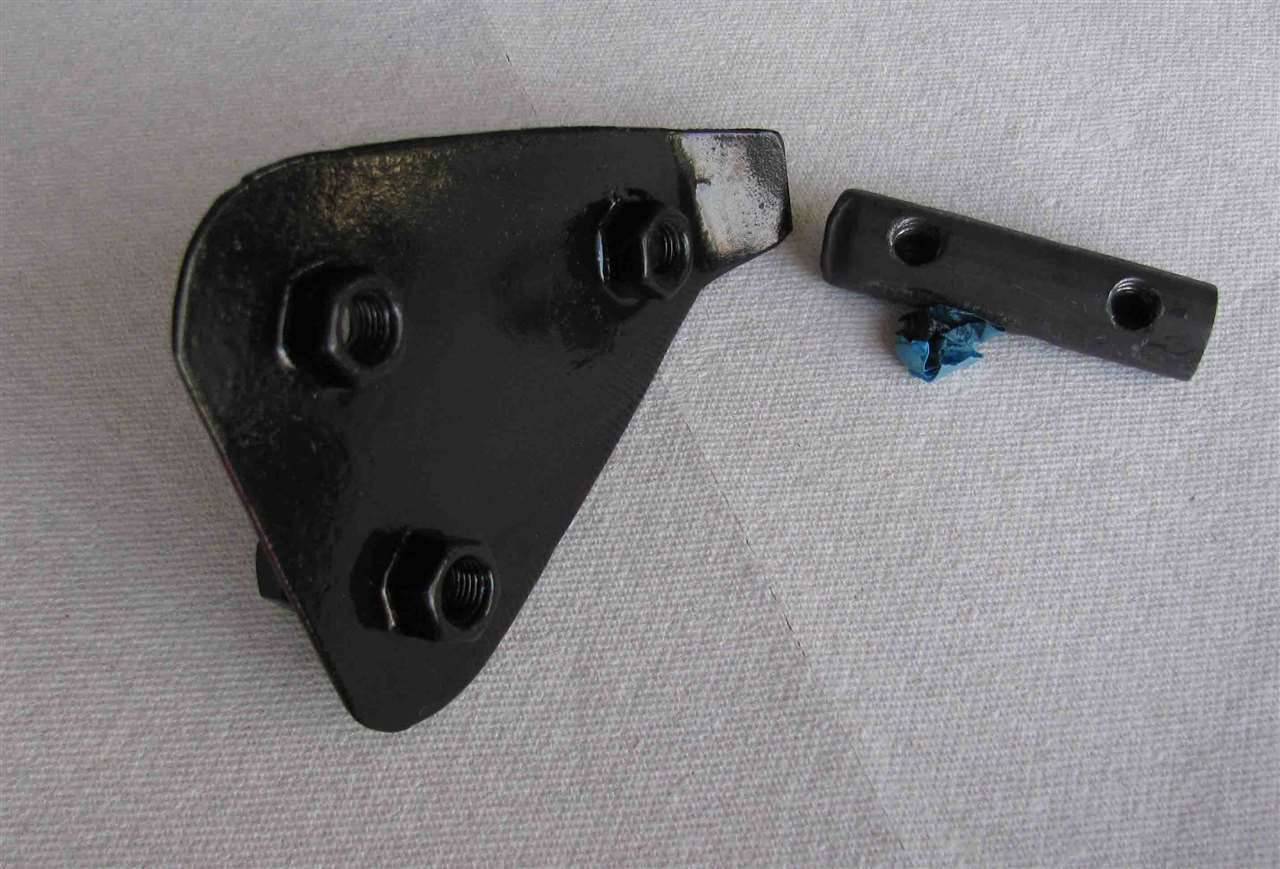 (110.59 KB) (110.59 KB)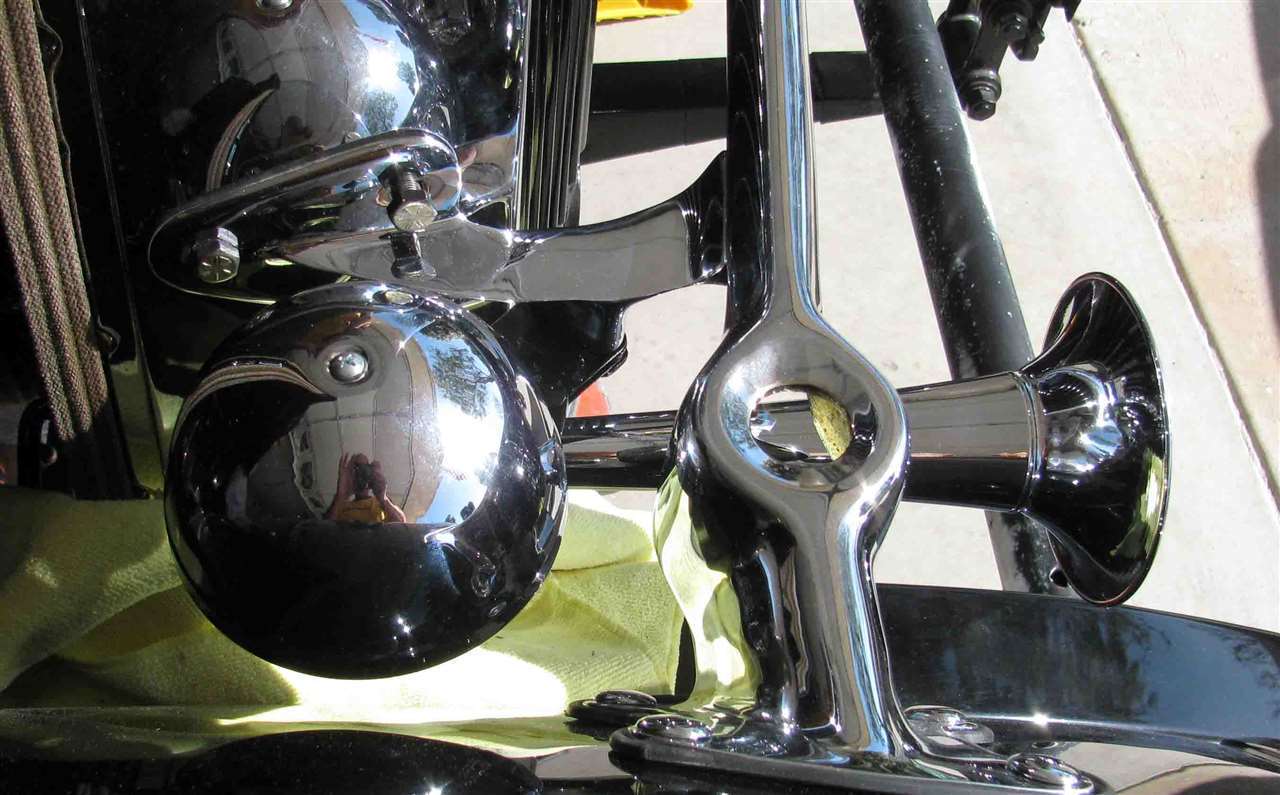 (139.87 KB) (139.87 KB)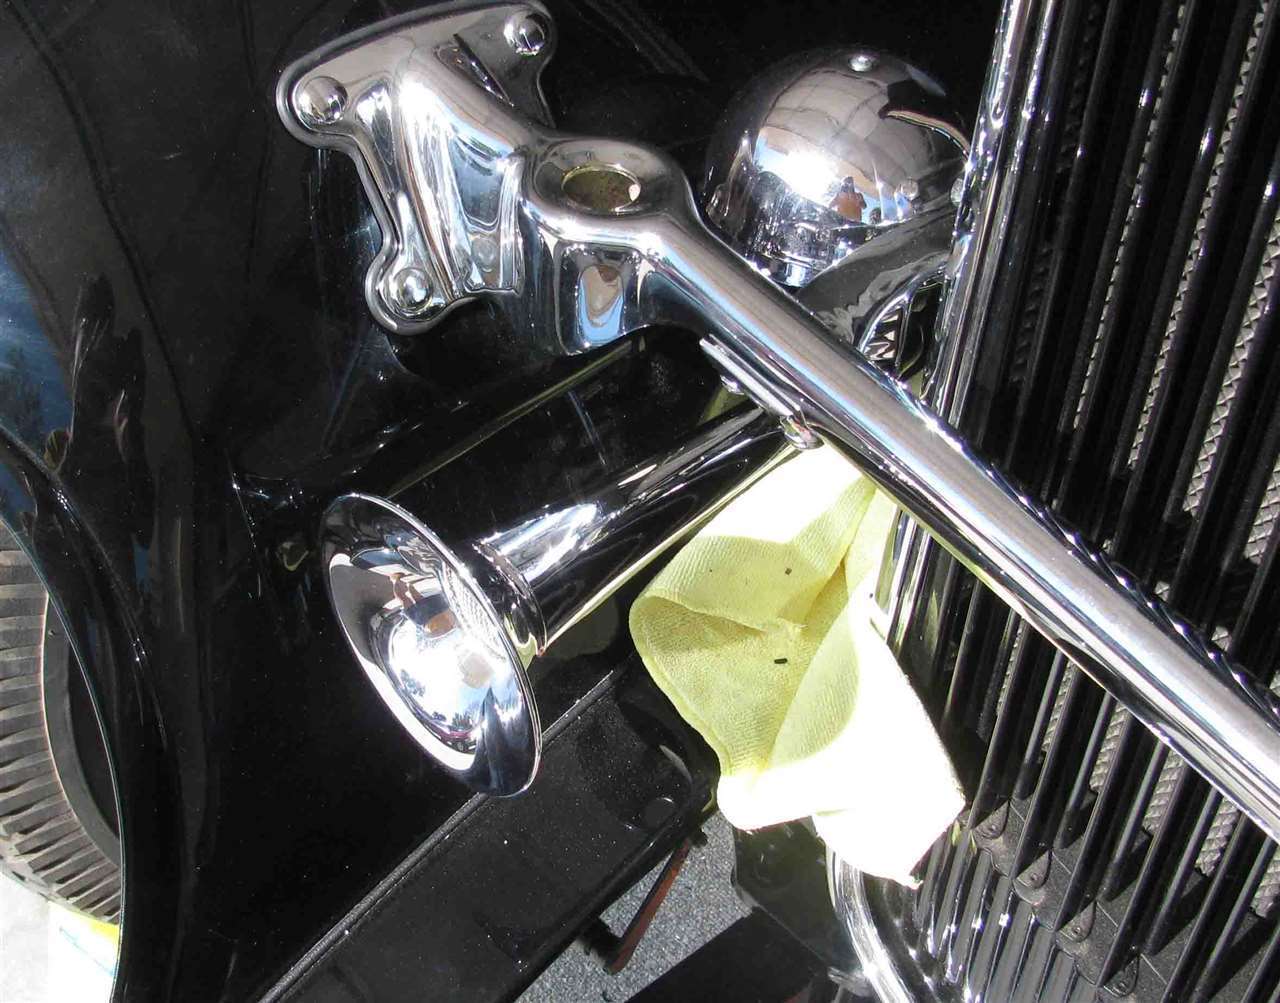
Posted on: 2014/6/1 18:30
|
|||
|
||||
|
Re: Our 1932 901
|
||||
|---|---|---|---|---|
|
Home away from home
|
I've been at work on the four door latches and the boards that holds them and the window regulators. The wood was pretty well shot - warped and cracked. While the door-latch assembly plates needed to be re-plated.
The rivets on the latch assemblies were drilled out and they were disassembled. The plates were sent out for a polished nickel plating and the rest of the hardware was cleaned up and painted semi-gloss black. Since I could not find shoulder rivets with the correct dimensions, I turned five of each size on a lathe. New boards were made by gluing pieces of 1" maple. The thickness was planed to 9/16" like the original ones. Templates were made from MDF so the recessed areas could be cut out with a router. After the boards were cut and milled, they were treated with an ebony stain. I also worked on some of the hardware that holds the bumpers on. The covers were "well rusted" and bent up. I was able to straighten the covers up, pound out the dents and braze the cracks and tears so they looked good enough to send out from chrome plating In the next week or so, I'll mount the door & window hardware on the boards and fit them to the doors. Attach file: (132.51 KB)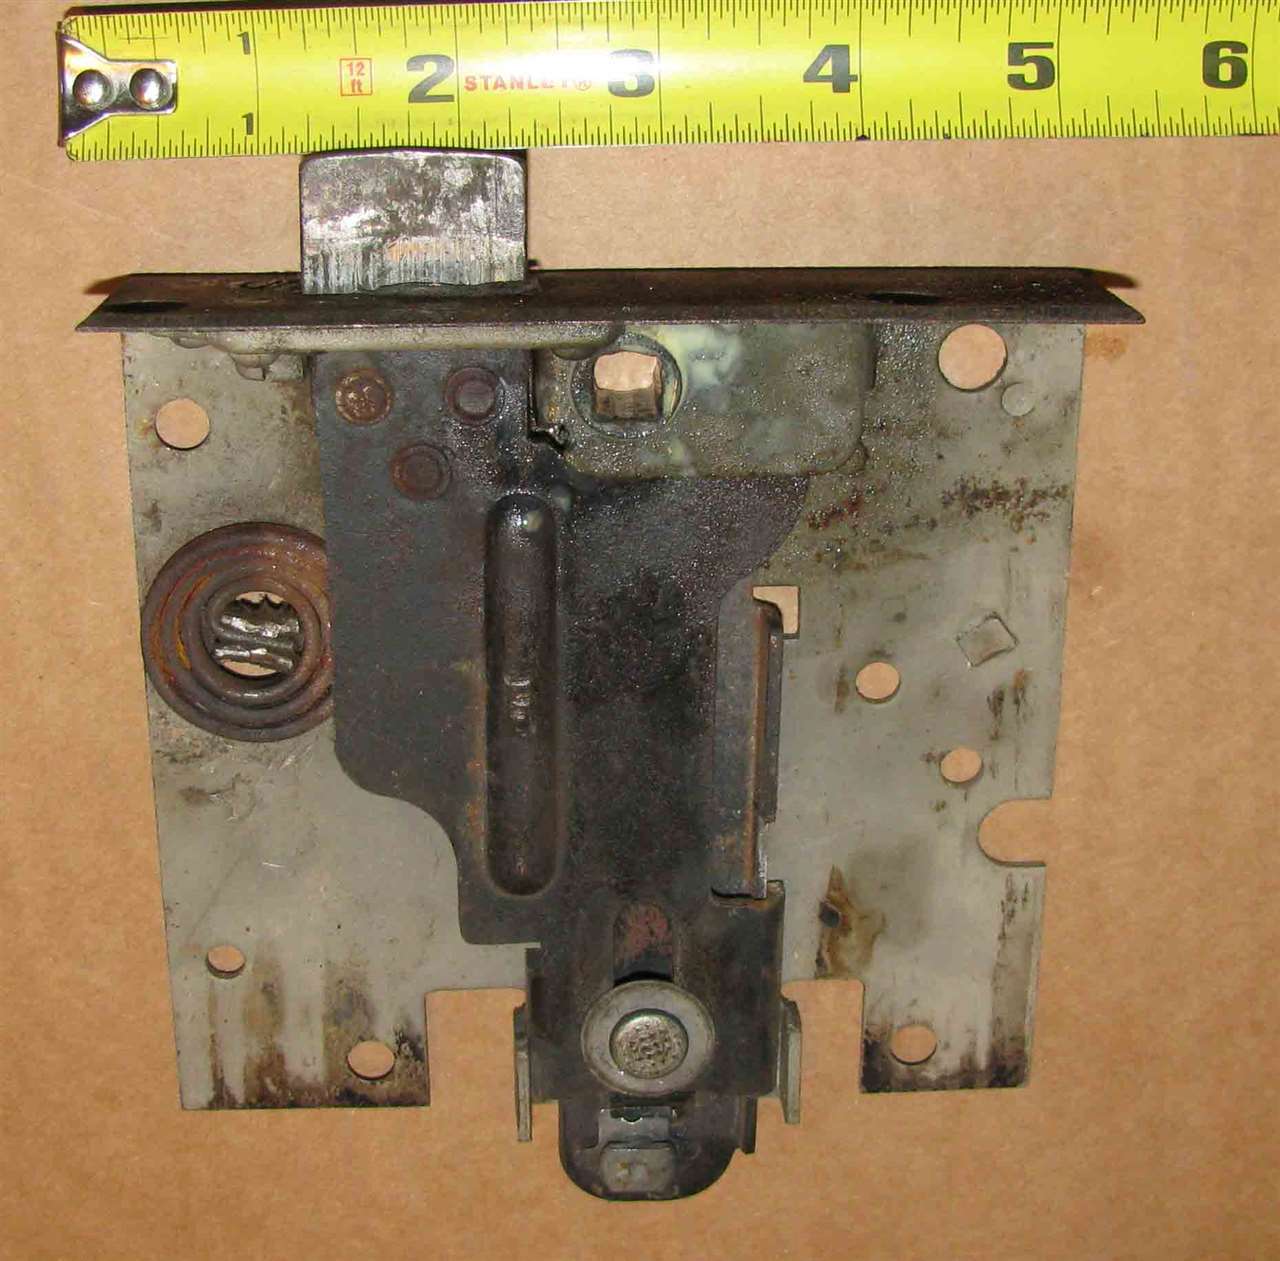 (124.20 KB) (124.20 KB)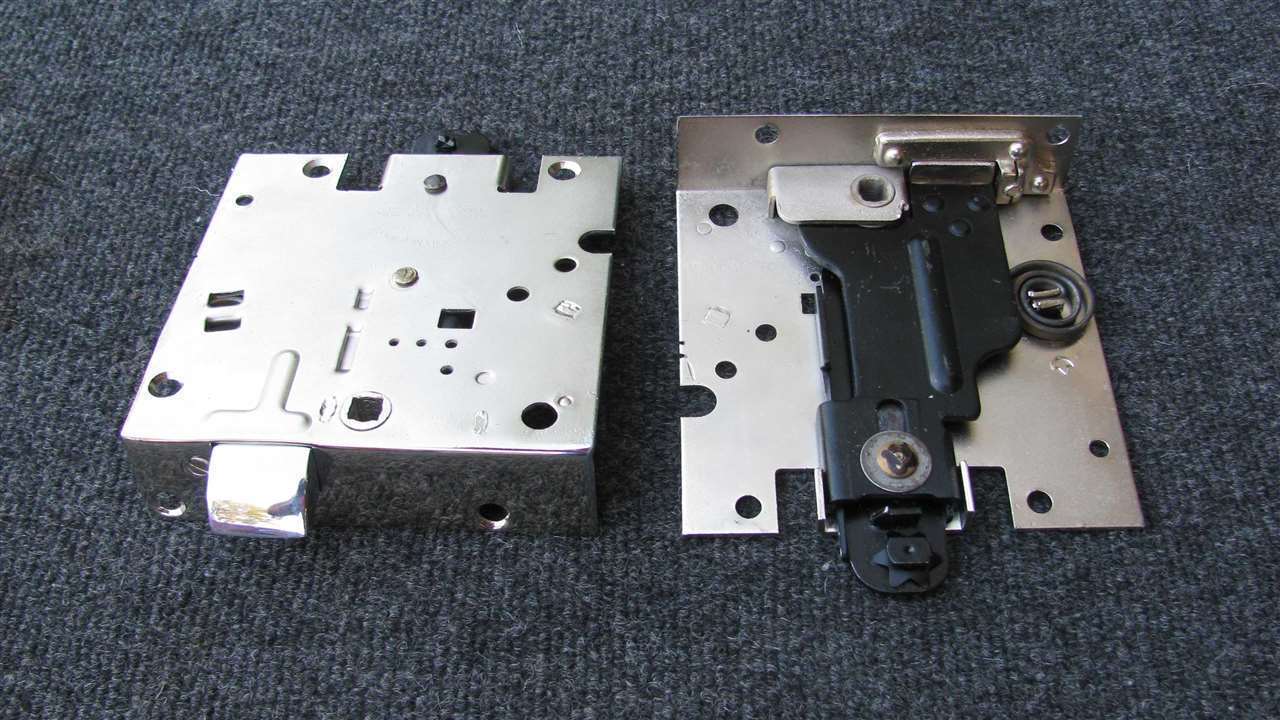 (59.79 KB) (59.79 KB)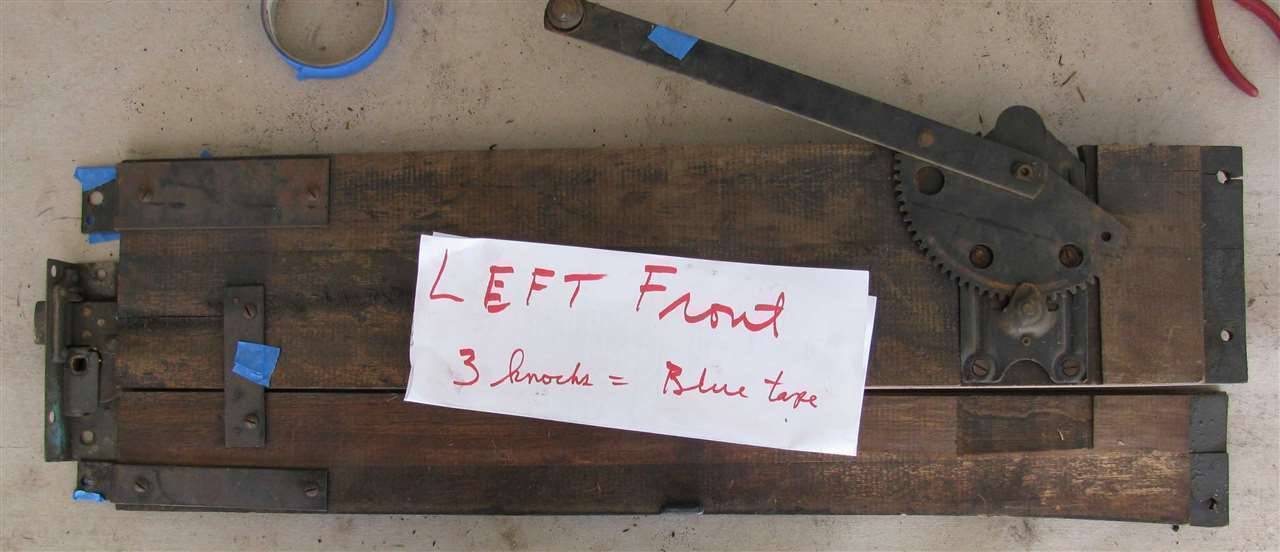 (120.89 KB) (120.89 KB)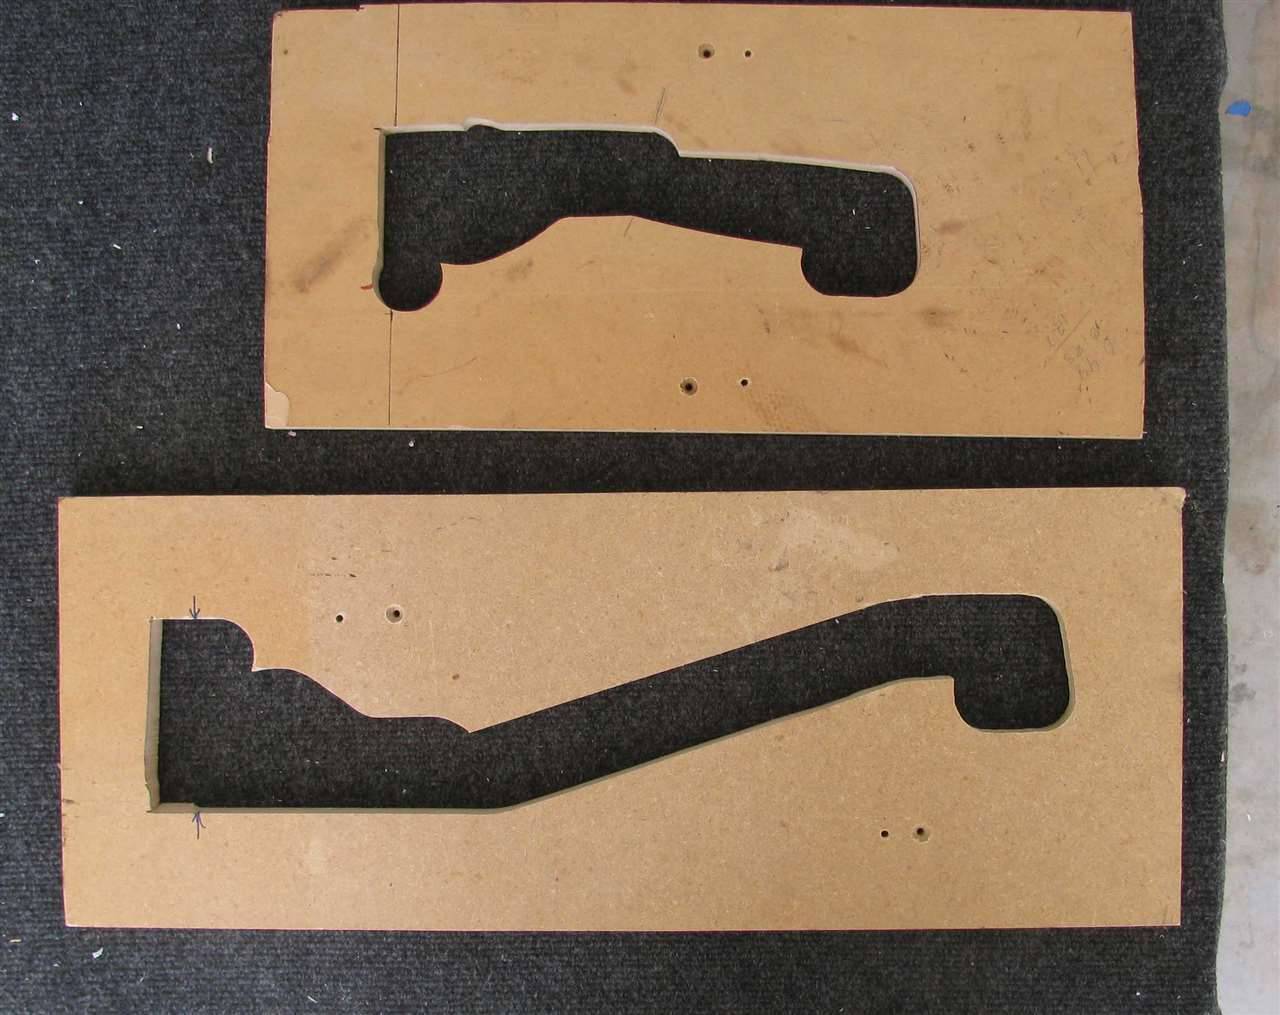 (76.40 KB) (76.40 KB)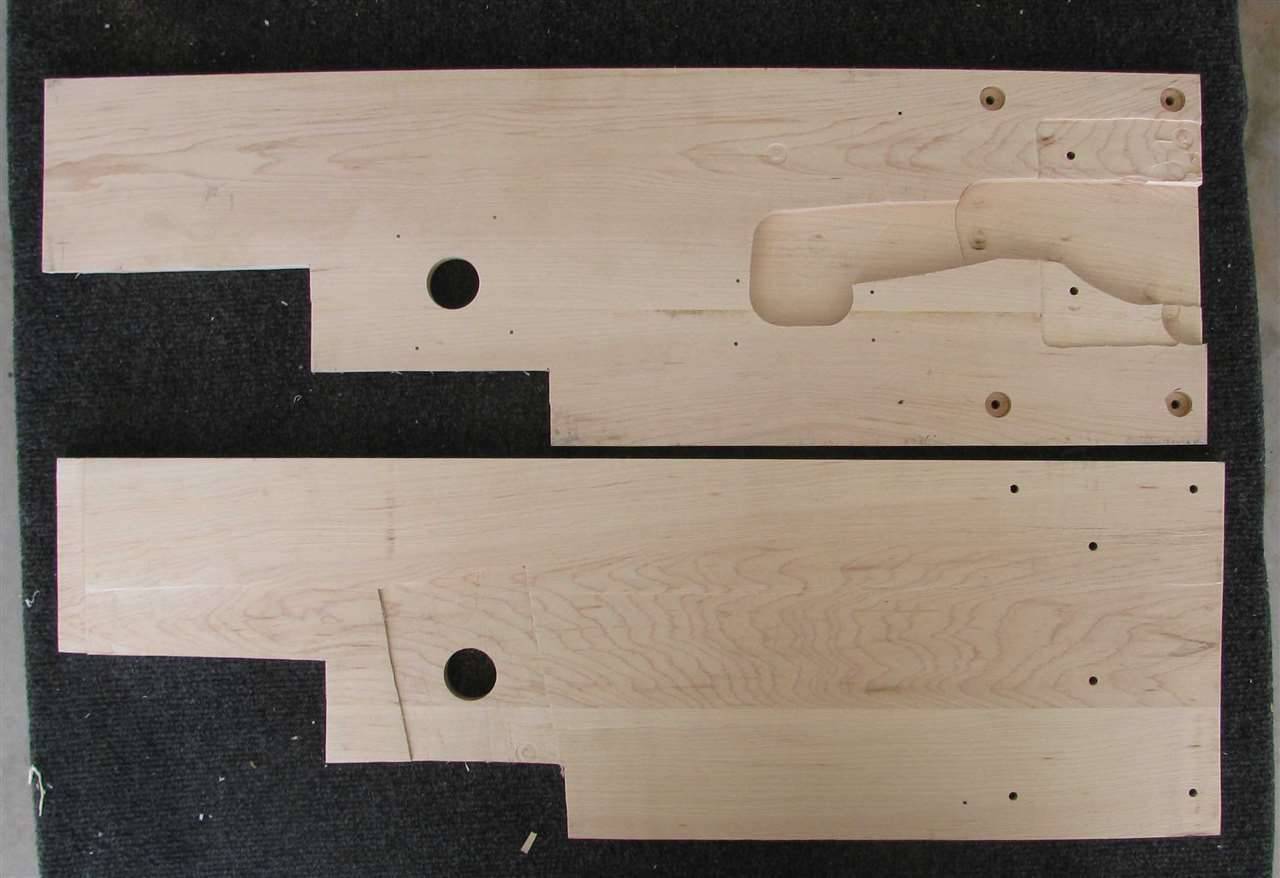 (62.38 KB) (62.38 KB)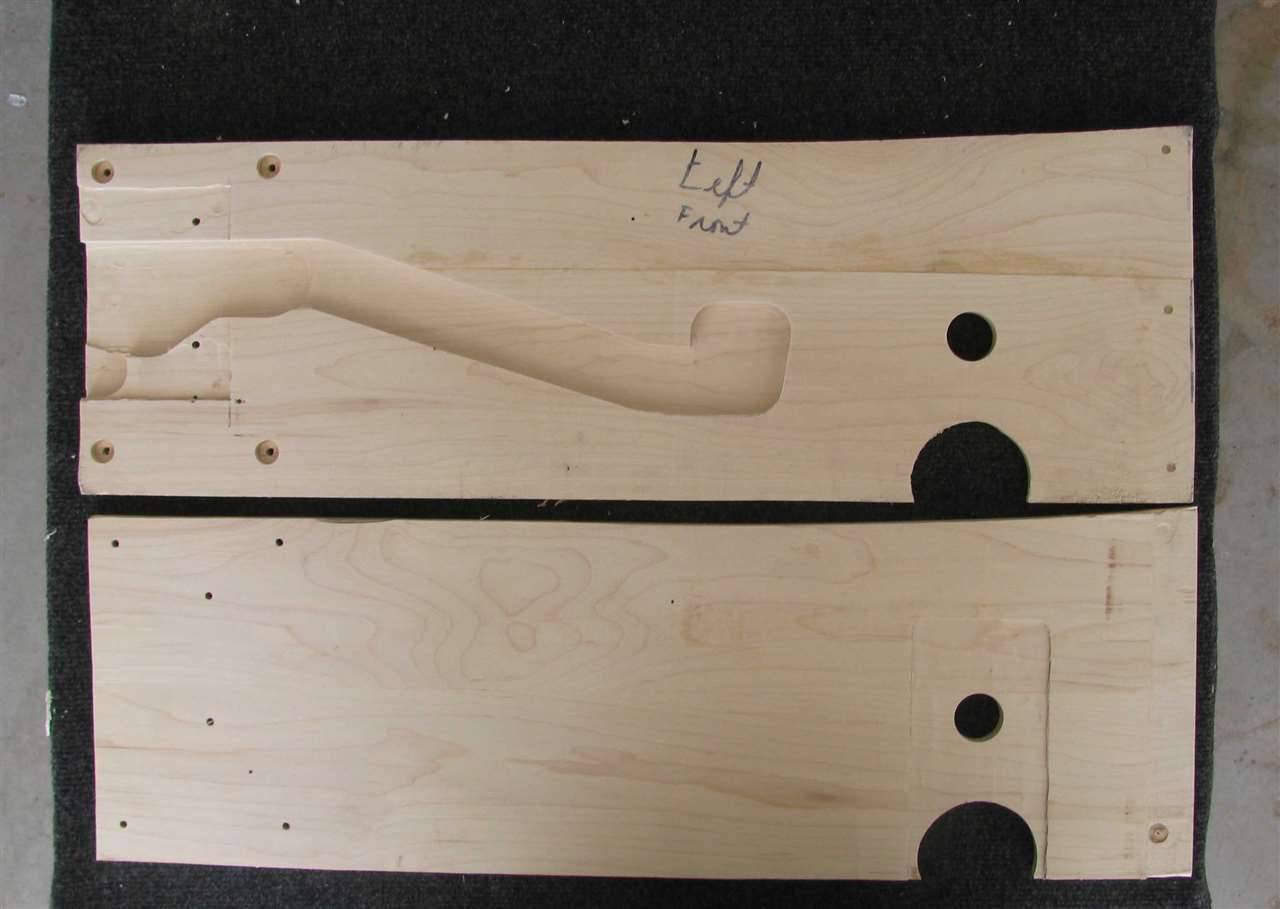 (146.03 KB) (146.03 KB)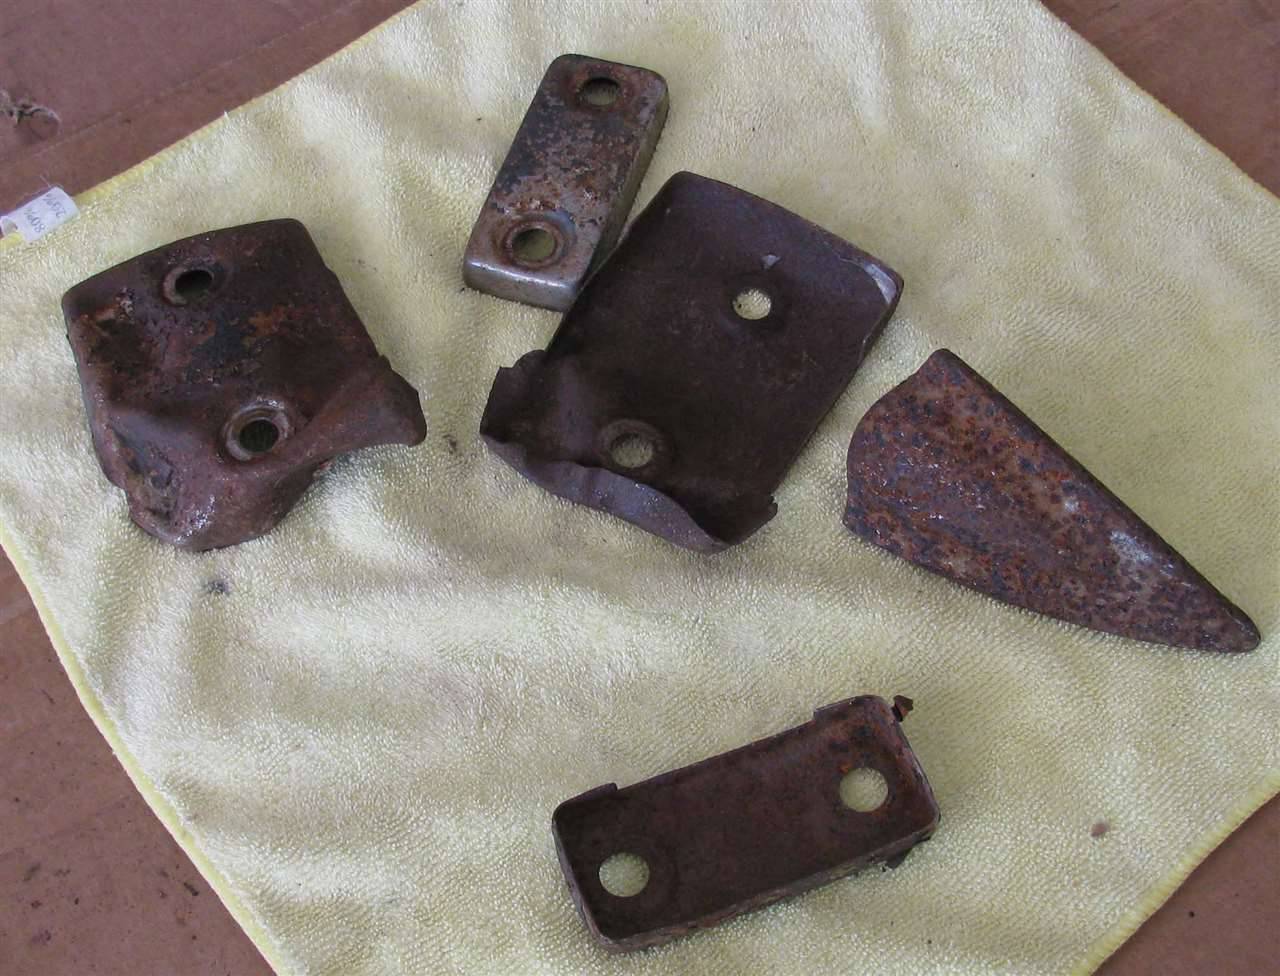 (106.33 KB) (106.33 KB)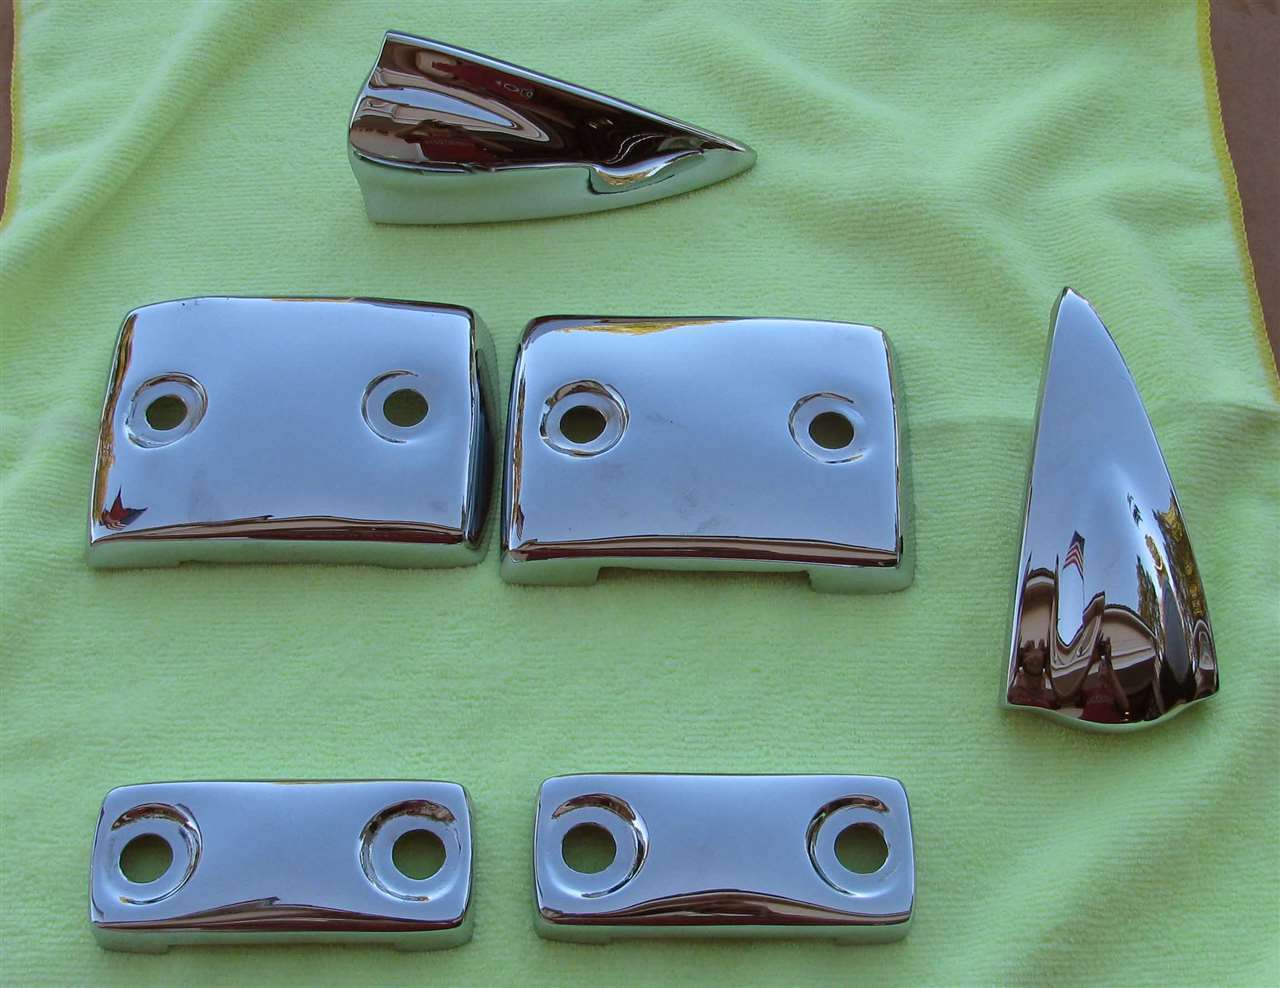
Posted on: 2014/9/27 10:18
|
|||
|
||||
|
Re: Our 1932 901
|
||||
|---|---|---|---|---|
|
Forum Ambassador

|
Very nice work, congratulations. On the bumper frame end caps, were those you show plated reproductions from Bill Hirsh (I think he still offers them), or the old ones repaired?
Posted on: 2014/9/27 12:36
|
|||
|
||||
|
Re: Our 1932 901
|
||||
|---|---|---|---|---|
|
Home away from home
|
Those were the old ones. I debated about buying repros, but thought there was an outside chance that with a little heat from a torch and a lot of soft touches from a body hammer & dolly I could get them back together.
So after about 30 minute each and an untold number of taps they looked pretty good. I silver solder a crack or two and sent them off for chrome plating. Don't know how much copper they used, but it must have taken a bit to fill the pits. One of them has a small area that could be better, but it isn't big enough to see unless you get within a foot or so.
Posted on: 2014/9/28 22:49
|
|||
|
||||
|
Re: Our 1932 901
|
||||
|---|---|---|---|---|
|
Home away from home
|
It's been several months since I have posted an update. I painted the new boards black and mounted the door latches and window regulators on them. They were installed on the car to make sure they fit and to keep them out of my hair.
I've posted several things on the Pre-war (1946-54) side of this site getting information from those who know a lot more than I. One was on wiring and I completed the installation for the harness that takes care of the steering wheel column switch. As part of the electrical the head lights were installed and wired. I was missing bulb sockets for the headlights. Therefore, I bought some for a 30's era Ford and alter them to fit. When I got ready to install the wiring that goes to the starter switch I discovered that the brake pedal doesn't seem to be correctly (see post for the nitty-gritty). Glass for the car has been ordered and should be delivered in the next several weeks. My current challenge with the windows is find correct glass run channels. I have some of the original ones, but don't think that I have all of them. They are beaded with and felt lined. It appears that they were not nickel or chrome plated, but painted. As many of you know, the lever for the cowl vent was made of cast aluminum. Mine was cracked all over and the area where it bolts to the cowl was broken. I decided that it should be easy enough to make one out of brass. So I got a piece of 9/16' rod 2 feet long, some 3/8"X 1.0 " brass flat bar, and a 7/8" mild steel ball. I tapered the rod so it looked like the bad one. Then heated and bent it to match the original lever. I drilled and tapped the rod and ball so I could screw them together (just to hold them in position). Then I silver solder the two together. A ~3' piece of the flat bar was drilled, tapped and screwed to the rod (again to hold it in place) before it was silver soldered. Cost of the project was about $15 and took 3 to 4 hours to make. Attach file: (229.89 KB)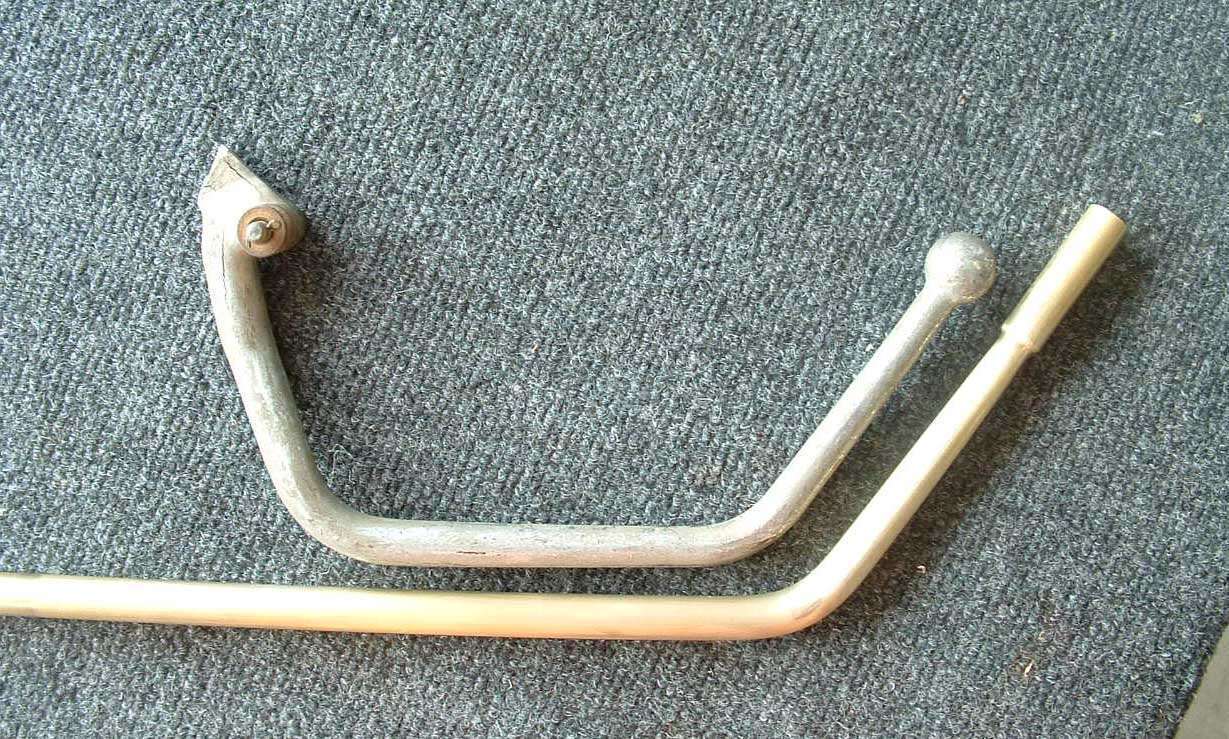 (136.49 KB) (136.49 KB)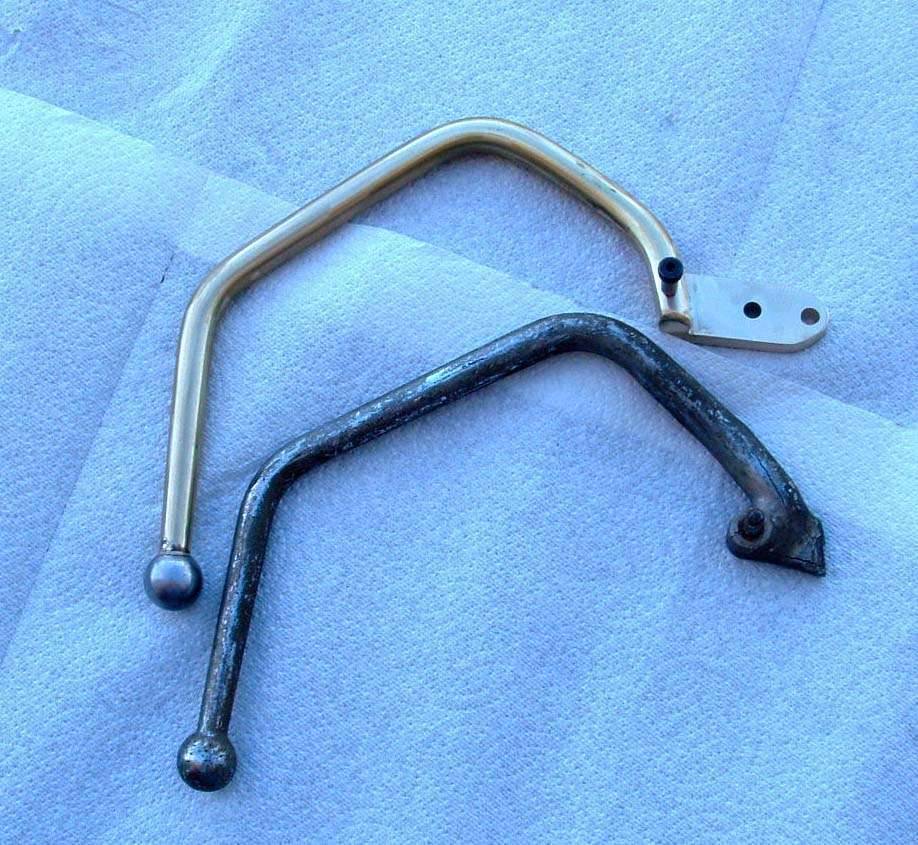
Posted on: 2015/2/3 23:05
|
|||
|
||||


