|
Re: BigKev's 1954 Packard Clipper Deluxe Sedan
|
||||
|---|---|---|---|---|
|
Webmaster

|
DAY 1 of rewiring the entire car has begun. Once the fuse box was firmly mounted, I had to go through the harness groupings in the aftermarket GM harness and make sure everything was going to work. Some of the wiring bundles needed to come apart, and a few of the wires moved to other bundles. The biggest issue with this after market harness was that it was designed for a column mounted ignition, and headlight dimmer switch. So I had to unbundle the column grouping, and remove those wires and move them to the appropriate grouping. Also there was no ground wire in the tail/rear grouping for the dome light. So I had to add that wire to the rear grouping.
Once that was I did some did some taping for bundling purposes on the rear/tail light bundle and then the "real" fun began. On the '51-54 (55-56?) models all the rear wiring is run up the inside of the "A" pillar, across the roof line, and down the "C" pillar into the trunk. All the old wiring was very brittle, with the insulation flaking off, so it had to be replaced. The stock harness only had 4 wires in it for the tail/stop lights/fuel sender. I didn't have any other options (back-up light, trunk light, etc). The new harness I am running has significantly more wiring. Not only the tail/stop light wiring, but also backup light, trunk light, dome light, (future amp trigger), rear speaker wires, fuel sender, fuel pump. So a much bigger bundle was getting pulled through the pillars. I quickly discovered the reason that Packard didn't tape the harness through the body. Several of the holes that the harness must pass through are more "slots" that holes. If the harness is tapped into a round bundle it will not pass through there bottleneck. So it must be untaped so the bundle can be flat when it passes through those slots. So getting the bundle up the A-pillar took lot of trial and error. By the time I got back to the "C" pillar it was a piece of cake as I new the routine. On both pillars I used the old wiring as "pull" wire to help get the new bundle through. I also separated the engine and headlight groupings in sub-groupings in the engine compartment. Once I get everything cut to length and routed, then I will go back and wrap the harness. More to come tomorrow. Attach file:  (48.32 KB) (48.32 KB)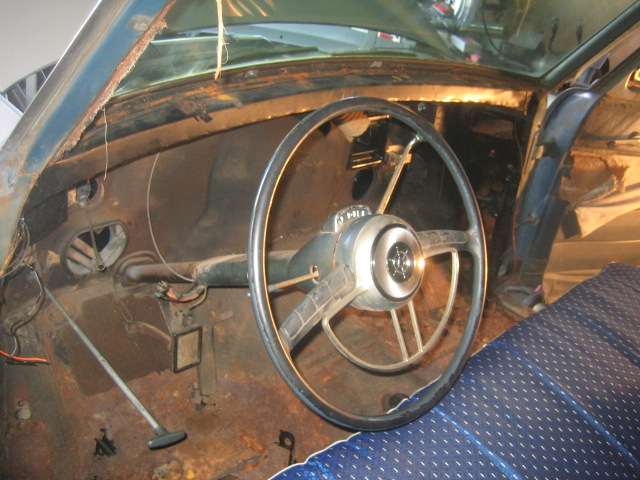 (40.06 KB) (40.06 KB)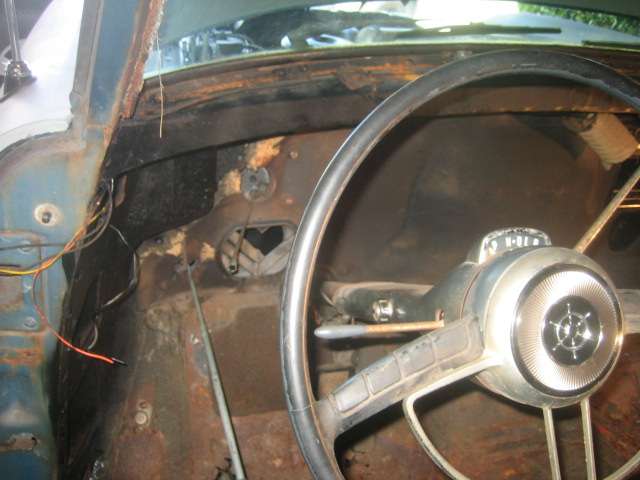 (39.63 KB) (39.63 KB)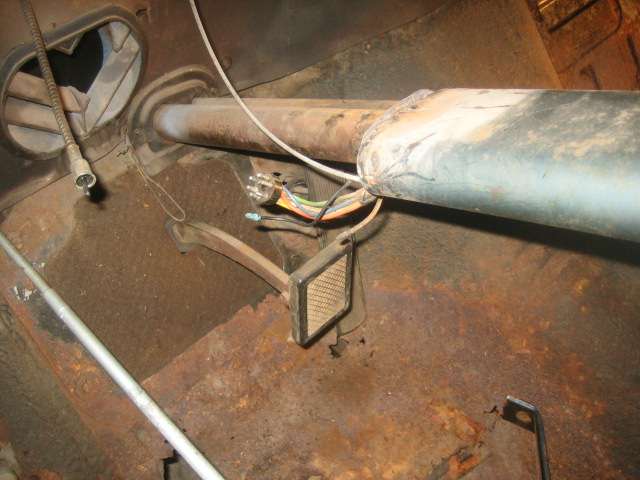 (44.19 KB) (44.19 KB)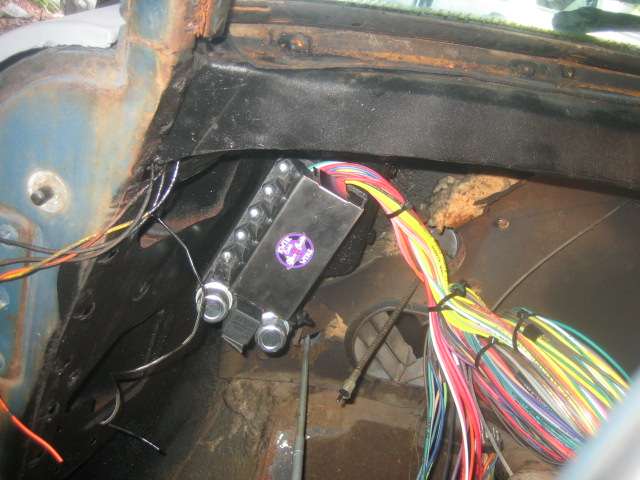 (32.40 KB) (32.40 KB)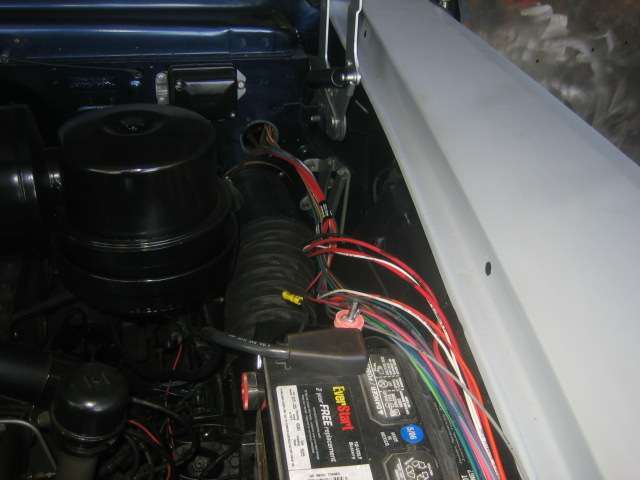 (42.17 KB) (42.17 KB)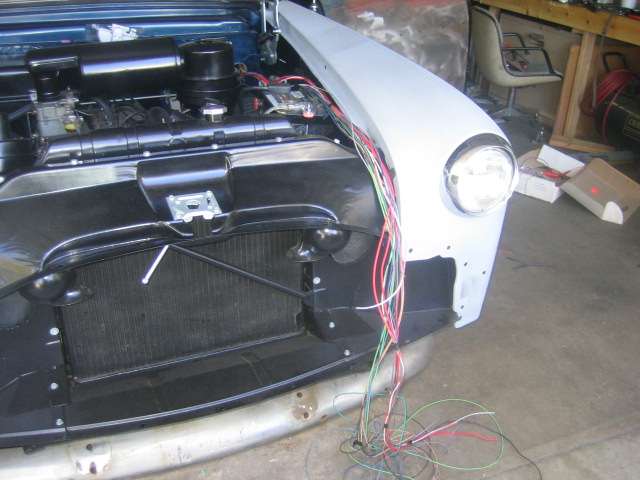 (30.56 KB) (30.56 KB) (40.55 KB) (40.55 KB)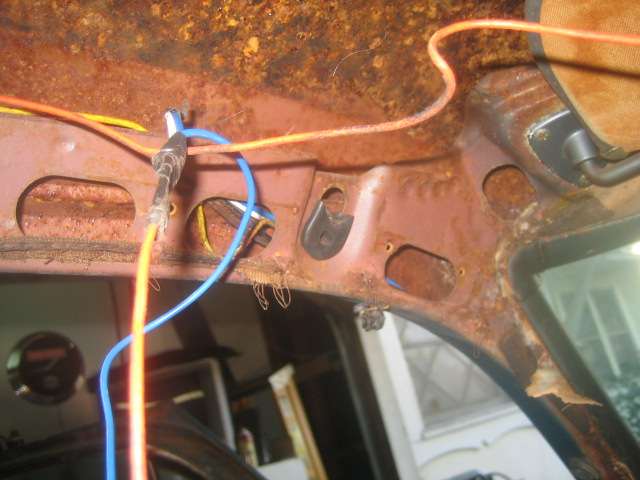 (36.15 KB) (36.15 KB)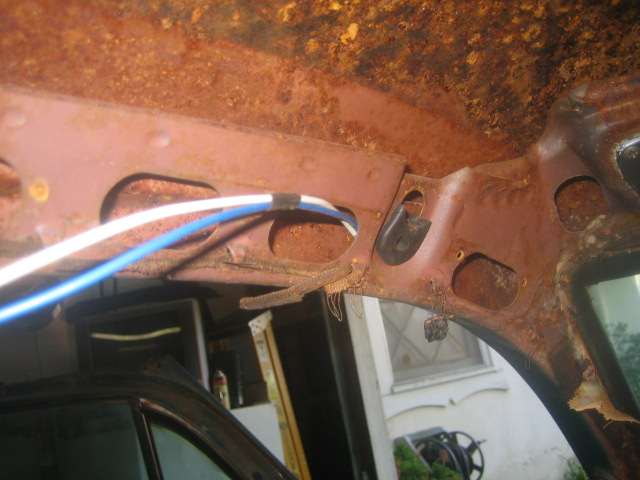 (38.85 KB) (38.85 KB)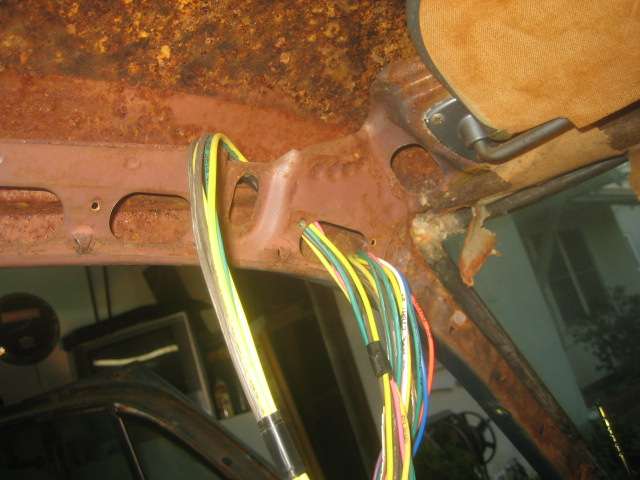 (38.84 KB) (38.84 KB)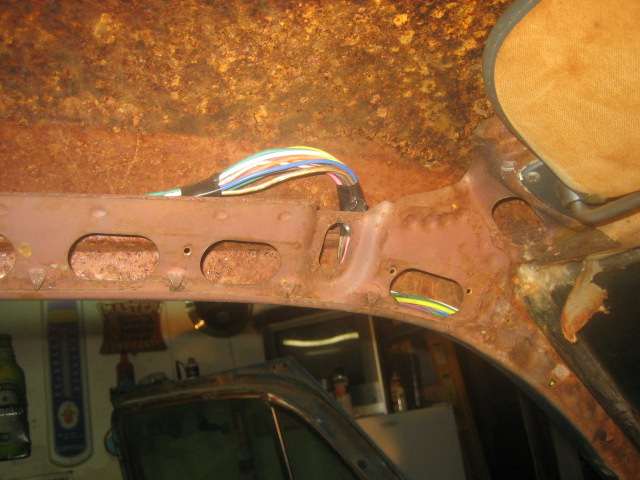 (32.67 KB) (32.67 KB)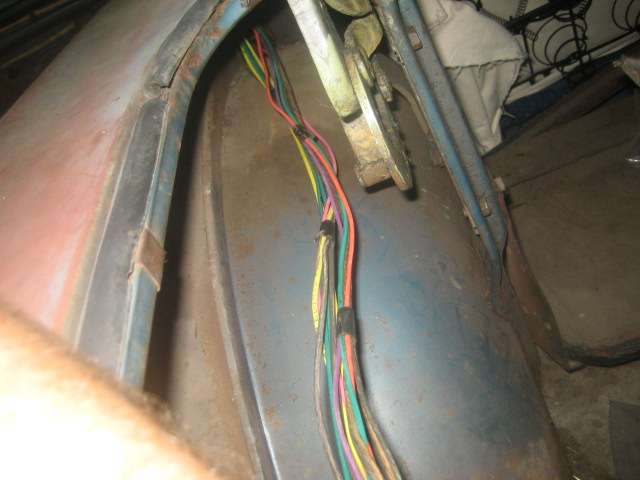 (43.47 KB) (43.47 KB)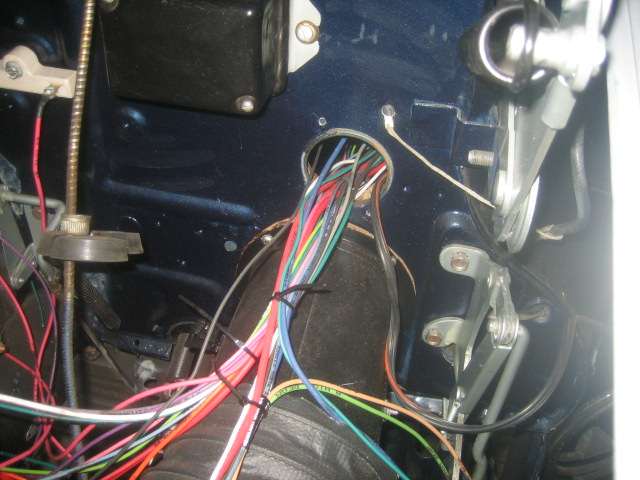 (27.06 KB) (27.06 KB)
Posted on: 2010/8/28 23:19
|
|||
|
-BigKev
1954 Packard Clipper Deluxe Touring Sedan -> Registry | Project Blog 1937 Packard 115-C Convertible Coupe -> Registry | Project Blog |
||||
|
||||
|
Re: BigKev's 1954 Packard Clipper Deluxe Sedan
|
||||
|---|---|---|---|---|
|
Webmaster
|
Electrical DAY 2:
Spent almost the entire day running electrical. Since this was not a prebuilt, application ready harness, I had to create all the sub harnesses, and pre-route everything and then cut everything to length. Then all the terminals were crimped on, and heat shrink tubing applied. Now nothing looks worse on an old car like modern plastic covered terminals. But I recycle them into period looking connectors. For the ring, fork and spade terminals, I just use a pair pliers to remove the plastic cover. When I need to extend a wire, I use a razor knife to cut off the plastic from a butt-connector, and use the inner metal tube to make the splice. One place that folks go wrong is not properly crimping a connector. First if you have one of those crimping pliers that simply shushes the terminal barrel, then throw it the trash, as they are complexly useless in getting a proper crimp. You need a set of crimping pliers like I have pictured below. I have had these for years, and they simply put a dimple in the terminal. The other problem I see with people crimping is that they don't crimp the correct place on the terminal barrel. The best way to crimp these style of terminal is to but the "bump" on the pliers on the seam on the terminal barrel. When you crimp it there it will cause the barrel to sides to roll down in two mini barrels. Each side captures about half of the wire strands and locks the wire in place. Properly crimped it is almost impossible to pull the wire out of the terminal. After the crimp is made, the I cover the terminal connection with the appropriate side heat-shrink tubing, and use a lighter to shrink it. After I had all the sub harness in the engine bay in the same configuration and placement as the original Packard harness, then I wrapped the harness in tape just like the original. I also pulled off the dimmer switch and media blasted it, and checked it to make sure it was operational. It was, so back on the car it went. The voltage regular was gutted (as I don't need it with the alternator), and that will serve as the location to hold that main feed maxi-fuse. Completely camouflaged when the cover is on, and it works perfect as a weather tight housing. I made a buss-bar that sits inside the housing, and the maxi-fuse attaches to it. The bar is insulated from the case, and extends down and attaches to the original "bat", "field", and "gen" terminals. Also here you can see the ballast resistor that is needed for the coil. I still need to hook up the brake light switch, horn wire, and neutral safety/back-up switch. But I need to go pick up some female bullet connectors for that. More progress as the week allows.... Attach file: (18.27 KB)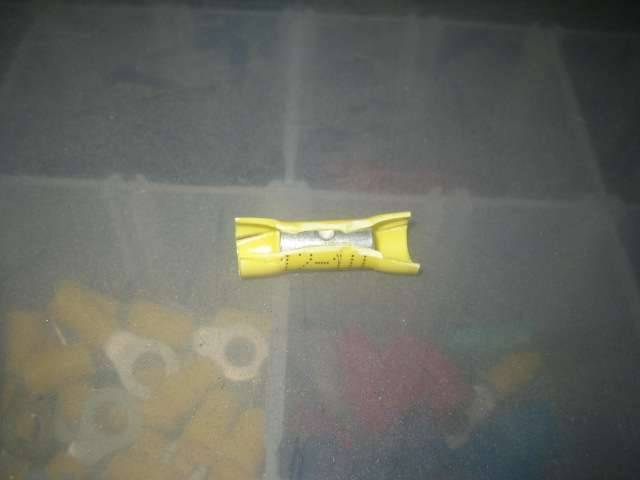 (19.94 KB) (19.94 KB)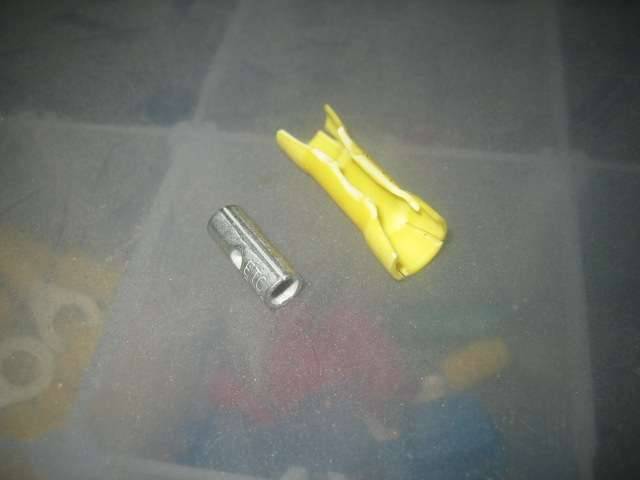 (18.98 KB) (18.98 KB) (18.28 KB) (18.28 KB)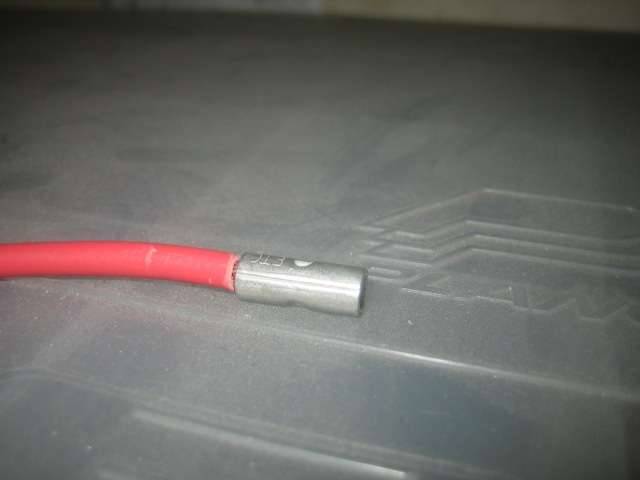 (20.40 KB) (20.40 KB)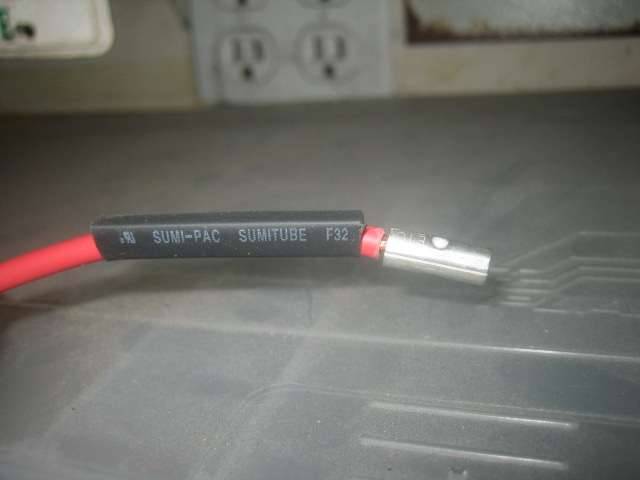 (24.29 KB) (24.29 KB)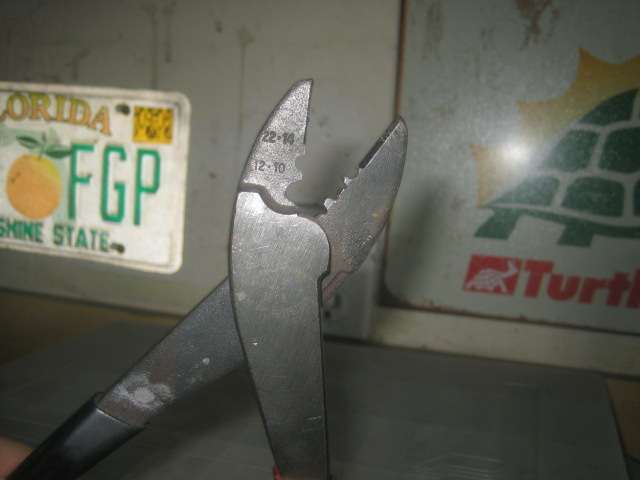 (25.96 KB) (25.96 KB)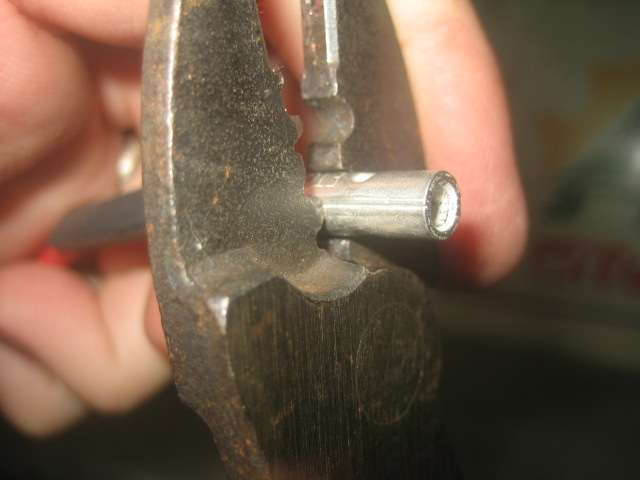 (23.90 KB) (23.90 KB)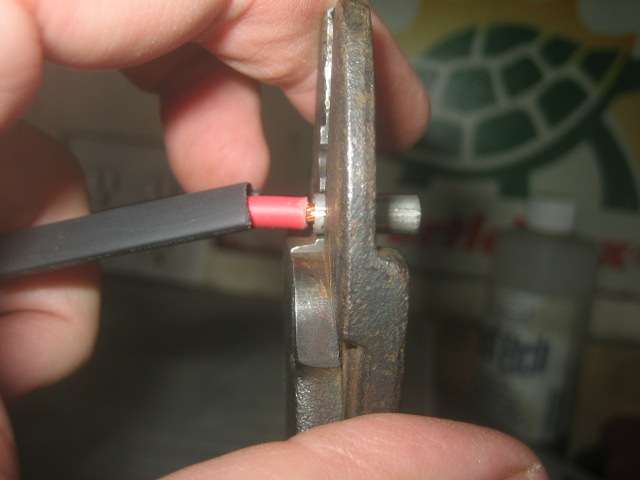 (17.07 KB) (17.07 KB)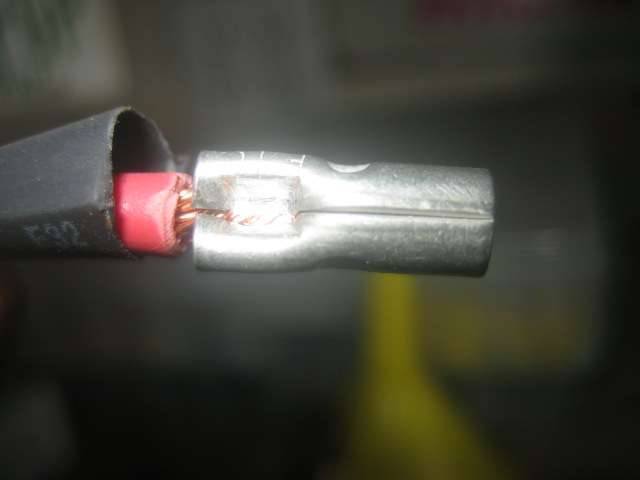 (17.88 KB) (17.88 KB)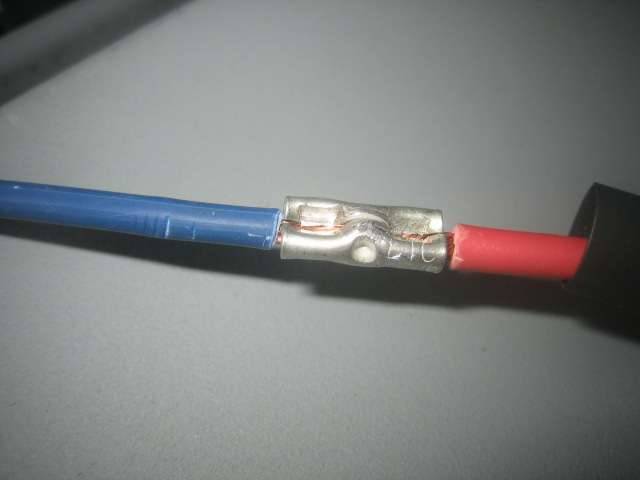 (16.35 KB) (16.35 KB)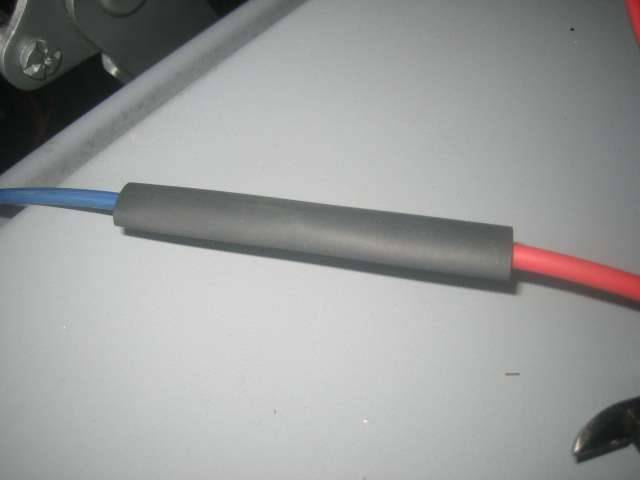 (23.41 KB) (23.41 KB) (20.55 KB) (20.55 KB)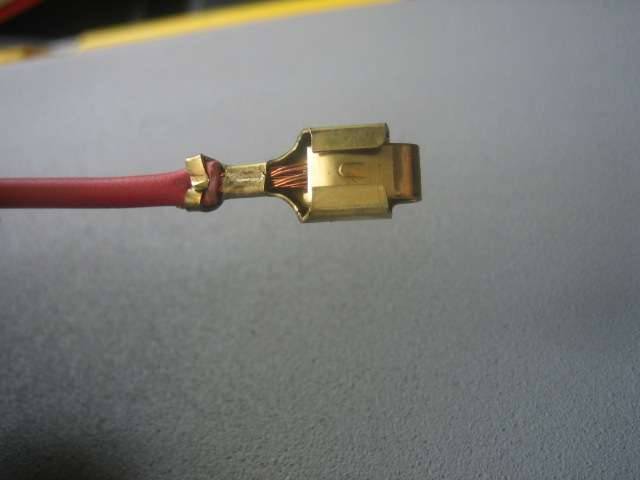 (18.45 KB) (18.45 KB)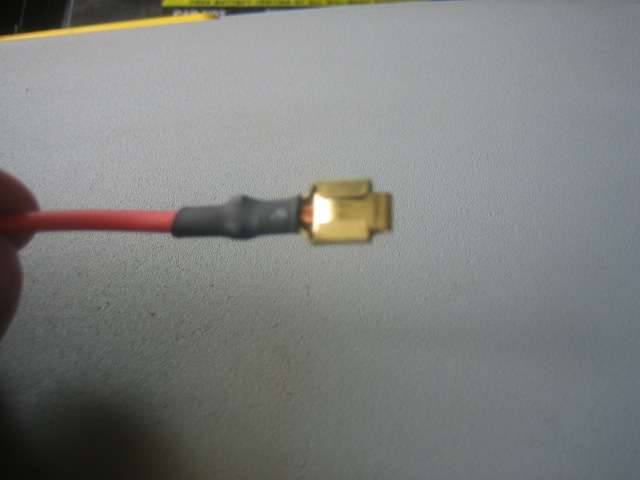 (25.69 KB) (25.69 KB)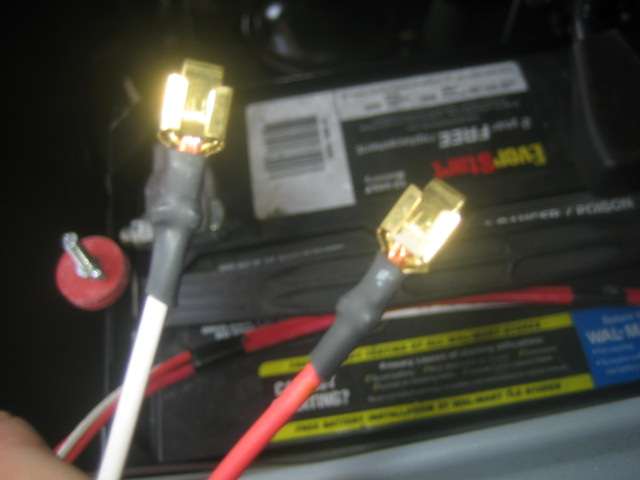 (20.71 KB) (20.71 KB)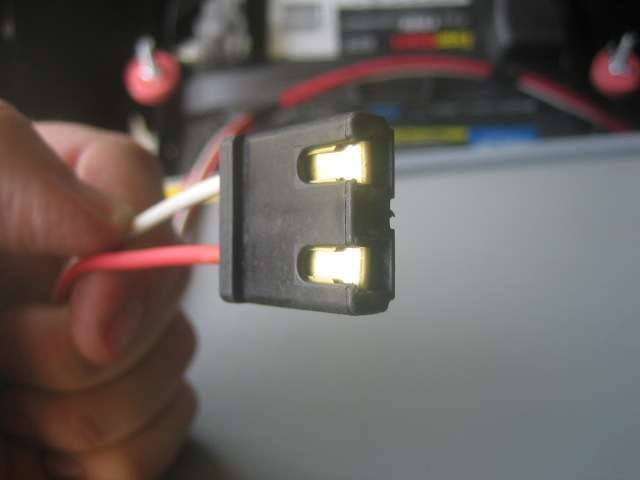 (18.03 KB) (18.03 KB)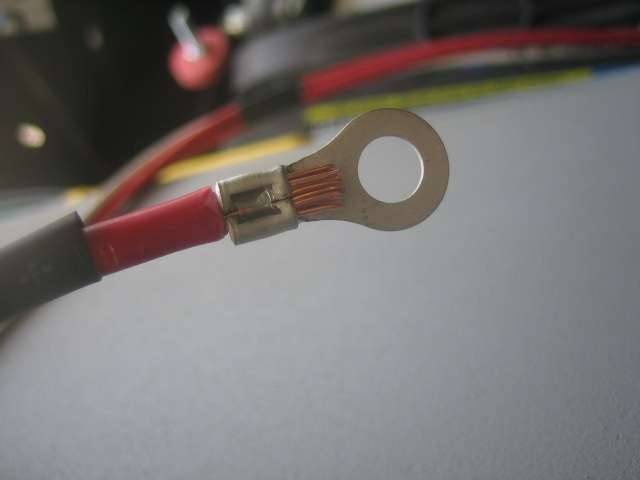 (17.07 KB) (17.07 KB) (118.27 KB) (118.27 KB)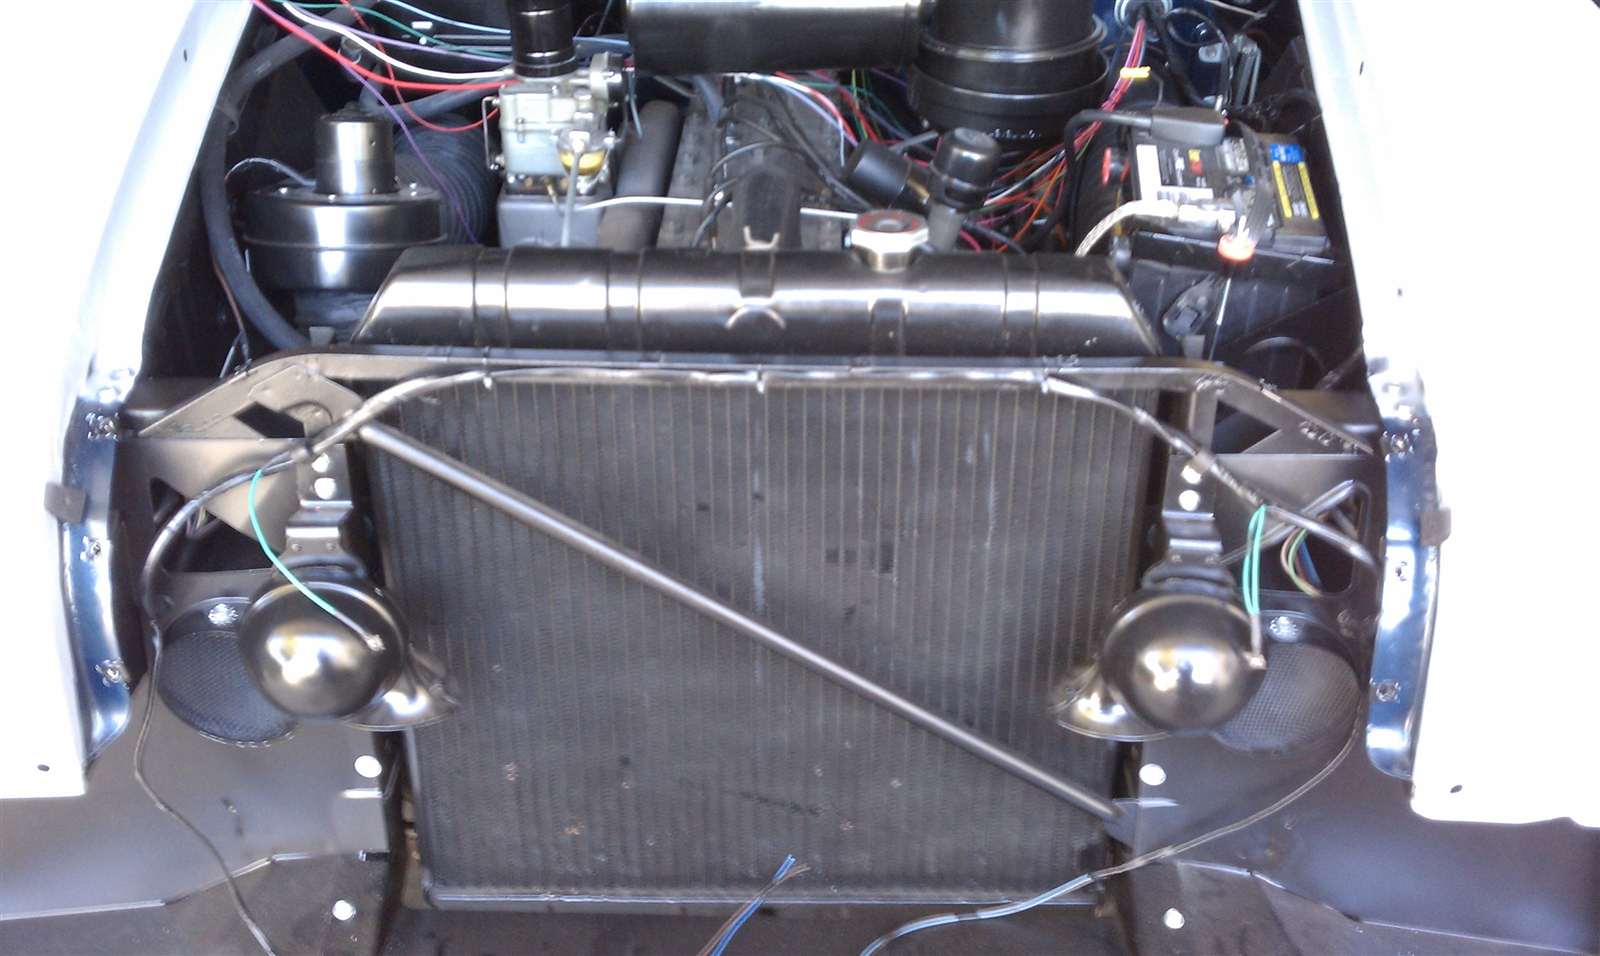 (154.01 KB) (154.01 KB)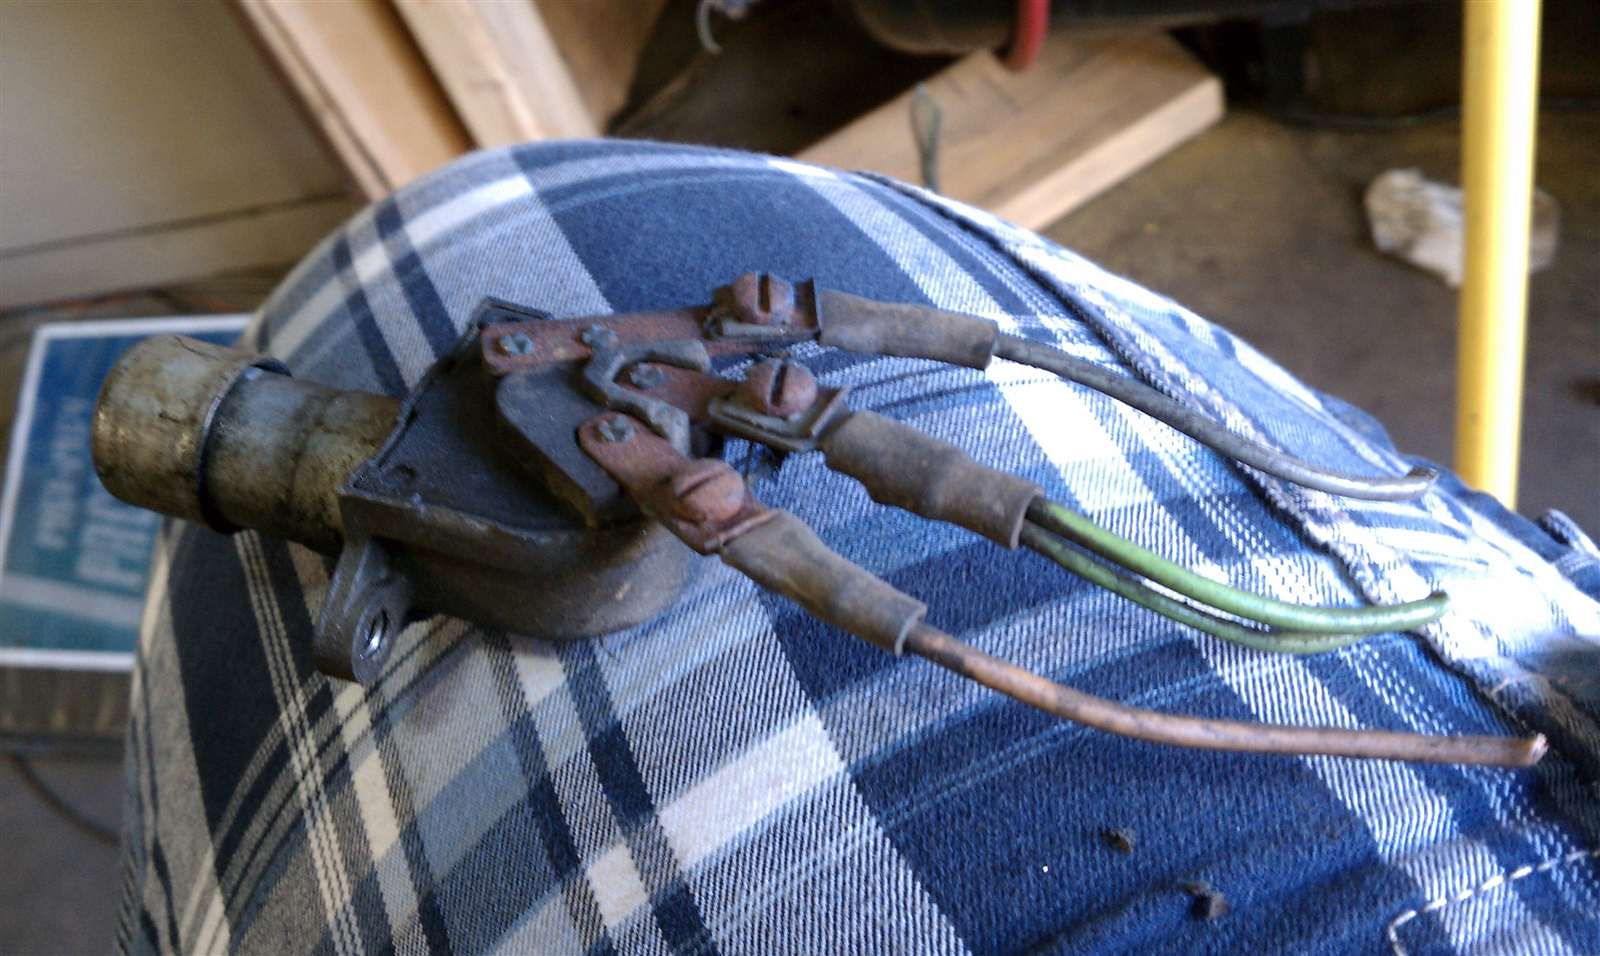 (226.87 KB) (226.87 KB)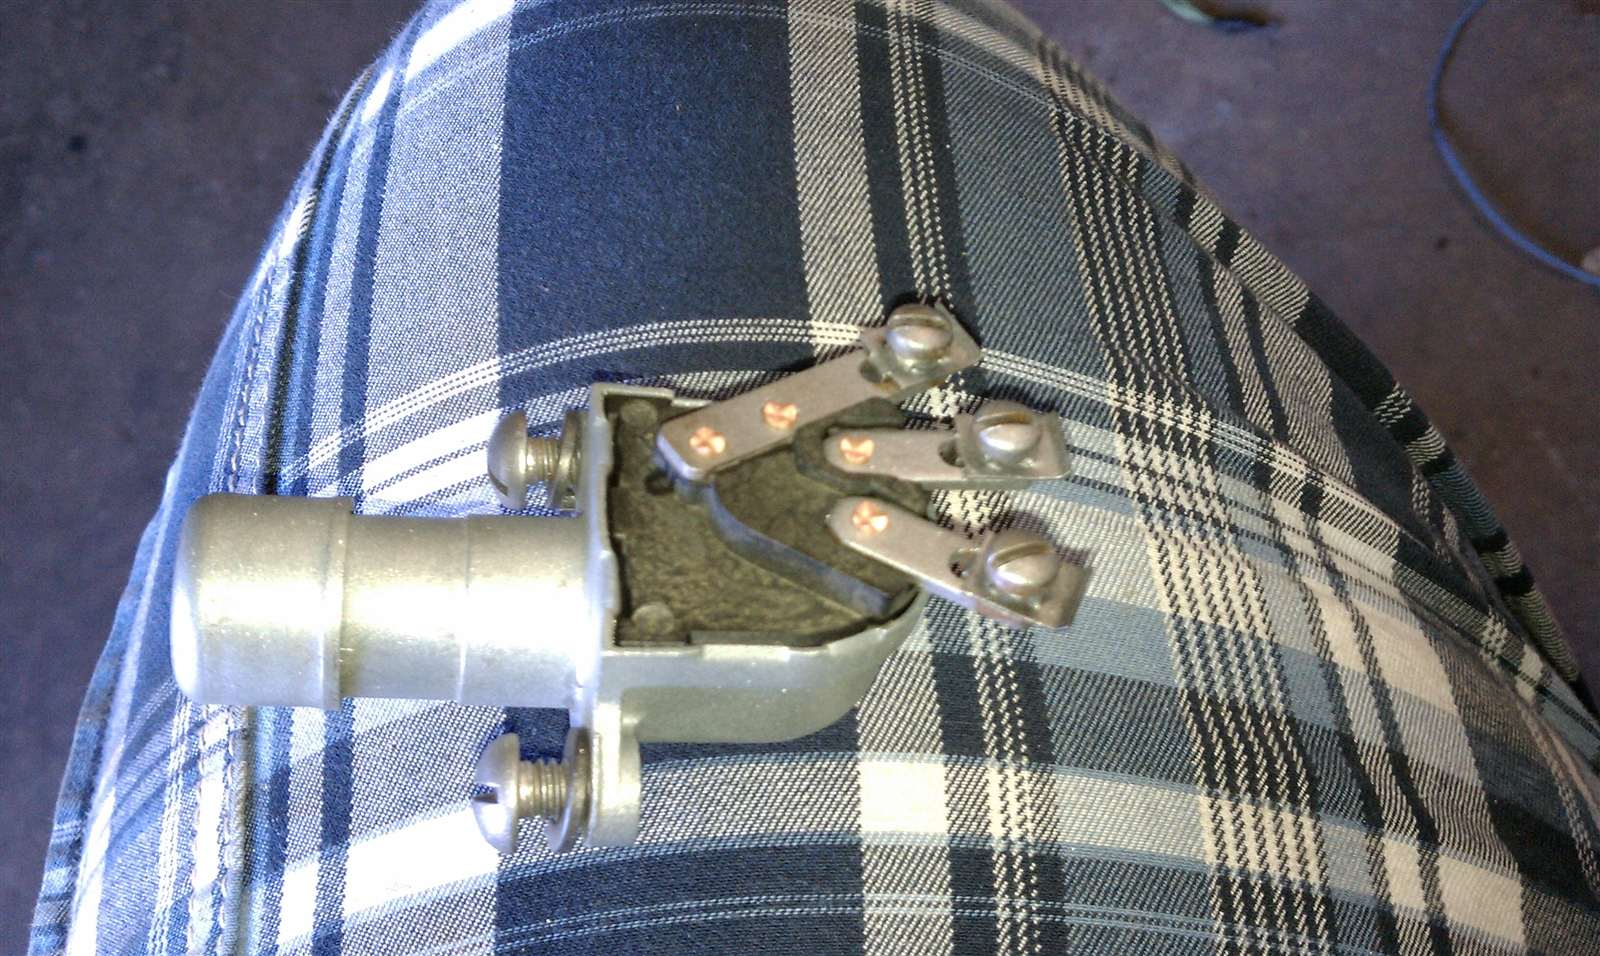 (153.66 KB) (153.66 KB) (93.69 KB) (93.69 KB)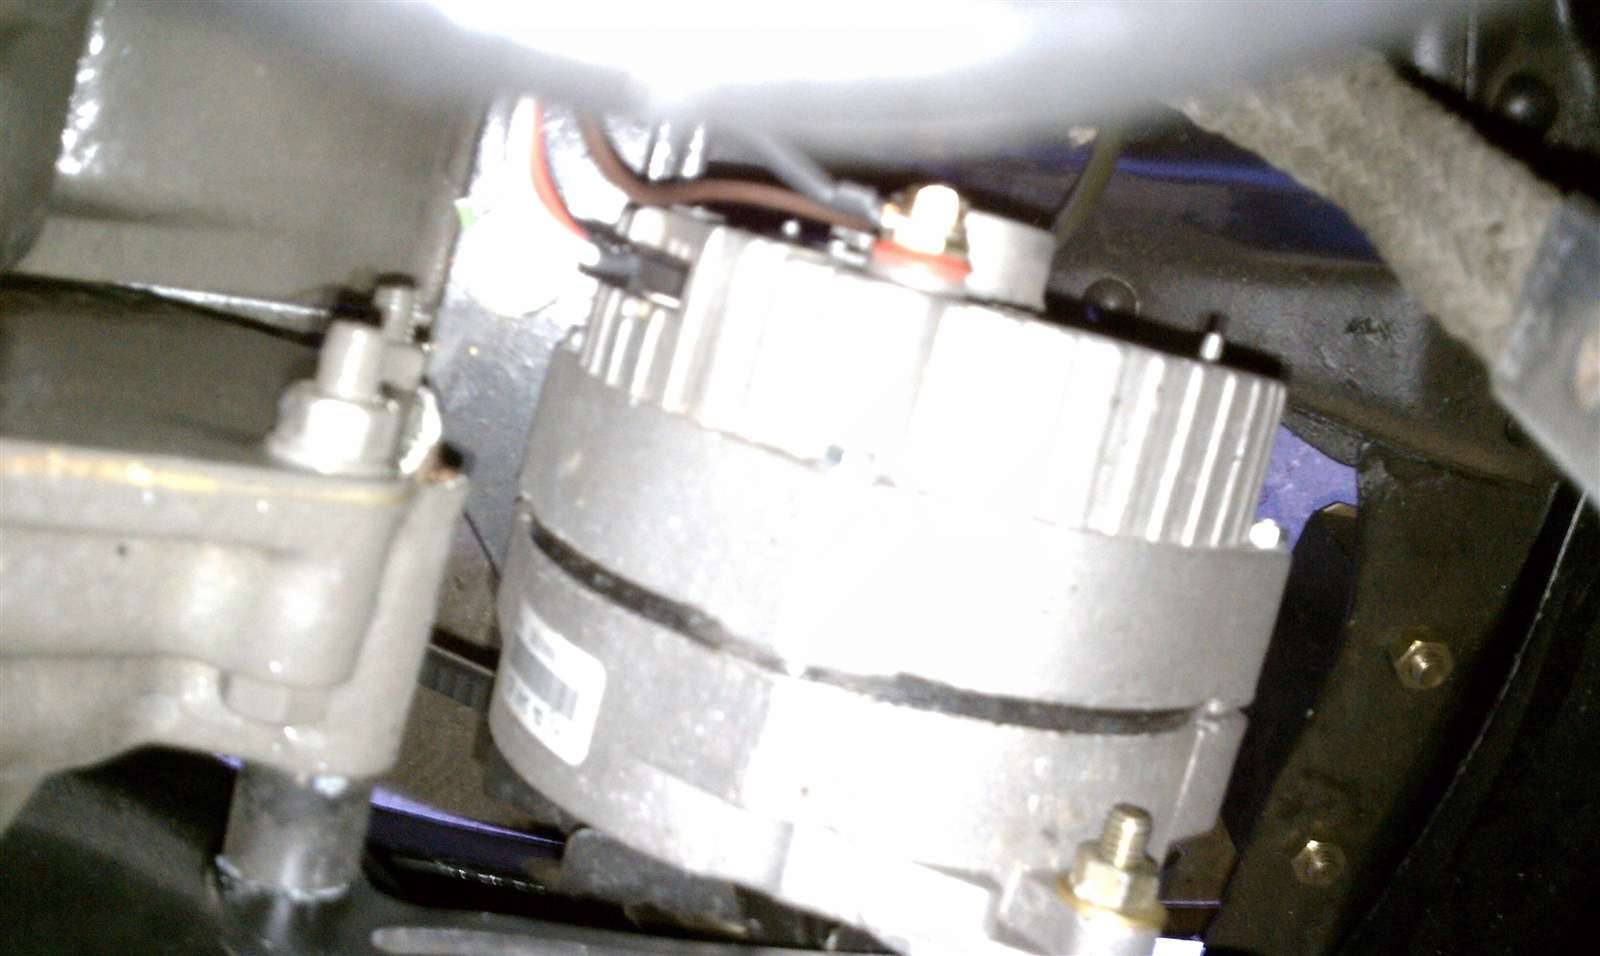 (126.20 KB) (126.20 KB)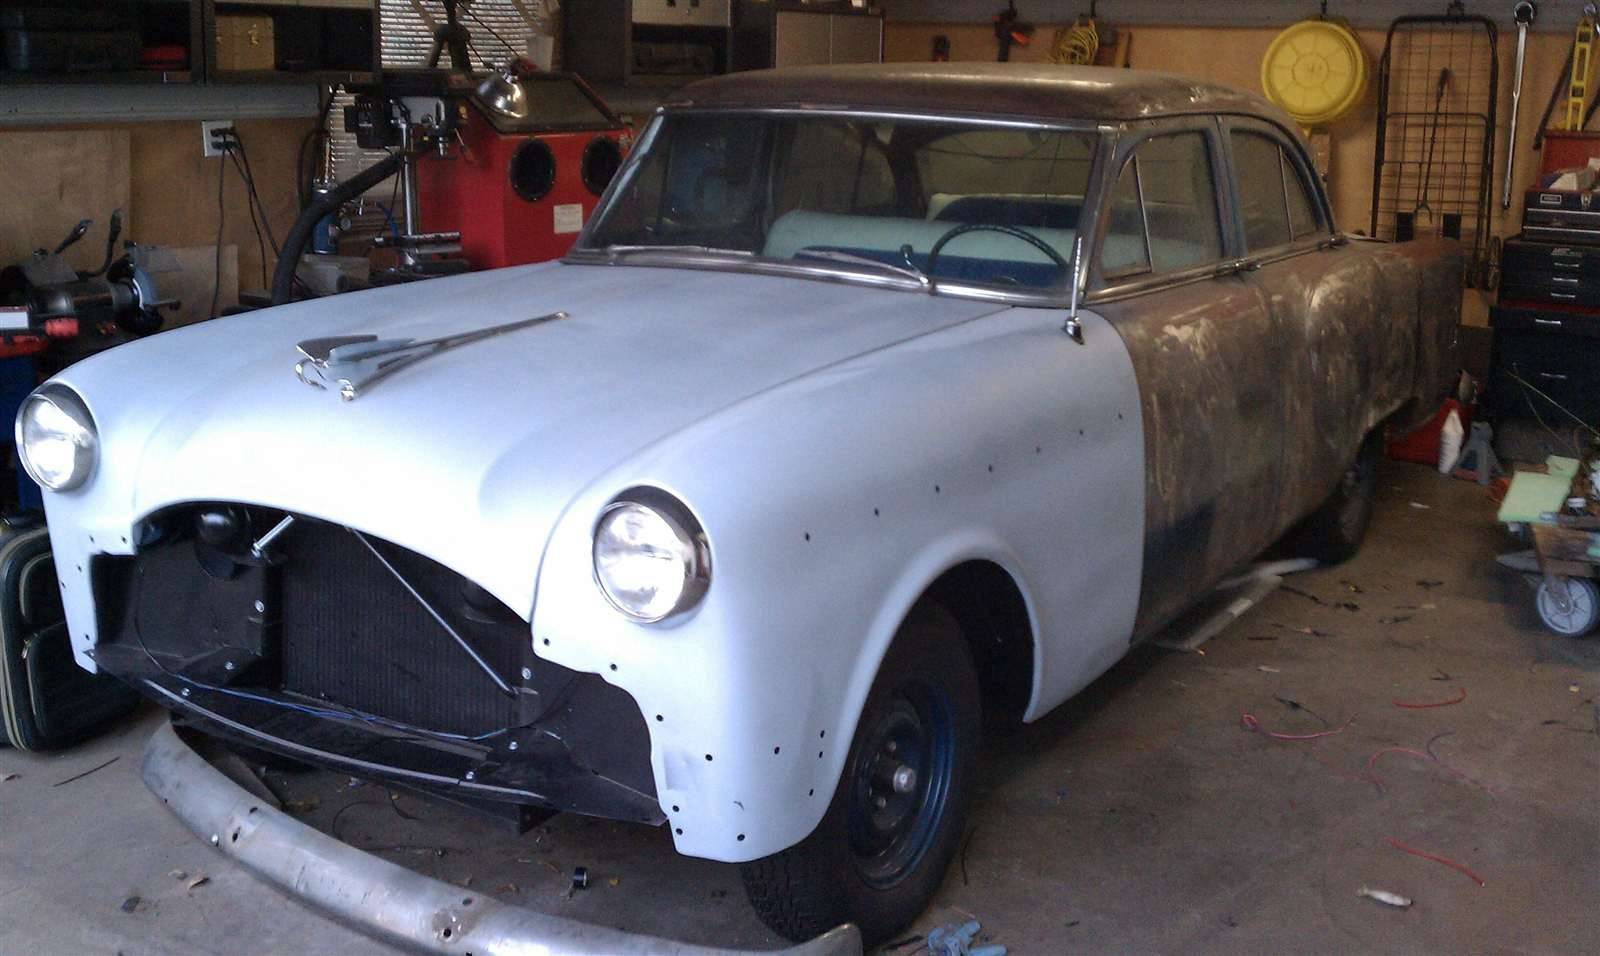
Posted on: 2010/8/29 23:50
|
|||
|
-BigKev
1954 Packard Clipper Deluxe Touring Sedan -> Registry | Project Blog 1937 Packard 115-C Convertible Coupe -> Registry | Project Blog |
||||
|
||||
|
Re: BigKev's 1954 Packard Clipper Deluxe Sedan
|
||||
|---|---|---|---|---|
|
Forum Ambassador

|
Keep it comming Kev!

Posted on: 2010/8/30 9:02
|
|||
|
1937 Packard 138-CD Deluxe Touring Limousine
Maroon/Black 1090-1021 [url=https://packardinfo.com/xoops/html/modules/registry/View.php?ID=232]1955 Packard |
||||
|
||||

|
Re: BigKev's 1954 Packard Clipper Deluxe Sedan
|
||||
|---|---|---|---|---|
|
Home away from home
|
It looks great Kevin. Getting to this point of a restoration is exciting isn't it? You can actually see the goal posts now.
Posted on: 2010/8/30 9:49
|
|||
|
||||
|
Re: BigKev's 1954 Packard Clipper Deluxe Sedan
|
||||
|---|---|---|---|---|
|
Webmaster
|
Yes for sure! I still have lots of work to do on the car. But the goal for now is to get it driving and work on the rest over time. The rust repair, body work, and paint and going to take the longest to complete based on time and money. But everything in stages. Baby steps.
Posted on: 2010/8/30 12:48
|
|||
|
-BigKev
1954 Packard Clipper Deluxe Touring Sedan -> Registry | Project Blog 1937 Packard 115-C Convertible Coupe -> Registry | Project Blog |
||||
|
||||
|
Re: BigKev's 1954 Packard Clipper Deluxe Sedan
|
||||
|---|---|---|---|---|
|
Webmaster
|
Question:
On my steering column, not only is there the bundle of wires that is connected to the column connector plug, but there are also two additional wires with bullet connectors on them. One is black and the the other is fabric covered white. Any ideas what these go to? Wiper washer switch? I dont see these on the diagram anywhere.
Posted on: 2010/8/30 17:13
|
|||
|
-BigKev
1954 Packard Clipper Deluxe Touring Sedan -> Registry | Project Blog 1937 Packard 115-C Convertible Coupe -> Registry | Project Blog |
||||
|
||||
|
Re: BigKev's 1954 Packard Clipper Deluxe Sedan
|
||||
|---|---|---|---|---|
|
Forum Ambassador

|
One should be the gearshift quadrant light and other may be the washer. If you have the late co-ordinator washer switch, it may be already wired and the center button will depress. If not equipped originally, you may still have the switch but have to get another knob if it has the solid insert for non electric washer equipped.
Posted on: 2010/8/30 17:36
|
|||
|
||||
|
Re: BigKev's 1954 Packard Clipper Deluxe Sedan
|
||||
|---|---|---|---|---|
|
Webmaster
|
Good thing I asked! I didn't even know there was supposed to be a light in the quadrant. I guess I will need to take apart and change out the bulb.
Learn something new every day. My wiper knob has a black plastic insert/button in the middle of it. But it feels solid, and doesn't feel like it pushes in at all, or it is already pushed all the way in. Do I have to pull the column apart, or does the wiper knob just come off?
Posted on: 2010/8/30 21:09
|
|||
|
-BigKev
1954 Packard Clipper Deluxe Touring Sedan -> Registry | Project Blog 1937 Packard 115-C Convertible Coupe -> Registry | Project Blog |
||||
|
||||
|
Re: BigKev's 1954 Packard Clipper Deluxe Sedan
|
||||
|---|---|---|---|---|
|
Forum Ambassador
|
The switch should have a hexagonal stub and the knob just pulls off. If it is the electric one, then there is a D shaped rod in the center of the hex that the black button attaches to. If you have the regular switch, believe it will be a 54 only item to get the correct one. Has to be fairly flat and later ones won't fit inside the column.
The Ultramatic schematic shows the light circuit and where it hooks up. If you don't have the electric wiper sw, then I don't have a clue what the extra wire is. Lamp should be one, turn signal sw to the black plug 6 wires and horn goes down the center shaft.
Posted on: 2010/8/30 21:35
|
|||
|
||||


