|
Re: Our 1932 901
|
||||
|---|---|---|---|---|
|
Home away from home
|
OD,
The vehicle number on the aluminum plate is 5032372 and it was delivered to D.E. McDaniel in Pasadena, CA. I know that the last owner's father bought the car in the late 1950's from Joesph E. Bolger (2025 So. Horne St., Oceanside, CA). The person that I bought it from lived in Vista,CA (about 10 miles east of Oceanside). Any leads into its past history would greatly be welcomed. Also, thanks for the encouragement - it is appreciated after spending 25 hours just working on the gutters. Marty
Posted on: 2011/8/16 20:48
|
|||
|
||||
|
Re: Our 1932 901
|
||||
|---|---|---|---|---|
|
Home away from home

|
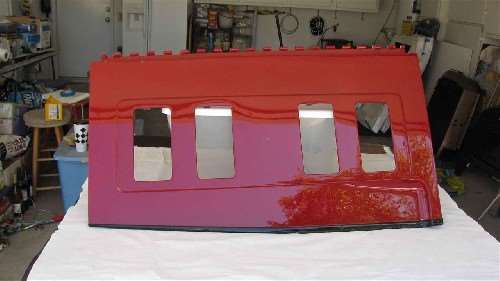
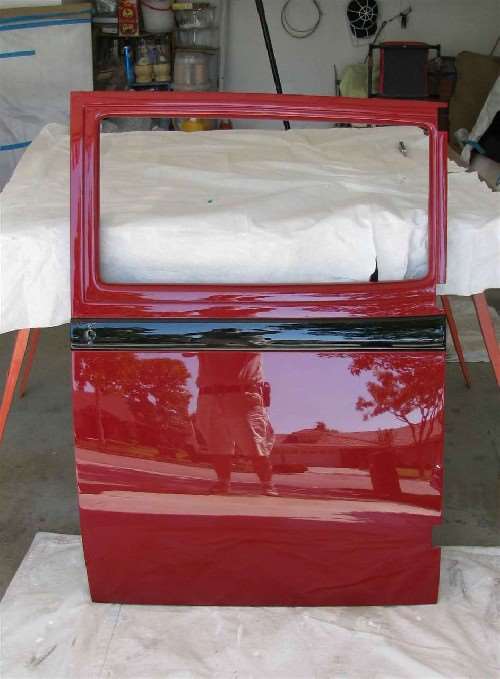
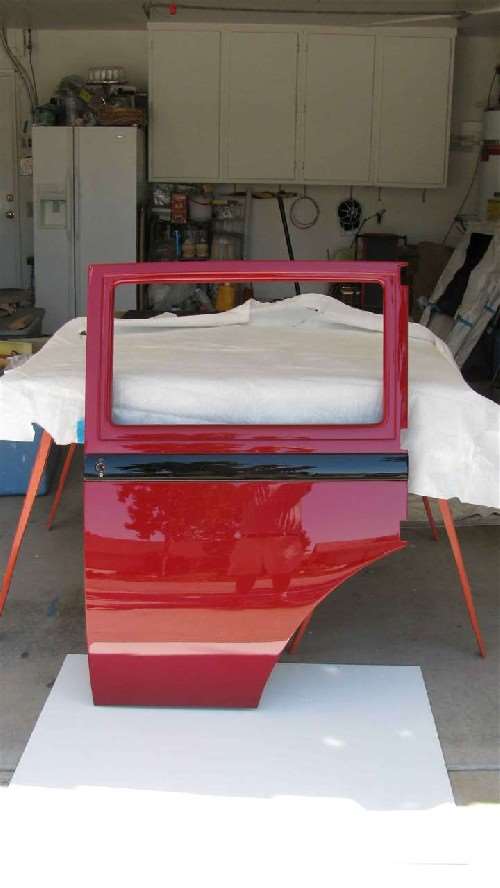
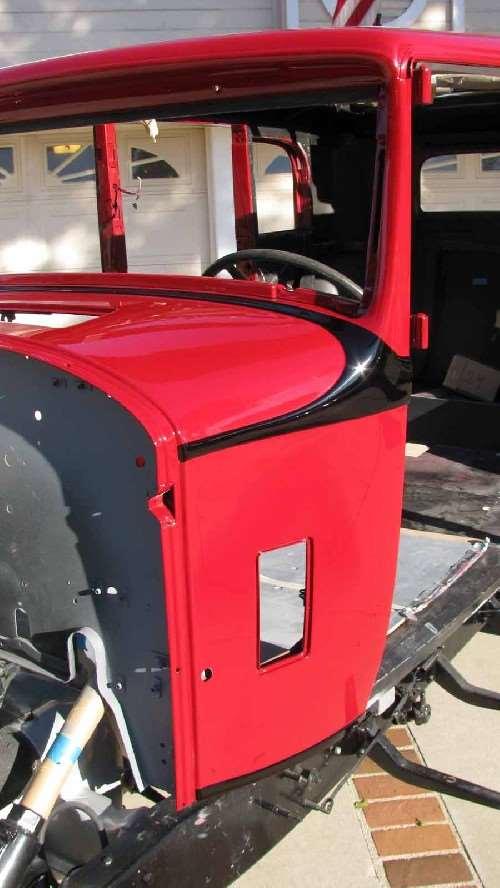
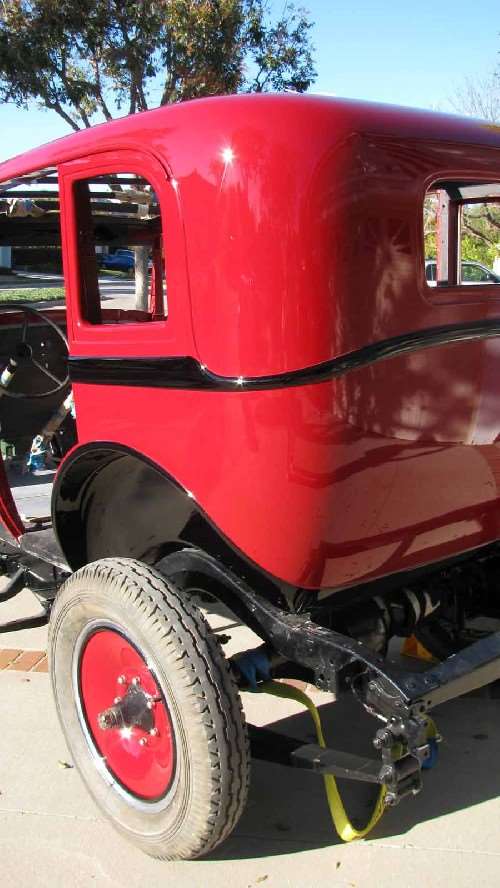
Well I've reached a milestone on the project. All the body work has been completed and the car is finally getting final paint. I went through over two gallons of primer, a little body filler, and uncounted feet of sand paper preparing the body and four doors. The hood, fenders and other lower parts had already been painted by the previous owner. He was going with Packard Blue and black, which was the car's original color
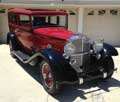
The wife and I decided on Carnival Red (IM-504) for the upper section and black for the lower parts. Carnival Red is a cherry color and was a paint that was available in 1932. We know that this was not a Packard color in '32, but we are taking advantage of the fact that you could get the car any color available then. Also, that the car could have been ordered from the factory in just primer. Based on this logic, we are not painting the upper section following the paint guidelines in the manual. Only the center belt will be the same as the lower section and the areas around the window will be the same as the rest of the body. I was going to shot the final paint, but decided to have it done. The four doors and four hood panels have been painted and color sanded.
Posted on: 2012/10/3 8:19
|
|||
|
||||
|
Re: Our 1932 901
|
||||
|---|---|---|---|---|
|
Home away from home

|
Marty,
Looking good. Nice color choice. It feels great after all the blood, sweet and tears to finally get some paint on her doesn't it. Can't wait to see her being put back together. NICE WORK.
Posted on: 2012/10/4 6:06
|
|||
|
||||
|
Re: Our 1932 901
|
||||
|---|---|---|---|---|
|
Webmaster
|

Posted on: 2012/10/4 9:52
|
|||
|
-BigKev
1954 Packard Clipper Deluxe Touring Sedan -> Registry | Project Blog 1937 Packard 115-C Convertible Coupe -> Registry | Project Blog |
||||
|
||||
|
Re: Our 1932 901
|
||||
|---|---|---|---|---|
|
Home away from home

|
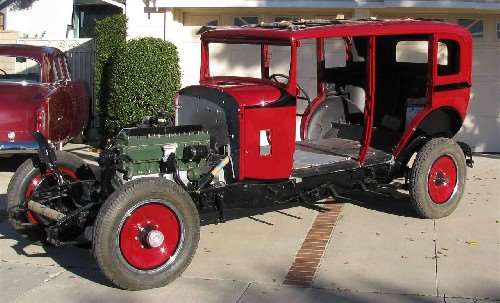
Well the body has been painted and color sanded. The fenders need to be color sanded to finish off the car's paint job.
Next step will be to do some touch up on the frame areas that will show. Then install the firewall and remount the body in the correct location.
Posted on: 2012/11/25 10:49
|
|||
|
||||
|
Re: Our 1932 901
|
||||
|---|---|---|---|---|
|
Webmaster
|
Looking good!
Posted on: 2012/11/26 15:07
|
|||
|
-BigKev
1954 Packard Clipper Deluxe Touring Sedan -> Registry | Project Blog 1937 Packard 115-C Convertible Coupe -> Registry | Project Blog |
||||
|
||||
|
Re: Our 1932 901
|
||||
|---|---|---|---|---|
|
Home away from home

|
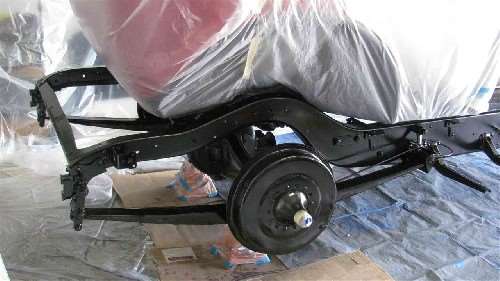
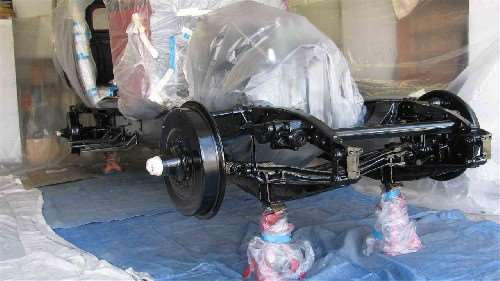
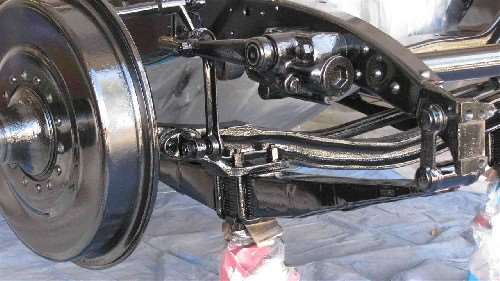
During the body that I performed the frame that had been painted by the previous owner got mess up a little. I've had the frame all ready for re-painting for about a month now, but the weather (either too cold or to windy). Today was different with a temperature in the mid 70's and only a slight breeze, I covered up the area around the car with plastic sheeting, mixed up some enamel and turned on the compressor.
It took longer to block off the garage with plastic than it took to paint the frame, but it is now done so I can start putting it together.
Posted on: 2013/2/16 20:30
|
|||
|
||||
|
Re: Our 1932 901
|
||||
|---|---|---|---|---|
|
Home away from home

|
I've been on the "Pre-War (1899-1942)" portion of the Forum seeking answers to assist in installing the brake and clutch pedals, parking brake, fenders, and splash aprons. Fitted with the information, I see that I'm missing or can't find some of the parts required to install the pedals and parking brake.
In the interim, I installed a new gas line from the tank to the carburetor. Used 5/16" Ezibend. The tubing that is visible in the engine compartment was sanded with Wet-Or-Dry paper going from 320 to 2000 grit. It was buffed to give that nickel plated look while the fittings were chrome plated using Caswell's Nickel Plug N' Plate (but using the dip process which is much faster). The radiator shell along with the headlight bar was sent out for chrome plating. The radiator was installed along with the Sylphon thermostat. I got an assist on the install of the thermostat from good members on the Forum. The radiator shutter and shell were installed. It should be noted that while the holes on any two individual pieces lined up good, when the three were all put together it was a big no-go. After reworking 8 holes and elongating 6 additional holes the trio is now installed on the frame. On installing the parking brake, I needed to make a bronze shim for the parking brake handle as the hole on the handle was 1.05" ID and the shaft is going to be mounted on was 0.75" OD. After digging through my various parts bins I found the sprocket bar (or whatever the thing is called) that the tooth on the handle engages to keep the lever locked. But at last the parking brake is installed. On Sunday I started installing the hood panels, working on the top two (left & right). It appears the radiator shell and probably the radiator/shutter too will required some more adjusting in order to get the hood pieces to line up better. Since it was getting late in the day I decided that a fresh look at things might be the best approach at solving my hood misfit challenge. So I opened my first beer of the day at 5:00 pm, sat in a chair to relax and watched the sun as it headed towards the western horizon.
Posted on: 2013/3/26 0:31
|
|||
|
||||
|
Re: Our 1932 901
|
||||
|---|---|---|---|---|
|
Home away from home

|
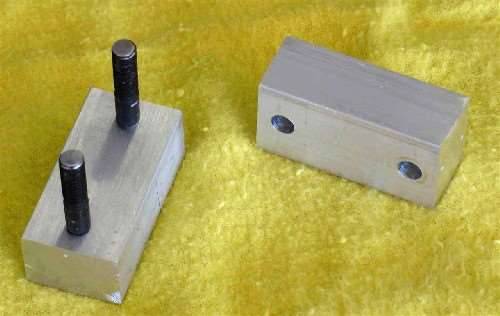
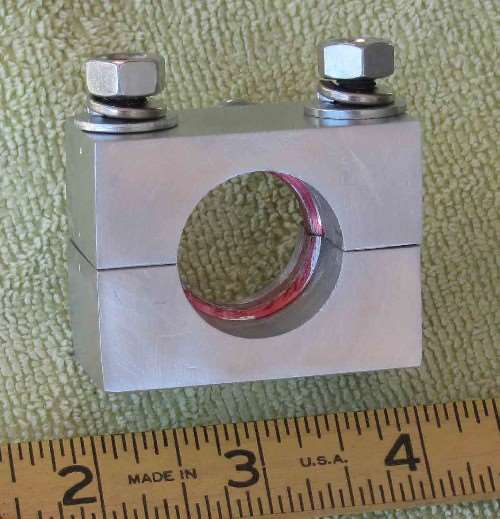
As mentioned, I had problems trying to find the clamp that holds on the brake and clutch pedals. So I decided that it would be possible to make one using aluminum bar that was .75 thick and 1.00" wide. For a discussion on the issue see the blog posted on the site under prewar Packards (Seepackardinfo.com/xoops/html/modules/newbb ... um=1&post_id=116948#forumpost116948 )
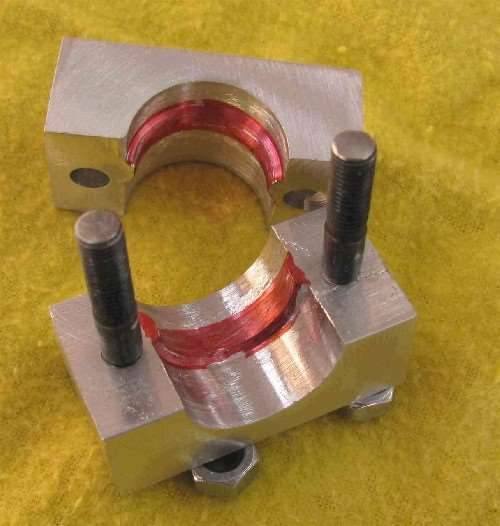
I cut two pieces 2.0" long. One piece was threaded for .1/4" NC studs and the other was drilled through with a 17/64" drill bit. Then the two pieces were bolted together and a 7/8" diameter hole drilled though them between the two studs. Afterwards, a 1.00" bit was used to drill in from both sides without going all the way through. This left a small shoulder (See photo labeled Bracket, Shoulder Highlighted in Red) inside that was filed and ground to fit it in such a manner that it would clamp onto the brake/clutch shaft. When the time comes, the completed bracket will be drilled and tapped in order to install the brake switch on the side.
Posted on: 2014/3/12 21:43
|
|||
|
||||


 (62.18 KB)