|
Re: In-Car Rebuild
|
||||
|---|---|---|---|---|
|
Home away from home
|
There is much information on the Internet about this process, one if which is here.
Posted on: 2020/9/30 18:45
|
|||
|
All generalities are false.
Once I thought I was wrong but I was mistaken. Don Pierson Packard / IMPERIAL page CA DMV Licensed Vehicle VIN Verification 1951 Henney-Packard 3-Door Long Wheelbase Air Force Ambulance The 1951 Henney-Packard is For Sale! 1954 Packard Patrician 1954 Packard Patrician Parts Car 1956 Clipper Custom Sedan |
||||
|
||||
|
Re: In-Car Rebuild
|
||||
|---|---|---|---|---|
|
Home away from home
|
This is a good Youtube Video, but there are lots of them out there:
youtube.com/watch?v=j3IIoSm1eJY Here's Evapo-Rust vs. Electrolysis: youtube.com/watch?v=8dtDLQHjHBc And a nice web-page: antique-engines.com/electrol.asp You can use it for tools, parts, pretty much anything. In my experience (and also according to theory) it doesn't affect the machined surfaces, other than removing whatever rust exists on those. I haven't had a chance to try my wooden dowels out yet, though my initial look said it might work, but again any tips on how to get the pistons out from the bottom for Cylinders #1 and #2 would be appreciated. I don't want to get started and not get them out. Thanks in advance.
Posted on: 2020/9/30 23:23
|
|||
|
||||
|
Re: In-Car Rebuild
|
||||
|---|---|---|---|---|
|
Home away from home
|
I seem to recall that I had to (with a wood dowl) tap gently on the surface where the rod bolts come through, making sure not to let the top of the rod get jammed against the bottom of the block. You'll either need to remove the bearing or take steps to keep it from falling out. Without the rod bearing, you can even tap lightly on the bore of the rod. Whichever way I did it, I don't recall it being difficult and they came right out.
Posted on: 2020/10/1 1:41
|
|||
|
All generalities are false.
Once I thought I was wrong but I was mistaken. Don Pierson Packard / IMPERIAL page CA DMV Licensed Vehicle VIN Verification 1951 Henney-Packard 3-Door Long Wheelbase Air Force Ambulance The 1951 Henney-Packard is For Sale! 1954 Packard Patrician 1954 Packard Patrician Parts Car 1956 Clipper Custom Sedan |
||||
|
||||
|
Re: In-Car Rebuild
|
||||
|---|---|---|---|---|
|
Home away from home
|
Well, after a bit more than 2 hours of struggle, I was able to get Pistons #1 and #2 removed. I put rubber tubing over the rod studs as recommended, and used some thin (1/2") oak dowels. It was not fun or easy, and there is barely enough room, but I was able to get it done without any adverse effects. After I got it past the first ring, I could with very little pressure lever it out. Pistons look o.k., they have new-style 3-piece oil control rings, the ring grooves are seemingly in good shape, not much carbon buildup evident. Cylinder bores after more inspection look better than I thought. Bottom rod bearing for Cylinder #2 doesn't look so hot, but I plan on replacing those. Pictures and measurements over the weekend. Pistons #3-#8 should be simple as pie after that, cross your fingers.
Thanks again everyone.
Posted on: 2020/10/2 0:47
|
|||
|
||||
|
Re: In-Car Rebuild
|
||||
|---|---|---|---|---|
|
Home away from home
|
I was able to get all the pistons out. Here is what I have learned so far:d
To get the pistons out from cylinders #1 and #2 (which took me a bit of time last night) I used a 1/2" diameter oak wooden dowel, cut down to 21" long, which turned out to be just barely long enough. It could have been longer but I have the car up on riser ramps, so I only have limited clearance below the car. All the pistons actually "look" good, in that I don't find any significant scoring or other damage, and they aren't loaded up with carbon deposits They look like the original pistons. They should be easy to clean up if I was able to re-use them. The main observations are this: The top ring groove-to-ring clearance, measuring a few pistons, is larger than spec (< 0.006" in the service manual), it is on the order of 0.008" to 0.009" using feeler gauges. Piston #8 has a small "burr" on the bottom of the top ring groove. Most of the rod bearings look "good", but there are a few with some obvious imperfections. Probably makes sense to fit new rod bearing. I have been working on trying to measure the pistons skirts, they are somewhere between 3.500 and 3.498 at their widest point, I have a friend with better measuring equipment who is going to help with this tomorrow. So it looks like I will need new pistons, which is disappointing because it appears these are the original pistons. Are the pistons from Kanter of the same intricate design? Of course one of the other issues is what is the bore of the cylinders, which I am going to work on measuring with the assistance of my friend tomorrow. The other thing I did was clean out the combustion chambers from the head, using mostly a brass brush on my drill. I am getting ready to use electrolysis on this as well. Thanks for your interest. Attach file:  (208.29 KB) (208.29 KB)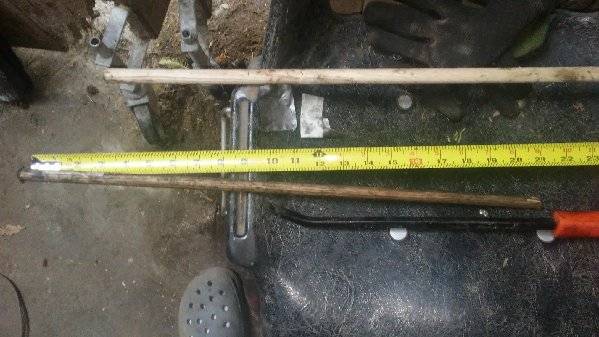  (188.86 KB) (188.86 KB)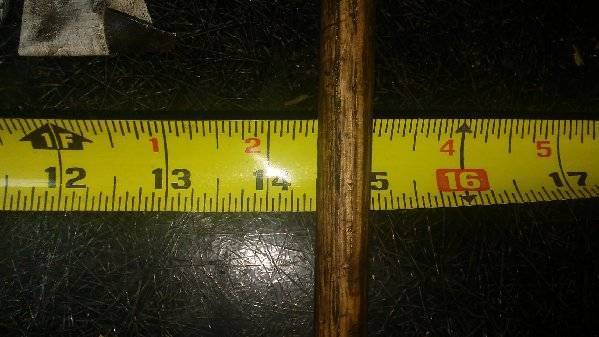  (159.53 KB) (159.53 KB)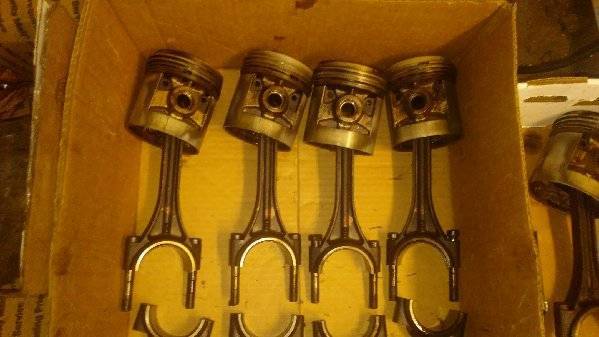  (203.56 KB) (203.56 KB)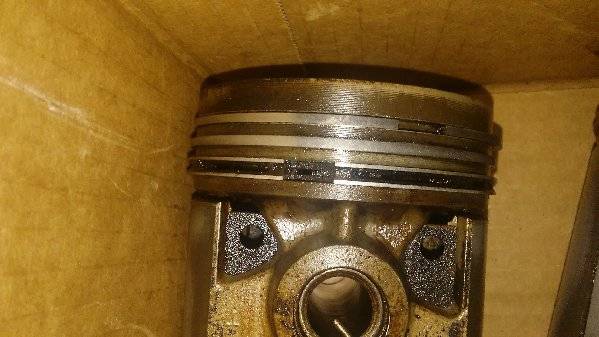  (101.50 KB) (101.50 KB)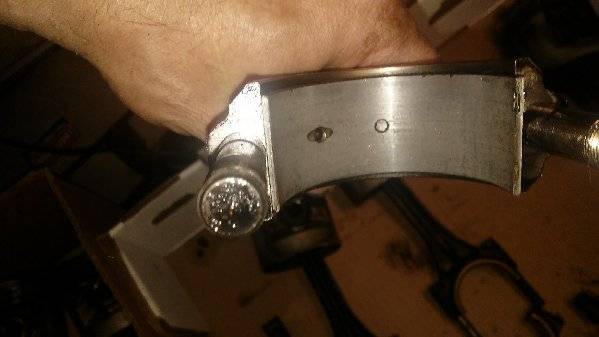  (117.69 KB) (117.69 KB)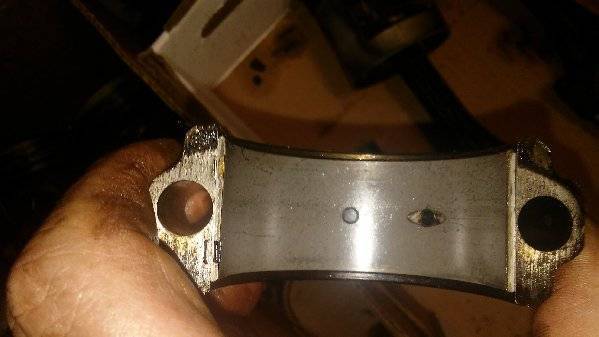  (261.07 KB) (261.07 KB)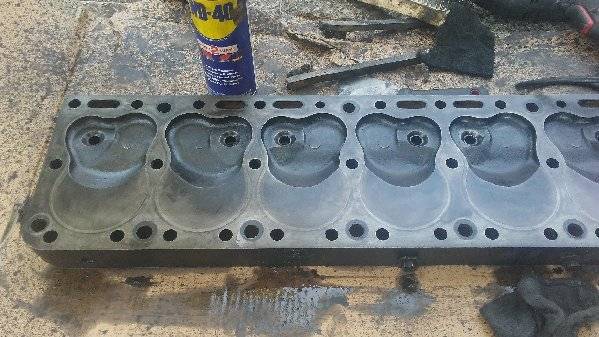  (115.89 KB) (115.89 KB)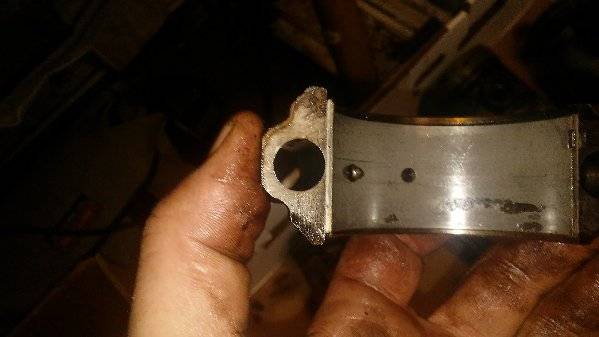  (176.10 KB) (176.10 KB)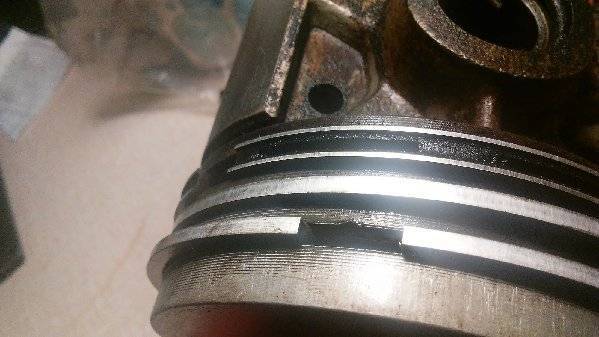  (176.10 KB) (176.10 KB)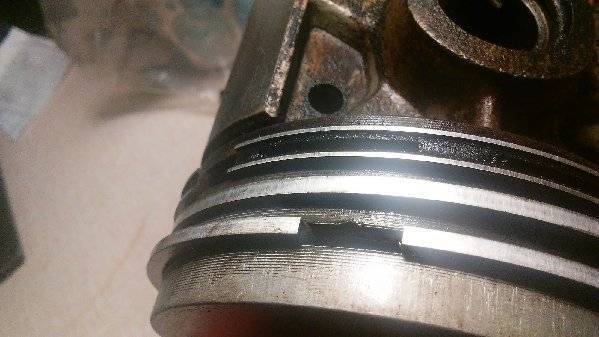  (230.65 KB) (230.65 KB)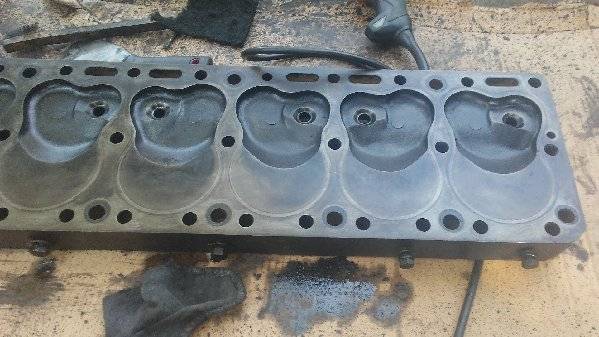  (221.13 KB) (221.13 KB)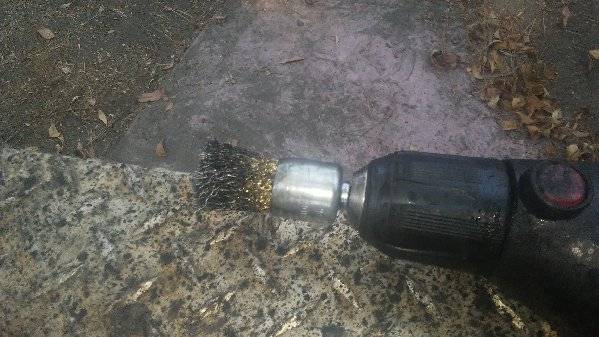  (232.67 KB) (232.67 KB)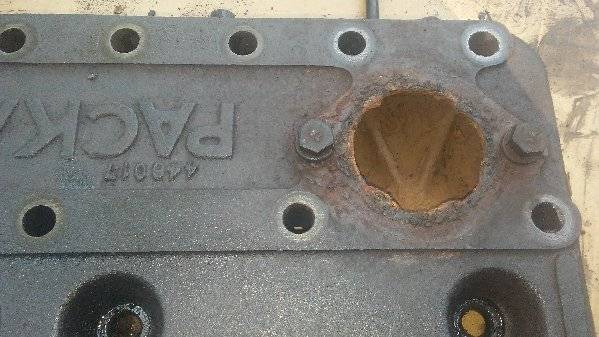
Posted on: 2020/10/4 1:17
|
|||
|
||||
|
Re: In-Car Rebuild
|
||||
|---|---|---|---|---|
|
Home away from home
|
Those piston rings look to have huge gaps. I'll bet it had lots of blow by and consumed lots of oil.
Posted on: 2020/10/4 11:53
|
|||
|
We move toward
And make happen What occupies our mind... (W. Scherer) |
||||
|
||||
|
Re: In-Car Rebuild
|
||||
|---|---|---|---|---|
|
Home away from home
|
It did consume a lot of oil, and there was a lot of oil and carbon deposits in the combustion chamber.
Posted on: 2020/10/4 17:17
|
|||
|
||||
|
Re: In-Car Rebuild
|
||||
|---|---|---|---|---|
|
Forum Ambassador

|
To your question about Kanter's pistons for your engine, last time I inquired (about a year ago) they were of the autothermic strut design and I assume they still are but it just takes a phone call to them to verify.
Posted on: 2020/10/4 19:34
|
|||
|
||||
|
Re: In-Car Rebuild
|
||||
|---|---|---|---|---|
|
Home away from home

|
The pistons that we offer still use the strut designed as describe by Owen_Dyneto. If you have any questions on any of our products please feel free to shoot me a PM.
Thanks James From Kanter Auto Products
Posted on: 2020/10/5 7:52
|
|||
|
||||


