|
Re: KPack
|
||||
|---|---|---|---|---|
|
Webmaster
|
When you say anti-sieze on the axle, you not talking about where the drum is pressed axle taper are you?
You want that taper / drum interface dry and torqued to 200-250lbs. Its that interference fit that turns the drums/wheels/tires etc. People in the past have put grease and other substances on that to taper to make it easier to disassemble in the future and doing so could lead to problems as then the keyway is the only thing preventing the two from turning against once another under load. Eventual sheering the key.
Posted on: 2021/4/8 7:05
|
|||
|
-BigKev
1954 Packard Clipper Deluxe Touring Sedan -> Registry | Project Blog 1937 Packard 115-C Convertible Coupe -> Registry | Project Blog |
||||
|
||||
|
Re: KPack's 1954 Panama
|
||||
|---|---|---|---|---|
|
Home away from home

|
It's a good thing I mentioned the anti-seize then. Thanks for the correction. I'll go ahead and remove it.
I was going to wait to check the axle end play until I got both axles reinstalled. Plus I need to finish reading the supporting documentation to be sure I'm doing it right. -Kevin
Posted on: 2021/4/8 9:01
|
|||
|
||||
|
Re: KPack's 1954 Panama
|
||||
|---|---|---|---|---|
|
Home away from home
|
Kevin
I whole hearty agree with your statement about reading the documentation. My concern is your statement in a previous posting: “I then reinstalled the backing plate. I used gasket maker to replace the very thin gaskets that were on there previously. I put the gasket maker where the old gaskets covered. Very thin layer.” Since there are no ‘gaskets’ in that area (interface between the rear axle housing and the backing plate) I suspect you misidentified the steel shims as gaskets, and replacing the shims with RTV will likely result in a very low bearing service life. IMO the side that you have assembled should be disassembled, cleaned, and then the shims reinstalled. The interface where the shims sit should be quite clean. dp
Posted on: 2021/4/8 10:38
|
|||
|
||||
|
Re: KPack
|
||||
|---|---|---|---|---|
|
Home away from home

|
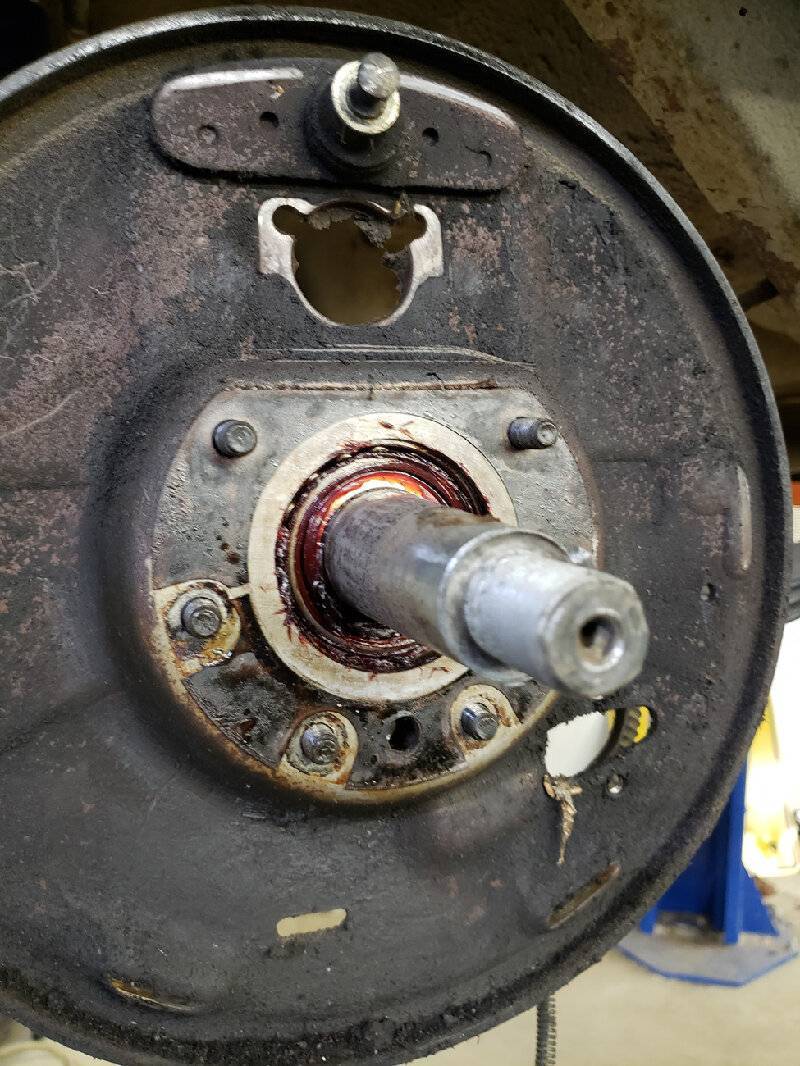
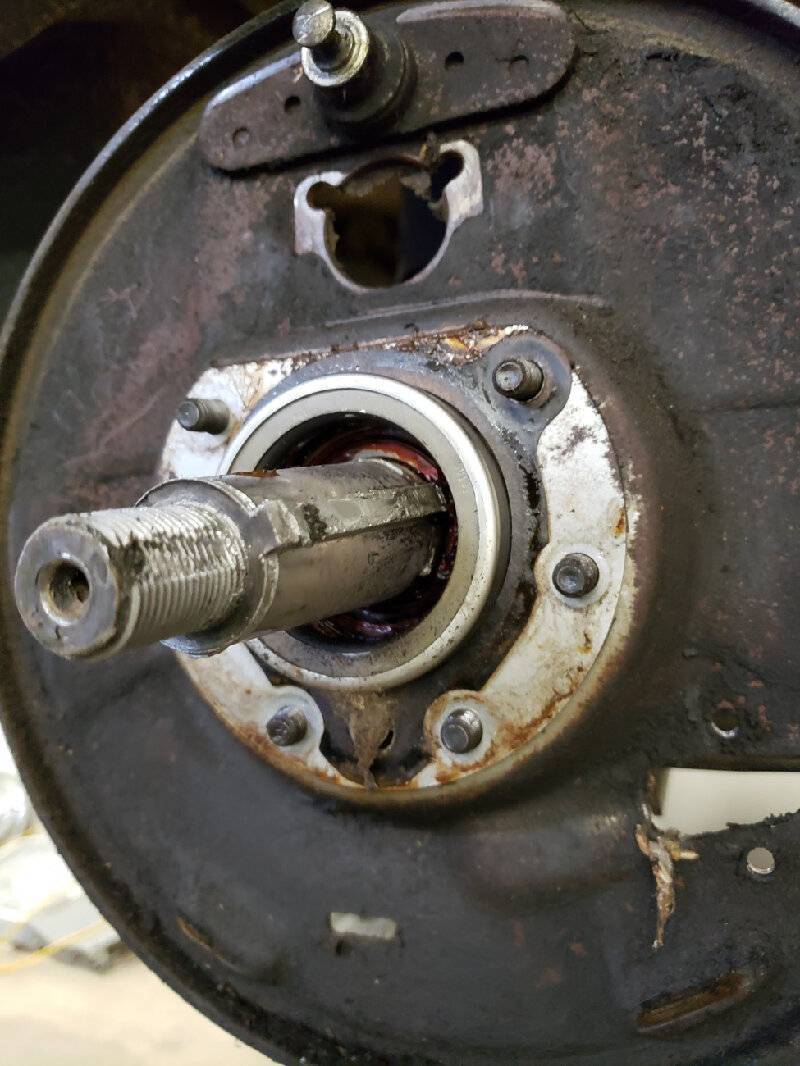
David - correct, there are no gaskets between the shims and the backing plate (the shims and backing plate were reassembled correctly on the car). I was talking about the gasket that goes between the backing plate and the outer oil seal retainer. See the picture below. I then used gasket maker to replace the gasket that goes between the oil seal retainer and the oil guard.
I took pictures of every step of disassembly and double checked to make sure I was reassembling the correct way. -Kevin
Posted on: 2021/4/8 10:51
|
|||
|
||||
|
Re: KPack's 1954 Panama
|
||||
|---|---|---|---|---|
|
Home away from home
|
Well that’s good news.
Delay putting the RTV on the other side until you have confirmed the bearing clearance. If shims need to be removed/added the backing plate must be removed, and the gasket maker will make that a bit more tedious. Did you measure the thickness of the shims? dp
Posted on: 2021/4/8 11:08
|
|||
|
||||
|
Re: KPack's 1954 Panama
|
||||
|---|---|---|---|---|
|
Home away from home

|
I did not measure the shim. It was a single one, fairly thick. I'll be sure to check the other side when I pull it apart.
If I do have to remove the backing plate to add/remove shims, I won't need to remove any of the oil seal retainer or oil guard assembly. It will all just come off with the backing plate as one unit. -Kevin
Posted on: 2021/4/8 11:13
|
|||
|
||||
|
Re: KPack
|
||||
|---|---|---|---|---|
|
Home away from home

|
Got to work on the driver's rear axle tonight, now that the passenger axle is back in.
The backing plate, shoes, and everything within the driver's drum was covered in diff oil. It was a mess. I scraped off what I could and cleaned up the parts in the parts cleaner. Next step for them is the blasting cabinet. The axle was easily removed with a slide hammer. The bearing grease was nasty. I'll have to completely clean it out and repack. The inner seal was removed with a couple solid whacks from the slide hammer. My neighbor took a look at the bearing and race, and saw the race had scoring on the outside of it. Inspecting the axle housing showed scoring where the race sits also. So it looks like the race is spinning within the housing. How would I go about correcting this? Before I ran out of time tonight I cleaned the old grease out of the front wheel bearings, then repacked with fresh grease. I then reinstalled the front drums and installed the axle nut and cotter pin according to Ross's video. -Kevin Attach file:  Driver's rear axle.jpg (126.79 KB) Driver's rear axle.jpg (126.79 KB)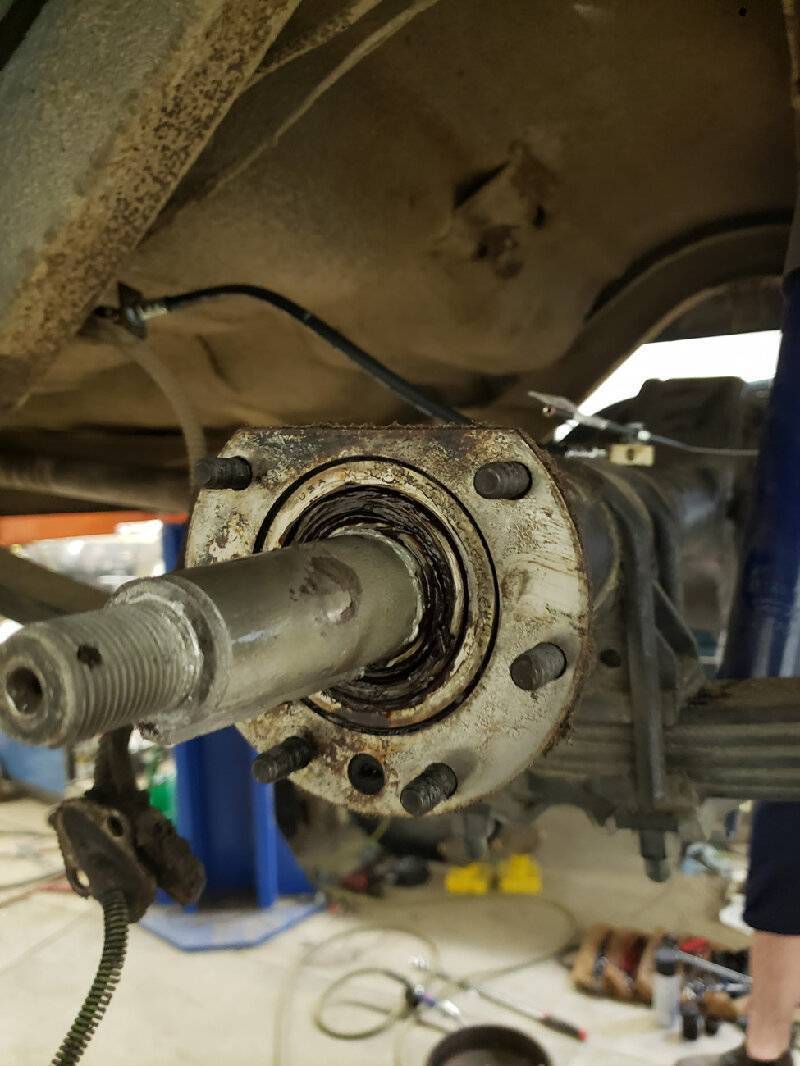  Caked on grease cleaning.jpg (263.00 KB) Caked on grease cleaning.jpg (263.00 KB)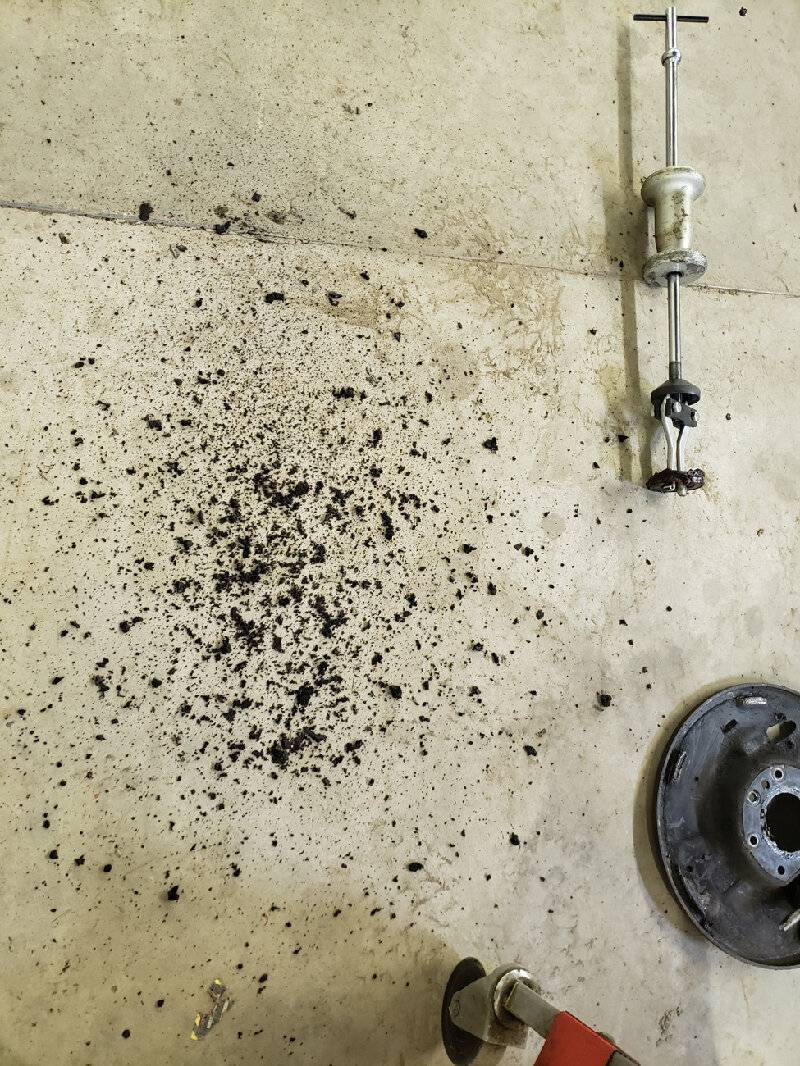  Driver's rear axle leaking seal.jpg (145.84 KB) Driver's rear axle leaking seal.jpg (145.84 KB)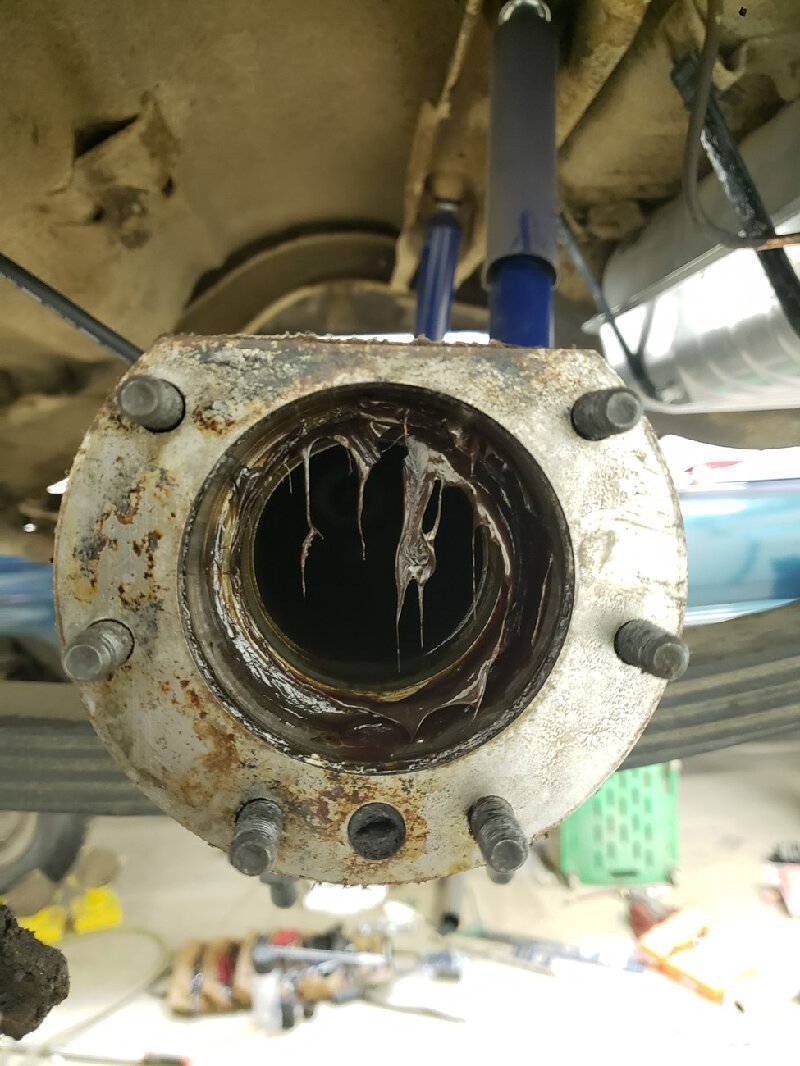  Slide hammer inner seal removal.jpg (189.38 KB) Slide hammer inner seal removal.jpg (189.38 KB)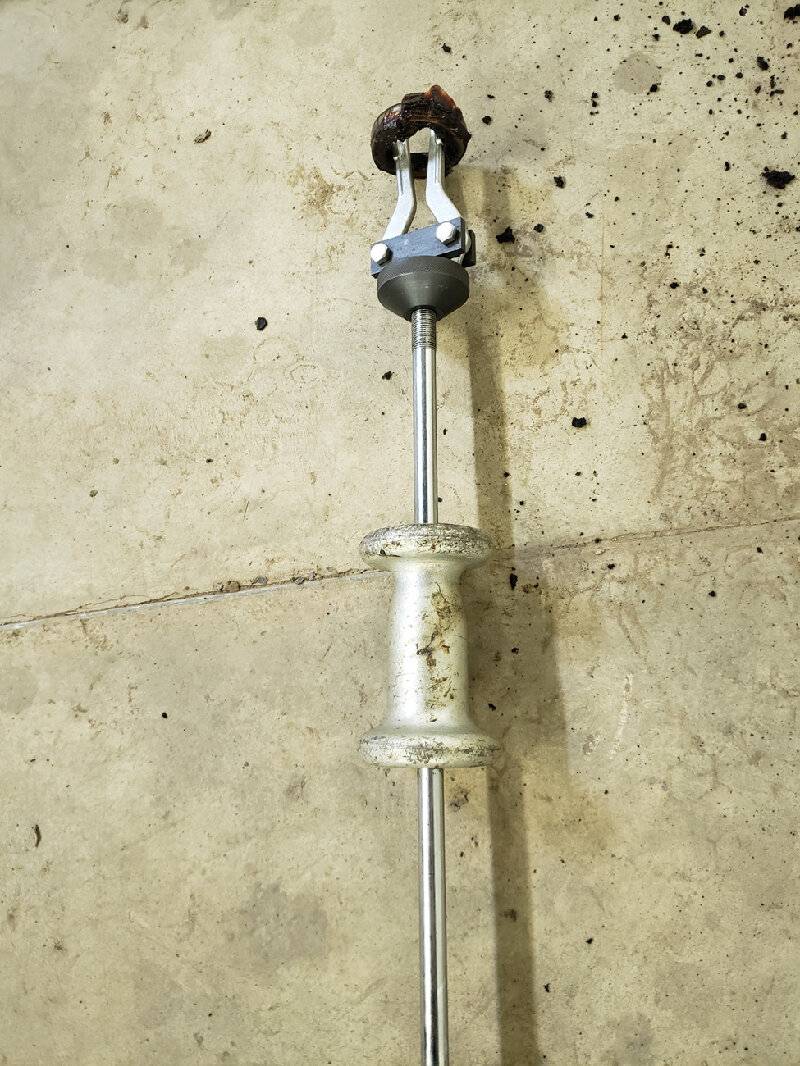  Axle bearing race scoring.jpg (70.91 KB) Axle bearing race scoring.jpg (70.91 KB)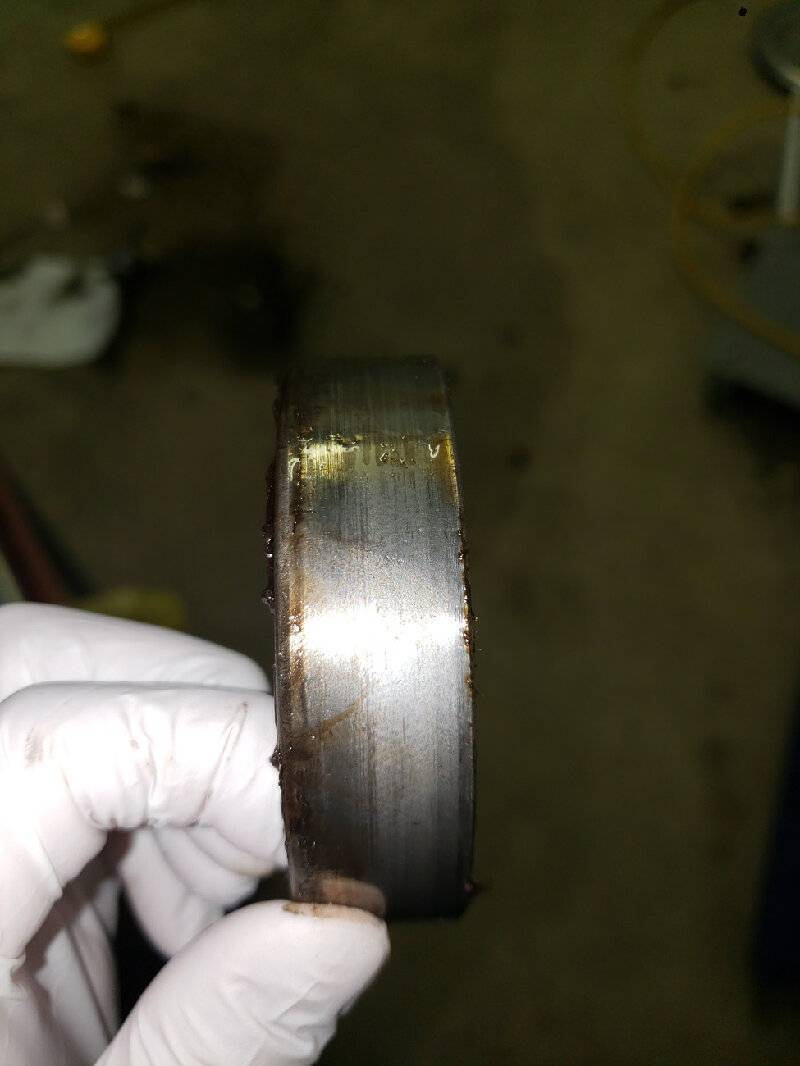  Inner axle scoring.jpg (145.30 KB) Inner axle scoring.jpg (145.30 KB)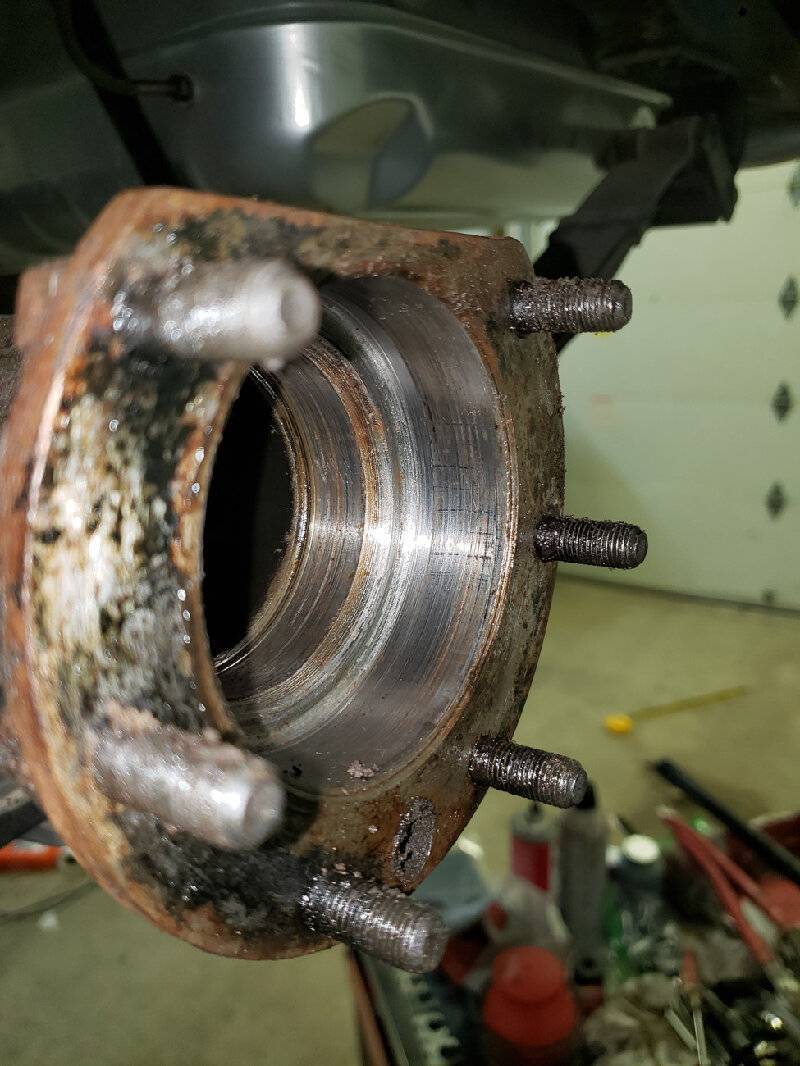  Front wheel bearings cleaned.jpg (100.36 KB) Front wheel bearings cleaned.jpg (100.36 KB)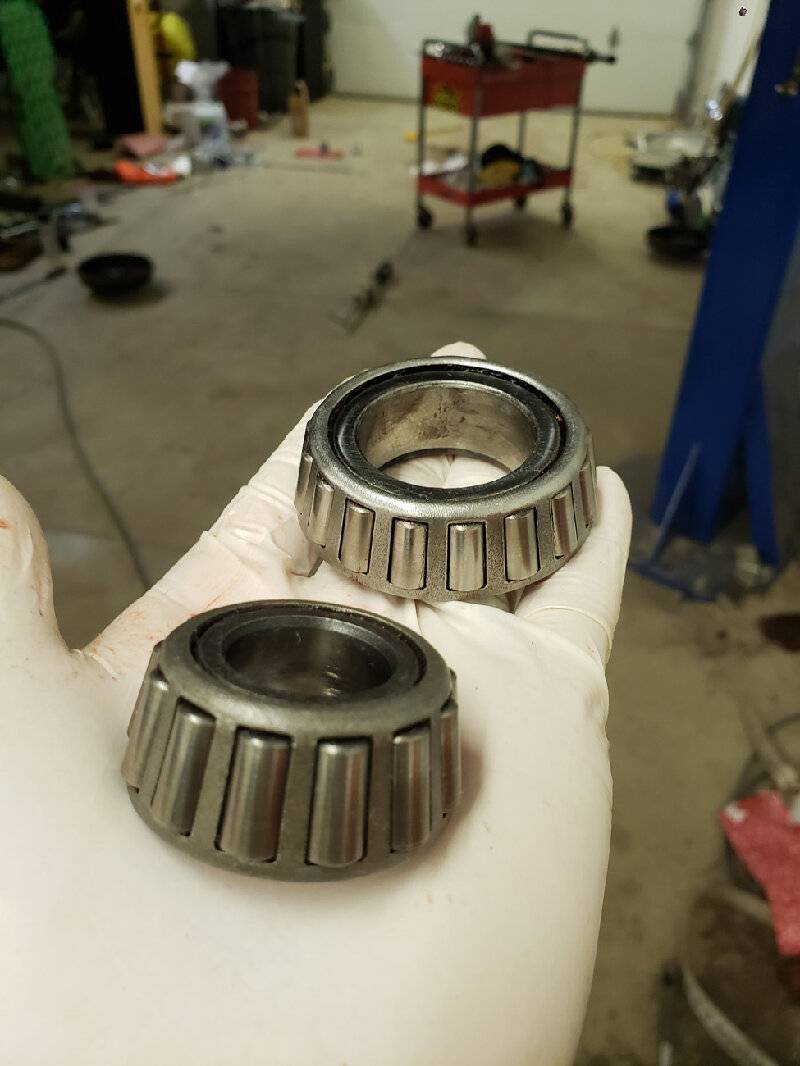  Front wheel bearings repacked.jpg (100.63 KB) Front wheel bearings repacked.jpg (100.63 KB)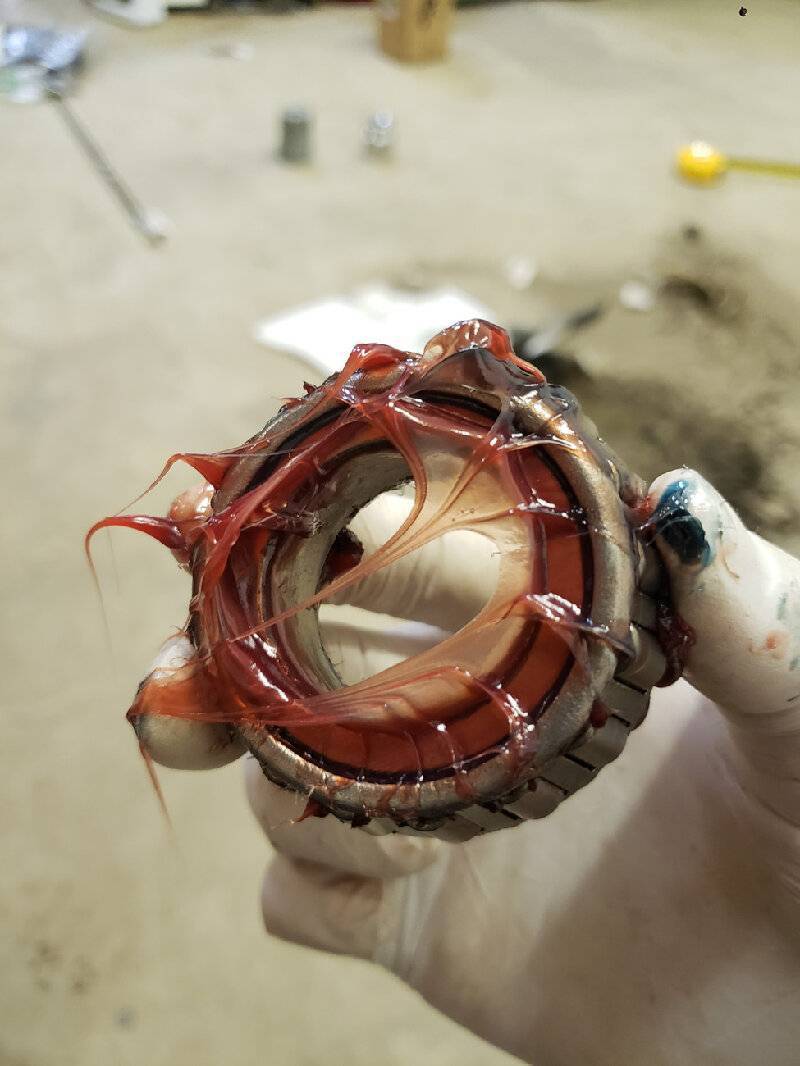
Posted on: 2021/4/9 0:20
|
|||
|
||||
|
Re: KPack
|
||||
|---|---|---|---|---|
|
Forum Ambassador

|
With regard to the bearing race no longer being a snug fit within the axle housing, one of the solutions involves using a center punch to produce a "stippling" pattern on the surface of the axle housing where the race would sit. This essentially shrinks the effective diameter. Take care to stipple uniformly and in complete circles so the race will still seat concentric with the housing.
Posted on: 2021/4/9 7:43
|
|||
|
||||
|
Re: KPack's 1954 Panama
|
||||
|---|---|---|---|---|
|
Home away from home

|
That's what my neighbor was telling me, just wanted to be sure that it was something that other Packard owners have done/approve of. I really don't want to mess something up and have to replace my whole rear axle housing.
Lots of guys online suggest using Loctite 660, but I'm not sure how well I'd be able to keep the axle housing and race clean when inserting the axle. Surface needs to be kept clear from oil or moisture. I'll see if my neighbor has a center punch, and go from there. How tight is the race supposed to be? When I reinstalled the passenger axle, I had to tap the race into place using a hammer, but I certainly wasn't hitting hard. -Kevin
Posted on: 2021/4/9 11:13
|
|||
|
||||


