
|
Re: Morticus' Packard 200 Deluxe Touring Edition
|
||||
|---|---|---|---|---|
|
Home away from home

|
Gas tank update.
We checked the inside of the repro tank to see where the problem was. Turns out the heat from soldering the bung caused the pick up line to detach. So now we'll need to cut a hole in the top of the tank, solder the line back in place, then seal the access hole. Not looking forward to it. 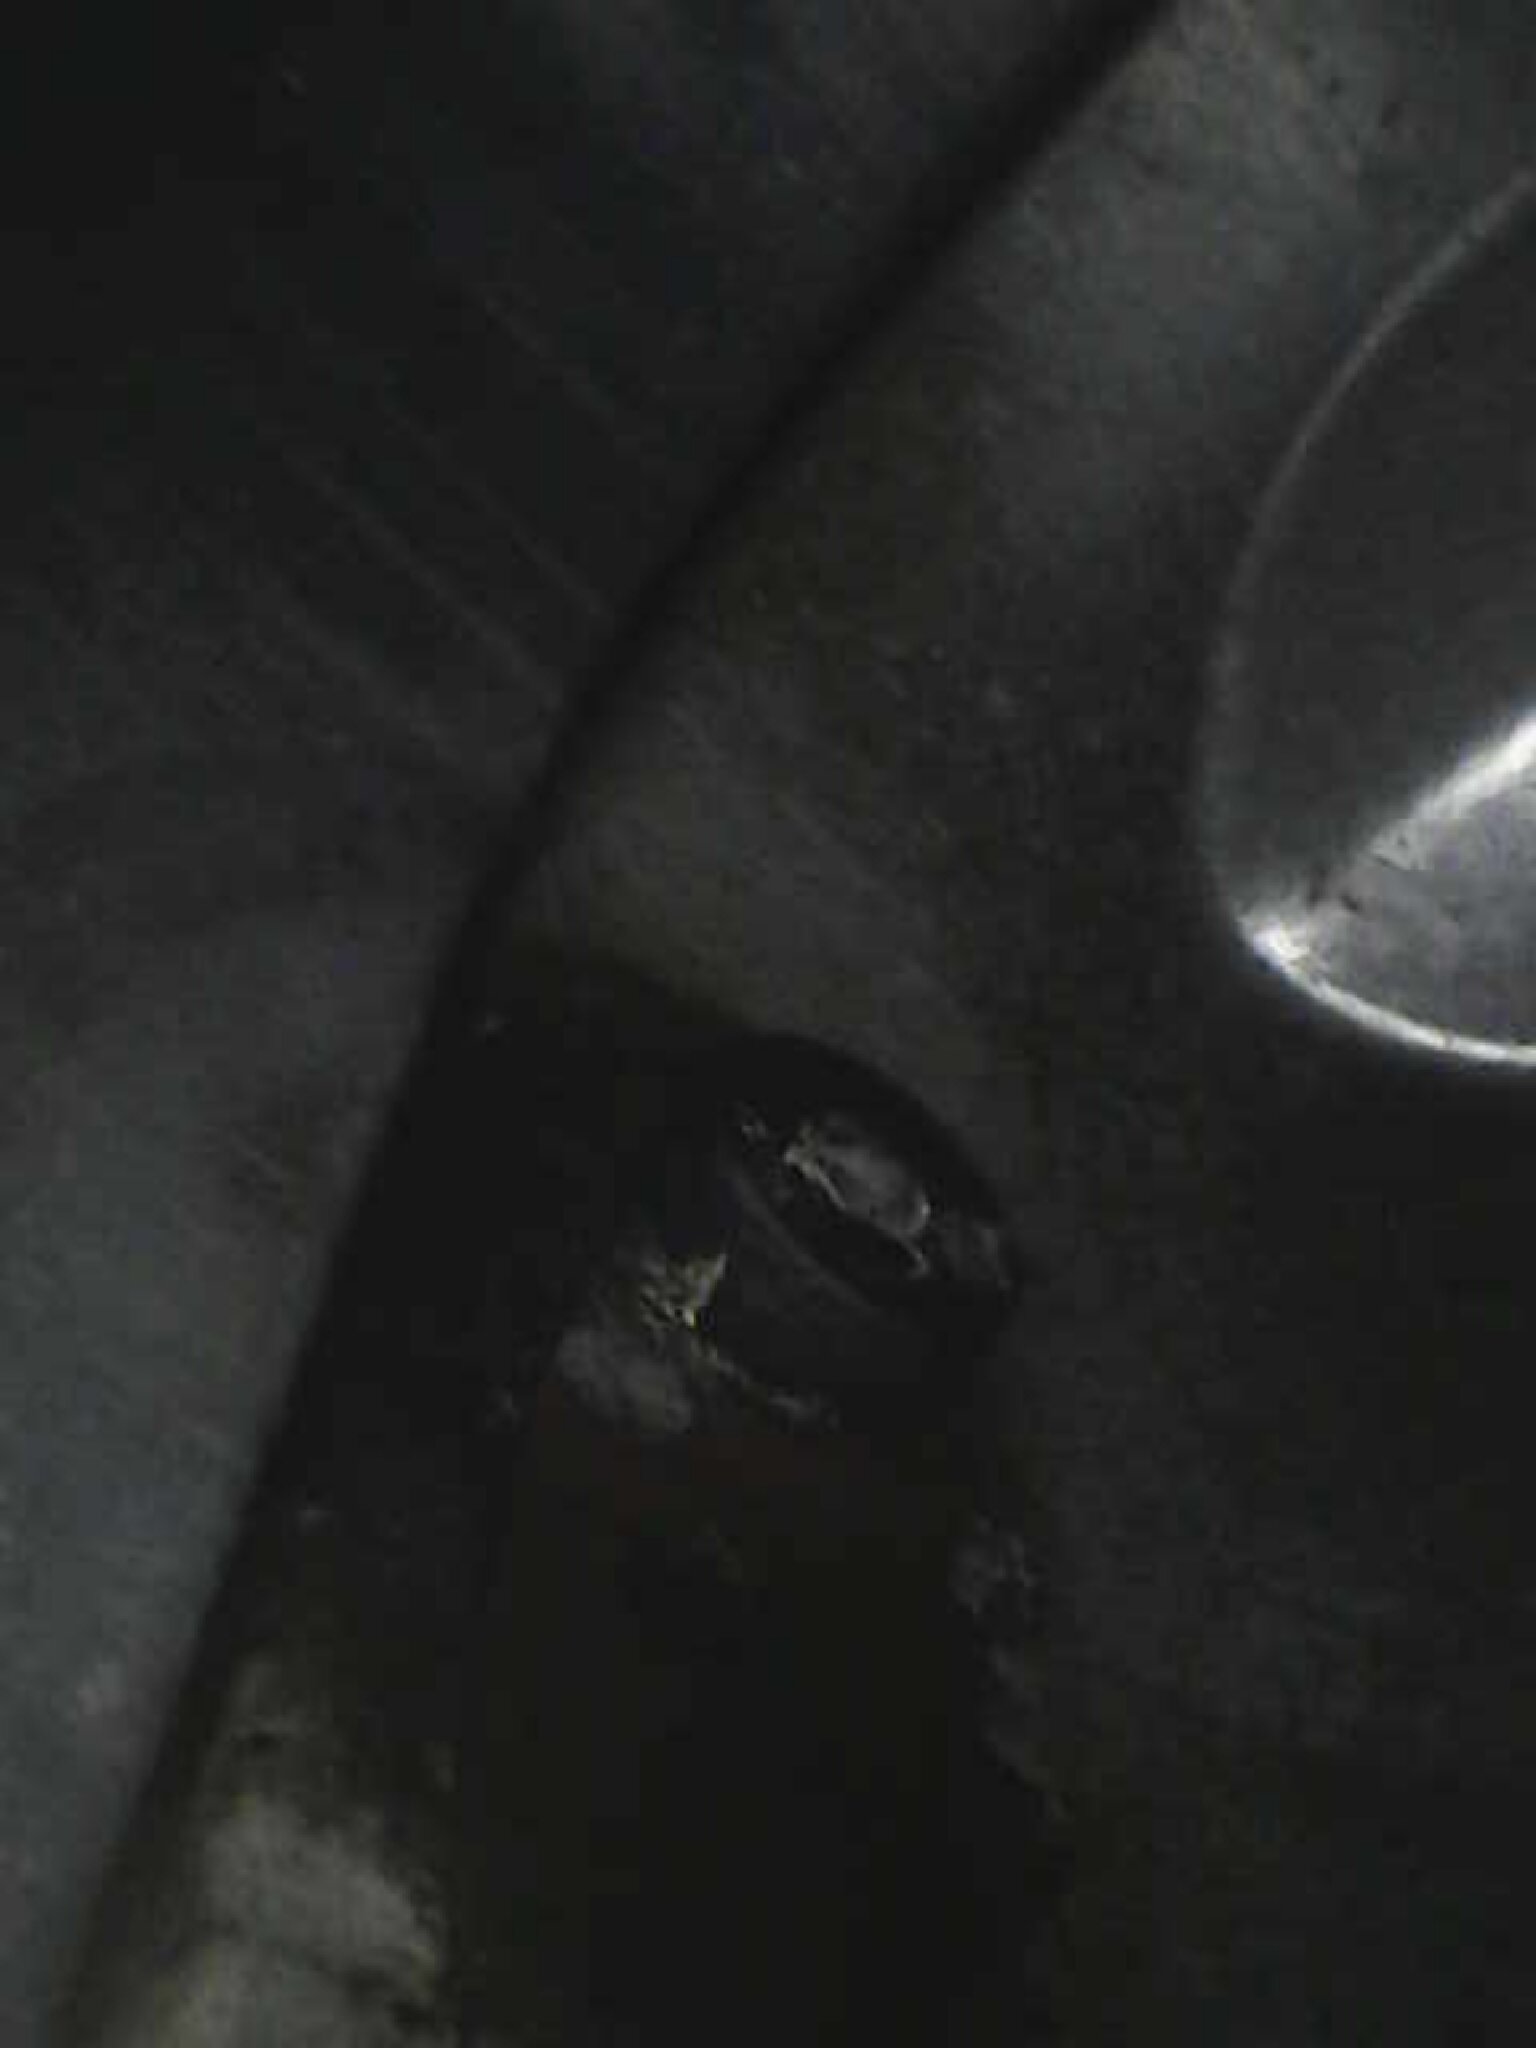 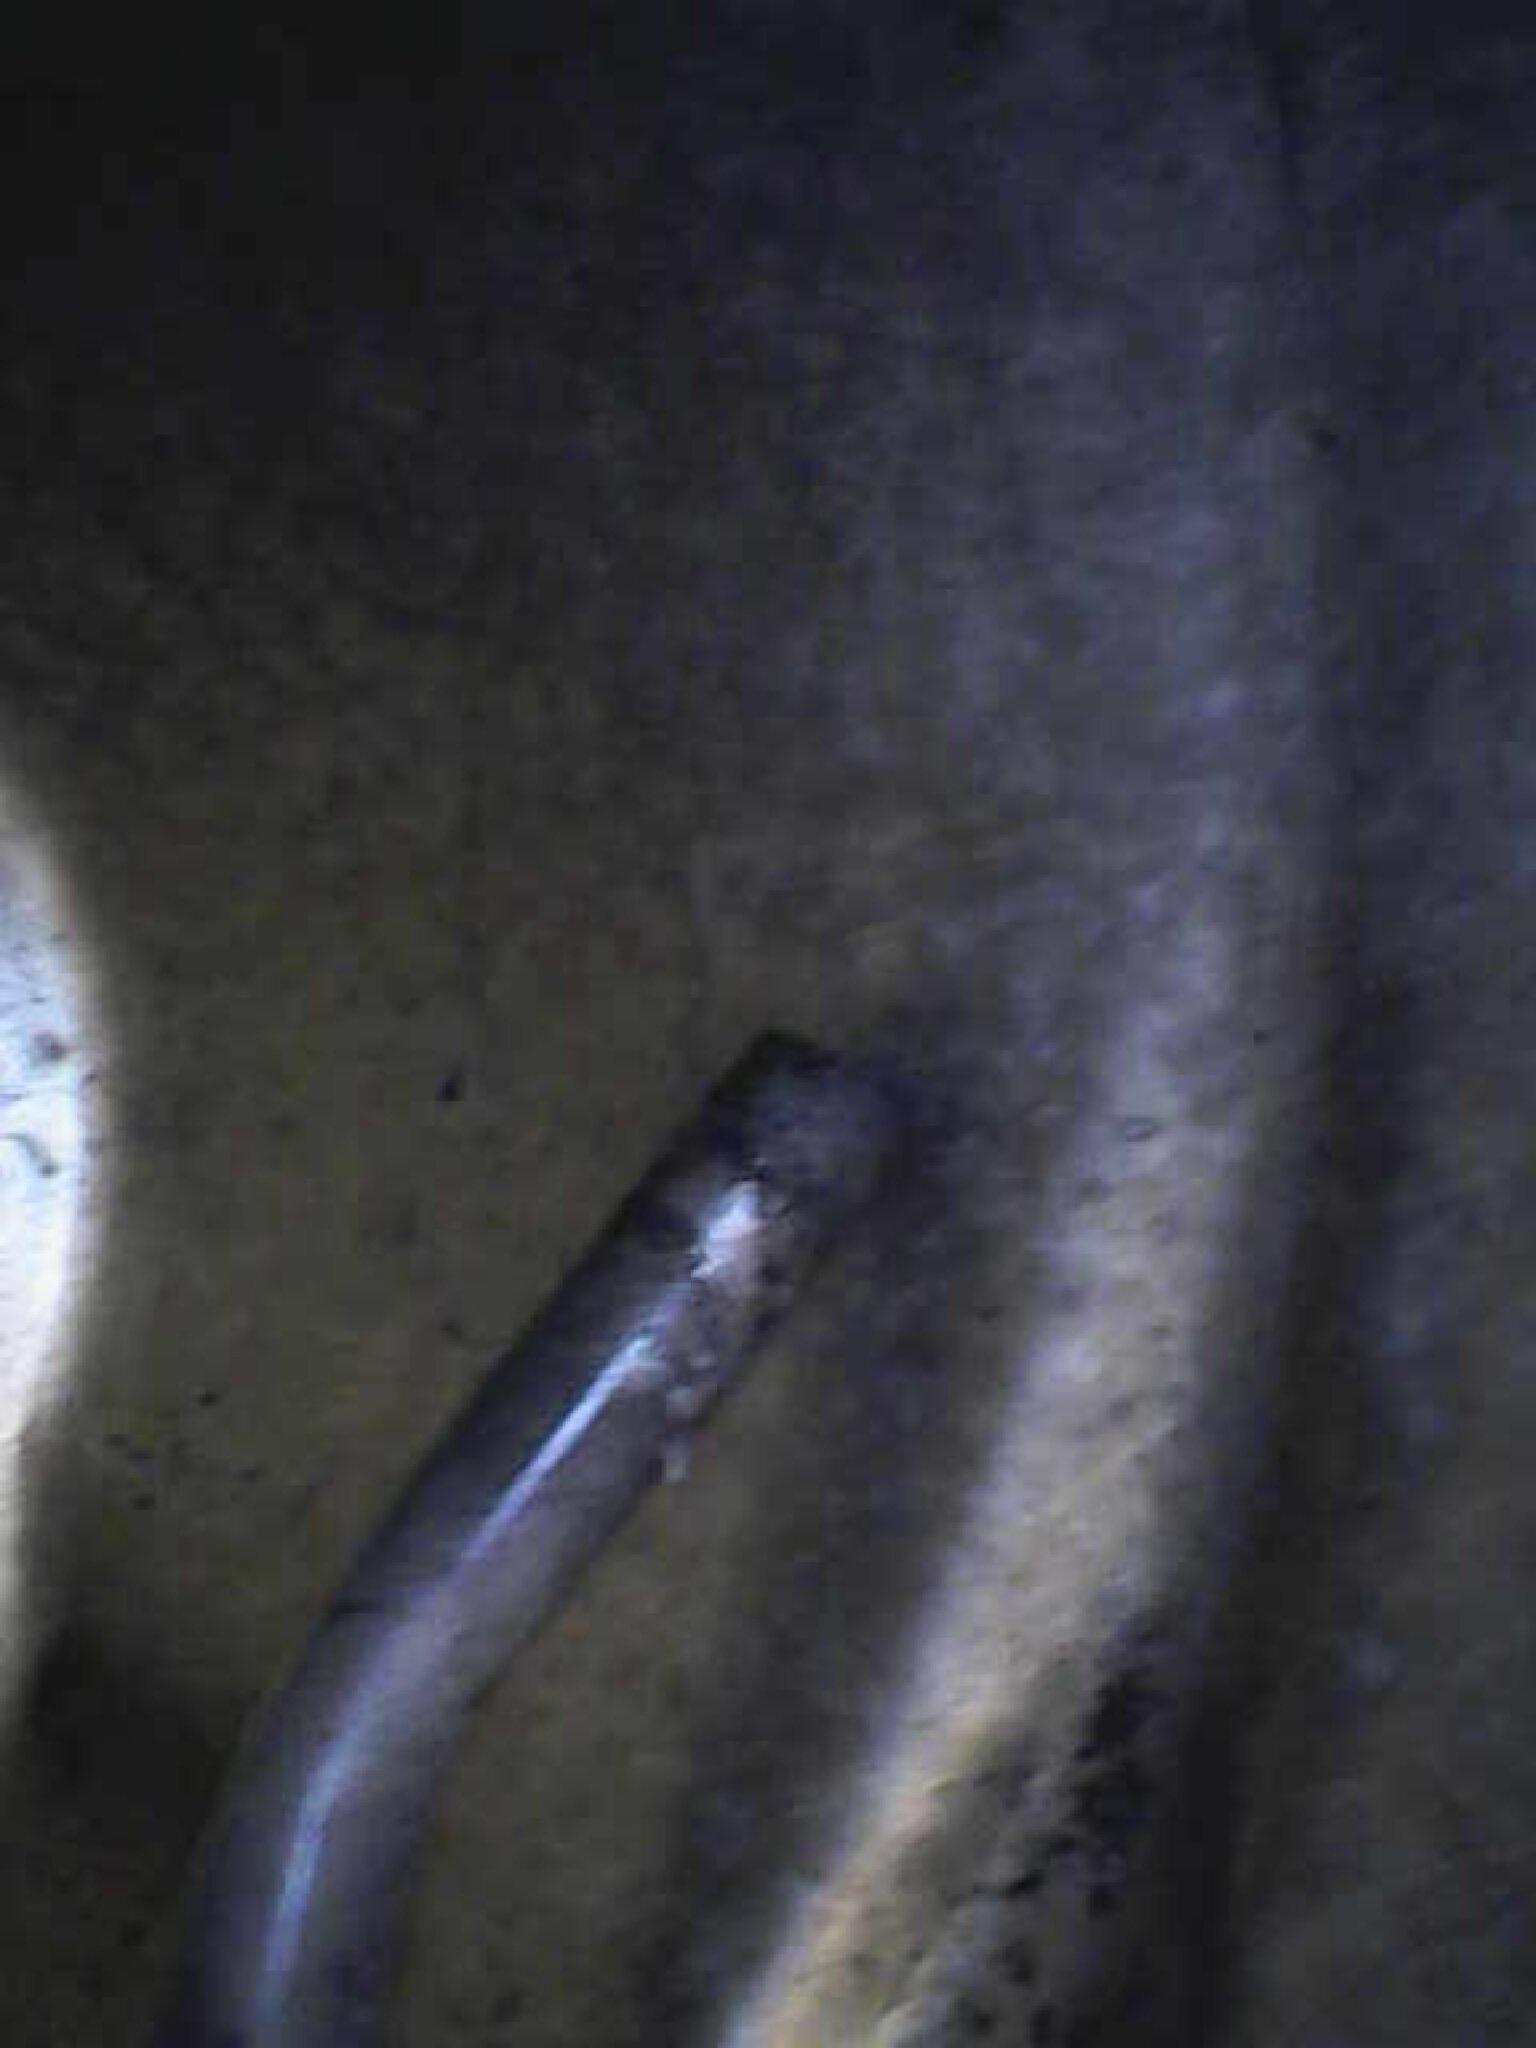 I've been trying to weld up my old tank after having it sandblasted. It's coming along but it's a bit frustrating. Old thin metal is a struggle to weld, especially for someone who is new at it. So I pulled out my brother in law's old tank (the one that came with the car and ended up causing multiple stick valves). I had previously used a bunch of vinegar and bolts thrown in the tank to loosen up all the rust and scale. It did fairly well but I stopped working on the tank after we picked up the repro tank. So, pulled it back out, pressure washed everything I could reach on the inside. Cleared up all the surface rust that had appeared in the past year, and got rid of the leftover flakes. Then dumped acetone in it to dissolve any leftover varnish. Drained then dumped in 99% alcohol to help dry it out. Heat gun finished up the drying. I then sprayed in a bunch of fogging oil and rolled the tank around to cover all surfaces. This should prevent flash rust. 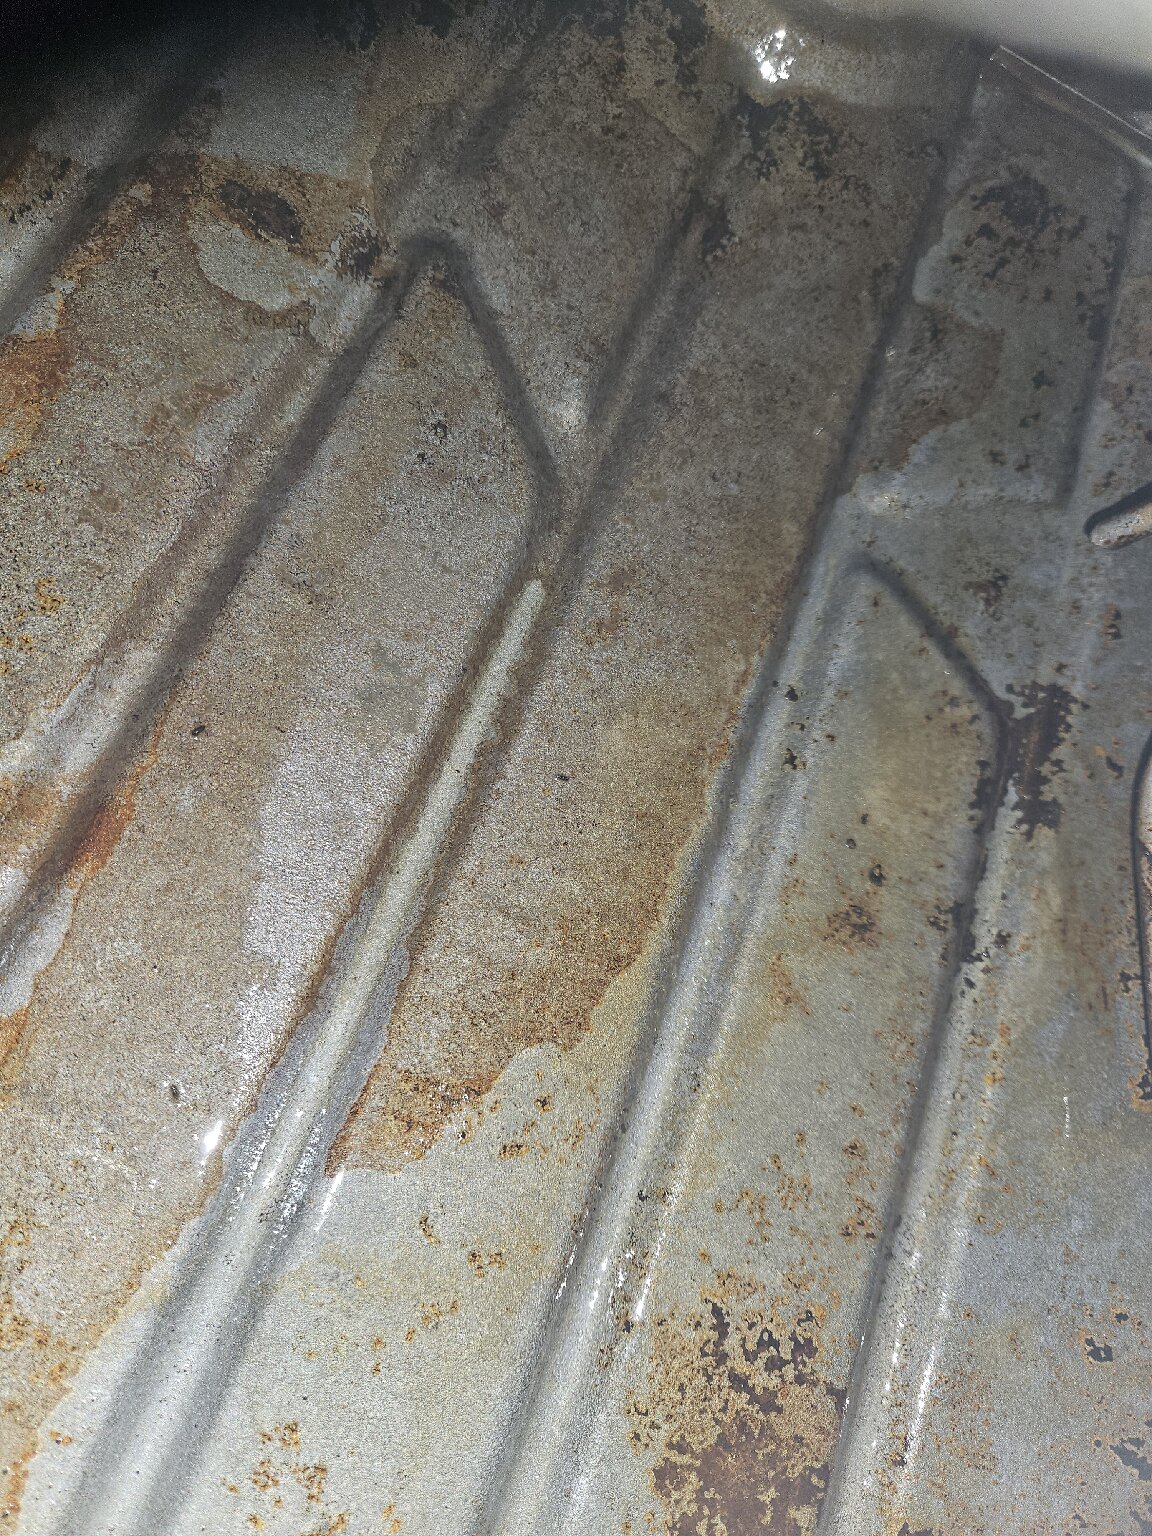 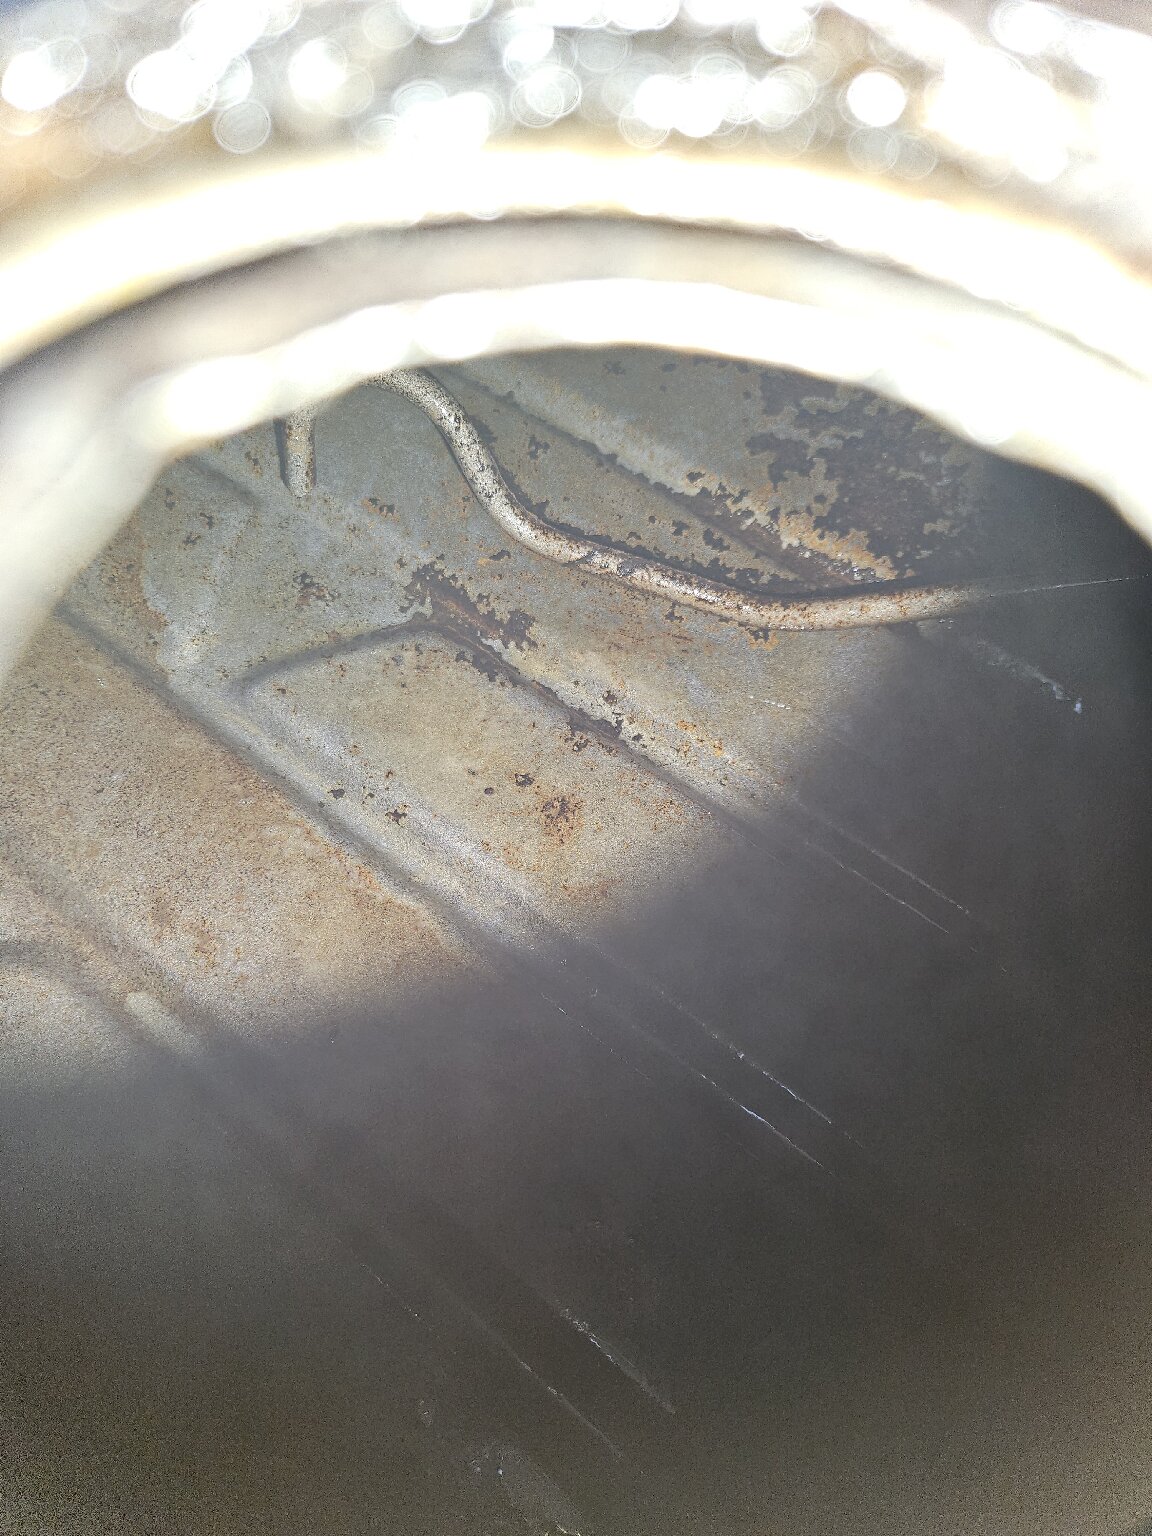 This is how the tank started was back when he first bought the car 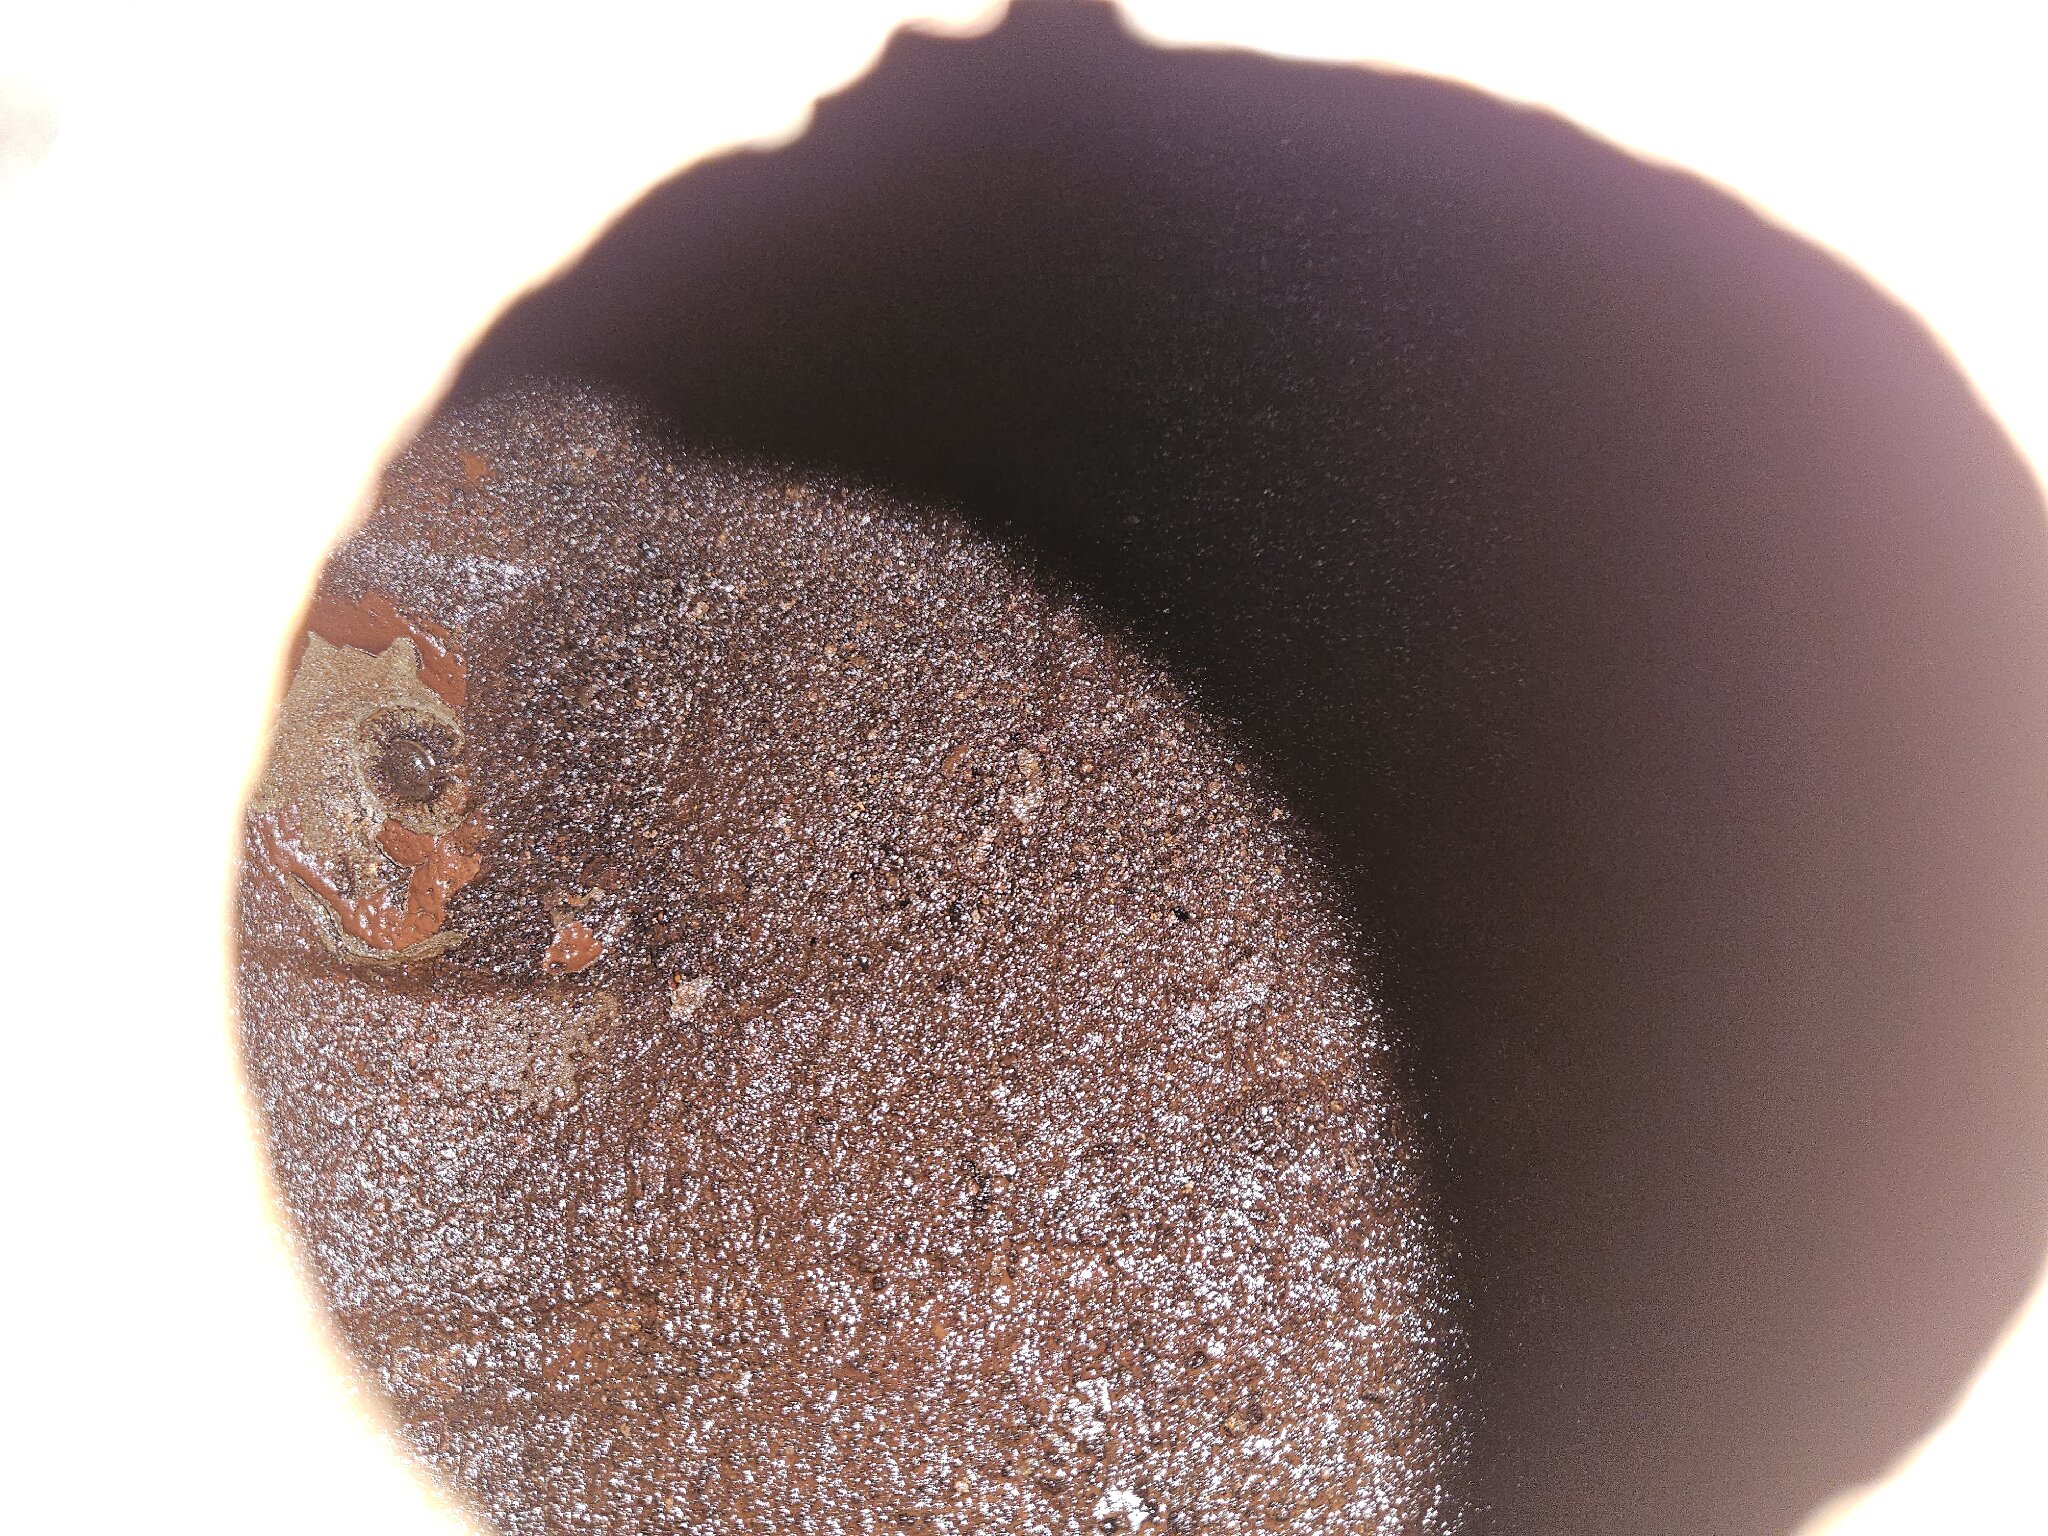 It's not perfect, but I think may work for a temporary tank while we work on fixing the repro. Might be a good idea to put a fuel filter in front of the tank though. -Kevin
Posted on: 2024/9/30 20:43
|
|||
|
||||
|
Re: Morticus' Packard 200 Deluxe Touring Edition
|
||||
|---|---|---|---|---|
|
Webmaster

|
I always had problems getting all the rust off the "ceiling" of the tank. After clogging fuel filters over and over I finally gave up and decided to have it renu'd.
Posted on: 2024/9/30 21:48
|
|||
|
-BigKev
1954 Packard Clipper Deluxe Touring Sedan -> Registry | Project Blog 1937 Packard 115-C Convertible Coupe -> Registry | Project Blog |
||||
|
||||
|
Re: Morticus' Packard 200 Deluxe Touring Edition
|
||||
|---|---|---|---|---|
|
Home away from home
|
Quote:
That's what I'm worried about. I don't have the scope with me, so I can't see the top of the tank. Bottom looks great though. It may be good enough for a temporary tank. My brother in law hasn't been able to drive his car because we've been chasing fuel tank problems for 3 months now. Between work, family, and other obligations the two of us have had a hard time getting things repaired. I'm just wanting to get him back on the road while we repair the repro tank. Once we fix the pickup tube the repro tank will be good to go forever. This old tank will be used as a backup or for Rusty McRustFace if I ever get that car running. -Kevin
Posted on: 2024/9/30 22:12
|
|||
|
||||
|
Re: Morticus' Packard 200 Deluxe Touring Edition
|
||||
|---|---|---|---|---|
|
Home away from home
|
Catching everyone up on the progress here. Things are moving in the right direction. We have a good friend (who has helped with my dad's '38) help with getting the fuel tank back up and running. The pickup tube had come off the connection due to the heat involved in soldering up the bung, to prevent it from rotating and leaking. The only way to deal with it was to cut an access hole into the new tank. Enter the hole saw:
 He had the old school soldering iron that we didn't have  It wasn't too hard for him to solder the pickup tube back in place  Prepped and tinned the access hole  And copper patch soldered in place and confirmed no leaks with air test. Not pretty per se, but it works and it's hidden at the top edge where it will never be seen.  Morticus test drove it with a couple gallons first and confirmed there were no leaks in the pickup tube. Then a full tank to confirm no more leaks anywhere. Hopefully this is the last of the fuel tank saga. But wait! There's more! During warm up in the garage a while after getting the tank back, there was a strong smell of fuel. Found that the glass bowl had somehow cracked. We're assuming too much pressure against the glass when it was installed.  Napa does have glass bowls, but they are more square instead of tapered, and do not fit in the standard Carter filter housing and strap.  Rusty McRustface to the rescue! Since I won't have Rusty's engine running anytime soon, I pulled the Carter filter and bowl from my carb. Its the short bowl type.  A trip through the sandblaster cleaned it right up. I could not find a filter that fit at Napa. Potentially a filter for a Volvo marine engine will work, but I will have to order one to confirm. In the meantime I bought a straining filter from Napa that they use in tractors and such. I had to cut it to fit, but it should catch most things hopefully. Basically everything in the fuel system is new except for the main fuel line, and Mort only uses ethanol free gas. Hoping this will work until a new long bowl can be sourced.  
Posted on: 1/28 17:38
|
|||
|
Kevin
1954 Clipper Super Panama "Van Halen" | Registry | Project Blog 1938 Super 8 1605 | Registry | Project Blog 1953 Clipper Deluxe Club Sedan "Rusty McRustface" | Registry | Project Blog 1956 Packard The Four Hundred "Tanner" | Registry | Project Blog |
||||
|
||||
|
Re: Morticus' Packard 200 Deluxe Touring Edition
|
||||
|---|---|---|---|---|
|
Home away from home

|
I have a whole box of bowls lying around if you want to send me the dimensions.
Posted on: 1/28 18:24
|
|||
|
1955 400 | Registry | Project Blog
1955 Clipper Deluxe | Registry | Project Blog 1955 Clipper Super Panama | Registry Email (Parts/service inquiries only, please. Post all questions on the forum.) service@ultramatic.info |
||||
|
||||
|
Re: Morticus' Packard 200 Deluxe Touring Edition
|
||||
|---|---|---|---|---|
|
Home away from home
|
Time to dig into the lifter tick on #1, and no compression on #8. I picked up the car this morning and we made the 2 hour drive back.
 They are multiplying!  We drained the coolant, removed everything off the head, then removed the head. Here are cylinders 1-2  Cylinders 3-4  Cylinders 5-6  Cylinders 7-8  The head looked pretty normal  I have pictures of the head gasket of that's helpful. Also a fun video of the piston and valve movement:https://youtube.com/shorts/5BU0DZfo7rE?si=GQ9EZ9uRRplyFahu Looks like the intake valve on #8 might not be sealing. We can't see anything else that would cause no compression. We pulled all the valves on 1-4. Ran out of time to do the rest.  
Posted on: 3/22 19:47
|
|||
|
Kevin
1954 Clipper Super Panama "Van Halen" | Registry | Project Blog 1938 Super 8 1605 | Registry | Project Blog 1953 Clipper Deluxe Club Sedan "Rusty McRustface" | Registry | Project Blog 1956 Packard The Four Hundred "Tanner" | Registry | Project Blog |
||||
|
||||
|
Re: Morticus' Packard 200 Deluxe Touring Edition
|
||||
|---|---|---|---|---|
|
Home away from home
|
I'll be taking out the rest of the valves hopefully tonight or tomorrow night. Brother in law cleaned up the ones we had removed so far. They were pretty caked with carbon, especially the intake valves. But they cleaned up nicely and should be able to be reused. There was no sign of wear on any of the stems.
 We're trying to get everything together to be able to tackle the rest of the job and get the engine back together, hopefully in one go. It's hard to match schedules up and he lives far away. We need some direction on how to proceed: 1.) Valve guides - We don't plan on replacing them. Do they need to be reamed? Or do we just clean them out with a bore brush? 2.) Valve clearance - I'll be purchasing the tool from Max Merritt for OEM lifters. If the valve clearance is too tight, do we just grind off the end of the stem? Or does a machinist need to do that? What do you use to grind it? 3.) Valve lapping - any advice on what to use? I need to know what to buy. 4.) Lifters - We're going to clean them out as shown in Ross's video. But we have no cam follower to put them in and test them. Has anyone else found something that will work to hold the lifter for leak down testing? For sure one of the #1 lifters is bad, but we're not sure which. 5.) Replacement lifters - I'm assuming it's fine to have both OEM and new lifters in the same engine? If one or two of the lifters are bad we would prefer to just replace those and not everything. 6.) Head surfacing - We are not going to have a machinist mill the head. What is the best way to clean up the mating surface and prep it for a new gasket by ourselves? 7.) Head studs - two of them came out when we were removing the head. The nuts seized on the upper end the rest of the stud unscrewed from the block. Double nut to get them back in? Thread chaser on all the studs? Best way to clean the gasket surface on the block? 8.) Lubrication - When reassembling the valve train, what lube should be used on the valve stems/guides? Any benefit to pumping up the lifters with oil prior to firing up the engine (is that even possible)? Sorry for the list. Figured it would be best to lay out all our questions in one place. Might be more questions that pop up.
Posted on: 4/1 16:05
|
|||
|
Kevin
1954 Clipper Super Panama "Van Halen" | Registry | Project Blog 1938 Super 8 1605 | Registry | Project Blog 1953 Clipper Deluxe Club Sedan "Rusty McRustface" | Registry | Project Blog 1956 Packard The Four Hundred "Tanner" | Registry | Project Blog |
||||
|
||||
|
Re: Morticus' Packard 200 Deluxe Touring Edition
|
||||
|---|---|---|---|---|
|
Home away from home
|
Quote:
1 - Pp. 20-21 in the manual gives the clearance (2 thou intake, 4 thou exhaust) which should be checked with a dial indicator. You can also check just by trying to move the valves side to side by hand; you should not feel any play assuming the stems have a bit of oil left in them.packardinfo.com/xoops/html/downloads/servicemanual5154/Engine_IX.pdf 2 - It suggests you do it with a valve refacer, p. 23. Any method that gives the same end profile to the valve stem I'm confident would be fine. As a counterexample, sanding it on a stone would not, as the perpendicularity is not controlled. 3 - This stuff looks good to me. Lapping compound is just a fine abrasive. Theoretically something like headlight polish would also work given enough time.napaonline.com/en/p/PTX80036 4 - You could use an arbor press if you make a tool for it. Just be careful as an arbor press will give a lot more mechanical advantage than a typical tappet testing tool. 5 - Yup, should be fine. 6 - These are easy and nearly idiot proof, very safe for steel, and even for aluminum.homedepot.com/p/Avanti-Pro-4-1-2-in-x-5- ... ven-Quick-Strip-Disc-PNW045STRB01G/ 7 - Use that de rust formula I sent you then try the double nut method. If still stuck use heat. I would clean them with a wire wheel. Block see (6). 8 - Engine oil is sufficient but most like to use Assembly Lube just to be safe. Better also when you build the engine up over weeks instead of in 1-2 days like it would have been done in a shop.amazon.com/Sta-Lube-SL3331-Extreme-Pressure-Assembly/dp/B000M8RYUE
Posted on: 4/1 19:23
|
|||
|
1955 400 | Registry | Project Blog
1955 Clipper Deluxe | Registry | Project Blog 1955 Clipper Super Panama | Registry Email (Parts/service inquiries only, please. Post all questions on the forum.) service@ultramatic.info |
||||
|
||||
|
Re: Morticus' Packard 200 Deluxe Touring Edition
|
||||
|---|---|---|---|---|
|
Home away from home
|
Thanks for the tips PGH. Good stuff. Time to start getting everything cleaned up.
I made some time to get the rest of the valves out. Pretty straightforward, and didn't take too long. All the intake valves had carbon build up and junk on them.  All the exhaust valves had a decent amount of soot  The valve stems all looked pretty good. A slight bit of wear. Not sure if what I'm seeing here is a problem or not. Compared to the valves that came out of Rusty's engine, these ones are like a fine piece of jewelry.  Still not sure on why #8 has no compression. I thought maybe intake valve wasn't seating all the way, but now I'm not so sure. How would we know if the rings are bad? We don't plan on doing new rings on everything because everything had good compression except for #8. But if we had to pop that piston out and re-ring it, it wouldn't be the end of the world. I'm going to start cleaning the block surface and head. Gasket scrapers for the block, and wire wheel for the head. Not going to get aggressive on the head so I don't leave debris everywhere.
Posted on: 4/7 22:31
|
|||
|
Kevin
1954 Clipper Super Panama "Van Halen" | Registry | Project Blog 1938 Super 8 1605 | Registry | Project Blog 1953 Clipper Deluxe Club Sedan "Rusty McRustface" | Registry | Project Blog 1956 Packard The Four Hundred "Tanner" | Registry | Project Blog |
||||
|
||||


