|
Re: Keegan's 55 Clipper Deluxe
|
||||
|---|---|---|---|---|
|
Home away from home

|
Quote:
I've got some plans that should help in that regard. I've got to finish my welding and grinding before I can move to that step. Hopefully I'll be able to get to it sometime in March.
Posted on: 2011/1/27 20:30
|
|||
|
||||
|
Re: Keegan's 55 Clipper Deluxe
|
||||
|---|---|---|---|---|
|
Webmaster
|
Here is a forum exchange link forwarded to me by Lowell on how to use cleco clamps for those that are interested.
stovebolt.com/ubbthreads/ubbthreads.php?ubb=showflat&Number=604444
Posted on: 2011/1/31 15:33
|
|||
|
-BigKev
1954 Packard Clipper Deluxe Touring Sedan -> Registry | Project Blog 1937 Packard 115-C Convertible Coupe -> Registry | Project Blog |
||||
|
||||
|
Re: Keegan's 55 Clipper Deluxe
|
||||
|---|---|---|---|---|
|
Home away from home

|
Wow, great link Kev!
Lot's of great info on there. I love my hand punch (bought mine at Harbor Freight), great for super precise and clean holes. I've never seen that trick with the plugs though. I'm definitely going to try and remember that trick. I've managed to fully weld the patch panel in over the course of that past week of so. My lack of time to work on the car has been an advantage. Only enough time for one round of tacks at a time. This kept the panel cool and hopefully any warping is kept to a minimum. I also started to work out a dent further back on the same panel. Unfortunately there isn't any access to the back side of the panel as there's a fender brace and the gas filler tunnel in the way, not to mention the floor pan of the trunk. I have been using my stud welder (can finally justify that purchase) to pull the dent out. It won't be as nice as Kevin's metal finishing, but I'm OK with that.
Posted on: 2011/2/1 22:29
|
|||
|
||||
|
Re: Keegan's 55 Clipper Deluxe
|
||||
|---|---|---|---|---|
|
Home away from home

|
The Cleco trick is slick. But not sure how it would be applicable to ON CAR welding of patch panels where the backside is not accessible.
Posted on: 2011/2/1 22:54
|
|||
|
VAPOR LOCK demystified: See paragraph SEVEN of PMCC documentaion as listed in post #11 of the following thread:f
packardinfo.com/xoops/html/modules/newbb/viewtopic.php?topic_id=7245 |
||||
|
||||
|
Re: Keegan's 55 Clipper Deluxe
|
||||
|---|---|---|---|---|
|
Home away from home

|
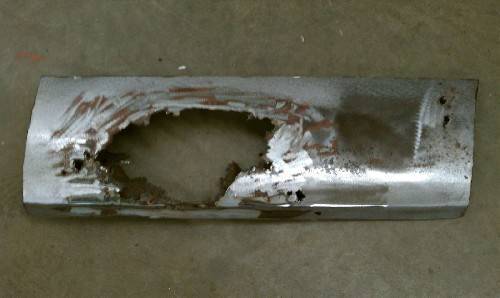
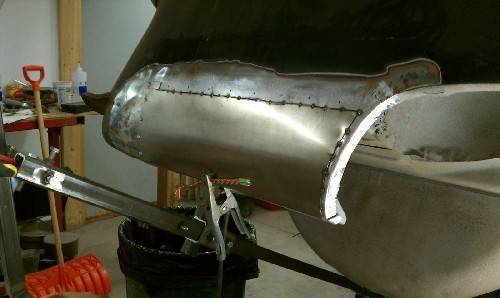
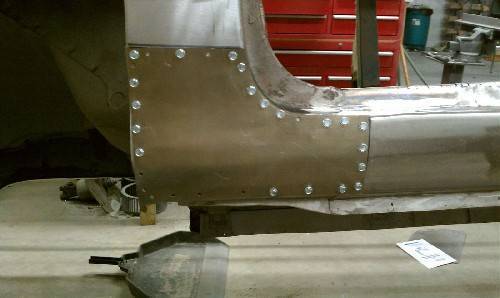
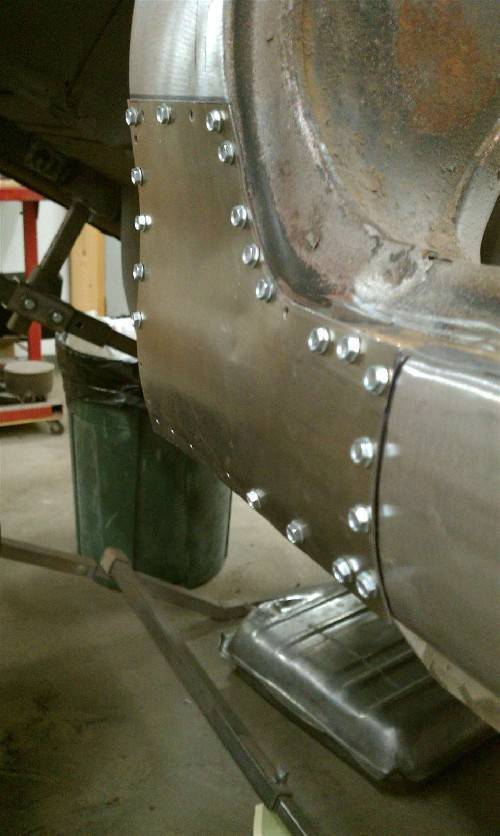
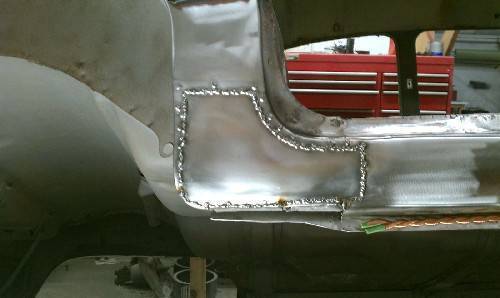
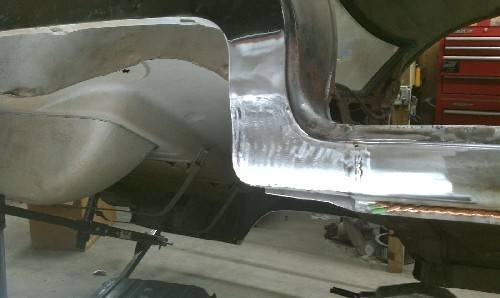
More rust repair on the same panel.
Here's my method. Not meant as a tutorial or as an example to follow, just the way I did it. Attach file:  (100.69 KB) (100.69 KB)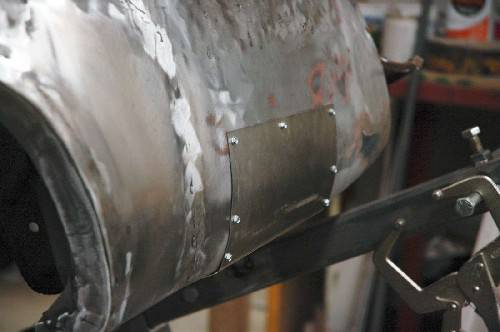  (129.50 KB) (129.50 KB)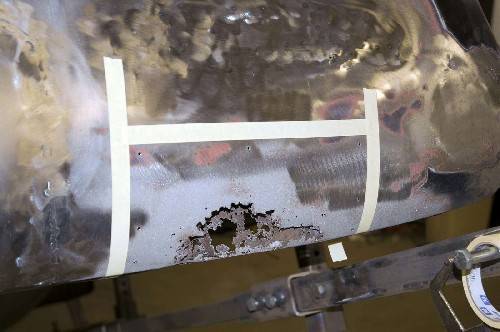  (123.78 KB) (123.78 KB)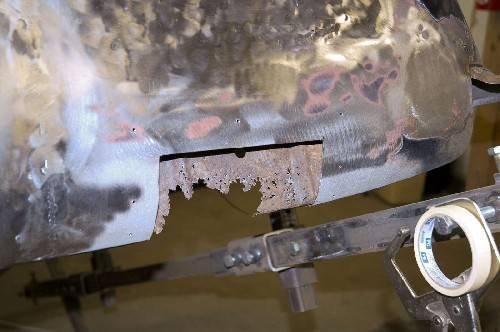  (130.90 KB) (130.90 KB)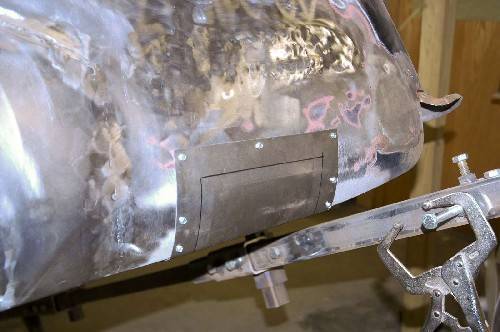  (88.83 KB) (88.83 KB)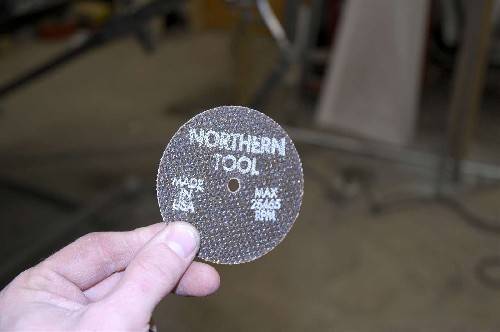  (49.02 KB) (49.02 KB)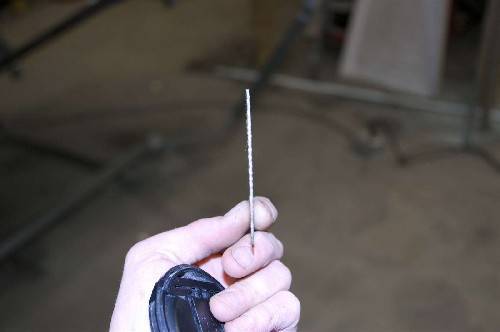  (125.69 KB) (125.69 KB)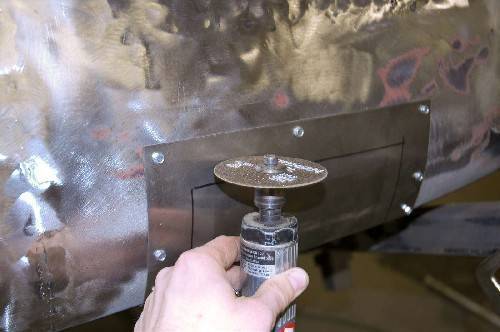  (129.13 KB) (129.13 KB)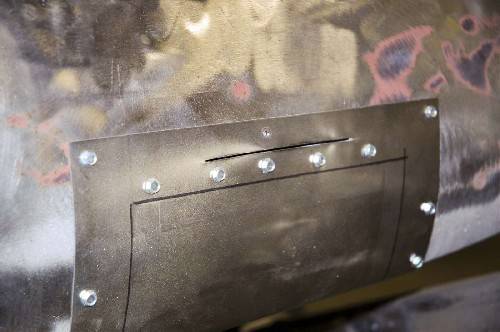  (104.37 KB) (104.37 KB)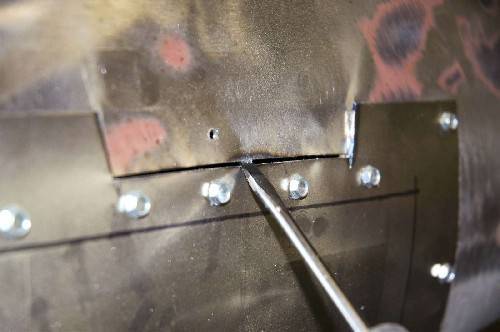  (124.18 KB) (124.18 KB)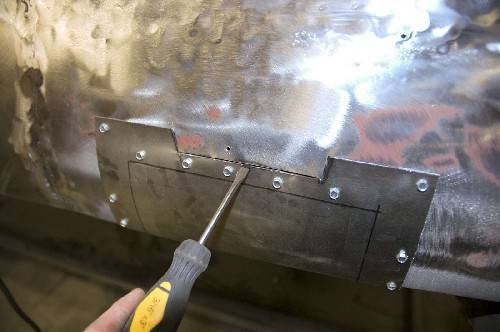  (131.17 KB) (131.17 KB)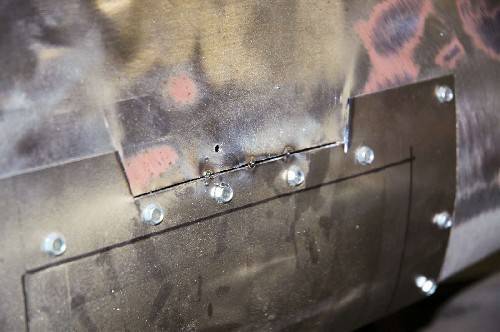  (73.22 KB) (73.22 KB)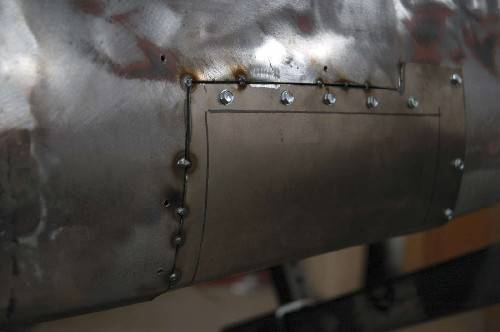  (111.07 KB) (111.07 KB)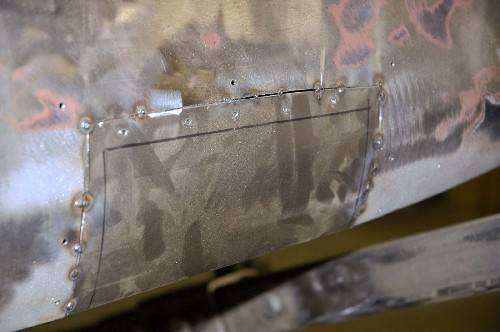  (110.49 KB) (110.49 KB)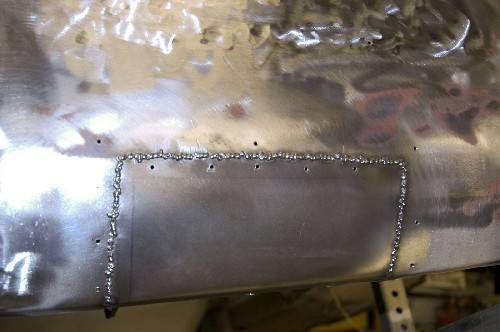  (107.46 KB) (107.46 KB)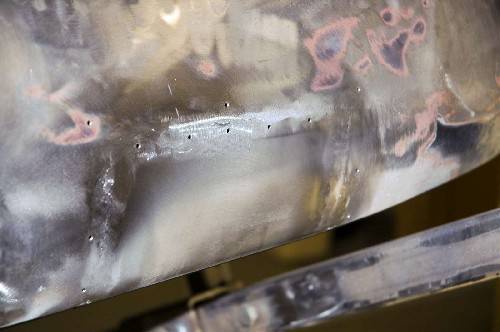  (108.62 KB) (108.62 KB)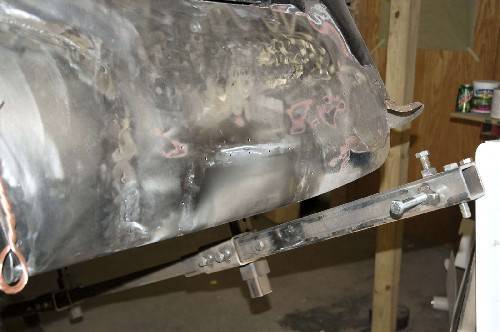
Posted on: 2011/2/3 23:46
|
|||
|
||||
|
Re: Keegan's 55 Clipper Deluxe
|
||||
|---|---|---|---|---|
|
Home away from home

|
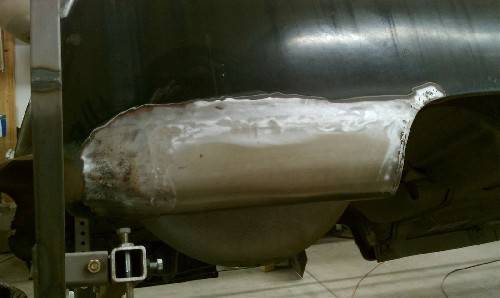
Managed to get some more rust repair done. This time it's the passenger side.
Basically the same procedure as before. Next I think I'll try to tackle the passenger dogleg. Yeah!
Posted on: 2011/3/14 17:33
|
|||
|
||||
|
Re: Keegan's 55 Clipper Deluxe
|
||||
|---|---|---|---|---|
|
Home away from home

|
Looks great! That's a pretty cool way to attach your patch panels.
Posted on: 2011/3/14 21:21
|
|||
|
[url=h
|
||||
|
||||
|
Re: Keegan's 55 Clipper Deluxe
|
||||
|---|---|---|---|---|
|
Home away from home

|
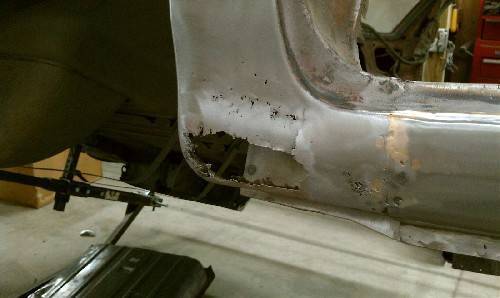
Moved to the passenger side dog leg. Not done yet, but at least it got started.
Posted on: 2011/3/21 19:41
|
|||
|
||||
|
Re: Keegan's 55 Clipper Deluxe
|
||||
|---|---|---|---|---|
|
Home away from home

|
Almost done with this one.
Posted on: 2011/3/21 23:03
|
|||
|
||||

