|
Re: Model 1100 radiator removal
|
||||
|---|---|---|---|---|
|
Forum Ambassador

|
I've done it a few times, though it's been some years so I may forget some details. It's easy enough but you'll be removing the radiator, shutters and shell as an assembly and it's HEAVY so you'll want extra hands. There are no hidden secrets to it's removal, it's straight forward.
Remove the hood and radiator support rods to the cowl. Remember the position for later reinstallation. Remove the 6 acorn headed bolts on the headlight sopport brackets that fasten to the thru-rod behind the shutters. Loosen headlights and swivel them outboard to provide a bit more clearance. Not a bad idea to wrap them with some protective material like a blanket or piece of old carpet. 2 large studs are fastened to the bottom of the radiator platform that extend thru the frame crossmember and are retained by nuts and springs and insulation spacers above the crossmember. Remove them and lift the radiator/shell/shutter assembly up and out. The cushion/spacers probably will need replacement and after your finished you'll want to adjust both the radiator height (spacers and cushions) and the fore-to-aft position at the top of the radiator via the cowl rods to get a correct fit of the hood to the radiator & cowl. Be prepared to to a bit of fidgeting to get the right fit. I hope the radiator cleaning works, these cars had a very generously-sized radiator and normally don't overheat even in very stressful situations.
Posted on: 2012/10/14 17:25
|
|||
|
||||
|
Re: Model 1100 radiator removal
|
||||
|---|---|---|---|---|
|
Not too shy to talk
|
Hi Dave and thanks for your as-usual thorough and illuminating response.
I had the car in for for some extensive service after a long (personal health-related) slumber. It ran well after return but the man said that it warmed up; not bad but hotter than it ought to. He said that as he directed his thermal gun across the radiator, one half was normally warm while the other half was room temperature cool. I took it out yesterday on my ten-mile "test loop" and it got very hot. By the time I pulled back into the driveway, the needle was nearly in the red. So something has caused it to be so hot and I figure the radiator sounds like a culprit. A question: after I get radiator/shell/shutters out as an assembly, may I assume it's a straightforward job to strip it down to the radiator itself? I don't want to risk those other parts getting lost or damaged. Your opinions welcome.
Posted on: 2012/10/15 6:29
|
|||
|
||||
|
Re: Model 1100 radiator removal
|
||||
|---|---|---|---|---|
|
Forum Ambassador
|
Yes Bill, once the shell/shutter/radiator assembly is out, lay it on a table with the core side down; it will be very obvious how to disassemble - look first for a series of fasteners along the perimeter of the shell that hold it to the radiator/shutter assembly and go from there.
I don't know how strenuous the driving conditions of your 10 mile test loop were, or what the ambient temperature was, but my 34 1100 generally runs at a temperature corresponding to the shutter thermostat which is 160 deg. At sustained higher speeds (55 mph or so) on hot days or long upgrades it may climb to 170; doing a July 4th parade on a 95 degree day it may also rise to 170 or 175. For that rare drive during colder weather, about freezing or just a bit below or above, it usualy runs about 140 to 150.
Posted on: 2012/10/15 8:14
|
|||
|
||||
|
Re: Model 1100 radiator removal
|
||||
|---|---|---|---|---|
|
Home away from home
|
Hello Bill:
Take note of Owen's (Dave's) advice about the weight of the radiator assembly. That thing is really heavy. I used to have an 1105 a number of years ago. When my brother and I tried to lift out the assembly I threw my back out and was out of commission for a month. The combination of leaning over the fender/front of the car and trying to lift up did me in. In hindsight an engine lift or block and tackle would have been helpful. Good luck with your project.
Posted on: 2012/10/15 10:35
|
|||
|
||||
|
Re: Model 1100 radiator removal
|
||||
|---|---|---|---|---|
|
Not too shy to talk
|
Thanks, good point. My back is already shot; that's why the car's been sitting so long.
Years ago, I bought a wood splitter and brought it home in the back of the pickup. A part of the house garage is under the attic. I went up there, spanned a half-dozen joists with a stack of 2x6s and poked a hole in the drywall ceiling of the garage. I wrapped a chain around the 2bys and dropped the hook down through the hole, attached a chain fall to the hook and the other end to the wood splitter. Prayed, hoisted up the splitter and drove out from under it briskly. Lowered it down and patted myself on the back. That hook has been unemployed all these years. I think I'll use it to lift the radiator. If all goes well, I'll post a pic. If not, watch for the exciting story and pictures at eleven.
Posted on: 2012/10/15 12:16
|
|||
|
||||
|
Re: Model 1100 radiator removal
|
||||
|---|---|---|---|---|
|
Home away from home
|
Hope this helps in some way
Attach file:  (90.53 KB) (90.53 KB)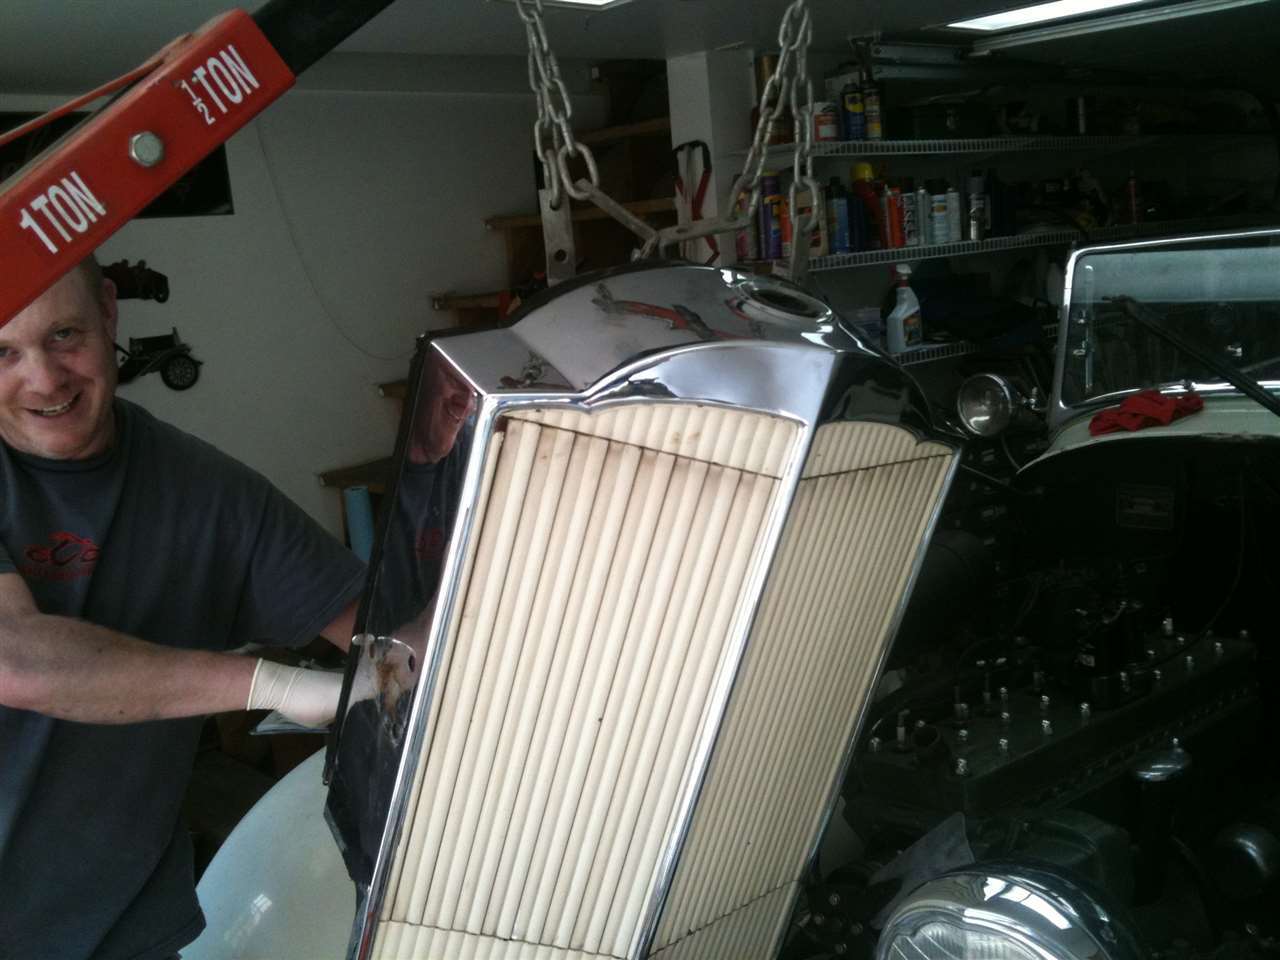 (222.50 KB) (222.50 KB)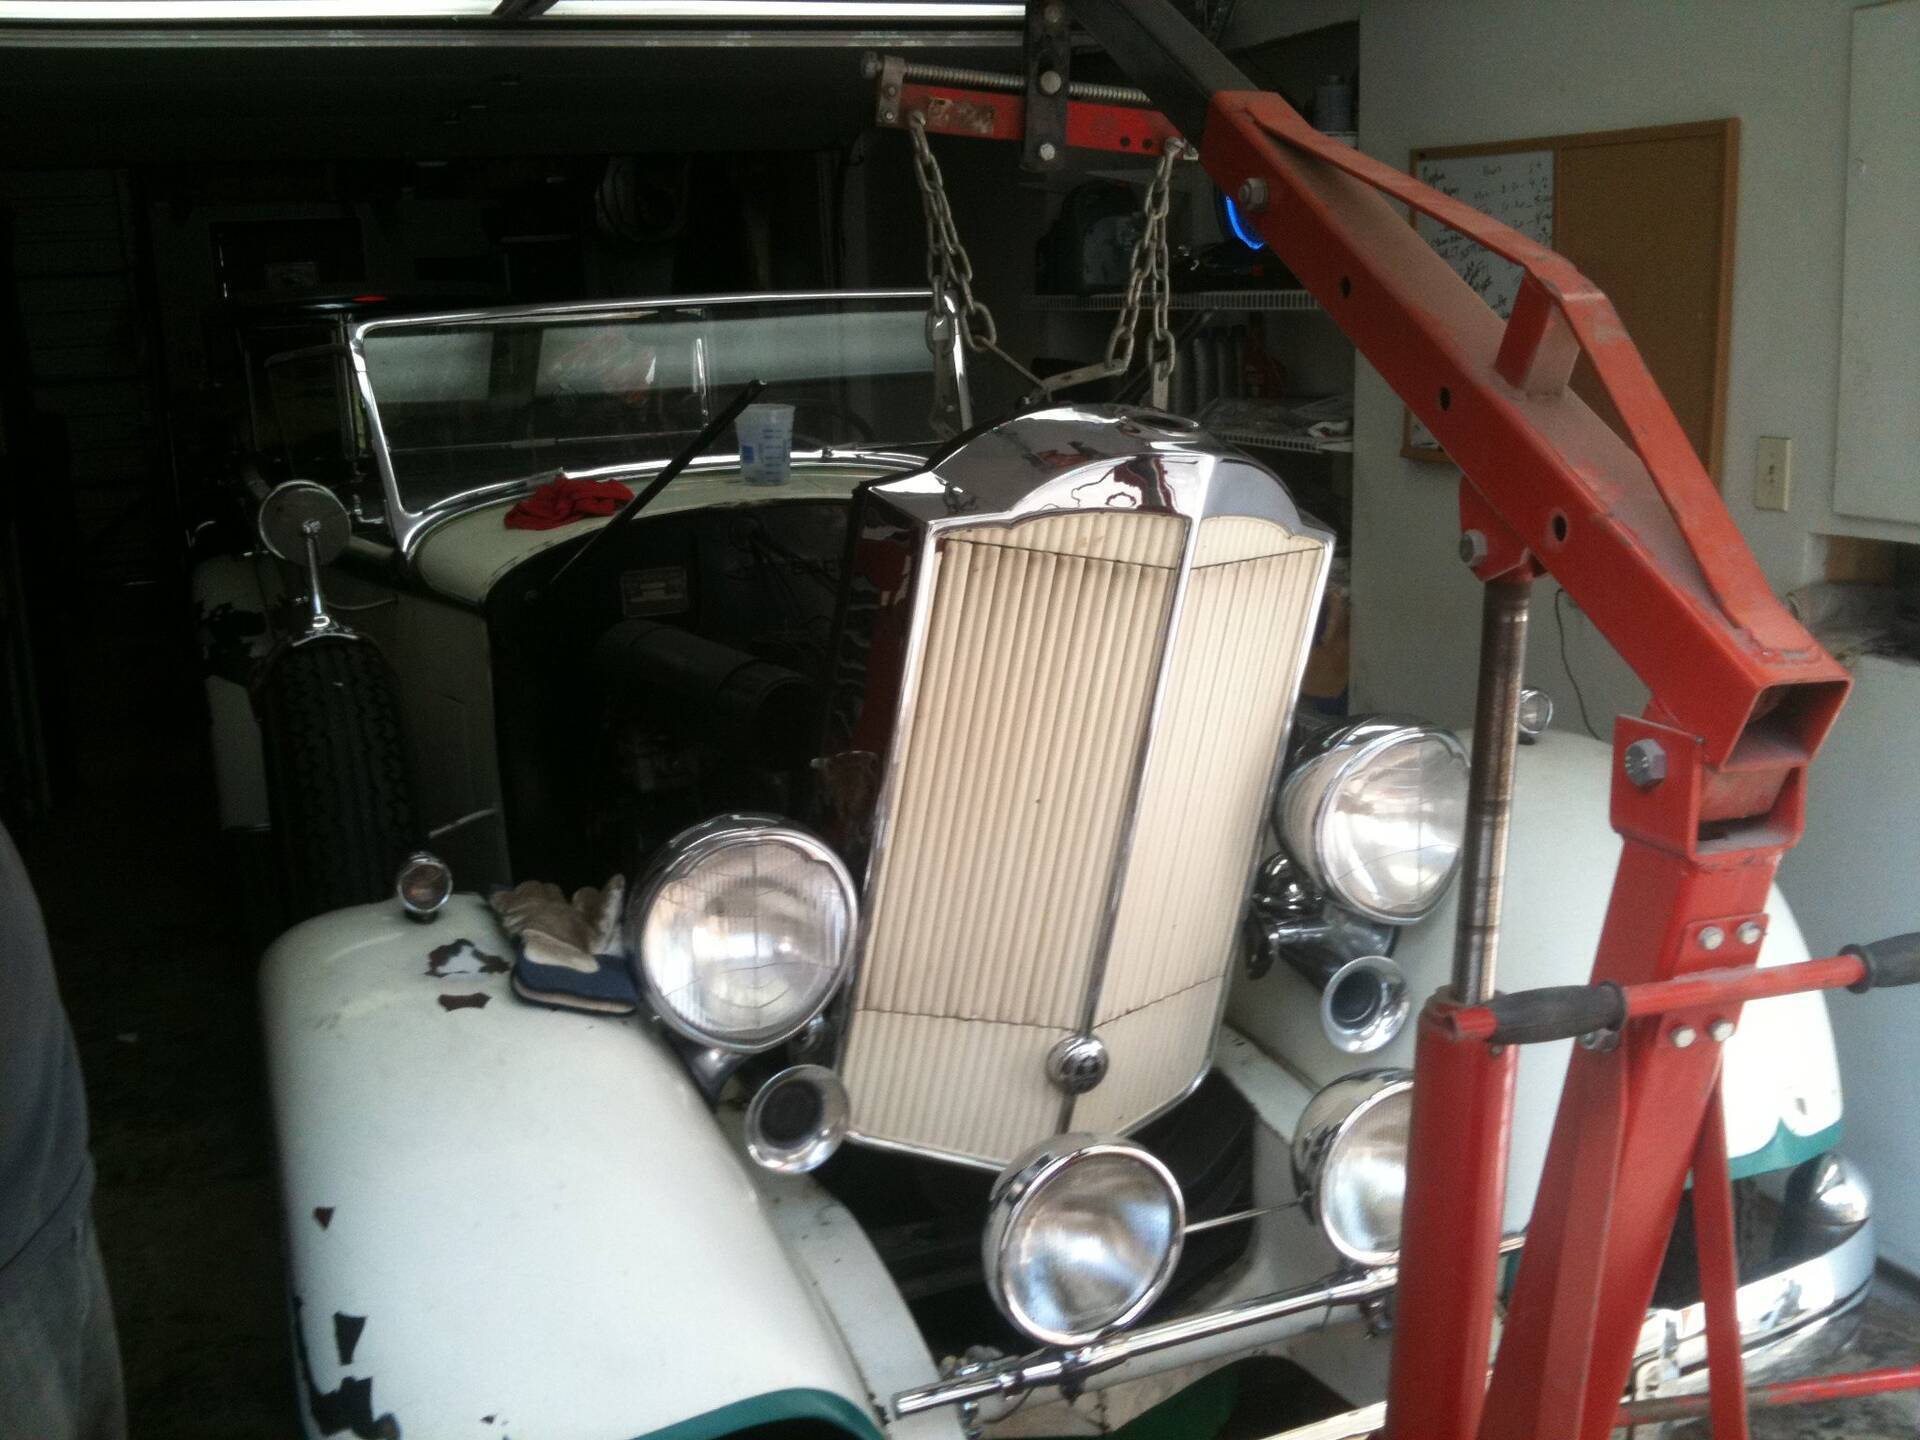 (123.78 KB) (123.78 KB)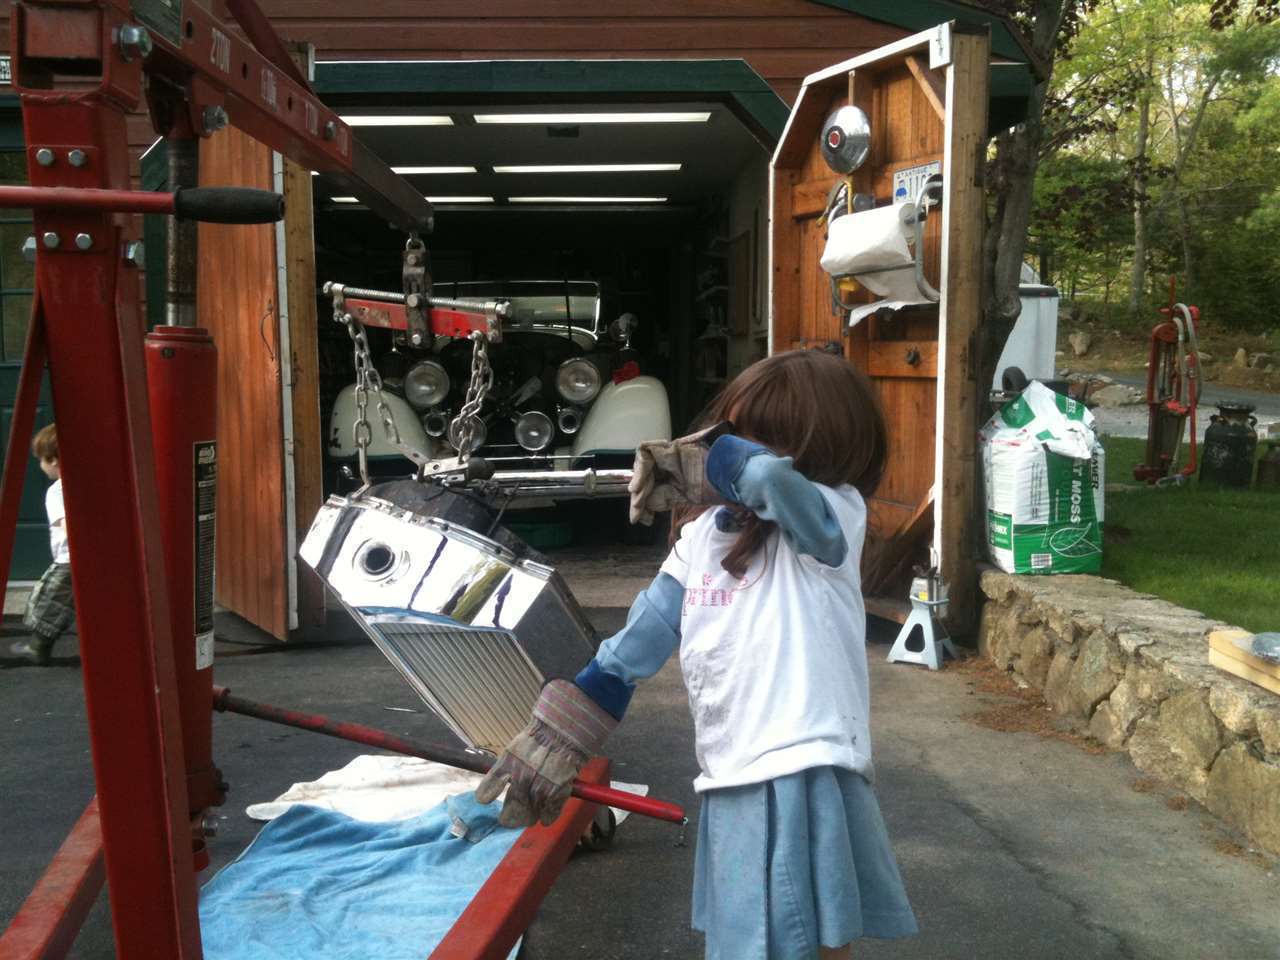 (109.45 KB) (109.45 KB)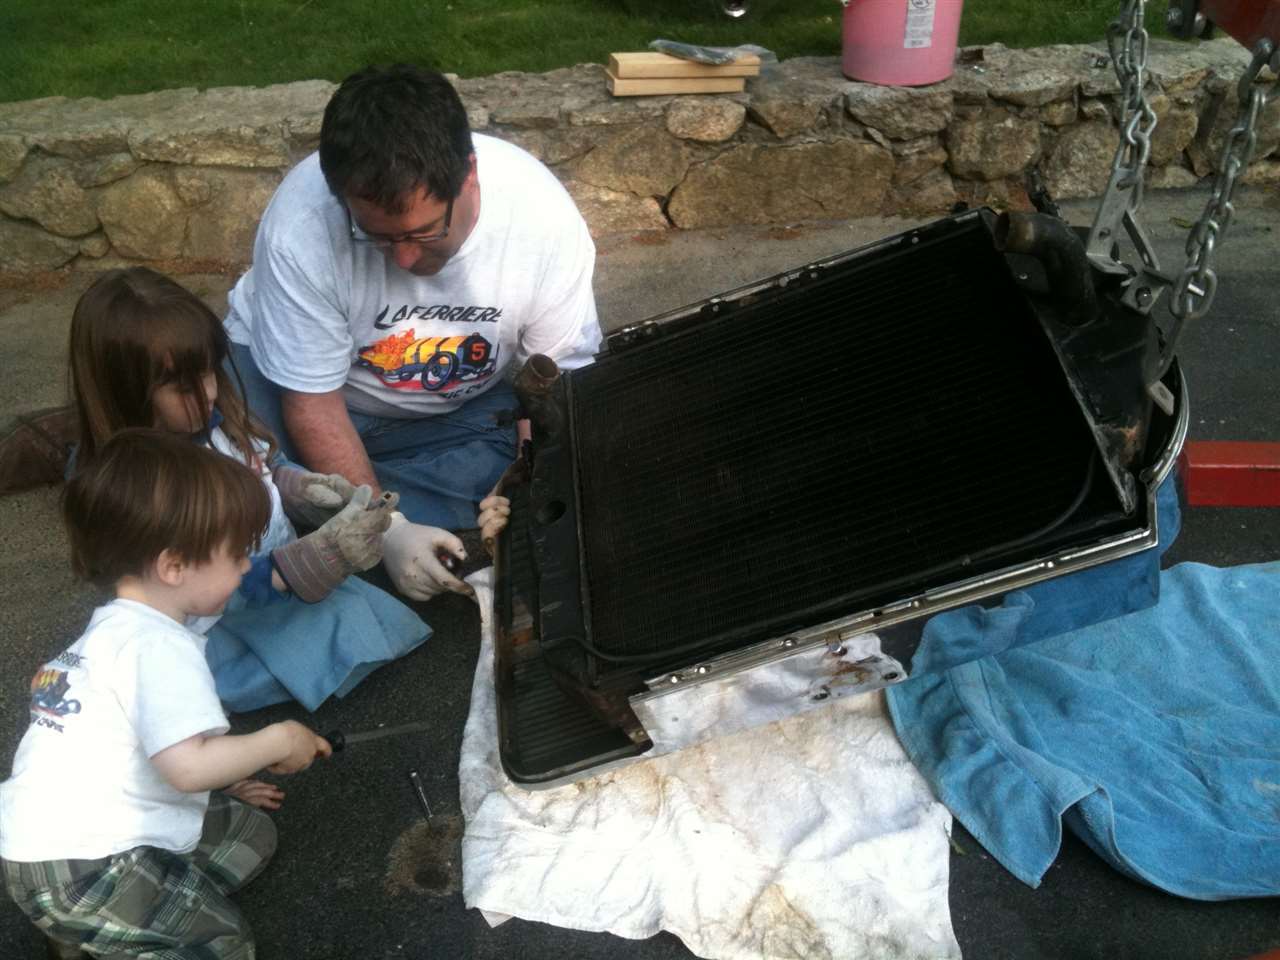 (87.94 KB) (87.94 KB) (93.86 KB) (93.86 KB)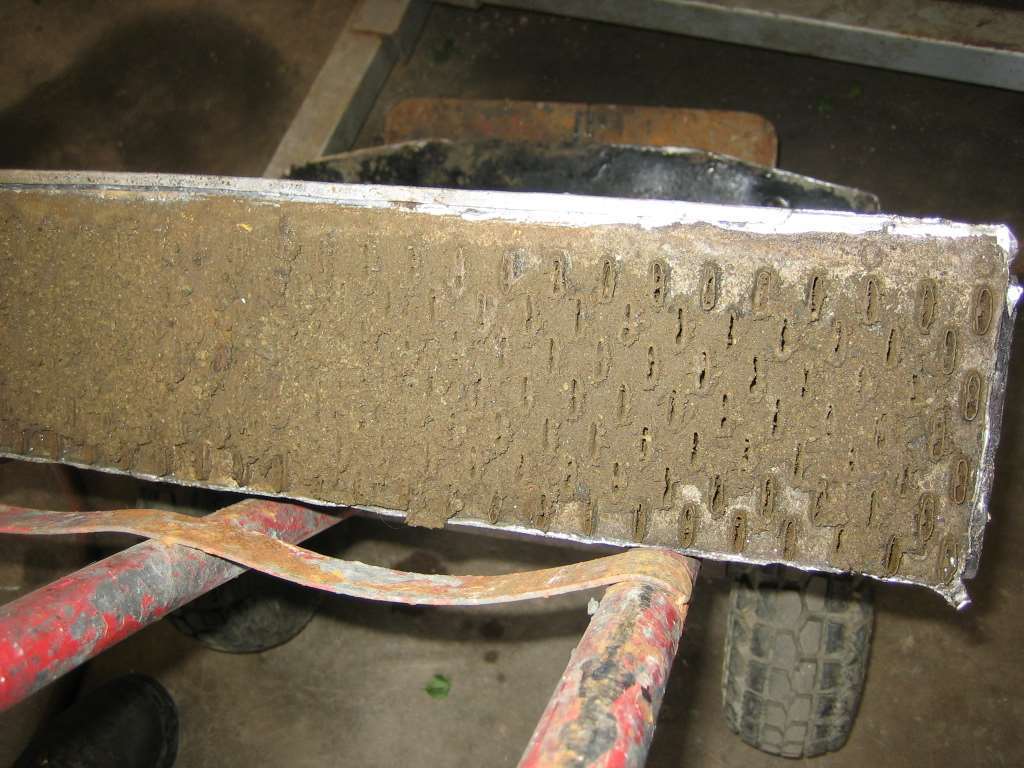 (71.09 KB) (71.09 KB)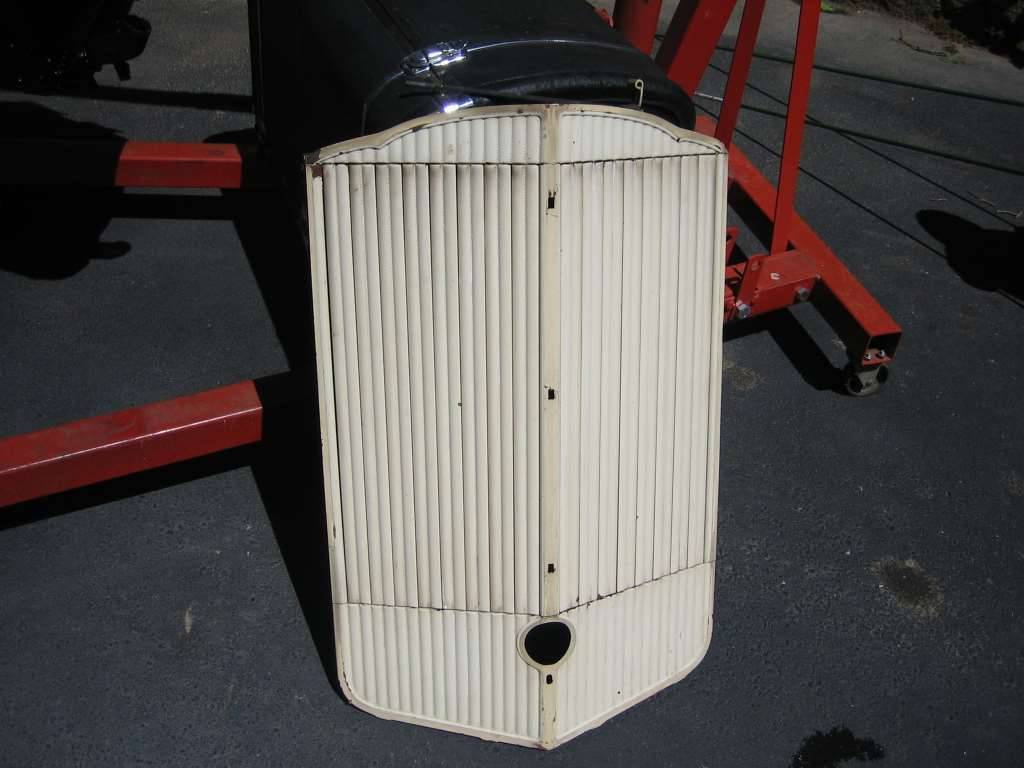 (74.66 KB) (74.66 KB)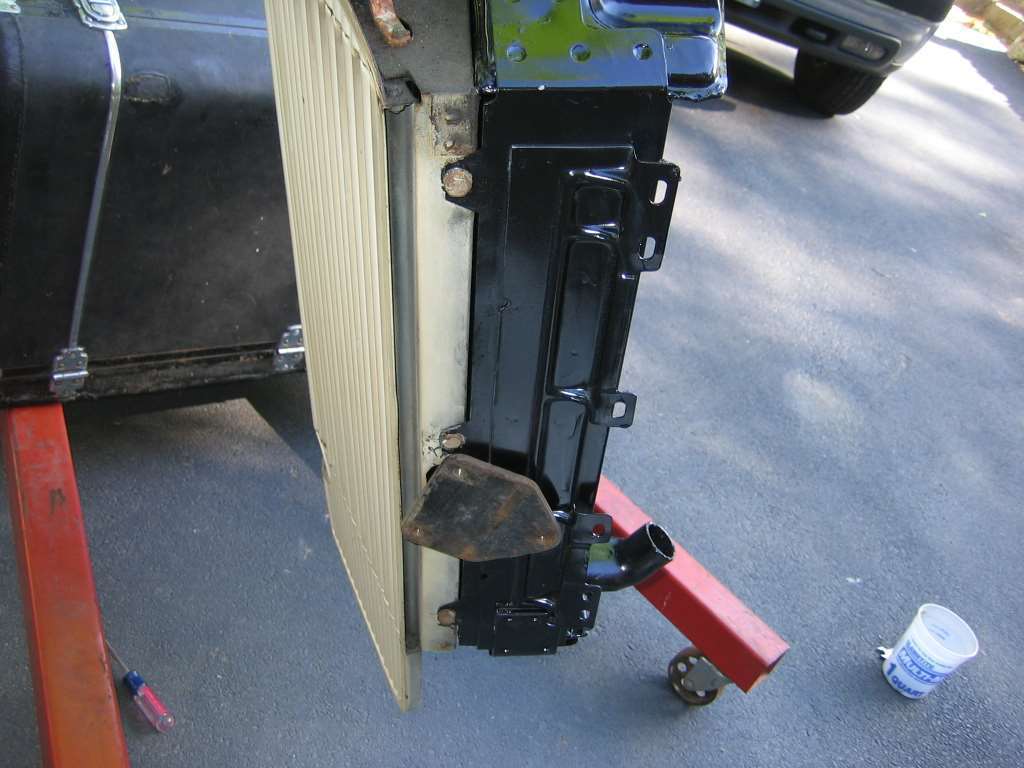 (116.01 KB) (116.01 KB)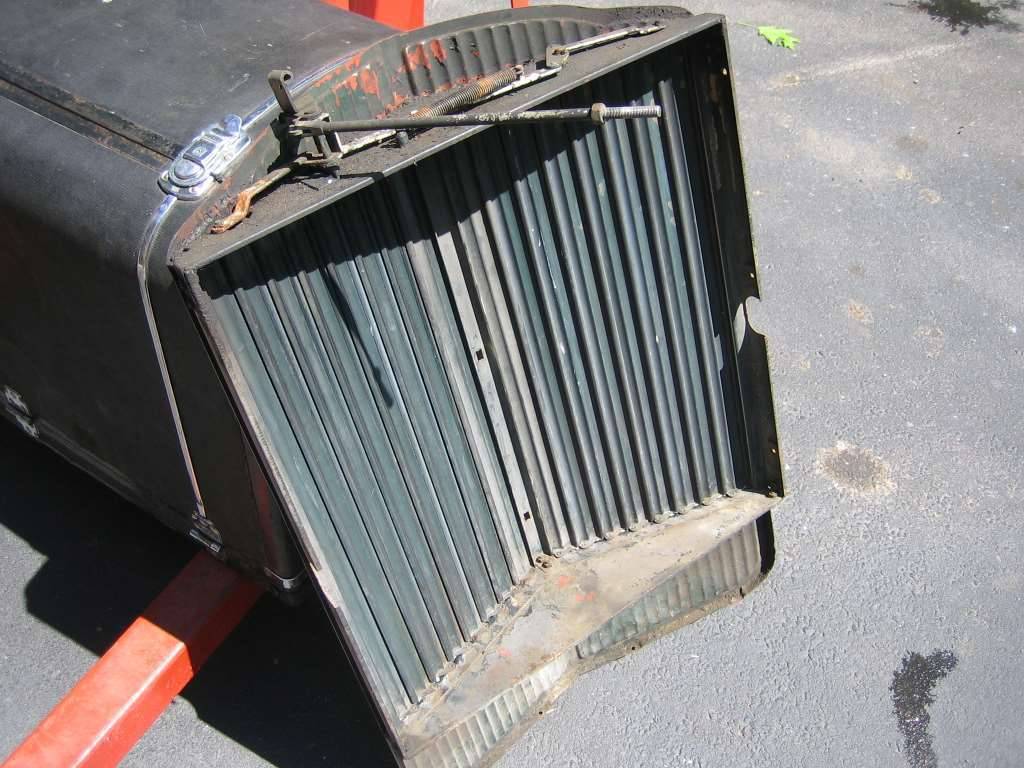
Posted on: 2012/10/19 19:04
|
|||
|
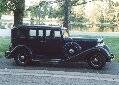
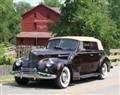
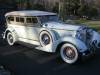
Tom Laferriere - Smithfield, RI
1934 Packard 1104 Touring 1939 Packard 120 Coupe (in family since 1970) PH: 401.651.2295 Web: www.tomlaferriere.com |
||||
|
||||
|
Re: Model 1100 radiator removal
|
||||
|---|---|---|---|---|
|
Home away from home

|
When reassembling the Shell to the Shutter/Rad. Assy i sometimes find need to hook the lower end first then the top end in postion.
Posted on: 2012/10/20 9:37
|
|||
|
||||
|
Re: Model 1100 radiator removal
|
||||
|---|---|---|---|---|
|
Home away from home
|
I agree
Posted on: 2012/10/21 19:26
|
|||
|
Tom Laferriere - Smithfield, RI
1934 Packard 1104 Touring 1939 Packard 120 Coupe (in family since 1970) PH: 401.651.2295 Web: www.tomlaferriere.com |
||||
|
||||


