
|
Re: Proud New Owner of a 49 Packard Club Sedan
|
||||
|---|---|---|---|---|
|
Just can't stay away

|
Installed a new water control valve with no difficulty. I checked the reading lamp circuit at the switch- no juice. I'll look in the parts car for the wire routing.
I have solved the burning issue of the proper hose clamp question. The parts car was taken off the road in 1959 and has several clamps on it. Some are aircraft, but 4 are what I call ventilated band non Phillips. Page 51 of the body section of the manual confirms that these are factory. These lave longitudinal slots in the band and a slotted, not Phillips, screw and nut. I found them at Restoration Specialties but they have Phillips screws. Attach file:  (445.32 KB) (445.32 KB)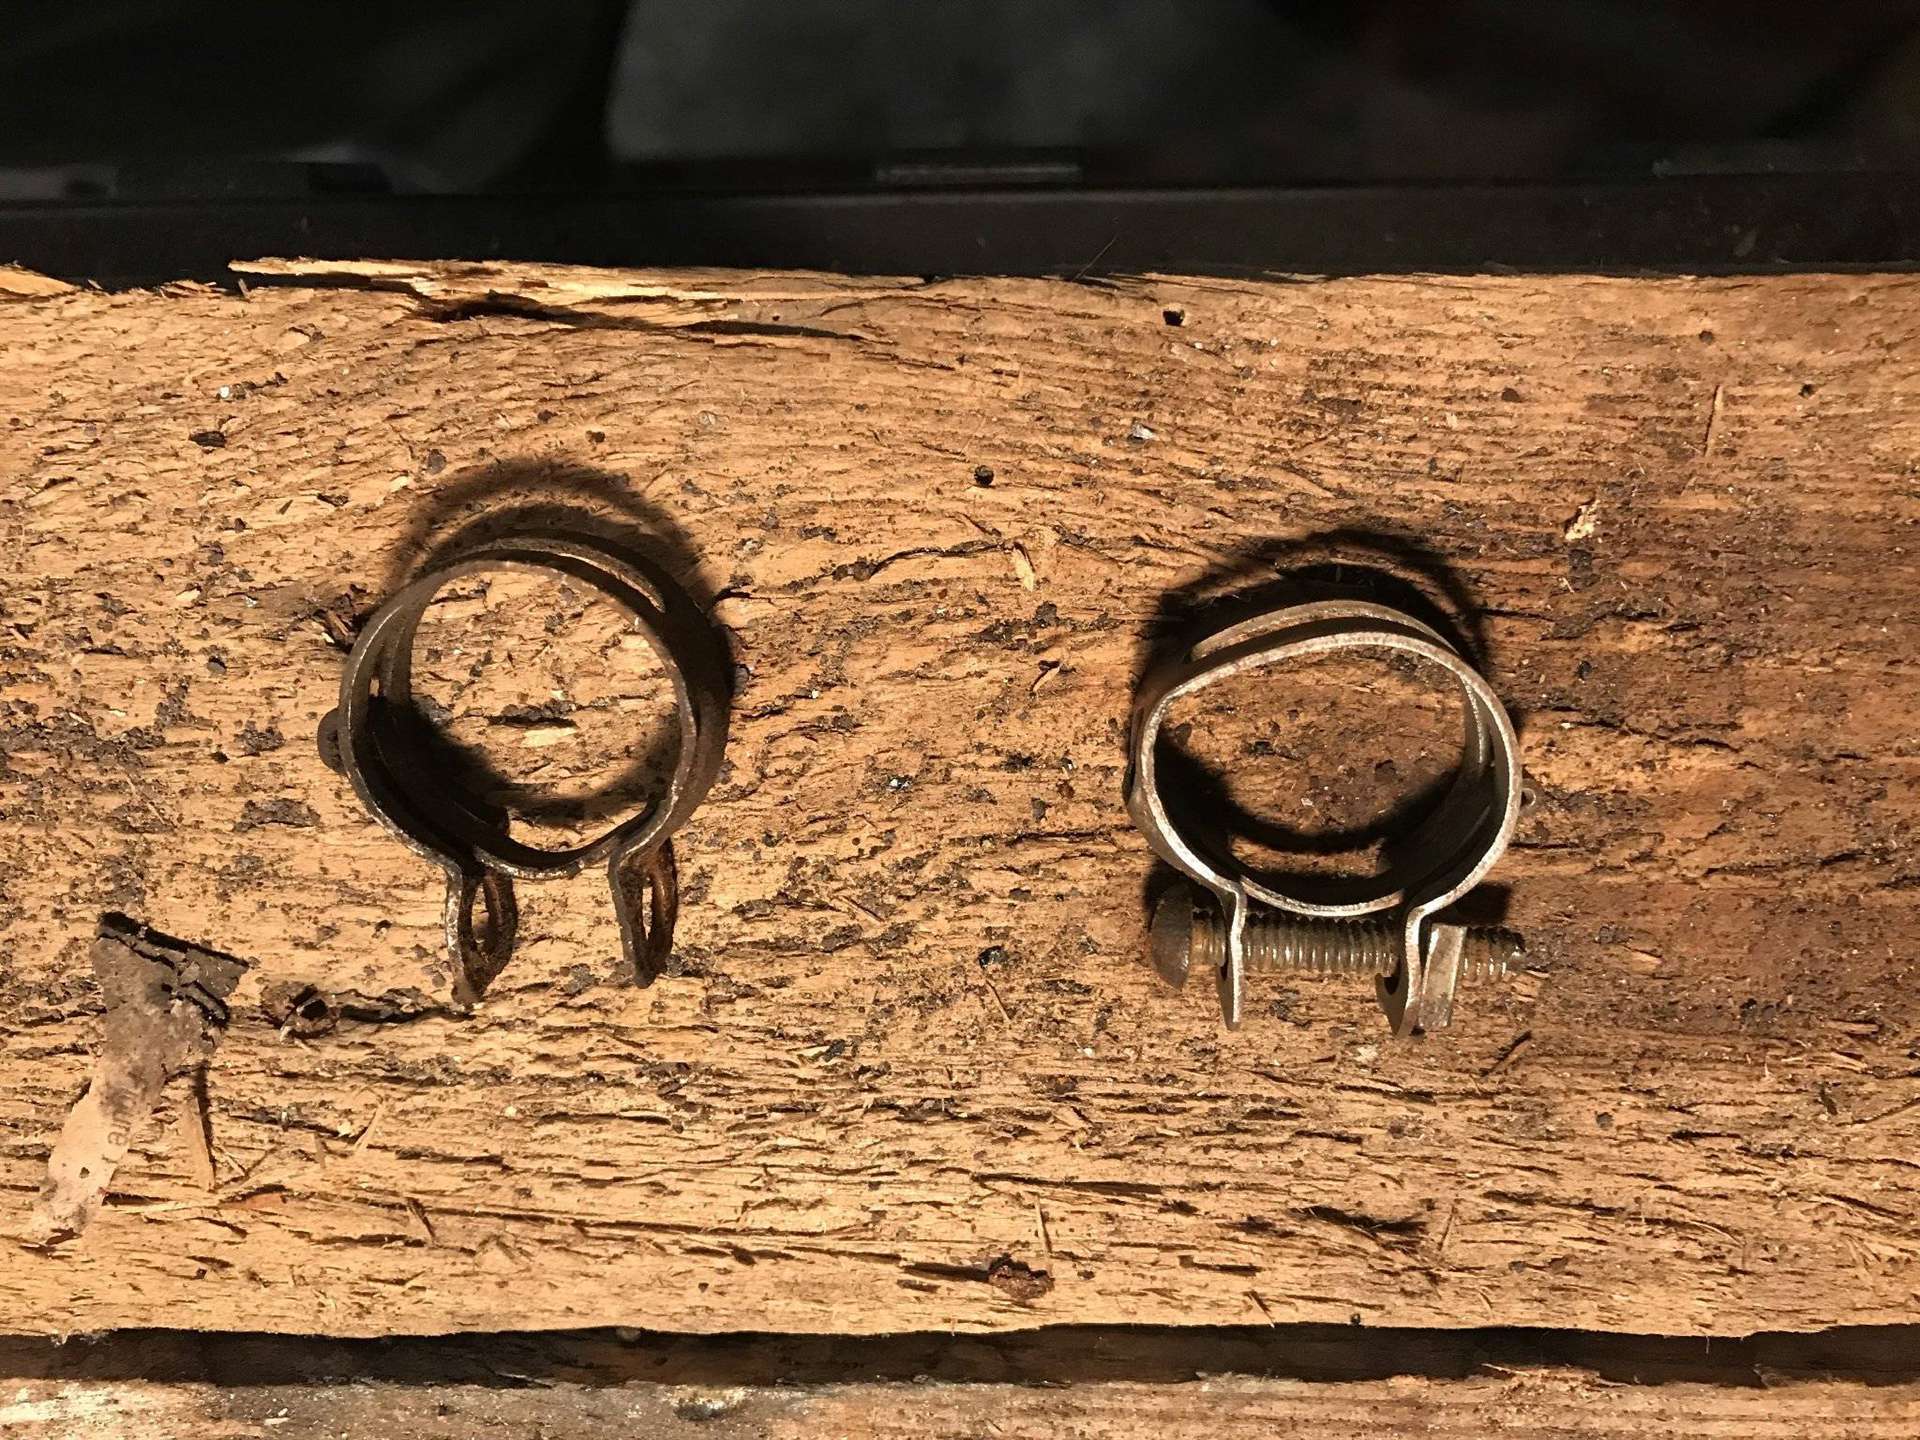
Posted on: 2018/12/15 17:35
|
|||
|
||||
|
Re: Proud New Owner of a 49 Packard Club Sedan
|
||||
|---|---|---|---|---|
|
Home away from home

|
I believe it would have spring clamps for the heater hoses and not sure but I believe that the radiator hoses also used them. I'll let the real experts chime it with details but I think that the parts book that is available here might also specify the type.
Posted on: 2018/12/15 17:43
|
|||
|
||||
|
Re: Proud New Owner of a 49 Packard Club Sedan
|
||||
|---|---|---|---|---|
|
Just can't stay away
|
While waiting for the carb to come back, I tackled the vent Aire system on the passenger side. The problem here is the duct. The blower end is circular, but the other end is a trapezoid. A hose clamp does not work well on a trapezoid. I tried giant diesel truck clamps, but they are too beefy and hard to bend. They are also difficult to size and expensive.
Getting the actual correct ones are impossible. I found super long dryer vent caps at Lowe's for five buck each and cut off about a foot. This worked well for the blower end, but not the trapezoid. How to make a circular clamp for a square hole? I got several sheets of paper, taped them to a 2x4 block and made an impression of the duct. I cut away the excess paper. I then got a 1x6 and traced out the shape onto it. I put deck screws into the wood according to the shape, with several screws forming each corners, and put the clamp on it. The screws go into the wood deep enough so the heads just clear the edge of the clamp band, cause when you tighten it the clamp will tend to rise off the wood. I bent them carefully at the corners to make the rounded corner. I made sure the screw was placed at the bottom, hopefully avoiding the steely eyed stare of a judge. Getting the shape right took two or three tries. Put it on the duct and it forced the circular duct into the trapezoid shape, and worked like a charm! As for the reading lamp, on a touring sedan, the feed wire comes from the DRIVER side, along the top of the doors to the socket. On the Club Sedan, the switch wire then goes over to the passenger side and to ground. I don't want to go underneath the headliner, so I'll just have to suffer through an inoperative reading lamp. I found no evidence on the Club Sedan that the reading lamp was activated by the door switches, at least not on my Standard 8. Got the cover on, though.
Posted on: 2018/12/17 11:21
|
|||
|
||||
|
Re: Proud New Owner of a 49 Packard Club Sedan
|
||||
|---|---|---|---|---|
|
Forum Ambassador

|
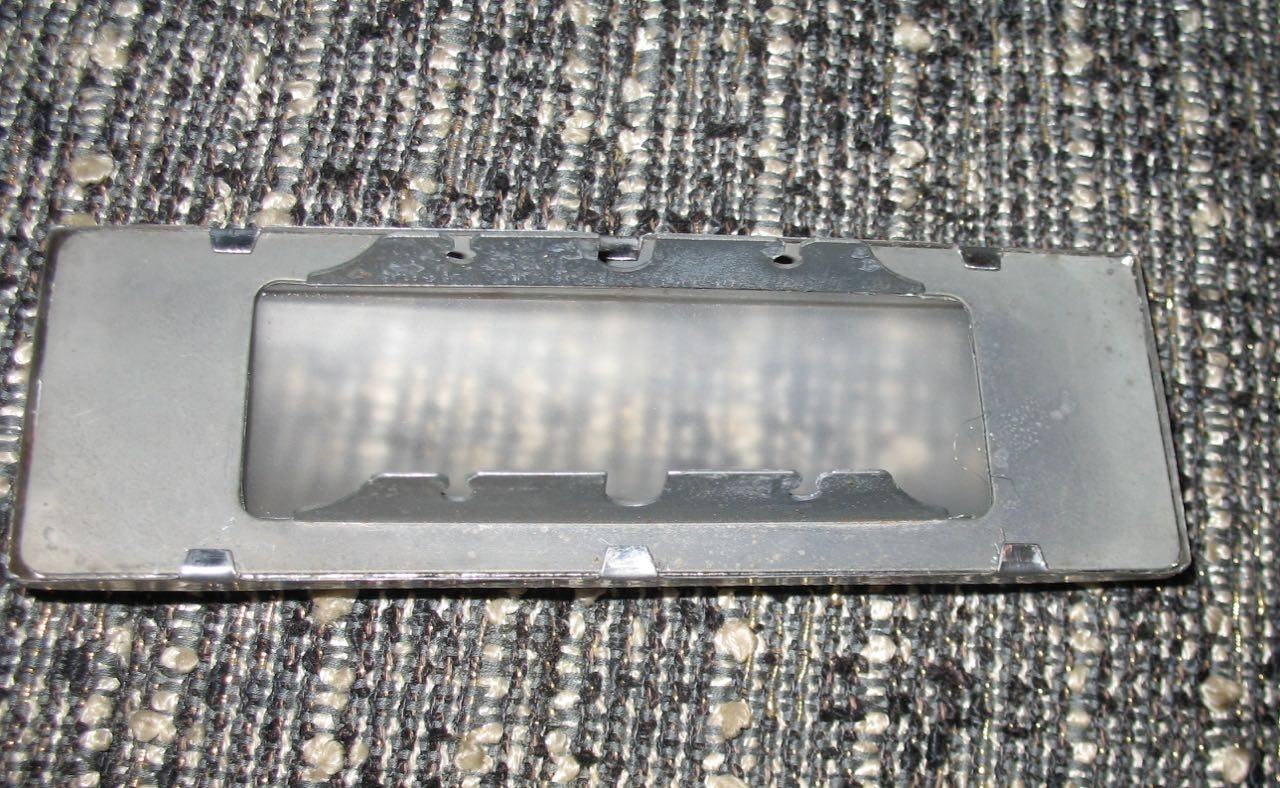
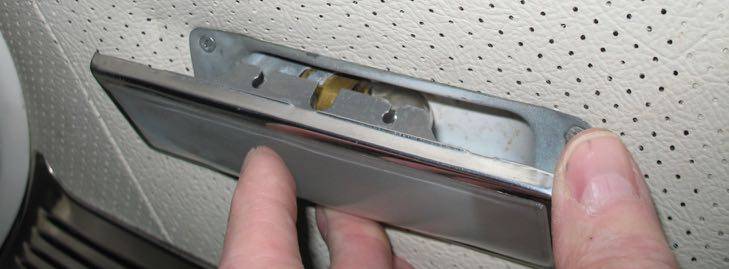
Have you verified the socket is OK? On the 47 at least the power feed is a direct run from the fuse via a fairly healthy wire. If that wire is damaged and you have no power to the assy then there is more problems than just a light not working and really should be looked into.
The entire light assy is held by the screws on the base which go into a metal and wood frame. Removing the screws will let the light assy pull out a slit cut into the headliner. The headliner should not be impacted or damaged with removal of the assy. There should be a couple of Wade connectors you can disconnect to remove the entire assy for service although that is easier said than done because the connectors can be a real pain to disconnect. If you do look into why the light doesn't work I have found that because the spring in the socket can be fairly strong and since it pushes against the outer edge of the fiber bottom which holds the contact terminals it can cause the fiber to cup away from the bulb base and lose contact. If there has been moisture then along with the cupping it can actually have a rusted spring losing the tension of the contacts against the bulb. If you find the socket in need of service Rhode Island Wiring has the various configuration of fibers, terminals and springs in their supplies section. The switch on the pillar can also be an issue. If you have the plastic switch with the internals molded into the plastic base, I think those may be a bit under rated and can heat to the point the base deforms and makes the switch lose contact. The small jumper like bar and eyelet between the switch terminal and mounting screw can also have issues and the switch can lose the ground connection from the mounting screw. Here is a photo of the smaller 47 quarter light assy. The single center lamp is the same construction just larger. Attach file:  (71.67 KB) (71.67 KB)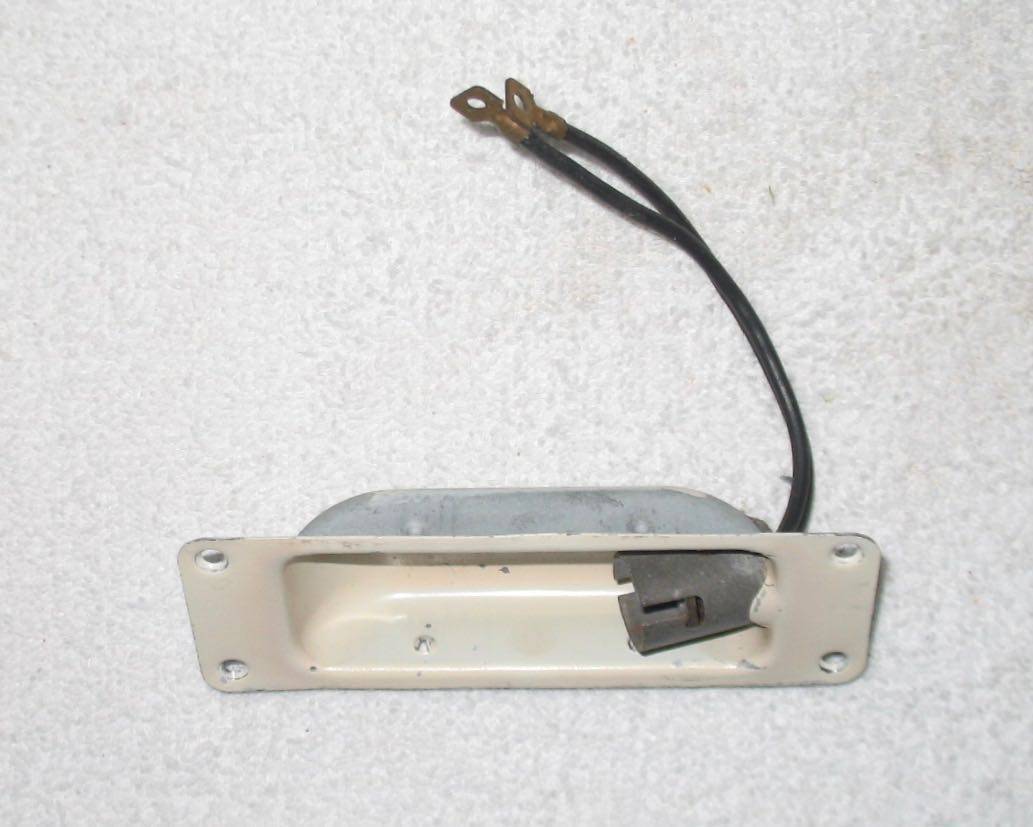 (162.25 KB) (162.25 KB)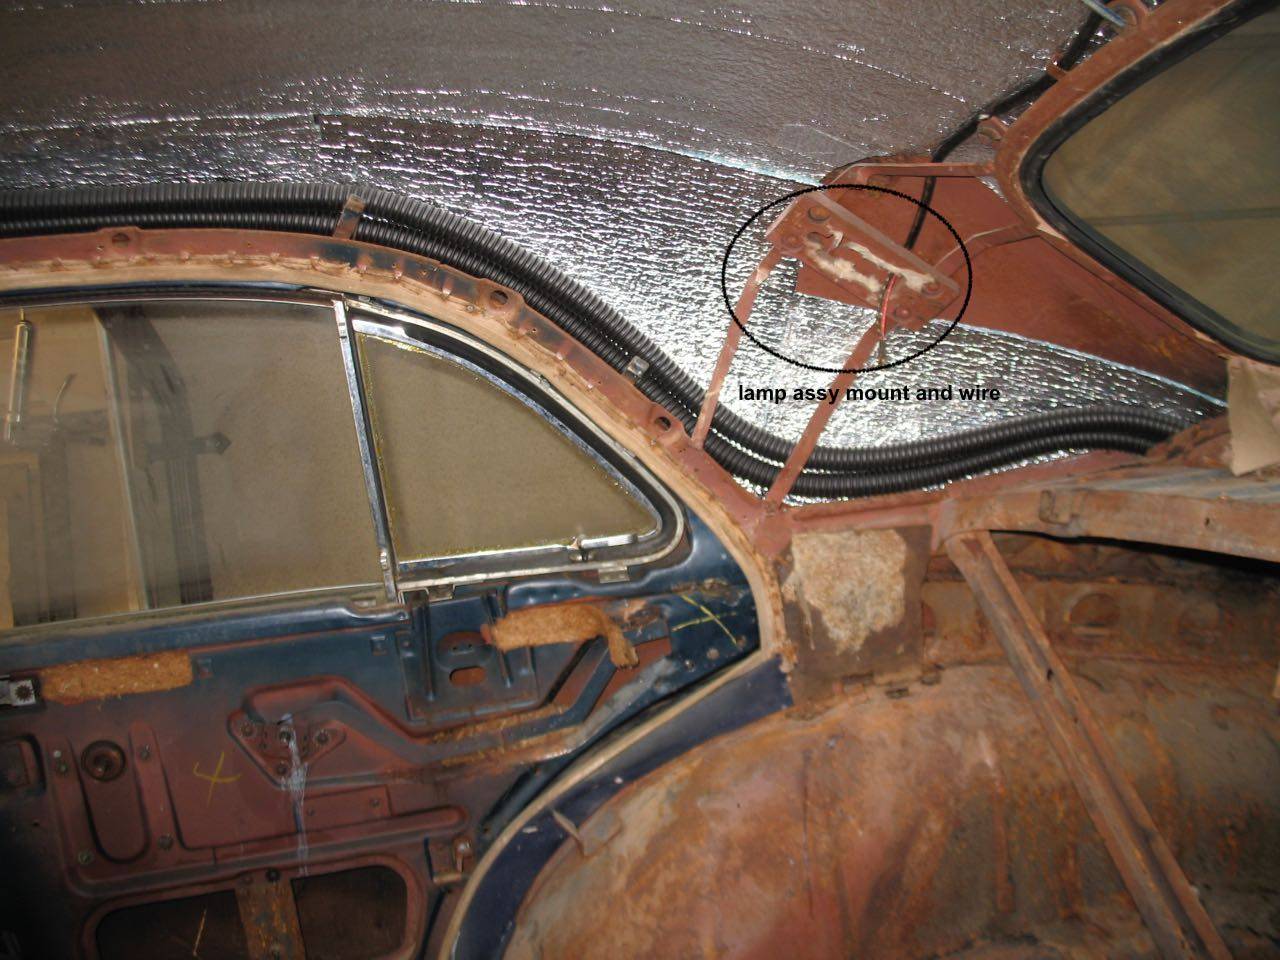
Posted on: 2018/12/17 12:02
|
|||
|
Howard
|
||||
|
||||
|
Re: Proud New Owner of a 49 Packard Club Sedan
|
||||
|---|---|---|---|---|
|
Just can't stay away
|
Thanks for your suggestion. I have to correct my earlier post about the wiring. Its apparently on the pass side, as in your pic. I looked at the 4 door wiring and the switch is on the driver side, in the door pillar, and is in with the wires going to the rear of the car. On the Club Sedan, the switch is on the pass side above the pillar, and the light is centered near the back window. So, there must be a wire going TO the light, thru the bulb, and then to the switch to ground. I R&R'd the switch itself and it functions as designed on the bench, but there is no juice to the light fixture, and hence no juice to the switch. I got the bezel in, so it does not look like a$$, but will have to take out the driver's sill panel and hunt down the correct wire to test it to find the location of the fault.
I'm still waiting for the carb. In the mean time, I cleaned up the vac booster metal tube from puel pump to manifold, only to find out that it was copper! I polished it up and sprayed it with clear. The fuel line from pump to carb was steel, so I dereusted that and also clearcoated it. The vac advance tube was stainless, so I replaced that with one from the auto parts store. As usual, they did not have the correct one, but they had a new brand that is a copper alloy, looks like copper, and is much more easily bent, so I got that. I found a NICE set of correct hubcaps on ebay, and got them promptly. They look great on the car, except that me wheels are red. On a black car. This looks nice with the (incorrect) 51-54 cloisonne hubcaps, but looks odd with the correct ones without beauty rings, so we painted the wheels black. The cloisonne ones are pretty nice, but, as usual, one of the inserts is broken, so if anyone wants them, please contact me! I pulled the wiper motor from the parts car and sent it off for rebuiding. This was quite underwhelming; its just three screws. Fuel sending unit should be in next week. Pulled the grille out of the parts car and will start sending that off for replating. Note that grill bolts and nuts rust badly; I had to cut them off with the grinder to get them out. The arms that support the grill peices were solid as a rock. Still waiting on the carb.....
Posted on: 2018/12/31 12:54
|
|||
|
||||
|
Re: Proud New Owner of a 49 Packard Club Sedan
|
||||
|---|---|---|---|---|
|
Forum Ambassador
|
I know it is not quite the same between models as my Custom sedan has courtesy lights in the front seat back operated by the rear door switches and quarter reading lights operated by the pillar switch which is on the drivers side. Also don't know how much difference 23rd 2 doors compare to earlier sedans in wire routing but since the 23rd body is a facelift to the Clippers I would have thought your wire routing to the dash would be similar and not behind a kickpanel or on the passenger side.
All the body wiring on the 47 is on the drivers side with exception of a single wire that continues around over the windshield then back to the R rear door switch and the 2 wires that run above the rear window across to the R quarter lite shown in the photo. Nothing else was on the passenger side. All the wiring comes down thru a channel in the L windshield pillar and then thru under glass sheet metal to exit in an opening under the drivers windshield glass and connect the short distance directly to the main loom via inline connectors. A single longer wire with a ring terminal connects to the power source for the inside lights.
Posted on: 2018/12/31 14:49
|
|||
|
Howard
|
||||
|
||||
|
Re: Proud New Owner of a 49 Packard Club Sedan
|
||||
|---|---|---|---|---|
|
Home away from home

|
For a replacement grille, check out this collection of 22nd-23rd Series parts:
https://wichita.craigslist.org/pts/d/wichita-packard-lot/6770602628.html Hope this helps. Steve
Posted on: 2018/12/31 17:36
|
|||
|
.....epigram time.....
Proud 1953 Clipper Deluxe owner. Thinking about my next Packard, want a Clipper Deluxe Eight, manual shift with overdrive. |
||||
|
||||
|
Re: Proud New Owner of a 49 Packard Club Sedan
|
||||
|---|---|---|---|---|
|
Home away from home

|
I have a nice 22nd/23rd series junior grille. I bought it for garage art. It is in good condition, not like new but very nice. If interested PM me and we can talk. JWL
Posted on: 2019/1/2 11:45
|
|||
|
We move toward
And make happen What occupies our mind... (W. Scherer) |
||||
|
||||
|
Re: Proud New Owner of a 49 Packard Club Sedan
|
||||
|---|---|---|---|---|
|
Just can't stay away
|
The rebuilt carb is installed! And no fire. Then it fired and started right up! Then no fire. Then it started right up! Ran rough while the autochoke was operating, and then died. Adjusted the choke, and no fire. Fiddled with points, No fire. Replaced condenser, and it started right up. Fuel leak. I did not want to get dinged for using Teflon tape, so I used pipe dope on the fuel line joints. Well, modern pipe dope is for water, so the gas dissolved it, and made a mess. Took it apart, redid with Teflon tape. Interesting fact: back in the 60s, Teflon tape was only available to the govt; it was top secret. Apparently it was the only stuff that would seal threads in liquid oxygen pipes.
With that done, no fire. Replaced condenser again. No fire. In disgust, put the new hubcaps on. they look great, but the wheels are red, and they now look dumb on a black car. So, off come all four, and they get a nice coat of black. This takes a while, as I didge freezing temperatures, but finally gets done. Still no fire. Resolved to solve the lack of fire problem. There is fire coming out of the coil-sometimes. Replaced coil. Thermonuclear fire! Started right up. Choke set properly, runs great. FINALLY! THe second set of correct hose clamps I got are- too big. All that's left to do is the rebuilt gas tank sending unit. Unfortunately, the Arctic blast arrives, and it 17 degrees outside. This is actually good because its dehydrating the mud in what we used to call the back yard. I have to cross this to get t othe Packard. Tried to talk my sone into going out there, but he would not buy it. Bribery did't work either. I'll suffer through til a wam front (32 degrees) arrives.
Posted on: 2019/1/21 12:11
|
|||
|
||||


