
|
Re: Resurrecting my 56’ Patrician
|
||||
|---|---|---|---|---|
|
Home away from home
|
Marvin
You want to get some wire Guage drills. No adjustment pretty sure that's the throttle body. I don't have one. But I think those sonic Cleaners would be best. Daytona uses one. Plus other cleaners. They told me about wires drills.
Posted on: 2023/10/19 22:06
|
|||
|
Riki
|
||||
|
||||
|
Re: Resurrecting my 56’ Patrician
|
||||
|---|---|---|---|---|
|
Home away from home

|
When it comes to interior fabric it really depends on how much money you want to blow compared to how original you want it too look. SMS will match your factory fabric perfectly, but as it was stated, it takes years for them to deliver. It took two years to get the seat covers to my door from when I initially ordered them back in 2021 and they are not cheap. If your okay with it not using the stock fabrics you can take it to really any good upholsterer and have them match the pattern in what ever fabric or color you want.
Tuning a car with a vacuum gauge is a good way to go, but I have struggled with using that method in the past. I try to tune the carb with a tach and use the vacuum gauge as a back up. With your timing set (I believe Ross states 10 BTDC is what is best) you can set your idle fuel mixture by adjusting the screws at the base of the front of the carb. You are correct in adjusting them in small measurements at a time. What your looking for is screwing them out until you see the idle speed stop increasing, then back them "in" just before it starts to go back down again. in order to do this you may have to make smaller turns like an 1/8 or so. Given the amount and size of the passages in a carb, I feel the best way to clean it is with an ultrasonic cleaner. People have plenty of opinions on what to use in an ultrasonic cleaner but I have found the purple Simple Green stuff mixed at a 1:1 does a pretty good job and doesnt discolor the aluminum/pot metal. Rebuilding a carb isnt too bad, but a lot of damage can be done depending on how much varnish has been left in there over the years. I have had carbs from the 60s/70s be complete junk because the jets were essentially welded in. There are instructions online on how to rebuild these Rochesters, but if you are too concerned, there are people who rebuild them and have been mentioned above. I use rebuild kits from Mikes Carbs.
Posted on: 2023/10/20 8:46
|
|||
|
||||
|
Re: Resurrecting my 56’ Patrician
|
||||
|---|---|---|---|---|
|
Just can't stay away
|
I have found the source of my rear brake blockage. The rear flexible brake hose. I noted the part number Packard Parts cross reference. AutoZone does not have a listing for the hose or any brake hoses for my car. I am guessing Kanter is my best option.
BRAKE HOSE, REAR original # 418240 ALL 55TH; 56TH 1955, 1956 new part # 88284 BRAKEWARE AUTOZONE
Posted on: 2023/10/22 15:51
|
|||
|
||||
|
Re: Resurrecting my 56’ Patrician
|
||||
|---|---|---|---|---|
|
Home away from home

|
The hoses are more or less standard in that they fit many other cars besides Packard. You just need to bring in a hose for comparison. Napa even had them in stock for my 1951 Henney-Packard!
Posted on: 2023/10/22 16:12
|
|||
|
||||
|
Re: Resurrecting my 56’ Patrician
|
||||
|---|---|---|---|---|
|
Just can't stay away
|
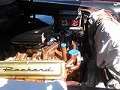
Received the new brake hose from Kanter and installed it. Bled the rear brakes easily but noted the front end was sitting a little low. Noted the under-dash switch had no voltage and failed to ohm out between poles. A little blip switching it from left to right but otherwise infinity. IE: open circuit and the switch is bad. I also noted no voltage on either green so I broke out my wire schematics for the torsion leveling system. Checked the fuse and it is fine, tried to follow the purple wire to the brake switch, but to no avail. Read the Packard manual, asked the great and mighty OZ (internet), but not sure where it is or what it looks like. I am used to switches that are deactivated by the brake pedal, no such switch. Tried to wire up the right head light and parking light, but ended up with a migraine and thought best to stop. He must have gotten a deal on 14-gauge black wire. That is all the previous owner used. Every wire has multiple twisted splices and bad tape jobs. It is also amazing how much time it takes to redo a wiring harness.
So, I washed the car while wearing dark sunglasses. Thinking ahead; the interior, what is the best material to install above the headliner for sound deadening and insulation? What is the best adhesive to use that can handle the heat from a black roof in the summer. Any special prep? My thoughts now are just sanding and priming. The steering wheel has four white areas that have shrunk a little creating a gap. Is there a fix for the gap, or is this something I will just live with? Other than a little gap, the wheel is in good shape. Attach file:  20211016_152411.jpg (410.25 KB) 20211016_152411.jpg (410.25 KB)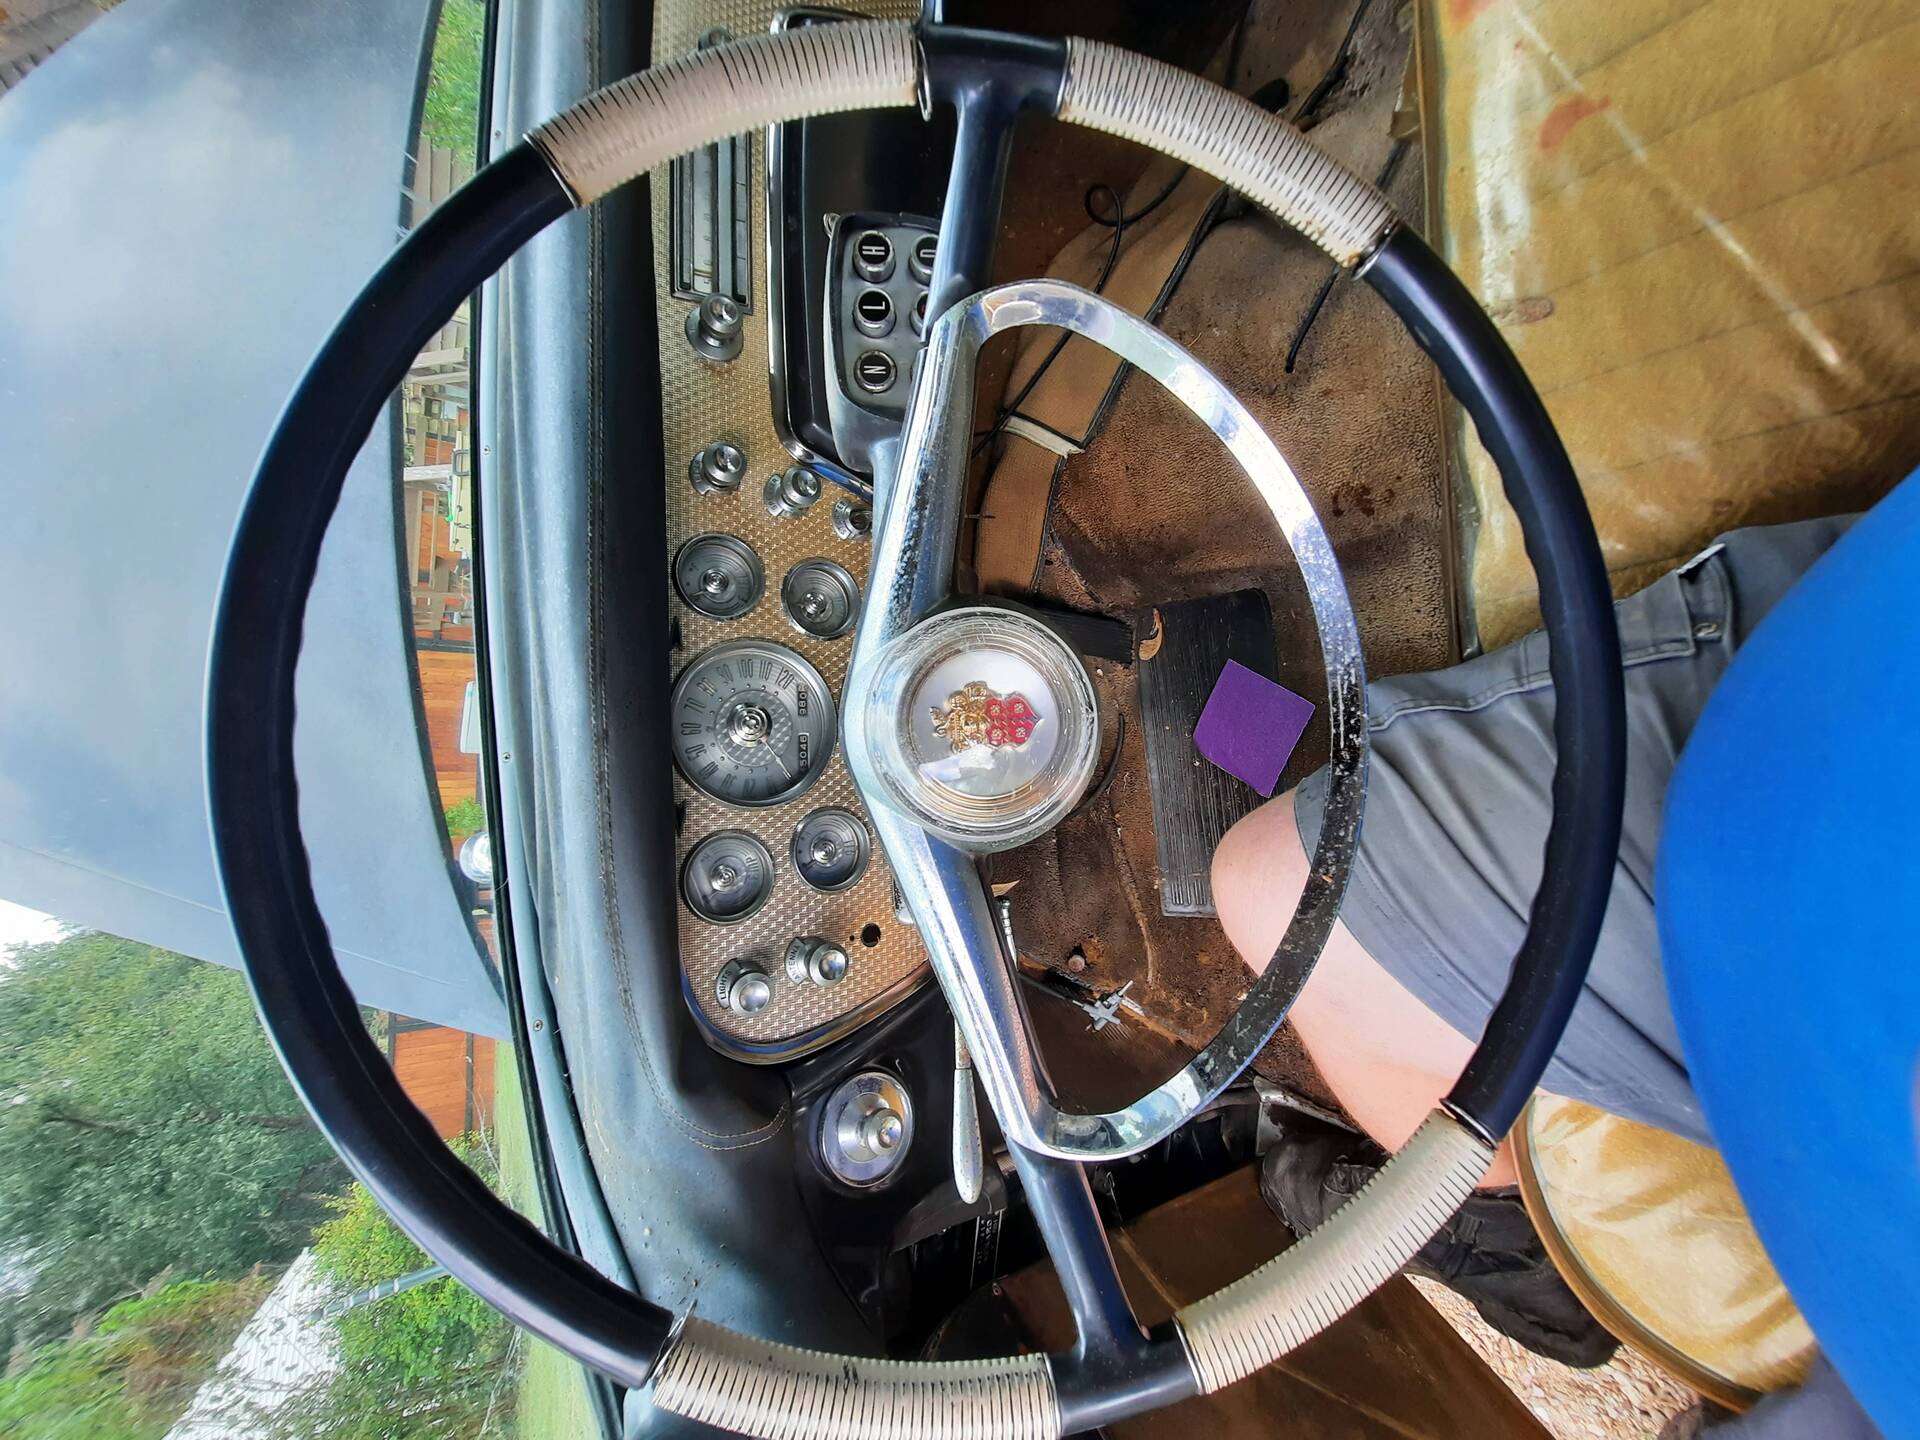 side view.jpg (1,049.05 KB) side view.jpg (1,049.05 KB)
Posted on: 2023/10/29 17:38
|
|||
|
||||
|
Re: Resurrecting my 56’ Patrician
|
||||
|---|---|---|---|---|
|
Home away from home

|
The brake light switch is easy to find, but it's a simple mistake to look in the wrong place. It's basically here, not quite in the photo. It's easily identifiable with 3 wires on it (Douglas connectors) and 3 brake lines attached, mounted in plain sight looking from above.
Attach file: 20211212_161750.jpg (423.60 KB)
Posted on: 2023/10/29 18:23
|
|||
|
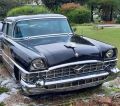
'55 400. Needs aesthetic parts put back on, and electrical system sorted.
'55 Clipper Deluxe. Engine is stuck-ish. |
||||
|
||||
|
Re: Resurrecting my 56’ Patrician
|
||||
|---|---|---|---|---|
|
Home away from home

|
Quote:
Marvin, on my Studebaker headliner, I used Eastwood's X-Mat Underhood and Headliner. Here is a link: X-Mat Underhood & Headliner Prep beforehand was scraping off the old asphalt pad, and cleaning as much as possible with a 3M scotchbrite pad. Then I painted the top with Eastwood's Rust Encapsulator paint. Then the X-mat is stuck on (it's self adhesive) and rolled with a wooden wallpaper roller. It's been on the car for 3 years with the car sitting outside in the sun, no issues -- it's still stuck tight. Attached are a couple of pictures. Attach file: DSC05424.JPG (651.81 KB)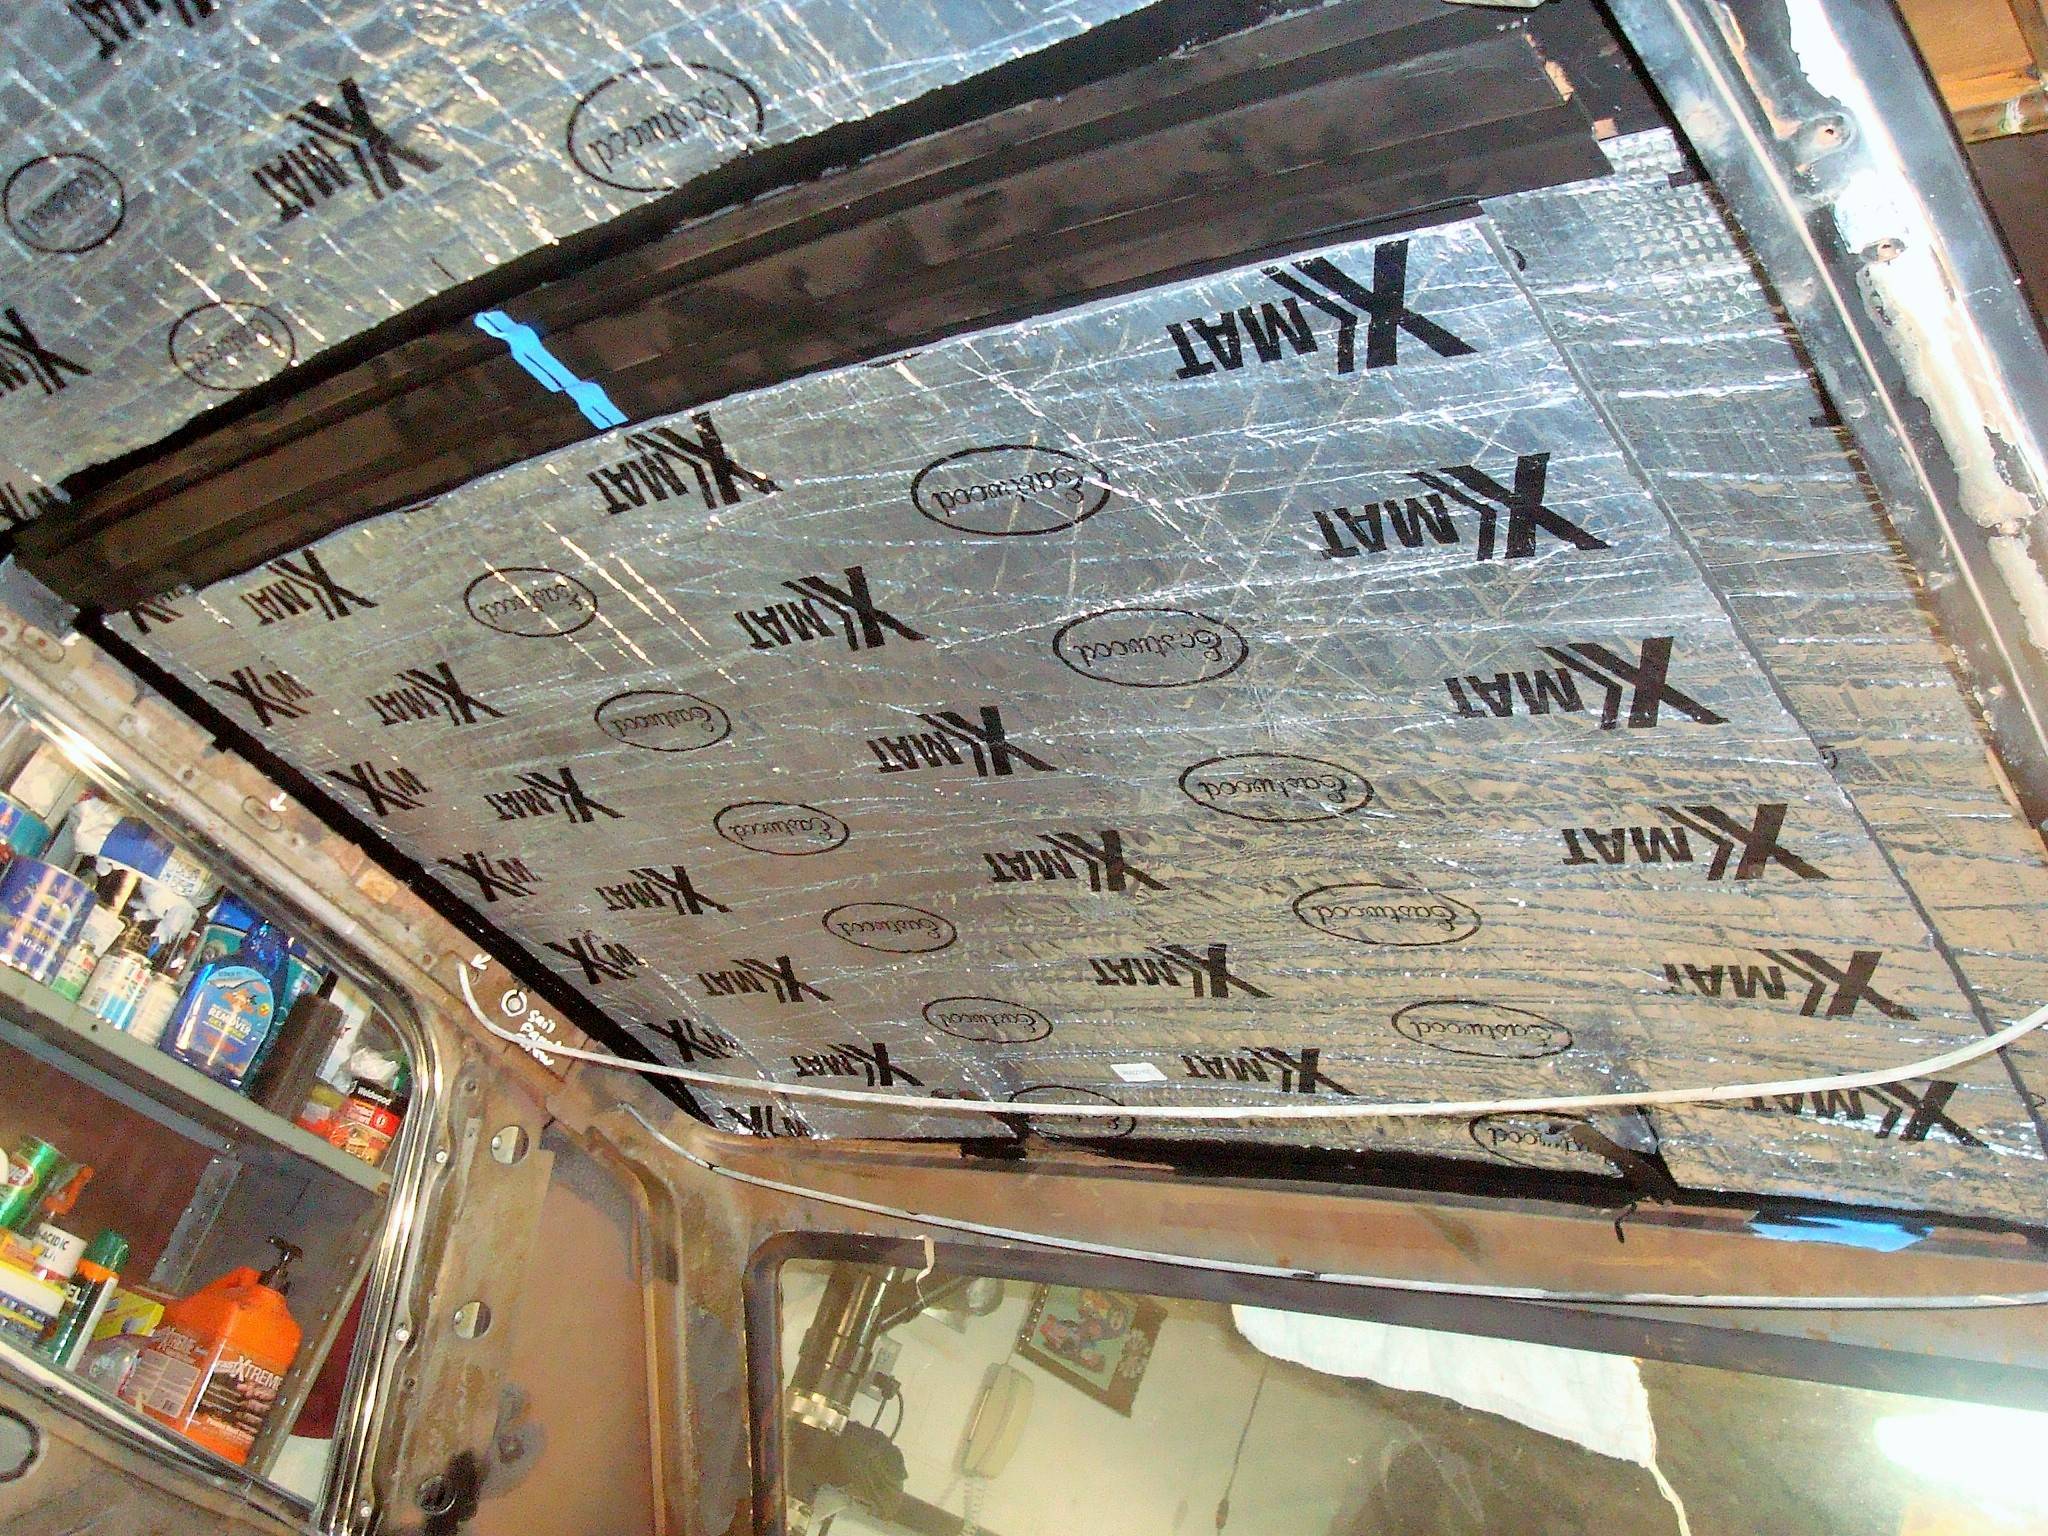 DSC05425.JPG (611.14 KB) DSC05425.JPG (611.14 KB)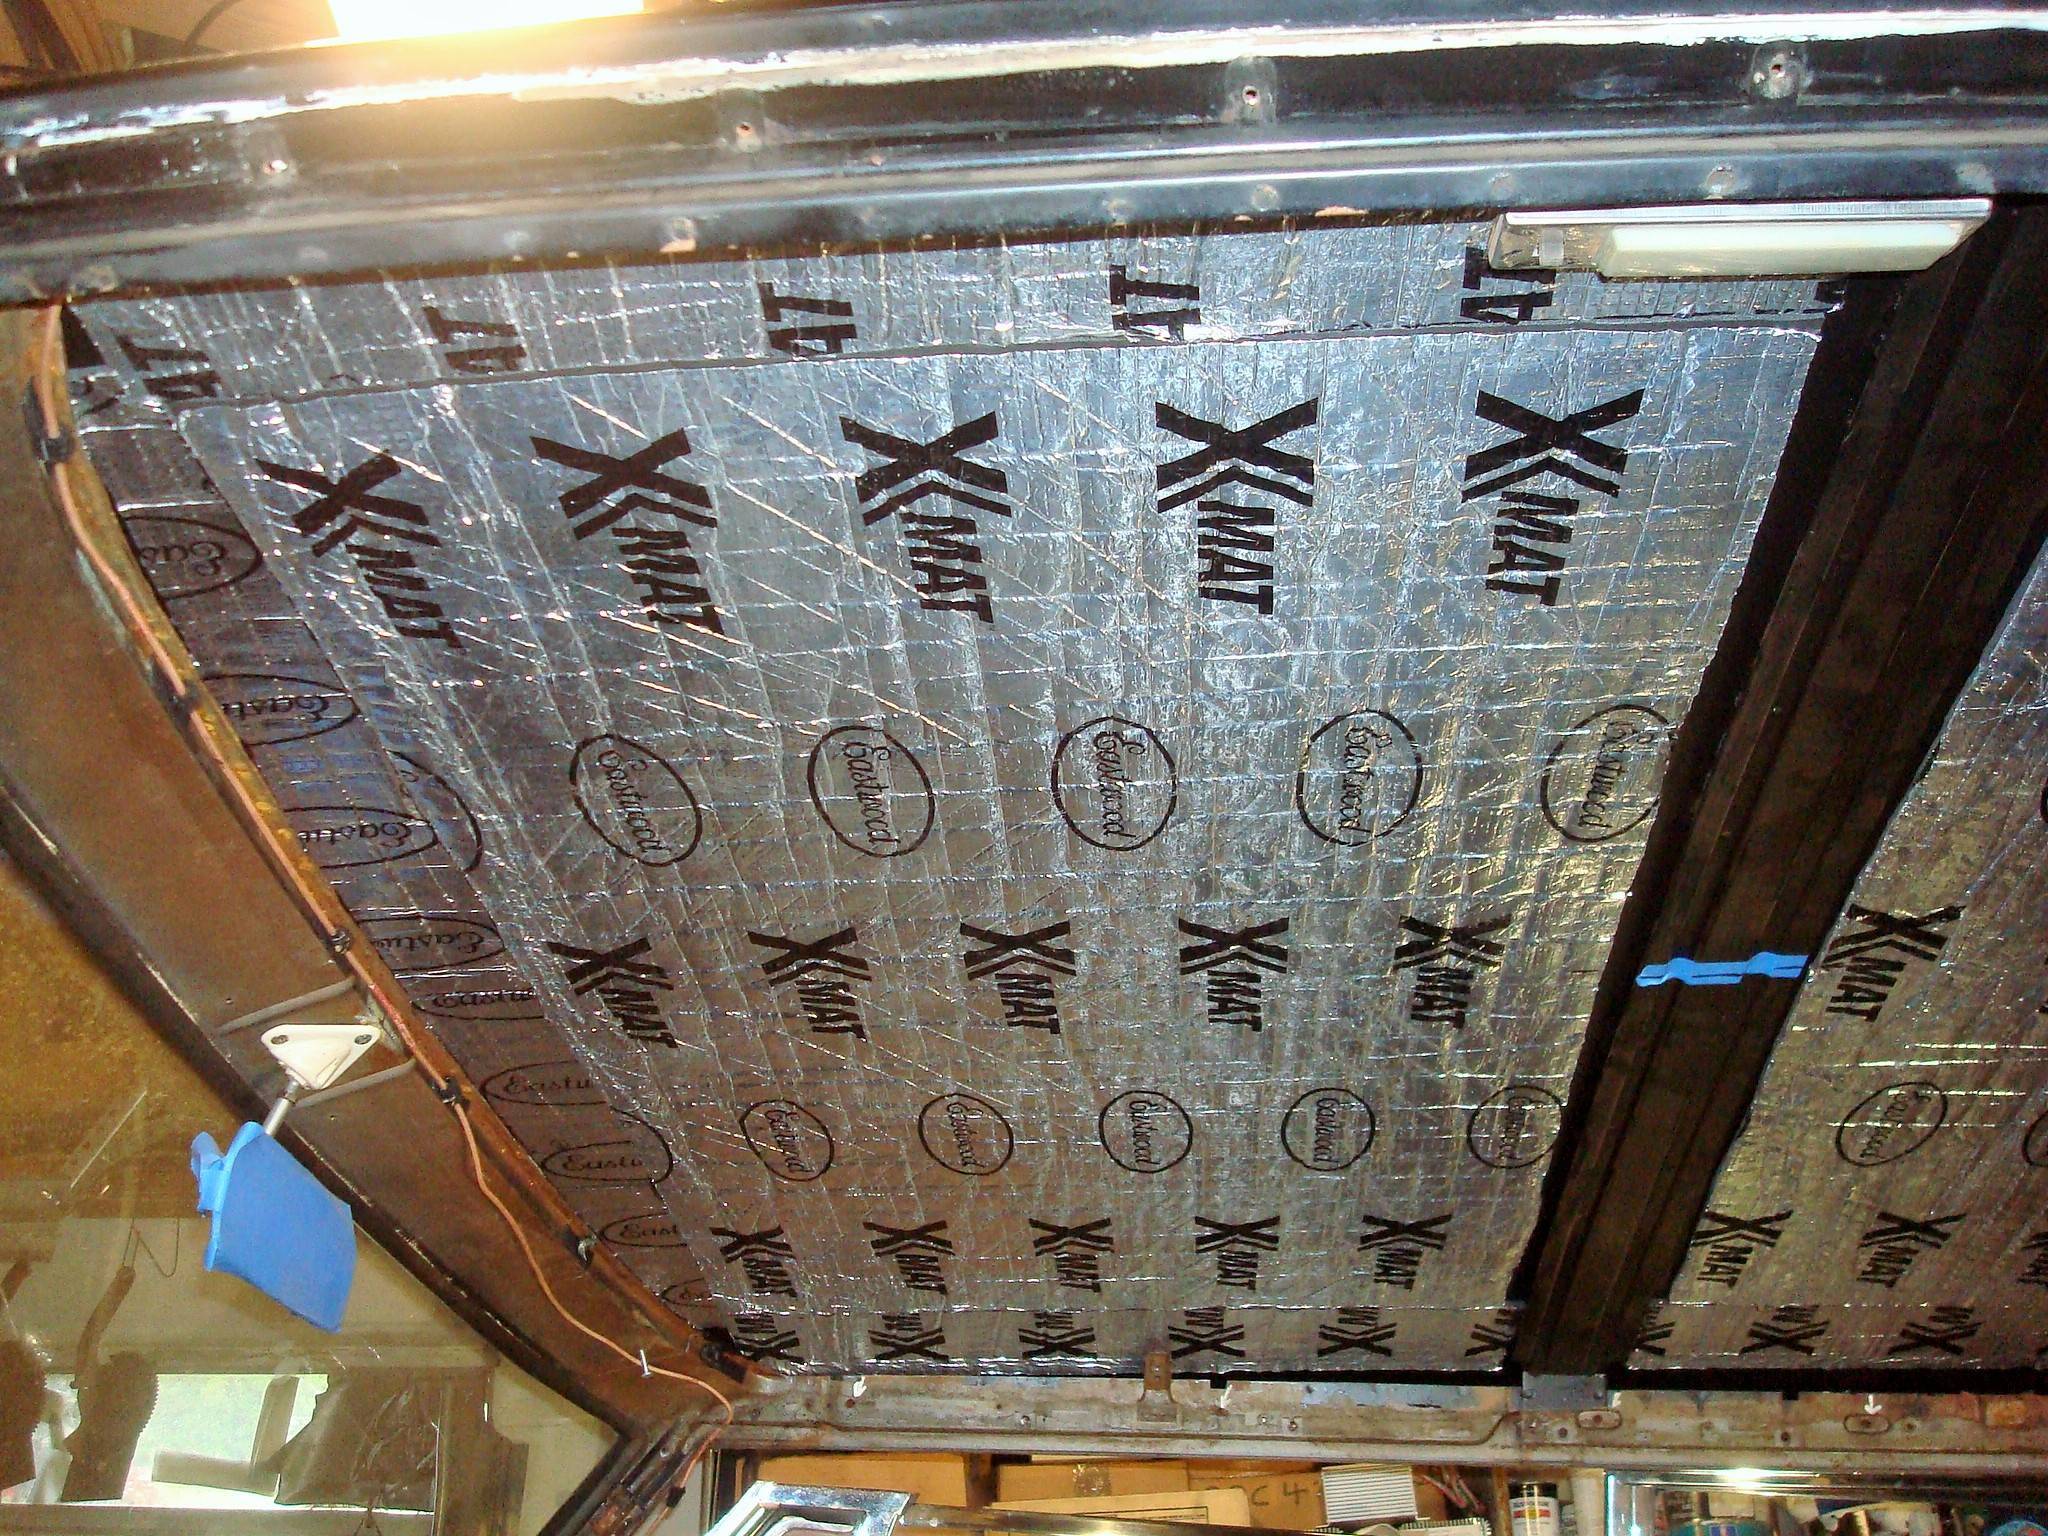
Posted on: 2023/10/29 19:13
|
|||
|
Paul
www.studebakerskytop.com |
||||
|
||||
|
Re: Resurrecting my 56’ Patrician
|
||||
|---|---|---|---|---|
|
Forum Ambassador

|
Brake switch is in a brass junction block mounted on top of the left frame rail. It is under the air vent tube and roughly in an area below the forward third of the battery.
Attach file: switch.jpg (85.67 KB)
Posted on: 2023/10/29 19:36
|
|||
|
Howard
|
||||
|
||||
|
Re: Resurrecting my 56’ Patrician
|
||||
|---|---|---|---|---|
|
Just can't stay away
|
Found the brake light switch, could not see it for the fresh air tube and power steering hoses. It had the remnants of two wires, both black and incorrect size. Ran new wires and in playing around, found the correct pin per wire. At first, I had the light and dark green on the wrong terminal. The brake lights were on and went off with the pressing of the pedal. Had to use a pole to push the pedal while I watched the brakes. When I placed the dark green (brakes) on the correct terminal, nothing. While tracing wires, I found the light green wire was broken right before it went under the car to the compensator control switch. Now the leveling system is working again. That I will consider a success. Went looking online for a replacement brake light switch with no success. My thought is that the switch is full of trash. This week I purchased an ultrasonic cleaner. Been cleaning old tools trying to become familiar with it before I tackle the carb. Any thoughts on putting the switch in the ultrasonic cleaner, to clean out the internal passageway?
Posted on: 2023/11/3 18:25
|
|||
|
||||


