|
Re: 1937 120 Conv. Sedan - Blanche
|
||||
|---|---|---|---|---|
|
Forum Ambassador

|
agree with Howard...most likely headlight relay to lower amperage going through headlight switch.
Posted on: 3/10 13:15
|
|||
|
||||
|
Re: 1937 120 Conv. Sedan - Blanche
|
||||
|---|---|---|---|---|
|
Home away from home
|
So it was nice to get Blanche back into the garage after a short winter's nap! Thanks to the great winterization tips, and installation of a fully charged battery, she fired up on the first go!
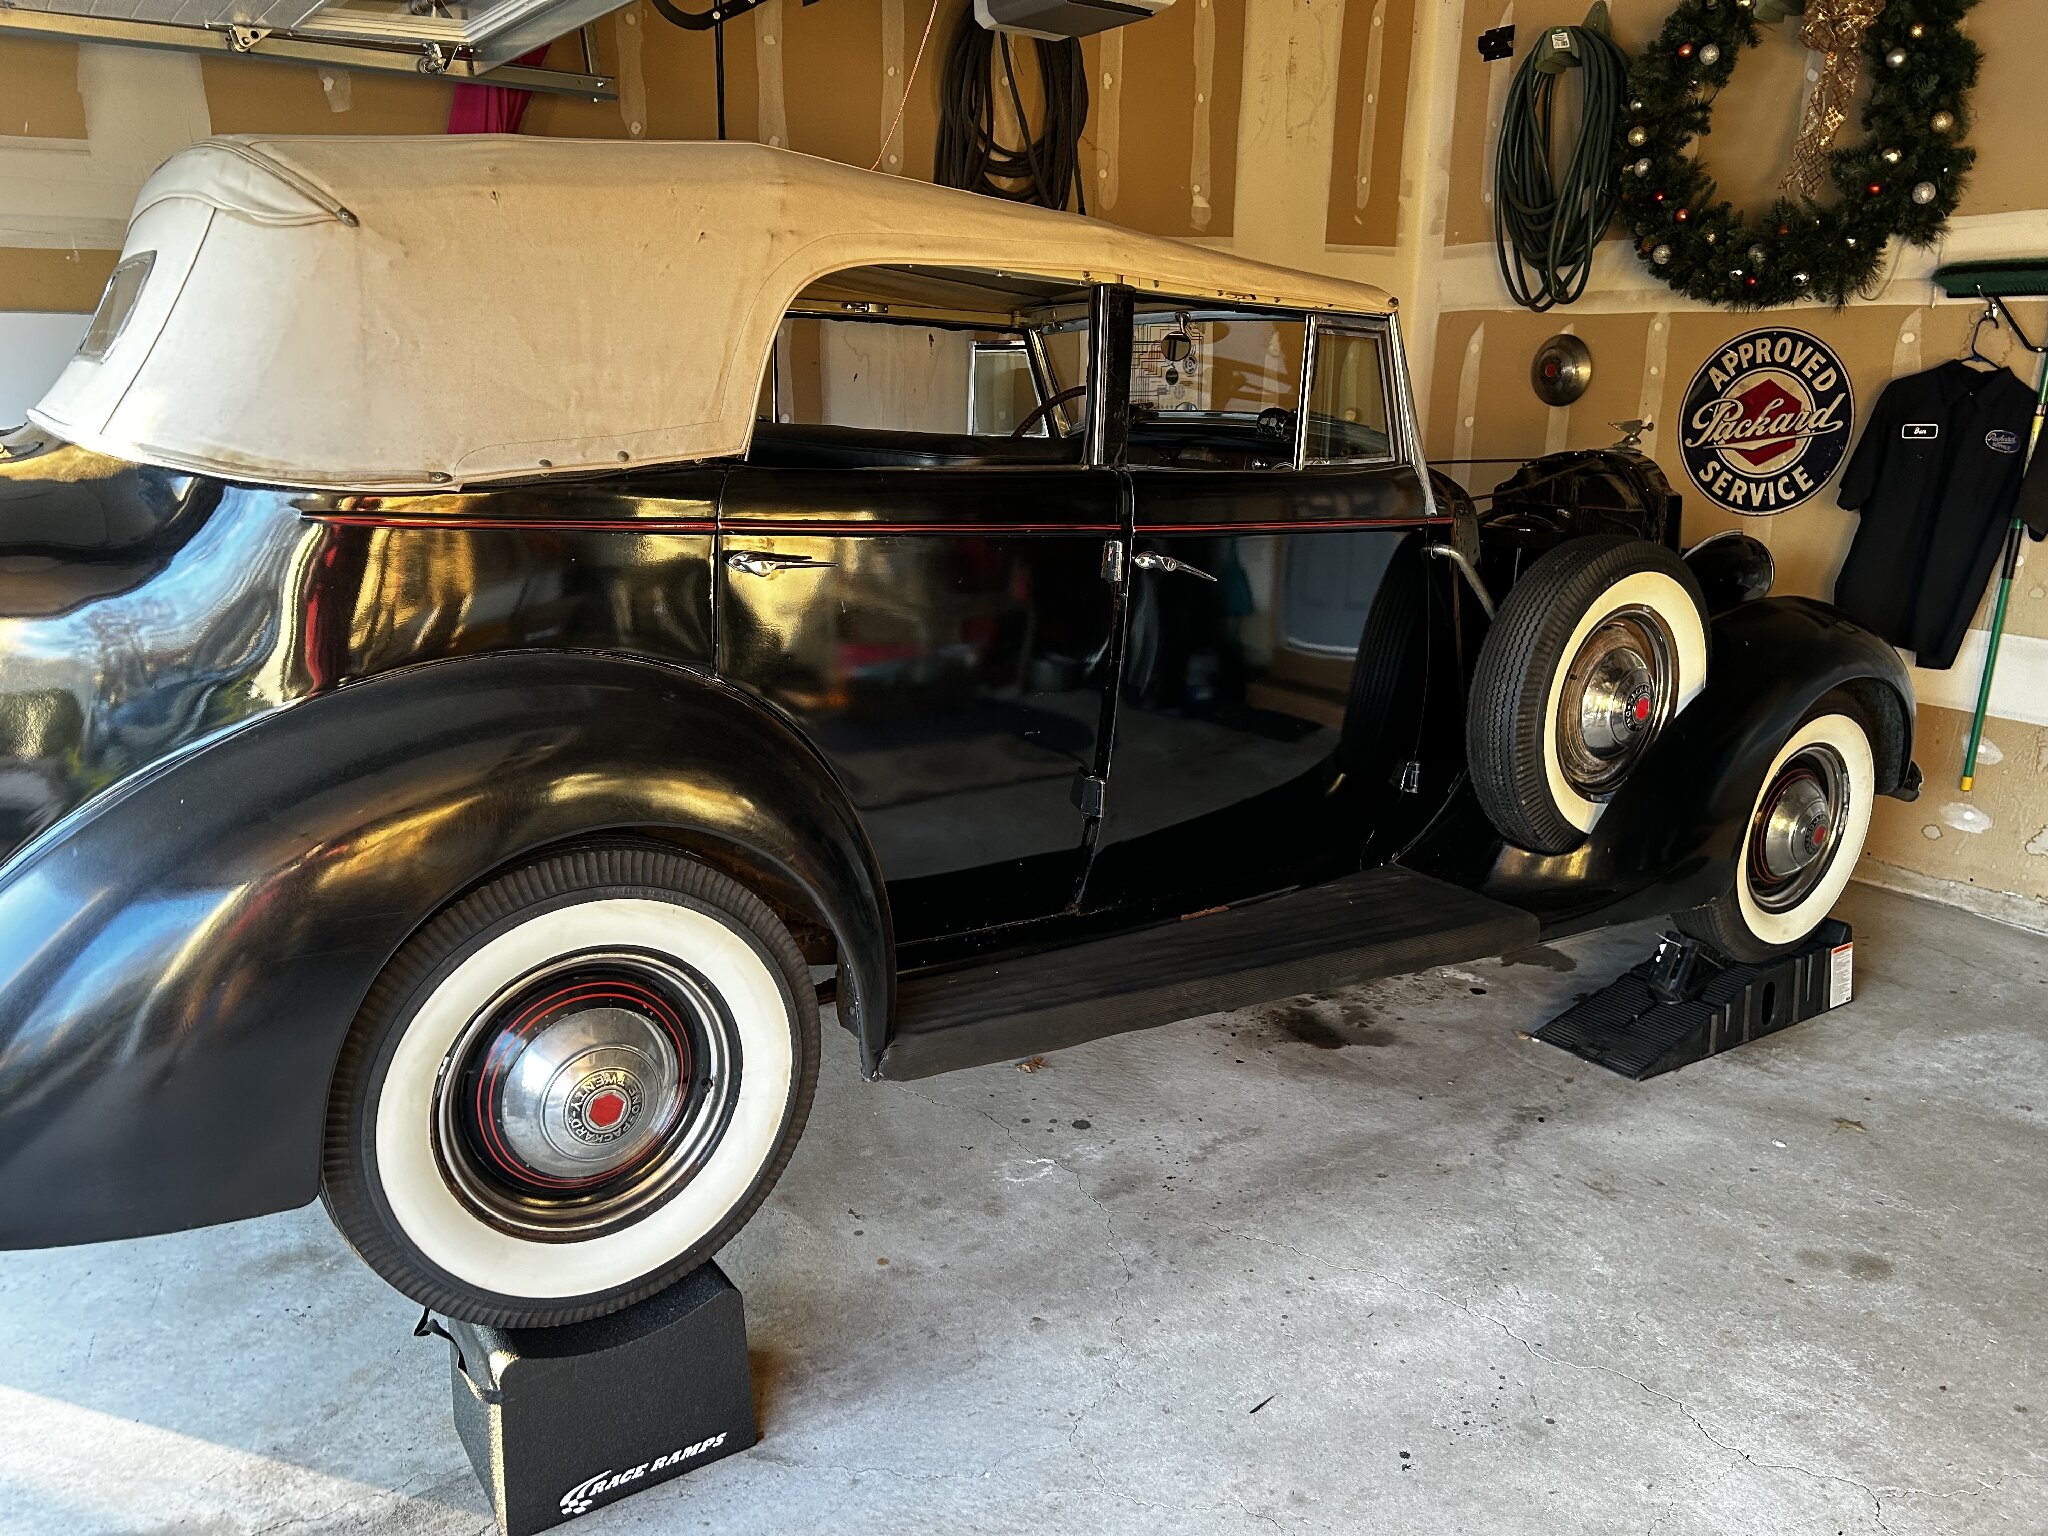 I spent the day getting things prepped. I removed the hood, the old Firewall insulator, side kick boards, the heater, and the toe board. I managed to catch most of the anti-freeze when removing the heater. I then used about a full can of lubricant on the bolts underneath to prepare for the removal of the exhaust system and gas tank. Will need to do that a couple of times as they look pretty rusty. 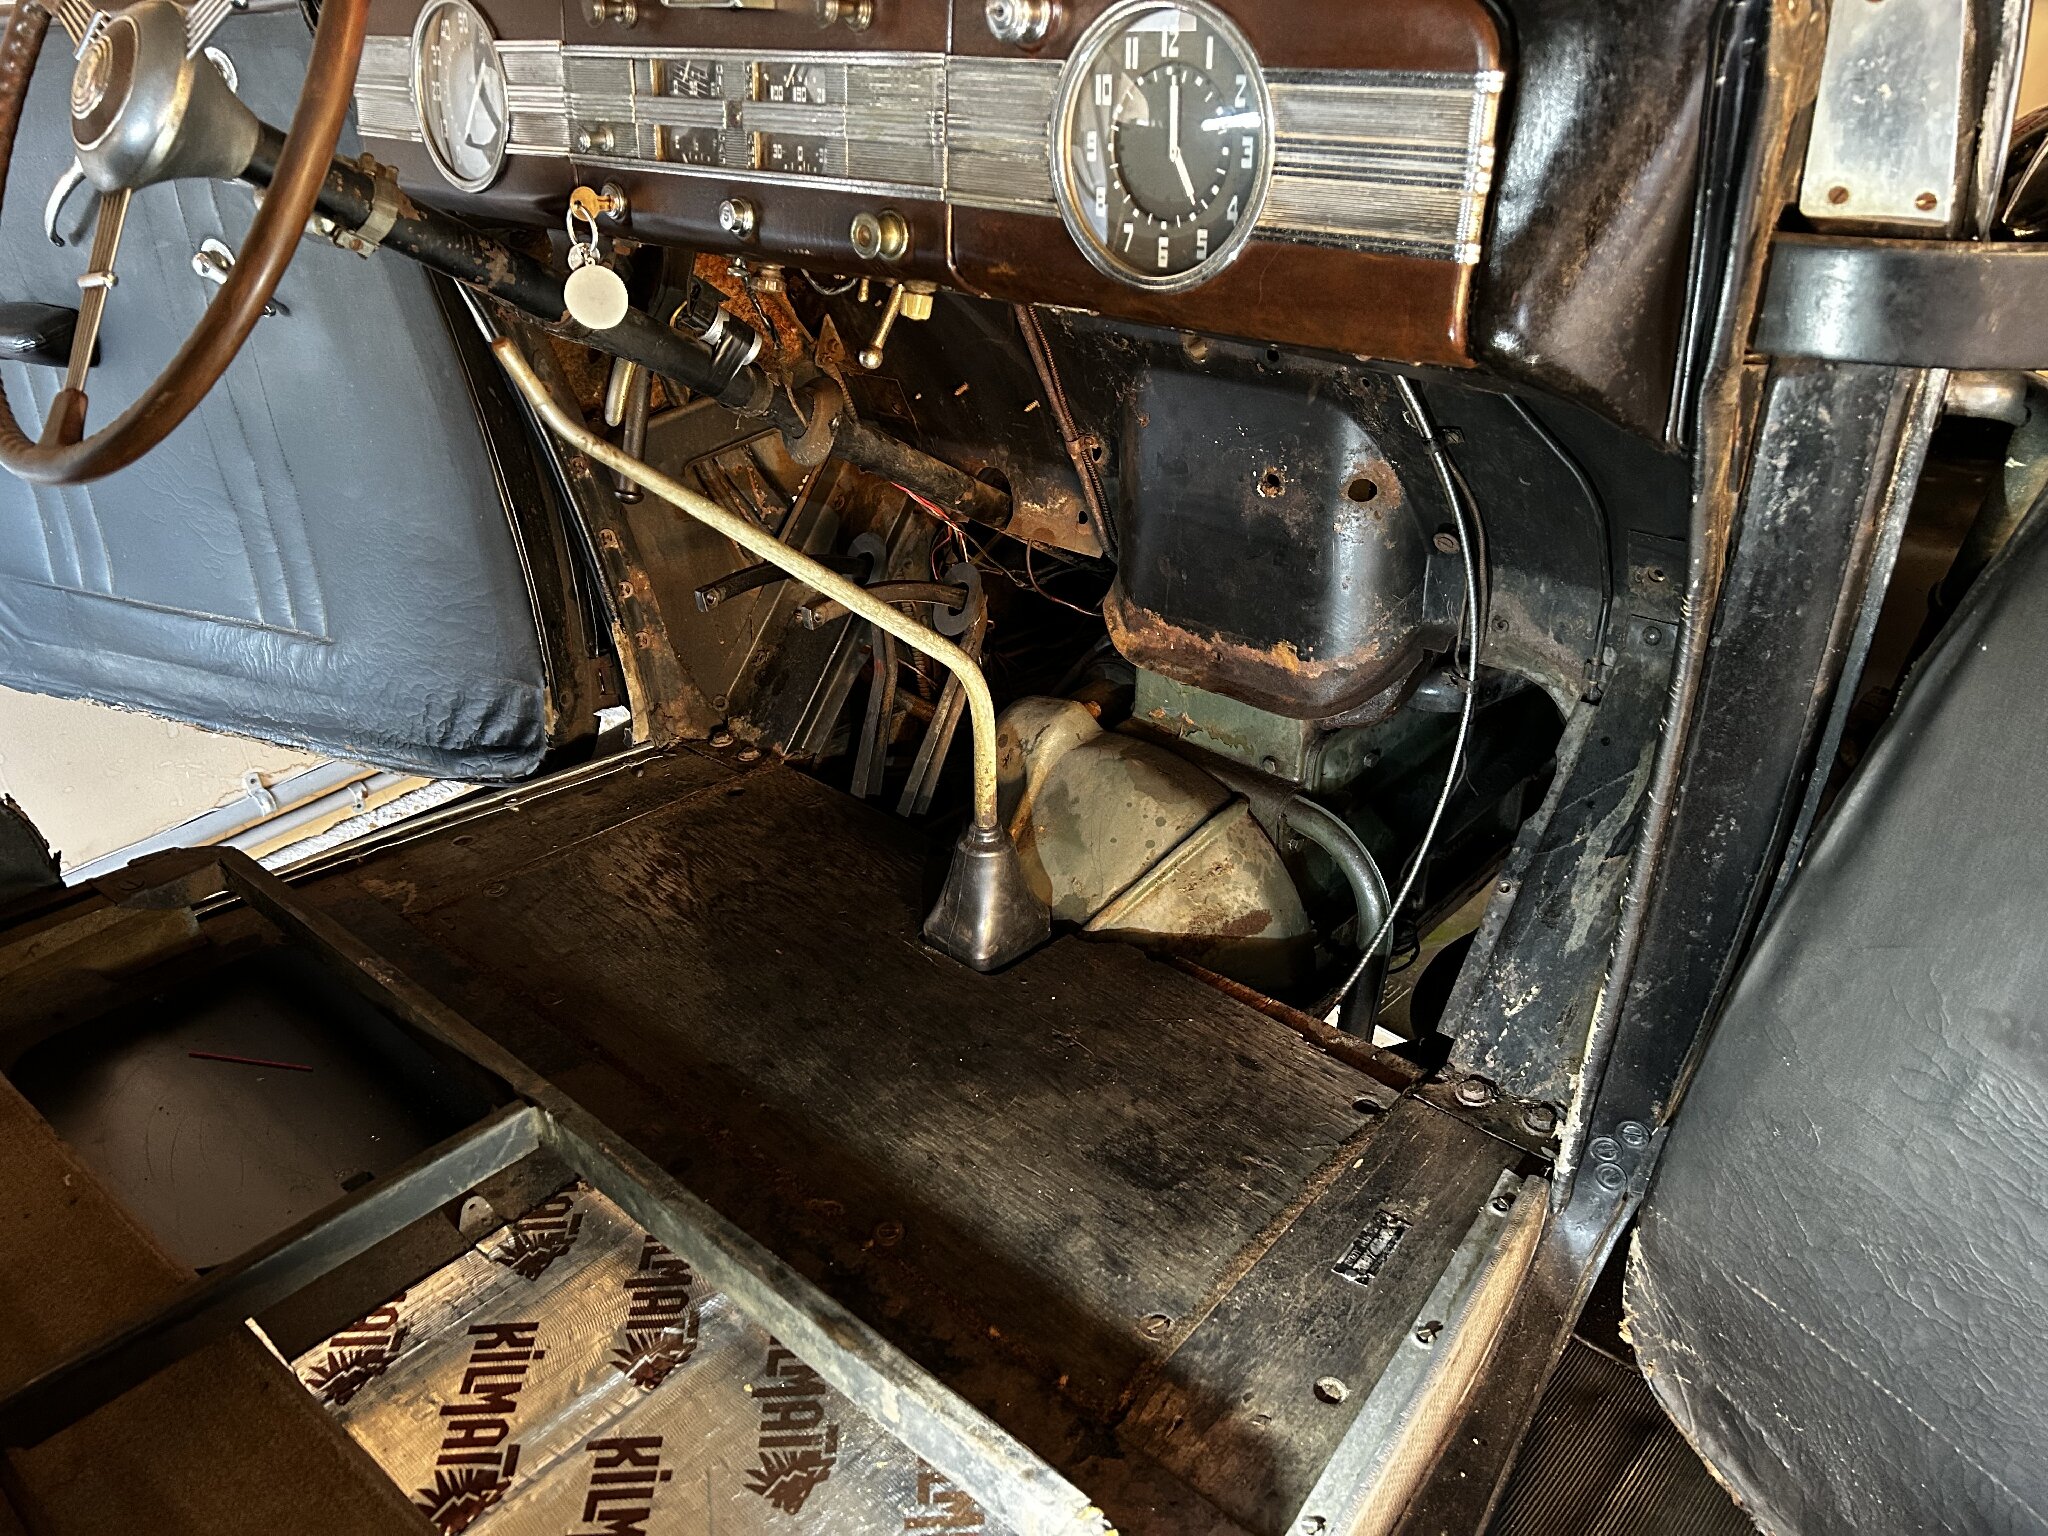 I also began to survey the wiring, and behind the dash looks like a nest. Will look to remove the dashboard plates tomorrow to have a better look.  I also placed the Brake and Clutch Pedal Shank boots on now, so I do not forget when I go to put things back to together! I took advantage of the winter, and ordered all the items I will replace this spring. Timing worked out nice, as they were some hefty lead times. Going to tackle/replace: 1. Exhaust System 2. Gas Tank 3. Fuel Line 4. Wire Harness 5. Fire Wall Insulator and Side Kick-boards 6. Will probably look to tune up the heater too Cheers! Ben
Posted on: 3/16 18:13
|
|||
|
||||
|
Re: 1937 120 Conv. Sedan - Blanche
|
||||
|---|---|---|---|---|
|
Home away from home
|
Excellent! What a stunning car. She is going to be an elegant beauty gliding down the boulevard when you complete her renovations. I expect there will be some head scratching moments but the completion will be so worth it.
Have fun! Bob J.
Posted on: 3/17 8:23
|
|||
|
||||
|
Re: 1937 120 Conv. Sedan - Blanche
|
||||
|---|---|---|---|---|
|
Home away from home
|
Another productive day. Removed old exhaust and gas tank removed. As I thought it took a couple cans of power blast on the bolts and a reciprocating saw on the exhaust. Gas tank tbolts just snapped when I tried to loosen. Had it held up with a jack and a cross beam supported by a 2 x 8.
Next I am going to give it a good under carriage cleaning then move to the wire harness. Had to stop to grill some steaks and drink some home brews to celebrate St. Pattys day!!! Cheers Ben 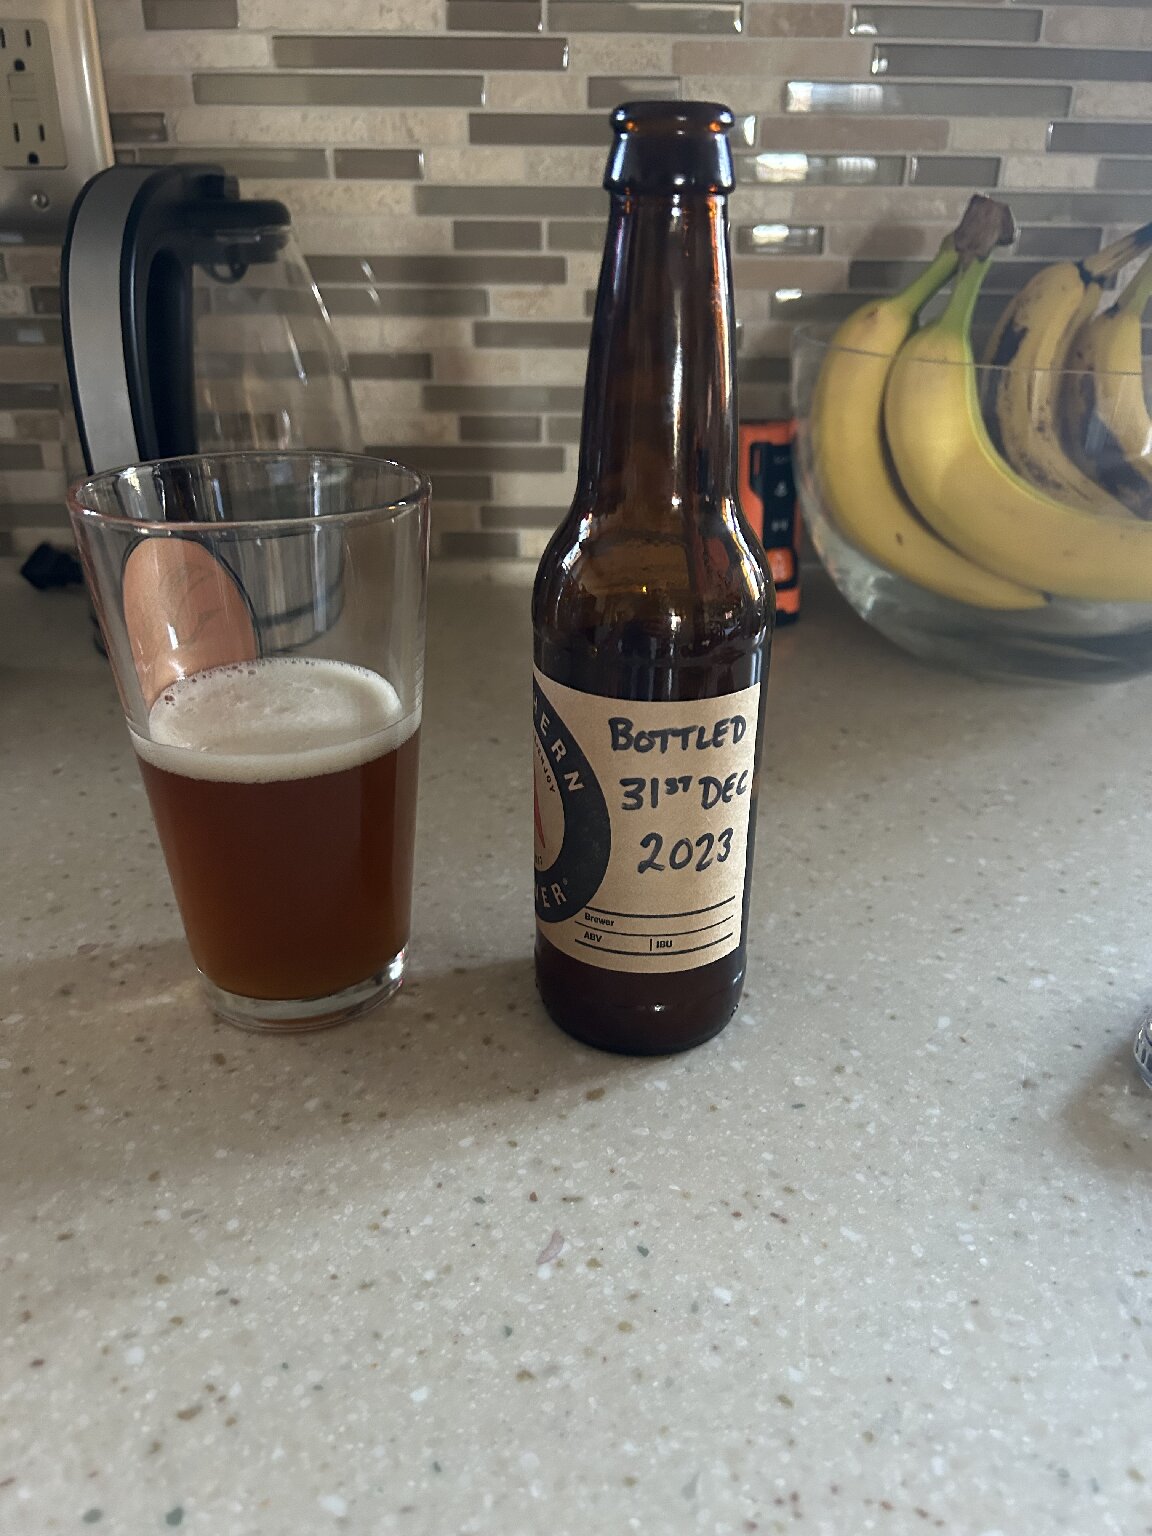
Posted on: 3/17 16:22
|
|||
|
||||
|
Re: 1937 120 Conv. Sedan - Blanche
|
||||
|---|---|---|---|---|
|
Home away from home
|
Looking to start the wiring. Does the center panel in the sash come out? Or just the middle section where the Amp—gas-Temp etc. the clock and Speedo panels have screws at the top but the center panel does not look to be the same.
Thoughts appreciated! 
Posted on: 3/18 13:31
|
|||
|
||||
|
Re: 1937 120 Conv. Sedan - Blanche
|
||||
|---|---|---|---|---|
|
Webmaster

|
All of the "wood grain" panels are removable.
The center panel is more tricky as some of the knobs, switches, etc have to be removed first. Here is a picture of when I took my 115 dash apart, which is essentially the same structure underneath. Those four gray t-nuts hold the gauges in. They have nuts on the backside. 
Posted on: 3/18 13:55
|
|||
|
-BigKev
1954 Packard Clipper Deluxe Touring Sedan -> Registry | Project Blog 1937 Packard 115-C Convertible Coupe -> Registry | Project Blog |
||||
|
||||
|
Re: 1937 120 Conv. Sedan - Blanche
|
||||
|---|---|---|---|---|
|
Home away from home
|
Got it. Makes sense.
Thanks BK
Posted on: 3/18 14:04
|
|||
|
||||
|
Re: 1937 120 Conv. Sedan - Blanche
|
||||
|---|---|---|---|---|
|
Home away from home
|
Ok. After putting my body in positions I didn’t think I could. I am down to the light switch. What is the trick to remove this? There does not appear to be a bit on the back side as the hand throtle had. And I tried to turn the know to see if it spun off but that did not budge. Did not want to over torch.
I grabbed a picture of the back side. Thoughts? 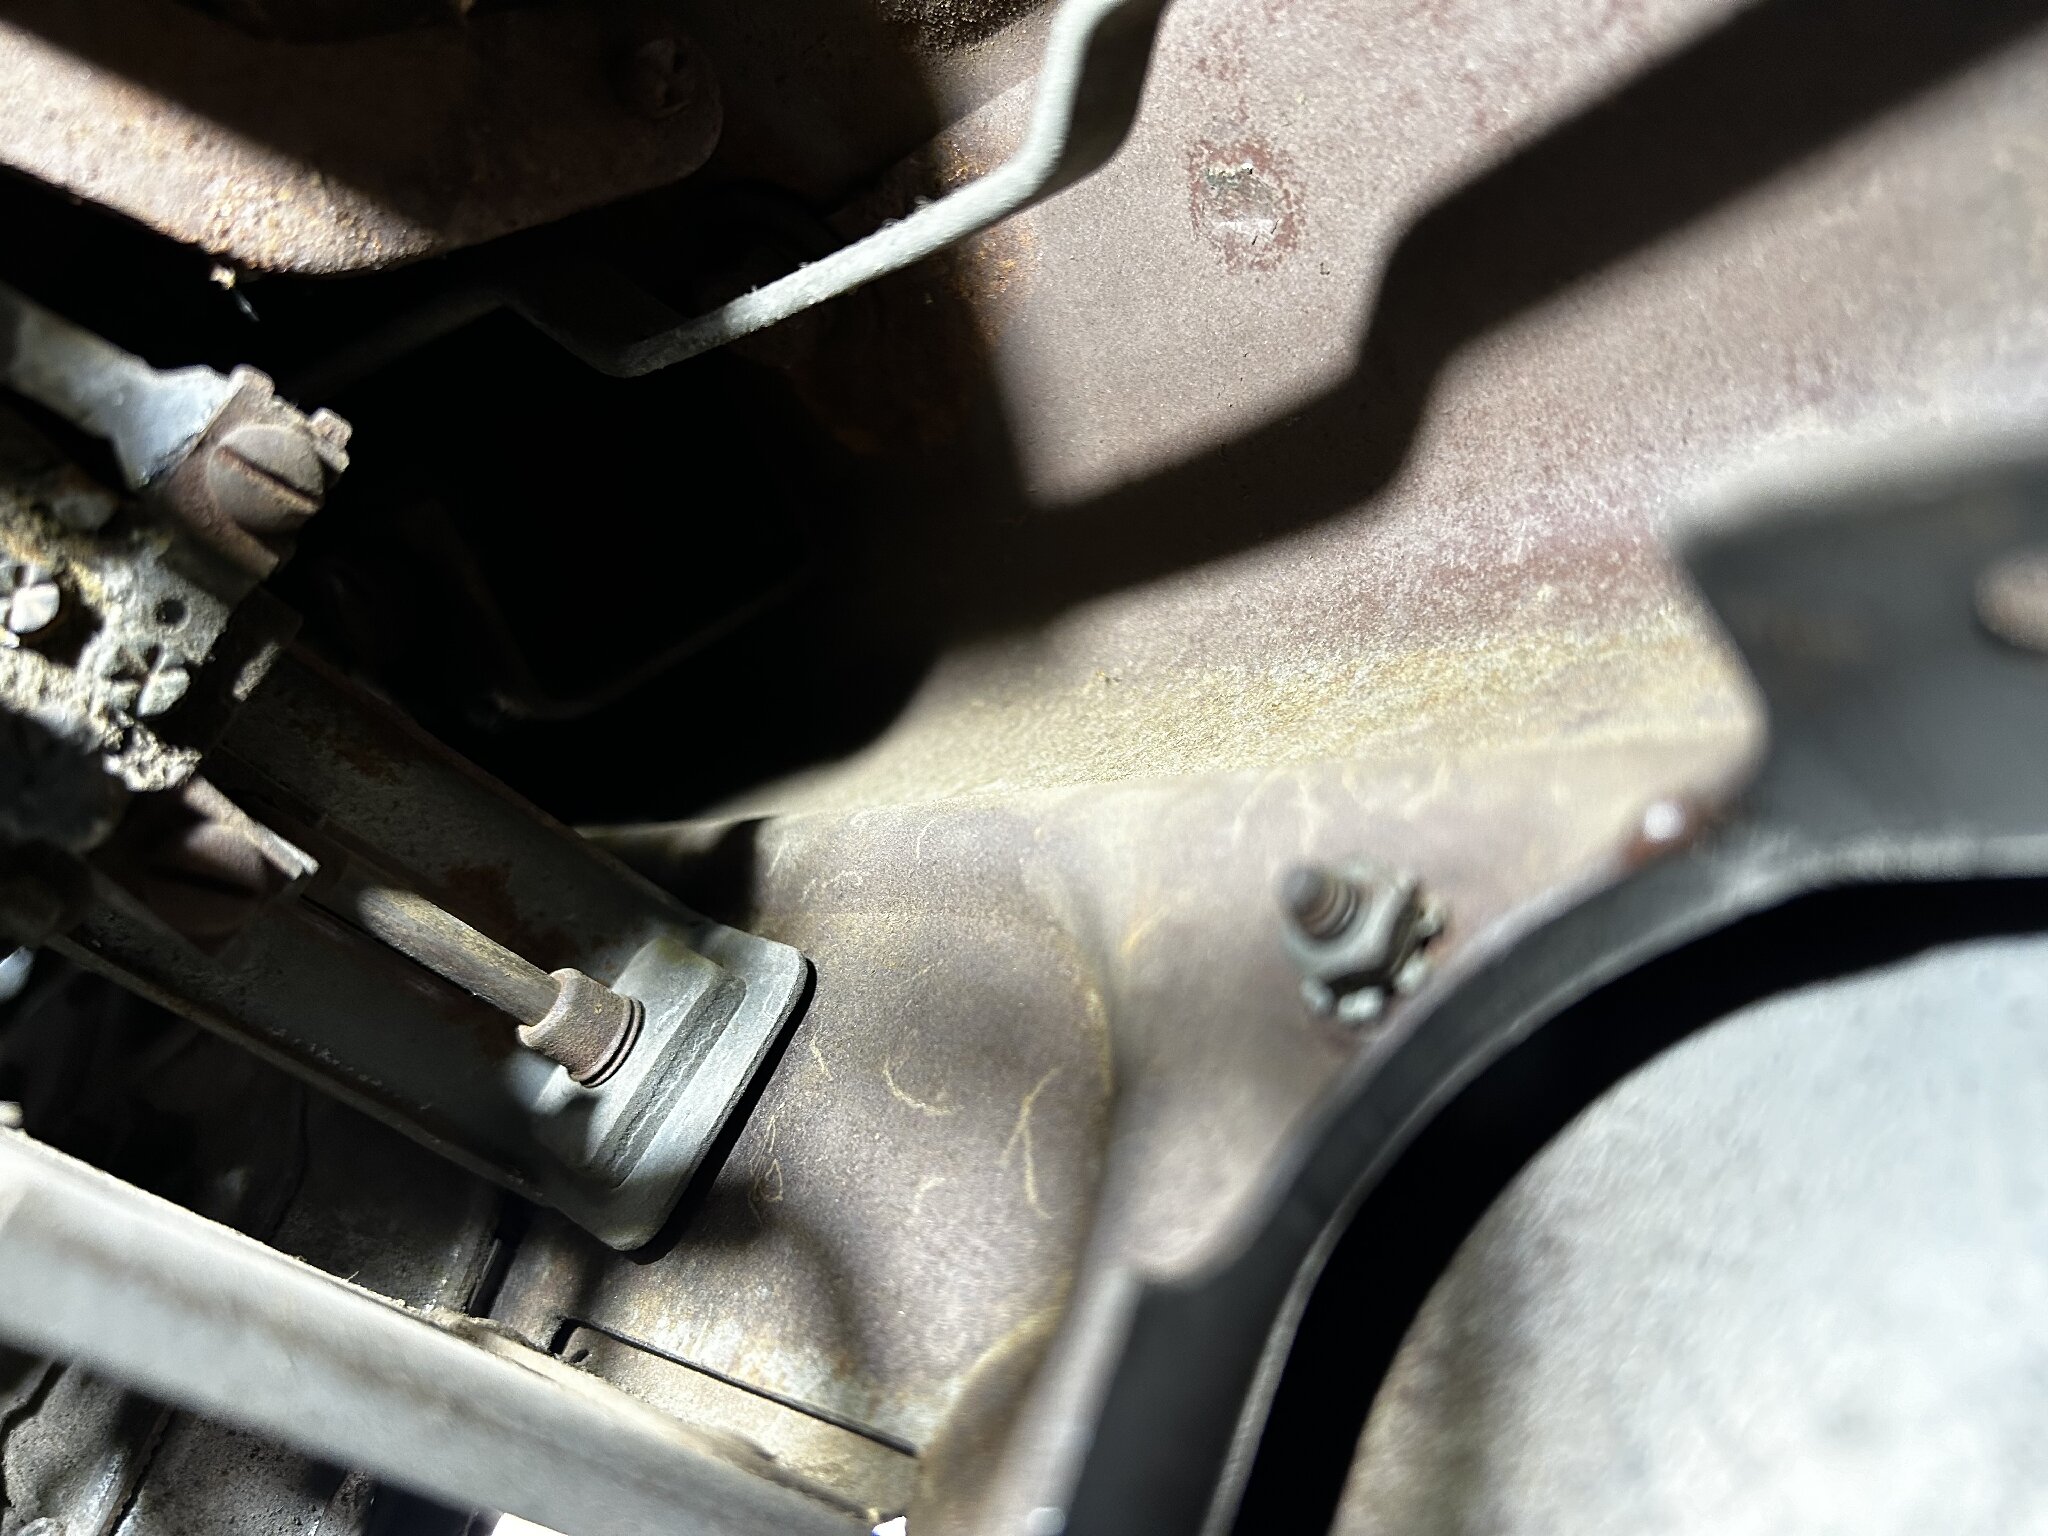
Posted on: 3/18 14:46
|
|||
|
||||
|
Re: 1937 120 Conv. Sedan - Blanche
|
||||
|---|---|---|---|---|
|
Home away from home
|
I found this previous thread working through the same question. Just not clear on the "Carefully Unscrew".....
Thread: https://packardinfo.com/xoops/html/modules/newbb/viewtopic.php?start=0&topic_id=26452&order=ASC&status=&mode=0 Is the part circled in re the "nut" that would release the the knob, and then allow me to unhook the knob shaft to remove the knob? After re-contorting my body, I tried to turn it, but it did not budge and I did not want to go at too hard, before I confirm it should loosen. 
Posted on: 3/18 16:35
|
|||
|
||||


