
|
Re: 1924 Generator removal
|
||||
|---|---|---|---|---|
|
Home away from home

|
I see two NUTS, no bolts. To remove, remove all three nuts from their studs. Pull the generator (ONLY) rearwards while making sure not to withdraw the bronze plate with it. The plate has an arbor on it which is the axis for the generator gear. If that axis is withdrawn, the gear falls into the timing cover and becomes unmeshed with he timing chain, a very time consuming error.
Really simple to work on, should take you 10 minutes.
Posted on: 2016/10/31 15:43
|
|||
|
||||
|
Re: 1924 Generator removal
|
||||
|---|---|---|---|---|
|
Forum Ambassador

|
The 3rd stud at the bottom is the pivot point, the other two are slotted to permit adjusting the slack on the timing chain.
And just to repeat to add emphasis, do NOT allow the bronze sleeve to move outward from the case.
Posted on: 2016/10/31 17:51
|
|||
|
||||
|
Re: 1924 Generator removal
|
||||
|---|---|---|---|---|
|
Not too shy to talk

|
Thank you for the replies.
I stared at the generator this AM, still not sure how to approach the lower hidden nut. I ended up under the car and found a small access window in the pan below the generator located exactly at the unseen nut. It ended up being easy from that point on. Not a 10 minute job, but not impossible either. Now I hope the reassembly will be as smooth. See you again. I know I'll have more questions.... Seth Gartner Charlotte, NC Attach file:  (251.75 KB) (251.75 KB)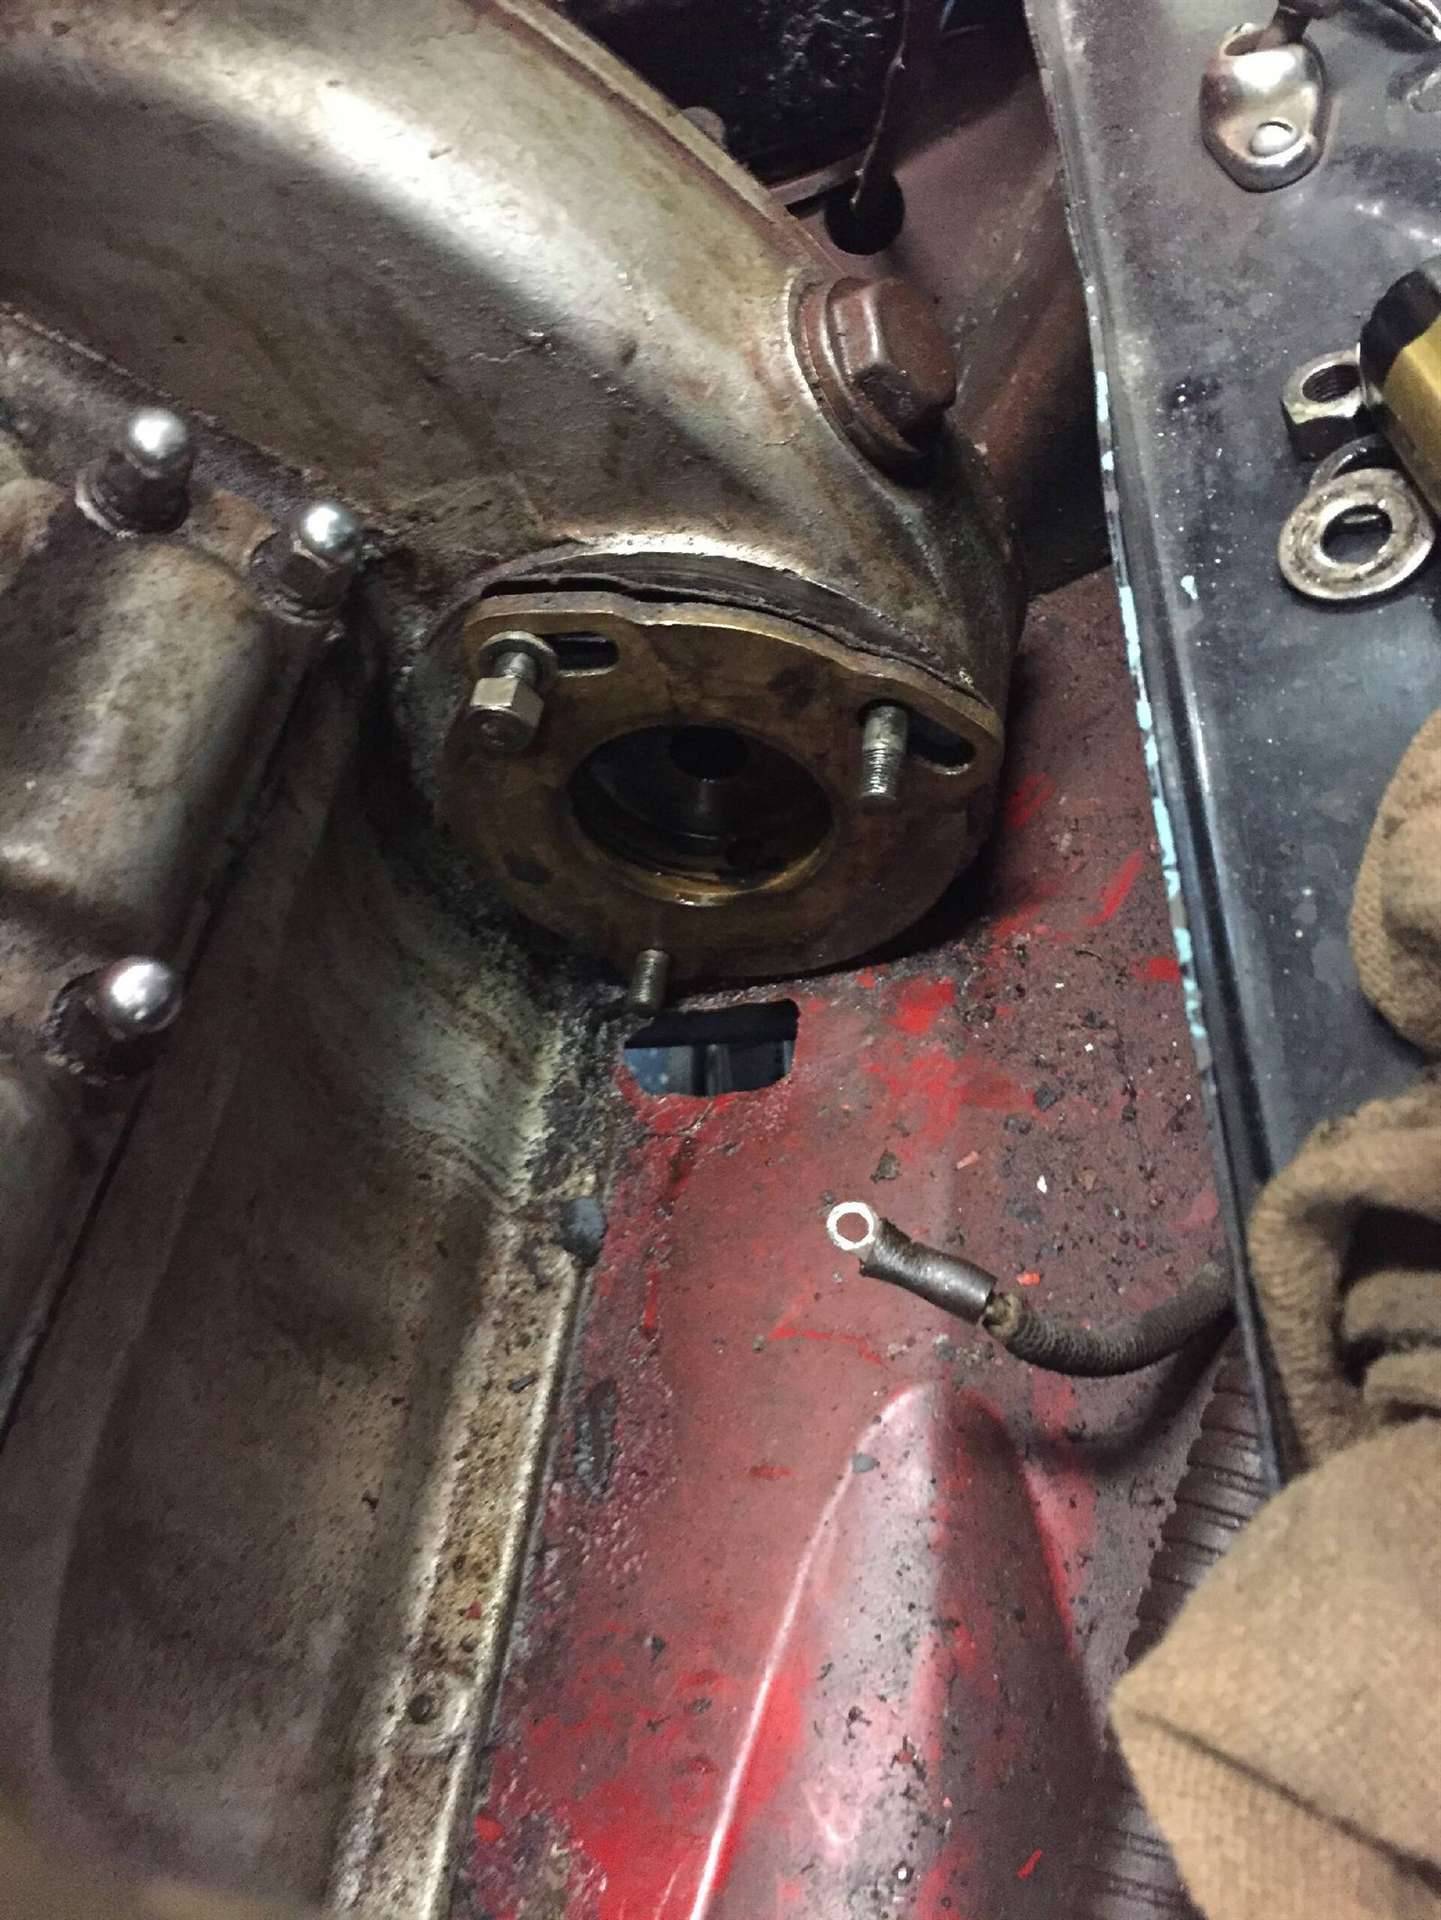
Posted on: 2016/11/1 16:46
|
|||
|
||||
|
Re: 1924 Generator removal
|
||||
|---|---|---|---|---|
|
Home away from home
|
The fun starts when you try refit the bottom nut holding it with two fingers and then get it through that tiny window and onto the stud. I have enlarged the window for the lower stud on one of my cars.
Also I recently removed the generator from a 1930 740 as it was not charging and we needed the brass support plate so the generator could be set up for testing. (the brass plate provides the front bearing for the generator) When the plate was removed the drive gear remained in mesh with the timing chain simply rolling down a tooth or two. When I reinstalled the plate it was not difficult to roll the gear on the chain back enough to slide onto the plate. Its not the first time I have done this and I have not had a problem, timing was not lost. The Packard Service Manual (6th Series) under M485 refers to the brass plate as the "Generator sprocket support" and the instructions for renewing it simply state that it is removed with the generator and : "Install new sprocket support using new gasket, replace generator and tighten". So while it would be wise not to remove the plate unless necessary, it can be done with a little care without a problem.
Posted on: 2016/11/1 18:08
|
|||
|
||||


