|
ARM RESToration
|
||||
|---|---|---|---|---|
|
Home away from home
|
Working on the armrests for my 53 Cavalier.
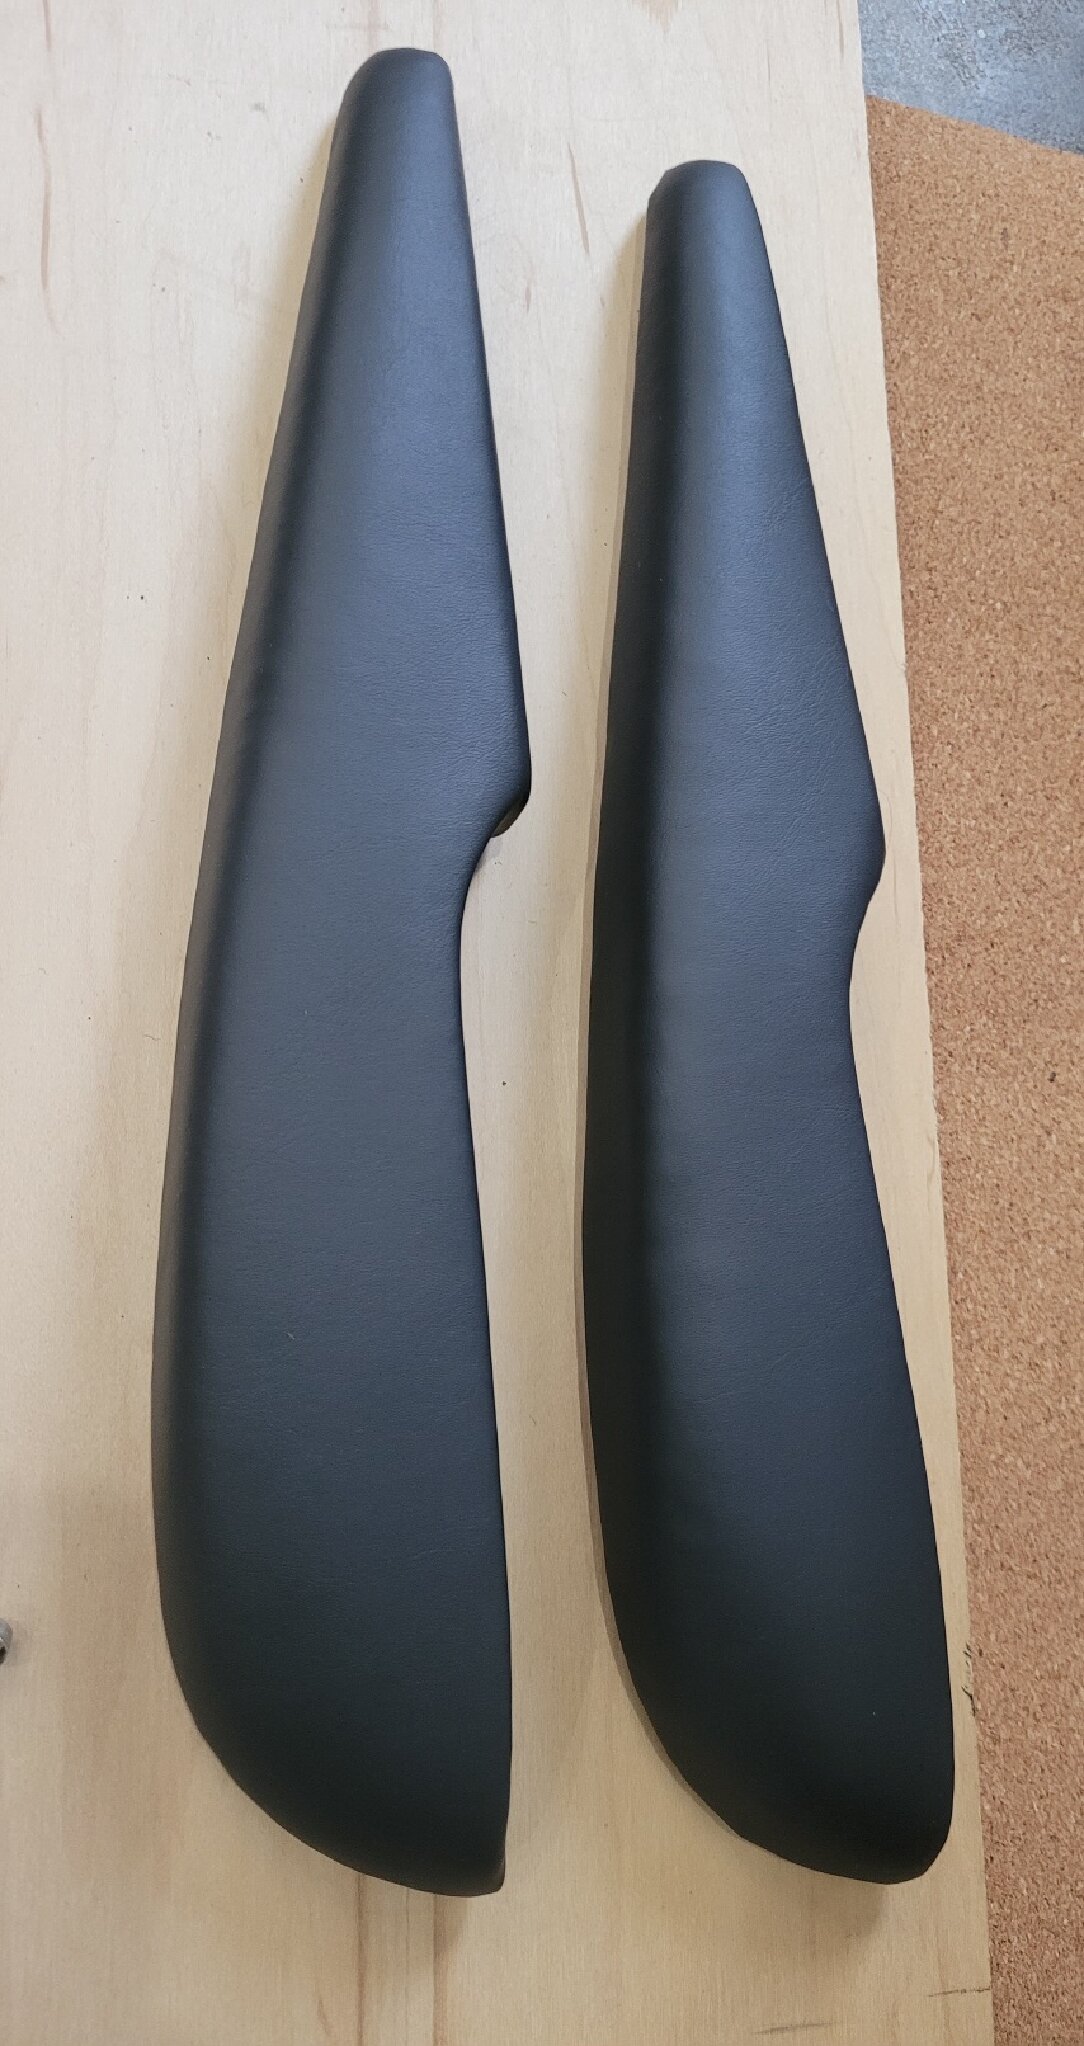
I thought I would just be redoing the vinyl, but like most projects their is more to do once you get into it. Just redoing the vinyl would have been a project as I've never wrapped anything with vinyl before. I had to buy a yard, so I can try quite a few times and not run out. On the exploded view of my armrest you can see that the plastic base has some white stuff on it, which was on the outside as well as the inside, but only on the plastic. Not sure what it is, but it scrubbed off. Also I'm not sure if it will come back, or if there is something to prevent it. The metal support plate had developed some rust, so cleaned those up and painted them. That was the easy part of this project! The rubber for the armrest is is great shape. The cover in this picture is the best of all four armrests, and the last picture is the worst one, but they'll all look like new once I'm done..........hopefully! The plastic bases are in good condition, but as you can see in the picture they are distorted from being screwed to the door for 70 years. My plan is to try warming them with my heat gun and seeing if I can get them back closer to their original shape. "If" I can I'll fill them with spray foam to prevent them from distorting again. Always open to thoughts and feedback! *Working on this project this weekend. Attach file:  20240115_212458_resized.jpg (267.91 KB) 20240115_212458_resized.jpg (267.91 KB)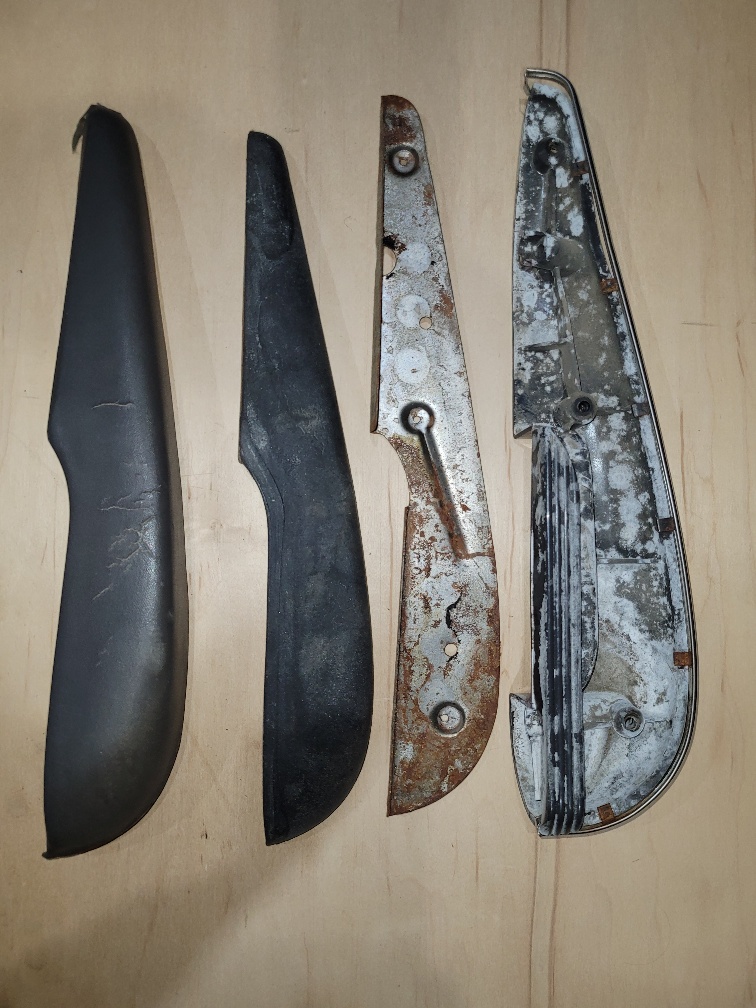 20240119_215242_resized.jpg (194.77 KB) 20240119_215242_resized.jpg (194.77 KB)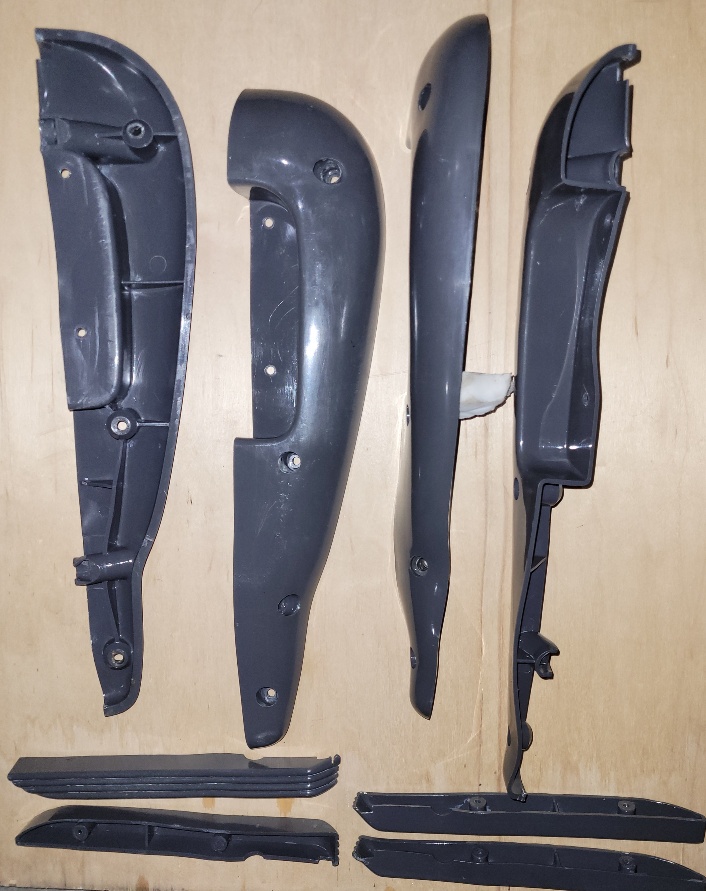 20240119_215316_resized.jpg (296.73 KB) 20240119_200755_resized.jpg (238.52 KB) 20240119_215316_resized.jpg (296.73 KB) 20240119_200755_resized.jpg (238.52 KB)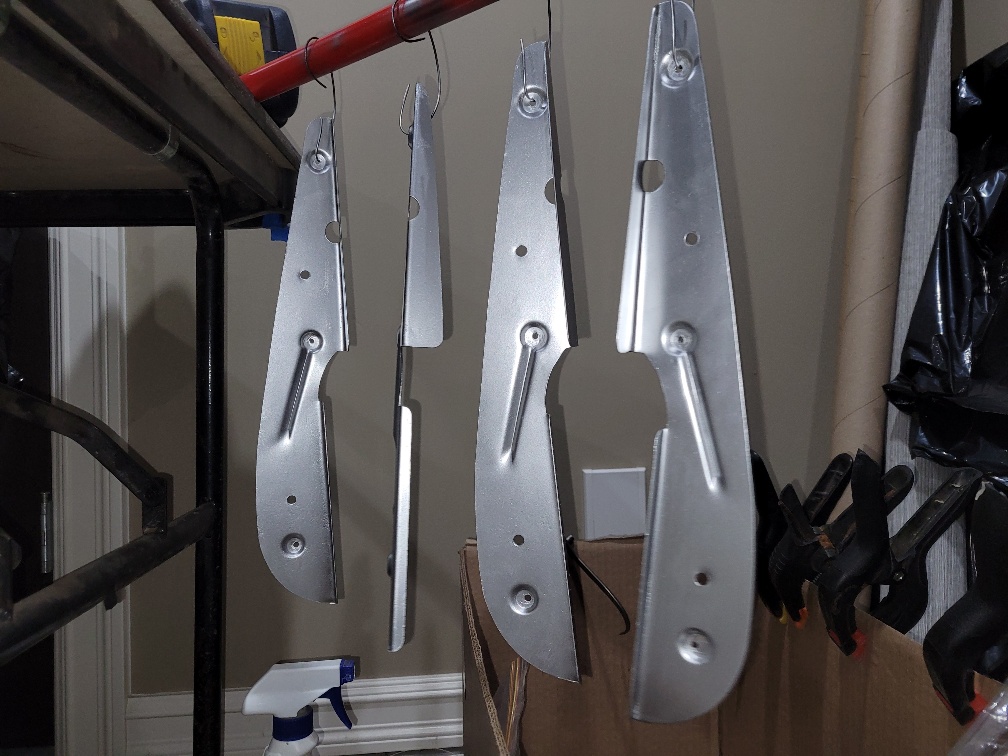 20240119_224810.jpg (497.55 KB) 20240119_224810.jpg (497.55 KB)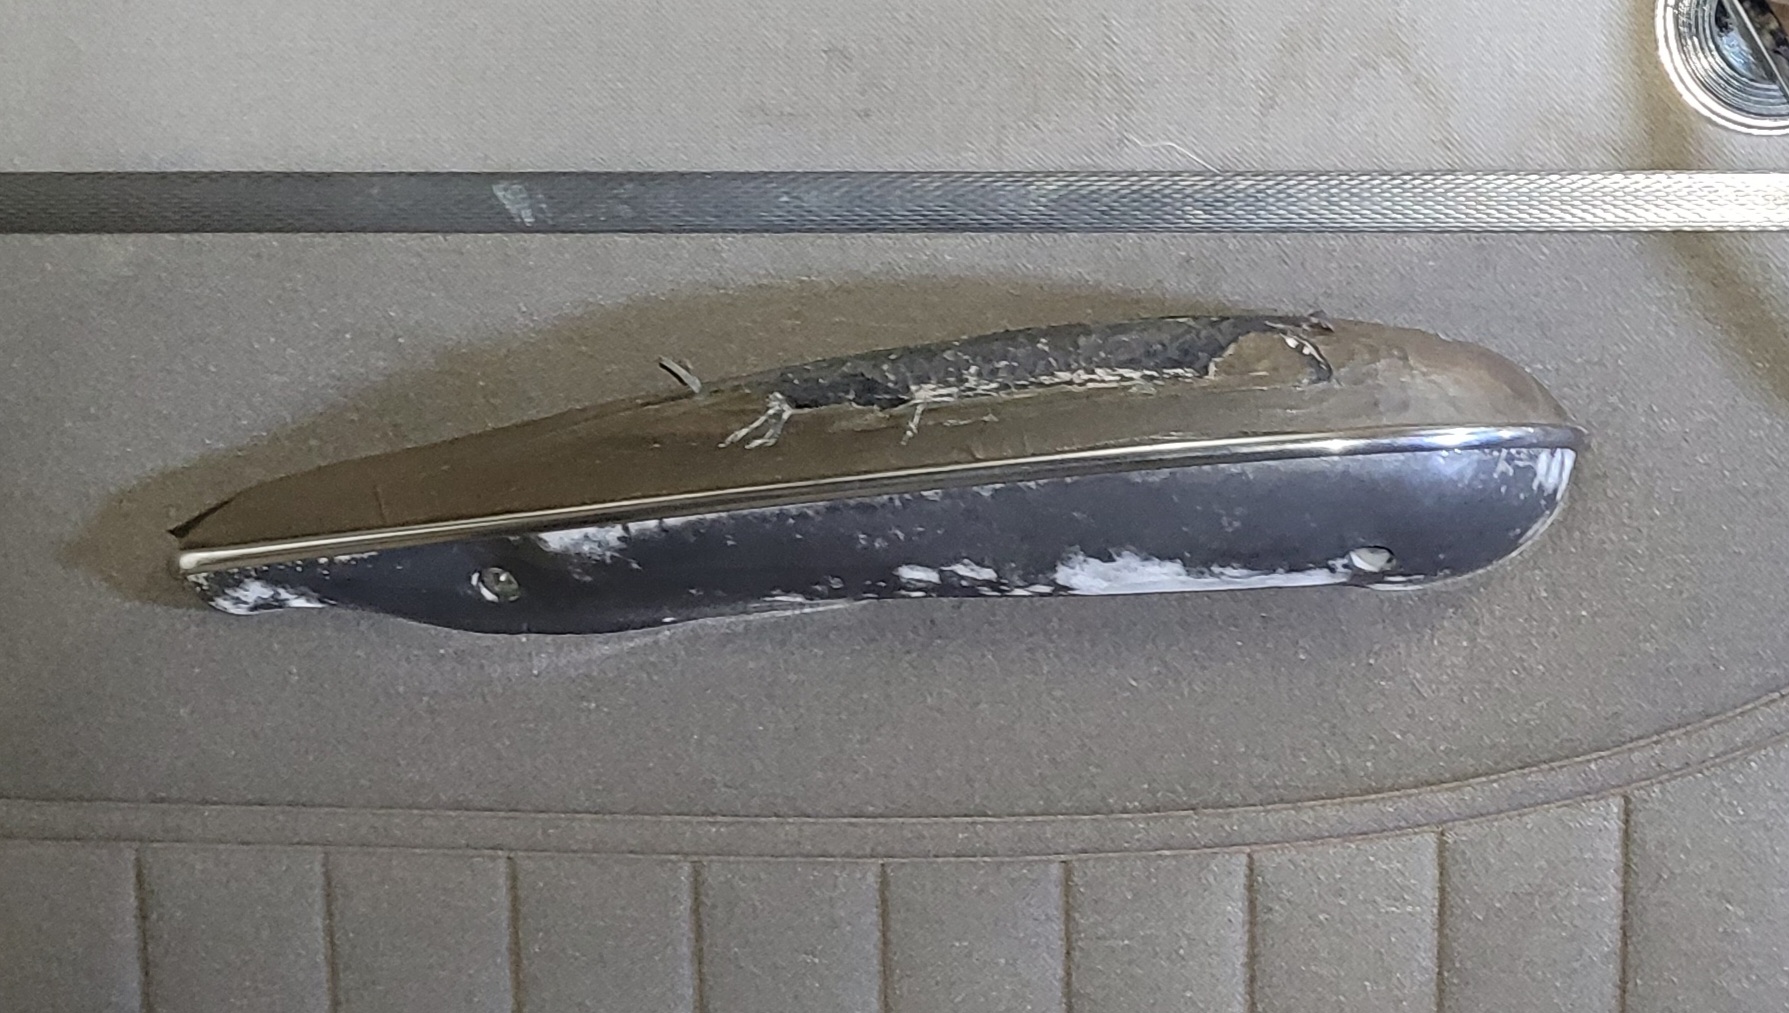
Posted on: 1/20 1:22
|
|||
|
||||

|
Re: ARM RESToration
|
||||
|---|---|---|---|---|
|
Home away from home

|
Plastics often have mineral fillers, like calcium carbonate, etc. and that might be what the white stuff is if the surface was oxidized, but can't tell from a pic. ie, sign of degradation likely. It might be advised to paint the plastic bases if they're not cosmetically good/preserve. There's special spray paints for plastics, may need a surface prep/adhesion coat.
I'd check the filler foam you select on a small section first so it doesn't soften or otherwise destroy the plastic. Could end up with goo. Shouldn't need filling, if they're sound. I'm not sure where the deformation is from the pics and heating may not be advised as they were made in a mold and to heat them without could cause more distortion. It's also 70 years old so the plasticizers etc, may not be good and may crack, burn, etc. instead. You'd need a temperature controlled oven set to anneal the specific plastic and not just a heat gun which will ensure uneven heating. Fabric backed vinyls come in different thicknesses, so need to make sure it's the right kind so it can be formed properly.
Posted on: 1/20 10:52
|
|||
|
||||
|
Re: ARM RESToration
|
||||
|---|---|---|---|---|
|
Home away from home
|
Quote:
Thanks KP. Fortunately the old cover came off fairly easily so I can see how the vinyl was originally cut and tucked around the edges. Having said that no 2 are exactly the same.....a mix of art & science. The plastic is still quite flexible, which surprised me on a 70 year old car, but my Packard never ceases to impress me! I'll let you know if/what I end up doing with the bases.
Posted on: 1/20 11:34
|
|||
|
||||
|
Re: ARM RESToration
|
||||
|---|---|---|---|---|
|
Home away from home
|
Quote:
I'm used to plastics getting foggy because they are dry, but this white stuff is on the surface. Soaking them in a sink of warm soapy water soften it and it came off without too much effort. Maybe humidity helped to create the reaction? I guess if that's as bad as it got in 70 years, now that it's cleaned up it should be good for quite a while. The plastic looks good and is still malleable. When you're looking at the pictures, the distortion is where the plastic is no longer straight. See below picture. I have a marine grade vinyl for the armrests. The upholstery shop said I will be surprised by how much it will stretch with just a bit of heat. They said it won't be a problem at all, even for a beginner! We'll see! Attach file: armrests.jpg (74.30 KB)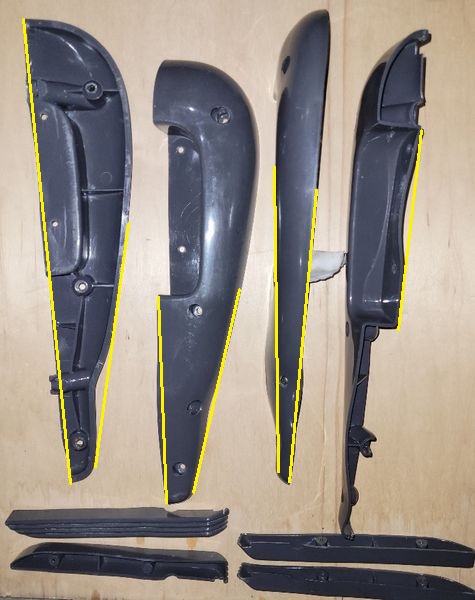
Posted on: 1/20 11:57
|
|||
|
||||
|
Re: ARM RESToration
|
||||
|---|---|---|---|---|
|
Home away from home
|
2 down 2 to go....at least for new vinyl. [PROCESSING IMAGE.... PLEASE WAIT]
Posted on: 1/20 14:33
|
|||
|
||||
|
Re: ARM RESToration
|
||||
|---|---|---|---|---|
|
Home away from home

|
Check your image, 53Cav
Posted on: 1/20 14:39
|
|||
|
'55 400. Needs aesthetic parts put back on, and electrical system sorted.
'55 Clipper Deluxe. Engine is stuck-ish. |
||||
|
||||
|
Re: ARM RESToration
|
||||
|---|---|---|---|---|
|
Home away from home
|
2 down 2 to go....at least for new vinyl.
Posted on: 1/20 14:39
|
|||
|
||||
|
Re: ARM RESToration
|
||||
|---|---|---|---|---|
|
Home away from home
|
Quote:
Not sure what happened there, reposted!
Posted on: 1/20 14:58
|
|||
|
||||
|
Re: ARM RESToration
|
||||
|---|---|---|---|---|
|
Home away from home

|
I think you submitted before the image was done processing. I did the same thing the other day but easy to go back and add the photo again while removing the processing text.
Posted on: 1/20 16:26
|
|||
|
||||


