
|
Re: Body Mounts
|
||||
|---|---|---|---|---|
|
Home away from home
|
Thanks again Howard!
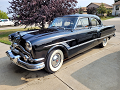
Here's what I pulled out of the driver's side from front to back. (left to right in the picture) Inner #3 & #4 have an empty space between floor pan brace and frame, I'm sure they are supposed to have a thick cushion like inner #2. Now to gather up some parts! For the most part it appears that the cushions kept everything sealed, so not much for rust where the cushions go. I can't really get in there to sandblast those surfaces, but I would like to clean them up and paint them before putting the body mounts back in. Open to suggestions! Attach file:  20240310_164748.jpg (3,248.54 KB) 20240310_164748.jpg (3,248.54 KB)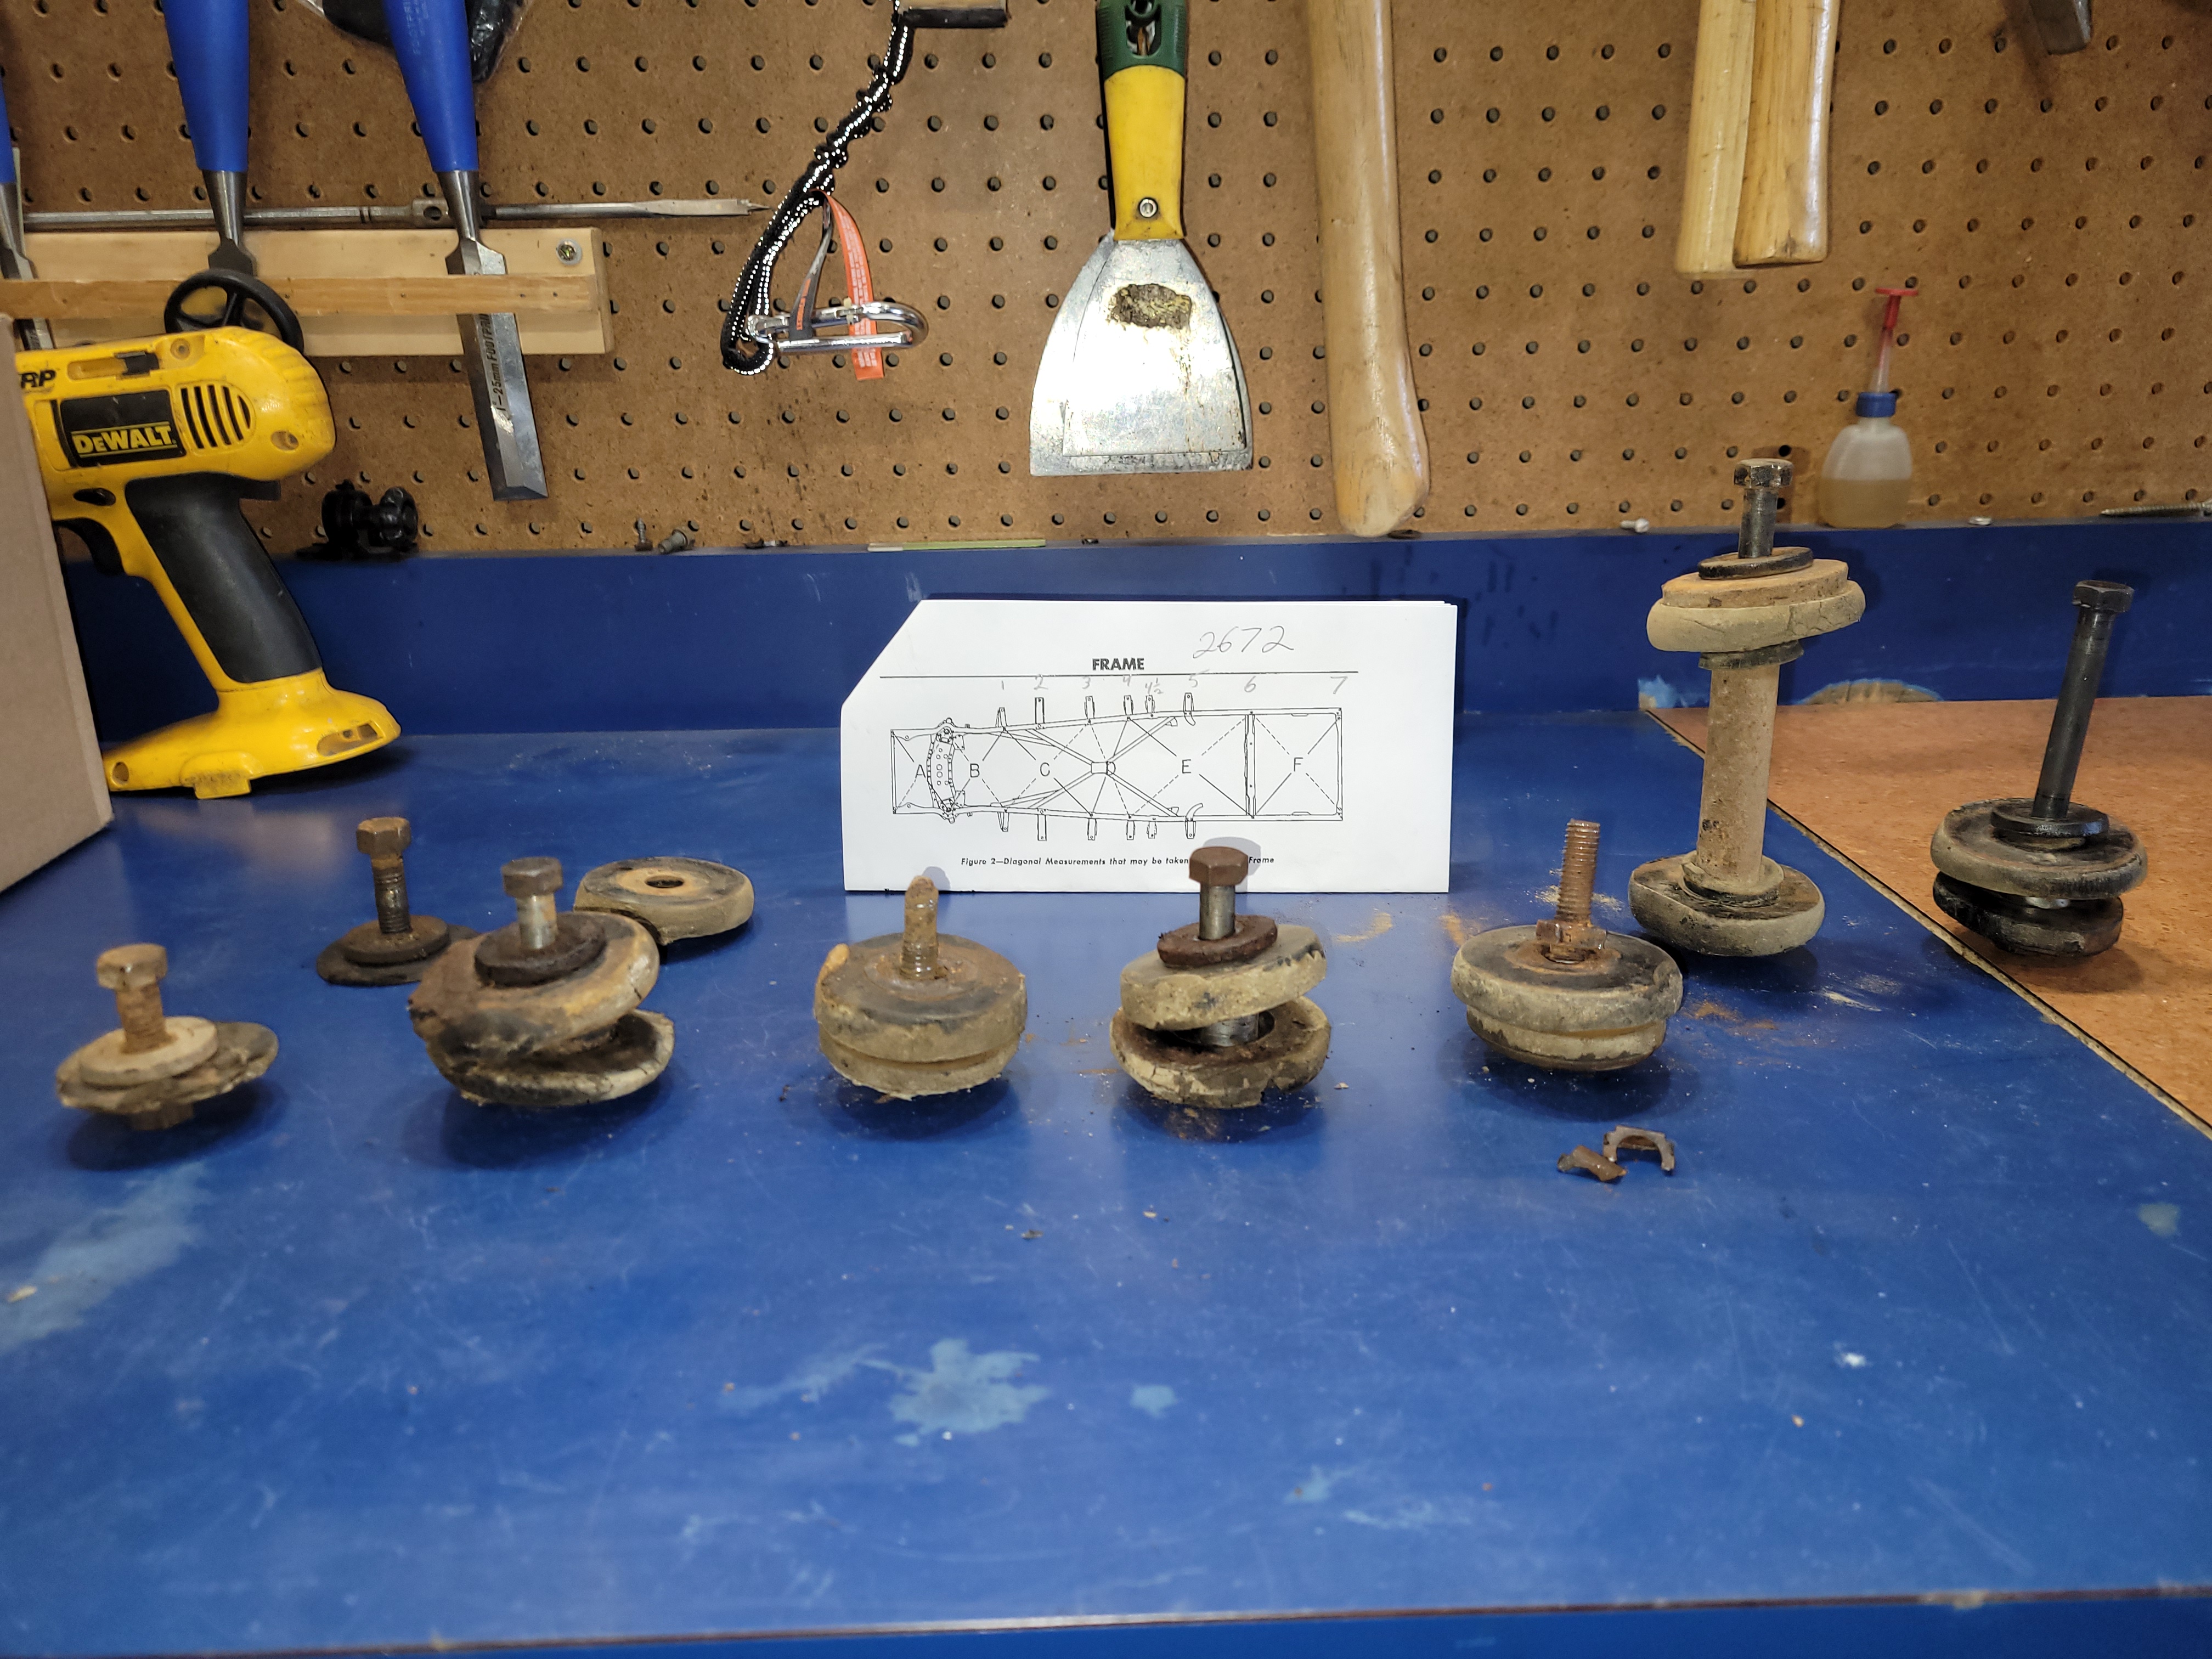
Posted on: 3/10 19:06
|
|||
|
||||
|
Re: Body Mounts
|
||||
|---|---|---|---|---|
|
Home away from home
|
Little by little...
Posted on: 3/12 10:20
|
|||
|
||||
|
Re: Body Mounts
|
||||
|---|---|---|---|---|
|
Home away from home
|
Mounts on the driver side mounts are pretty much done, now onto the passenger side. I'm cleaning up the mounts, which are pretty clean from being sealed by the rubber, and painting them with Por 15. Ask me in 50 years how well it works! LOL
PRO TIP-Another Packard enthusiast told me about this. When shaping/drilling rubber mounts freeze them first. Works great!!! I'm thinking that replacing all my mounts is probably going to change my door/body alignment as some were smashed flat, some were missing and some were hard as rock. Once I'm all done I'll see how things look and if need I'll use the procedure in the service manual for adjusting the body........another adventure! Does replacing the body mounts make this a frame-off restoration?  Attach file: Mount.jpg (8.78 KB)
Posted on: 3/13 9:21
|
|||
|
||||
|
Re: Body Mounts
|
||||
|---|---|---|---|---|
|
Home away from home

|
Maybe you can post a list when completed of which new pieces you used and where they go! Either that or, as you said, put together some kits. I for one could use one or two.
Posted on: 3/13 11:50
|
|||
|
||||
|
Re: Body Mounts
|
||||
|---|---|---|---|---|
|
Home away from home

|
Did you look in the shop manual? I've haven't in some time, so don't quote me. I'm expecting some info maybe there and hidden in some sections, or if P published body manuals? P is kinda in the before period of a lot of automotive science and published info. And the co. records didn't survive all that well and what did got dispersed through the merger. You can maybe get some from the drawings through PAC or Studebaker museum. It was more a competitive trade secret world that everyone spied on/reverse engineered or got tech from vendors. Someone was supplying those rubber parts to P and would be a reference.
Need to respect the torque values also, to get proper body fitment. Torquing require clean and good threads. Compression is the reason. Different rubbers compress at different rates, aka durometer, to get the correct gap. So the rubber has to be correct type, formula too. But I'm bothering with technical details... Just as long as it doesn't shake, rattle, but rolls should be fine. Making your own rubber parts is above and beyond, frozen or not! fyi; If the body twists, then no amount of adjustment will work. There's usually measurements that are indictive, for collision work, etc. Not sure what P did for that? I'm trying to forget my body mount "ordeal" on my truck. This is elegant. Generally, the "frame off", means the two pieces were completely separated and refurbished then mated, not piece meal. It's kinda misnomer because the body comes off, not the frame? Should be a complete body off and frame restoration. But I'm messing with you now.
Posted on: 3/14 12:06
|
|||
|
||||
|
Re: Body Mounts
|
||||
|---|---|---|---|---|
|
Home away from home
|
Quote:
The shop manual does talk about fitment and how to check body alignment, which will be a project for after I'm done my floor pan repairs and have all my new mounts in place. A list of what parts go in what place I have not been able to find and haven't been able to come up with a list using the parts book either, so I just pulled out one side to figure out what all I needed, much of of the hardware I'm able to reuse. Torque is 20-23 foot lbs for the cushions. Manual doesn't say, but I would suspect that this would be something to check after a couple of weeks once things have settled. I suspect finding out the density of the original cushions is probably not likely. I figure the cushions that I have will either compress a bit more if they are softer, or a bit less if they are harder when torqued correctly. (I have heard that Steele Rubber mounts are too "soft".) The manual also says it's a good way to check for frame or body damage, that is, if the mount holes are not lining up that is a good indication that something has been bent, possibly due to a collision.
Posted on: 3/14 13:19
|
|||
|
||||
|
Re: Body Mounts
|
||||
|---|---|---|---|---|
|
Home away from home
|
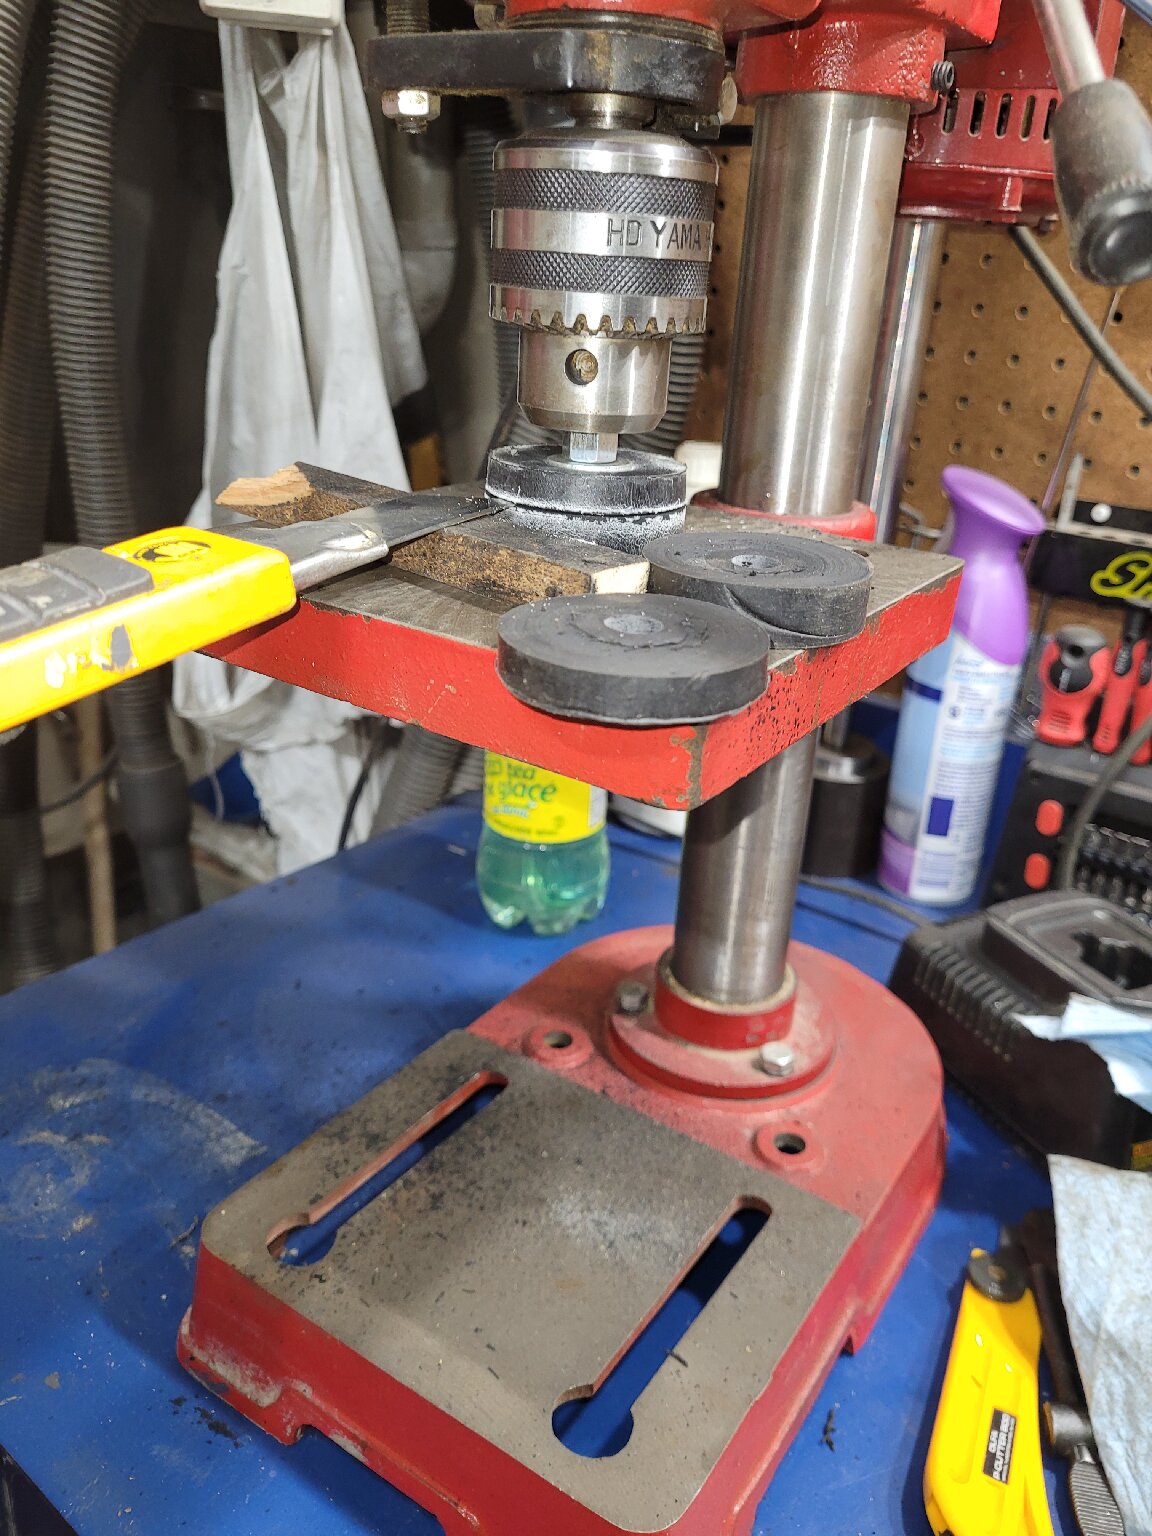
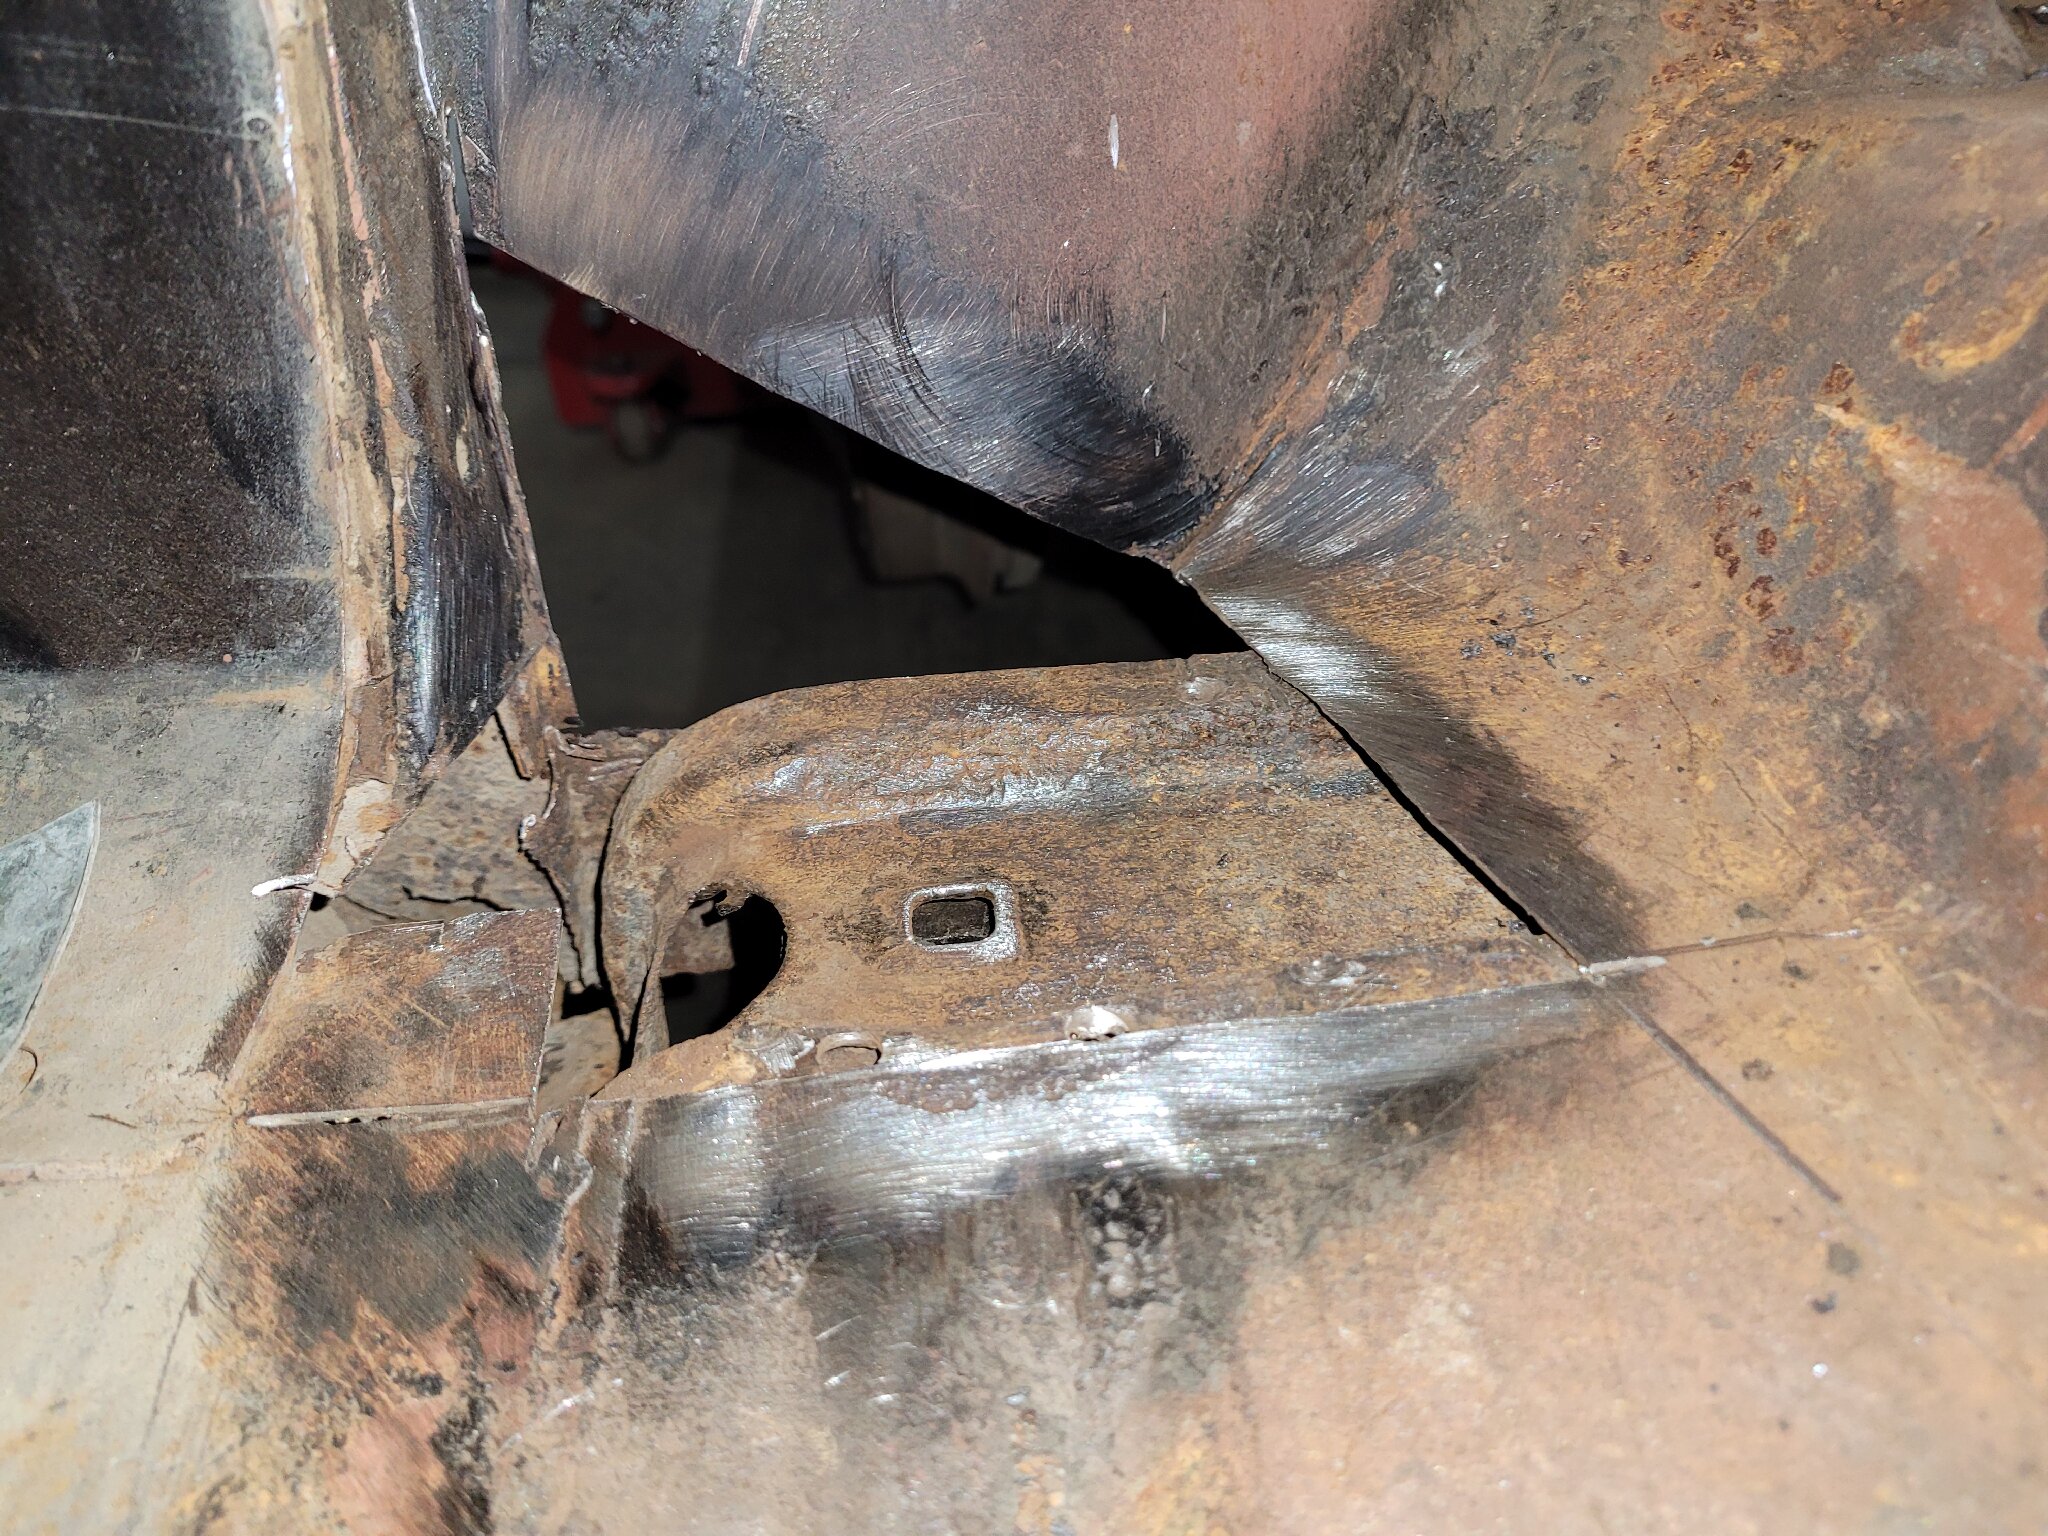
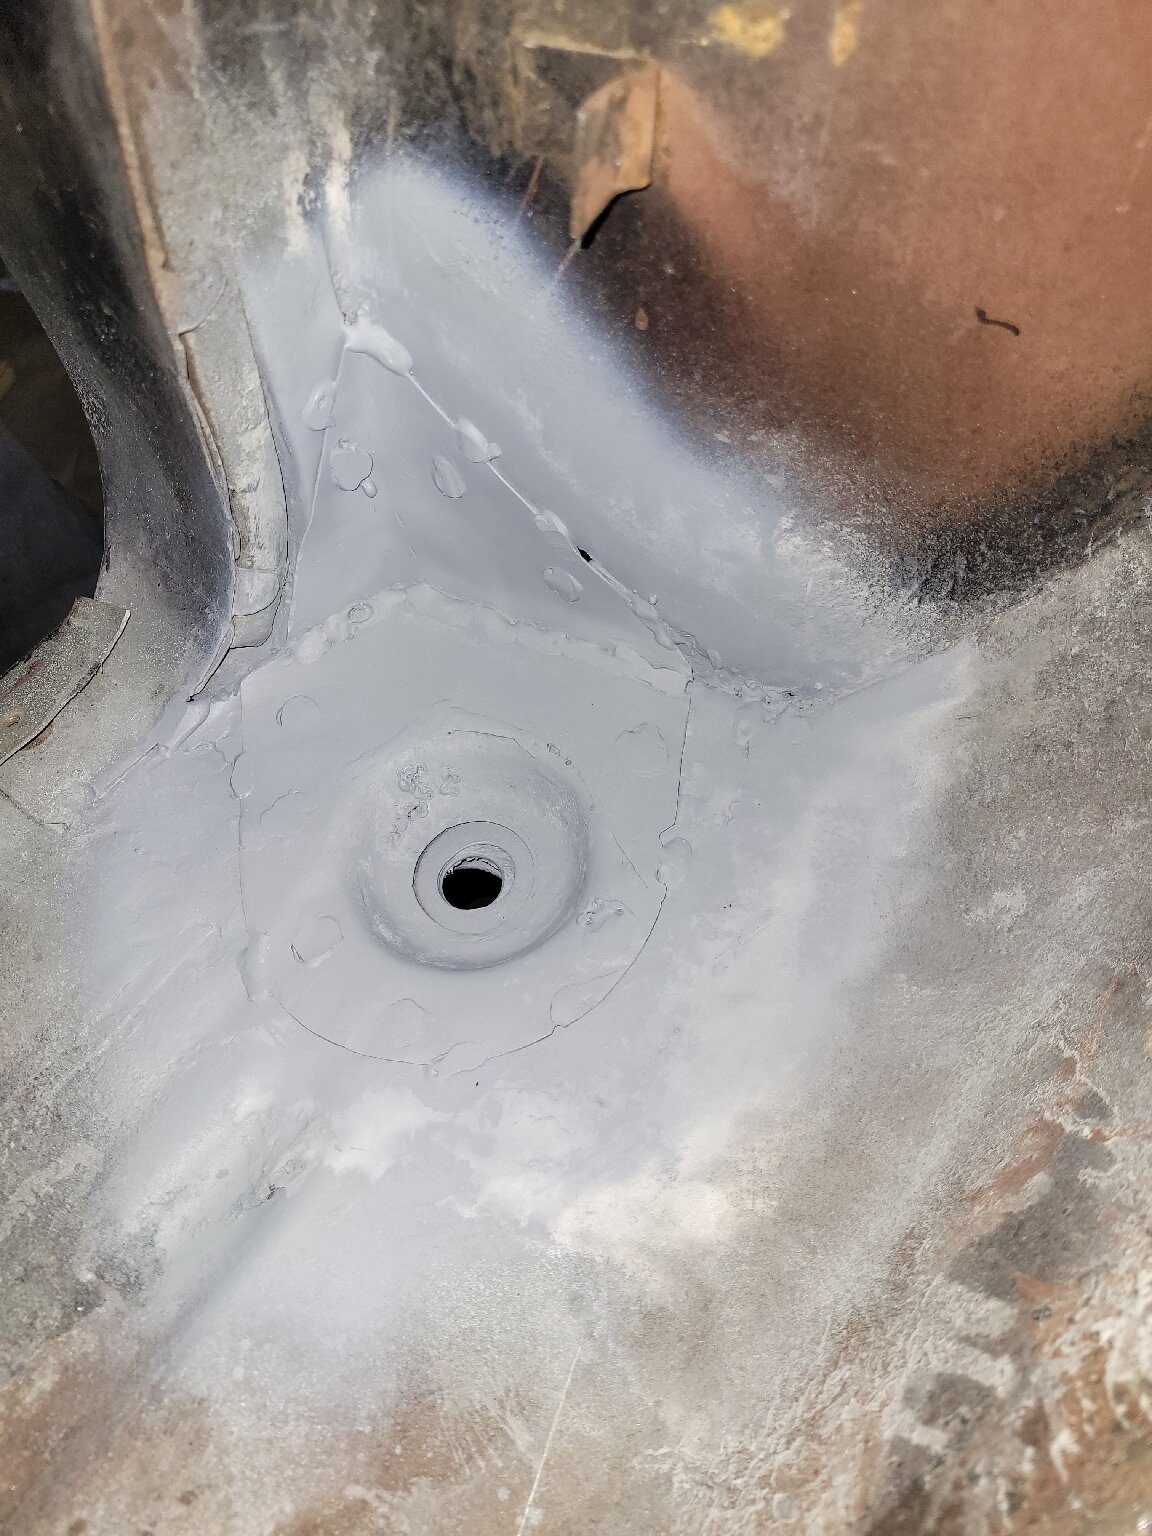
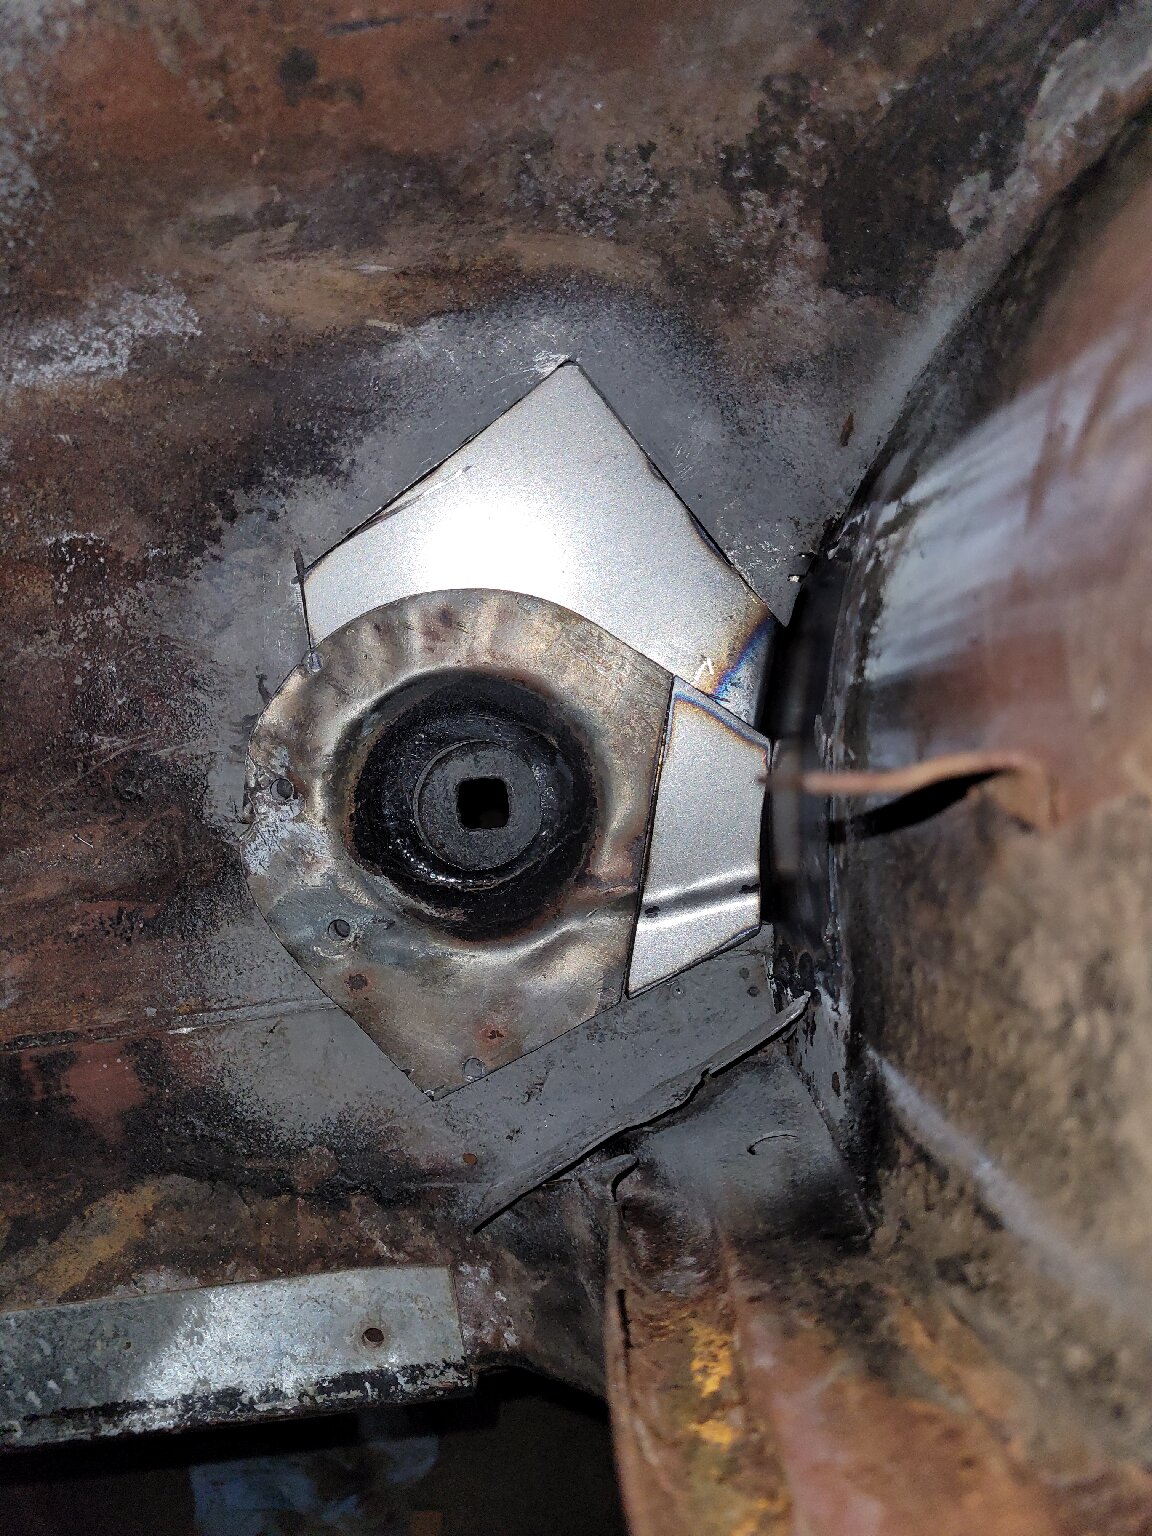
Scraping off the seam sealer of my floor pan to make sure there is nothing hiding that needs some attention. "If you go looking for trouble..." Whoops, I missed this spot! This is outrigger #5 just in front of the rear wheel well on the passenger side.
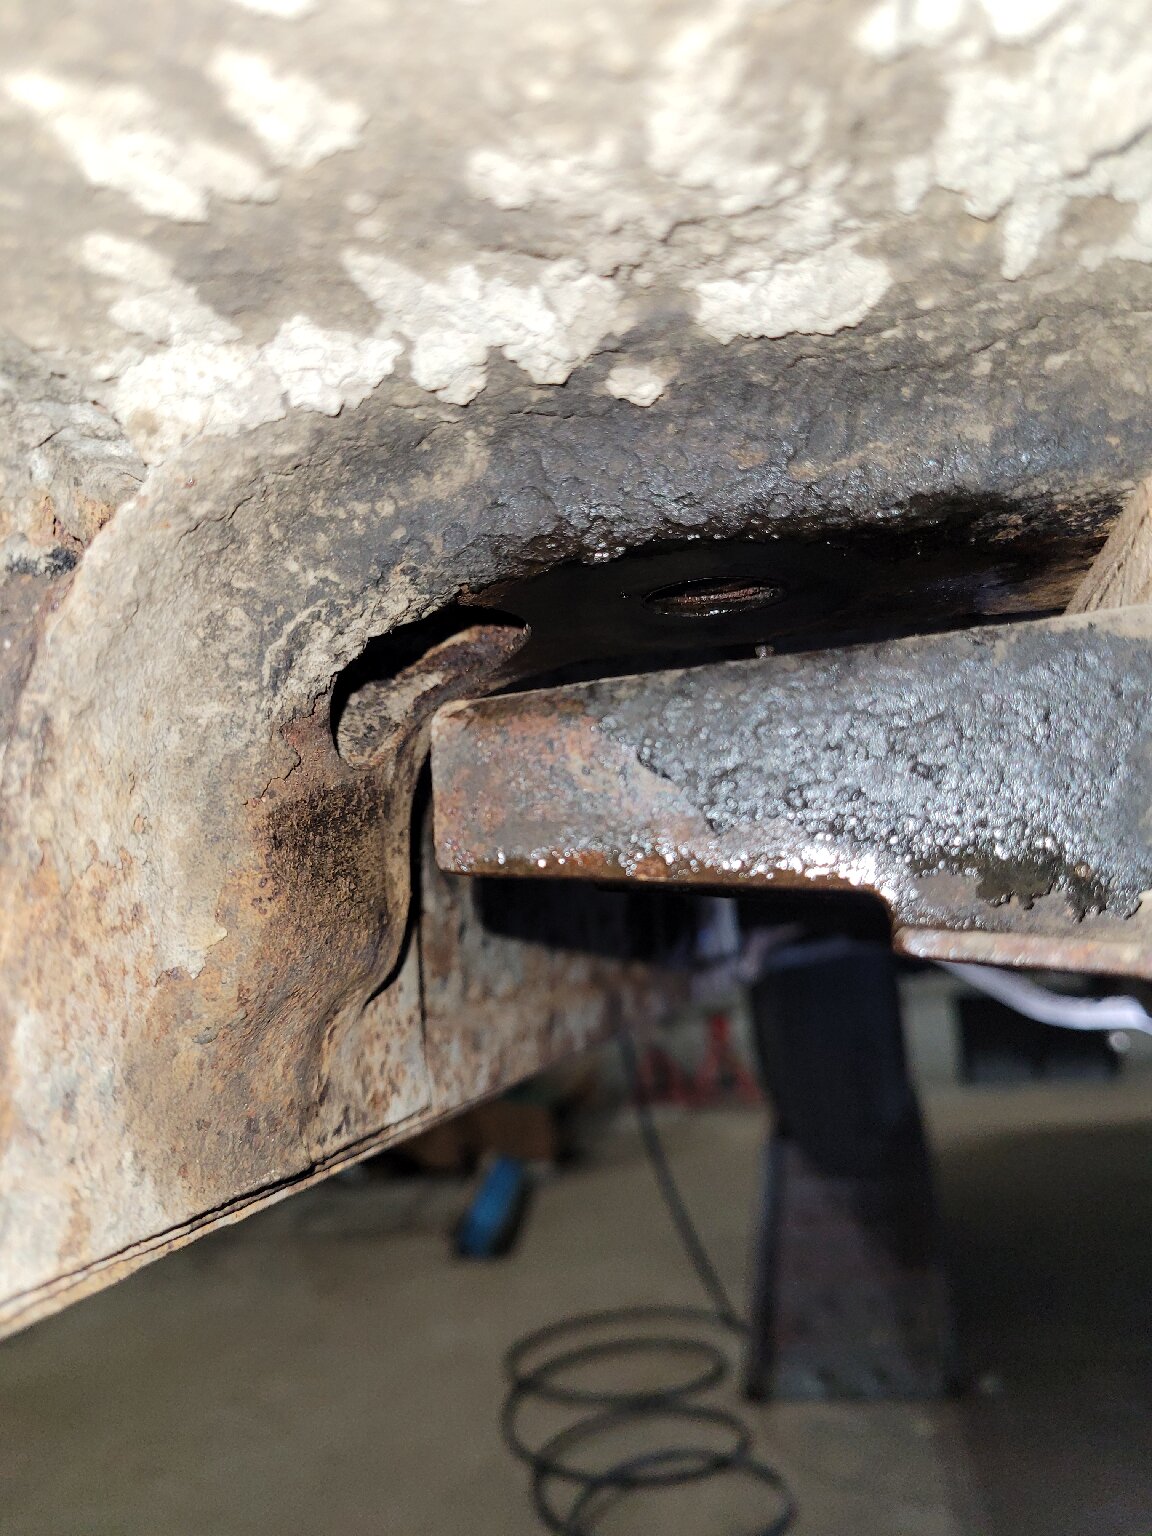
 These mounts are a bit different than the rest in that they don't have a heavy washer on top that presses against the floor pan itself like in this picture. (This is outrigger #4 at the door post.)  Instead, #5 on both sides is bolted down by the brace, but not the pan. Note in the picture below the space around the washer, the floor pan does not go under the washer. (No washer originally, I added that.) This is obviously intentional, but can someone tell me why? Is this to help minimize the transfer of noise or vibration? Maybe it allows additinoal flexibility at this spot?? Has me curious... 🤔 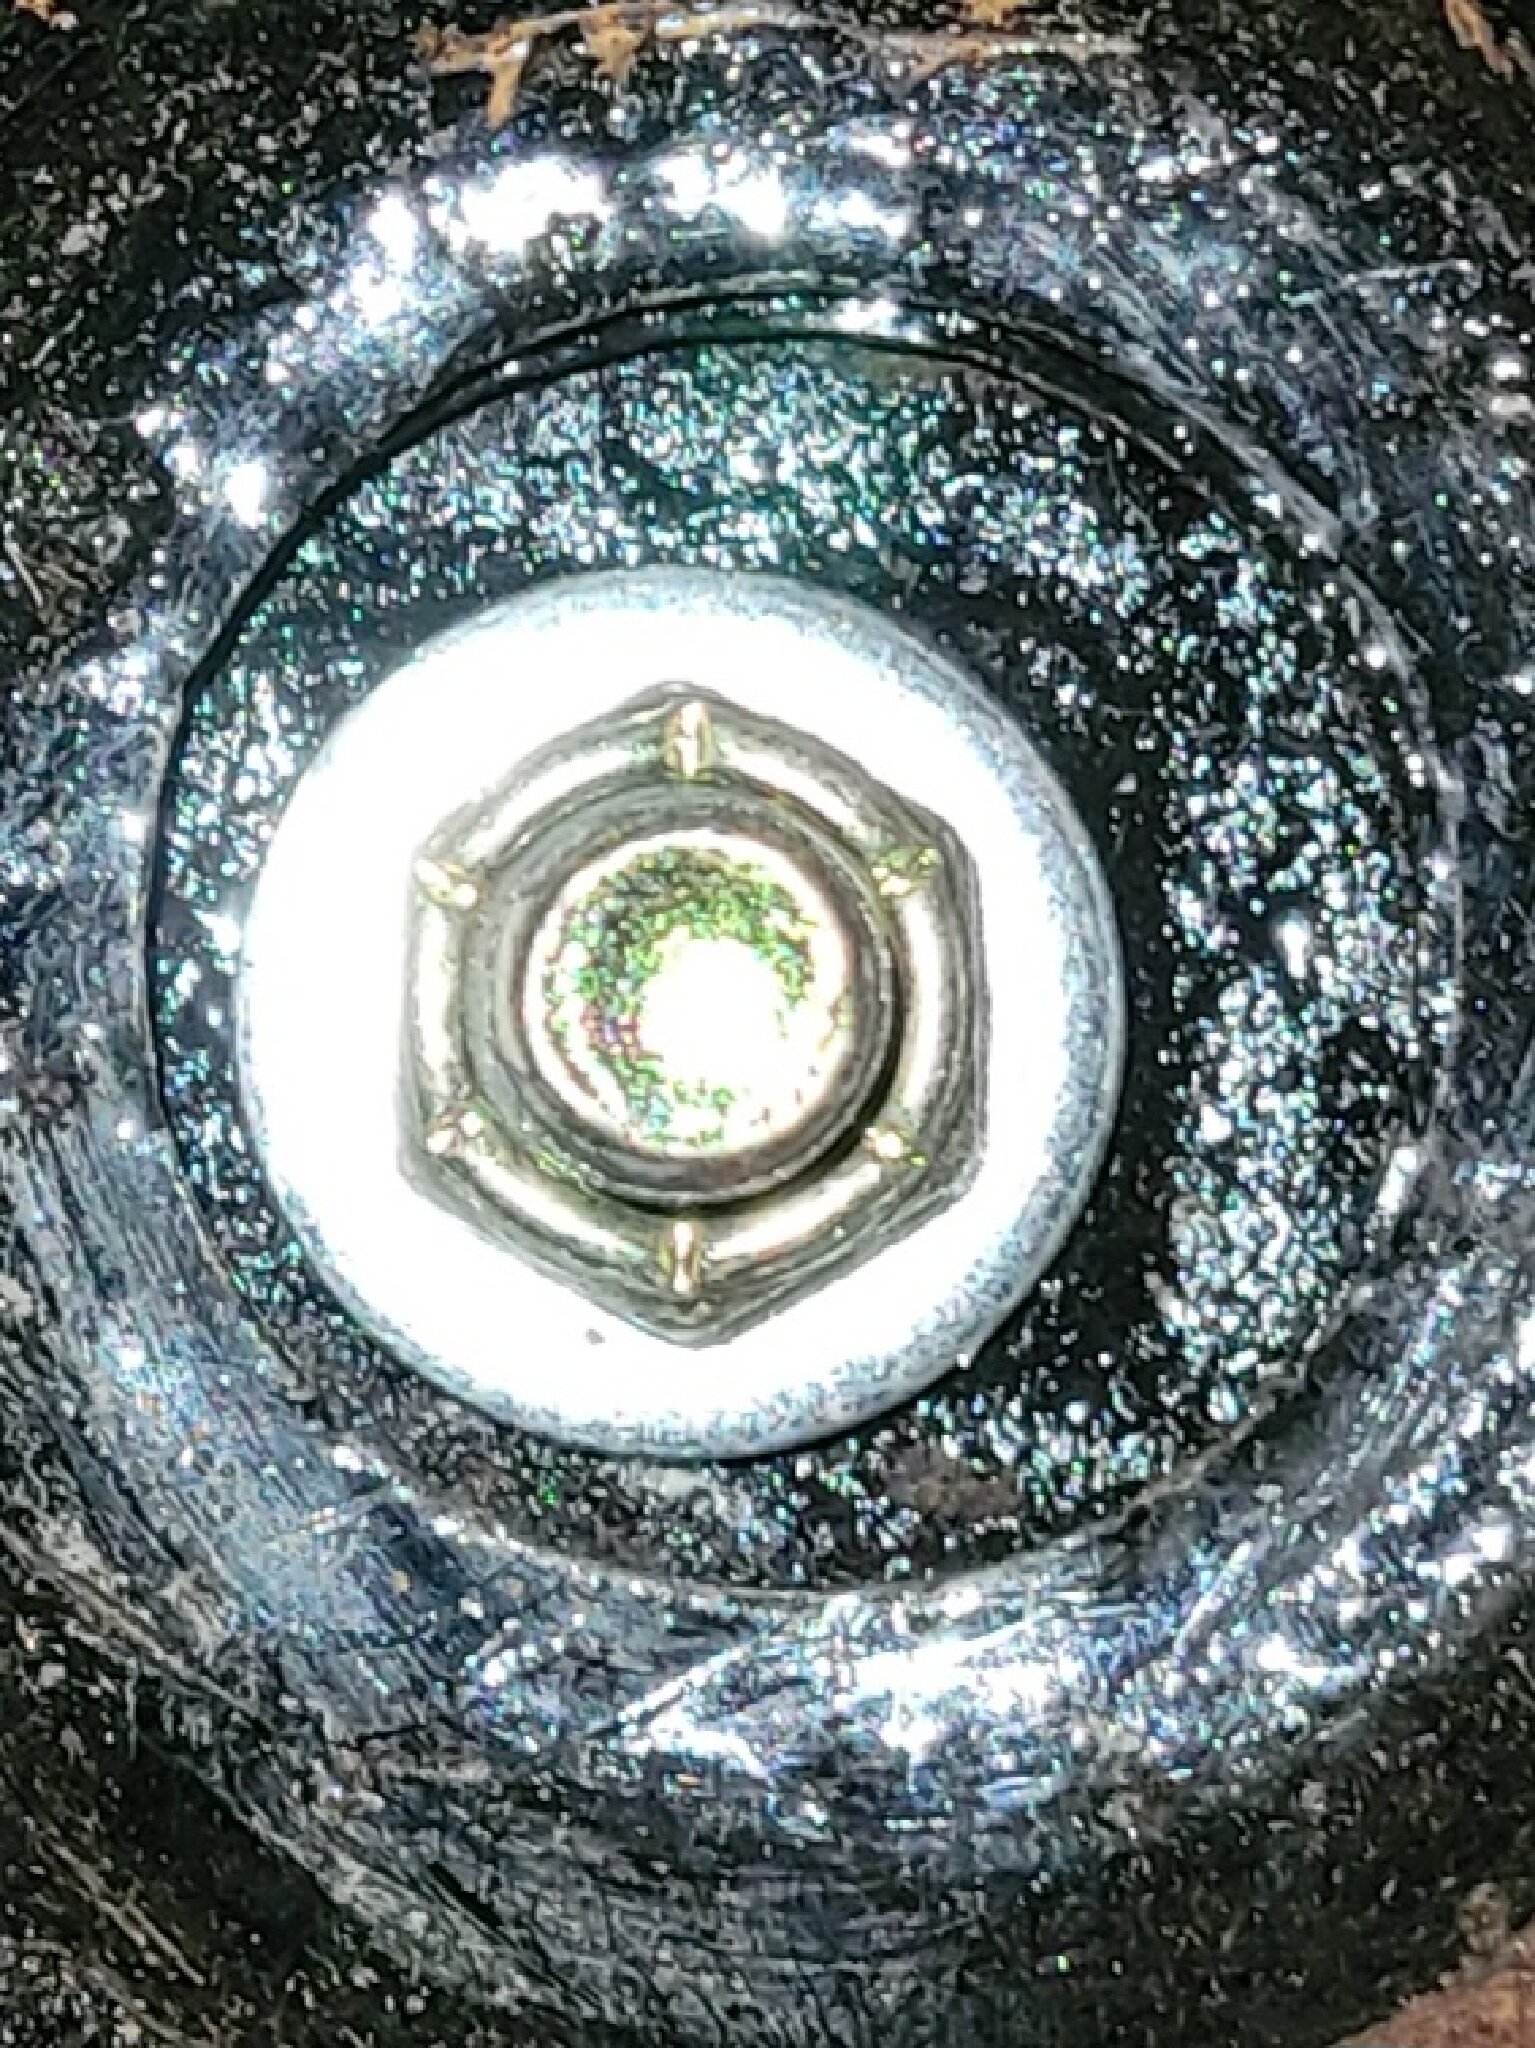
Posted on: 3/18 9:55
|
|||
|
||||
|
Re: Body Mounts
|
||||
|---|---|---|---|---|
|
Home away from home
|
Finish floor pan repairs, then body mounts, then clean and paint floor pan, then......well the list is long, and getting longer! 😬
Posted on: 3/24 23:57
|
|||
|
||||
|
Re: Body Mounts
|
||||
|---|---|---|---|---|
|
Home away from home

|
I see your car has replacement rocker panels. Whilst welding, I suggest you weld them on. That will add a lot of rigidity to the car.
Oh, and that should be solid metal under those rear mounts. A large fender washer will suffice.
Posted on: 3/25 5:27
|
|||
|
||||


