|
Re: The Duchess Project: 1940 Super 8 Convertible Sedan
|
||||
|---|---|---|---|---|
|
Home away from home

|
HEAT RISER: I think the spring is adjusted correctly now, but haven't had a chance to drive much because it's been pouring down rain here. Taking my weekly drive to work this morning, and a drive to Salem tomorrow.
6VOLT to 12VOLT CONVERTER: I installed a 6-to-12volt converter in the frame rail closest to the under-the-seat battery box and connected to a new cigar lighter. I'm using it to charge iPhone, Jabra, iPad (getting a new one in April to use on trip to Seattle) on long trips. Details on this thread: https://packardinfo.com/xoops/html/modules/newbb/viewtopic.php?topic_id=9011&forum=1 DOOR DRAINS: In replacing metal on the bottoms of the doors, two of the drains got plugged with filler, so opened those up again. Attach file:  (70.46 KB) (70.46 KB)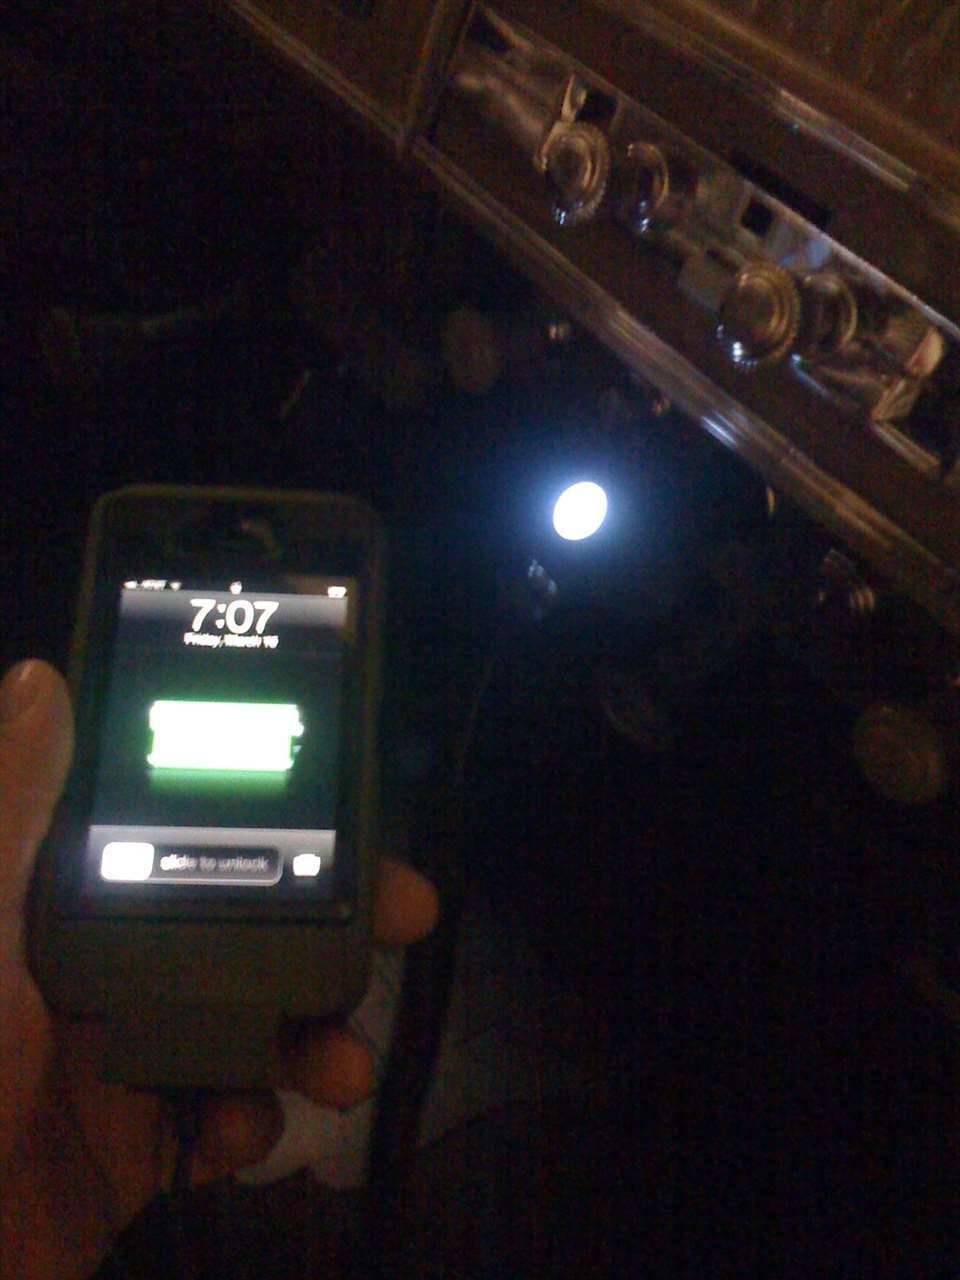
Posted on: 2012/3/16 9:04
|
|||
|
||||
|
Re: The Duchess Project: 1940 Super 8 Convertible Sedan
|
||||
|---|---|---|---|---|
|
Forum Ambassador

|
there are options for the 12v + ground guys and another option from ebay for 6,8,12 guys. price is your discretion.
i like the iphone charging and plan to do something similar in my Packard. 12v+ to - of course...for power and hidden radio. http://www.tessco.com/products/displayProductInfo.do?sku=63318&eventPage=1 http://www.ebay.com/itm/6-8-12-Volt-Positive-Negative-Ground-Radio-Converter-/280844043392#vi-content as always...i enjoy your car!
Posted on: 2012/3/16 9:36
|
|||
|
1937 Packard 138-CD Deluxe Touring Limousine
Maroon/Black 1090-1021 [url=https://packardinfo.com/xoops/html/modules/registry/View.php?ID=232]1955 Packard |
||||
|
||||
|
Re: The Duchess Project: 1940 Super 8 Convertible Sedan
|
||||
|---|---|---|---|---|
|
Home away from home
|
Yes for 6 volt positive ground options to run modern 12 volt devices, Henry. Everyone should do this if you have a smartphone, esp.
But that eBay option you linked only puts out 2-3AMPS. Amps are the key. I bought one that has those specs, but when I took it to the car stereo place to see what kind of entertainment system they could 'gin up to fit in my glove box, they said that converter would be fine...unless you have to turn up the volume or brighten a picture. So I got the 6 amp 6to12volt.com version. Subsequently decided on the iPad because it has everything... netflix movies, you tube video, pandora radio, iTunes music, GPS, plus all the apps... like the ones from AAA, AroundMe, and the like that will be great for traveling. It has its own battery, so it just needs charging and is mobile...take it in the hotel room. I have an original radio, tubes, and it works, but only AM stations (religious fund-raising, Hispanic music, sports, and talk-radio). In my effort to join the digital world, I'm inclined to believe that in a relatively noisy convertible, a headset could give the best sound.
Posted on: 2012/3/16 11:33
|
|||
|
||||
|
Re: The Duchess Project: 1940 Super 8 Convertible Sedan
|
||||
|---|---|---|---|---|
|
Home away from home
|
I have one of the EBay jobs but I have had no trouble running my el-cheapo $39.99 AM/FM radio and GPS at the same time. I imagine if you have a potent radio (amps, sub woofer etc) the 3 amps might not be enough.
Posted on: 2012/3/16 15:47
|
|||
|
1938 1601 Club Coupe
|
||||
|
||||
|
Re: The Duchess Project: 1940 Super 8 Convertible Sedan
|
||||
|---|---|---|---|---|
|
Home away from home
|
For my own organization purposes, I'm gathering Duchess-relevant links.
Ignition https://packardinfo.com/xoops/html/modules/newbb/viewtopic.php?topic_id=10112&forum=1&post_id=107025#forumpost107025 Ignition cables https://packardinfo.com/xoops/html/modules/newbb/viewtopic.php?topic_id=10112&viewmode=flat&order=ASC&type=&mode=0&start=0 ignition/overdrive https://packardinfo.com/xoops/html/modules/newbb/viewtopic.php?topic_id=9873&viewmode=flat&order=ASC&type=&mode=0&start=0 window mechanism https://packardinfo.com/xoops/html/modules/newbb/viewtopic.php?topic_id=10112&forum=1&post_id=107025#forumpost107025 windshield wiper motor https://packardinfo.com/xoops/html/modules/newbb/viewtopic.php?topic_id=7094&forum=1&post_id=76410#forumpost76410 horn position https://packardinfo.com/xoops/html/modules/newbb/viewtopic.php?topic_id=6733&forum=1&post_id=72840#forumpost72840 manual shift https://packardinfo.com/xoops/html/modules/newbb/viewtopic.php?topic_id=6106&viewmode=flat&order=ASC&type=&mode=0&start=0 Jim's blog https://packardinfo.com/xoops/html/modules/newbb/viewtopic.php?topic_id=5335&viewmode=flat&order=ASC&type=&mode=0&start=0 timing https://packardinfo.com/xoops/html/modules/newbb/viewtopic.php?topic_id=10180&forum=1&post_id=107432#forumpost107432 brakes https://packardinfo.com/xoops/html/modules/newbb/viewtopic.php?topic_id=10186&viewmode=flat&order=ASC&type=&mode=0&start=0
Posted on: 2012/8/27 16:36
|
|||
|
||||
|
Re: The Duchess Project: 1940 Super 8 Convertible Sedan
|
||||
|---|---|---|---|---|
|
Home away from home
|
Original thread
https://packardinfo.com/xoops/html/modules/newbb/viewtopic.php?topic_id=10884&viewmode=flat&order=ASC&type=&mode=0&start=0 Words to come after welding. Attach file: (25.69 KB)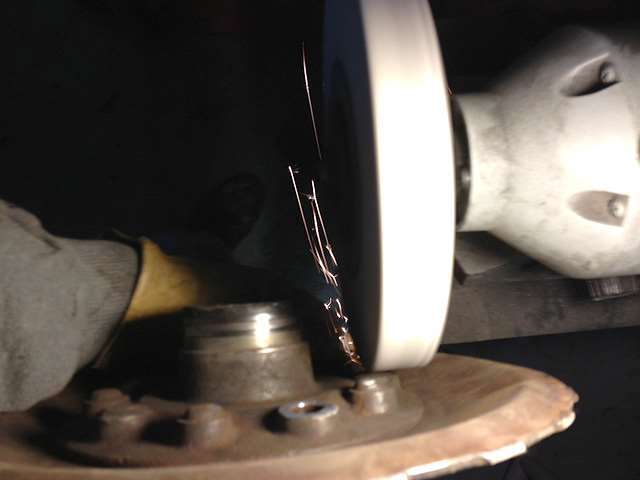 (52.20 KB) (52.20 KB)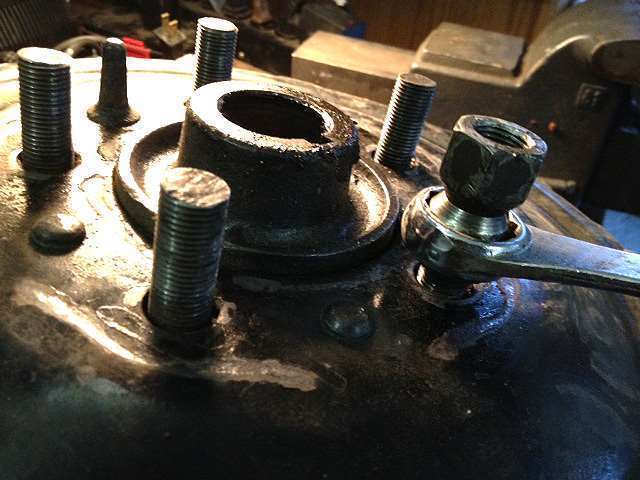 (49.00 KB) (49.00 KB) (52.04 KB) (52.04 KB)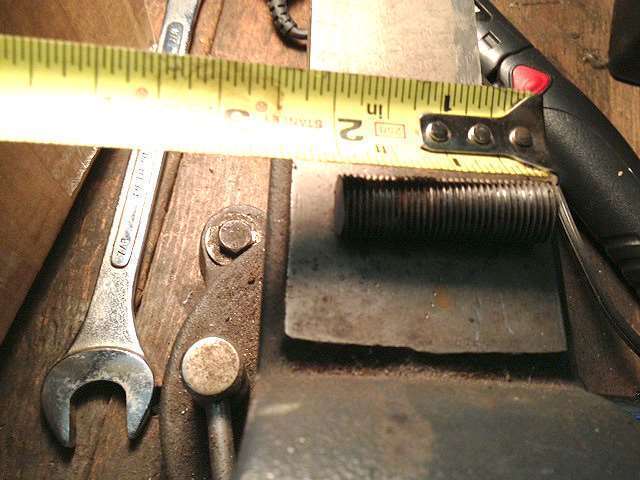 (34.12 KB) (34.12 KB)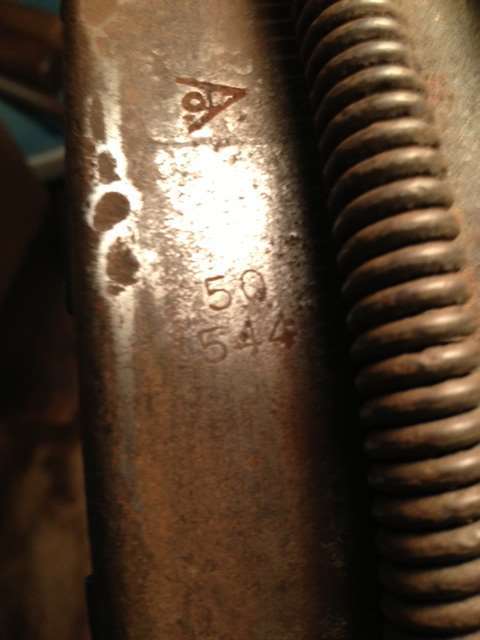 (36.61 KB) (36.61 KB) (53.65 KB) (53.65 KB) (48.05 KB) (48.05 KB)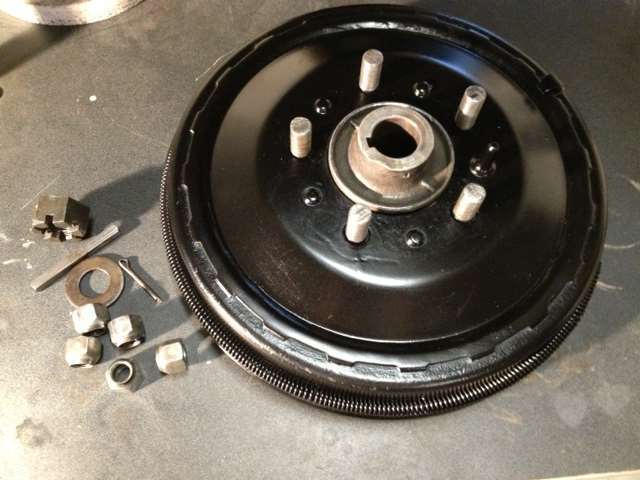 (46.46 KB) (46.46 KB)
Posted on: 2012/12/18 20:18
|
|||
|
||||
|
Re: The Duchess Project: 1940 Super 8 Convertible Sedan
|
||||
|---|---|---|---|---|
|
Home away from home

|
Joe, seeing the photos you just posted of installing studs in the rear brake drums gave me an idea. Thinking out loud: What if one were to un-rivet the rear brake drums from the axle hubs and use the lug bolts (or nuts in your case) to hold the two pieces together? What this would do is allow for easy removal of the rear drums for brake service. This would be much like the flanged axle design used on the 1956 Packards, and many others before that. Just a thought.
(o{}o)
Posted on: 2012/12/19 13:55
|
|||
|
We move toward
And make happen What occupies our mind... (W. Scherer) |
||||
|
||||
|
Re: The Duchess Project: 1940 Super 8 Convertible Sedan
|
||||
|---|---|---|---|---|
|
Home away from home
|
I was thinking just the other day about your "Duchess Project" and that I hadn't seen anything about it for a while. Good to get an update and your "re-organization" idea is brilliant.
PS I "share your pain" about the weather here lately!
Posted on: 2012/12/19 16:24
|
|||
|
1951 200 Deluxe Touring Sedan
1951 200 Deluxe Touring Sedan (parts ?) 1951 Patrician Touring Sedan 1955 Patrician Touring Sedan |
||||
|
||||
|
Re: The Duchess Project: 1940 Super 8 Convertible Sedan
|
||||
|---|---|---|---|---|
|
Home away from home
|
JW: With as much discussion as there's been on difficulties popping off those rear drums after they've been on awhile, a better solution would be welcomed. The problem for me is I'm too dense mechanically or spatially to understand the solution you propose.
And I always worry that there might have been a reason for engineering it the way they did it. Like replacing the bolts with studs. We did it because over the years, esp using air tools, the original nuts kept making the holes in the wheel rims bigger and bigger, until one day in 1980, parking on a slight incline I cranked the wheel pretty tight and a few nuts pulled through the rim. With new studs we were able to use some larger nuts. I get that you could grind off and release the 5 rivets that alternate with the stud positions on the hub. Then I'm sort of lost. Jim: Right. You can have a blog, but if you have a specific problem, I think it's better to start a new thread. Problem is a lot of restoration ends up on disparate threads, so I wanted to pull them together and list their topics. I think I could search for JoeSantana and all those threads would be returned. Jim, I can't find a welder to weld those studs. My son was going to do it, but he and my daughter-in-law left for week in Cancun and won't be back til Saturday. He gave me the number of a welder whose phone is disconnected, and I've called every welder in Beaverton, Tigard and Tualatin. Some only do high-end medical and food processing welding, others huge steel structures, and the rest, their phones are disconnected. They don't return their calls. Even the primary supplier for welders is out of business. What's this world coming too? Got any suggestions?
Posted on: 2012/12/19 18:35
|
|||
|
||||


