|
Re: BigKev's 1954 Packard Clipper Deluxe Sedan
|
||||
|---|---|---|---|---|
|
Webmaster
|
Only a little time tonight in the garage tonight.
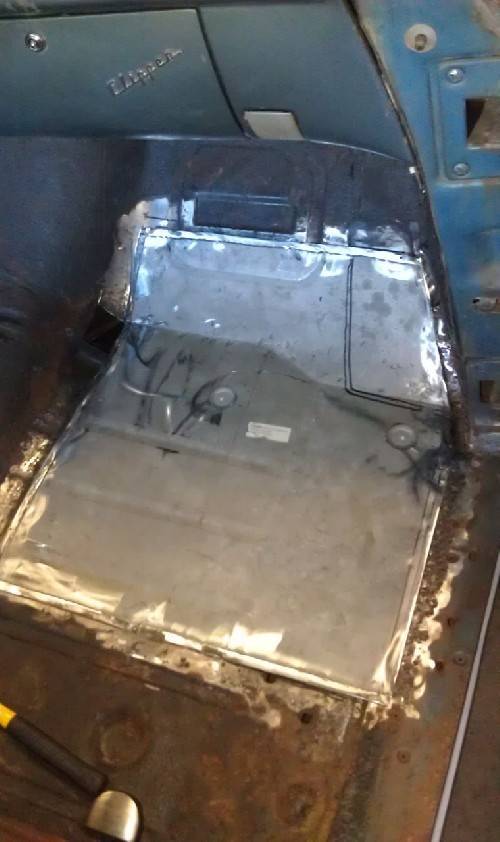
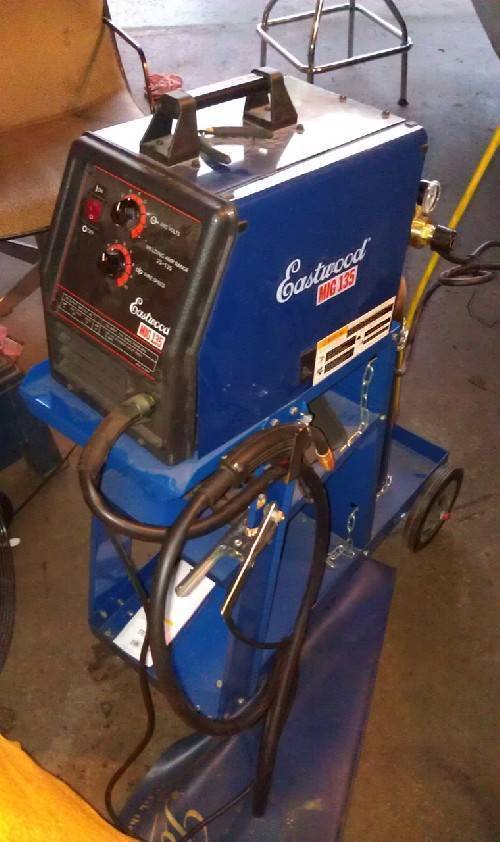
I used a stripping wheel to remove the primer/coating on the new pan to give me a clean weld area. With that done it was welding time. This is the first time I am using this Welder, and on top of that I haven't welded anything in about two years, and even back then my welding was limited to some small hole filling and tach welding. So it took a few ugly welds before I got the machine and my technique dialed in. The pan is about 80% welded in at this point. There is one corner that is not laying flat up near the kick panel because of the curvature and transition there. So I need to use a plastic metal working mallet to "encourage" it into place. Then I can finish the welding there. I am sure I will need to reweld a couple of the "ugly" spot once I grind everything down. I also still need to finish working on that smaller patch, and get that welded into place.
Posted on: 2011/8/18 21:53
|
|||
|
-BigKev
1954 Packard Clipper Deluxe Touring Sedan -> Registry | Project Blog 1937 Packard 115-C Convertible Coupe -> Registry | Project Blog |
||||
|
||||
|
Re: BigKev's 1954 Packard Clipper Deluxe Sedan
|
||||
|---|---|---|---|---|
|
Webmaster
|
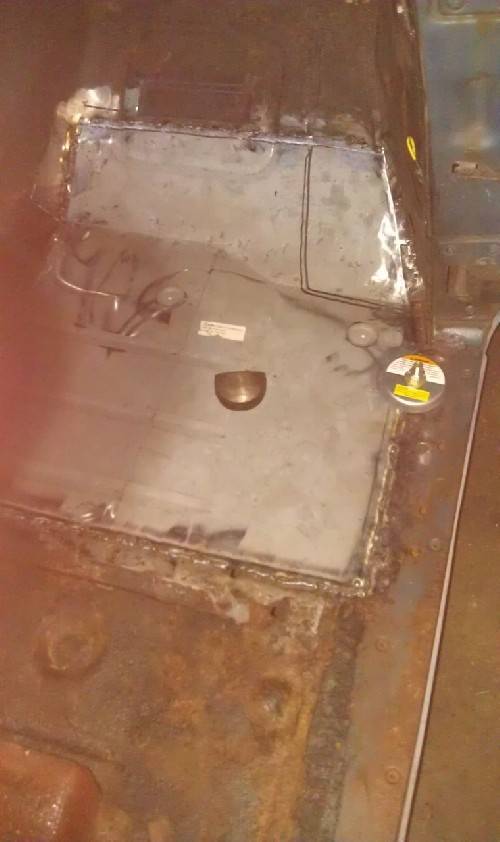
Passenger Side floor is welded in. I still need to plug weld it to the support braces, and also enlarge and deepen the the body mount holes as they are not wide enough, nor are the deep enough.
I discovered that using a planishing bit in an air-chisle works wonders for quickly shaping metal to your will. About to start cutting out the drivers side floor next. First have to remove the toe-board panel and pedals. Currently all the fasteners are soaking in some PB Blaster as I don't think any of them have been removed since it rolled out of East Grand Ave.
Posted on: 2011/8/22 16:09
|
|||
|
-BigKev
1954 Packard Clipper Deluxe Touring Sedan -> Registry | Project Blog 1937 Packard 115-C Convertible Coupe -> Registry | Project Blog |
||||
|
||||
|
Re: BigKev's 1954 Packard Clipper Deluxe Sedan
|
||||
|---|---|---|---|---|
|
Webmaster
|
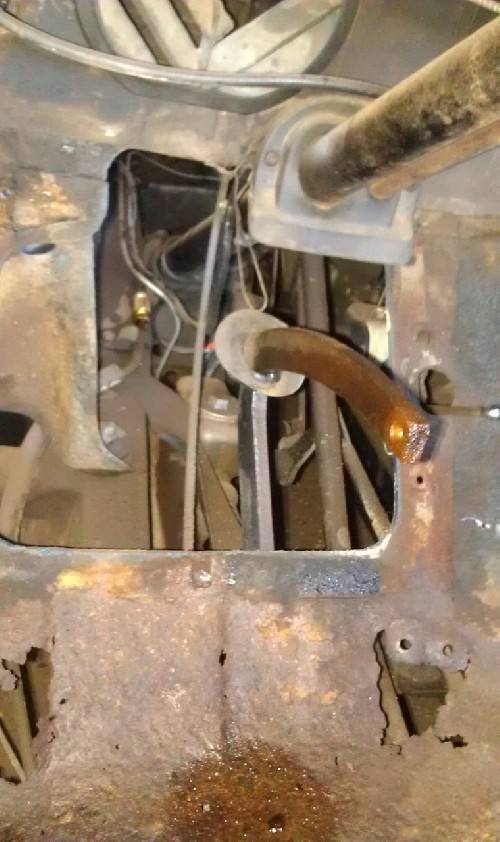
Finally got the screws out of the toe board panel, and got it and pedals removed. For those that haven't seen the manual break setup, you can see the master cylinder through the panel on the frame rail, right behind the steering box.
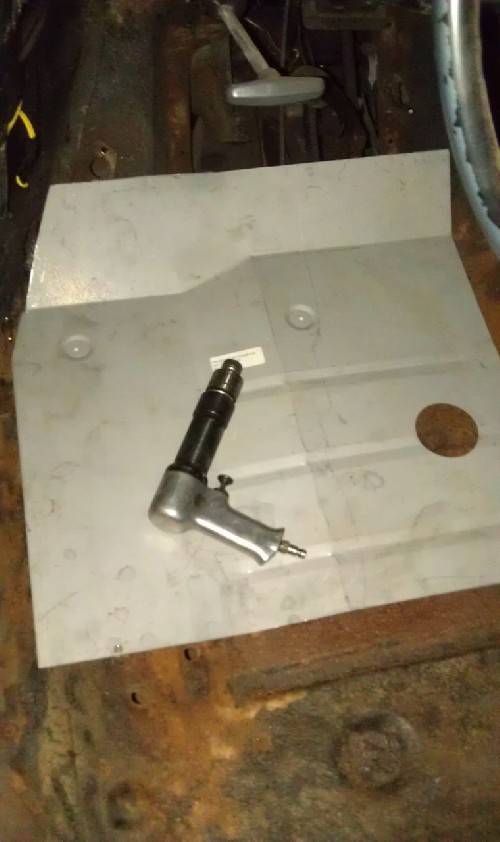
Got the new drivers side pan trimmed, and it held in place with a couple of screws so I can shape the pan over the curved areas correctly using the planishing hammer. Lesson learned from doing the other side. Then once the pan is worked to mimic the contours correctly, then I will trace it's pattern on the old floor, and cut it out. I would have done more tonight, but getting a little late to run the hammer as it makes a hell of a noise.
Posted on: 2011/8/22 23:11
|
|||
|
-BigKev
1954 Packard Clipper Deluxe Touring Sedan -> Registry | Project Blog 1937 Packard 115-C Convertible Coupe -> Registry | Project Blog |
||||
|
||||
|
Re: BigKev's 1954 Packard Clipper Deluxe Sedan
|
||||
|---|---|---|---|---|
|
Webmaster
|
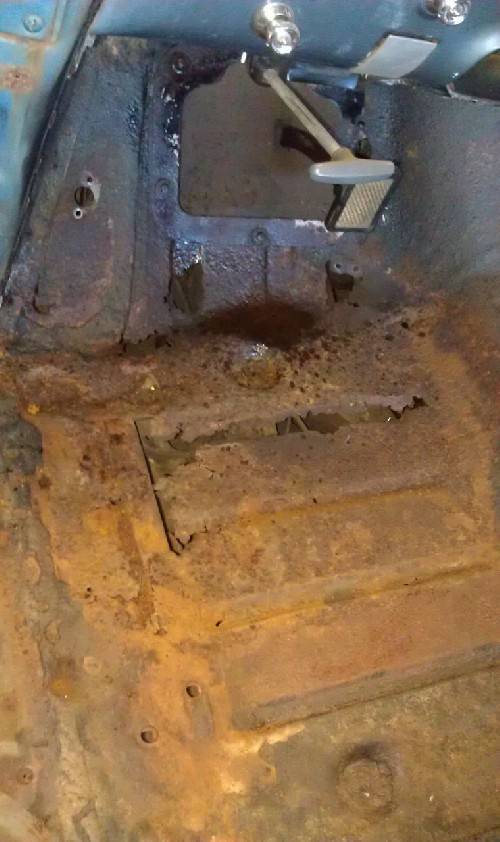
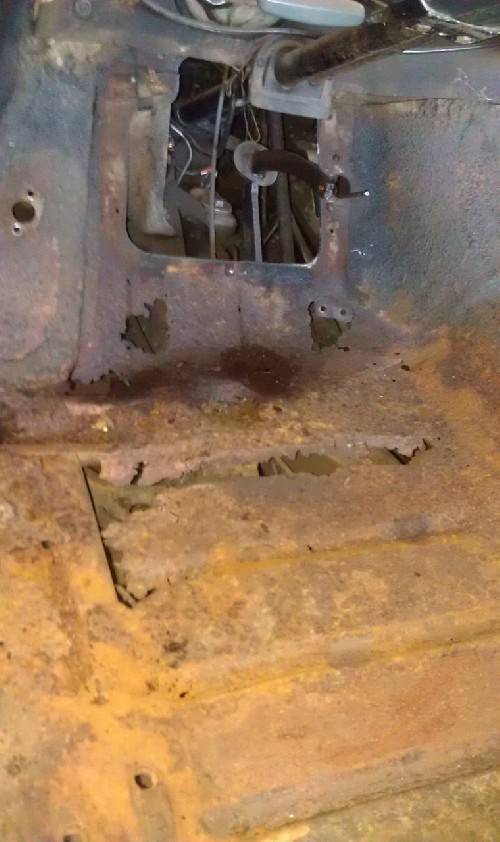
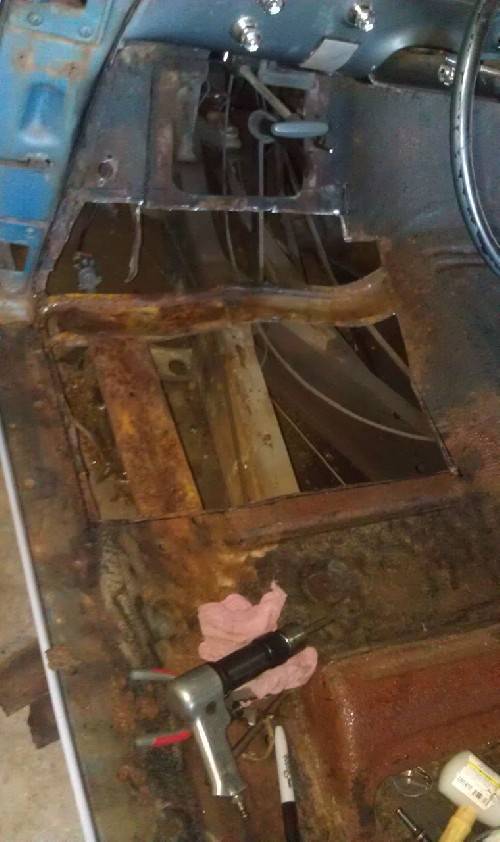
Tonight I used a air chisel cutting bit (Jim suggestion) to cut out the driver side floor. I found it to be may more efficient that the cut off wheel, and didn't shower me with sparks. Also I didn't have to worry about cutting to deep and risk hitting a fuel/brake line, or speedo/e-brake cable.
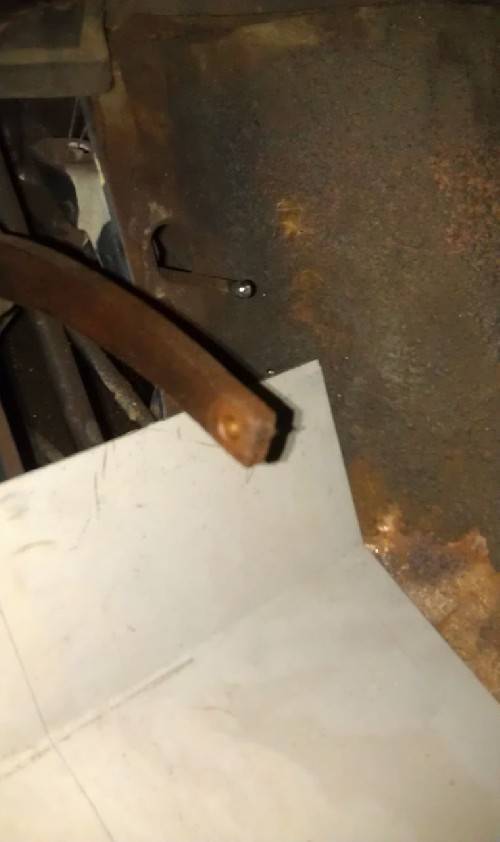
The pan was far worse on this side and really came out in pieces. Also the flange where the two pieces of metal come together in neat the kick pan was rusted through and the spot welds have failed. So that will take some additional work and reconstruction. Also the rust spread further up the tunnel on this side. So a larger patch panel section will be needed since the replacement pan doesn't cover that area.
Posted on: 2011/8/24 21:12
|
|||
|
-BigKev
1954 Packard Clipper Deluxe Touring Sedan -> Registry | Project Blog 1937 Packard 115-C Convertible Coupe -> Registry | Project Blog |
||||
|
||||
|
Re: BigKev's 1954 Packard Clipper Deluxe Sedan
|
||||
|---|---|---|---|---|
|
Webmaster
|
No progress the last couple of days. Yesterday (Wednesday) was my anniversary, and also I have been dealing with the server relocation. On top of that it was 105 and humid here today. We don't do humid here in So Calif.
Supposed to be even hotter tomorrow with a chance of thunderstorms. So that heat and humidity make keep me out of the garage. But if I get up early enough I may do all the metal prep needed to begin welding the driver side pan into place. I need to grind all the areas around the cut out opening to remove rust and old insulation. Also I need to fix the area in the toe board area where the two panels are spot welded together and the welds have failed. But I after all that, I think the general welding will go much smoother that the other side. Stay tuned for more updates over the weekend.
Posted on: 2011/8/26 23:55
|
|||
|
-BigKev
1954 Packard Clipper Deluxe Touring Sedan -> Registry | Project Blog 1937 Packard 115-C Convertible Coupe -> Registry | Project Blog |
||||
|
||||
|
Re: BigKev's 1954 Packard Clipper Deluxe Sedan
|
||||
|---|---|---|---|---|
|
Forum Ambassador
|
After the server relocation, a dose of "Packard Therapy" will work wonders for you Kev. The heat and humidity? That's another matter all together.
Posted on: 2011/8/27 0:54
|
|||
|
Mal
/o[]o\ ====  Bowral, Southern Highlands of NSW, Australia "Out of chaos comes order" - Nietzsche. 1938 Eight Touring Sedan - SOLD 1941 One-Twenty Club Coupe - SOLD 1948 Super Eight Limo, chassis RHD - SOLD 1950 Eight Touring Sedan - SOLD What's this?  Put your Packard in the Packard Vehicle Registry! Here's how! Any questions - PM or email me at ozstatman@gmail.com |
||||
|
||||
|
Re: BigKev's 1954 Packard Clipper Deluxe Sedan
|
||||
|---|---|---|---|---|
|
Webmaster
|
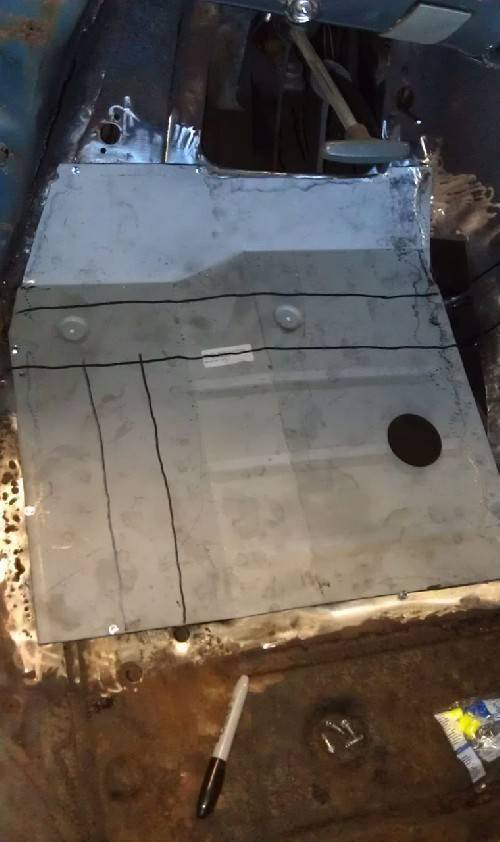
I was able to under floor supports derusted and painted. I also took a grinder to the areas around the cut opening to prep it for welding.
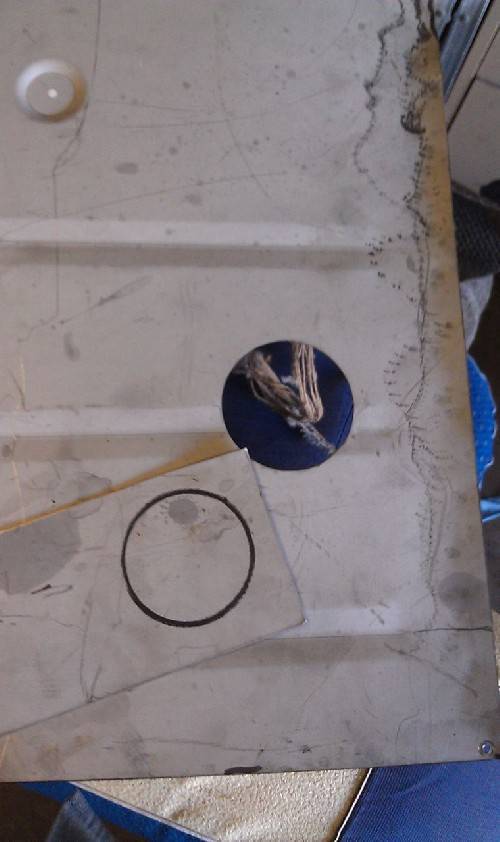
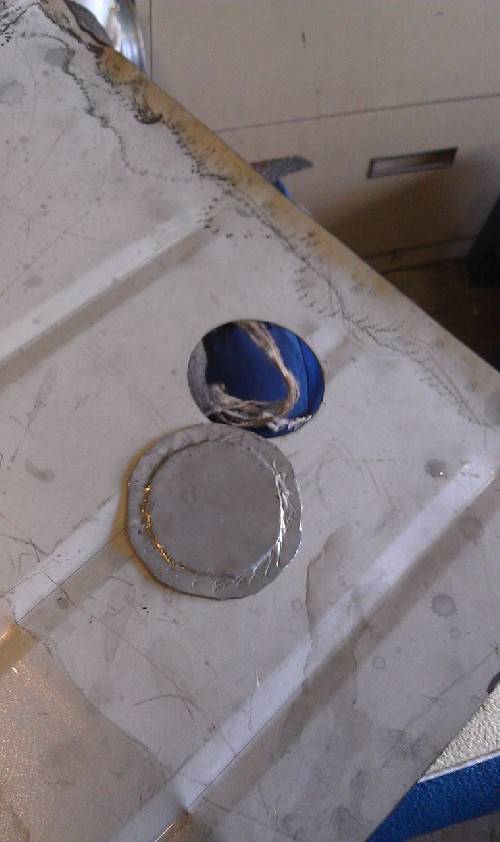
The new pan has a hole cut in the pan for the fill/inspection plate for the earlier ultramatic. My car did not have this originally, and does not need it as I have the under hood dipstick with the GearStart. So I needed to make a patch for it. Using come of the scrap from the pan trimming I made a round patch, and used the flanger on it so it sit down in the hole nicely. I will weld this in after the pan is welded in place. Lastly I used a couple of self tapping machine screws to securely hold the new pan in place. Should be ready for welding tomorrow. It was 105 outside while I was doing all this. Hopefully it will be a bit cooler tomorrow and I was pouring sweat out there.
Posted on: 2011/8/29 21:15
|
|||
|
-BigKev
1954 Packard Clipper Deluxe Touring Sedan -> Registry | Project Blog 1937 Packard 115-C Convertible Coupe -> Registry | Project Blog |
||||
|
||||
|
Re: BigKev's 1954 Packard Clipper Deluxe Sedan
|
||||
|---|---|---|---|---|
|
Webmaster
|
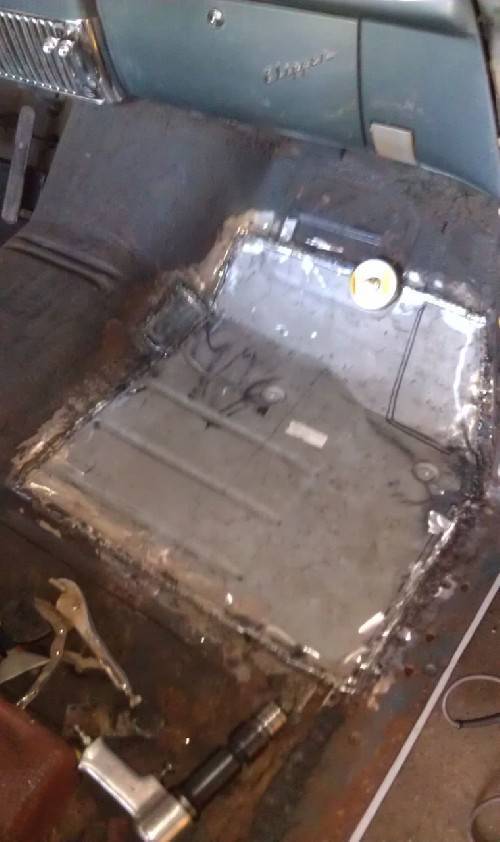
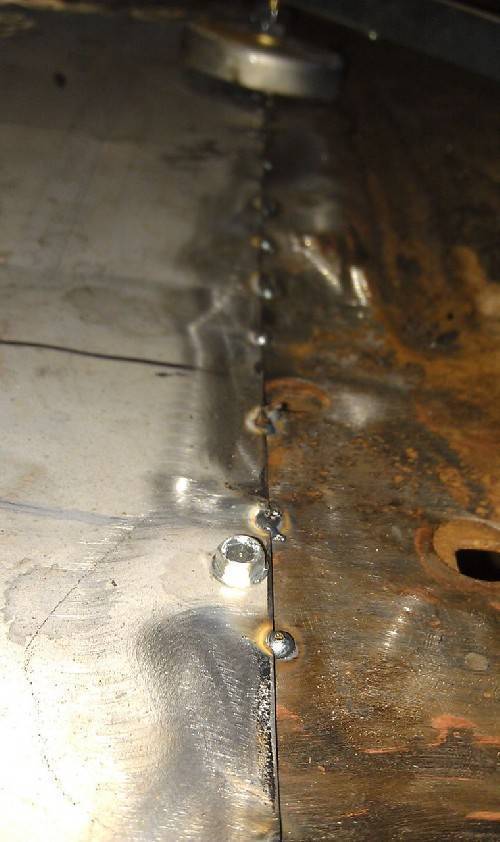
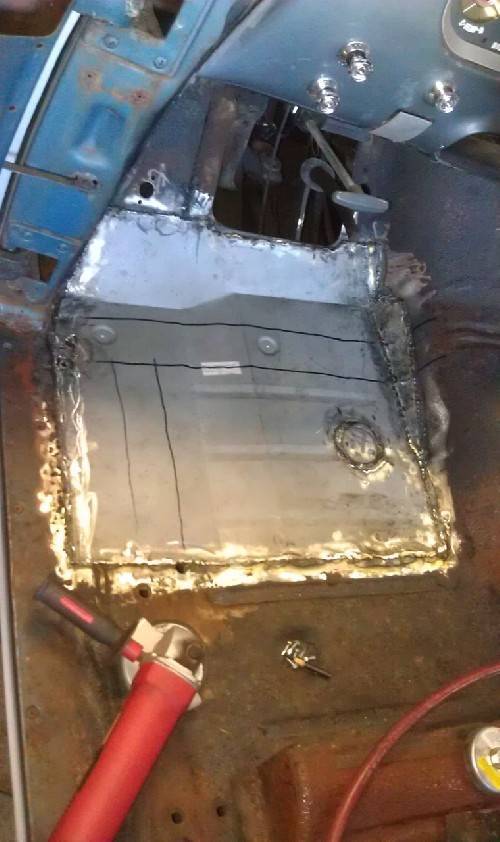
I slept must of the day as I wasn't feeling well then woke up feeling much better. So this evening I decided to finish welding in that driver side floor pan.
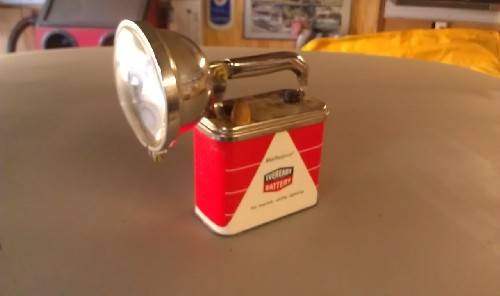
First I tack welded it in place, then fully welded it in. I also welded in the patch for the Ultramatic inspection plate which my car doesn't need. I also had to make and weld in a pie shape patch to repair where the rust extended into the transmission tunnel. Last picture is a neat old battery lantern I found at the local swap meet. Not planning on using it as I imagine the batteries are not available. But I think it makes a neat shelf piece.
Posted on: 2011/8/31 20:25
|
|||
|
-BigKev
1954 Packard Clipper Deluxe Touring Sedan -> Registry | Project Blog 1937 Packard 115-C Convertible Coupe -> Registry | Project Blog |
||||
|
||||
|
Re: BigKev's 1954 Packard Clipper Deluxe Sedan
|
||||
|---|---|---|---|---|
|
Webmaster
|
Thanks Howard, she is slowly getting there. Just a few more small bad spots on the floor to fix.
I think this lantern battery says 6v on the side of it. Just though it was a nice colorful "wall hanger". Not sure how old it is or not.
Posted on: 2011/8/31 20:36
|
|||
|
-BigKev
1954 Packard Clipper Deluxe Touring Sedan -> Registry | Project Blog 1937 Packard 115-C Convertible Coupe -> Registry | Project Blog |
||||
|
||||

 (72.82 KB)