|
Re: Wade's Workshop
|
||||
|---|---|---|---|---|
|
Home away from home

|
Things are really moving ahead there at the workshop.
Love the look of those new pistons and shiny bores Mal! I've got a box of 8 new ones which I get out every now and then for a bit of 'inspiration'! Pity it will be along time before I get them moving 'up & down' like they should!
Posted on: 2010/4/28 8:24
|
|||
|
1951 Packard Club Sedan | [url=ht
|
||||
|
||||
|
Re: Wade's Workshop
|
||||
|---|---|---|---|---|
|
Forum Ambassador

|
Thursday 29th April 2010
Before leaving for the workshop phoned Graham Wilkins about the missing flywheel to crankshaft bolts. Graham rang back a little later to say he didn't have 'em, or couldn't find 'em, but did suggest he could source some ARP replacements. Discussed with Wade on arrival at the workshop and after he scrambled through the "junk box" found 7 of the bolts of which 6 cleaned up nicely which was good 'cause we needed six. I then rang Graham and told him of "our" find and he agreed ARP bolts probably weren't necessary on a standard 120 engine. However, a little later, Wade also rang Graham as we were trial fitting the flywheel because there appeared to be two sets of alignment marks. This was quickly sorted out and we continued fitting the flywheel to the crank per Wade's marks. Flywheel on, next was the clutch and pressure plate which was accomplished thanks to Wade's spare spigot shaft but.....Wade then realised we hadn't installed the clutch fork! Off with the pressure and clutch plates and a slight re-positioning of the engine on the bench so the bellhousing slightly overhung the end to give clearance for the clutch fork. And, after the fork was bolted to the bellhousing, back on with the clutch and pressure plates. During this Wade had been in and out of Noel's '39 familiarising himself with and inspecting the wiring harness and starting dis-assembly of portions of it. Along the way he has discovered a number of not too good connections, inappropriate routing and other less than satisfactory situations, he was not impressed! But what could I do next on the '41 engine? Why re-install the tappet covers. Fairly straightforward, even for me, the only real drawback being the gasket cement used. I tend to be fairly heavy handed so consequently end up with this sticky substance on myself as well as the gasket and sealing surfaces. What else to do on the engine? Why the oil pump and the water pump. Had previously dis-assembled and cleaned the oil pump but still needed Stan to drill the new shaft so the gear could be pinned to it. Although Wade's done this before it was decided to have Stan, our machining man, do the job. Wade rang Stan and arranged I'd take the pump body, new shaft, pin and gear over to Stan on my way home in the afternoon. Wade also marked up the instructions that came with the oil pump kit so Stan had everything he needed for the job. The water pump? Although it was functioning well when we took the engine out for rebuild it was decided to rebuild it as well. And here's where some advice would be welcome. There is a clip that positions the shaft in the housing which inserts via an access hole in the housing. And when taking the clip out, it snapped! Wade would like to know if the groove is also present in the housing as well as the shaft? Or if anyone has come up against this situation and how was it solved? Doesn't want to jump into it and push the shaft out and damage the housing. So, HELP! Speaking of pushing things out, I was entrusted with pushing the old throw out bearing off it's collar. Now in this situation, rather than being "entrusted" it was more akin to a pilots first solo flight. While I'd watched and assisted on numerous occasions where Wade had pressed things in, out, off and on I'd never done it myself! At this juncture Noel arrived with some parts for DavidM, which he'll pickup tomorrow, together with manuals and wiring diagrams for the '39. Leaving Wade and Noel to discuss things, I managed to press the collar out of the old throw out bearing. Then, reversing the operation, pressed the new bearing onto the collar. Although relatively straight forward, I think I gained my wings on my first solo attempt! And speaking of wings, Wade and Gina are off in Big Red tomorrow for the Wings Wheels Wine & Wool weekend at Mudgee. In preparation for which Wade had spent some time today checking Big Red over in readiness for the trip. Attach file:  (34.16 KB) (34.16 KB)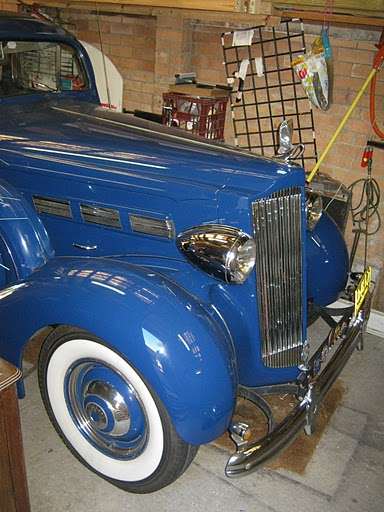 (44.94 KB) (44.94 KB) (25.92 KB) (25.92 KB)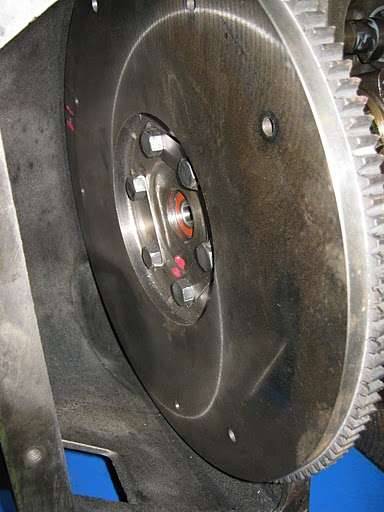 (30.66 KB) (30.66 KB)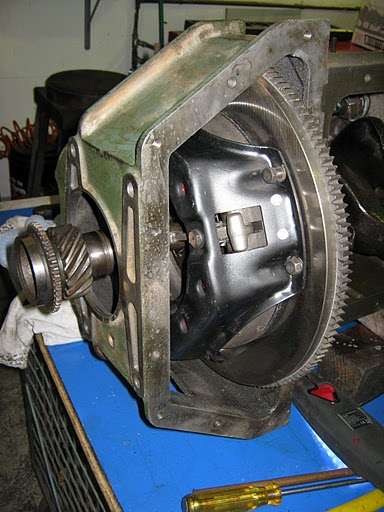 (35.29 KB) (35.29 KB)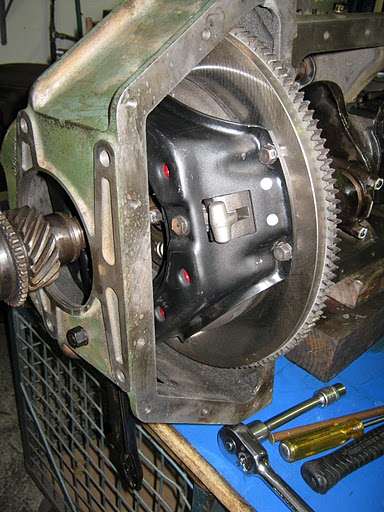 (22.63 KB) (22.63 KB)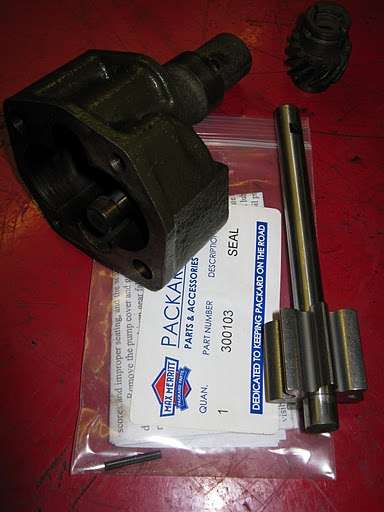 (35.67 KB) (35.67 KB) (35.14 KB) (35.14 KB)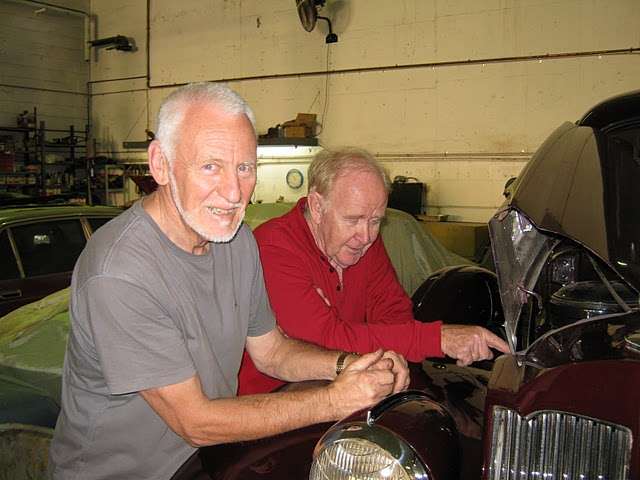 (43.43 KB) (43.43 KB)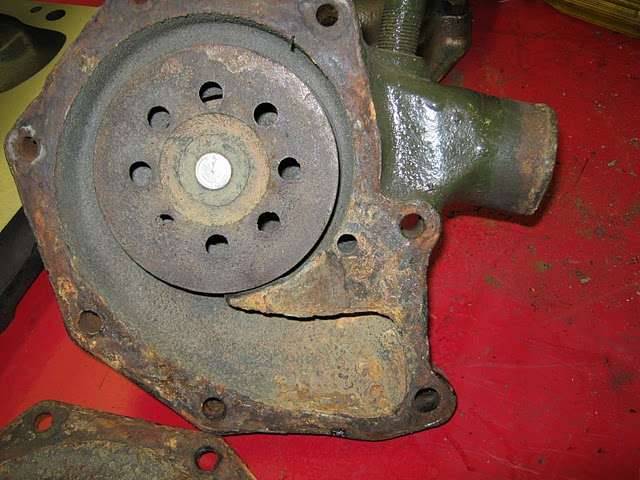 (29.72 KB) (29.72 KB)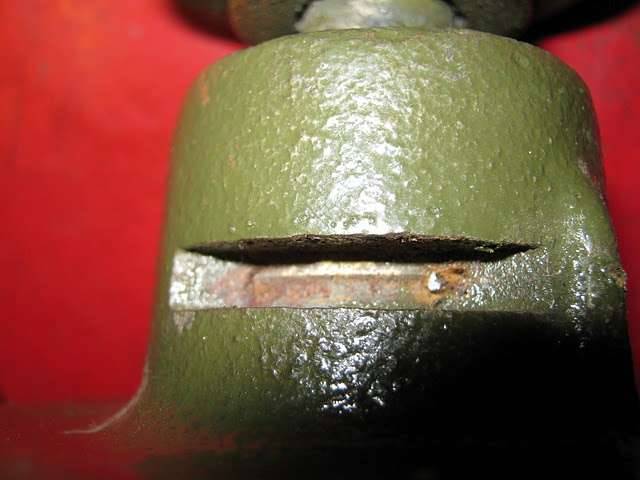 (33.43 KB) (33.43 KB)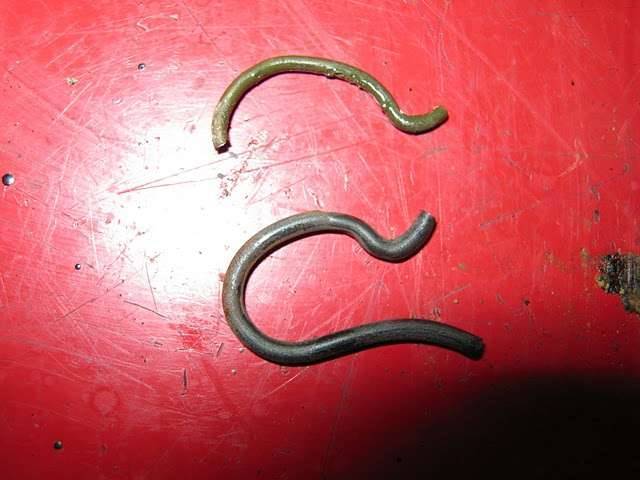 (21.75 KB) (21.75 KB)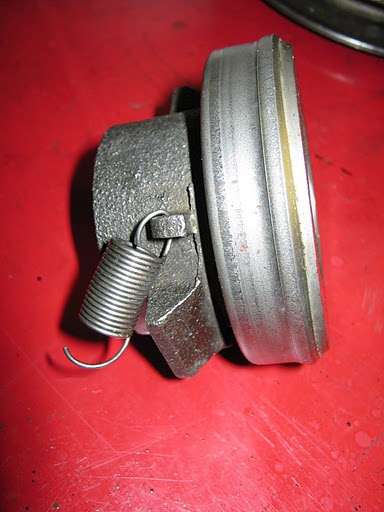 (33.00 KB) (33.00 KB)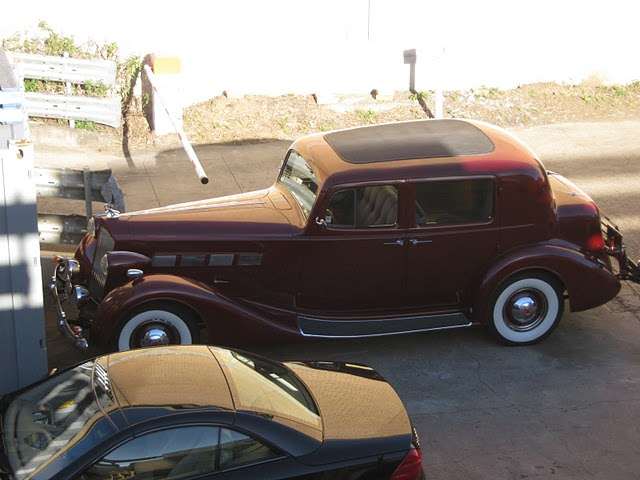
Posted on: 2010/4/29 6:39
|
|||
|
Mal
/o[]o\ ====  Bowral, Southern Highlands of NSW, Australia "Out of chaos comes order" - Nietzsche. 1938 Eight Touring Sedan - SOLD 1941 One-Twenty Club Coupe - SOLD 1948 Super Eight Limo, chassis RHD - SOLD 1950 Eight Touring Sedan - SOLD What's this?  Put your Packard in the Packard Vehicle Registry! Here's how! Any questions - PM or email me at ozstatman@gmail.com |
||||
|
||||
|
Re: Wade's Workshop
|
||||
|---|---|---|---|---|
|
Forum Ambassador
|
Sunday 2nd May 2010
Between short sessions power sanding the '41's running boards, short sessions because the palm held belt sander being used heats up quickly, I thought I'd do this..... Quote:
But.......It doesn't seem to appear in the Parts X-Ref. Kev, what am I doing wrong? 
Posted on: 2010/5/1 23:18
|
|||
|
Mal
/o[]o\ ==== Bowral, Southern Highlands of NSW, Australia "Out of chaos comes order" - Nietzsche. 1938 Eight Touring Sedan - SOLD 1941 One-Twenty Club Coupe - SOLD 1948 Super Eight Limo, chassis RHD - SOLD 1950 Eight Touring Sedan - SOLD What's this? Put your Packard in the Packard Vehicle Registry! Here's how! Any questions - PM or email me at ozstatman@gmail.com |
||||
|
||||
|
Re: Wade's Workshop
|
||||
|---|---|---|---|---|
|
Webmaster

|
Mal send me the info you are trying to add and I will try it from my side.
Posted on: 2010/5/2 18:25
|
|||
|
-BigKev
1954 Packard Clipper Deluxe Touring Sedan -> Registry | Project Blog 1937 Packard 115-C Convertible Coupe -> Registry | Project Blog |
||||
|
||||
|
Re: Wade's Workshop
|
||||
|---|---|---|---|---|
|
Forum Ambassador
|
Quote:
BigKev wrote: Mal send me the info you are trying to add and I will try it from my side.  for the offer, but I tried it again today and it worked! for the offer, but I tried it again today and it worked!Only trouble is, some time ago I promised the Flackmaster I'd put in some cross references for '37 Super 8 wheel bearings which I didn't do at the time. Now, with the passing of time, and "old-timers" disease playing it's part, although I have pic's of the parts and boxes with #'s I don't know which refers to what! Sorry David, I now know I should have done it at the time.
Posted on: 2010/5/2 19:51
|
|||
|
Mal
/o[]o\ ==== Bowral, Southern Highlands of NSW, Australia "Out of chaos comes order" - Nietzsche. 1938 Eight Touring Sedan - SOLD 1941 One-Twenty Club Coupe - SOLD 1948 Super Eight Limo, chassis RHD - SOLD 1950 Eight Touring Sedan - SOLD What's this? Put your Packard in the Packard Vehicle Registry! Here's how! Any questions - PM or email me at ozstatman@gmail.com |
||||
|
||||
|
Re: Wade's Workshop
|
||||
|---|---|---|---|---|
|
Forum Ambassador
|
Wednesday 5th May 2010
At the workshop this morning found Wade under the rear of Noel's '39 continuing with it's re-wiring. So I started by cleaning up the back plate and the "special" nuts and bolts for the '41's water pump which hold it to the pump housing. After I finished that, Wade emerged from under the '39 but instead of continuing with the water pump attention was directed to the oil pump which Stan the machining man had returned yesterday in our absence. Stan had pinned the oil pump drive gear to the new shaft and gear. After lubricating the new gears and shaft, cleaned up the pump housing and end-plate surfaces, coated the surfaces and the gasket with gasket cement and bolted it back together. Next re-inserted the distributor drive together with the circlip which retains the drive in place. That done attention turned back to the water pump. Needed to pull off the fan pulley boss and then press out the shaft and bearing. What a job that turned out to be. Needed to use Rick's hydraulic press because John's press(too narrow) couldn't accommodate the pump housing in the way it needed to be held. Even then it was a real struggle with the hot spanner being brought into play to heat up the boss. The heat treatment, just a gentle heat both times, had to be repeated because in adjusting the press setup partway through things had cooled sufficiently that it was holding fast again. Got there in the end, and speaking of which, the other end now required the press treatment. This was the part Wade was concerned about last week because the bearing locating clip was broken off, but he'd been assured by PeterL that he'd encountered this problem and the shaft and bearing would push out without any problems. No problems, but it too was very stubborn, resulting in the bearing shell breaking but no damage to the pump housing, pheeew! While I cleaned the pump housing and the impeller Wade returned to his re-wiring. Cleanup here was a mixture of scraping, wire-wheeling and media blasting. Cleanup finished, it was then the reverse of that done before with the new shaft and bearing pushed into the housing then the impeller and new seal pushed on the shaft and finally the boss pushed onto the other end of the shaft. At this juncture I left Wade to return to the re-wiring while I went home to mow the lawns. This might conjure up visions of vast manicured green swards of lawn so maybe I'd better just say "to cut the grass". Oh, and Wade tells me he was a bit perplexed to find 2 wires in the rear part of the new harness both marked R. Turns out they were for a reversing light. Wade had forgotten to specify which side the light was located so they provided wires for both sides! Attach file: (37.61 KB)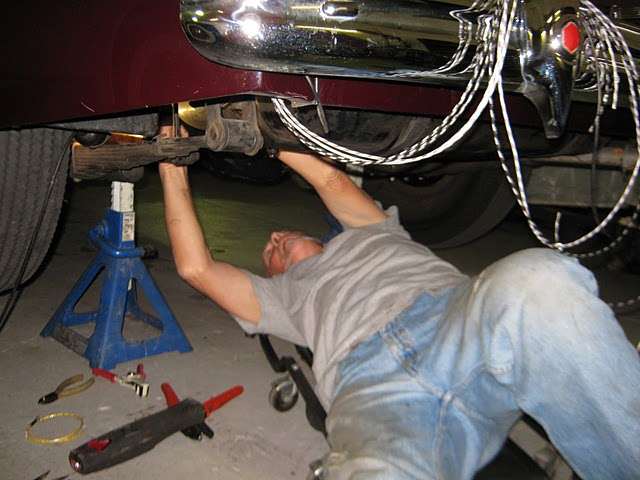 (19.79 KB) (19.79 KB)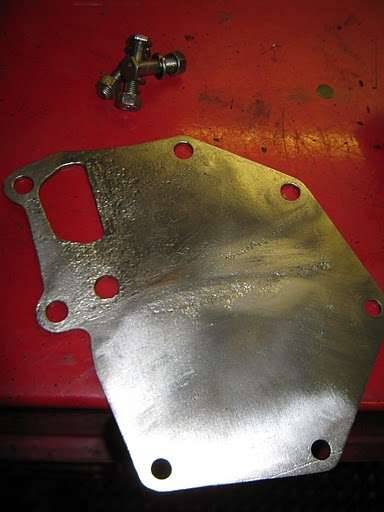 (33.43 KB) (33.43 KB) (37.22 KB) (37.22 KB) (42.13 KB) (42.13 KB) (36.14 KB) (36.14 KB)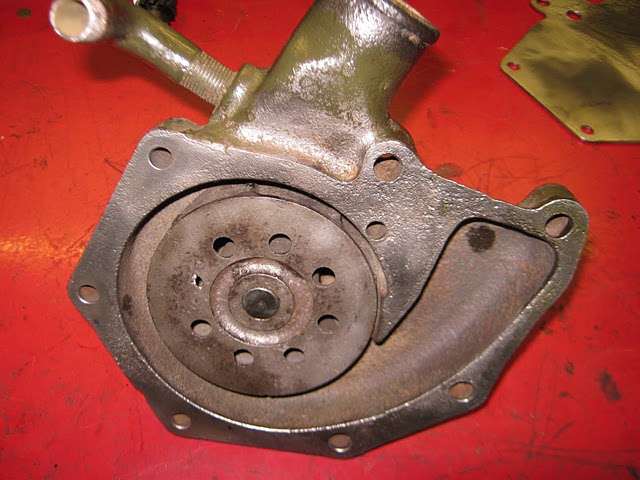 (29.33 KB) (29.33 KB)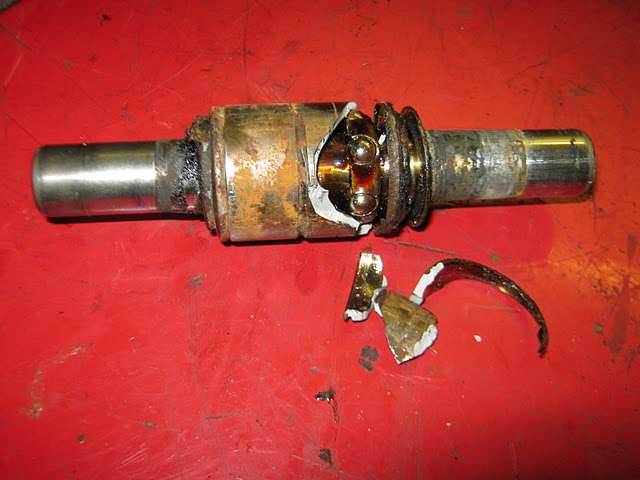 (23.14 KB) (23.14 KB)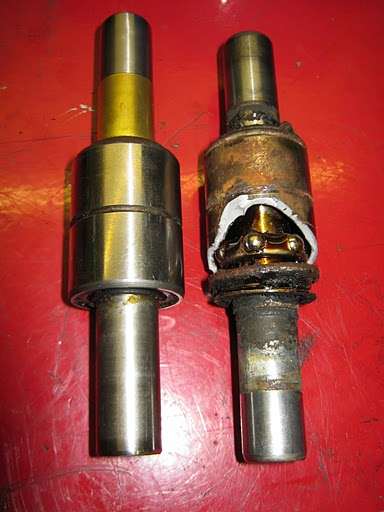 (32.50 KB) (32.50 KB)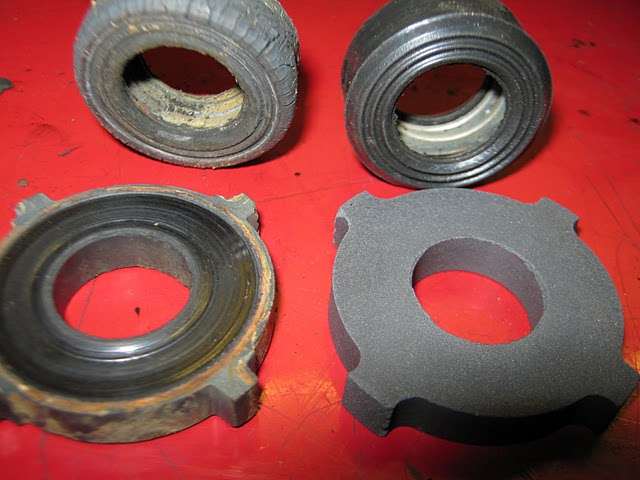 (34.10 KB) (34.10 KB) (31.48 KB) (31.48 KB)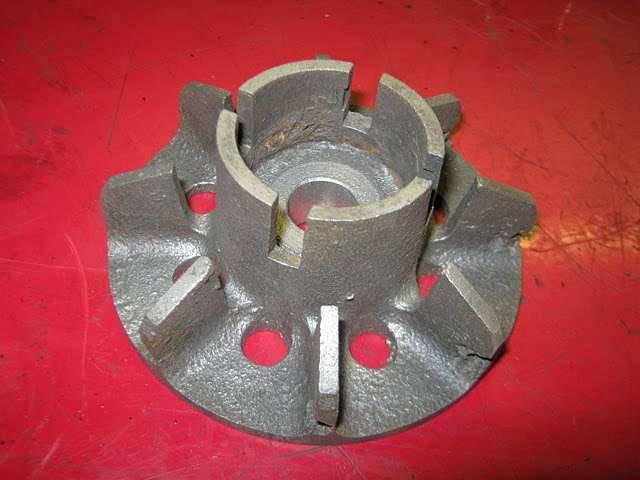 (28.48 KB) (28.48 KB)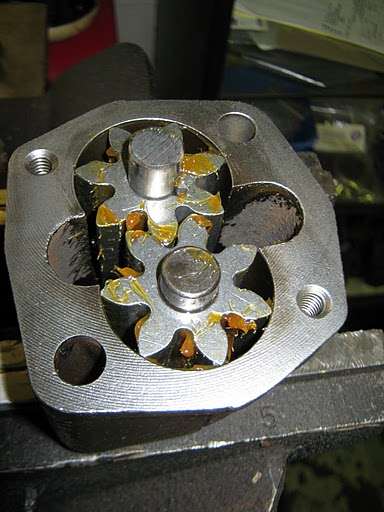 (20.32 KB) (20.32 KB)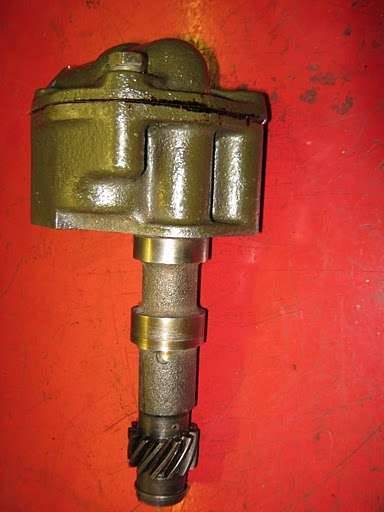 (36.37 KB) (36.37 KB)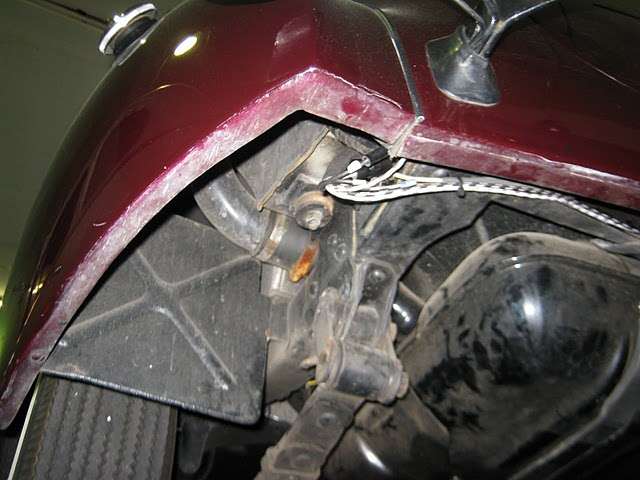
Posted on: 2010/5/5 4:44
|
|||
|
Mal
/o[]o\ ==== Bowral, Southern Highlands of NSW, Australia "Out of chaos comes order" - Nietzsche. 1938 Eight Touring Sedan - SOLD 1941 One-Twenty Club Coupe - SOLD 1948 Super Eight Limo, chassis RHD - SOLD 1950 Eight Touring Sedan - SOLD What's this? Put your Packard in the Packard Vehicle Registry! Here's how! Any questions - PM or email me at ozstatman@gmail.com |
||||
|
||||
|
Re: Wade's Workshop
|
||||
|---|---|---|---|---|
|
Forum Ambassador
|
Friday 7th May 2010
When I arrived Wade's Holden ute was inside the workshop, with the back part of the front seat for the '34 sitting in the ute bed. Wade cleared a space on top of the roof of the office and we carried the seat back up there to be stored until required. He'd also picked up some other parts for the '34 yesterday including the right side running board, the boot(trunk) lid hinges and front frame cover pieces. The mudguards(fenders), bonnet(hood), radiator shell and the left running board still remain to be painted. Peter, I put your advice into effect today with each Palnut tightened about 1/3 of turn past finger tight and all's well........Quote:Peter Packard wrote:......Palnut installation:......Turn Palnut on bolt with smooth face torward regular nut until it contacts nut, then tighten Palnut one quarter to one third additional turn to lock it in place...... Then cleaned up the swinging oil pickup and re-installed it. Next were the rear main bearing seals, liberally coated with gasket sealer and gently tapped into their slots either side of the bearing cap. That left the sump(oil pan) to be re-installed. Cleaned it up again, although I'd given it an initial clean soon after dis-assembly to remove the excess oil and grime, that was for handling purposes only and required a much better clean now. Also straightened the sump bolt hole areas, most had been pulled concave(It's either that or convex! Suffice to say the contact area wasn't flat like it should be.) While doing that, Wade had dug out the new sump gasket and all the bolts, washers and one nut required for the sump's re-installation. He'd didn't only find the bolts and nut taken off but discarded the "funny ones", ie different lengths, different head sizes, one with a stripped thread and replaced them with the correct articles. Gee, what a luxury to have such an accomplished go-fer! Next a final clean of all gasket surfaces, liberal application of gasket sealer to sump, both sides of gaskets and bottom edge of block and the sump was re-united with the block for the first time in about 5 months. Because it's a four piece gasket, careful attention was given to ensuring all the gasket joins fitted properly and sealant reached every surface. Speaking of which, in checking the surfaces prior to starting on the sump, Wade discovered the bottom left side of the front engine plate protruded slightly past the edge of the block and front timing cover. This was probably the source of one of my oil leaks and certainly had the very real potential for one on the rebuilt engine. Solution was to file the protruding piece of metal till it was flat with the block and timing cover surfaces. This was done ensuring no filings reach the inner working areas of the engine by masking off the affected area off and thoroughly cleaning up afterwards. During all of this Wade was in, out and under Noel's '39 on the re-wiring but this job is now almost on hold waiting for a new switch which PeterL should be able to provide. Wade was also putting the '34's parts away. And we had a visit from Harvey and were able to compare notes on the 120 engine rebuilds he and we are doing. Attach file: (28.31 KB)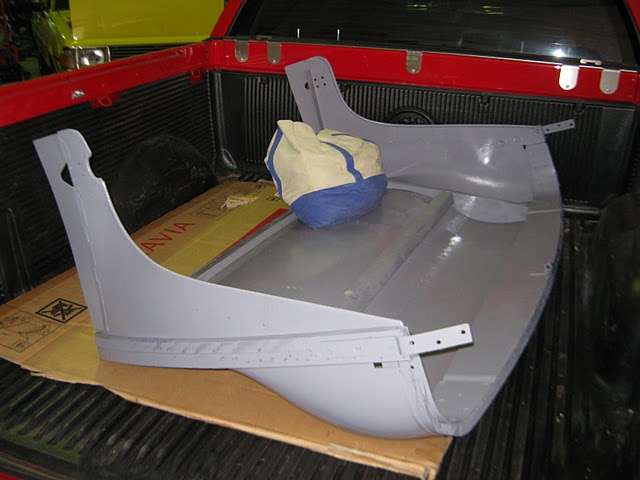 (22.58 KB) (22.58 KB)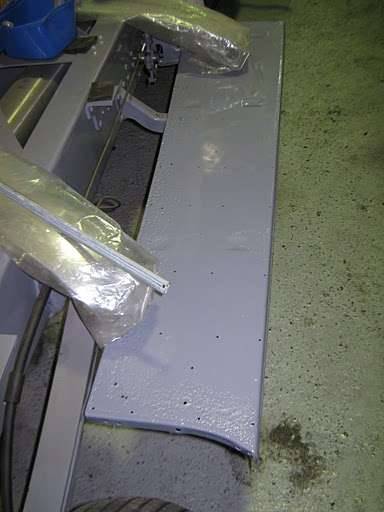 (30.55 KB) (30.55 KB)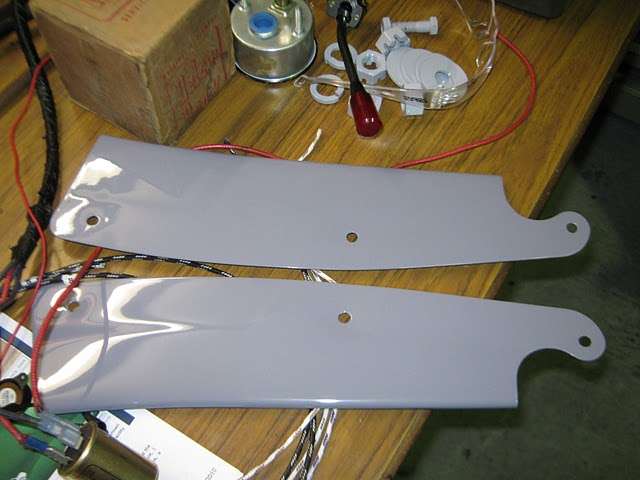 (34.11 KB) (34.11 KB) (40.92 KB) (40.92 KB) (27.54 KB) (27.54 KB) (36.64 KB) (36.64 KB)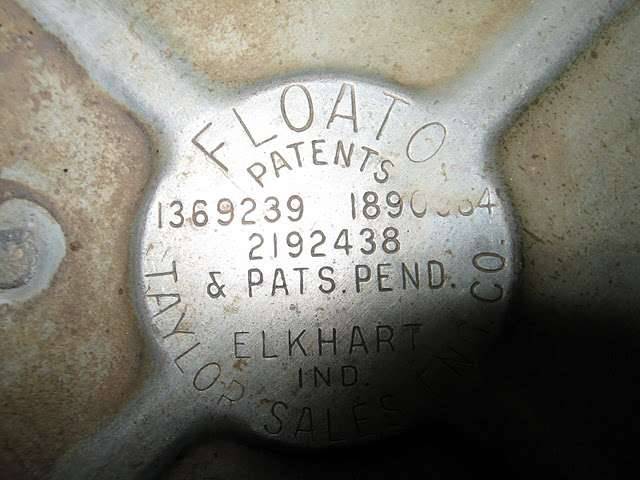 (40.86 KB) (40.86 KB) (41.04 KB) (41.04 KB)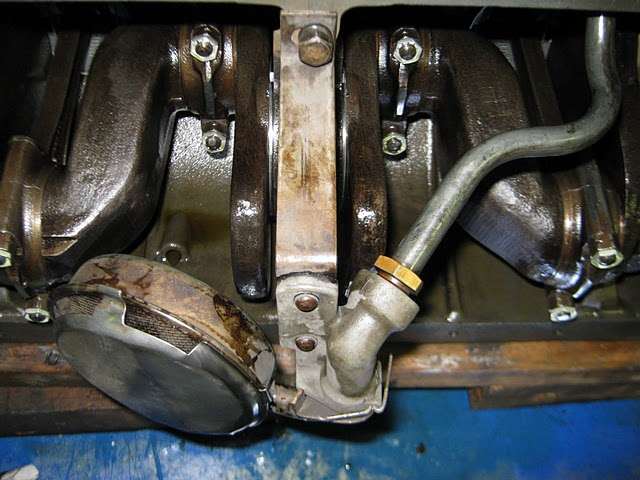 (29.62 KB) (29.62 KB)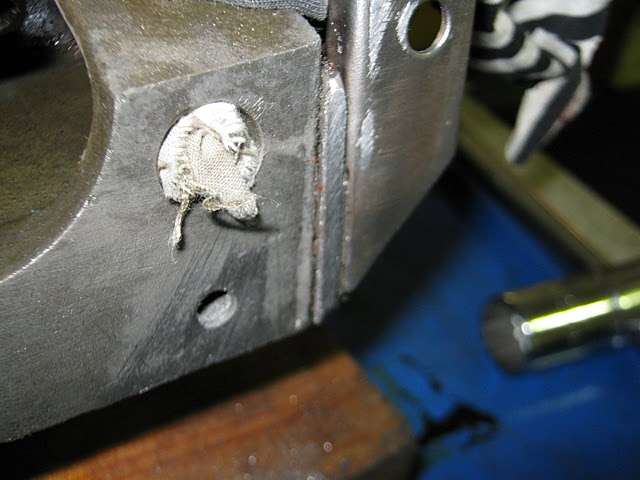 (32.84 KB) (32.84 KB)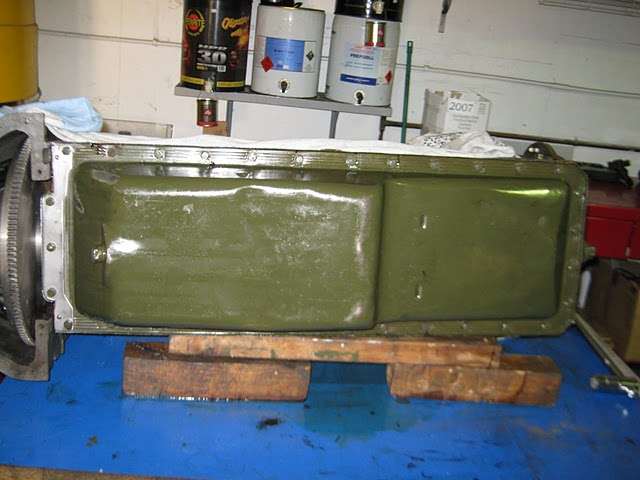 (31.90 KB) (31.90 KB)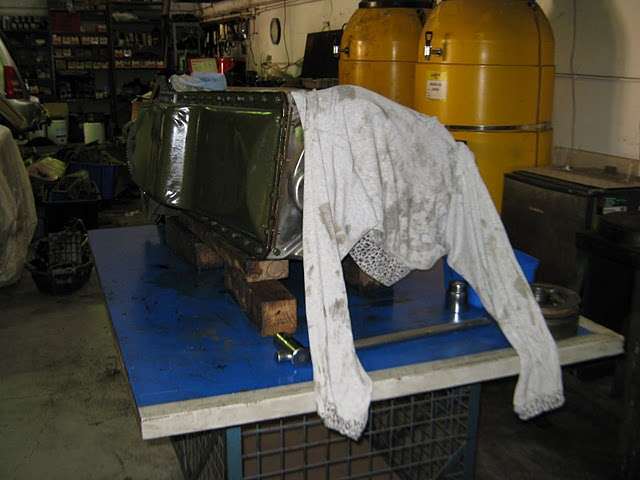 (50.99 KB) (50.99 KB)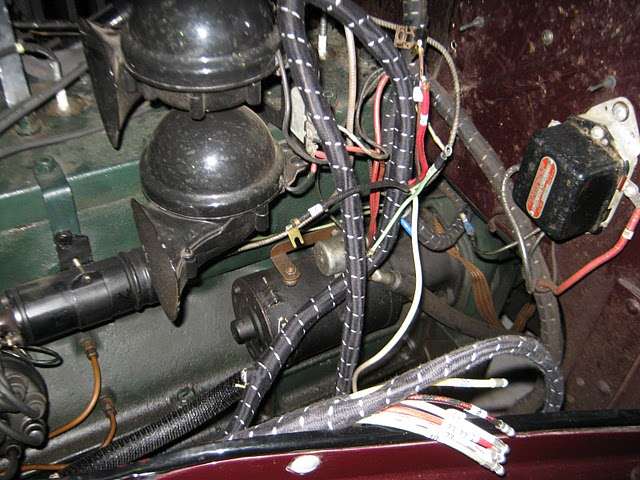 (31.23 KB) (31.23 KB)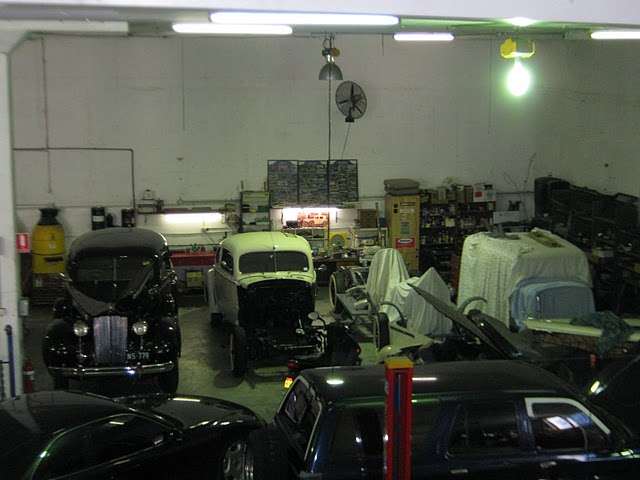 (32.17 KB) (32.17 KB)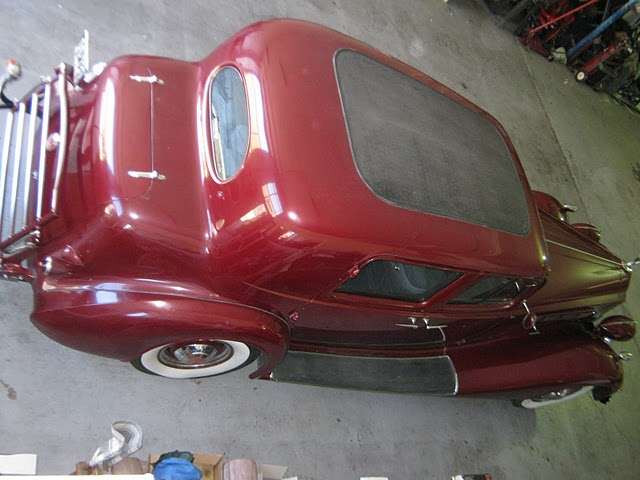
Posted on: 2010/5/7 2:11
|
|||
|
Mal
/o[]o\ ==== Bowral, Southern Highlands of NSW, Australia "Out of chaos comes order" - Nietzsche. 1938 Eight Touring Sedan - SOLD 1941 One-Twenty Club Coupe - SOLD 1948 Super Eight Limo, chassis RHD - SOLD 1950 Eight Touring Sedan - SOLD What's this? Put your Packard in the Packard Vehicle Registry! Here's how! Any questions - PM or email me at ozstatman@gmail.com |
||||
|
||||
|
Re: Wade's Workshop
|
||||
|---|---|---|---|---|
|
Forum Ambassador
|
Monday 10th May 2010
A late start this morning beginning by following PeterL down the driveway to the workshop, he'd brought along a couple of headlight switches for the re-wiring job on Noel's '39, Noel's switch having "issues". Shortly after Peter left, Noel and his mate Tony arrived. Tony had a look at Noel's right front door lock and the window winding mechanism for the same door both of which have "issues". Tony has been drafted in to solve and fix these "issues". Speaking of door locks, while at Mudgee the previous weekend the right front door lock of Wade's Big Red also became an "issue", by sticking in the locked position. On the way into the workshop this morning Wade stopped at the locksmiths but even he couldn't get it to open, thinks a tiny spring may have broken. So Wade set about tackling it from the inside out, but also without success. Wade does have a NOS lock so tomorrow morning it's off to the locksmith again, maybe he can weave some magic a second time round? Or more likely drill out the old lock and fit the new one. While all this was going on I was cleaning up and painting the sump(oil pan) on the '41's engine, together with some other engine parts, so tomorrow it can be lifted upright to enable more work to be done on it. Lastly, on the way home saw a car I'd never seen before, see pic's. Attach file: (41.32 KB)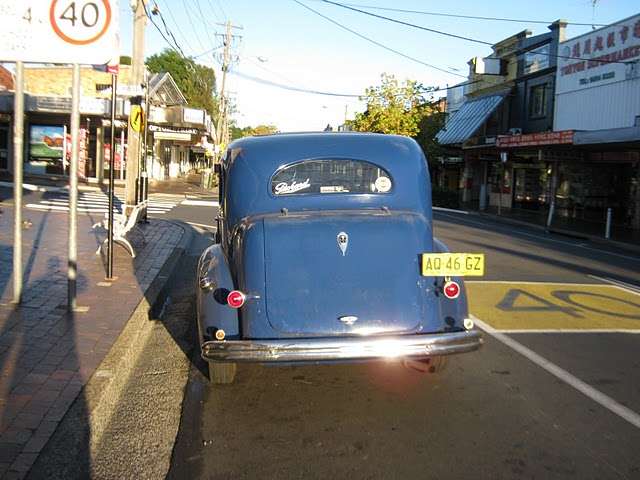 (28.35 KB) (28.35 KB)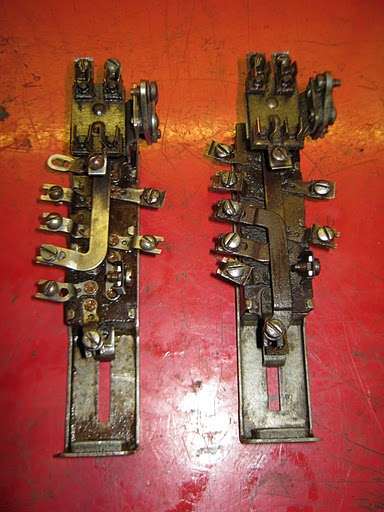 (30.37 KB) (30.37 KB) (30.82 KB) (30.82 KB)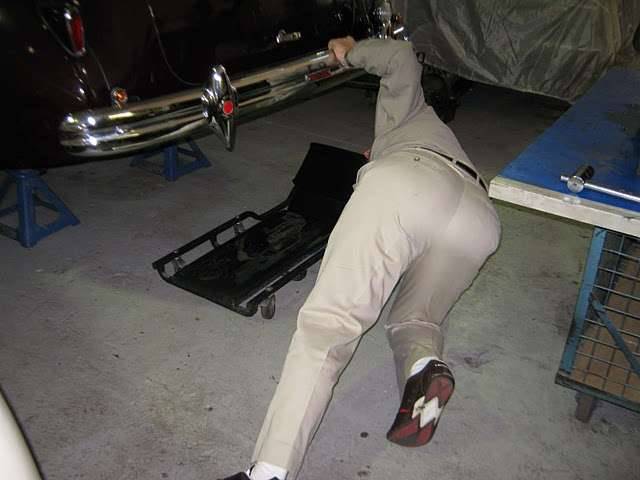 (24.15 KB) (24.15 KB)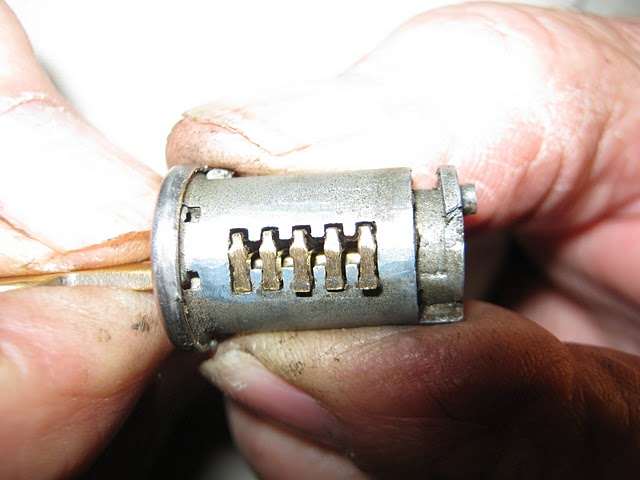 (33.08 KB) (33.08 KB)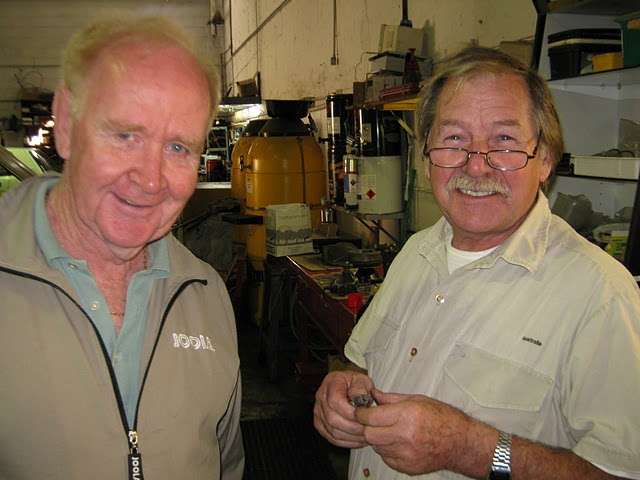 (33.86 KB) (33.86 KB) (40.35 KB) (40.35 KB)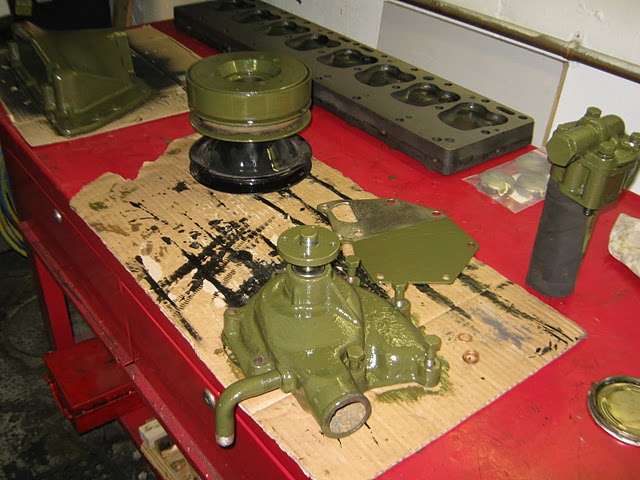 (24.72 KB) (24.72 KB)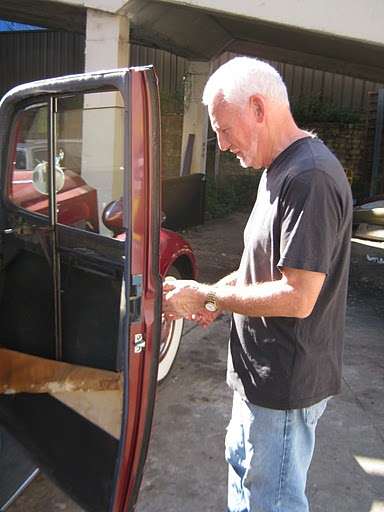 (29.63 KB) (29.63 KB)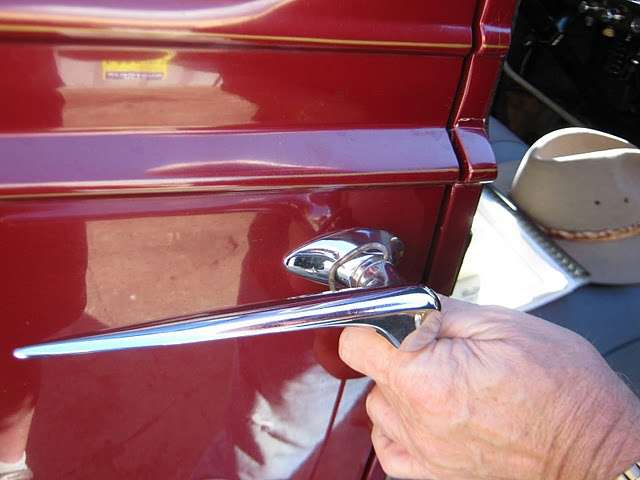 (45.27 KB) (45.27 KB)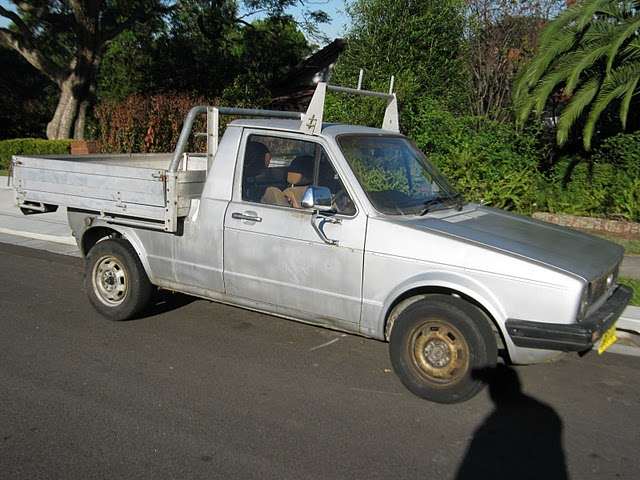 (41.72 KB) (41.72 KB)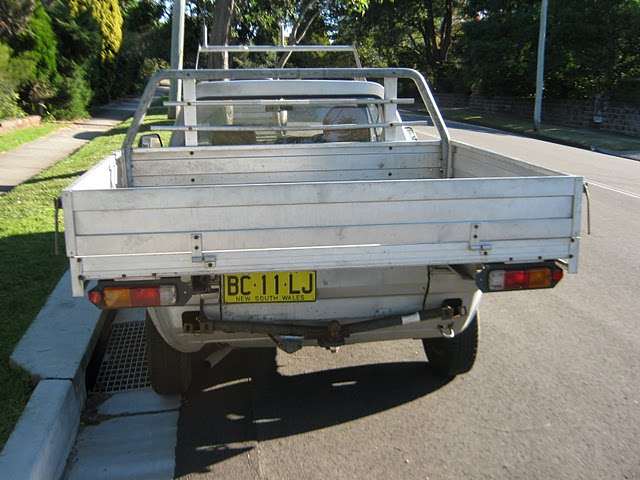 (41.06 KB) (41.06 KB)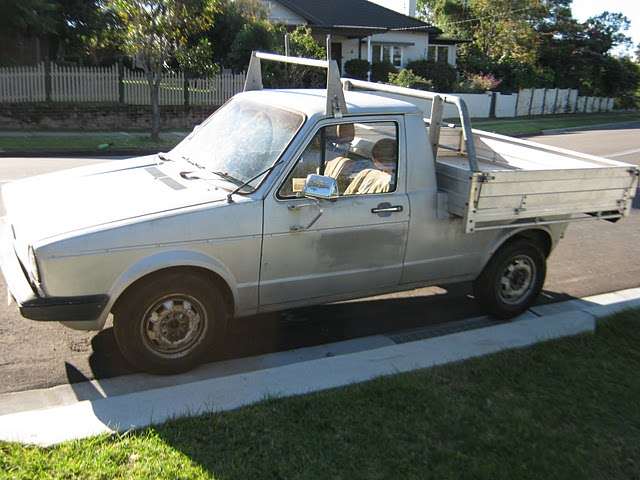
Posted on: 2010/5/10 1:49
|
|||
|
Mal
/o[]o\ ==== Bowral, Southern Highlands of NSW, Australia "Out of chaos comes order" - Nietzsche. 1938 Eight Touring Sedan - SOLD 1941 One-Twenty Club Coupe - SOLD 1948 Super Eight Limo, chassis RHD - SOLD 1950 Eight Touring Sedan - SOLD What's this? Put your Packard in the Packard Vehicle Registry! Here's how! Any questions - PM or email me at ozstatman@gmail.com |
||||
|
||||
|
Re: Wade's Workshop
|
||||
|---|---|---|---|---|
|
Forum Ambassador
|
Tuesday 11th May 2010
Another later start at the workshop, shouldn't be repeated tomorrow otherwise Wade will ask me for a note. A $50 note, that is! On his way in this morning in Big Red, Wade had called into the locksmith but because of work pressures he wasn't able to look at her. But Big Red is now booked in for Thursday morning 10:00am to undergo treatment for it's broken right front door lock. At the workshop I had found Wade down on his hands and knees. No, he wasn't praying to the Packard Gods although I wouldn't be surprised if he had been doing that. But looking for a tiny ball which had popped out of the '39's headlight switch when he was dis-assembling it. I joined the search, but to no avail, and then used a soft broom to gently sweep the drop zone. That didn't appear to work either until Wade noticed in his sweeping the pile of dust, dirt and particles I had collected, into a hand pan, did in fact contain the errant ball! Sorry, in the excitement, forget to take a pic of this momentous occasion. While I was tidying up the engine parts painted yesterday Wade continued his dis-assembly and clean up of the headlight switch. I then manouveured the engine crane between the '39 and '41, just making it, and positioned it near the '41's engine. About this time Noel and Tony arrived. Tony to continue his fix of the right front window of the '39 and Noel to clean up the engine and engine compartment of his '39. Didn't need this before, but the effects of the wiring fire and the extinguisher used left it in a somewhat disheveled state rather than the show condition it was in previously. And Noel came in handy too when we were using the engine crane to right the '41's engine from laying on its side to being upright. Another set of hands is always useful in those types of circumstances. Only trouble was those extra set of hands also insisted in using my camera to turn the tables on this "Packardrazzi". You'll see the results below as I'm on the other end of the camera for a change. I think Noel's term of "Packardrazzi" is probably a good term to describe me when around Packards and Packard people and events. Engine upright, cleaned up the new welch plugs and block plug holes and with a liberal application of sealer drove the three new plugs into the block. Then under Wade's supervision mounted the harmonic balancer. Next was re-mounting the re-built oil pump. This was a lot more Wade than me with the distributor also involved and #1 piston @ TDC. Had to ensure the driving slot for the distributor was correctly aligned in the drive at the top of the oil pump drive. It's complicated a bit in that in inserting the oil pump because the gear drive, when meshing with the gear on the camshaft, turns about 45 degrees as it goes in. So a little bit of lead in on the oil pump gear compared to the distributor drive is required in inserting the oil pump in the block. First go was a "trial run" which was out by about a tooth, so after the necessary adjustment in lead in, the second attempt worked and aligned perfectly. Out with the oil pump again, very very carefully keeping everything set up, a coating of gasket sealer on surfaces and gaskets, and very very carefully re-inserting the oil pump. And it worked, again, distributor was still aligned on #1! Noel and Tony had bid their farewells a little earlier and I then turned to cleaning up the block prior to painting it. Partway through this process, PackardInfo member, Snapey arrived. Matt was returning Wade's copy of Robert Neal's book Packards at Speed and to again look at the '34 chassis for which he has visions of creating a Packard speedster/racer from, see this post. Having finished cleaning the '41's block I realised I should be cleaning and preparing the head for painting too. Started on this then found the spark plug recesses had a fair amount of built up paint/dirt/rust which needed cleaning out. Scraped some out but needed a small diameter hand drill mounted wire brush head to effectively give a good clean surface. And surprise, for once Wade didn't have one of these in his box of tricks! Had to drive up to the local hardware store and buy one. Well Wade, you've got one now! And while I was out, Matt pitched in and cleaned most of the top of the head with a hand wire brush, Matt!Attach file: (31.78 KB)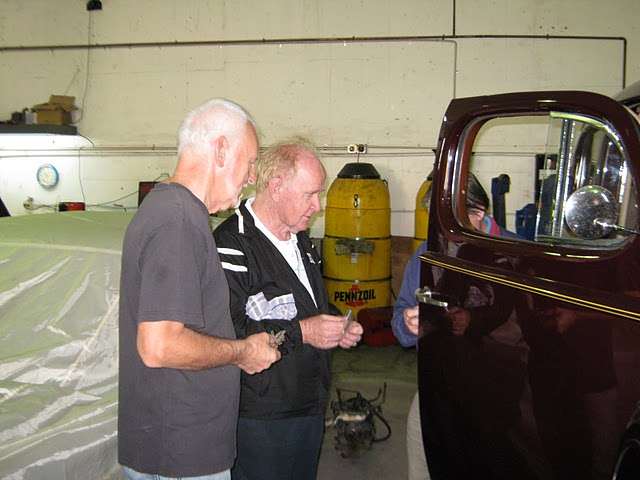 (29.53 KB) (29.53 KB)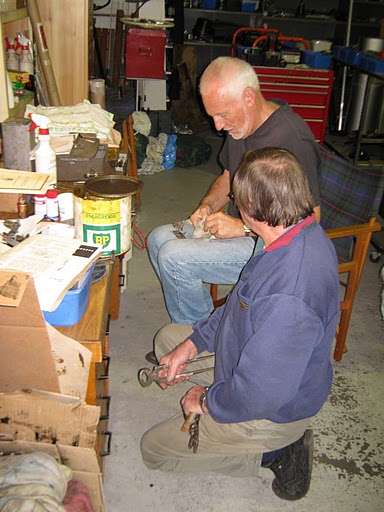 (35.93 KB) (35.93 KB)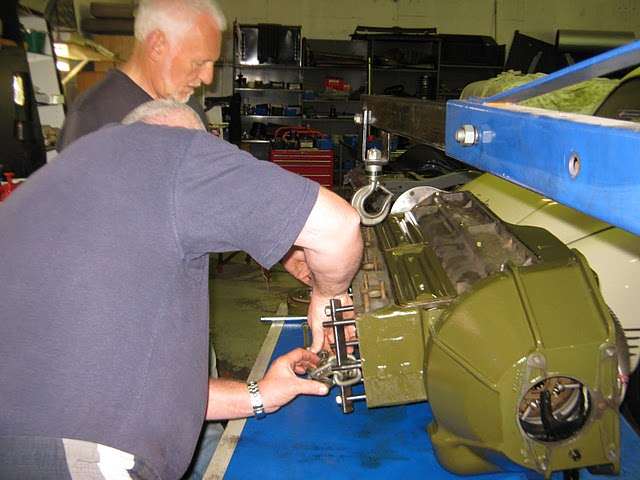 (39.09 KB) (39.09 KB)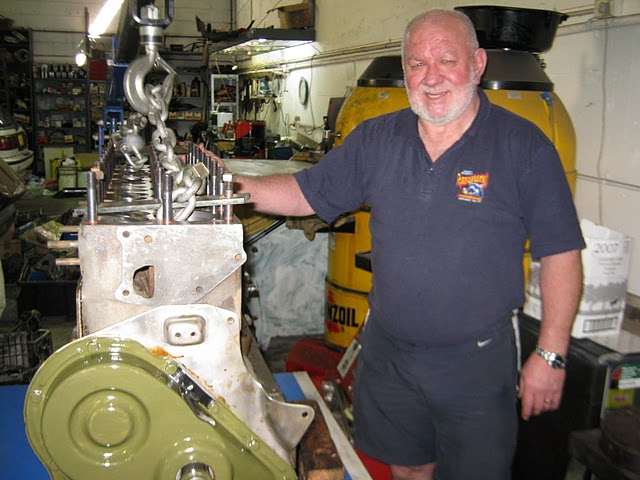 (33.04 KB) (33.04 KB)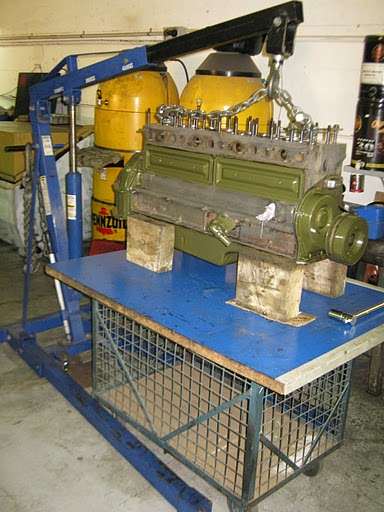 (32.18 KB) (32.18 KB)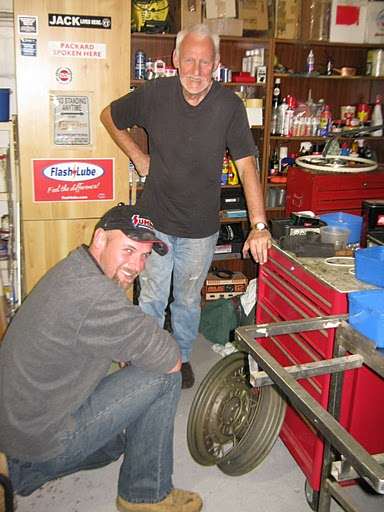 (25.11 KB) (25.11 KB)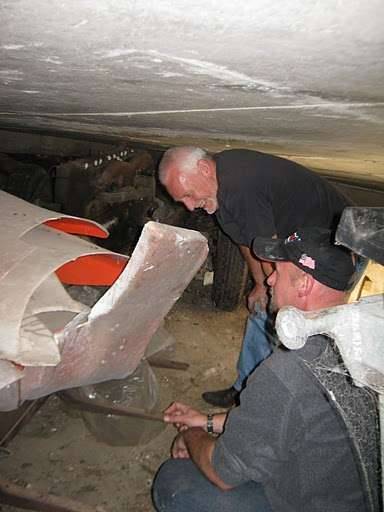 (31.88 KB) (31.88 KB) (31.66 KB) (31.66 KB) (32.84 KB) (32.84 KB)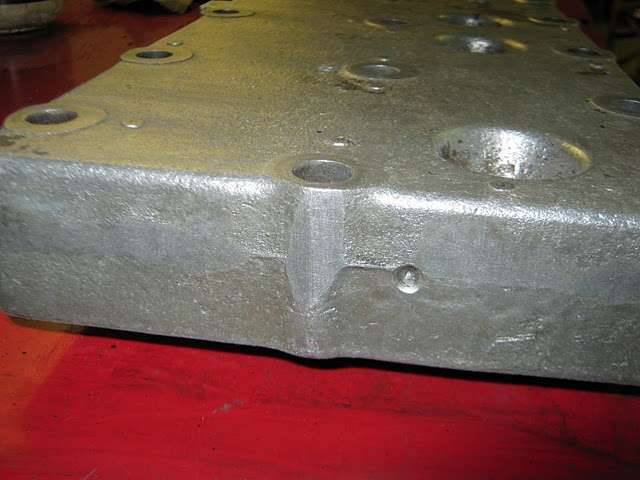
Posted on: 2010/5/11 5:50
|
|||
|
Mal
/o[]o\ ==== Bowral, Southern Highlands of NSW, Australia "Out of chaos comes order" - Nietzsche. 1938 Eight Touring Sedan - SOLD 1941 One-Twenty Club Coupe - SOLD 1948 Super Eight Limo, chassis RHD - SOLD 1950 Eight Touring Sedan - SOLD What's this? Put your Packard in the Packard Vehicle Registry! Here's how! Any questions - PM or email me at ozstatman@gmail.com |
||||
|
||||
|
Re: Wade's Workshop
|
||||
|---|---|---|---|---|
|
Forum Ambassador
|
Wednesday 12th May 2010
Quote: Ozstatman wrote: Tuesday 11th May 2010 Another later start at the workshop, shouldn't be repeated tomorrow otherwise Wade will ask me for a note. A $50 note, that is!...... Wade was under the '39 when I finally arrived, continuing the re-wiring work. First up for me was filing the heater inlet pipe flat where it screws into the head between #5 and #6 cylinders. It was snapped off during the machining and only noticed late yesterday afternoon. Filing it flat was to remove any edges which might catch when carefully drilling the broken off portion out. Drilled OK but still couldn't get the remainder out so will take up the running again tomorrow morning. After that re-cleaned the head and parts of the block. mixed up some Packard green paint and hardener and brushed it on the block and head. Thought I'd done a pretty good job until I borrowed the shop light and discovered there was almost more left unpainted than painted! But fixed it all up light in one hand, brush in the other and now it DOES look OK. Or as Wade said "at least it'll look good even if it doesn't go." Not too sure those are the sentiments I wanted to hear. Wade meanwhile continued with the '39's re-wiring and I was pressed into service on a couple of occasions to hold things where three or more hands were required. Wade ended up re-building the original light switch as the other three available, two from PeterL and another from Noel, were more or less in the same condition. The main harness is now in place and I left Wade to get on his back again to go up under the dash to start re-connecting instruments. And on the way home dropped in to see Stan, the machining man, about borrowing a BSP-T tap to re-cut the heater pipe thread in the head. Took a sample threaded plug from another head with me but Stan tells me it's NOT BSP-T, but among the hundreds if not thousands of taps he has he will have what we want. And he's going to drop it in at the workshop at 10:00am tomorrow so I'd better be there for that because that's the time Wade sees the locksmith about Big Red's right front door lock problem. Attach file: (48.14 KB)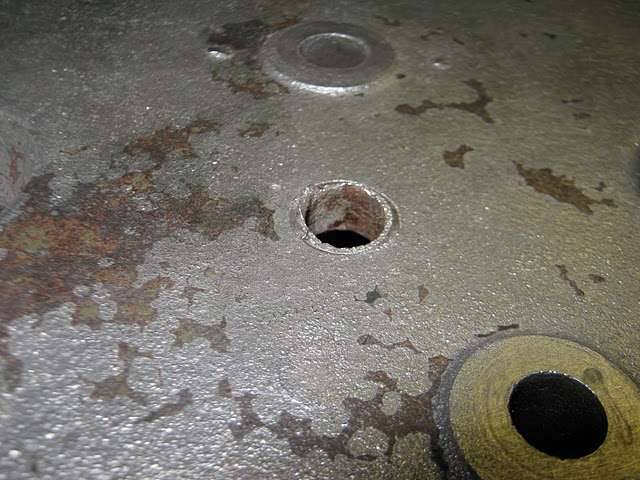 (60.27 KB) (60.27 KB)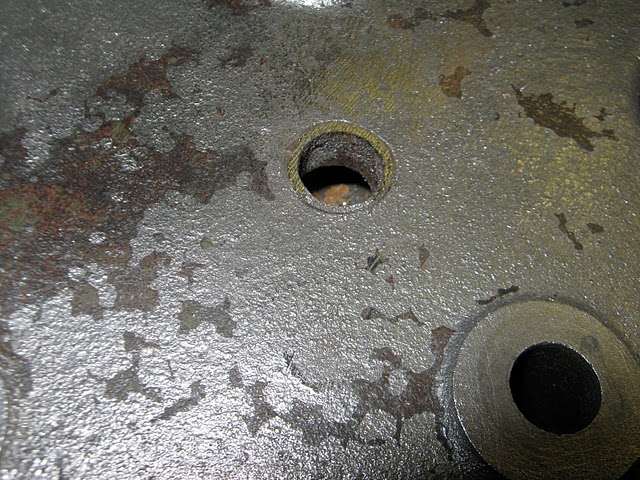 (59.81 KB) (59.81 KB)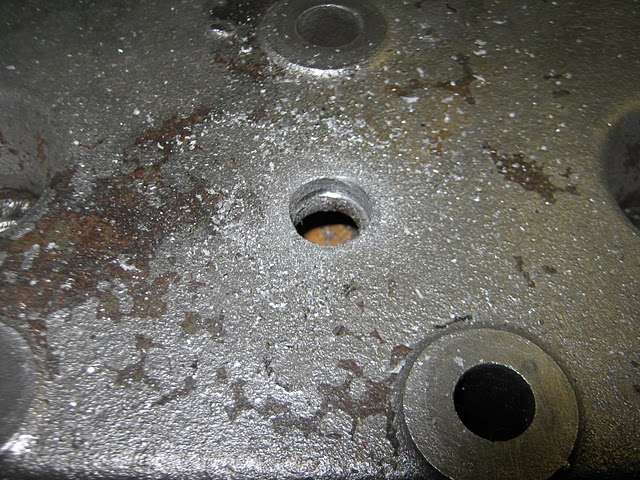 (38.57 KB) (38.57 KB)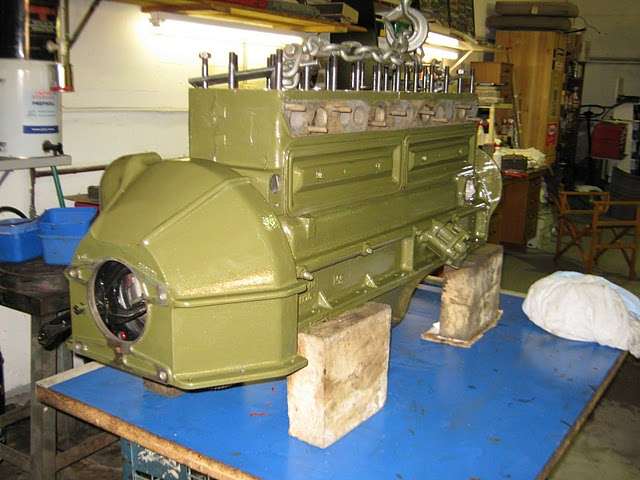 (38.71 KB) (38.71 KB) (44.16 KB) (44.16 KB)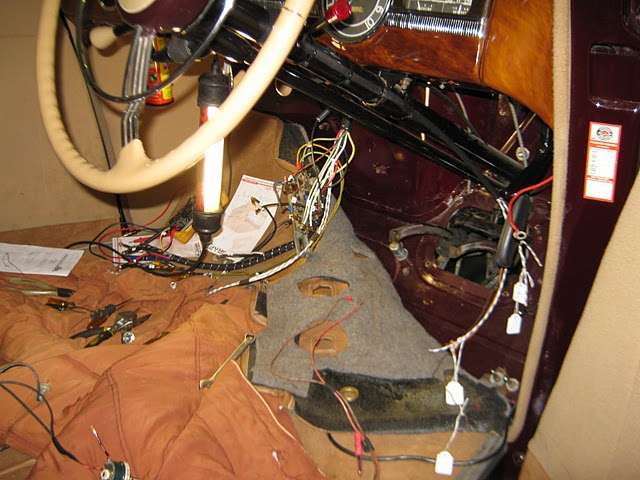 (41.10 KB) (41.10 KB)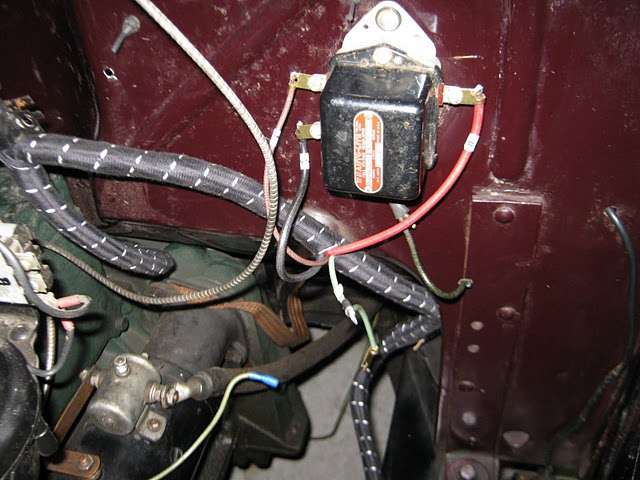 (48.38 KB) (48.38 KB)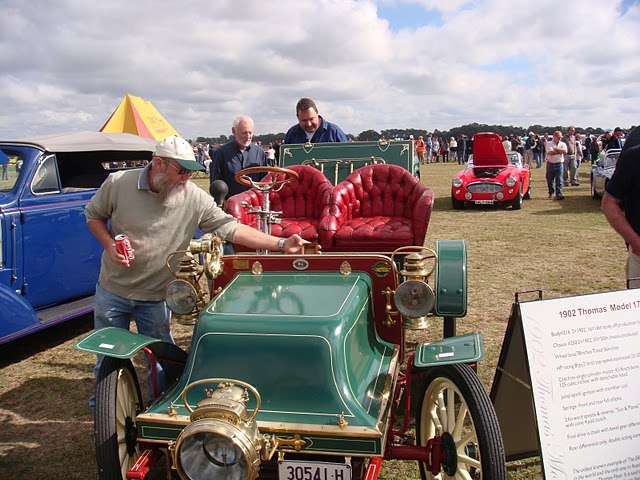
Posted on: 2010/5/12 4:15
|
|||
|
Mal
/o[]o\ ==== Bowral, Southern Highlands of NSW, Australia "Out of chaos comes order" - Nietzsche. 1938 Eight Touring Sedan - SOLD 1941 One-Twenty Club Coupe - SOLD 1948 Super Eight Limo, chassis RHD - SOLD 1950 Eight Touring Sedan - SOLD What's this? Put your Packard in the Packard Vehicle Registry! Here's how! Any questions - PM or email me at ozstatman@gmail.com |
||||
|
||||
Register To PostTopic is Locked


