|
Re: Wade's Workshop
|
||||
|---|---|---|---|---|
|
Forum Ambassador

|
Friday 3rd September 2010
Arrived at the workshop to find Wade in the process of draining the engine coolant from Big Red. Yesterday, after I left, Wade had finished installing the new rear engine mounts. Today the front engine mount was being replaced and the water pump was also removed to facilitate this process. Off came fan and fan belt then the water pump, giving pretty good access to the front engine mount. About this time the main lights in the workshop died, there had been a power cutout, which resulted in Wade turning off the rest of the lights, fluorescent tubes, and restarting the lot about 10 minutes later. But work on Big Red continued thanks to handheld lights. The two bolts securing the engine mount to the engine block were removed and the retainer and front half of the rubber mount removed. The two bolts holding the engine mount to the front crossmember were also loosened and a floor jack with a piece of wood was raised under the front of the sump(oil pan). With Wade observing and giving directions I then slowly raised the jack just enough so that the feet of the engine mount no longer contacted the crossmember. Doing this gave just enough room for the old engine mount rear rubber half to be wriggled out and the new rubber inserted in it's place. Everything else was then re-installed, and coolant added to the system. But the lights went out again! But this time it was just the other guys being ready and raring to go to Eastwood Rugby Club. A quick fire up, to test for leaks(there were none) and then we left for a well earned late lunch. Then, when I arrived home, there was an envelope containing a pair of front fender parking light gaskets for the '41. The MBM ones from about two years ago weren't a success. Often needing re-positioning because they were constantly slipping from between the body of the parking light and the glass lens. The new gaskets were installed tonight in Mal's garage! But before doing that I was concerned they wouldn't fit, looking too small for the job. But closer examination in situ proved they would and they did! The problem was the old MBM gaskets were too big because they followed the edge all round between the glass lens and the light body. The new gaskets differed in that they were inside the edge so were smaller all the way round. In addition, at the front they were "solid" with two small holes which fitted 2 small posts in the light body helping to locate and maintain their position. And now it comes back to me, I'd copied the gaskets that were there when I bought the '41 and they obviously weren't "correct". Question about a "bug" for BigKev. On opening the Project Blog Forum, the "Wade's Workshop" Blog shows 59 pages. However when I click on 59 it takes me to a blank page where I then have to click on 58 to take me to the last page of the Blog. This was also happening when there were only 57 pages in the Blog with the Forum title page showing 58 pages. Not a big bug, just irritating. Attach file:  (27.47 KB) (27.47 KB)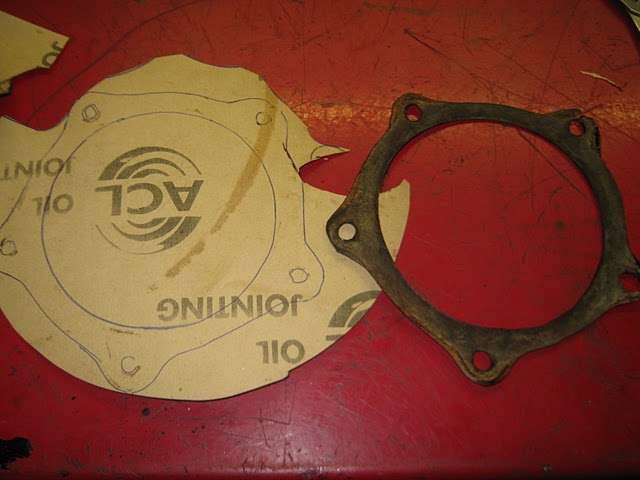 (29.87 KB) (29.87 KB)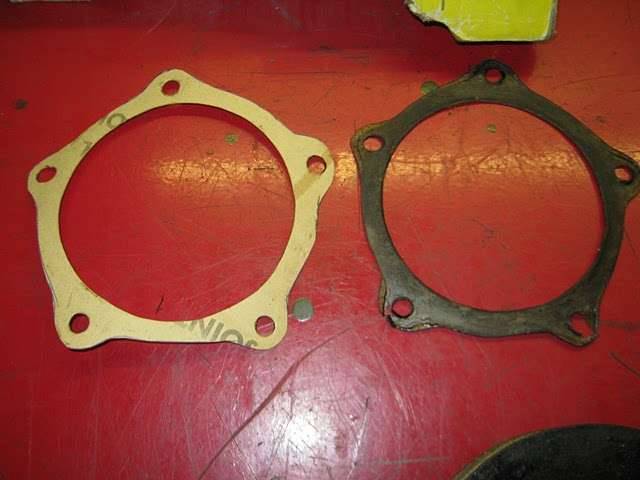 (28.85 KB) (28.85 KB)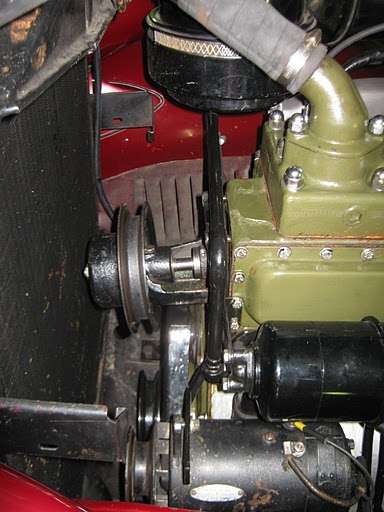 (31.72 KB) (31.72 KB)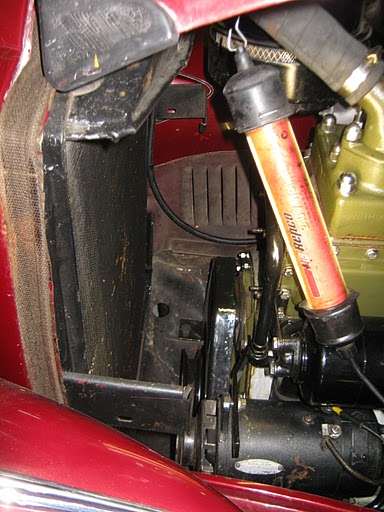 (30.18 KB) (30.18 KB)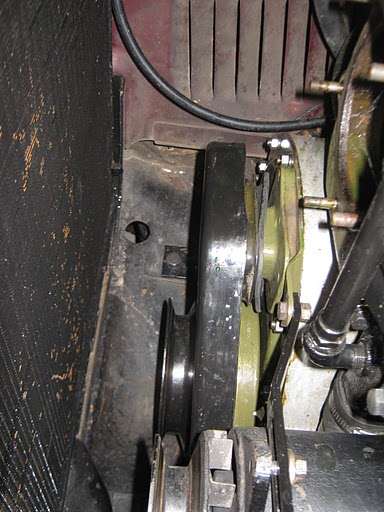 (32.99 KB) (32.99 KB)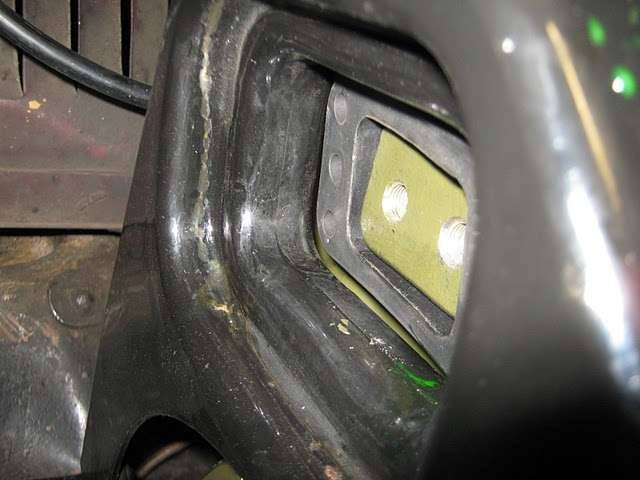 (30.18 KB) (30.18 KB) (20.91 KB) (20.91 KB)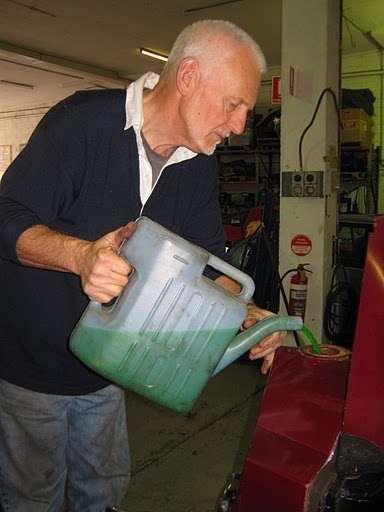 (16.70 KB) (16.70 KB)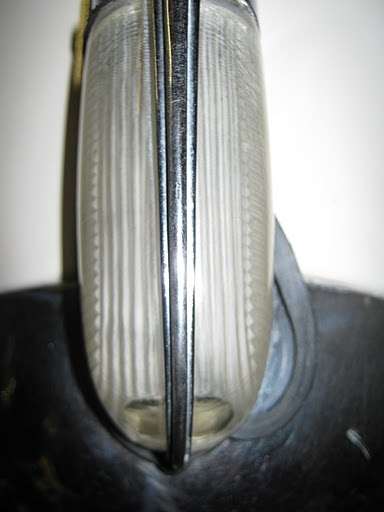 (32.28 KB) (32.28 KB)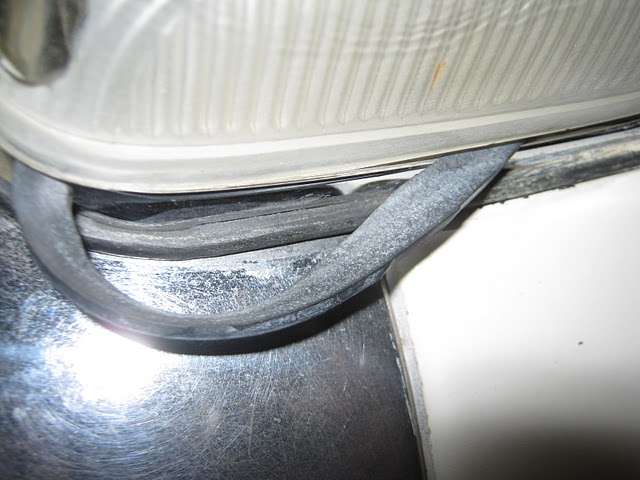 (17.83 KB) (17.83 KB)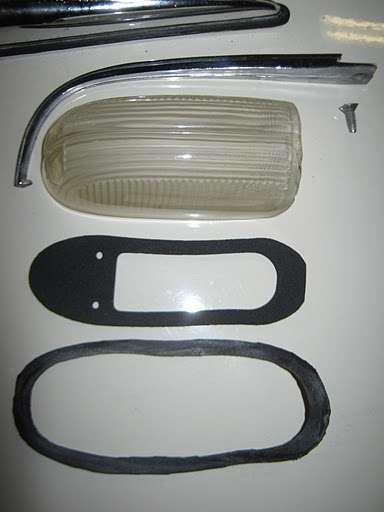 (19.85 KB) (19.85 KB)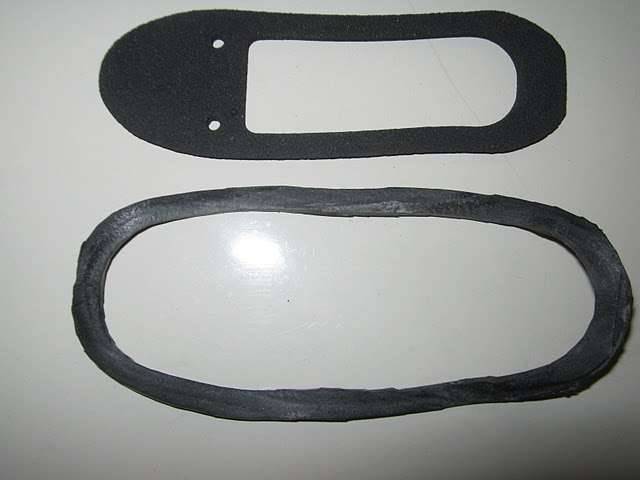 (37.13 KB) (37.13 KB)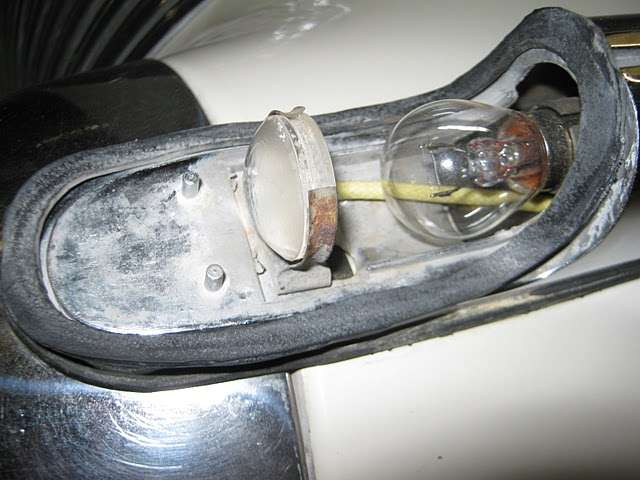 (38.28 KB) (38.28 KB)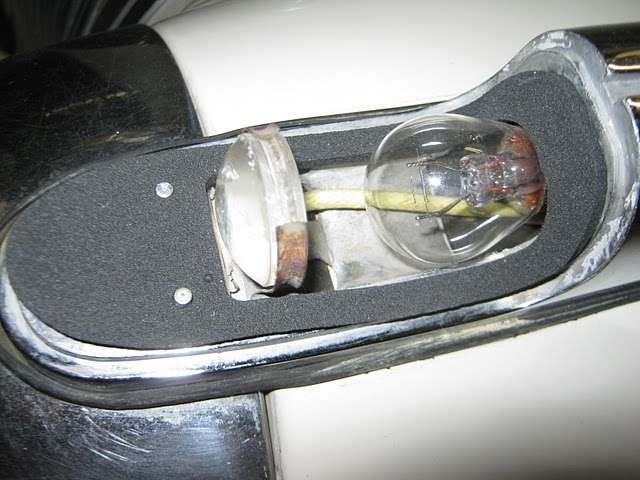
Posted on: 2010/9/3 4:25
|
|||
|
Mal
/o[]o\ ====  Bowral, Southern Highlands of NSW, Australia "Out of chaos comes order" - Nietzsche. 1938 Eight Touring Sedan - SOLD 1941 One-Twenty Club Coupe - SOLD 1948 Super Eight Limo, chassis RHD - SOLD 1950 Eight Touring Sedan - SOLD What's this?  Put your Packard in the Packard Vehicle Registry! Here's how! Any questions - PM or email me at ozstatman@gmail.com |
||||
|
||||
|
Re: Wade's Workshop
|
||||
|---|---|---|---|---|
|
Forum Ambassador
|
Monday 6th September 2010
Found PeterL just leaving, when I arrived at the workshop late this morning. May even catch up with him again tomorrow on the Morris Minor Picnic Club run for lunch at the Mooney Mooney Workers Club on the bank of the Hawkesbury River north of Sydney. Wade and Gina are going in Big Red while I'll make the trip in the '41. Should prove useful in testing out the OD on an extended run. And the reason why Peter could well be there is that it's relatively close to where he lives on the Central Coast. If Peter makes it there'll be 3 Packards present, including his '38 Eight Touring Sedan. I drove down in my daily driver because John was doing some work on it for me today, including overhauling the rear brakes. Because of this I started musical Packards, borrowing Old Blue to then go home and pick up the '41 to bring it down to the workshop. Once the '41 was backed into the workshop the OD Kick Down switch was checked by Wade with his multimeter and found to be working perfectly in isolation. From there the OD Relay was also checked. This was done in concert with the Aero-Drive Circuit Diagram in the workshop manual and the Aero-Drive Wiring listing which accompanied the new harness from Vintage Wiring Harness. And here a problem was found, Terminal 2 on the relay is shown in the Circuit Diagram and in the Wiring listing as going to the Distributor and Coil respectively. This provides the momentary ignition cut out for the OD to kick down or out. But...... on Terminal 2, the green wire marked #55 didn't lead to either the coil or the distributor. It went into the harness and was one of three wires which were connected to the starter motor with a soldered terminal lug. Which meant there was 6V going to Terminal 2. I say was because now the green wire, marked #55, is now disconnected and taped off. In it's place Wade made up a new wire to take it's rightful place from Terminal 2 on the OD relay to the coil. And it works! A test run soon after now gives kick-down from OD! I'll be contacting Paul at Vintage Wiring Harness to let him know of this glitch. And why wasn't it picked up sooner than this? One, in connecting up the new harness there were no loose wires because #55 was connected to the starter. And two, because of the mechanical problems with the OD it wasn't evident there was also an electrical problem. This only came to light after the electrical test of the Kick Down switch. Don't ask me any technical questions about this as I'm not at all electrically literate, In fact I'm amazed I remembered this much to be able to pass it on! And just as we arrived back from the '41's Kick Down road test our young friend Mat(packard34) also arrived. It's a mere 260 kilometres from Hill End, where Mat lives, to the workshop but he'd dropped in to see Wade concerning his '34's horn button and the levers which are presently moving with and not individually from the column. See this post. Mat brought the horn button and internal column shafts with levers with him. Wade, with the help of some of his spare parts, some of which Mat was very fortunate to walk away with because his parts were missing, was able to show Mat how it all went together and the sequence to do so. Reference was also made to Wade's rolling '34 chassis, aka "The Fossill", where all the parts could be inspected in situ, in a comfortable and civilised manner. No need for under car gymnastics or unnatural contortions to see the parts in question. While Wade was giving his '34 steering column lever connectability tutorial I was installing a fire extinguisher in the '41. The extinguisher came courtesy of my daughter as my Fathers Day gift yesterday. The extinguisher installation was done between taking some pic's for Mat of various parts at the base of the steering column. That done, back home in the '41, then transferred over to Old Blue for the trip back to the workshop where I exchanged it for my daily driver. As I said musical Packards, ride in Big Red, drive Old Blue, drive the '41, test drive the '41, drive the '41 and finally drive Old Blue. Attach file: (40.09 KB) (27.28 KB) (27.28 KB)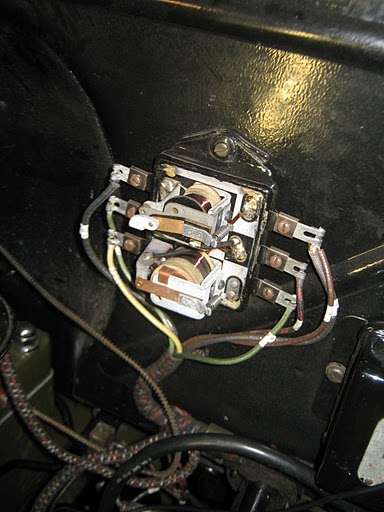 (34.20 KB) (34.20 KB)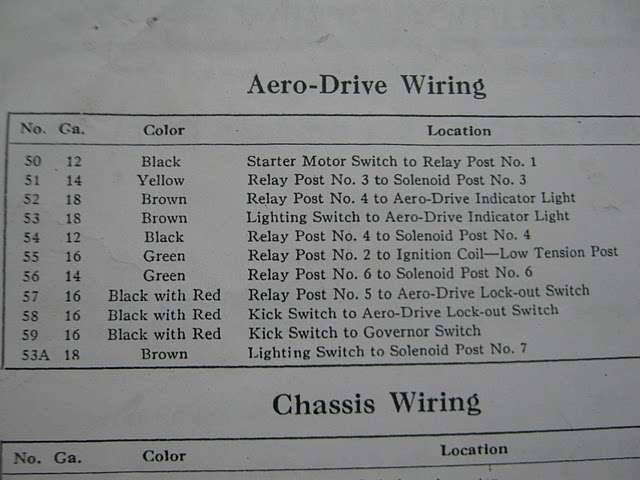 (37.95 KB) (37.95 KB)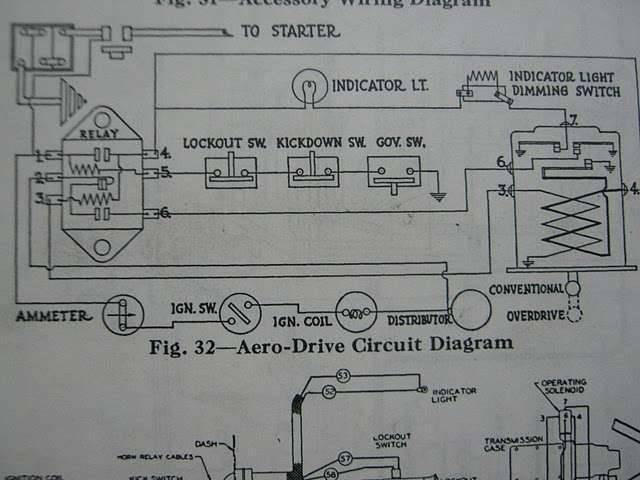 (34.90 KB) (34.90 KB)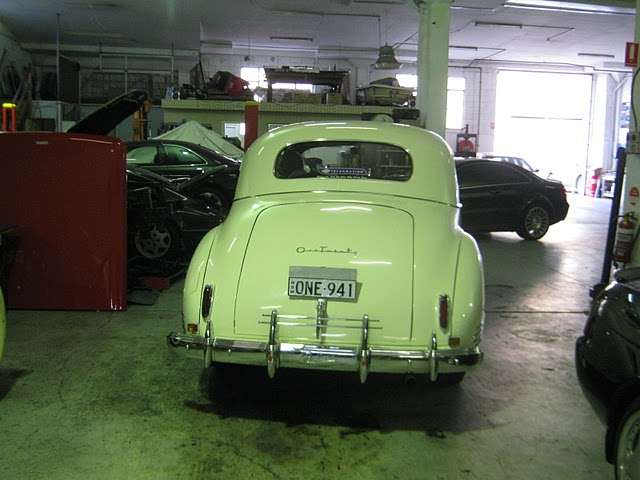 (33.84 KB) (33.84 KB)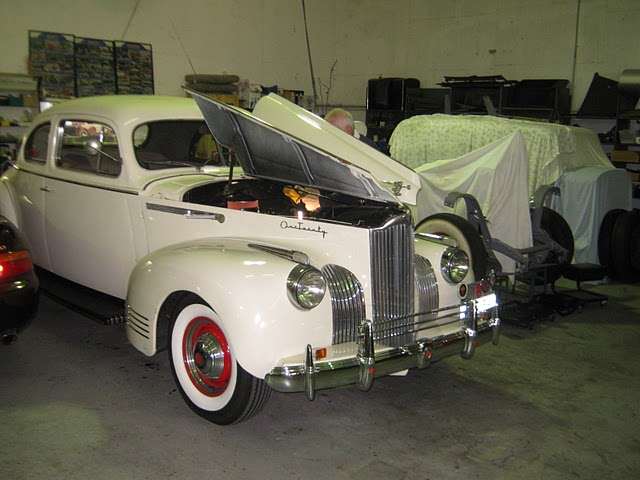 (31.33 KB) (31.33 KB)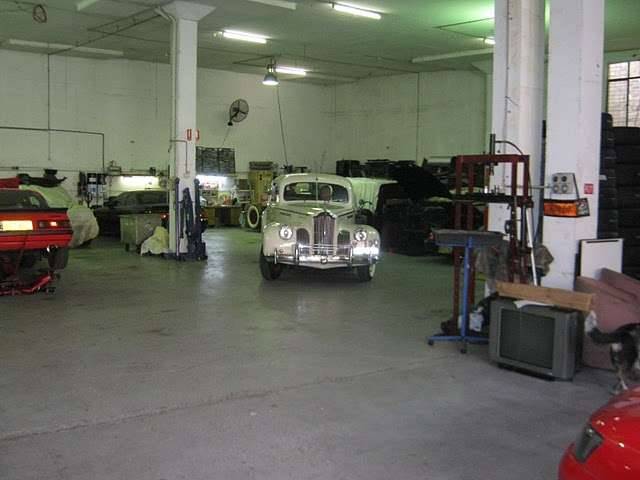 (34.12 KB) (34.12 KB) (32.57 KB) (32.57 KB)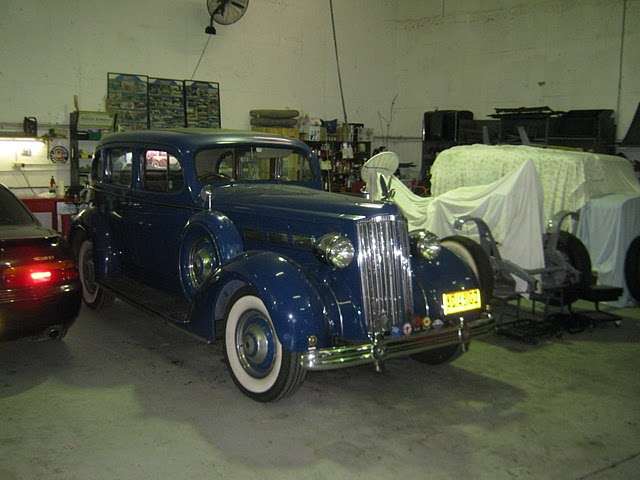 (37.34 KB) (37.34 KB)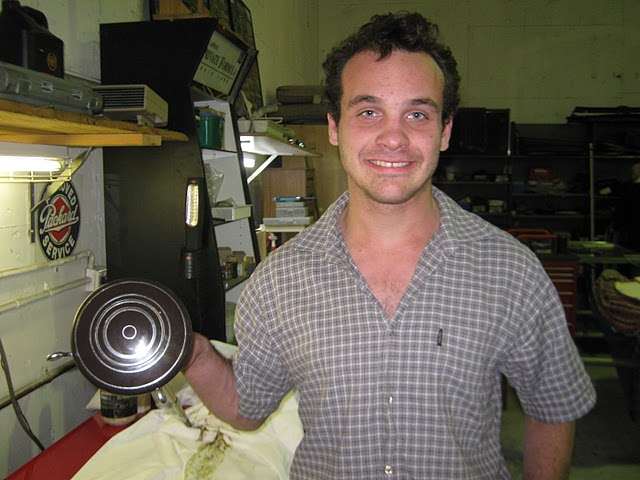 (21.91 KB) (21.91 KB)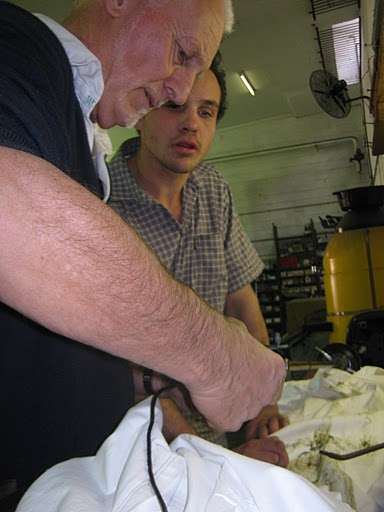 (30.85 KB) (30.85 KB) (32.39 KB) (32.39 KB)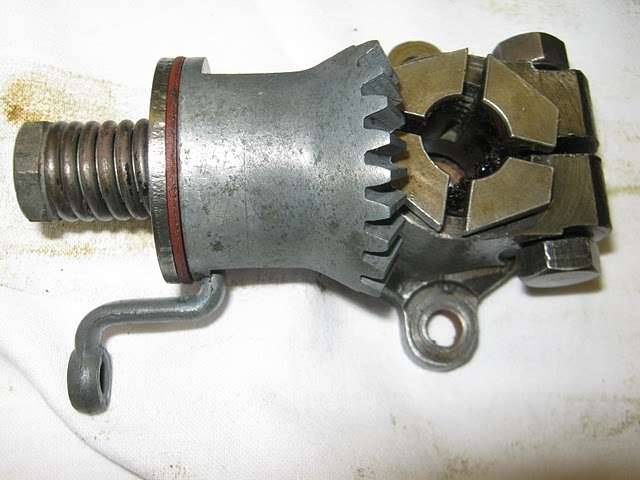 (27.36 KB) (27.36 KB) (37.43 KB) (37.43 KB)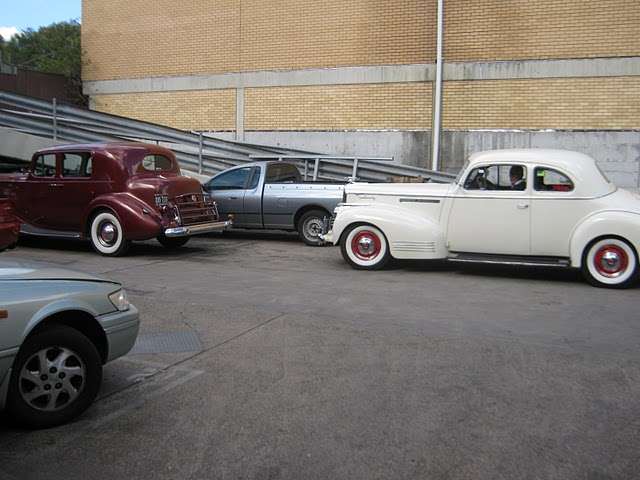
Posted on: 2010/9/6 5:40
|
|||
|
Mal
/o[]o\ ==== Bowral, Southern Highlands of NSW, Australia "Out of chaos comes order" - Nietzsche. 1938 Eight Touring Sedan - SOLD 1941 One-Twenty Club Coupe - SOLD 1948 Super Eight Limo, chassis RHD - SOLD 1950 Eight Touring Sedan - SOLD What's this? Put your Packard in the Packard Vehicle Registry! Here's how! Any questions - PM or email me at ozstatman@gmail.com |
||||
|
||||
|
Re: Wade's Workshop
|
||||
|---|---|---|---|---|
|
Forum Ambassador
|
Tuesday 7th September 2010
Not at the workshop today, although I did drop in to look for my mobile phone which I Link to the pic's taken today. As you will see I was quite taken with the Austin 12 with the divider window. Didn't know Limo's came in such small packages. OASIS run to Mooney Mooney Attach file: (52.02 KB) (47.92 KB) (47.92 KB)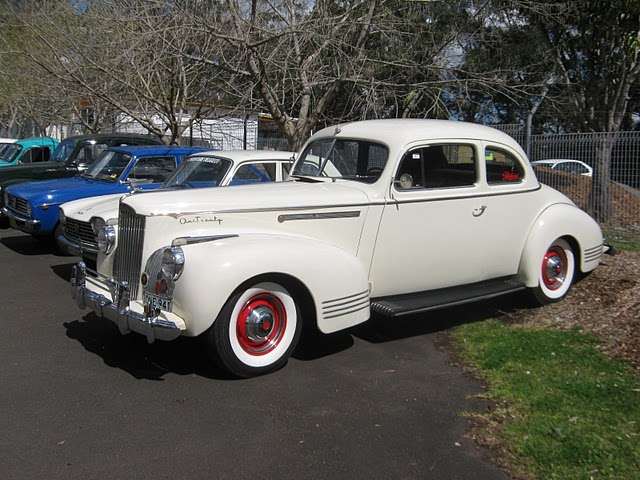 (55.58 KB) (55.58 KB)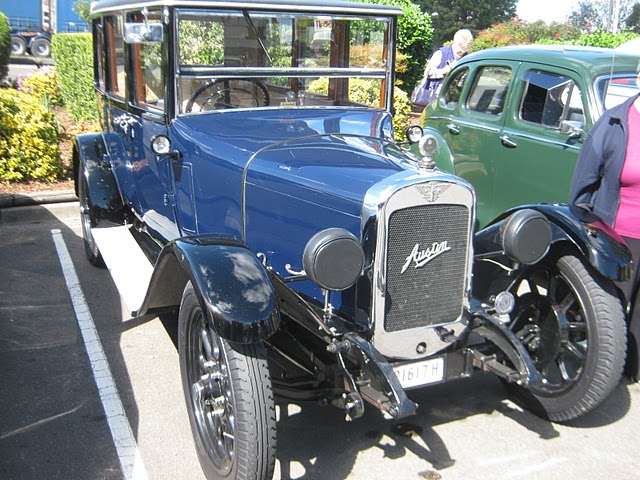
Posted on: 2010/9/7 1:22
|
|||
|
Mal
/o[]o\ ==== Bowral, Southern Highlands of NSW, Australia "Out of chaos comes order" - Nietzsche. 1938 Eight Touring Sedan - SOLD 1941 One-Twenty Club Coupe - SOLD 1948 Super Eight Limo, chassis RHD - SOLD 1950 Eight Touring Sedan - SOLD What's this? Put your Packard in the Packard Vehicle Registry! Here's how! Any questions - PM or email me at ozstatman@gmail.com |
||||
|
||||
|
Re: Wade's Workshop
|
||||
|---|---|---|---|---|
|
Forum Ambassador
|
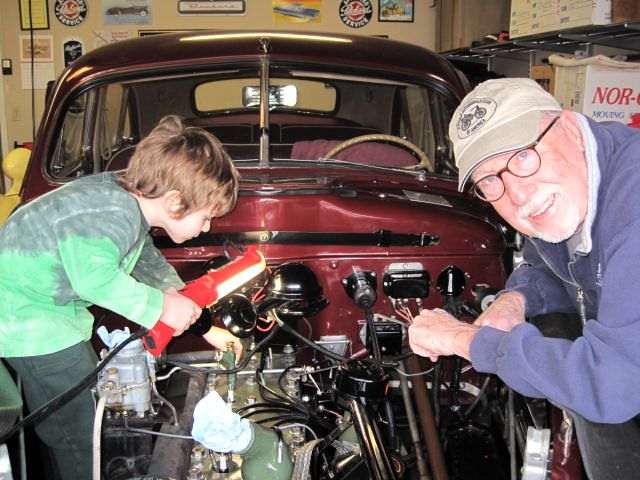
Wednesday 8th September 2010
No workshop today, with Wade and Gina heading south to pick up '34 parts. Instead, had my Packard fix when our granddaughters came over to play. And how did I get a Packard fix in that sort of circumstance? By playing in, around, over and on the '41! The little girls are 2yo and just turned 4yo. The 4yo wanted to play in Poppy's car, meaning the '41, and the 2yo tagged along. With them both in the front seat the 4yo bipped, or should I say blasted, the horn and then bipped/blasted again and again. The noise was too much for the 2yo being soon in tears and happy to vacate the '41's front seat. This left Poppy and a very energetic 4yo, tugging on the steering wheel, shifting the gear lever, rolling windows up and down, opening and closing quarter vent windows and opening a door, climbing out, shutting the door, opening the door, climbing back in, shutting the door, etc, etc. All I had to do was sit back, enjoy the experience and comment about how wonderful and clever she is, and she is! Till at one point, in the door opening and closing routine, the door closed and remained closed. Then I saw a little blondish head emerge in front of the windscreen hauling herself up the front mudguard(fender) and pull herself up onto the bonnet(hood). She even stood up on the mudguard but was soon dissuaded from that activity. Talk about enjoying a Packard! She certainly was, using it as a plaything and Poppy couldn't have been happier. For her weight and wearing soft soled shoes she posed no threat to the bodywork and I was more than happy to let her do this. Also remember my '41 is a driver at best and to gain another use for it and at the same time giving my granddaughter fun was quite acceptable from my viewpoint. After a number of ups and downs onto the mudguard and bonnet, interspersed with a photo shoot, she then discovered the '41's front mudguard made a great slippery dip as a means of returning to the garage floor, even more fun! That then became part of the routine. Could have spent all day doing this and loving every minute of it. Back to the workshop tomorrow and, even though I'll be working on Packards, it sure won't be as much fun as today was. Attach file: (26.82 KB)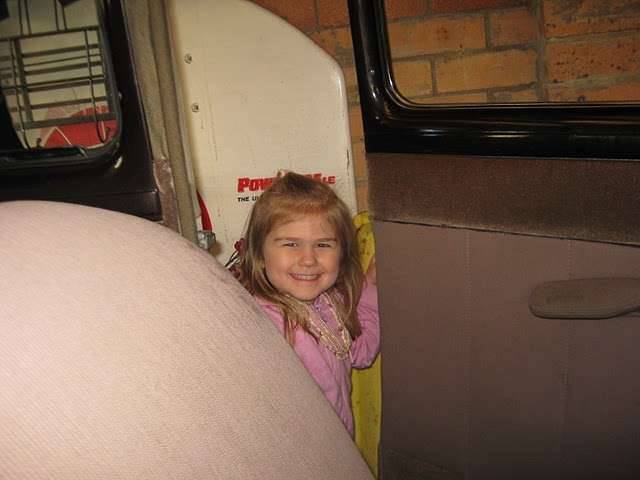 (31.81 KB) (31.81 KB)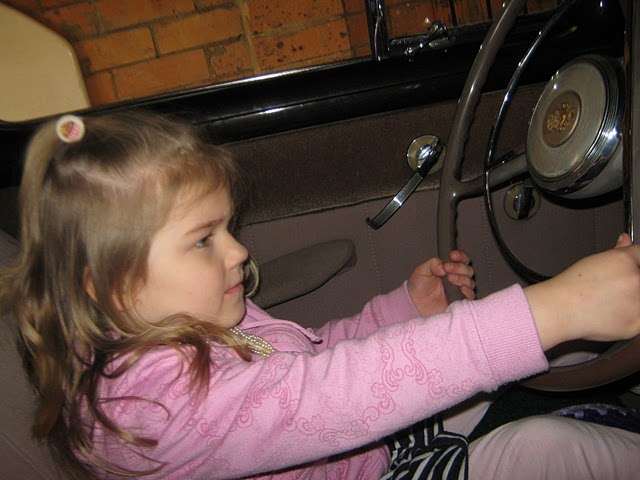 (36.77 KB) (36.77 KB)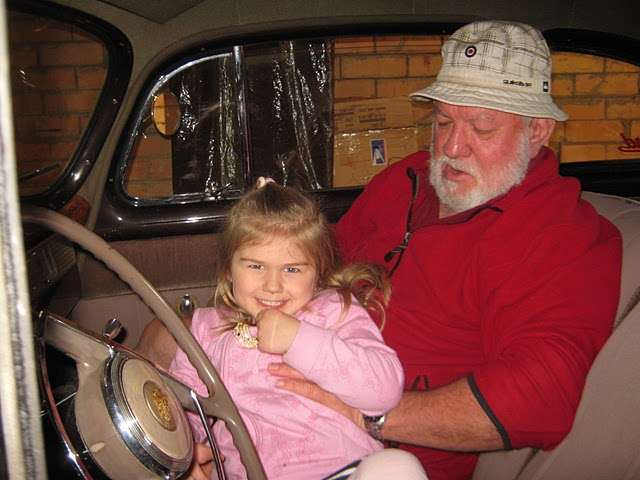 (39.63 KB) (39.63 KB)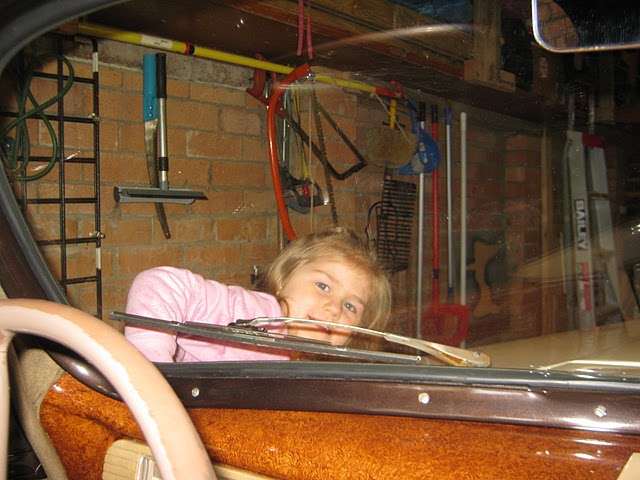 (31.44 KB) (31.44 KB)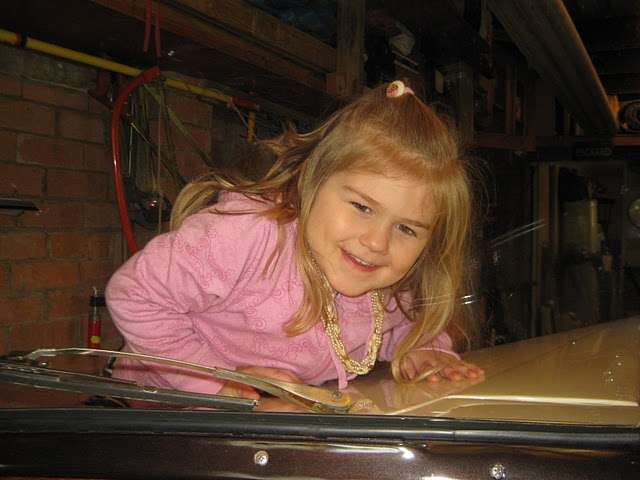 (34.00 KB) (34.00 KB)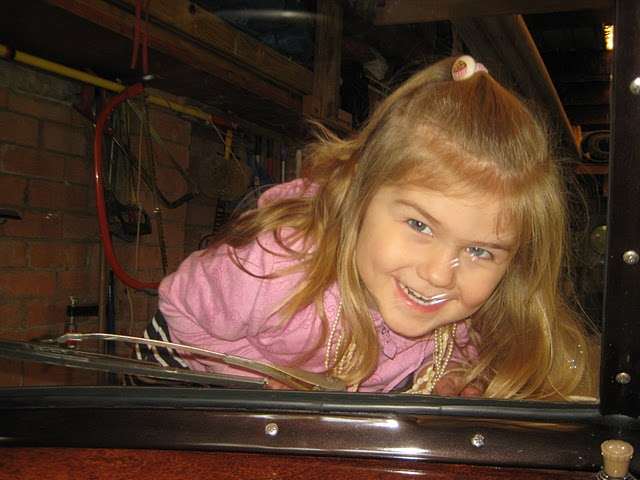 (22.38 KB) (22.38 KB)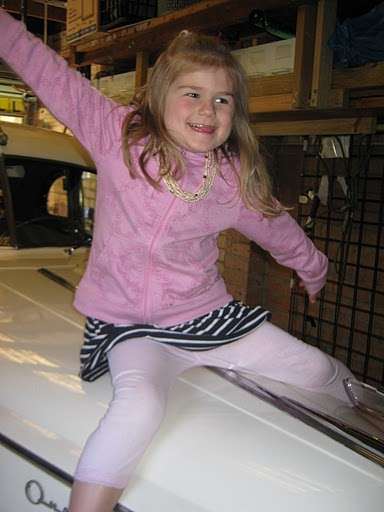 (26.02 KB) (26.02 KB)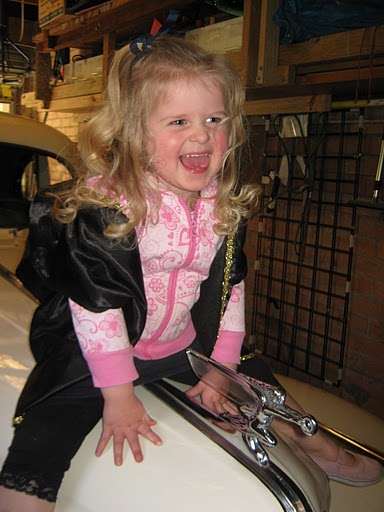 (34.09 KB) (34.09 KB)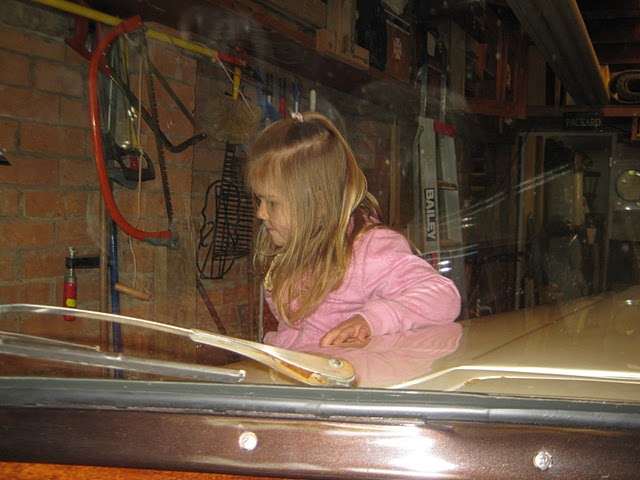
Posted on: 2010/9/7 22:51
|
|||
|
Mal
/o[]o\ ==== Bowral, Southern Highlands of NSW, Australia "Out of chaos comes order" - Nietzsche. 1938 Eight Touring Sedan - SOLD 1941 One-Twenty Club Coupe - SOLD 1948 Super Eight Limo, chassis RHD - SOLD 1950 Eight Touring Sedan - SOLD What's this? Put your Packard in the Packard Vehicle Registry! Here's how! Any questions - PM or email me at ozstatman@gmail.com |
||||
|
||||

|
Re: Wade's Workshop
|
||||
|---|---|---|---|---|
|
Forum Ambassador
|
Thursday 9th September 2010
Quote: JW wrote: Mal, nothing like having a "little" help. Priceless. We are so lucky.(o{I}o) Quote: Ozstatman wrote: Quote: Actually worked on the '34 today. The '39 expected for a pre National Rally tune-up, service and check-up hasn't arrived yet because it's waiting for bodywork to be completed. So in it's absence the '34 finally came to the head of the queue. While yesterday Wade and Gina headed south and picked up some more '34 parts from the painter. All that remains to be painted and picked up are the front 'guards(fenders-US, wings-UK) and the bonnet(hood) side panels. Amongst the painted panels picked up yesterday was the radiator shell. So we set about installing it on the '34. Turned out to be a tight squeeze to get it onto the radiator and radiator shutters set-up on the chassis. It was also complicated a bit by the fact that when Wade bought the '34 some 10 years or so ago it was in pieces and so Wade in putting it back together didn't have the benefit of the taking it apart phase. The front of the '34 features a very strong structure tying together the mudguard(fender) brackets and headlight mounts by means of a bar between the radiator and shutters which has a large flange at each end. Until this bar and it's associated flanges is in position it creates some difficulties in aligning the radiator shell so that it fits past the shutters, up and over and down on the radiator filler neck, under the bottom of the chromed shutter base and the tabs on the vertical centre divider bar aligning with their slots. But in the end it all went together. A nice finishing touch was the mounting of the crank hole escutcheon, looks good! During this exercise Harvey arrived bringing with him a rebuilt cowl vent drain tube. This tube is steel tubing, with a 'Y' junction at top, which runs down inside the firewalls exiting behind the engine block at the base of the outer firewall. The tube Wade had was very rusted around the 'Y' junction and some months ago Wade had started bending up a replacement using copper tubing. But because it has an out, and then an in bend, near its base getting bends without kinks like the original was proving impossible to do. Last week when Harvey was over he'd volunteered to do it in steel tube and had phoned Wade on Monday saying it was ready. Harvey found that bending the in and out bottom bends was also an impossibility but came up with an innovative solution. Use the bottom off the original tubing complete with bends and mate a new top section to it with the appropriate 'Y' junction. Worked out well. Next we turned to the firewalls. Yes, that's right, its plural with an inner(passenger cabin side) and an outer(engine side) firewall. Maybe the inner is a bulkhead, rather than a firewall? Anyway between the two is a double layer of sound deadening/heat insulating caneite material. This was being replaced because although Wade has one, from the '34 he bought to replace the body destroyed by fire, it's LHD and his is RHD. The inner firewall(bulkhead?) is from the LHD car but it's been modified to now be RHD to suit the fully restored chassis. The only body panel salvaged from the fire is the engine side firewall, Wade wants to retain the <Thief Proof> number of his original '34. Sorry O_D! Some months ago I'd cut out the caneite but hadn't finished marking and cutting or drilling all the holes, cut-outs and recesses required. It was complicated by the fact of using the two different inner and outer firewall panels which had some holes/fitting points which weren't required. So with a lot of comparing, between inner firewall/bulkhead, outer firewall, US caneite and US outer firewall, the new caneite panel was sculpted with holes and cut-outs. At the end of the day it goes together well, but hasn't yet been mounted permanently to the body. Attach file: (19.56 KB)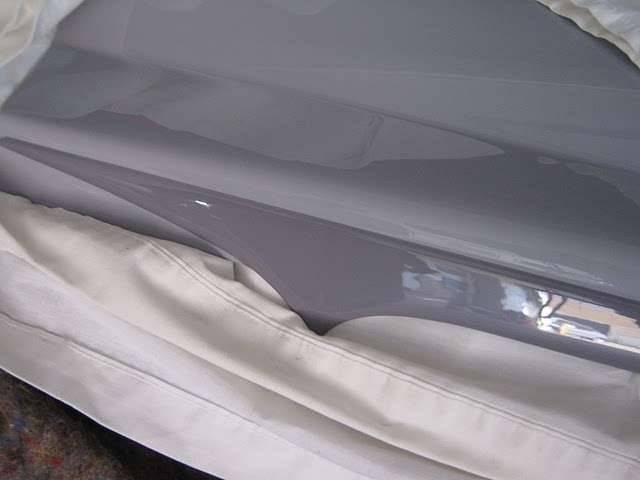 (18.39 KB) (18.39 KB) (42.69 KB) (42.69 KB) (29.98 KB) (29.98 KB)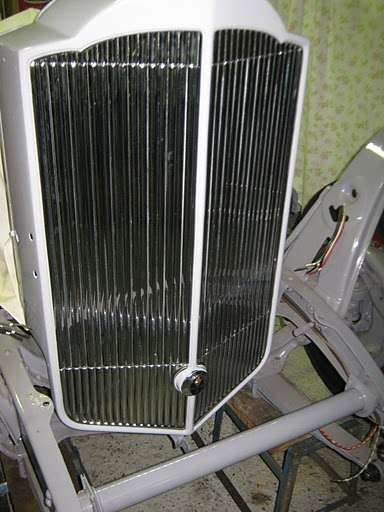 (32.64 KB) (32.64 KB) (22.15 KB) (22.15 KB)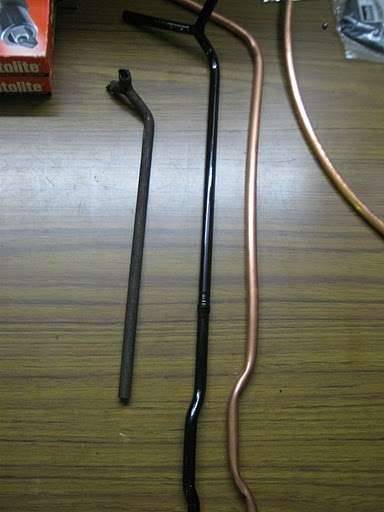 (38.10 KB) (38.10 KB)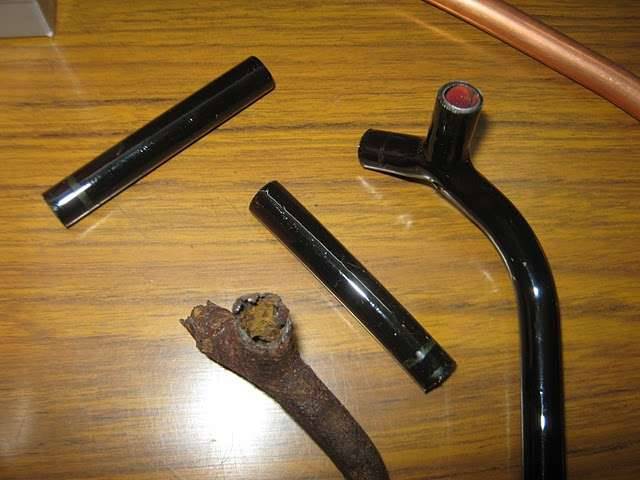 (24.11 KB) (24.11 KB)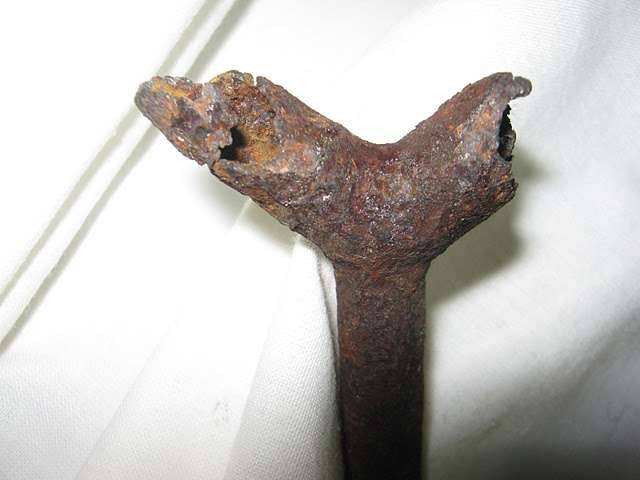 (30.70 KB) (30.70 KB) (32.63 KB) (32.63 KB)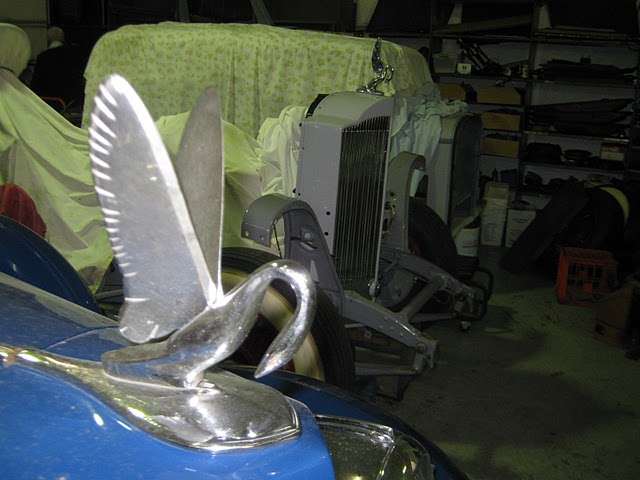 (24.70 KB) (24.70 KB)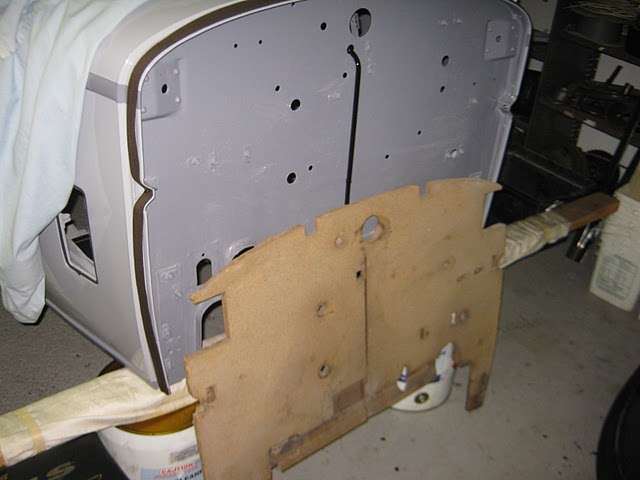 (35.80 KB) (35.80 KB)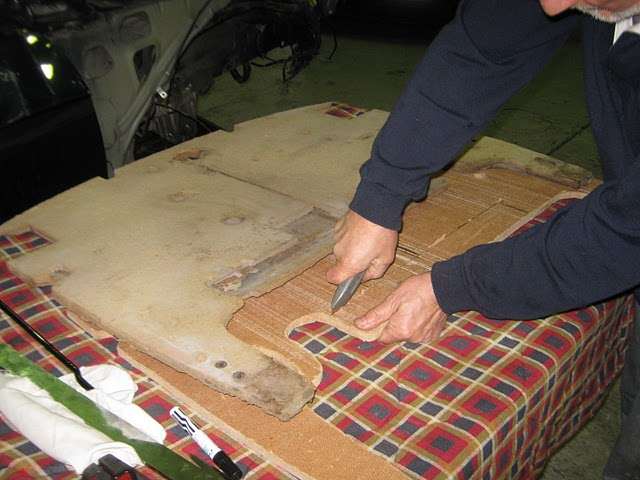
Posted on: 2010/9/9 6:25
|
|||
|
Mal
/o[]o\ ==== Bowral, Southern Highlands of NSW, Australia "Out of chaos comes order" - Nietzsche. 1938 Eight Touring Sedan - SOLD 1941 One-Twenty Club Coupe - SOLD 1948 Super Eight Limo, chassis RHD - SOLD 1950 Eight Touring Sedan - SOLD What's this? Put your Packard in the Packard Vehicle Registry! Here's how! Any questions - PM or email me at ozstatman@gmail.com |
||||
|
||||
|
Re: Wade's Workshop
|
||||
|---|---|---|---|---|
|
Home away from home

|
I have heard that filling the tube with sand will help keep the copper tube from kinking as you bend it.
Posted on: 2010/9/9 7:55
|
|||
|
[url=h
|
||||
|
||||
|
Re: Wade's Workshop
|
||||
|---|---|---|---|---|
|
Home away from home

|
Quote:
I have heard that filling the tube with sand will help keep the copper tube from kinking as you bend it. Yup, that's how organ builders made pipe organs back in the day.
Posted on: 2010/9/9 9:31
|
|||
|
||||
|
Re: Wade's Workshop
|
||||
|---|---|---|---|---|
|
Forum Ambassador

|
my friend did this all the time when he had no pipe bender, he filled with sand and it worked great!
Hank
Posted on: 2010/9/9 9:47
|
|||
|
1937 Packard 138-CD Deluxe Touring Limousine
Maroon/Black 1090-1021 [url=https://packardinfo.com/xoops/html/modules/registry/View.php?ID=232]1955 Packard |
||||
|
||||
|
Re: Wade's Workshop
|
||||
|---|---|---|---|---|
|
Forum Ambassador
|
Many years ago a mate of mine, not having a pipe bender or access to one, used the sand filling method when bending up exhaust pipes for the hot rods and dragsters he built, sometimes successfully sometimes not. I don't know how well this would translate to the small diameter tubing used here, about 3/8". Part of the success factor involved was filling the tubing by packing the sand in then plugging each end to prevent any sand egress during the bending process. Not sure how you would plug the small diameter tubing being used in this application. Anyways, in this instance, being able to retain part of the original tubing and just replace the badly rusted Y piece has resulted in a great outcome.
Posted on: 2010/9/9 15:31
|
|||
|
Mal
/o[]o\ ==== Bowral, Southern Highlands of NSW, Australia "Out of chaos comes order" - Nietzsche. 1938 Eight Touring Sedan - SOLD 1941 One-Twenty Club Coupe - SOLD 1948 Super Eight Limo, chassis RHD - SOLD 1950 Eight Touring Sedan - SOLD What's this? Put your Packard in the Packard Vehicle Registry! Here's how! Any questions - PM or email me at ozstatman@gmail.com |
||||
|
||||
Register To PostTopic is Locked


