
|
Re: Keegan's 55 Clipper Deluxe
|
||||
|---|---|---|---|---|
|
Forum Ambassador

|
Keegan,
Great description, great pictures, great ability, great job!
Posted on: 2010/2/4 23:29
|
|||
|
Mal
/o[]o\ ====  Bowral, Southern Highlands of NSW, Australia "Out of chaos comes order" - Nietzsche. 1938 Eight Touring Sedan - SOLD 1941 One-Twenty Club Coupe - SOLD 1948 Super Eight Limo, chassis RHD - SOLD 1950 Eight Touring Sedan - SOLD What's this?  Put your Packard in the Packard Vehicle Registry! Here's how! Any questions - PM or email me at ozstatman@gmail.com |
||||
|
||||
|
Re: Keegan's 55 Clipper Deluxe
|
||||
|---|---|---|---|---|
|
Forum Ambassador
|
Quote:
Keegan wrote: 139 days left until my self-imposed deadline to have the car drivable again. What is the significance of the deadline? From my rough calculations that would be 19th June. I had meant to ask this earlier but I think I've now found the answer here.
Posted on: 2010/2/5 0:06
|
|||
|
Mal
/o[]o\ ==== Bowral, Southern Highlands of NSW, Australia "Out of chaos comes order" - Nietzsche. 1938 Eight Touring Sedan - SOLD 1941 One-Twenty Club Coupe - SOLD 1948 Super Eight Limo, chassis RHD - SOLD 1950 Eight Touring Sedan - SOLD What's this? Put your Packard in the Packard Vehicle Registry! Here's how! Any questions - PM or email me at ozstatman@gmail.com |
||||
|
||||
|
Re: Keegan's 55 Clipper Deluxe
|
||||
|---|---|---|---|---|
|
Home away from home

|
You are 100% correct Mal.
I've set a goal of driving it to the "Back to the 50's" show this year. Lot's to do before I can marry the body and the frame again. I just hope I remember how everything fits 
Posted on: 2010/2/5 0:30
|
|||
|
||||
|
Re: Keegan's 55 Clipper Deluxe
|
||||
|---|---|---|---|---|
|
Home away from home
|
I should have used my free time to work on my taxes today. Meeting with the accountant next Tuesday. Somehow I just couldn't bring myself to do it. Had to keep working on the Clipper. At least I can measure my progress with the car. Taxes and bookwork never seem to come to any measurable end.
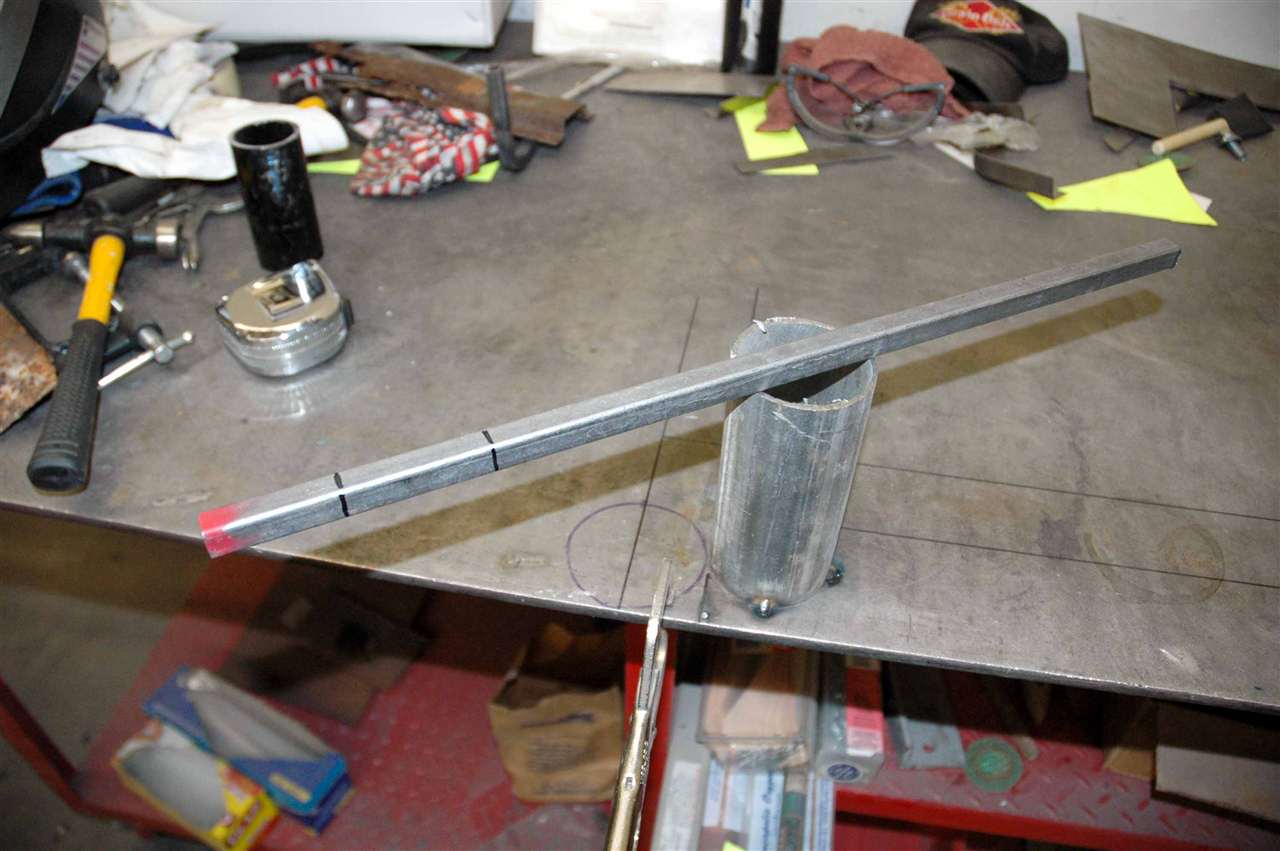
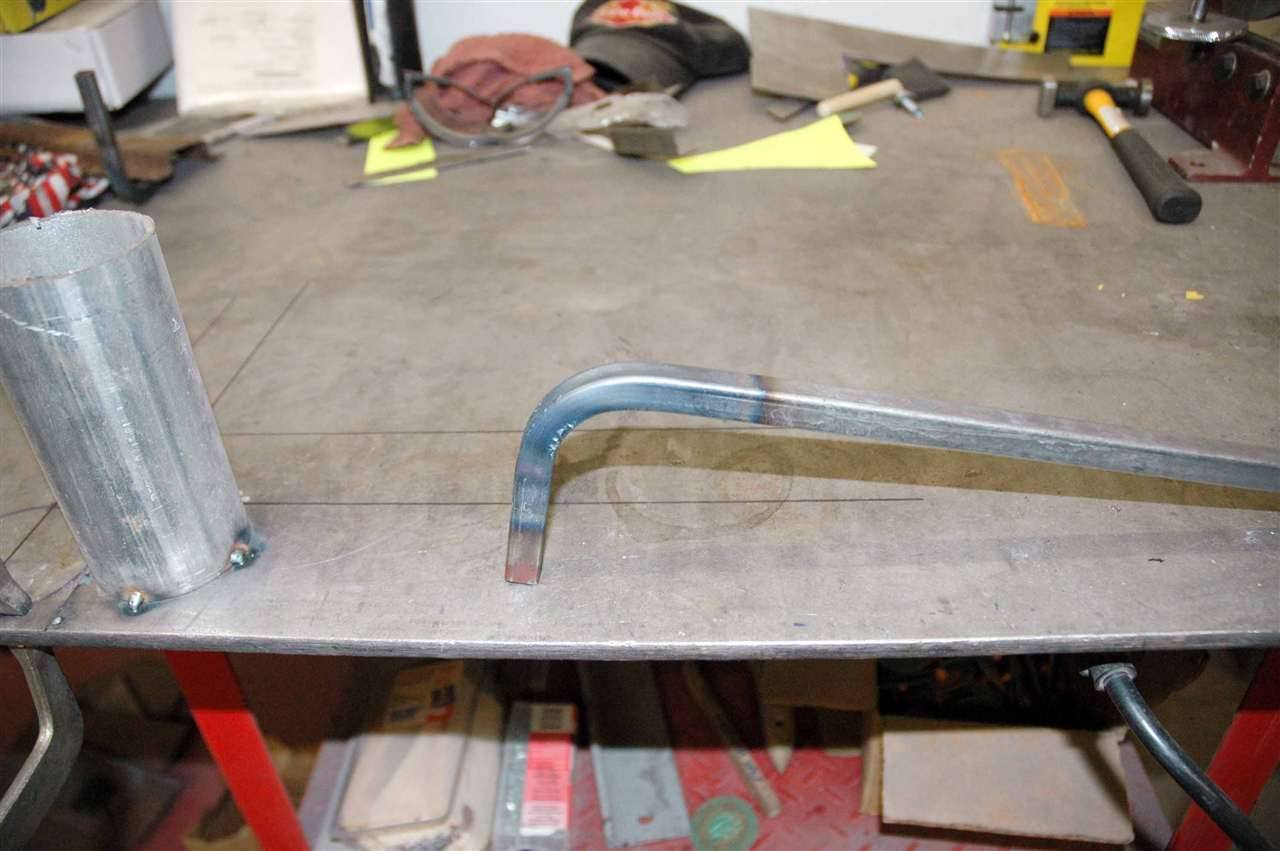
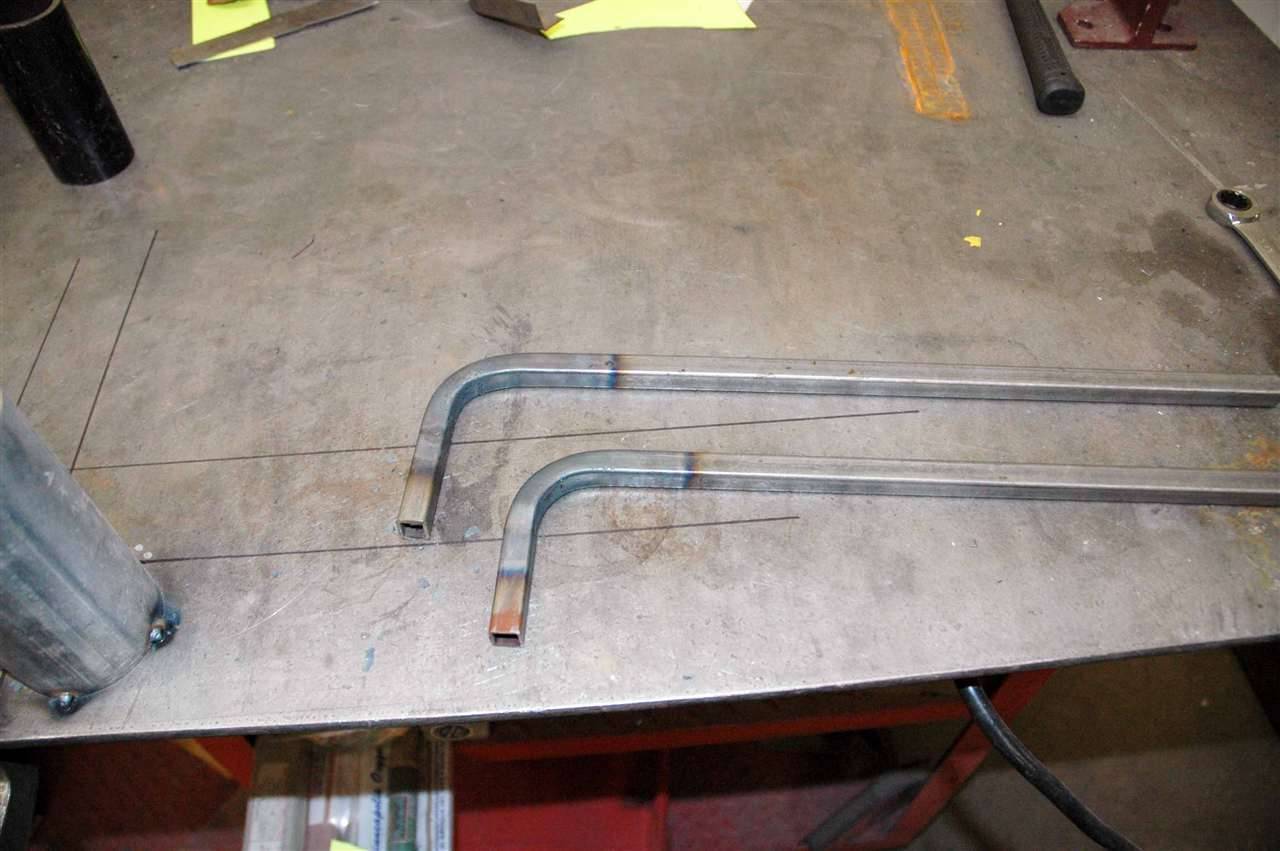
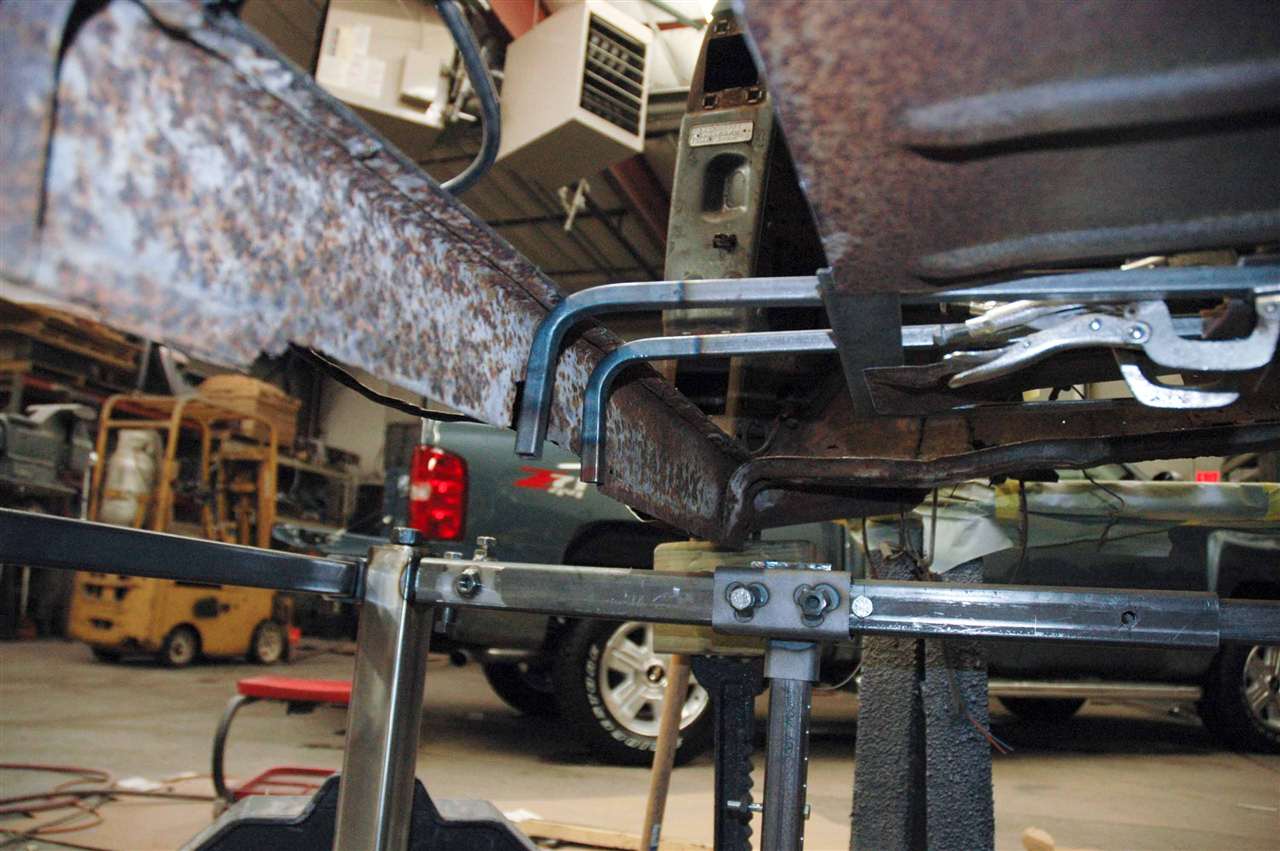
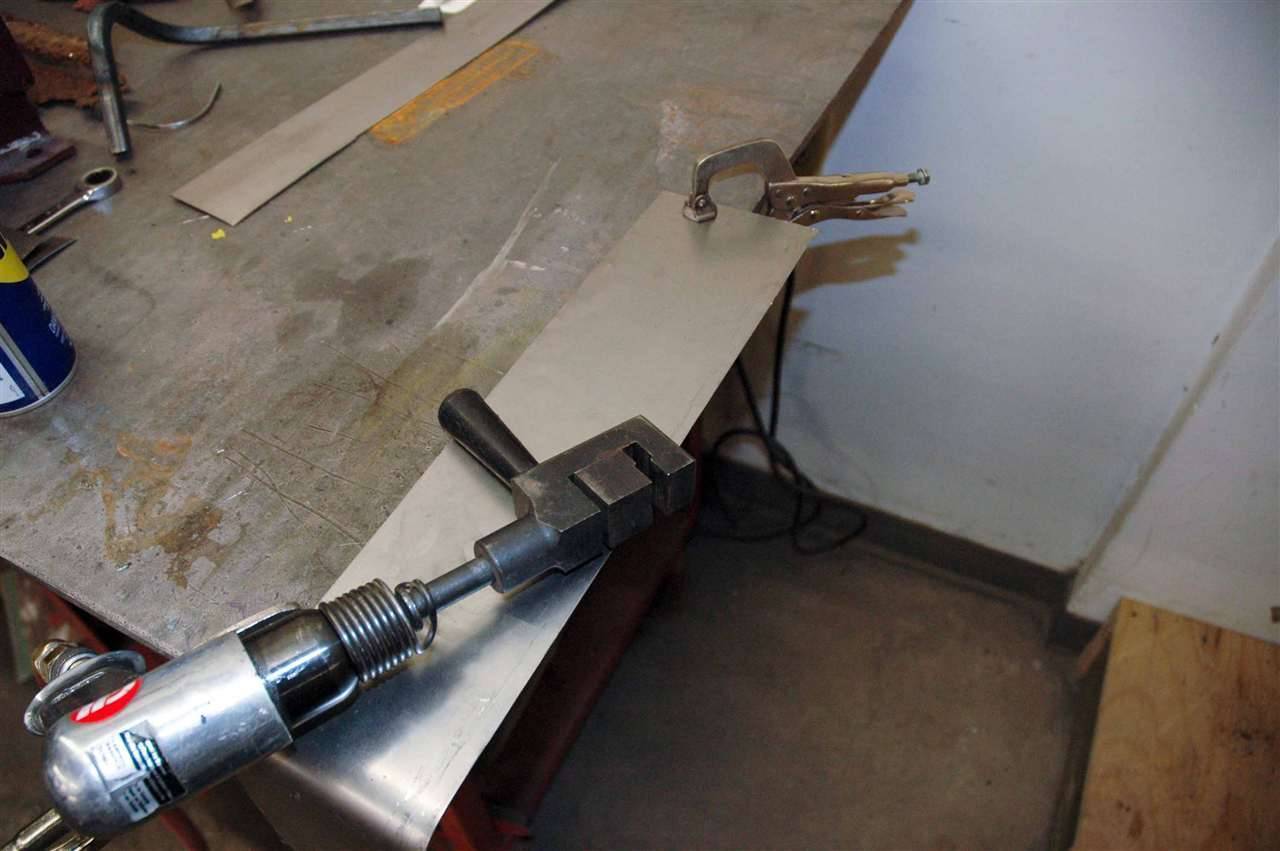
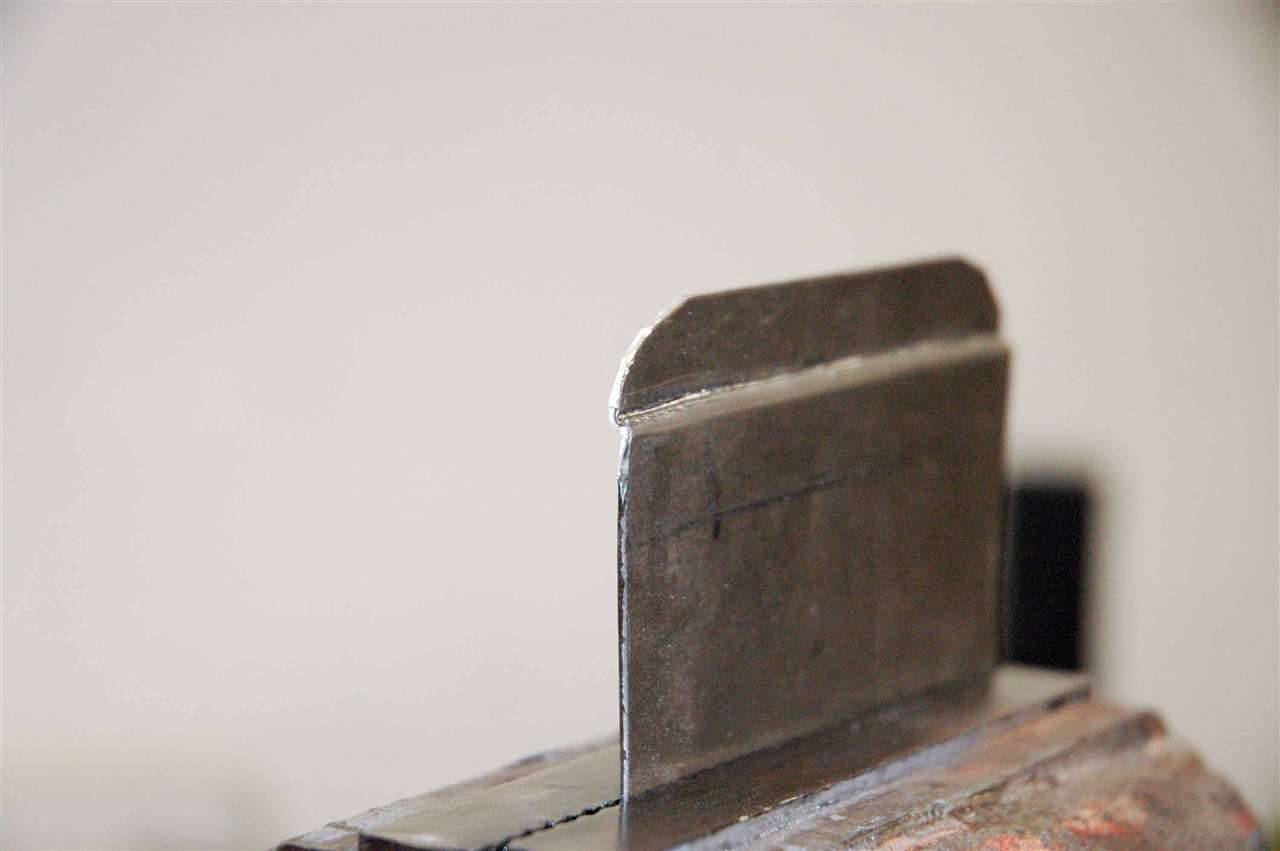
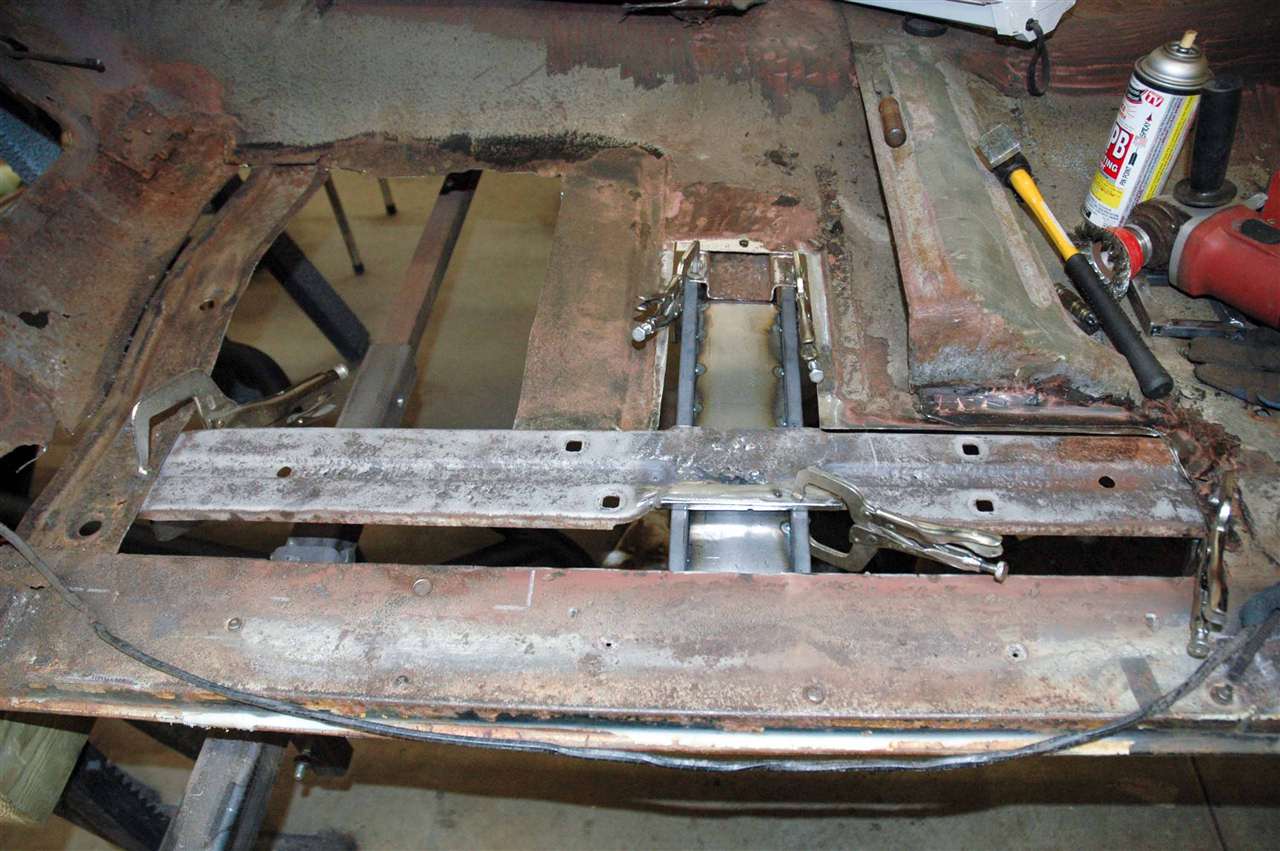
I welded in the new brace and the seat brace as well. Then I started to make some replacement panels for the floor. I've found that my limited skills are best used to make smaller panels and fit them together. Rather than a large panel that covers it all at once. With the help of many clamps to hold it all tight together, I was able to cover up about half of the floor that I've removed. The large missing section will get covered by the floor pan that I purchased online. Once that one is in I'll move to the toe board. Attach file:  (123.10 KB) (123.10 KB)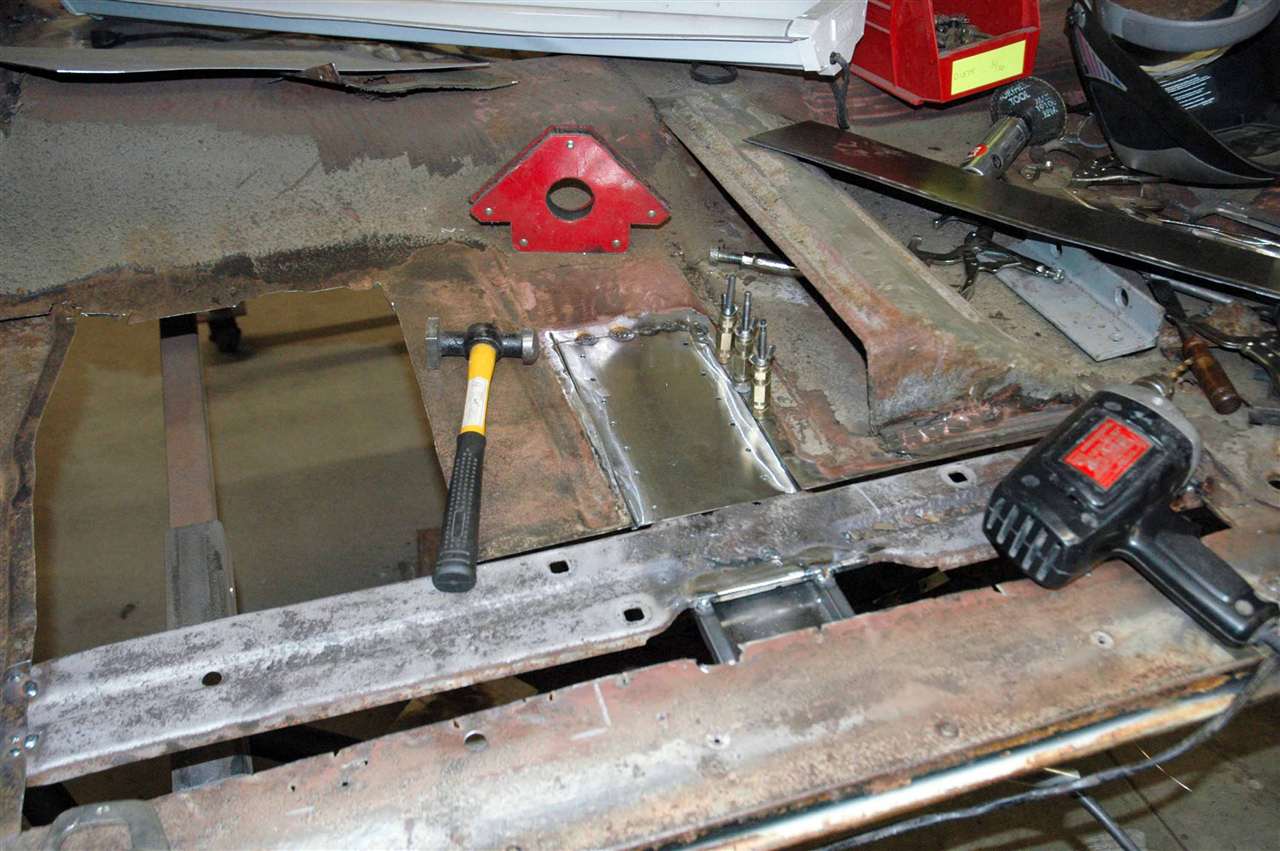 (107.13 KB) (107.13 KB)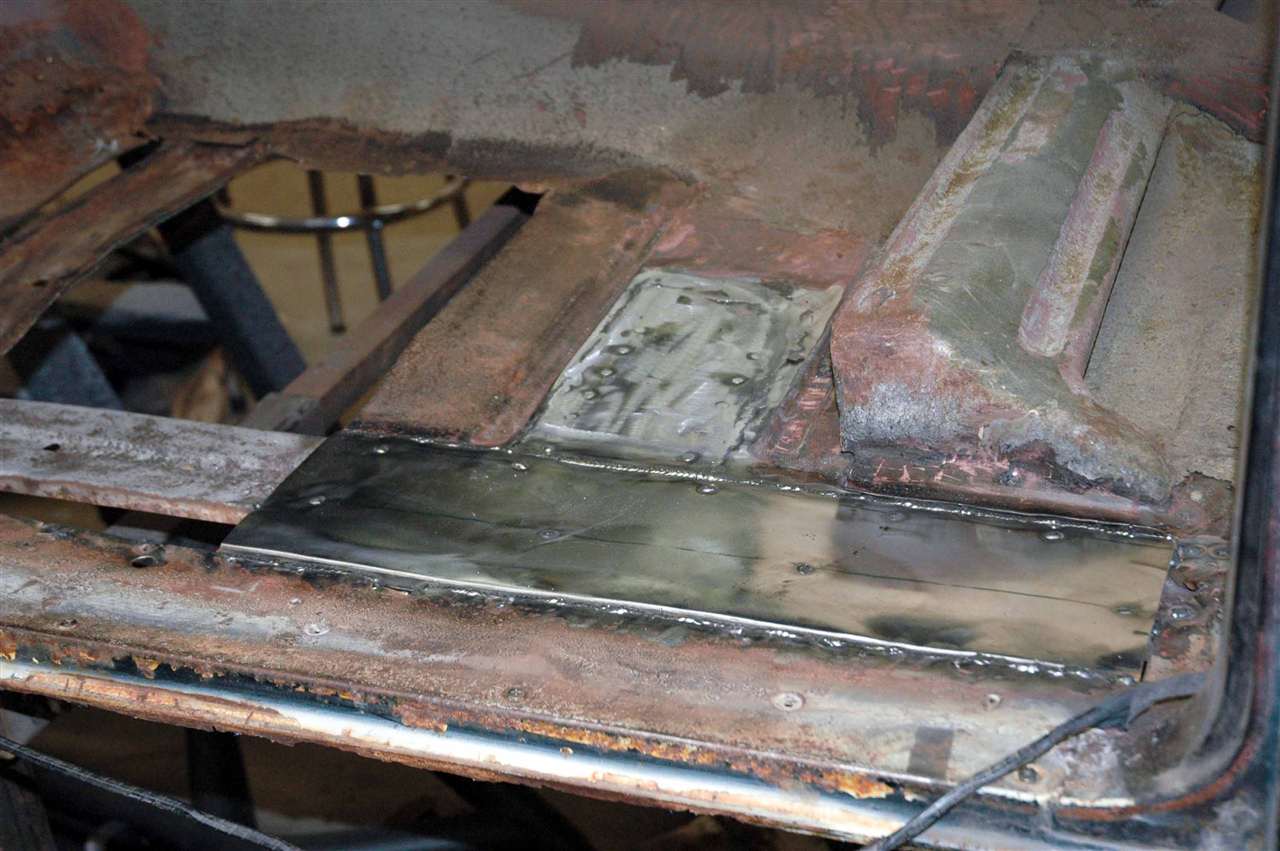 (101.68 KB) (101.68 KB)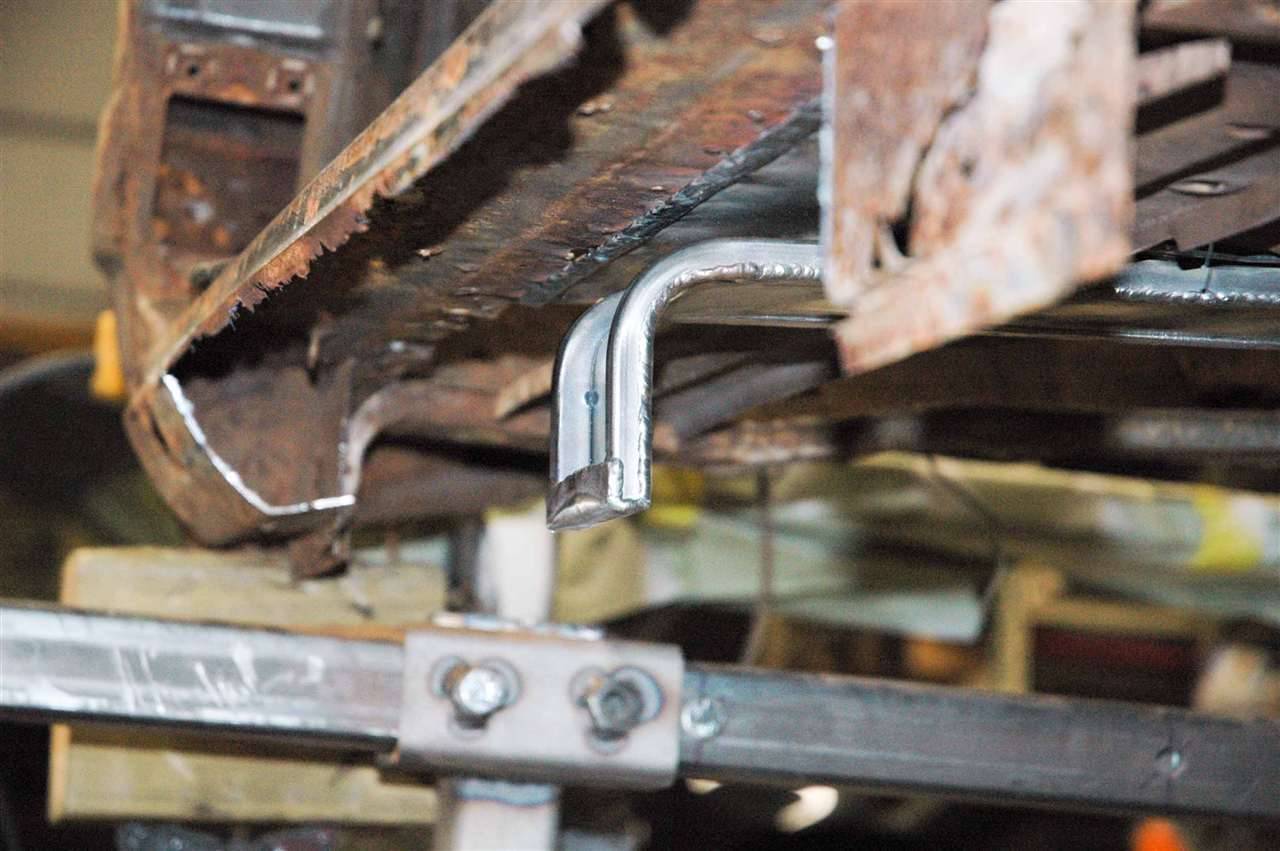
Posted on: 2010/2/5 22:59
|
|||
|
||||
|
Re: Keegan's 55 Clipper Deluxe
|
||||
|---|---|---|---|---|
|
Home away from home
|
Been slowly chipping away where time permits. Hopefully I'll be able to fill the big holes soon and move onto the Oh-so-many little holes.
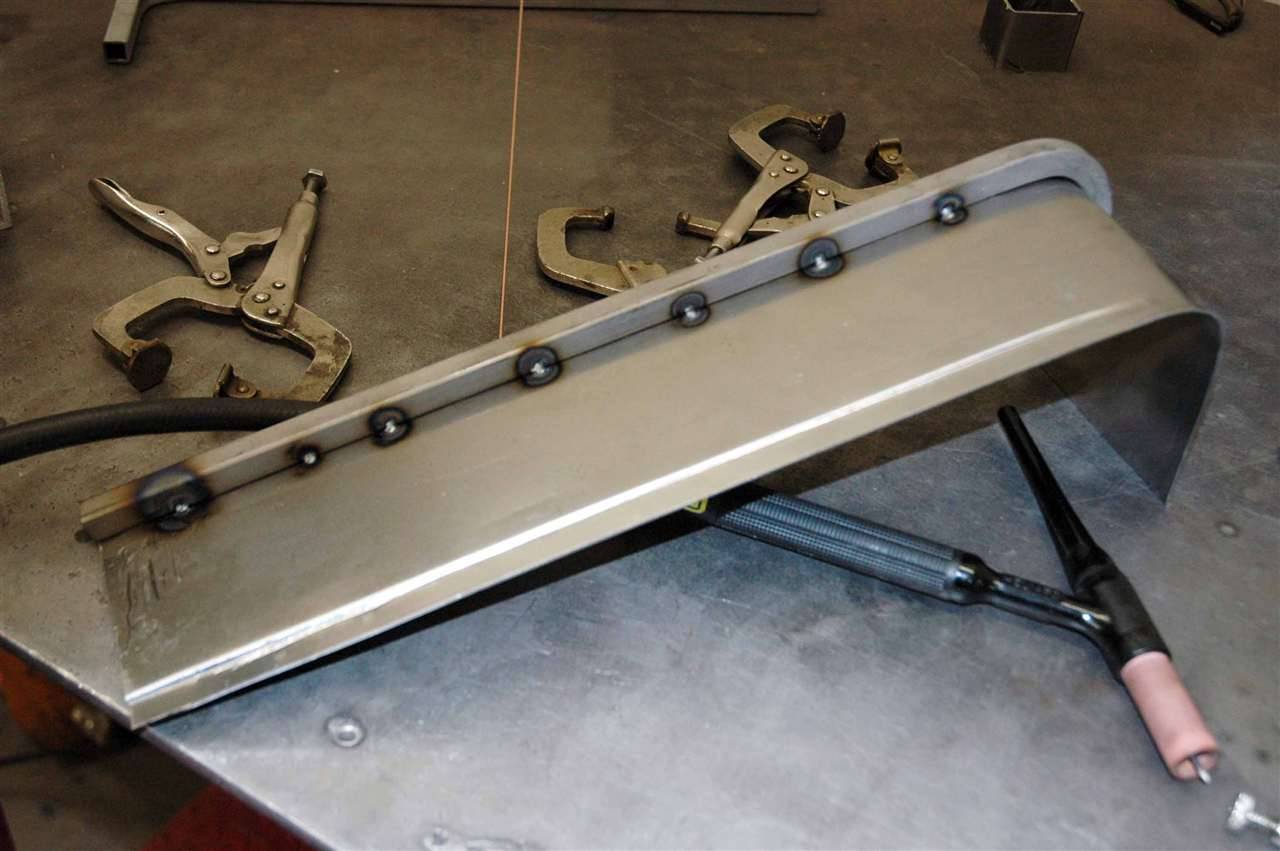
Got the big piece test fitted with the help of some sheet metal screws. It needed some extra help to fit, but it wasn't too bad. It takes a while, but eventually you get all the spot welds connected to make a solid repair. I've started the toe board repair as well. I'll finish weld it all when I've got all the patches in. Hopefully the drivers side floor will be done before next Monday. It will look much better after some time with the grinder and some seam sealer to smooth the rough edges. Attach file: (106.18 KB)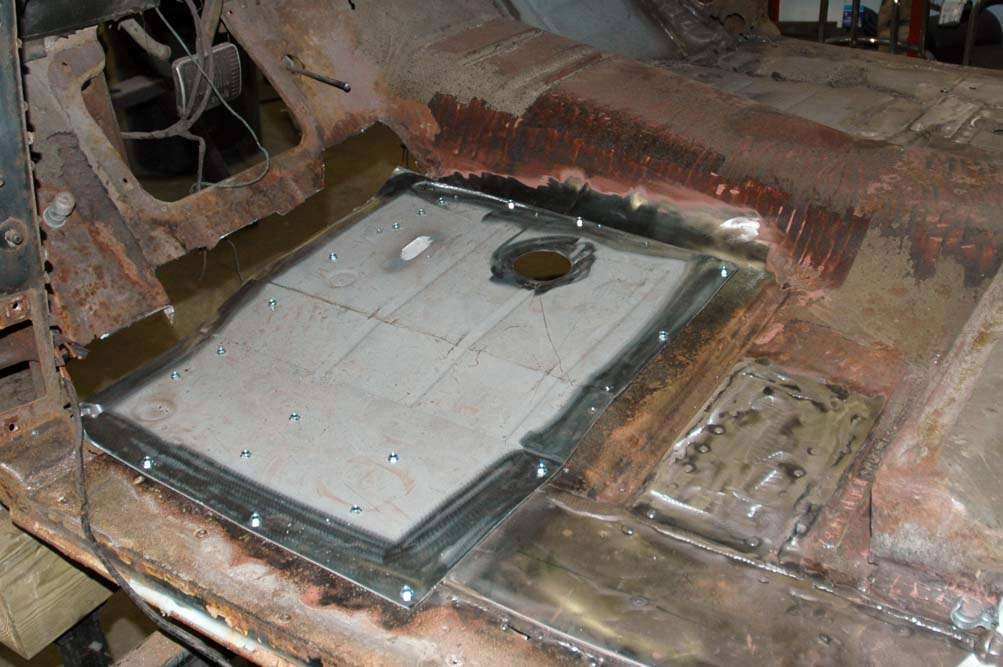 (85.62 KB) (85.62 KB)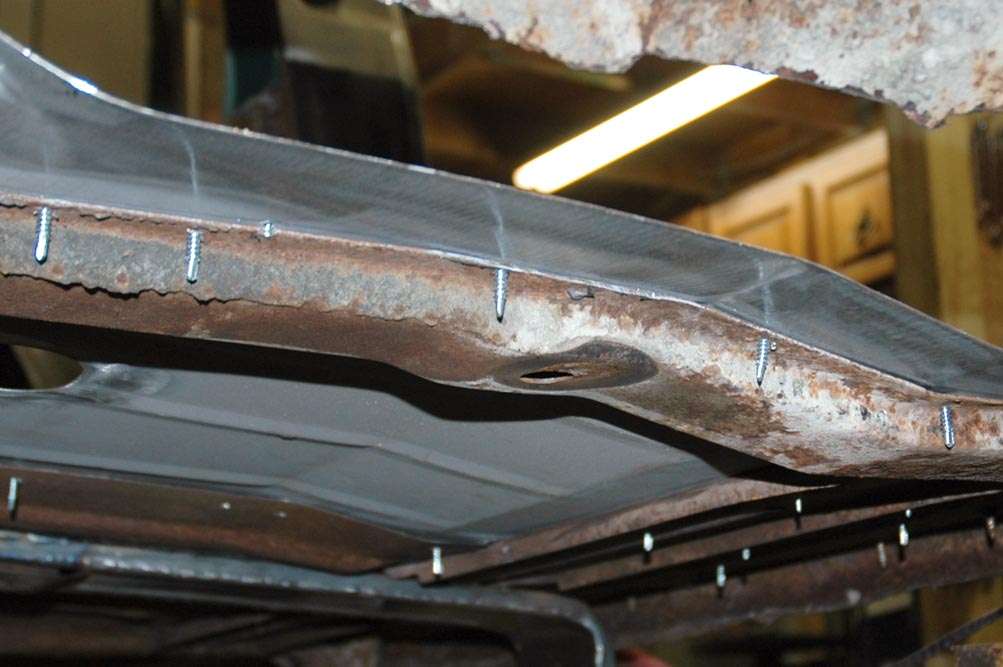 (77.96 KB) (77.96 KB)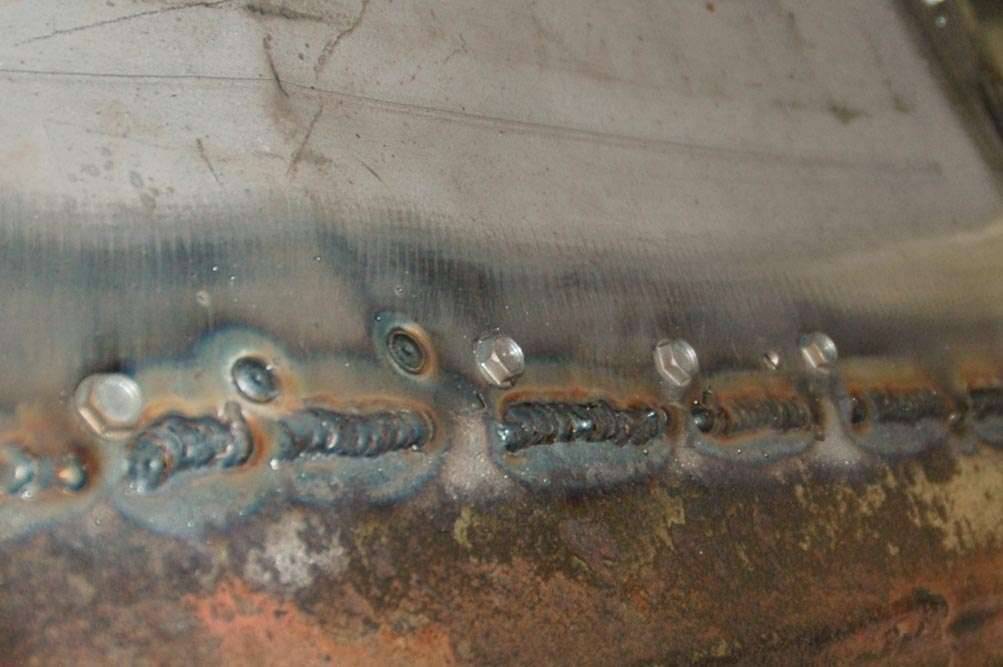 (102.36 KB) (102.36 KB)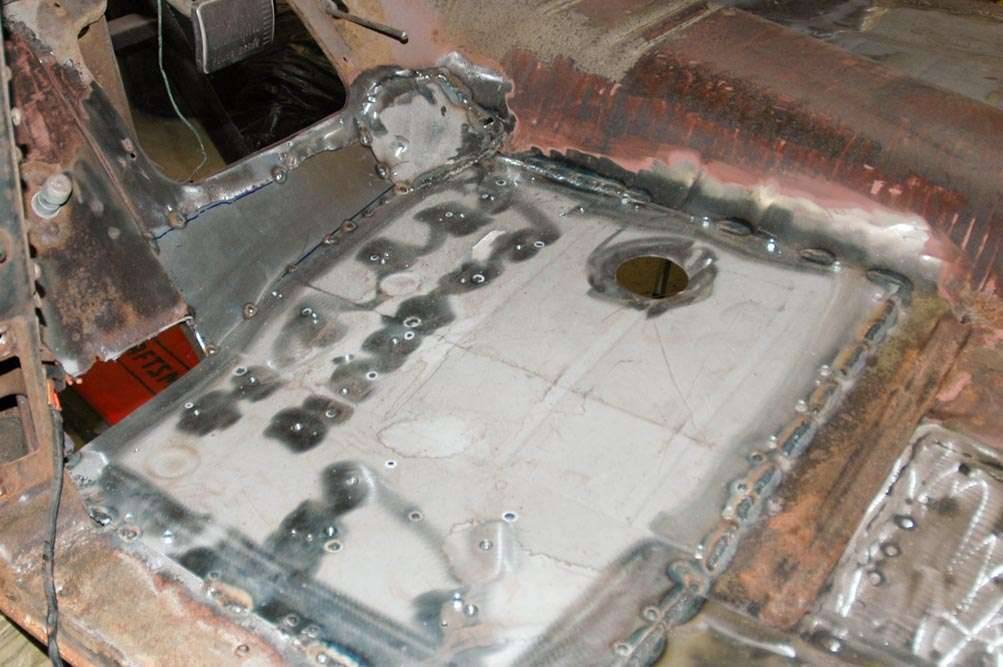
Posted on: 2010/2/18 0:03
|
|||
|
||||
|
Re: Keegan's 55 Clipper Deluxe
|
||||
|---|---|---|---|---|
|
Home away from home

|
Quote:
You've got to be kidding!
Posted on: 2010/2/18 21:51
|
|||
|
Guy
[b]Not an Expert[/ |
||||
|
||||
|
Re: Keegan's 55 Clipper Deluxe
|
||||
|---|---|---|---|---|
|
Home away from home
|
 for the compliment Guy! for the compliment Guy!Really, I'm making this all up as I go. Got some time today to finish up the patchwork quilt that is my floor. The toe board is buttoned up for the most part. There are some smaller details that need attention, but at least the broad strokes have been laid down. I'm still debating on removing the dash. On the one hand it will make some of the next steps easier. On the other hand, it's one more step to go through for reassembly. Hopefully I'll start the rockers next. I won't have carpet for a long time, so I'm thinking of running the wiring through the rocker panels for a cleaner look. I'll try to see if that's a reasonable goal as I hang the replacement panels. 17 weeks and counting. I'm afraid time is not on my side. Attach file: (145.06 KB)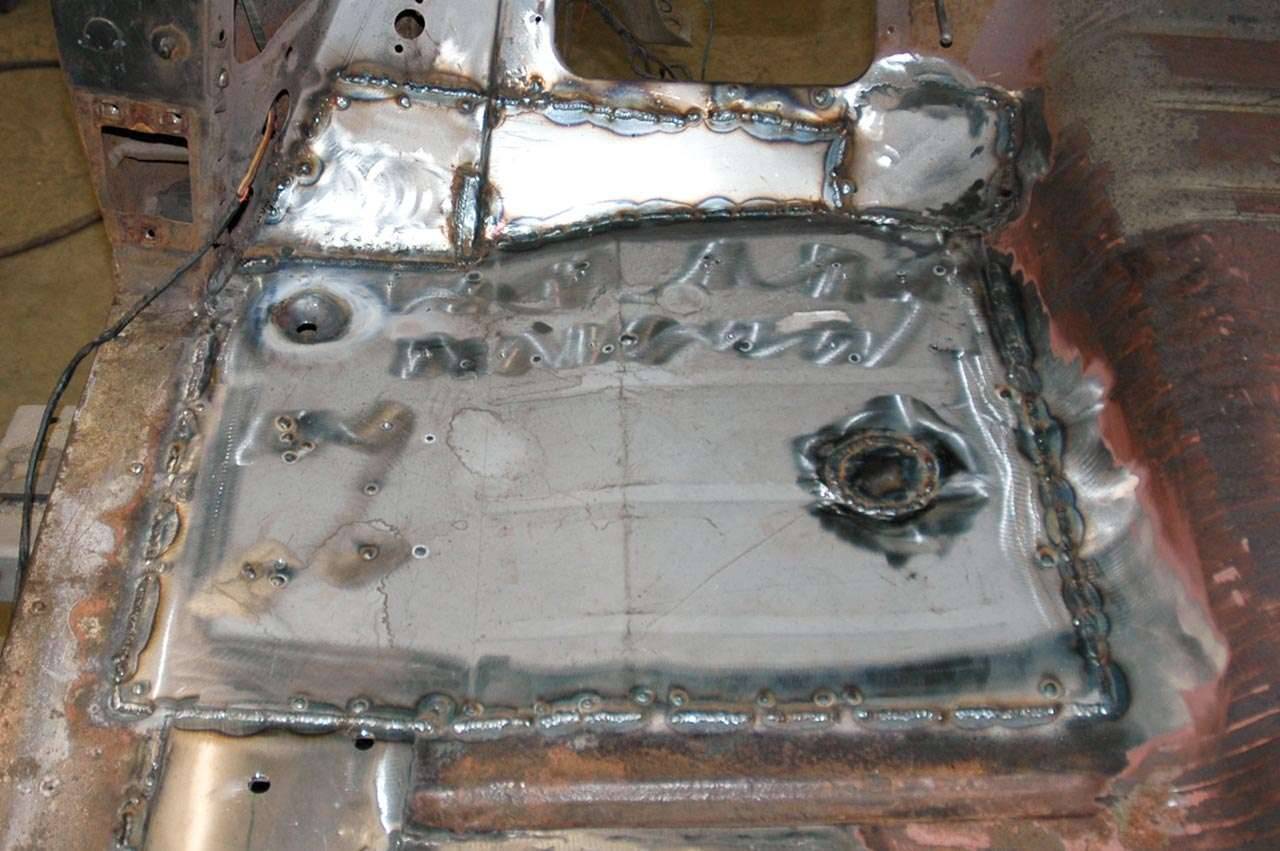
Posted on: 2010/2/18 22:39
|
|||
|
||||
|
Re: Keegan's 55 Clipper Deluxe
|
||||
|---|---|---|---|---|
|
Home away from home
|
YOU'RE
 KEEGAN KEEGANI like the way you are labeling each pic, as well. It's very helpful for understanding the process, and should help you and other readers in the future too. These project blogs can become virtual manuals with the right documentation and labels.
Posted on: 2010/2/21 12:37
|
|||
|
Guy
[b]Not an Expert[/ |
||||
|
||||
|
Re: Keegan's 55 Clipper Deluxe
|
||||
|---|---|---|---|---|
|
Home away from home
|
Rocker panel #1.
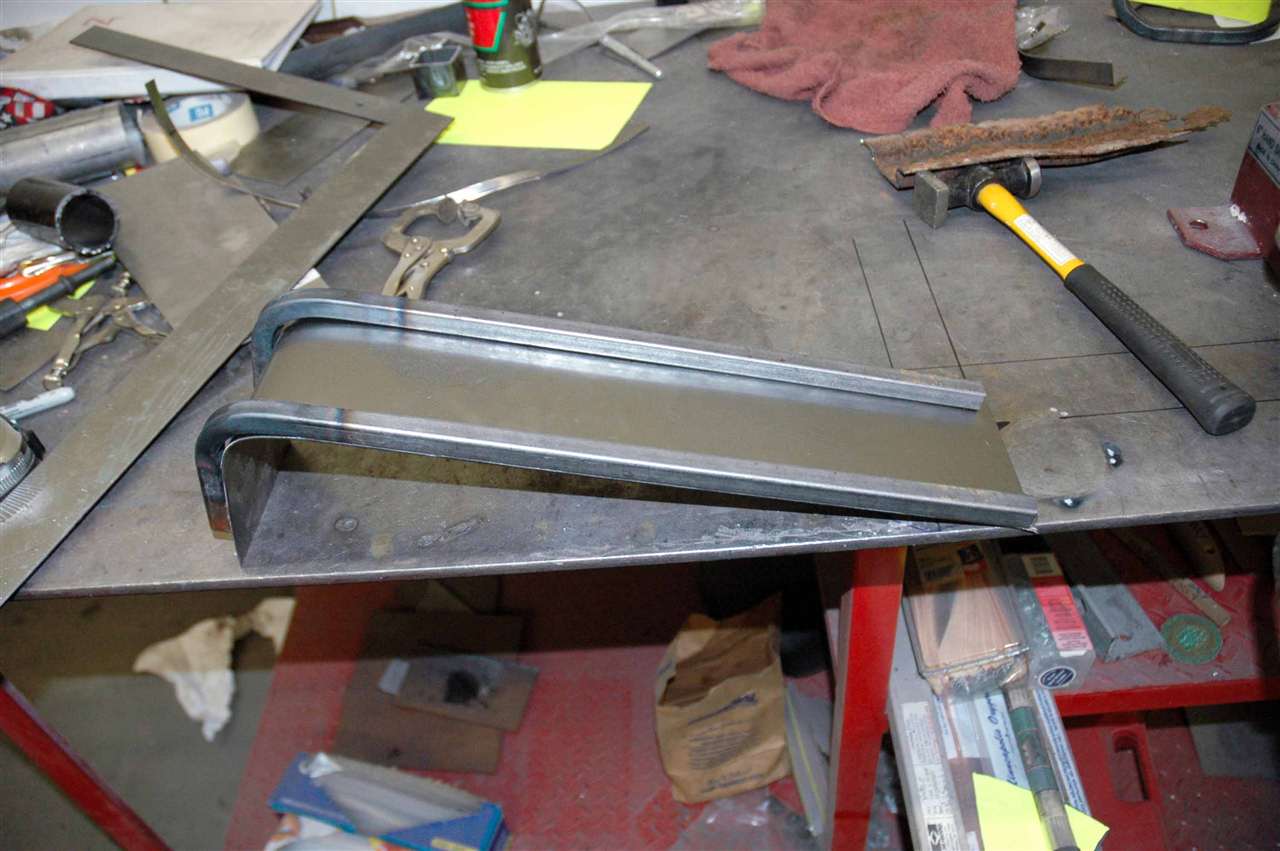
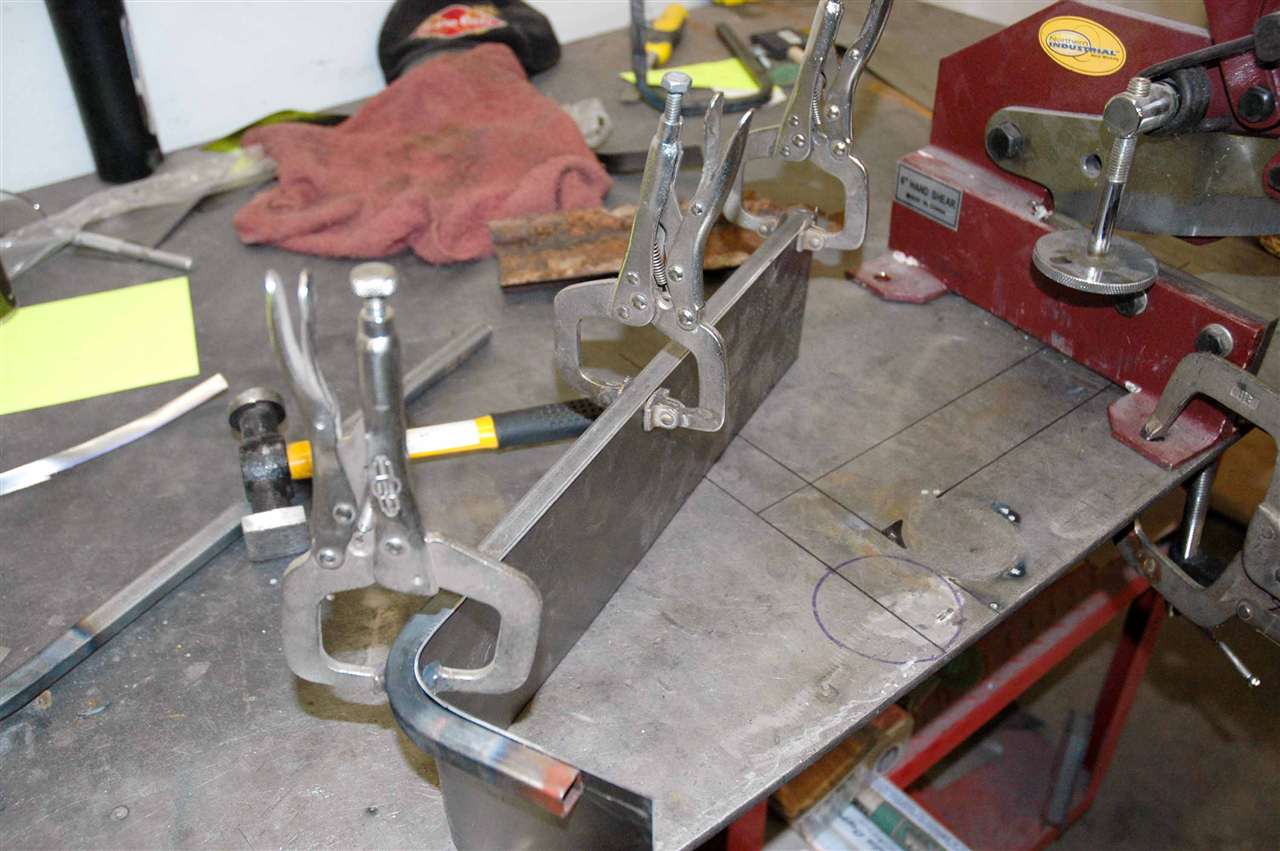
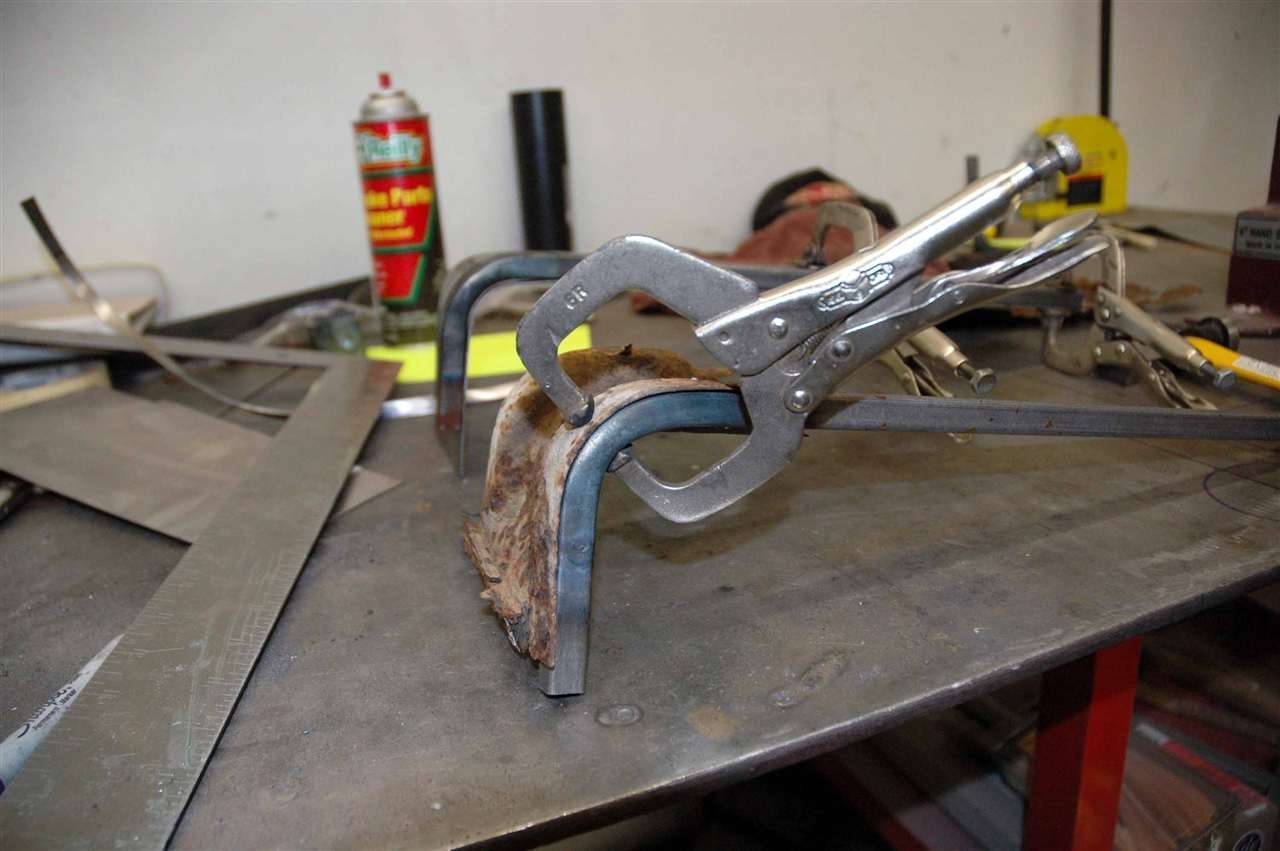
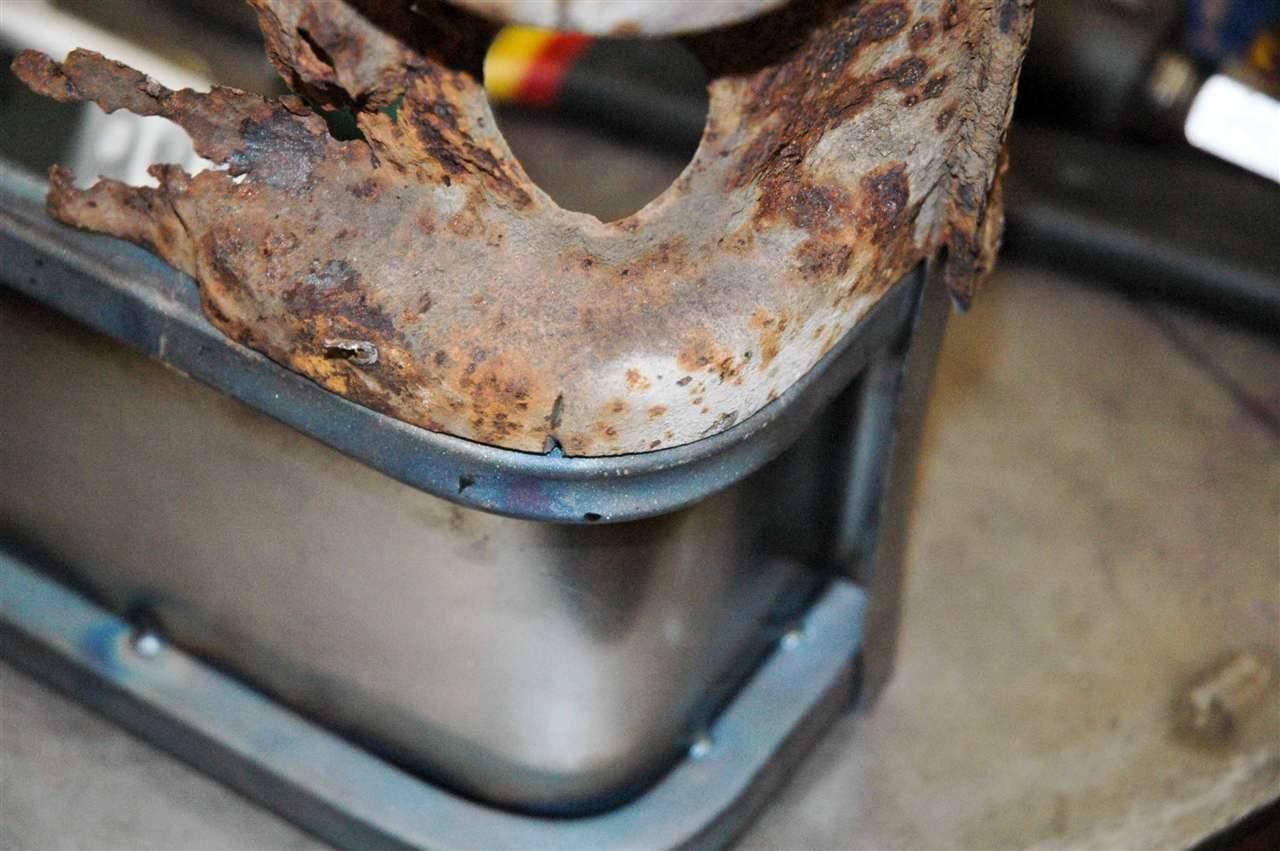
Started the drivers side today with the hopes of having both sides done by the end of the week. I was lucky enough to have the outer panels included with the purchase of the car. I'm sorry to say I don't know who made them, but they look like they will do nicely. They are a little long (better than the alternative) but other than that the fit seems good. I started with inner panels. They're 18 gauge sheet with a broke 90 that fits up against the underside of the floor pans. I chose to make them in two pieces because it was just plain easier to fit. They are a little taller than needed, but the excess will trim easily once its all welded in. With the inner panels temporarily in place I sized up the outer panel. The panel doesn't have a cut-out for the center door post, so I had to bend the sheet metal back a bit to go around it. You can see in the photos the panel will need to be shortened, as it sticks quite a bit past the front of the door. Once I was happy with the fit and location, I took it down to prep the panel for welding. I dug out my handy little hole puncher and used the 5/16 die set to knock out holes on the top and bottom for plug welds. I figure every 2.5 inches should be plenty strong enough. I want to get a couple coats of weld-through primer on the inside of the panels before I weld them in. I also plan on drilling some drain holes as well to hopefully make this a one time repair. I was surprised by how much the look of the car changed with just the addition of the rocker panel. Sometimes you can work for days or weeks and not get that sense of accomplishment that can come from such a simple thing as hanging a single piece of steel. Attach file: (96.31 KB)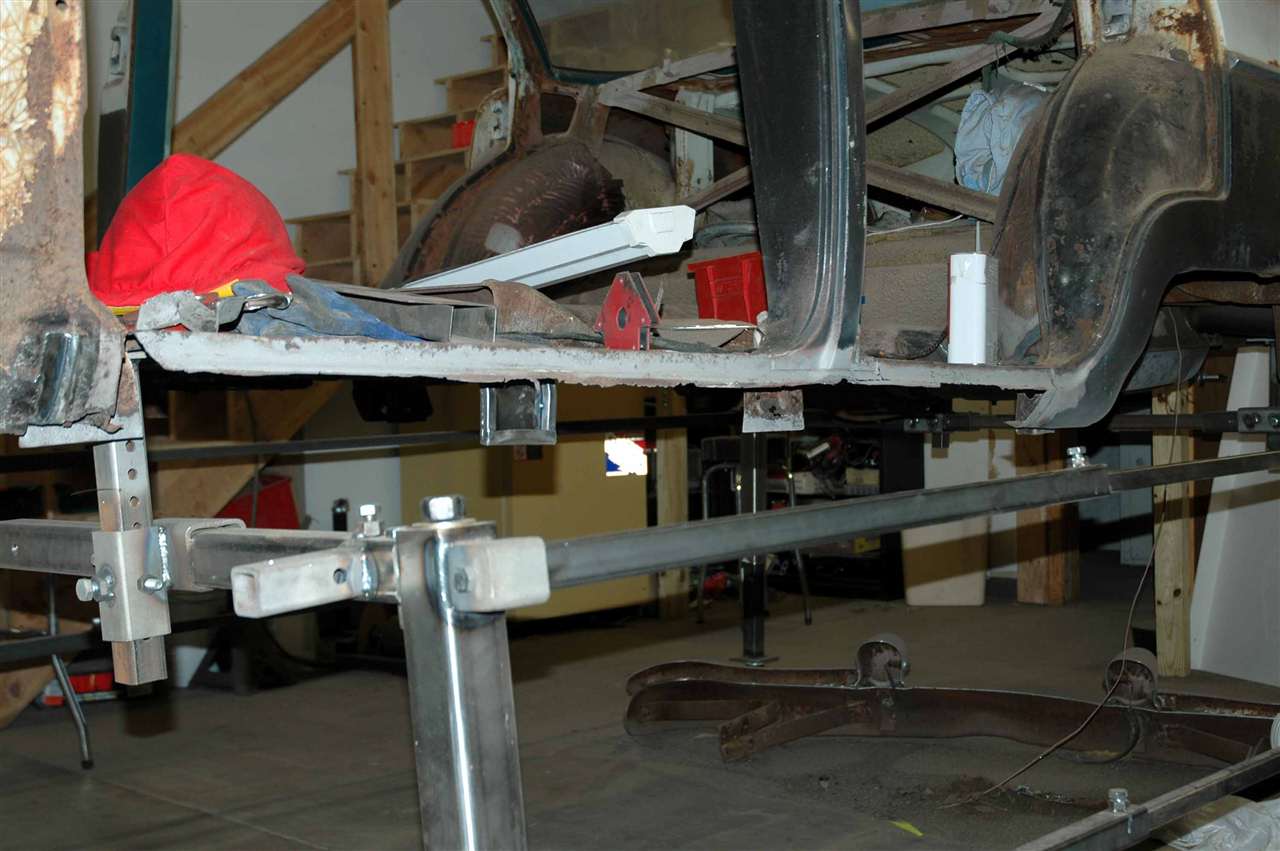 (113.69 KB) (113.69 KB)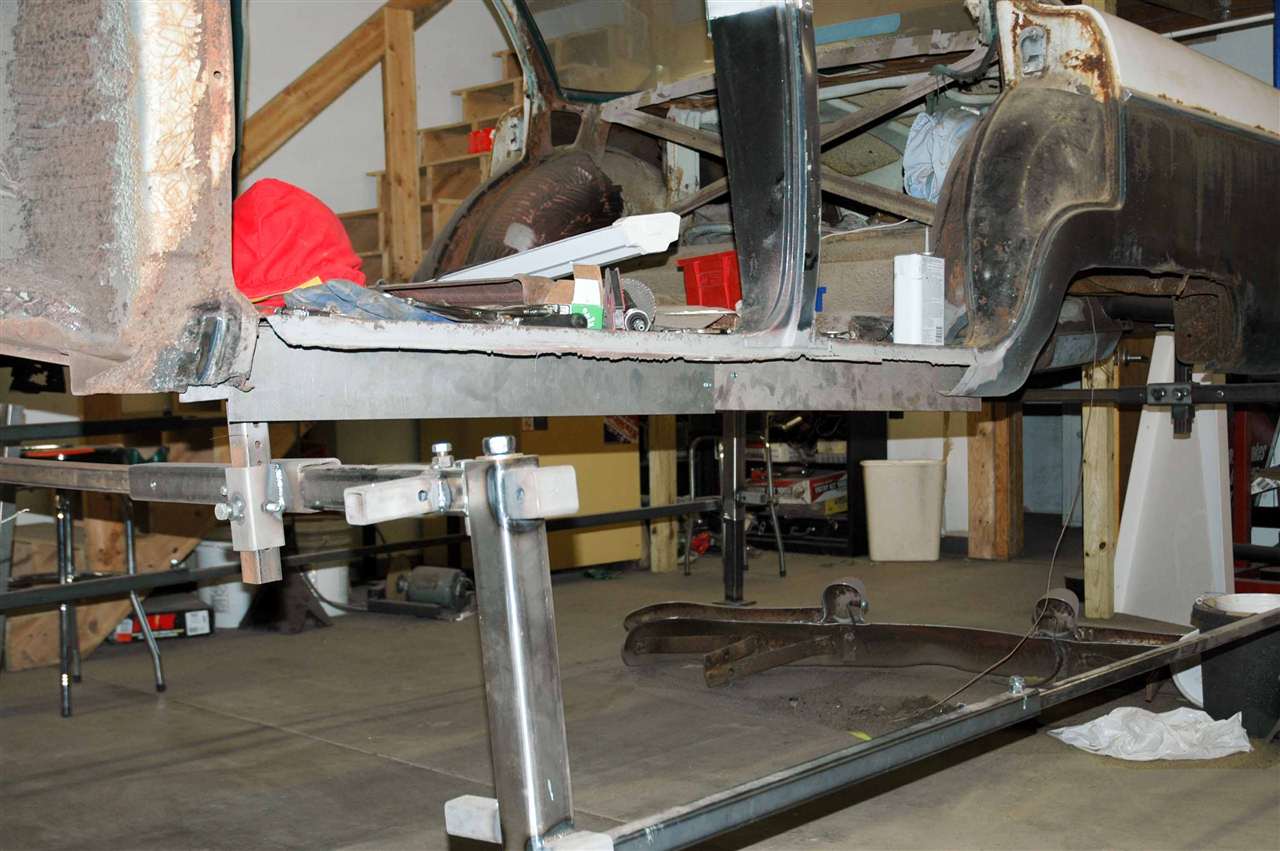 (104.95 KB) (104.95 KB)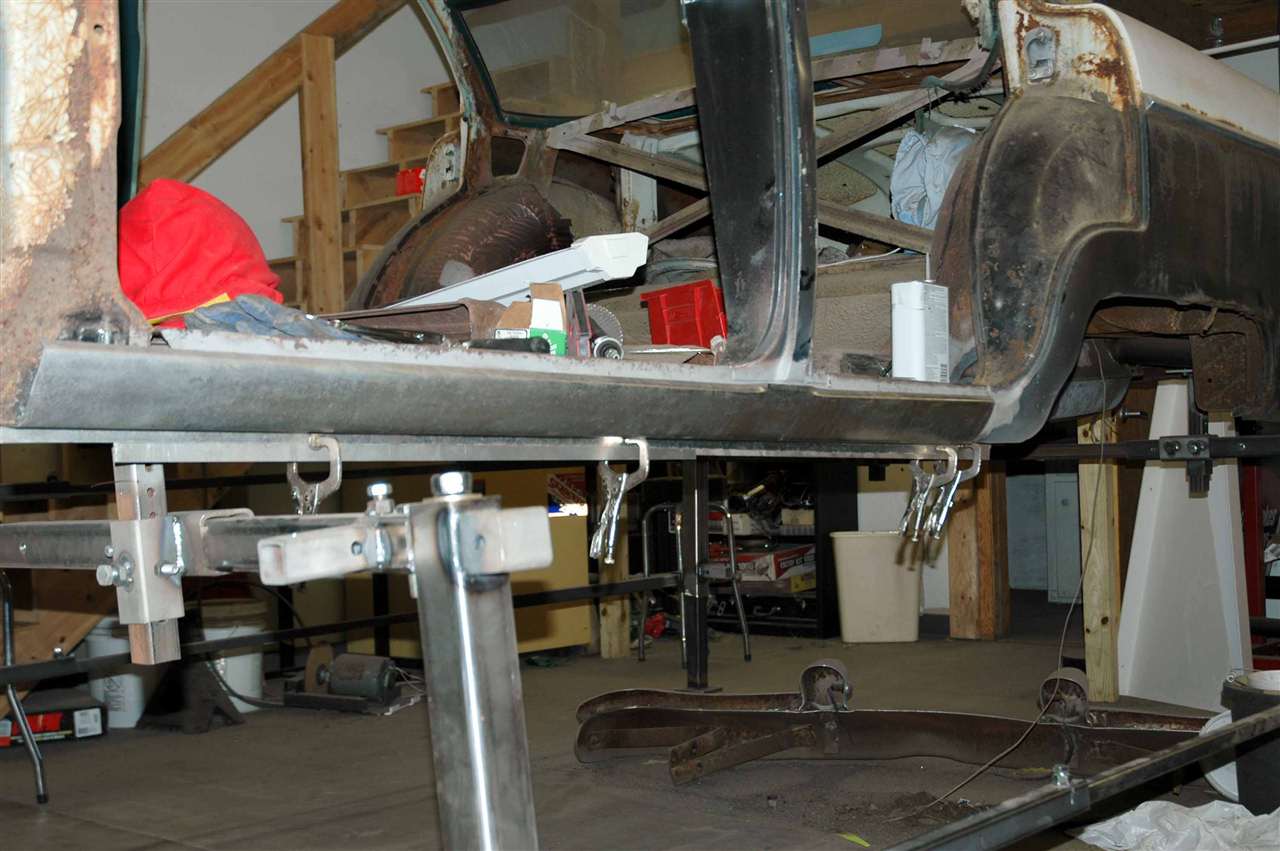 (91.01 KB) (91.01 KB)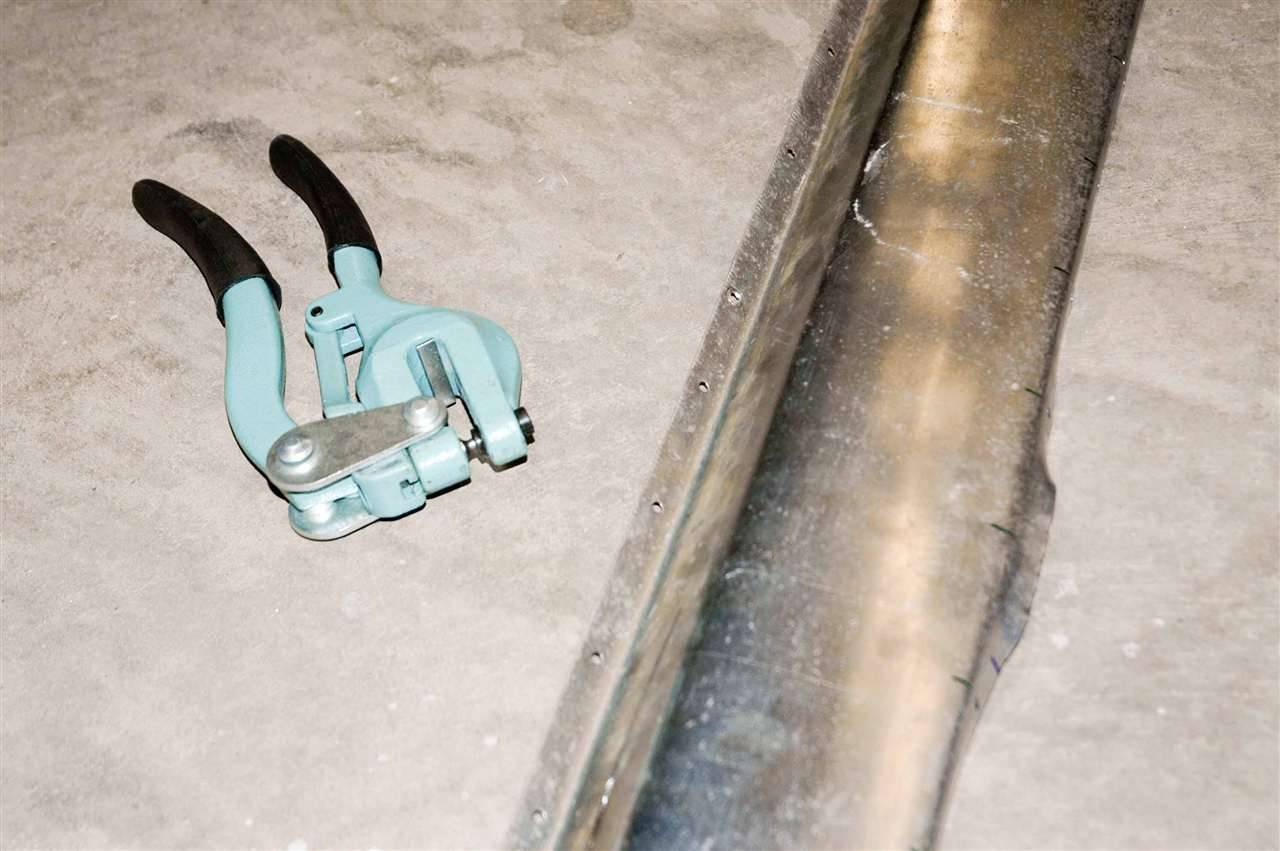 (78.53 KB) (78.53 KB)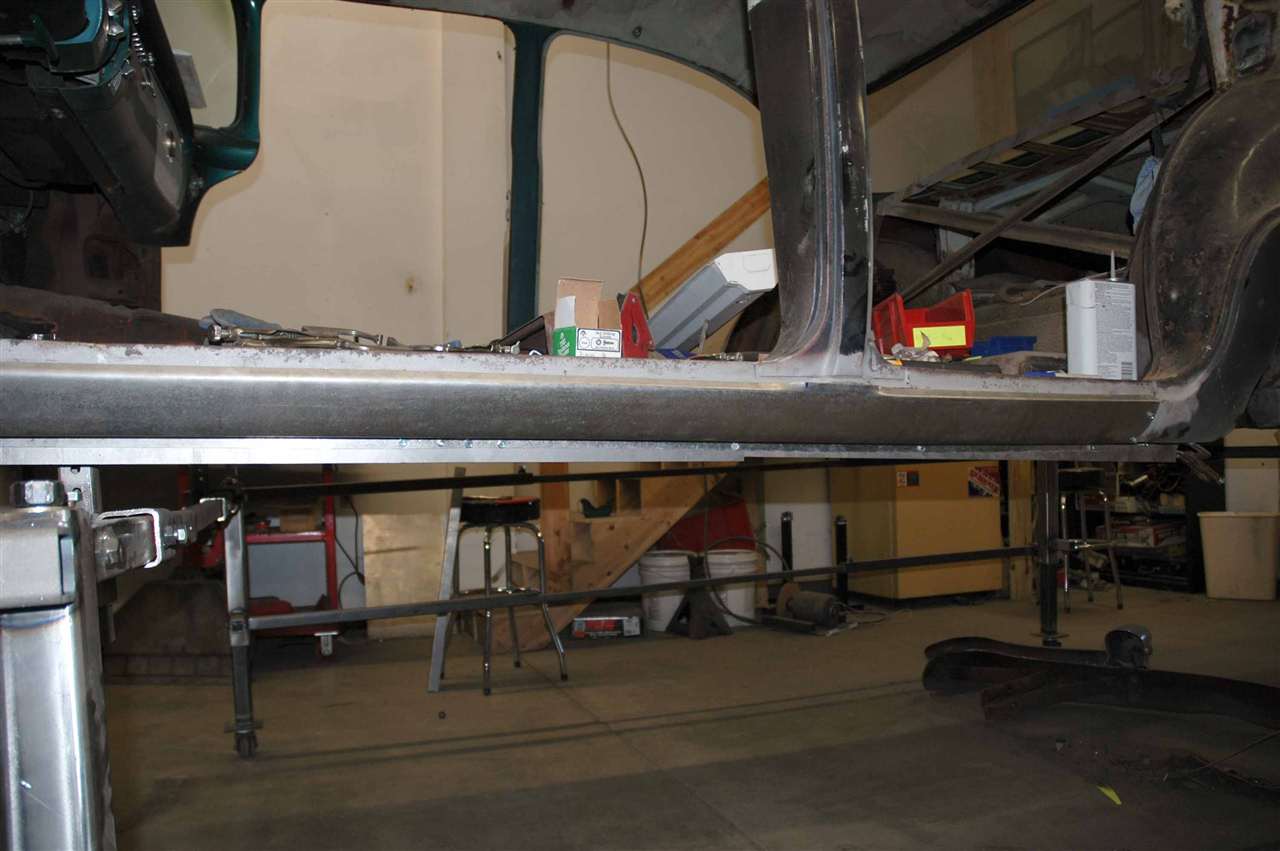
Posted on: 2010/2/21 23:00
|
|||
|
||||


