|
It was all going so well until.........
|
||||
|---|---|---|---|---|
|
Home away from home

|
This winter's project has been some engine detailing and I have been putting everything back together in the somewhat naiive assumption that it will be nice this weekend and..... I've cracked the outlet pipe from the front of the engine. I'm nit sure whether it will leak yet but wouldn't be surprised.
Does anyone know where I can get a replacement? Before and After shots below with the offending part circled.
Posted on: 2013/2/19 11:52
|
|||
|
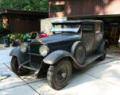
1930 Deluxe 8 745 Dual Cowl Sport Phaeton
See me in the Registry |
||||
|
||||
|
Re: It was all going so well until.........
|
||||
|---|---|---|---|---|
|
Webmaster

|
Where and how bad is it cracked? Maybe it can just be soldered for now.
Posted on: 2013/2/19 12:09
|
|||
|
-BigKev
1954 Packard Clipper Deluxe Touring Sedan -> Registry | Project Blog 1937 Packard 115-C Convertible Coupe -> Registry | Project Blog |
||||
|
||||
|
Re: It was all going so well until.........
|
||||
|---|---|---|---|---|
|
Home away from home

|
If not cracked at the flange and finding a replacement becomes a problem either solder or weld. Torch heat mite cause a hole tho if it is real thin from years of rust.
My first effort mite be to find a moulded radiator hose that would fit over the entire tube part of the inlet and use a hose clamp at each end. Note however that the crack mite increase in length due to vibration. Drill a 1/32 hole or smaller at each end of crack to keep it from growing any longer.
Posted on: 2013/2/19 12:55
|
|||
|
VAPOR LOCK demystified: See paragraph SEVEN of PMCC documentaion as listed in post #11 of the following thread:f
https://packardinfo.com/xoops/html/modules/newbb/viewtopic.php?topic_id=7245 |
||||
|
||||
|
Re: It was all going so well until.........
|
||||
|---|---|---|---|---|
|
Home away from home
|
Here's a closeup. The crack is on the right side of the flange
Attach file:  (79.57 KB) (79.57 KB)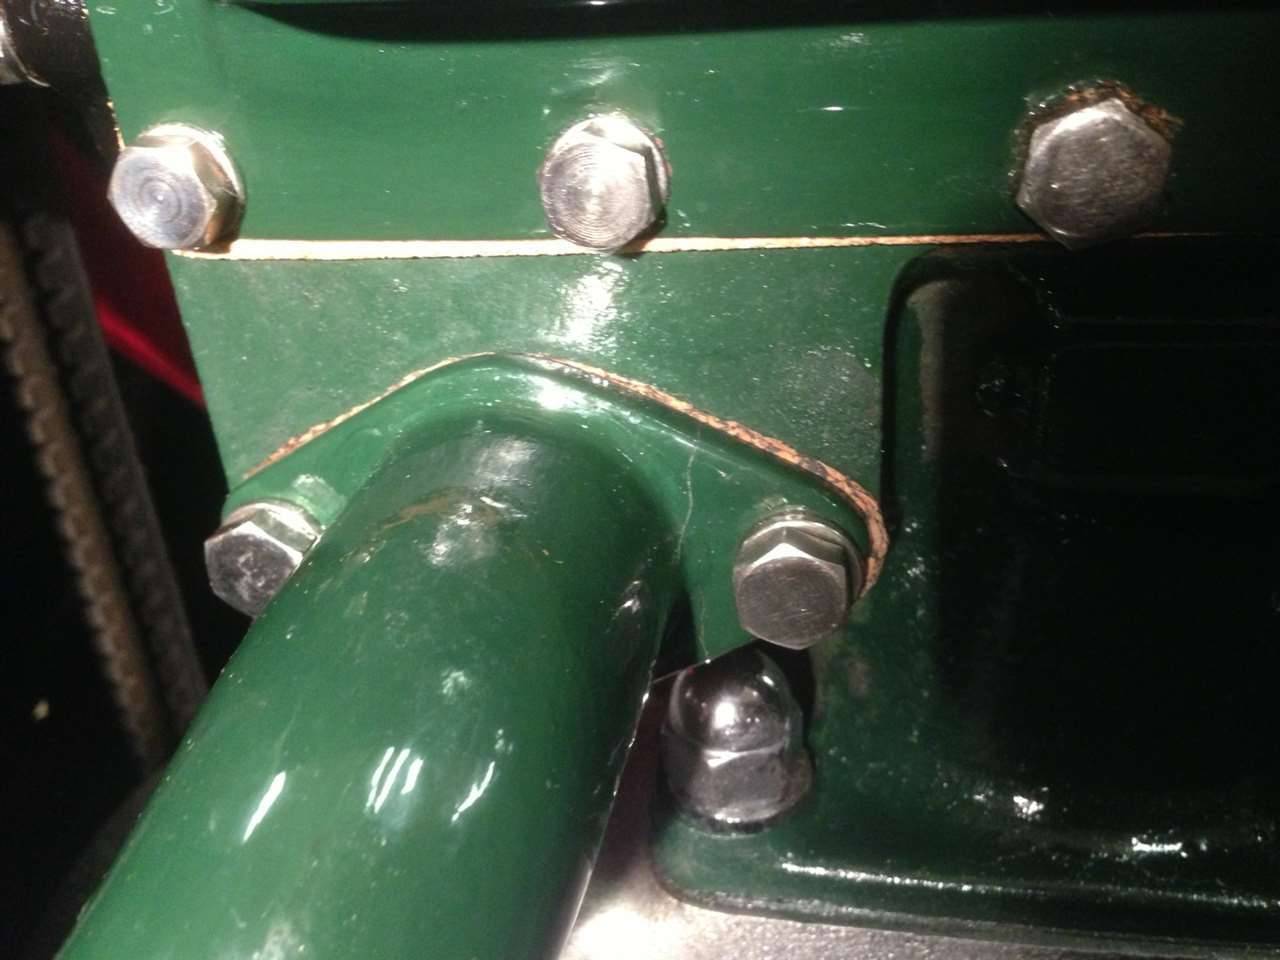
Posted on: 2013/2/19 13:34
|
|||
|
1930 Deluxe 8 745 Dual Cowl Sport Phaeton
See me in the Registry |
||||
|
||||
|
Re: It was all going so well until.........
|
||||
|---|---|---|---|---|
|
Home away from home

|
Hi Kts68,
Not too big a problem. I would think the flange is cast iron and can be ground out and brazed. Alternately a fabrication shop can cut you a steel flange and probably bend you up a piece of pipe to size to suit your requirements. Let us know what you decide to do regards Tery
Posted on: 2013/2/19 13:46
|
|||
|
||||
|
Re: It was all going so well until.........
|
||||
|---|---|---|---|---|
|
Forum Ambassador

|
That type of crack typically results from lack of flatness of the two mating surfaces followed by overtightening. If you can't repair or find the proper part, a good exhaust shop should be able to make a functional piece.
Posted on: 2013/2/19 13:47
|
|||
|
||||
|
Re: It was all going so well until.........
|
||||
|---|---|---|---|---|
|
Home away from home
|
If you can not find a replacement, and welding or soldering is not an option. Could you cut a flange from steel plate, and slip it over the pipe, securing it like original?
Posted on: 2013/2/19 13:51
|
|||
|
||||
|
Re: It was all going so well until.........
|
||||
|---|---|---|---|---|
|
Home away from home
|
Dear KTS:
I've run into that problem on the Caddy 12. It looks like you are using an imitation cork gasket. Those can't be tightened more than 100-144 inch pounds. I have taken care of such problems by sand/bead blasting, tinning and soldering. (Actually, on the Caddy I got it to braze back together). Then surface the soldered face on a steel table. Next use epoxy to fill any pits on the motor block. Finally use a thin paper FelPro gasket with automotive silicone and let cure for 24 hours. Tighten enough to compress the lockwashers. If the elbo is bent you can build the face up with solder (or even a metalized epoxy) and resurface to fit the block. That is the key because when the car was built the surfaces were trued and used a thin paper gasket. Of course I used to get yelled at for taking a lot of time on those things. Hope this helps.
Posted on: 2013/2/19 15:07
|
|||
|
||||
|
Re: It was all going so well until.........
|
||||
|---|---|---|---|---|
|
Home away from home
|
That looks the same as a 733 or 726 in which case you should give John Ulrich a call. I bet he has one of those from the 726 he gutted last year.
Todd
Posted on: 2013/2/19 19:26
|
|||
|
||||


