|
Re: KPack's 1954 Panama
|
||||
|---|---|---|---|---|
|
Home away from home
|
Great job Kevin. When would be a good time to drop my Packard off for a new headliner install??
John
Posted on: 2021/2/24 9:39
|
|||
|
||||
|
Re: KPack's 1954 Panama
|
||||
|---|---|---|---|---|
|
Home away from home

|
Mike - I can't help but be drawn to that sail panel area because it's so visible. I'll ask a guy I know and see what his thoughts are. The window tracks and beltline trim will be much easier in this car because they are straight. I'm just trying figure out the right size for both before I order. Then I need to figure out how to remove the windows.
BigKev - After seeing how nice yours turned out when the professionals did it, I was seriously considering having a pro take care of it. The problem was everyone I talked to was booked out until after April. I didn't have that kind of time so I figured I'd try it myself. John - It's by no means a perfect job, but I'm relatively pleased with the outcome. There are a few things I would do differently, now that I've been through the whole process. I stretched to the front, then to the back, then started doing the sides in the back. If I were to do it over again I would've started the sides in the front, then worked my way back. I ended up with some wrinkles at the front that I can't get rid of because the mounts for the sunshades keep the #1 bow and seam from being pulled forward anymore. I think I can hide most of it and blend in any wrinkles, but it won't be a perfect job. JWL - I've heard of steam as well, and I may try that. I asked an upholstery guy about the fold marks from shipping, and he said those will disappear over time. The most important thing is that the headliner is tight, which mine is. It sounds like a drum anywhere you tap on it. The problem I have with the sail panels is that the fabric was nice and tight there with no wrinkles, but as soon as I cut into it and mounted the lights, it pulled the fabric in a different direction (towards the outside of the car) and thus created wrinkles. If I back the screws out a bit from the mounting I might be able to less the wrinkles. -Kevin
Posted on: 2021/2/24 11:56
|
|||
|
||||
|
Re: KPack
|
||||
|---|---|---|---|---|
|
Home away from home

|
Talked with the upholstery guy I was mentioning before, and for the wrinkles by the lights, he suggested cutting an "x" relief pattern out close to the screw holes that hold the light on. I had previously cut an X pattern, but not to that extent. I did as he said, and it did help, though there are a couple of wrinkles I will not be able to get rid of. Same with a few small spots in the front. As such, I'm downgrading my self-grading to a 7.5/10.....definitely not a professional job, but I believe it is good enough to move forward. The picture makes it look better than it really is.
I've been getting all the trim installed on the inside, and getting the unique weather stripping installed above the side windows. The hardtops have a huge piece of weather strip that goes from the very back of the rear quarter window, along the top of all the side windows, and down the rear of the windshield pillar. The weather strip also has "built-in" windlace on both the outside edge, as well as the inside, and it wraps around a part of the stainless trim piece that shows on the interior of the car. My weather strip is not in the best of shape. However, I don't see it reproduced on the Steele website. If they do reproduce it, I wonder if they bother to put the fuzzy material on it. Upon reinstallation, I ran into a problem that I don't have an answer to. The stainless pieces that hold in the said weather strip had some sort of rubber strip underneath them to help seal against water intrusion (more like tar impregnated rubber). However, the piece of stainless that goes over the rear quarter window had no such rubber when I originally took it off (both sides). That can't be right. There has to be some sort of rubber there, or water would go right around the trim piece. I can't find anything to confirm this though. -Kevin Attach file:  Trim pieces going back in.jpg (98.98 KB) Trim pieces going back in.jpg (98.98 KB)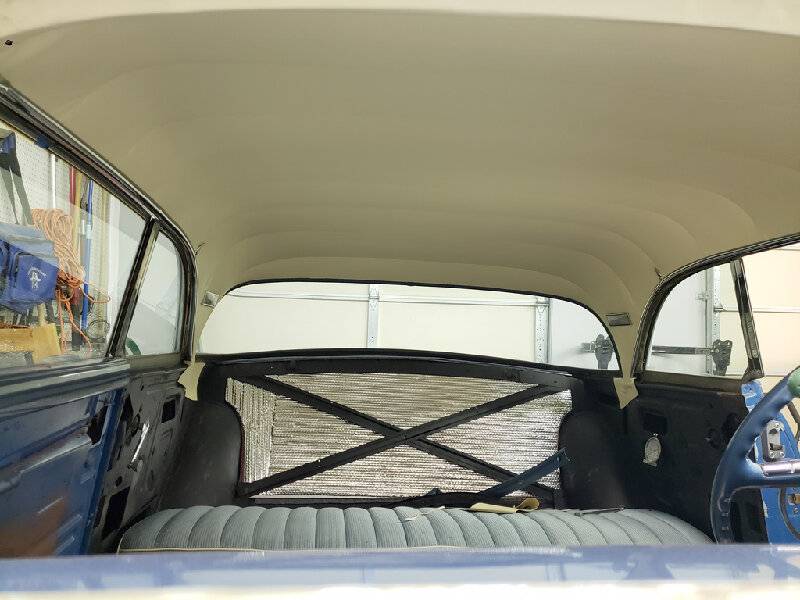  Integrated windlace.jpg (115.17 KB) Integrated windlace.jpg (115.17 KB)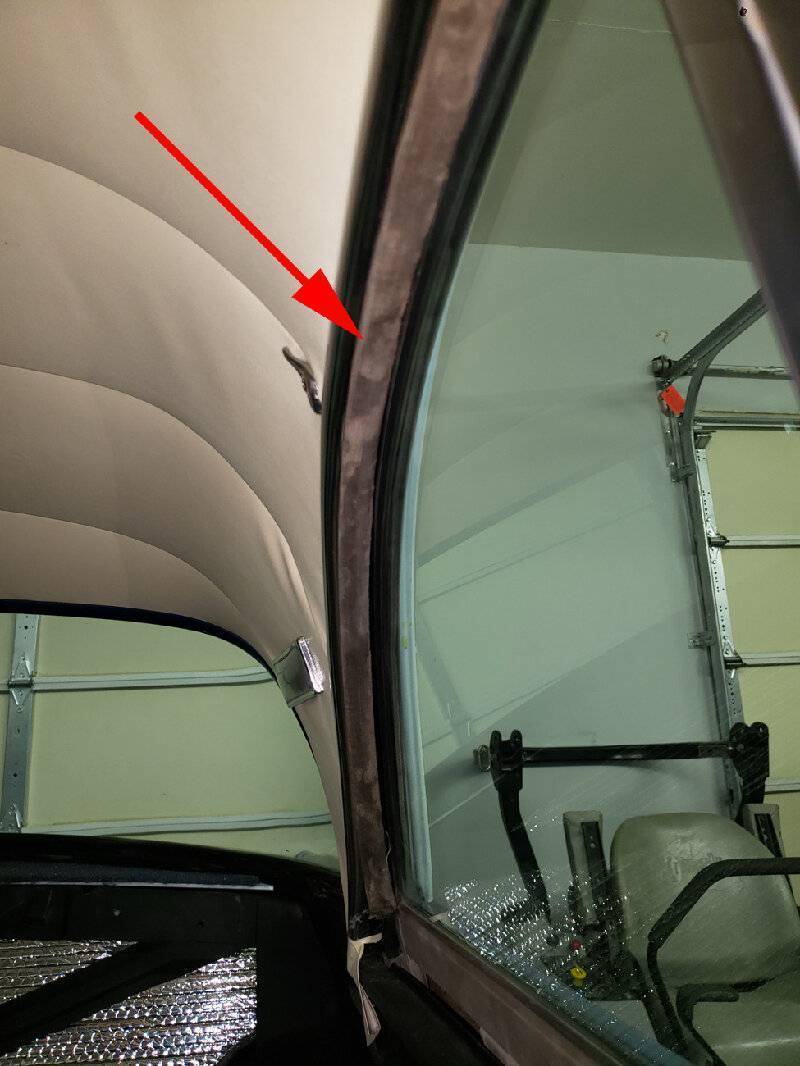  There is no rubber between the trim and body.jpg (121.27 KB) There is no rubber between the trim and body.jpg (121.27 KB)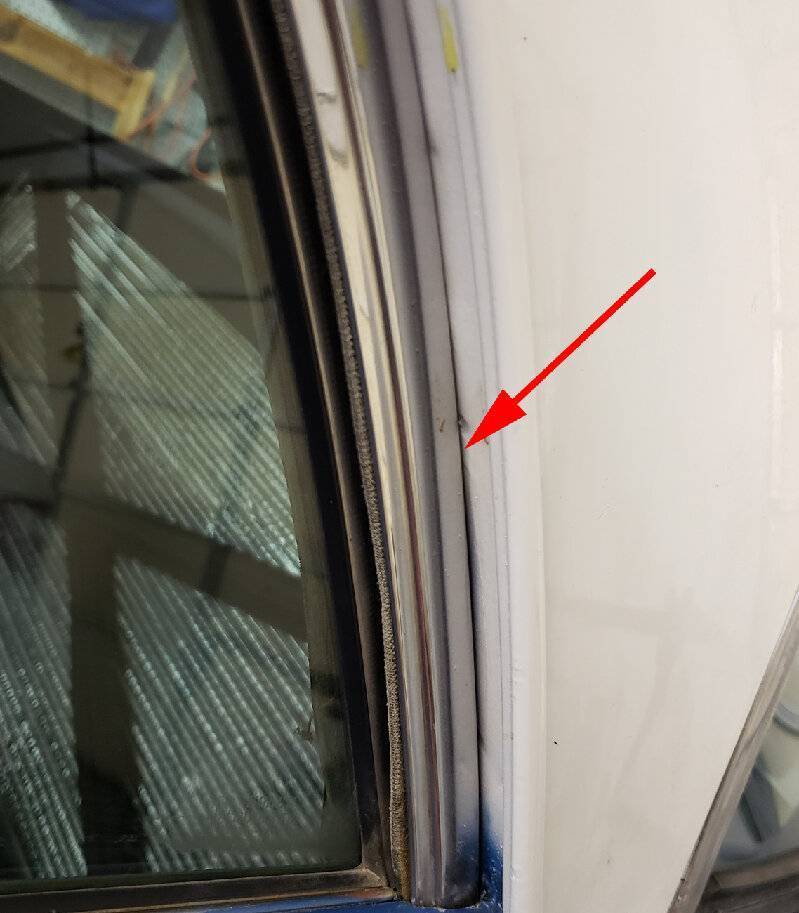  This is immediately after first removing the trim piece.jpg (63.78 KB) This is immediately after first removing the trim piece.jpg (63.78 KB)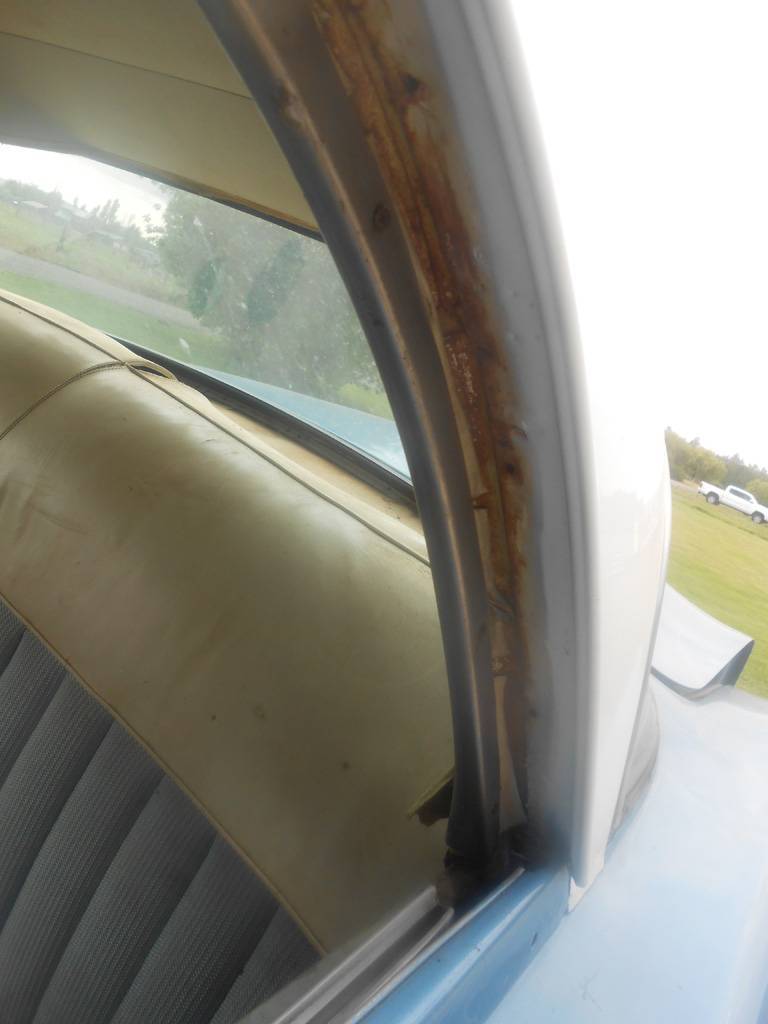
Posted on: 2021/3/2 1:06
|
|||
|
||||
|
Re: KPack's 1954 Panama
|
||||
|---|---|---|---|---|
|
Home away from home

|
Kevin, this fall go back and compare what the headliner looks like then with the pics you have posted. I think you will be much more pleased with your installation because the heat will slowly make the wrinkles disappear. Put the car outside on some of the hottest days this summer with the windows closed, that will help too.
Good work on this beautiful Packard, keep the reports coming. You are getting things done much faster than I seem to on my projects!
Posted on: 2021/3/2 9:19
|
|||
|
Paul
www.studebakerskytop.com |
||||
|
||||
|
Re: KPack's 1954 Panama
|
||||
|---|---|---|---|---|
|
Home away from home
|
Kevin, if you get my headliner in half that good I'll be happy....
Posted on: 2021/3/2 9:57
|
|||
|
||||
|
Re: KPack
|
||||
|---|---|---|---|---|
|
Home away from home

|
After weighing my options I decided that the best course of action would be to drive down to Tucson and pick up the replacement windshield myself. I didn't want to trust a shipping company with something so fragile. So I left after work on Friday, drove until midnight, stayed in a hotel, woke up at 5 and drove until I reached Tucson at 10pm, only stopping for gas. It was about 25 hours total.
I met Mike from Tucson Packard, and got a tour of the shop and all the parts they have. I was blown away. There are many parts cars there in various states of disassembly, but the shop buildings themselves are completely stuffed to the brim with parts from all years and models. I was like a kid in a candy store. If we had more time I would have picked up a ton of stuff, but it was late and I didn't want to keep Mike from his family, so I made it quick. I picked up the windshield (Mike kindly protected it with bubble wrap and placed it in an original Packard box), some replacement front springs, and some fender skirts. It was great to talk with Mike and get to see his operation. Nice guy. I found a hotel, slept for a few hours, then got up early to drive another 16 hours to somewhere in Idaho. I finished up the drive today...something like 50 hours and 3000 miles in a weekend. I'm beat. I got home and then gently cut away the packing to check the windshield. It all arrived in one piece, thank goodness. It's a clear piece of glass, whereas I think mine was originally factory green tint. It's not in perfect shape, but it will work. I'm just happy to have it. Now I need to figure out the best way to install it. Any tips from those who have? I've read the Service Manual on it, but want to know if others have any advice. -Kevin Attach file:  Driving to Tucson.jpg (112.67 KB) Driving to Tucson.jpg (112.67 KB)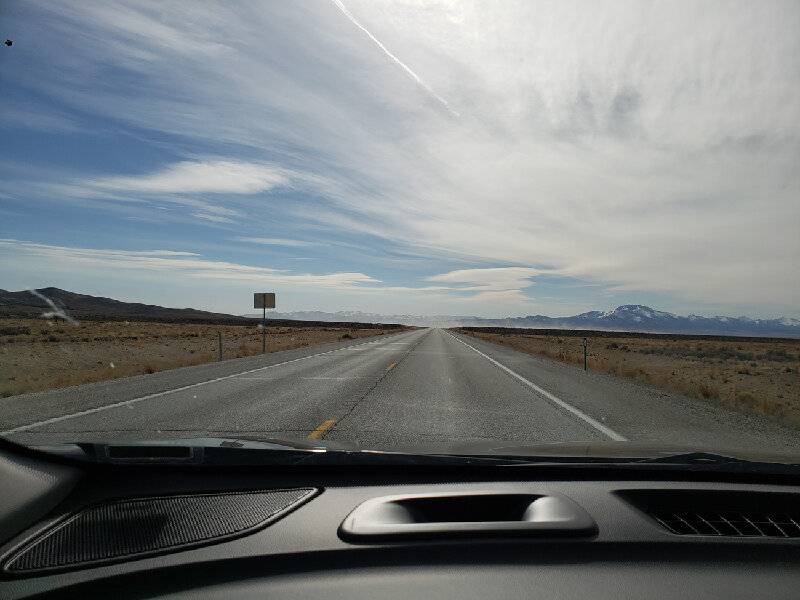  Tucson Packard.jpg (188.35 KB) Tucson Packard.jpg (188.35 KB)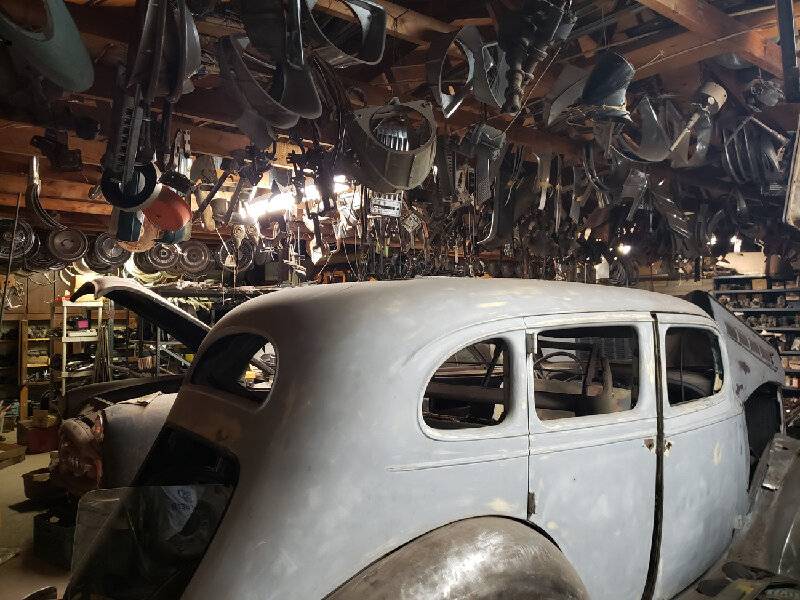  Tucson Packard parts.jpg (238.91 KB) Tucson Packard parts.jpg (238.91 KB)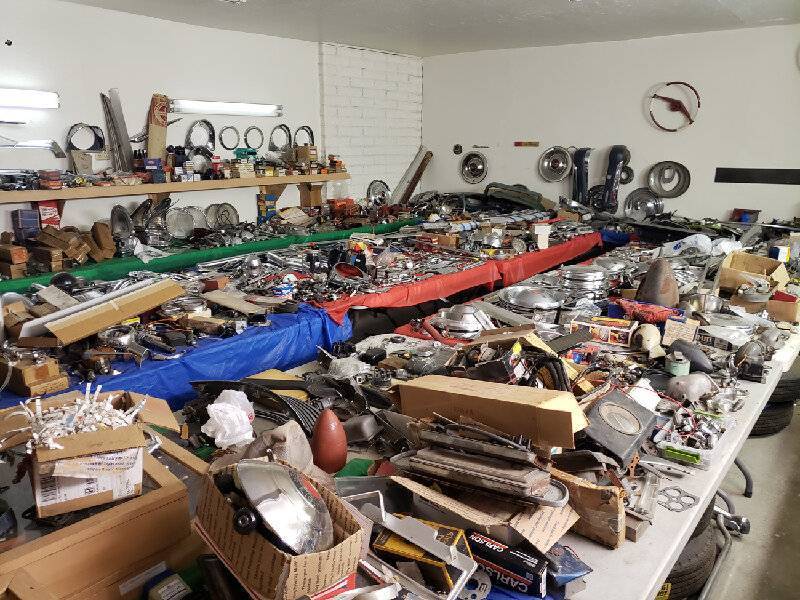  Windshield home.jpg (168.86 KB) Windshield home.jpg (168.86 KB)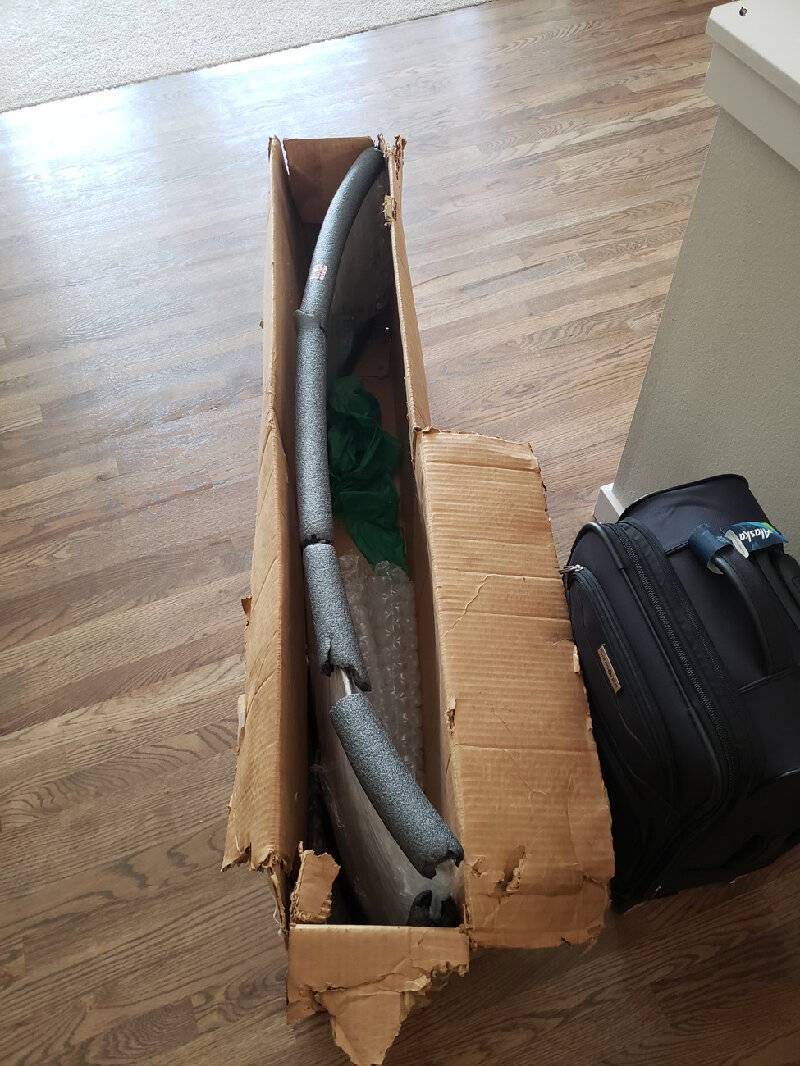  Windshield back in one piece.jpg (154.35 KB) Windshield back in one piece.jpg (154.35 KB)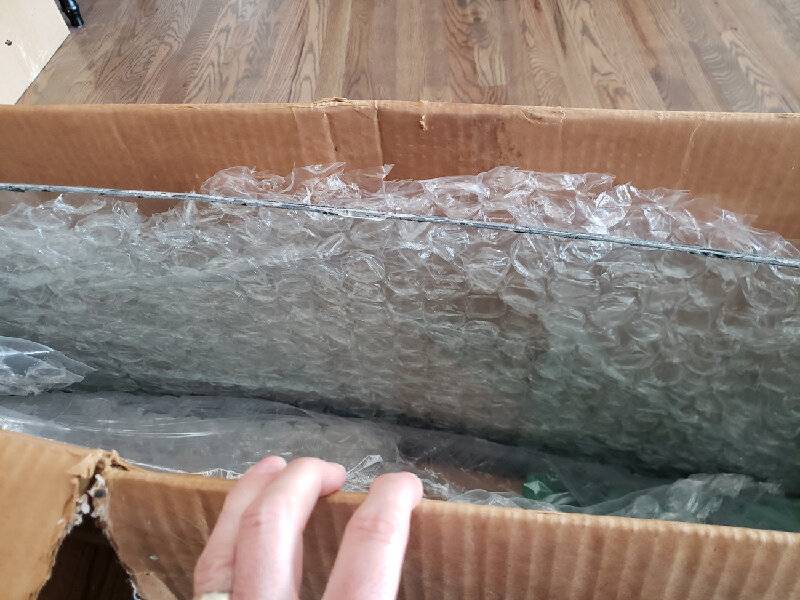
Posted on: 2021/3/8 18:08
|
|||
|
||||
|
Re: KPack's 1954 Panama
|
||||
|---|---|---|---|---|
|
Home away from home
|
Great to hear Kevin. Quite a drive to undertake for sure but I guess you got what you needed and no breakage.
Posted on: 2021/3/8 19:17
|
|||
|
||||
|
Re: KPack's 1954 Panama
|
||||
|---|---|---|---|---|
|
Home away from home
|
I think BigKev put a new windshield gasket in during his restoration.
Posted on: 2021/3/8 19:18
|
|||
|
||||
|
Re: KPack's 1954 Panama
|
||||
|---|---|---|---|---|
|
Home away from home
|
I had the pleasure of meeting Mike, his brother and their father Sandy a couple years ago when I dropped in unannounced. Got the grand tour too but no parts that I was looking for although I have bought parts from them since. Over the years, they also bought parts from me what I was more active on eBay.
Posted on: 2021/3/8 20:54
|
|||
|
All generalities are false.
Once I thought I was wrong but I was mistaken. Don Pierson Packard / IMPERIAL page CA DMV Licensed Vehicle VIN Verification 1951 Henney-Packard 3-Door Long Wheelbase Air Force Ambulance The 1951 Henney-Packard is For Sale! 1954 Packard Patrician 1954 Packard Patrician Parts Car 1956 Clipper Custom Sedan |
||||
|
||||


