|
Re: Dads 5677A
|
||||
|---|---|---|---|---|
|
Home away from home
|
working on the rear suspension this week, I have replaced the rear bushings and want to tackle the Watts linkage
my question is.... what size bolts have you fellows use when you drilled and tapped the holes for the center bushing? 1/4"- 5/16"? fine threads? your help is appreciated very much! Attach file:  rear axle bushings overhaul (4).JPG (268.97 KB) rear axle bushings overhaul (4).JPG (268.97 KB)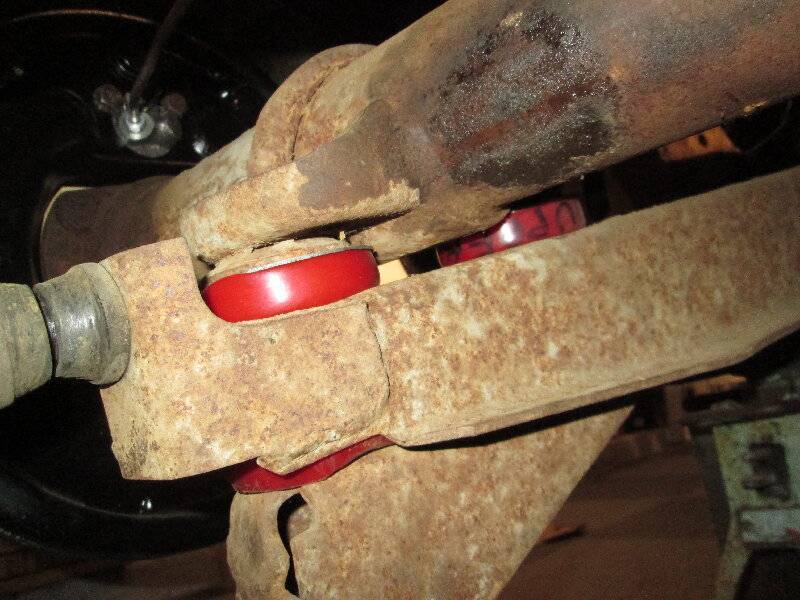  watts linkage rebuild (7).JPG (228.12 KB) watts linkage rebuild (7).JPG (228.12 KB)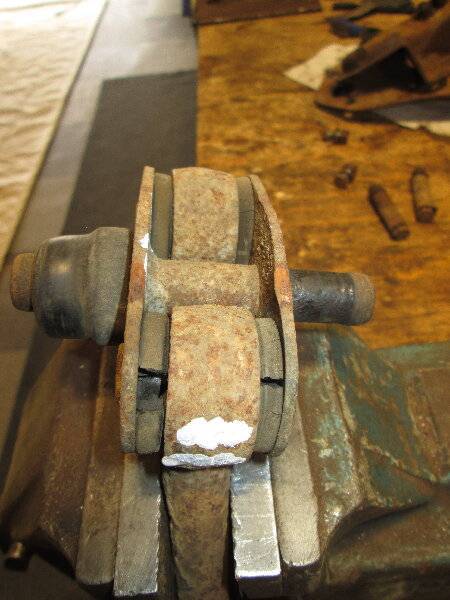  watts linkage rebuild (8).JPG (174.92 KB) watts linkage rebuild (8).JPG (174.92 KB)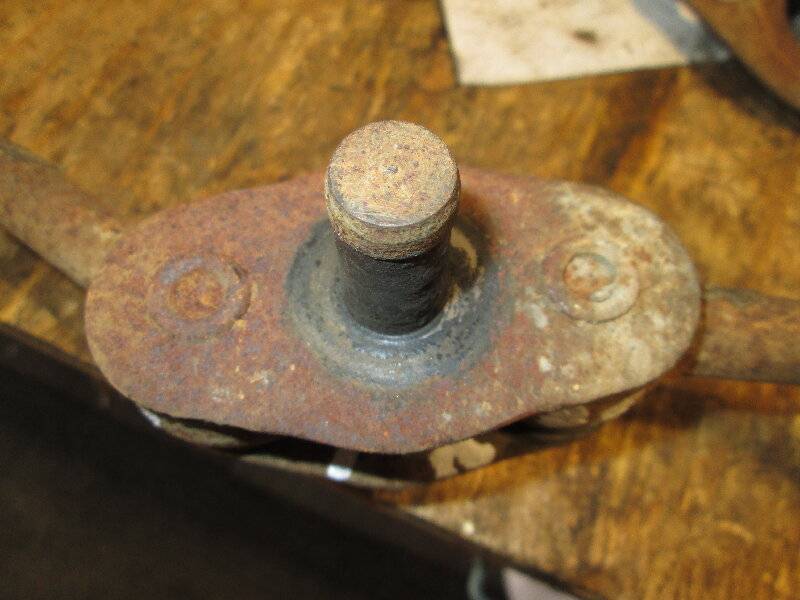
Posted on: 2021/5/6 11:29
|
|||
|
1956 Packard Executive 2 door hard top (5677A)
1956 Clipper Deluxe Touring Sedan (5622)(parts car) |
||||
|
||||
|
Re: Dads 5677A
|
||||
|---|---|---|---|---|
|
Home away from home
|
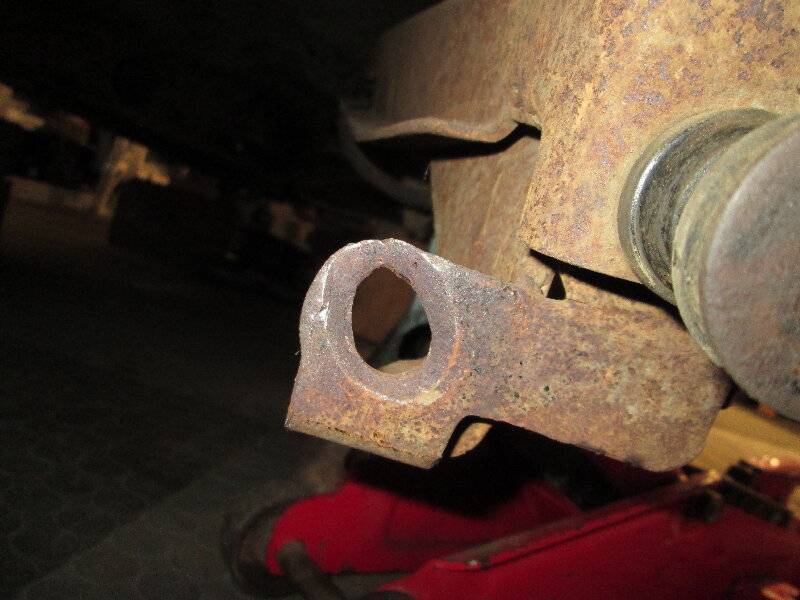
have to replace/fix the shock bracket too.
what would be the cause of this? is it common?
Posted on: 2021/5/6 11:32
|
|||
|
1956 Packard Executive 2 door hard top (5677A)
1956 Clipper Deluxe Touring Sedan (5622)(parts car) |
||||
|
||||
|
Re: Dad's 56
|
||||
|---|---|---|---|---|
|
Home away from home

|
I had that happen on my truck. In my case the bolt was apparently the wrong size and over time the motion of the bolt slapping up and down in the mounting hole enlarged it. Mine wasn't as bad, so it was an easy fix.
Perhaps in your case you could weld a piece of steel with the correct diameter hole on either side, then just use a long shock bolt. -Kevin
Posted on: 2021/5/6 11:43
|
|||
|
||||
|
Re: Dads 5677A
|
||||
|---|---|---|---|---|
|
Forum Ambassador
|
Looking at the other rubber bushings I would guess the rubber on the shock end deteriorated to the point the shock and bolt became loose and the continual motion caused the bolt to elongate the hole. Don't think that particular hole issue is common -- or at least that pronounced -- but Craig had a couple of the mounts or mounting bolts break on his 55. He replaced with the 56 version.
That issue was discussed in a post several years ago but unfortunately it looks as if the photos got lost somewhere along the line. You might want to check the other fastening points.packardinfo.com/xoops/html/modules/newbb ... 4961&post_id=151020#forumpost151020
Posted on: 2021/5/6 11:52
|
|||
|
Howard
|
||||
|
||||
|
Re: Dads 5677A
|
||||
|---|---|---|---|---|
|
Forum Ambassador

|
Re your question in post #173, I drilled and tapped for 1/4-28 cap screws.
Posted on: 2021/5/6 15:16
|
|||
|
||||
|
Re: Dads 5677A
|
||||
|---|---|---|---|---|
|
Home away from home
|
Kevinpackard-yes, will try to fix it with a plate or washer me thinks. May go out and check the parts car to see if that one is in any better shape
HH56-thanks for the link to those posts. I had not seen those ones, too bad about the photos Owen_Dyneto-thanks very much for the size of bolts
Posted on: 2021/5/6 19:15
|
|||
|
1956 Packard Executive 2 door hard top (5677A)
1956 Clipper Deluxe Touring Sedan (5622)(parts car) |
||||
|
||||
|
Re: Dads 5677A
|
||||
|---|---|---|---|---|
|
Home away from home
|
update-I have a rolling chassis
I pulled a shock mount off the parts cars, this one had been previously repaired so I used it for now. May keep looking for something in better condition The Suspension work is complete. both the front and rear bushings. I had a little trouble getting the watts linkage attached, but used a cargo strap to hold the body down while jacking up the axle. I also found a shop that would smooth out the rear brake drums so I could at least have an emergency brake for now when I roll the chassis out to clean the underside of it. I'm still hunting for rear brake drums that can be serviceable. Decided to work on my Ranco thermal valve. I followed Bigkev's "how to" for that repair(thanks) cleaned and media blasted it. when assembling it I couldn't get it to seat tight. so I took a piece of hardwood, drilled a 15/16" hole 3 " deep, cut out the top portion, place a hardened washer on top, this had a portion of it cut out to fit around the copper pipe. then I place a 3/4" socket on top and with a clamp pulled it snug before bending the tabs down. seems to work, need a different way to test it other than putting it in the car...Suggestions? I ordered replacement panels for the floors and rockers from C2C fabrication. plan the fix the floor before putting in my rebuilt brake booster. Attach file:  Watts linkage.JPG (330.41 KB) Watts linkage.JPG (330.41 KB)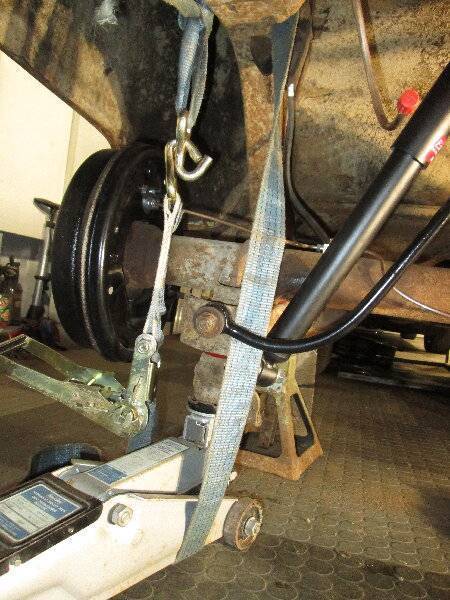  Ranco thermal valve (3).JPG (177.79 KB) Ranco thermal valve (3).JPG (177.79 KB)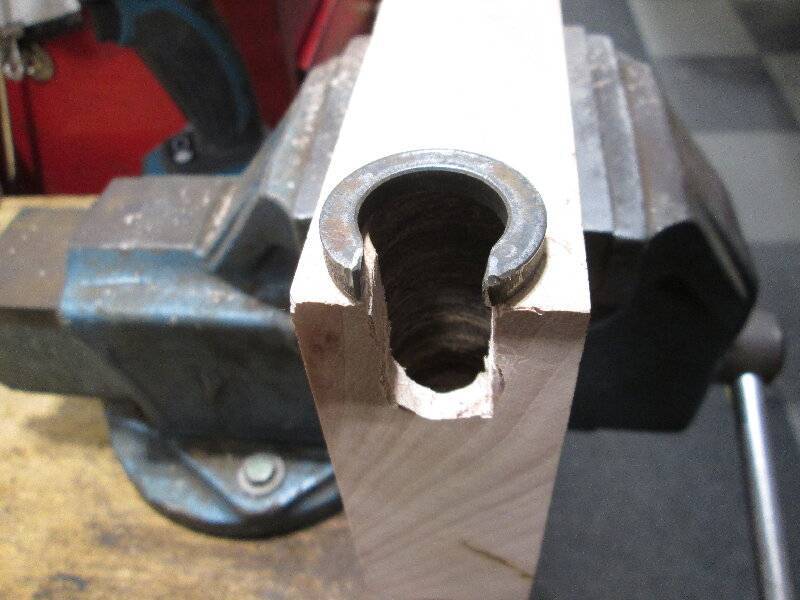  Ranco thermal valve (4).JPG (168.17 KB) Ranco thermal valve (4).JPG (168.17 KB)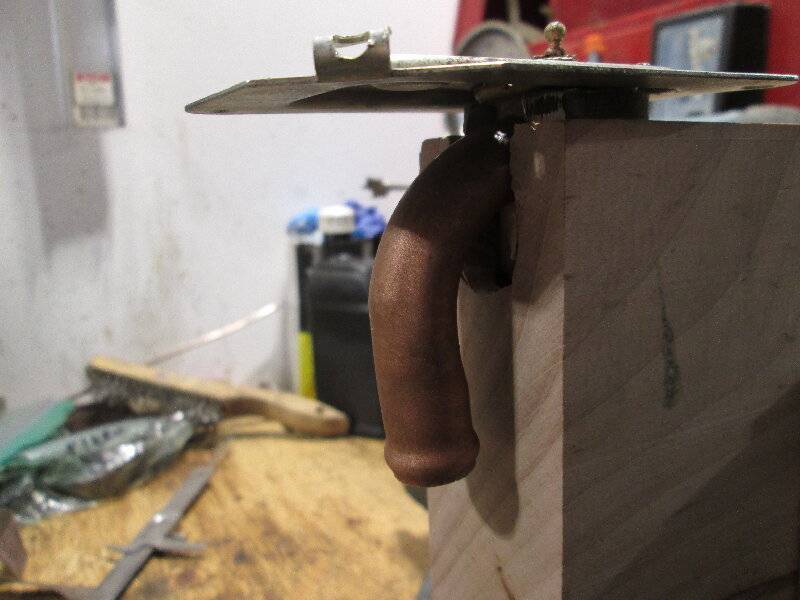  Rolling chassis.JPG (315.29 KB) Rolling chassis.JPG (315.29 KB)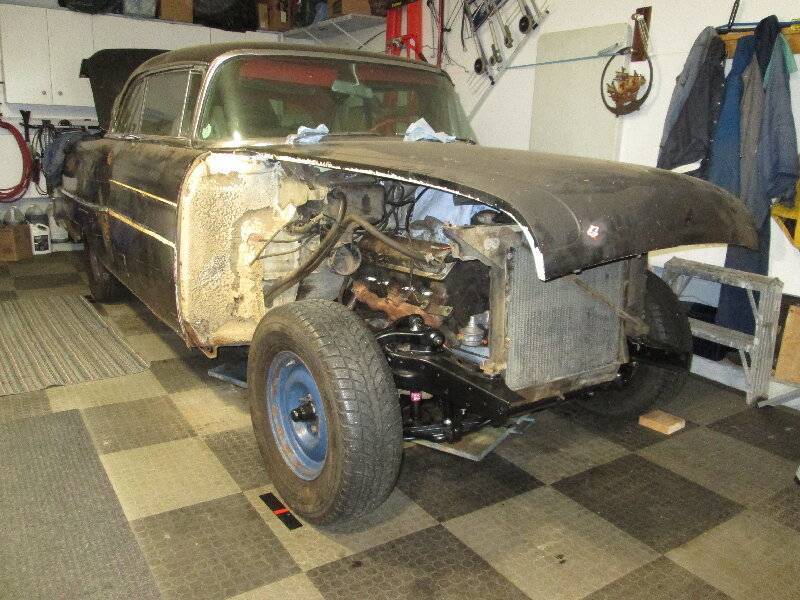
Posted on: 2021/5/18 0:39
|
|||
|
1956 Packard Executive 2 door hard top (5677A)
1956 Clipper Deluxe Touring Sedan (5622)(parts car) |
||||
|
||||
|
Re: Dad's 56
|
||||
|---|---|---|---|---|
|
Home away from home

|
Good to hear of your experience with rebuilding the heater valve. That's on my to-do list eventually. I think you can pressure test it by dialing down the output on a compressor and putting some air in there while "sealing" the tubes with rags or something. I'm not sure on a '56, but on '54 the choices were either 7lbs or 13lbs caps for the cooling system. So I would guess if you put 13lbs of air pressure in there and didn't hear any leaks (or put it in water for visual) then you'll likely be fine.
-Kevin
Posted on: 2021/5/18 12:33
|
|||
|
||||
|
Re: Dad
|
||||
|---|---|---|---|---|
|
Forum Ambassador
|
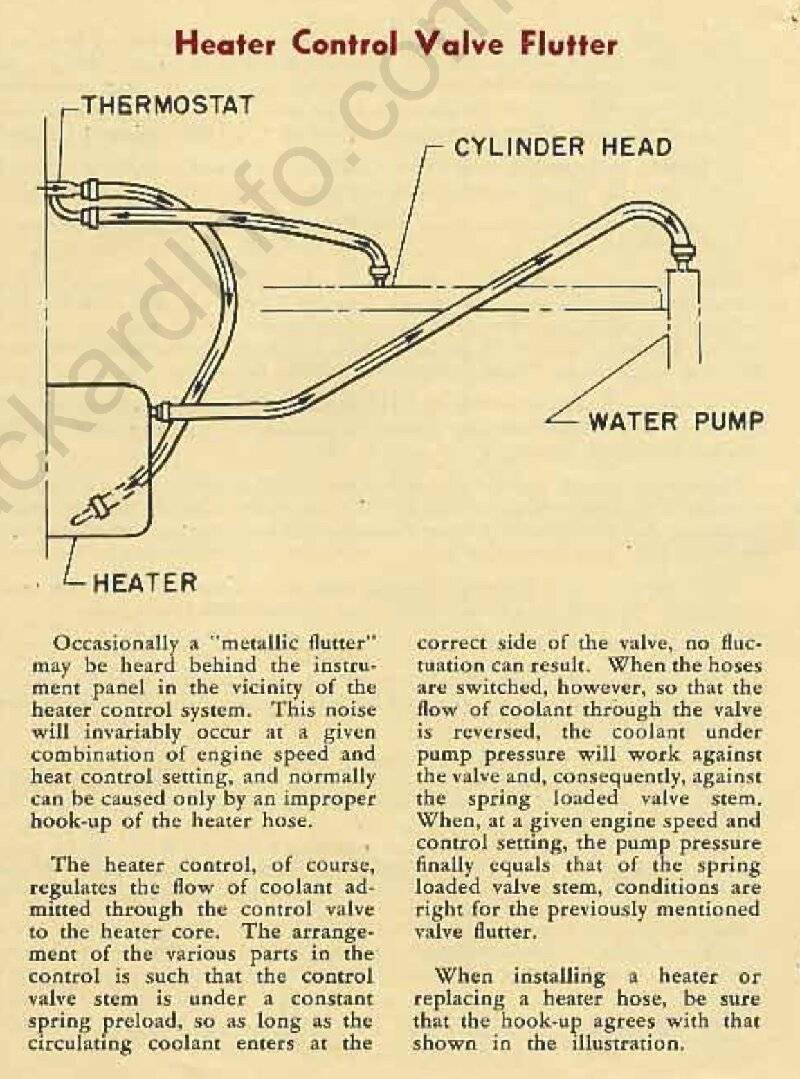
Make sure the water or pressure inlet side is to the curved tube both in test and in the car so the pressure will help keep the valve tightly closed. Pressure on the straight tube will tend to lift the valve off the seat. Packard noted this in a 1950 service article shortly after use of that style valve was adopted.
Posted on: 2021/5/18 14:28
|
|||
|
Howard
|
||||
|
||||

