|
Re: Stewart
|
||||
|---|---|---|---|---|
|
Home away from home

|
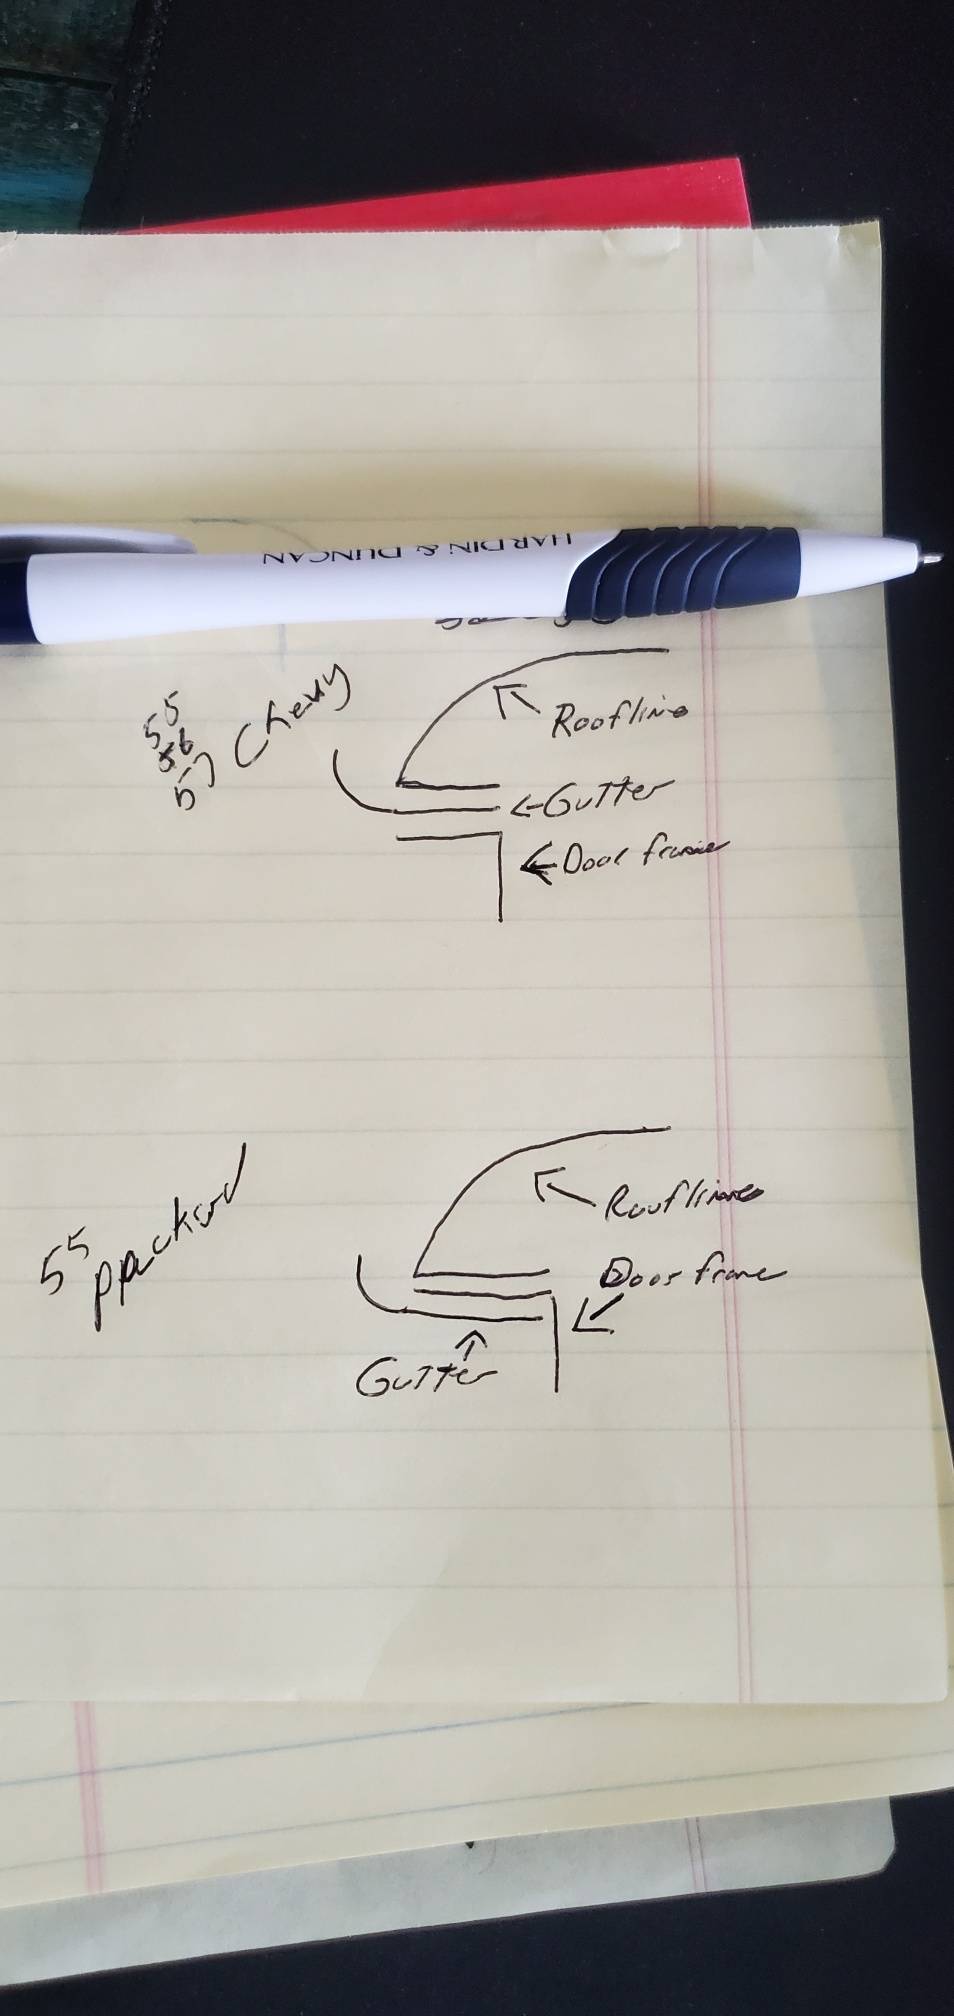
I finally found a close-up of the tri-5 drip rail. A company in Australia is reproducing them and I stumbled upon their website.
The shape is correct as I had hoped. Another site says that the length of these is about 2 inches longer than the Packard so that too will work. The only real issue now is that they all appear to be plain steel and not stainless steel. I guess I can just paint it if needed. There is plenty of shiny parts that it probably not be missed. Now, how bad do I want to try this and spean all that cash. Attach file:  Tri5-driprail.png (160.70 KB) Tri5-driprail.png (160.70 KB)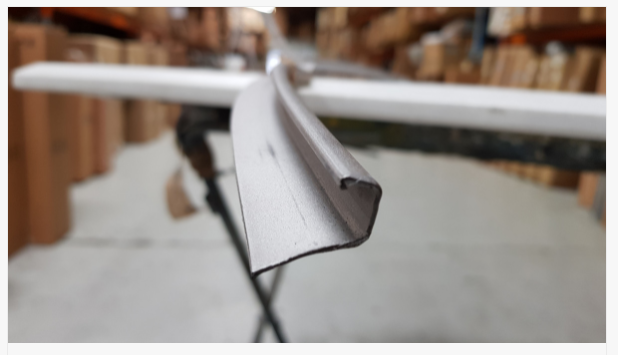
Posted on: 2022/7/8 19:17
|
|||
|
Stewart Ballard
|
||||
|
||||
|
Re: Stewart
|
||||
|---|---|---|---|---|
|
Home away from home

|
Depending on their production process, they might be able to substitute stainless steel. I don't think it's likely, as stainless is much harder to work with, but it might be worth it to email and ask.
Posted on: 2022/7/8 20:41
|
|||
|
1955 400 | Registry | Project Blog
1955 Clipper Deluxe | Registry | Project Blog 1955 Clipper Super Panama | Registry Email (Parts/service inquiries only, please. Post all questions on the forum.) service@ultramatic.info |
||||
|
||||
|
Re: Stewart
|
||||
|---|---|---|---|---|
|
Forum Ambassador

|
Wonder what it would cost to chrome plate or even do a chrome powder coat on the steel molding rather than paint.
Posted on: 2022/7/8 21:08
|
|||
|
Howard
|
||||
|
||||
|
Re: Stewart
|
||||
|---|---|---|---|---|
|
Home away from home
|
Adding some clearcoat to the fenders this weekend. They need a little sanding and then polishing but they came out good.
I ordered a tri-five drip rail (left side) from Current 2 CLassic (C2C). They sent me a right side instead. There were 4 different labels on the packaging. 2 of them said left-hand side. A third said RH but was corrected to LH with a sharpie and the last one said RH and that was the correct label. That is OK I need them both I only wanted to buy one for now in case it does not work. I think it will work but I am going to have to do some heating and bending. Any suggestion on heating this thin metal enought to bend? Attach file:  adding clearcoat.jpg (73.35 KB) adding clearcoat.jpg (73.35 KB)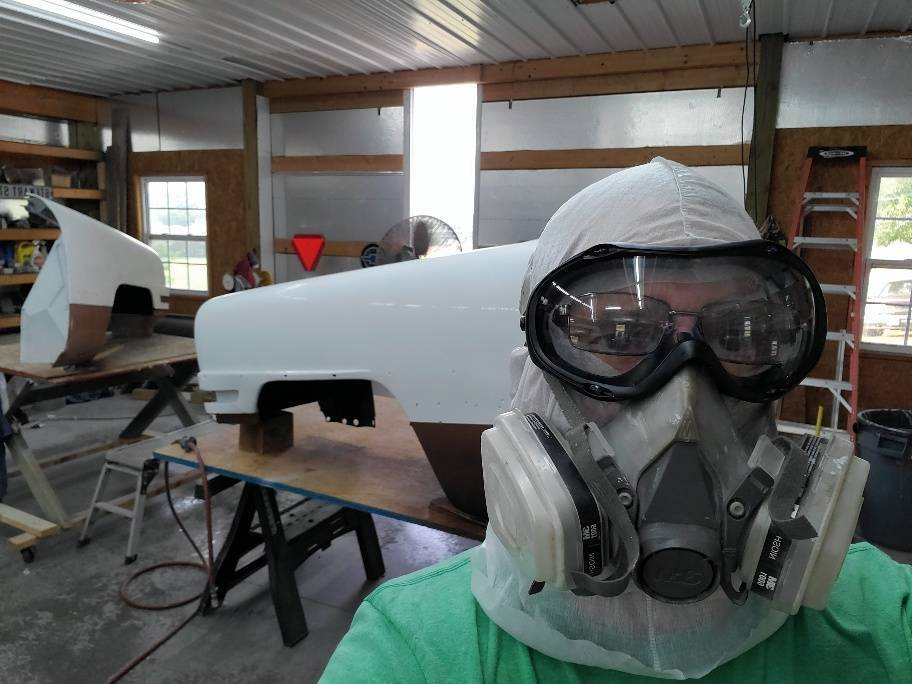 Tri-five_DripRail.jpg (43.99 KB) Tri-five_DripRail.jpg (43.99 KB)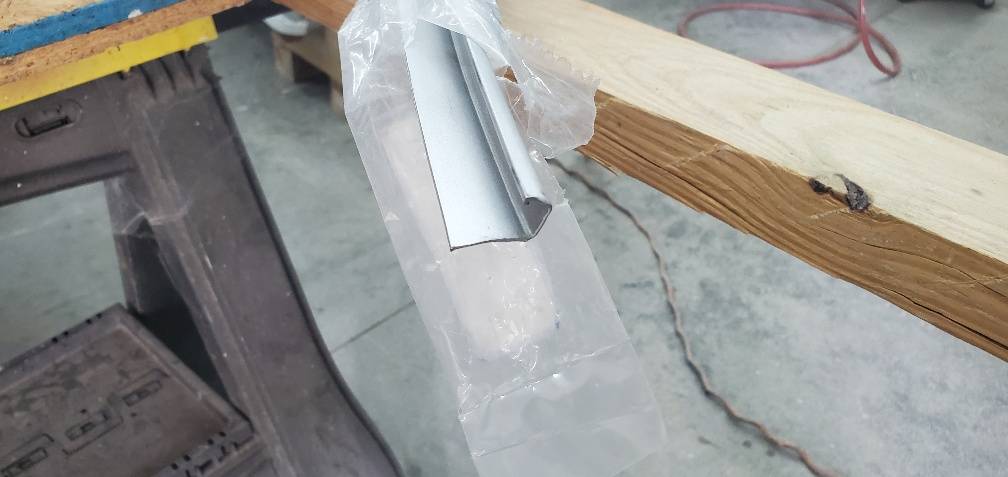 label1.jpg (41.21 KB) label1.jpg (41.21 KB)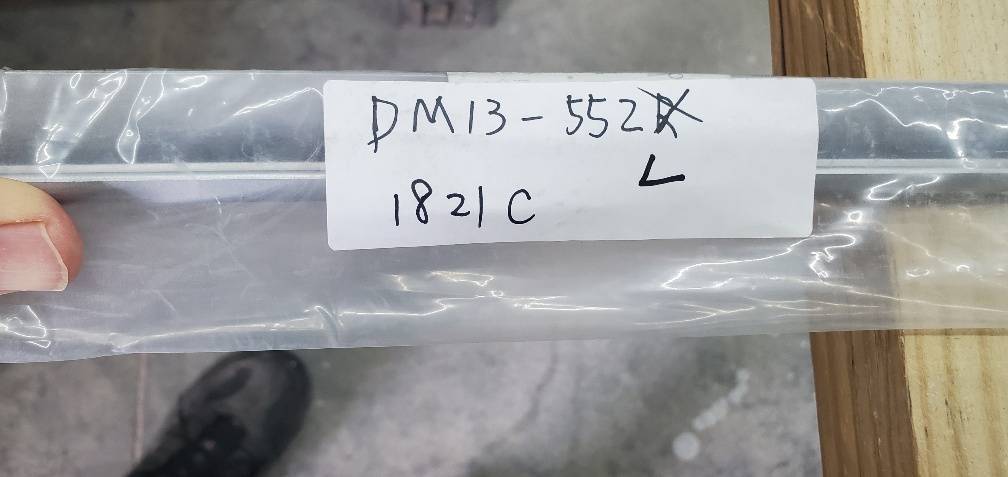 label2.jpg (32.02 KB) label2.jpg (32.02 KB)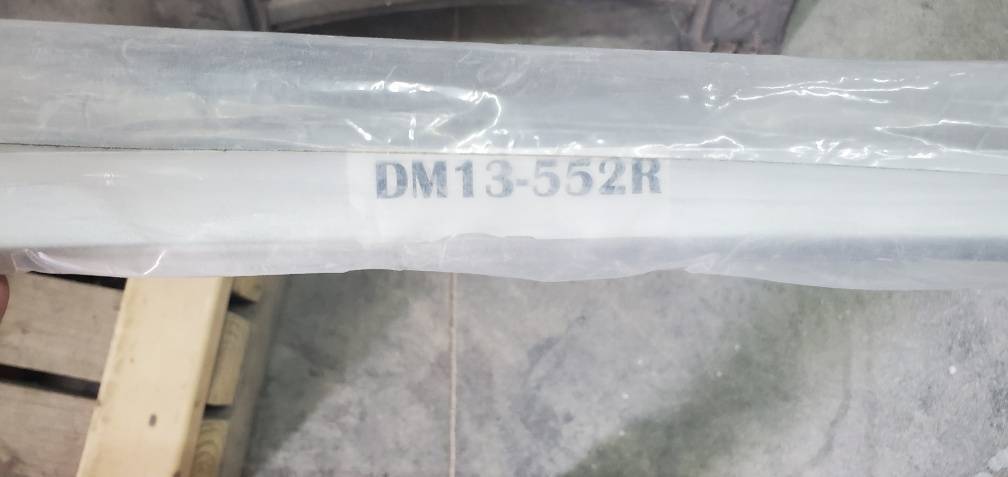 label3.jpg (40.26 KB) label3.jpg (40.26 KB)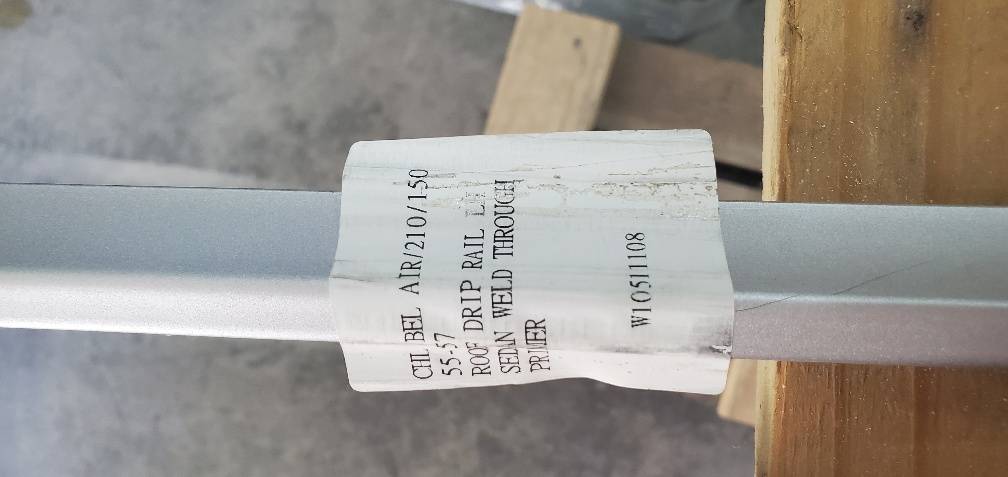 Fit1.jpg (41.20 KB) Fit1.jpg (41.20 KB)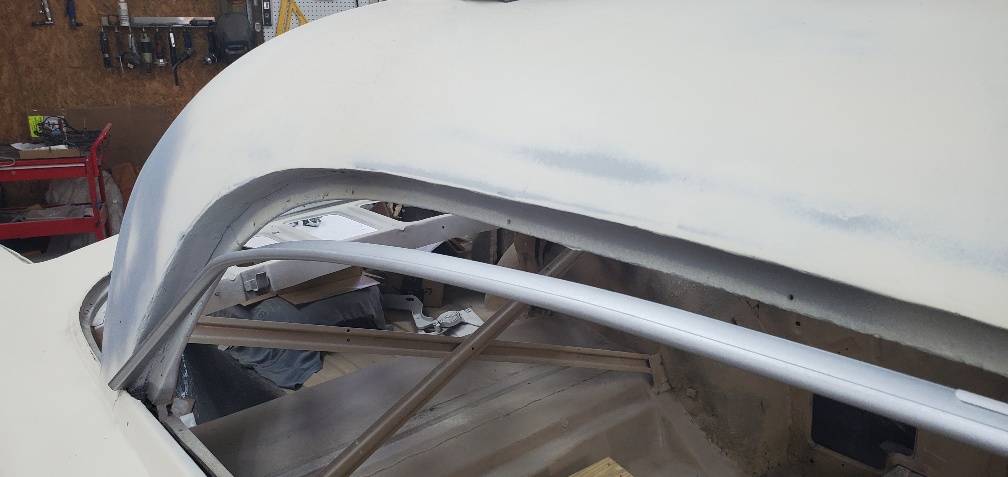 fit2.jpg (57.29 KB) fit2.jpg (57.29 KB)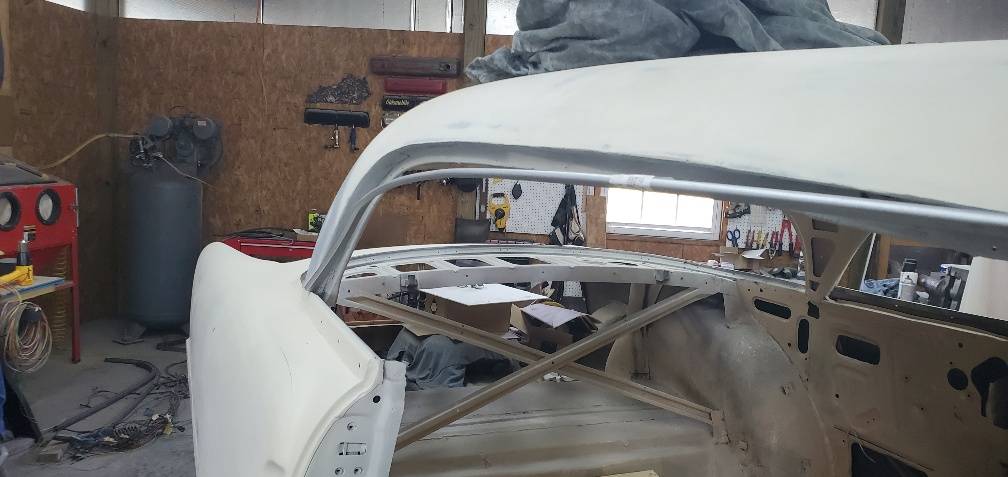
Posted on: 2022/7/18 16:07
|
|||
|
Stewart Ballard
|
||||
|
||||
|
Re: Stewart
|
||||
|---|---|---|---|---|
|
Home away from home
|
In 2020 I built this greenhouse. To bend all those wooden bows I had to build a large jig to clamp them to. It was fun.
I think I can do something similar to bend this drip rail. I'll start playing with that idea tomorrow. Attach file: Greenhouse.jpg (214.67 KB)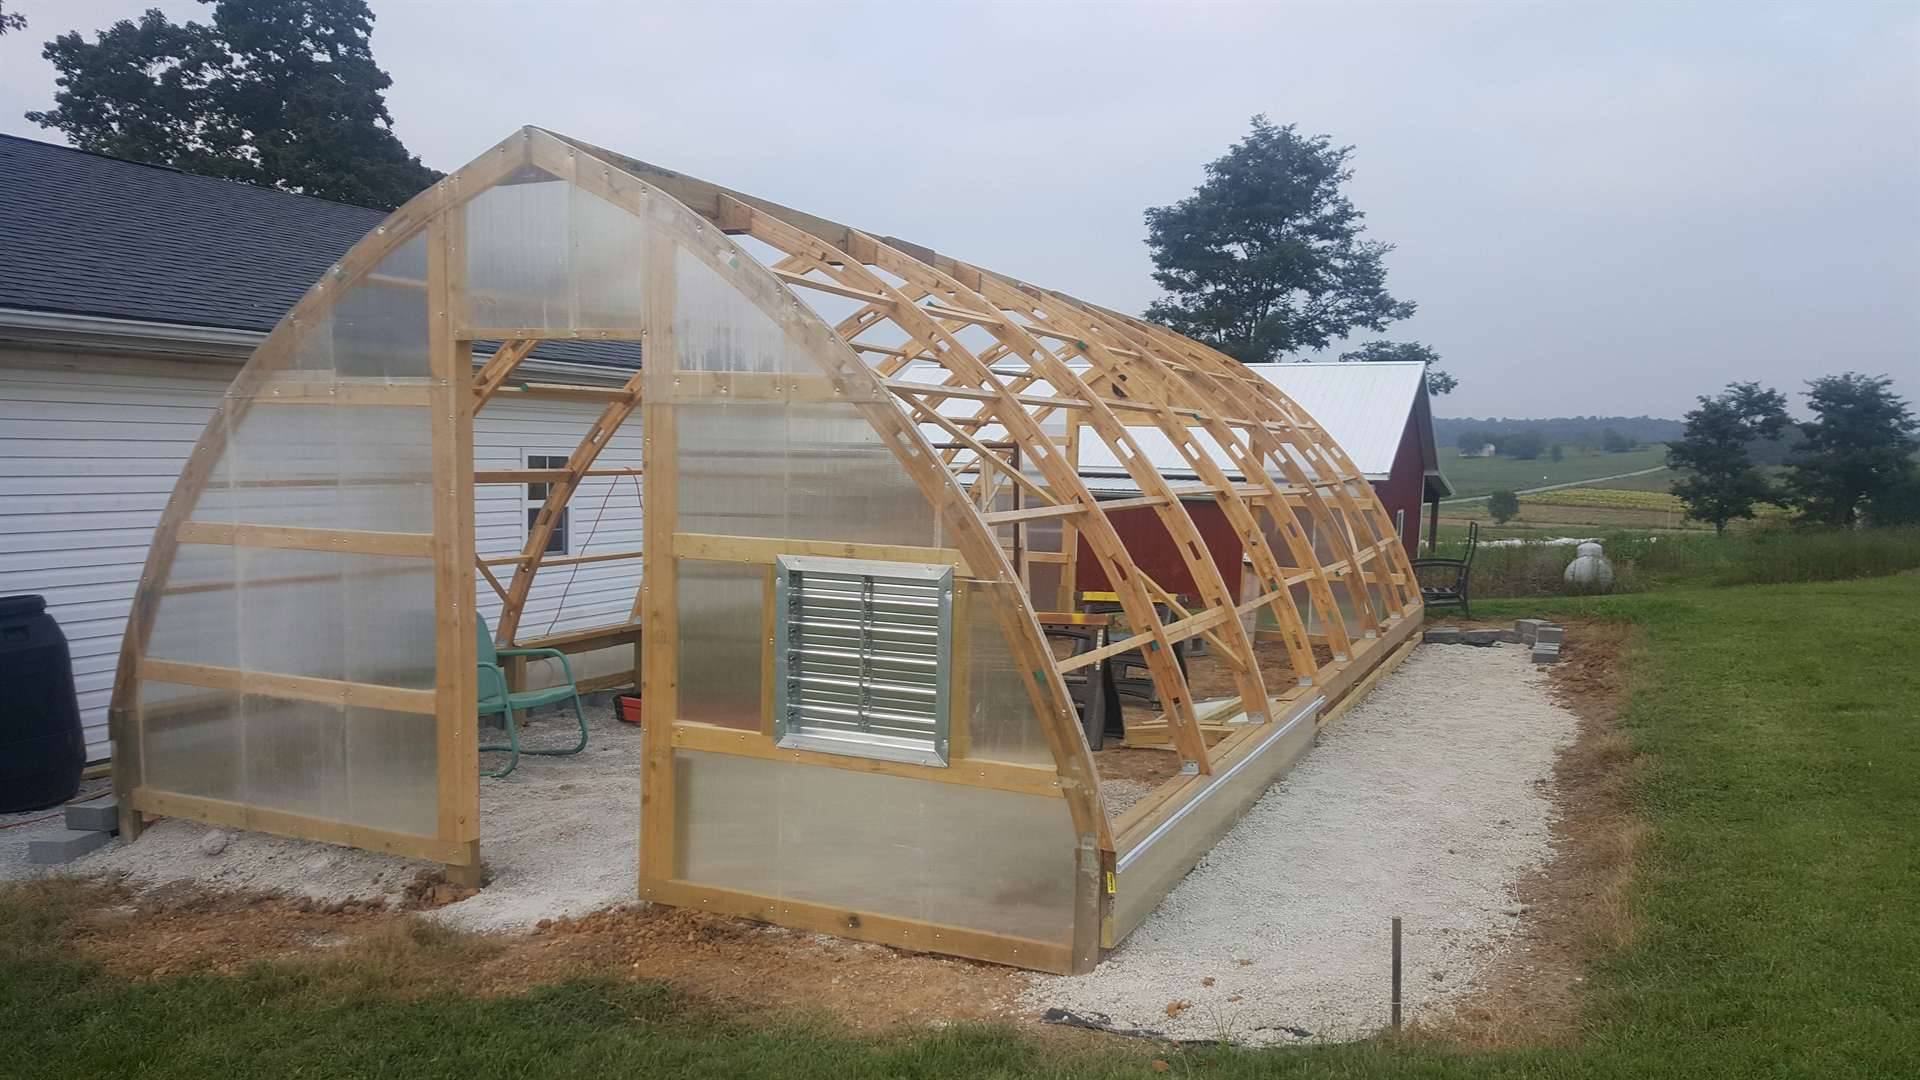
Posted on: 2022/7/18 19:49
|
|||
|
Stewart Ballard
|
||||
|
||||
|
Re: Stewart
|
||||
|---|---|---|---|---|
|
Home away from home

|
Love the form of your greenhouse.
Posted on: 2022/7/19 6:59
|
|||
|
||||
|
Re: Stewart's 1955 Packard 400
|
||||
|---|---|---|---|---|
|
Home away from home

|
Make sure you use seam sealer between the drip rail and the roof. You should be able to get it from a local automotive paint supplier. You want good contact between the rail and the roof because it doesn't work great as a caulking compound.
BTW nice looking Green House.
Posted on: 2022/7/19 18:35
|
|||
|
||||
|
Re: Stewart
|
||||
|---|---|---|---|---|
|
Home away from home
|
I assembled a jig as I mentioned and used large C clamps to bend the tri-5 drip rail into shape and it appears to have worked.
I was able to reshape the curve of the rear window and I think it will work fine. There is some wrinkling along the new bend. I think I can make some slices and take the pressure off of those spots and then tack them with my welder. I may have been able to get a cheap harbor freight metal shrinker and stretcher set and accomplished the same thing but everything in this jig was scrap wood. Attach file: testfit.jpg (77.52 KB) jig1.jpg (92.35 KB) jig1.jpg (92.35 KB) jig2.jpg (88.98 KB) jig2.jpg (88.98 KB)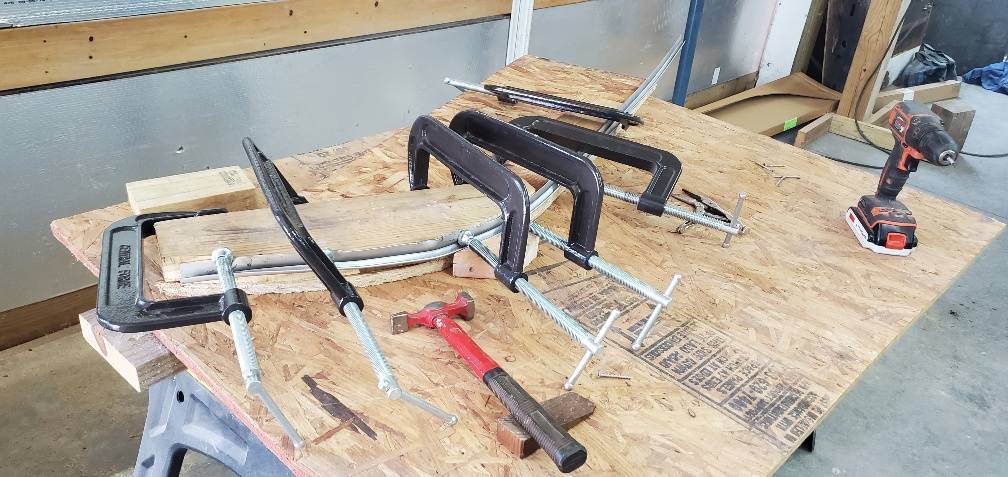 jig3.jpg (85.12 KB) jig3.jpg (85.12 KB)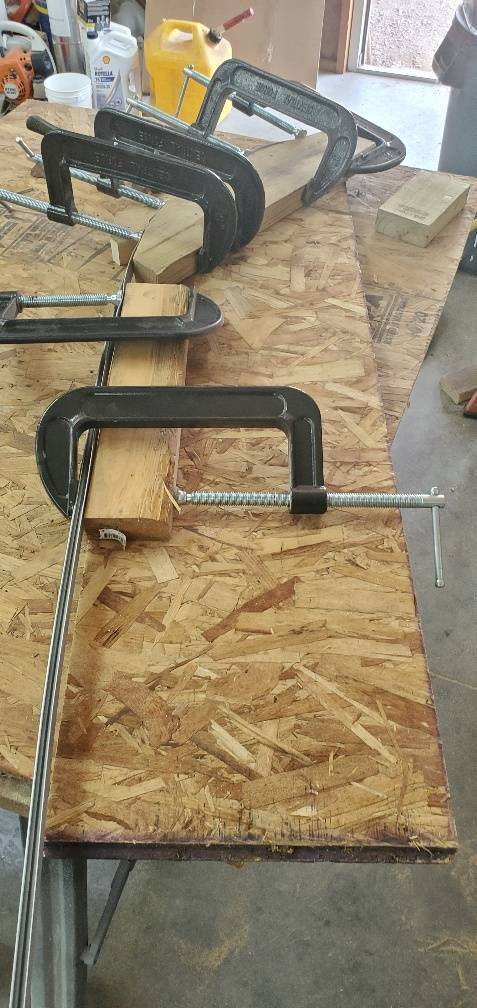 jig4.jpg (90.38 KB) jig4.jpg (90.38 KB)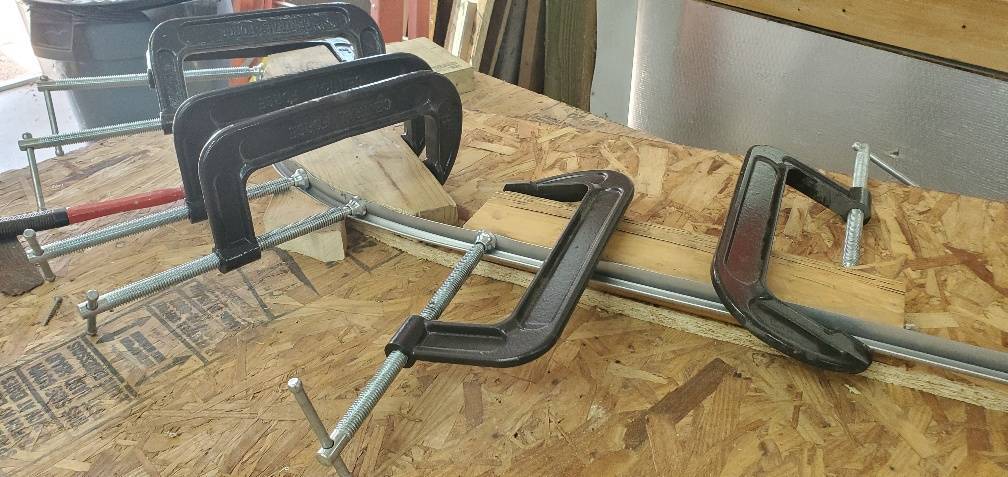 NeedsTriming.jpg (39.95 KB) NeedsTriming.jpg (39.95 KB)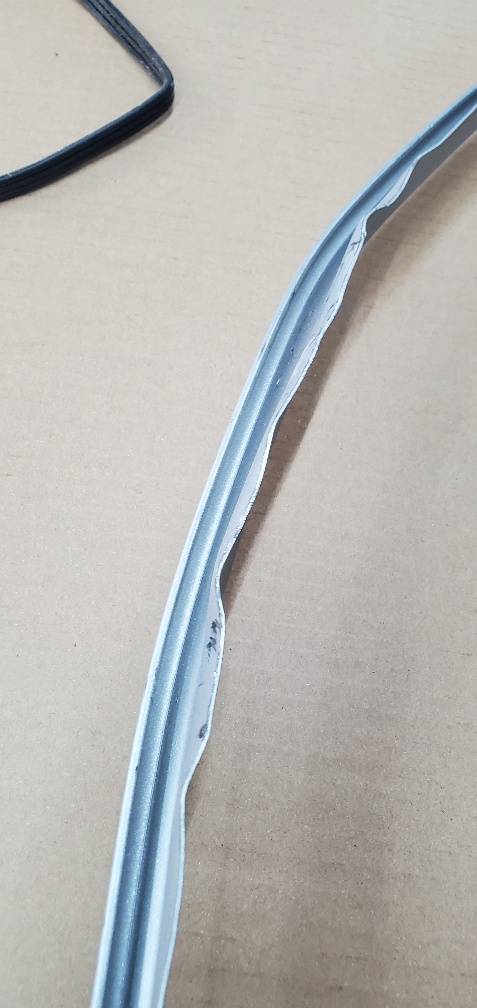 Doable.jpg (56.01 KB) Doable.jpg (56.01 KB)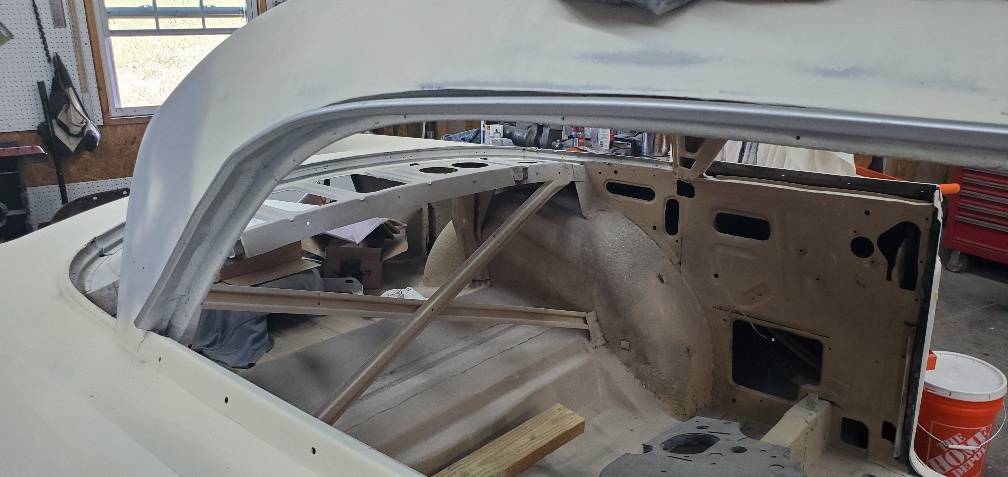
Posted on: 2022/7/21 19:22
|
|||
|
Stewart Ballard
|
||||
|
||||
|
Re: Stewart
|
||||
|---|---|---|---|---|
|
Home away from home
|
I did not have to use any heat to straighten the wavy edges. Hammer and dolly did just fine. I also added an additional 3/8 of an inch of metal down the whole length of the drip rail. The original piece did not leave much to work with.
Test fitted the whole thing today. If anyone can post a picture of both ends of the drip rail it would be appreciated. I am sure that at least the front of it has to be curved or pointed. I hope to spot weld it into place this weekend. I have already ordered the other side from c2c. Attach file: 20220727_162719_resized.jpg (218.57 KB)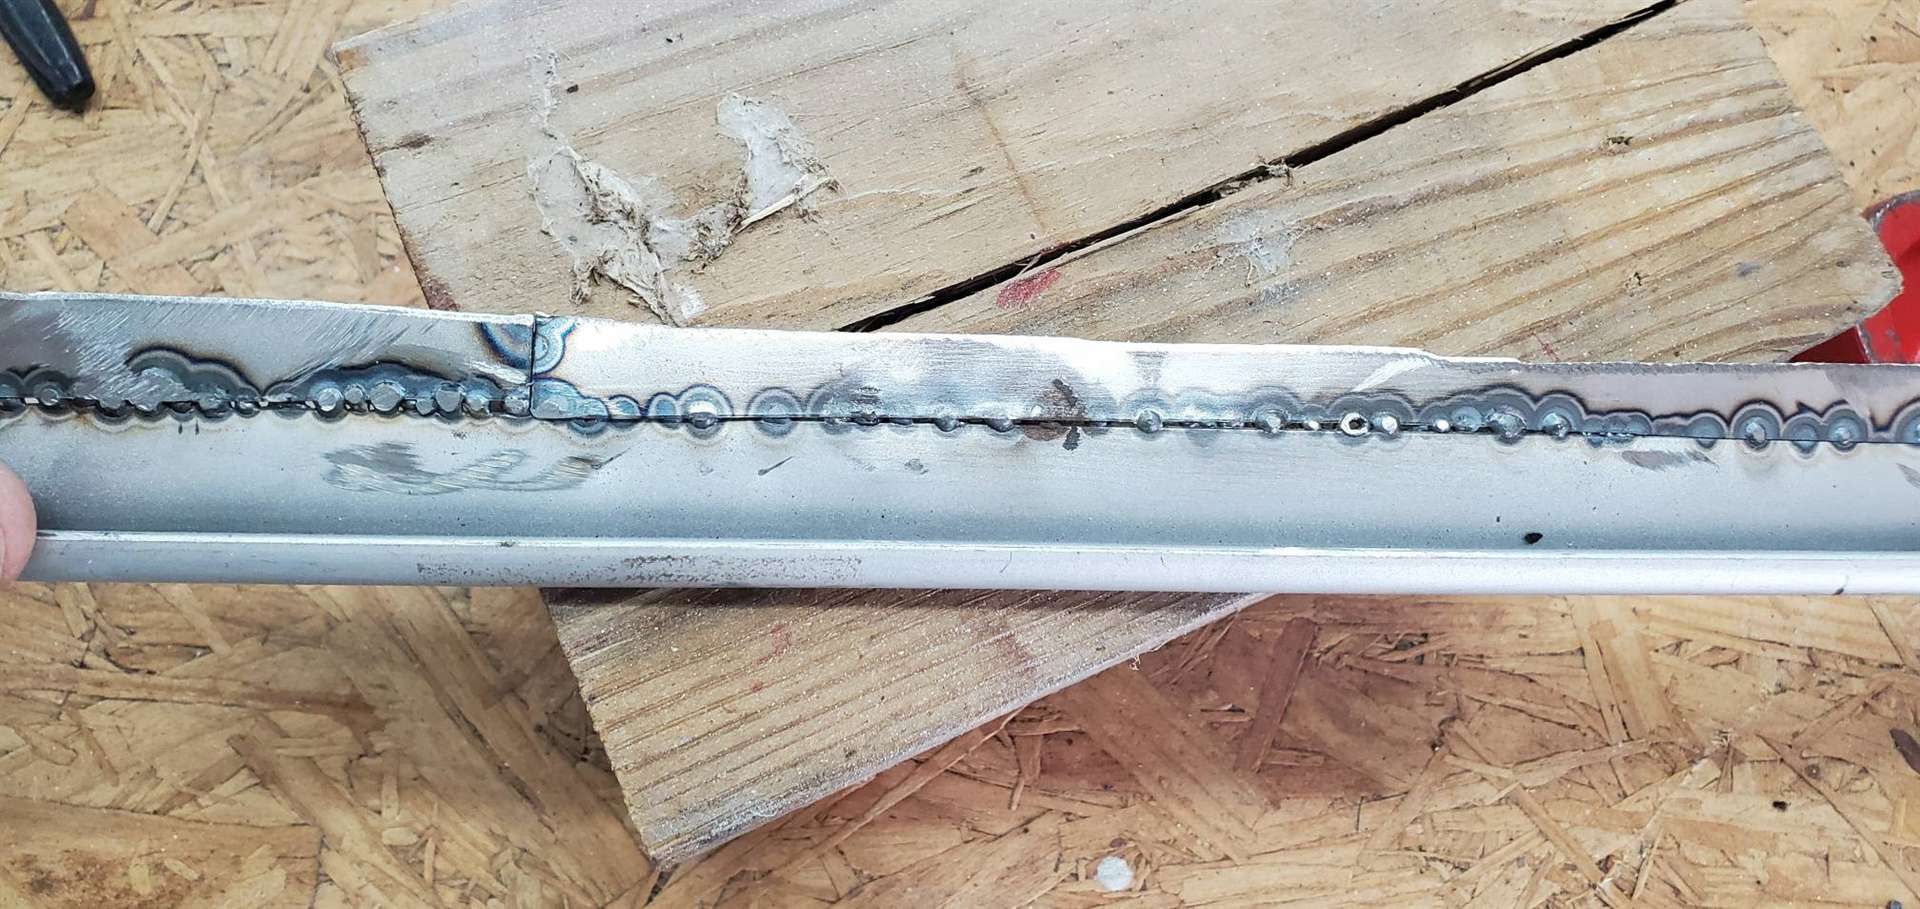 20220727_160438_resized.jpg (108.69 KB) 20220727_160438_resized.jpg (108.69 KB)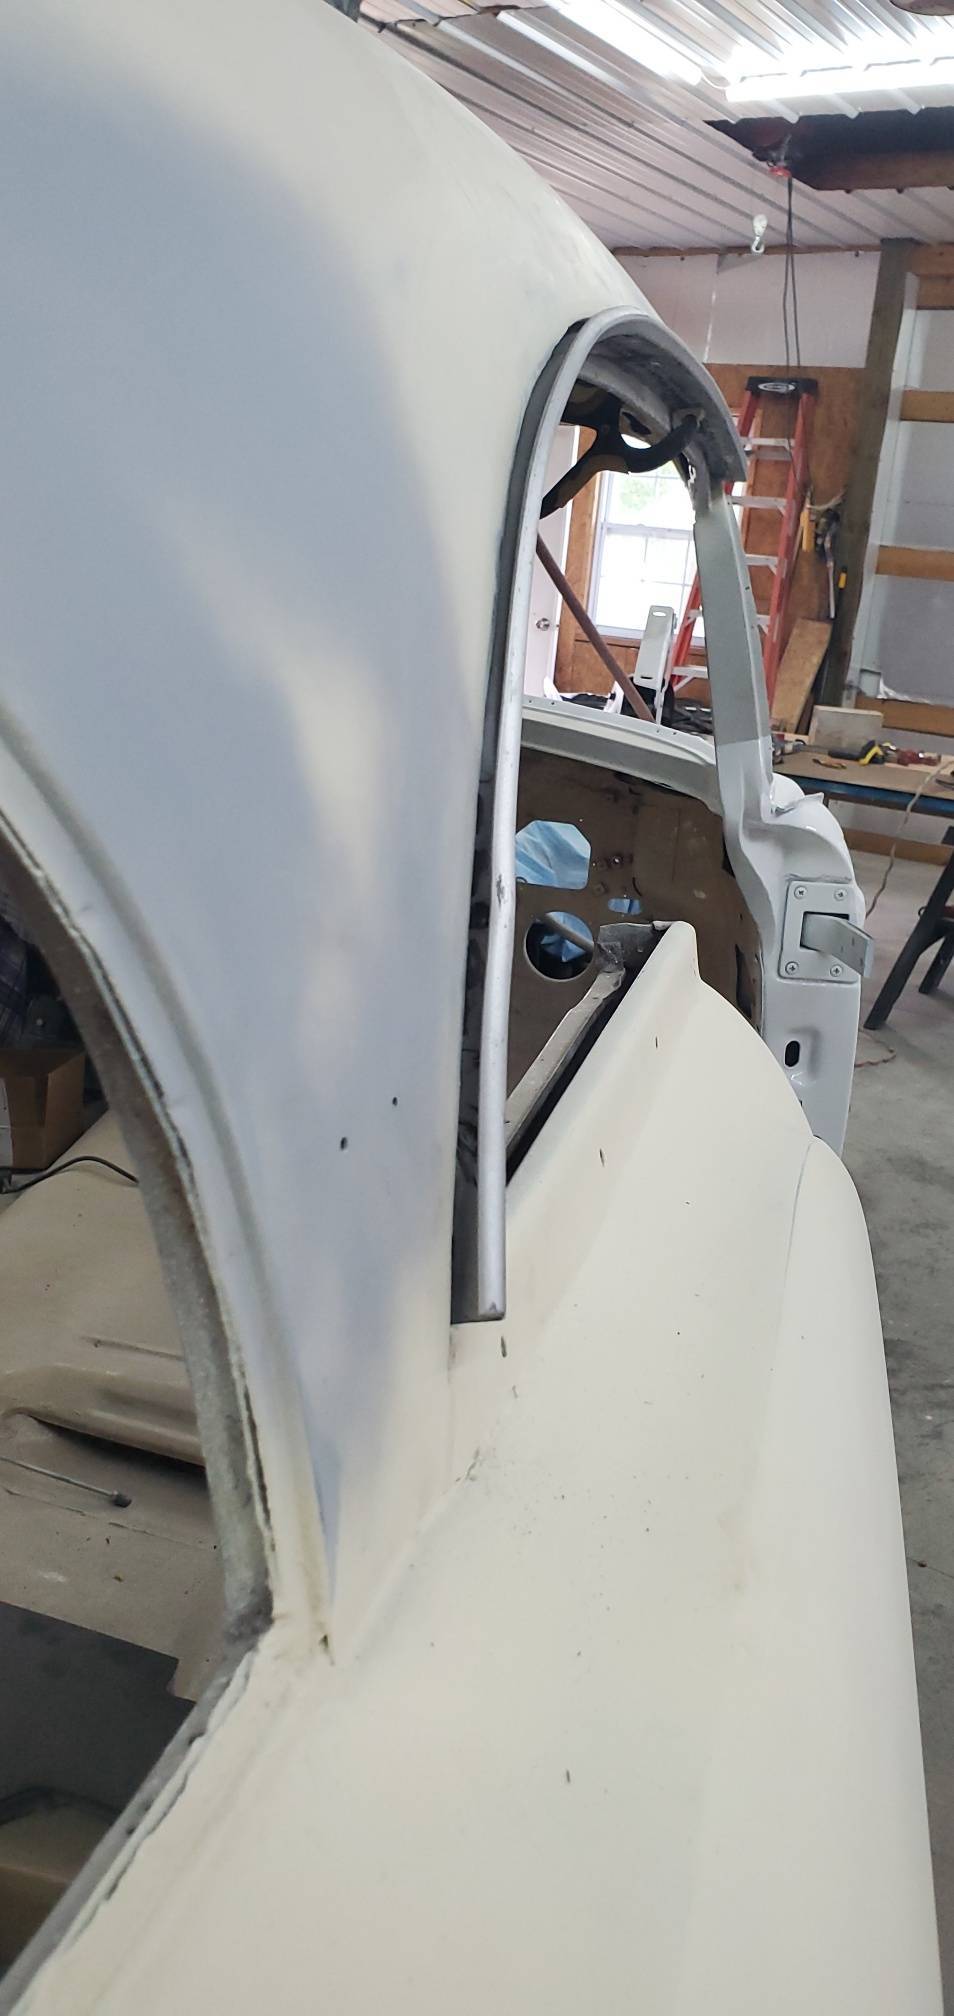 20220727_160420_resized.jpg (150.35 KB) 20220727_160420_resized.jpg (150.35 KB)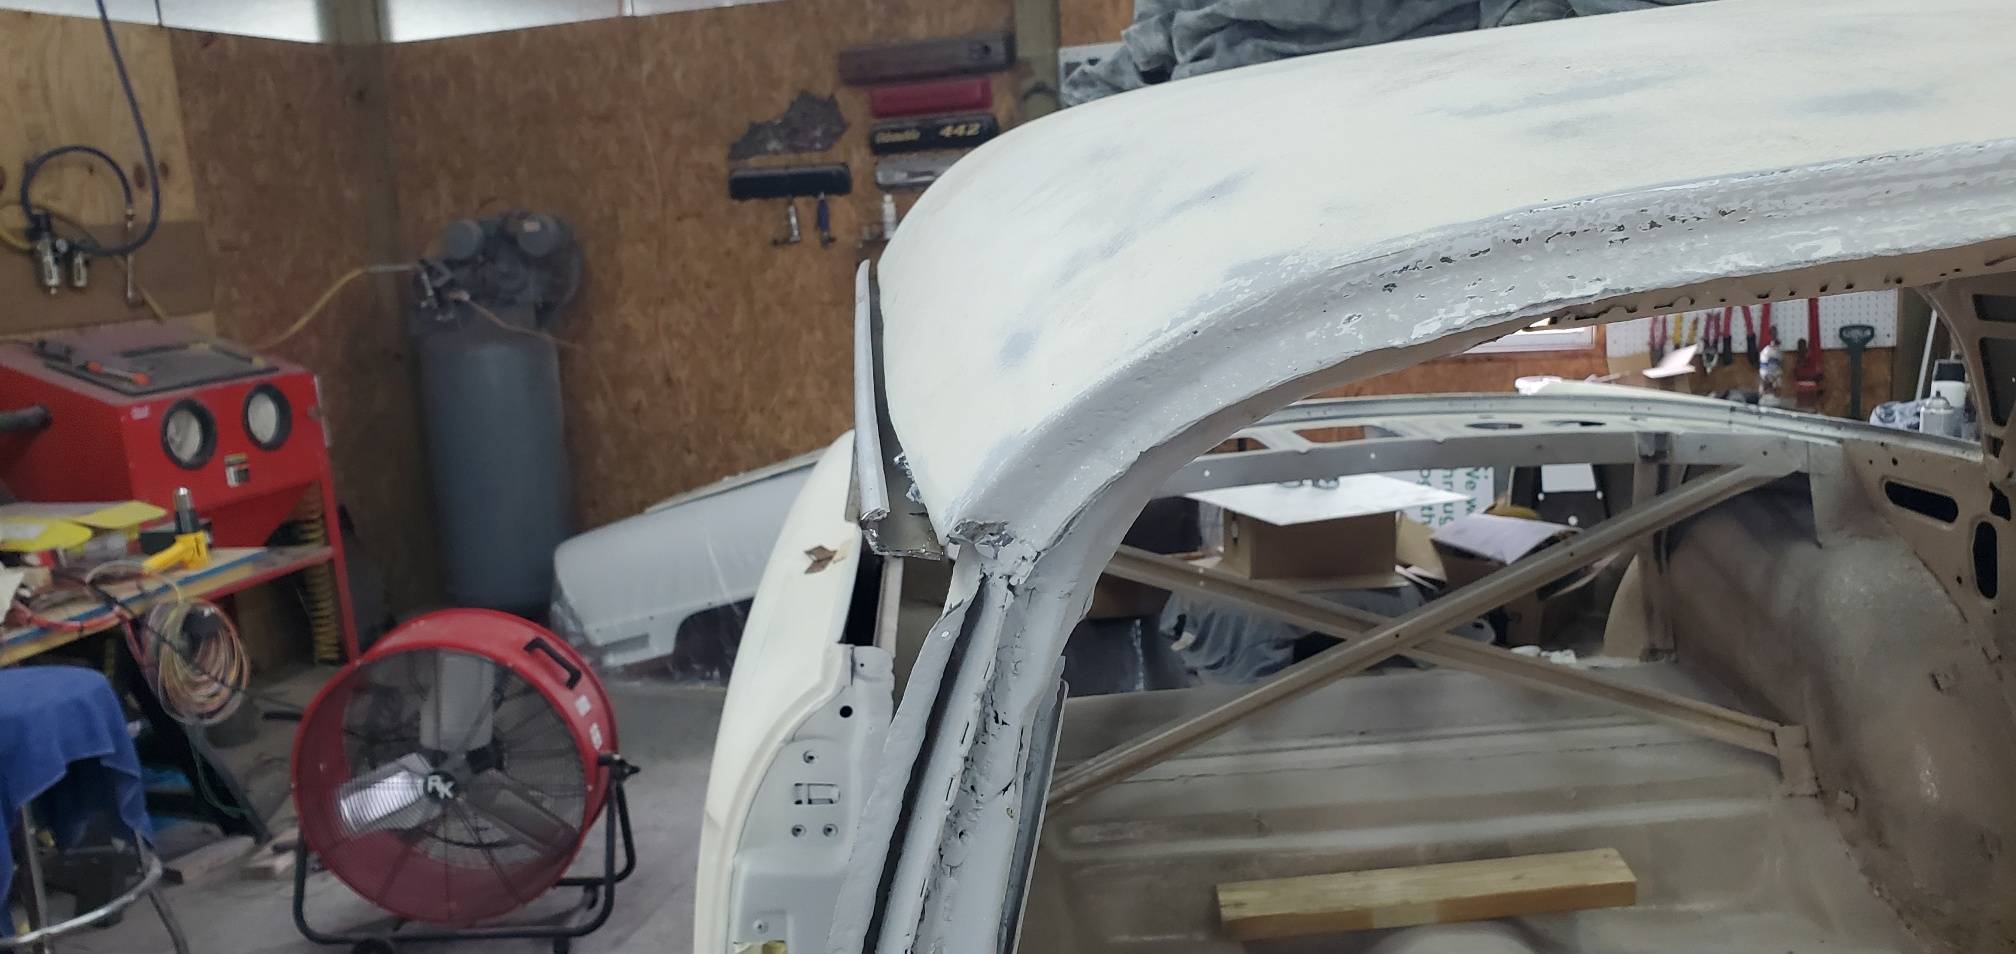 20220727_160406_resized.jpg (167.25 KB) 20220727_160406_resized.jpg (167.25 KB)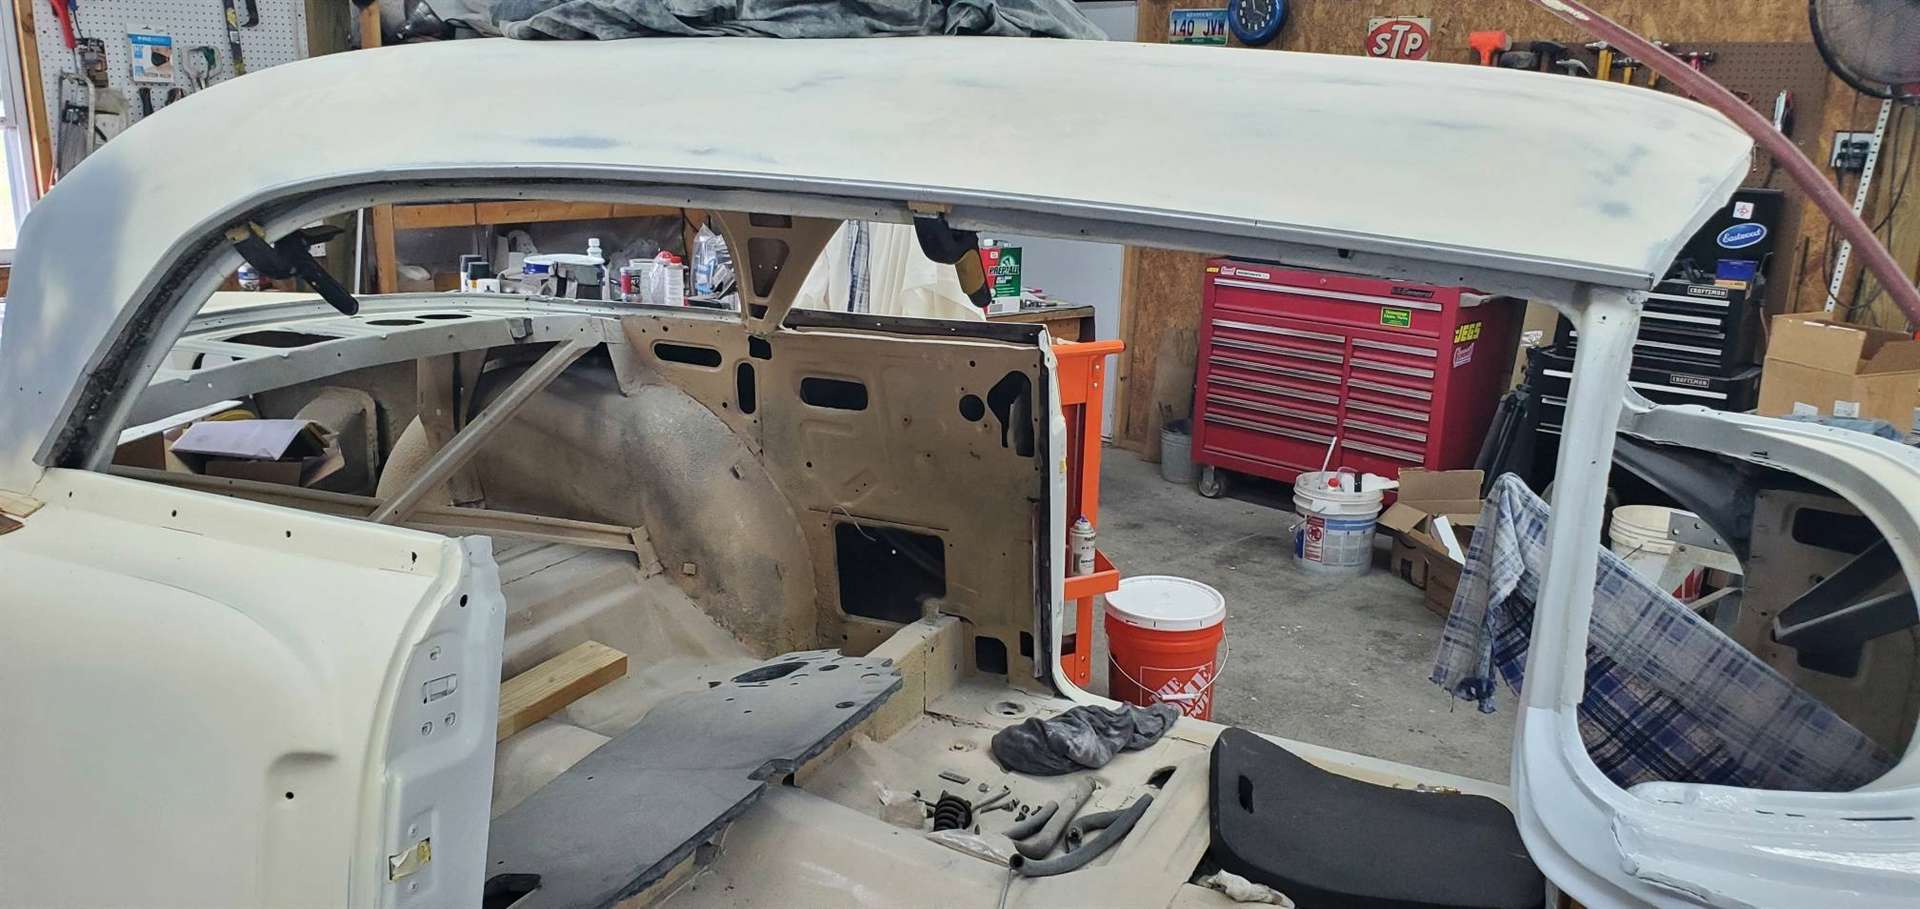
Posted on: 2022/7/27 19:21
|
|||
|
Stewart Ballard
|
||||
|
||||


